This South Park: The Stick of Truth walkthrough is divided into 10 total pages.
You can jump to nearby pages of the game using the links above.
Forging Alliences
At the meeting, it will be decided that all of the local factions need to be unified in fight against Clyde. At first, your task is to try to convince the girls' to the alliance. Go to Annie, next to the Town Hall. If you have not yet one that, you will have to help her drive away the girls that are bullying her. Give her the letter and go to the meeting. After the cutscene, go to the playground. After another cutscene, you will have to fight Monica's boyfriend. It is not too demanding a fight. After you are done, return to the Town Hall, to Annie.
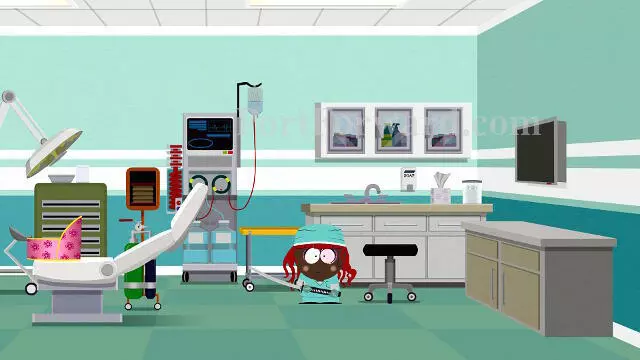
Change your looks and go to Unplanned Parenthood. Only doctors can access the archives so, you need to find a disguise. Go to the surgery, where you will have to play a simple mini-game, in which you need to keep mashing the attack button. Once the doctor leaves, collect the equipment, from the nearby doctor's cart and change, just like in the screenshot.
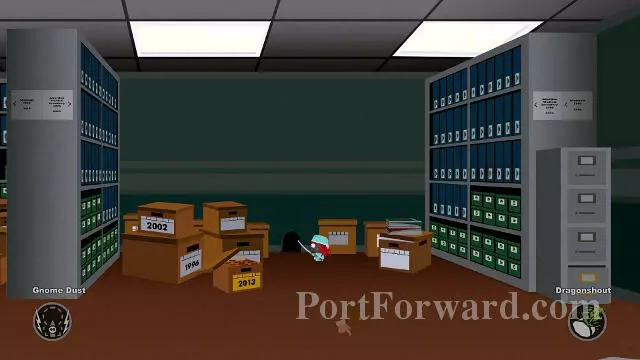
In the archives, check the files from 2013. This will initiate a short cutscene, after which you will be locked up. Use the gnome shrinking powder to leave through the mouse hole. Inside, there are quite a few opponents waiting for you but, you can cut through them quickly, by shooting at the pipes overhead. The noise will provoke the soldiers to start shooting at that spot, which will eliminate the problem. You need to watch out and stay away. After that, with the help of magic, make it over to the other side (the soldiers will not react).

Upstairs, talk to Randy. After another cutscene,, you will have to perform a surgery. First, you need to administer narcosis to the patient. Keep an eye on how the syringe moves and point it downwards, as soon as it is in the middle. Then, start spinning the left analog stick, or press the right and the left button in turns. The surgery itself is, simply, a string of commands displayed on the screen, which you need to perform. First, you need to lean the stick to the left (or hold down the LMB), and move it to the right, once (click the RMB). Then, lean the stick to the right (hold down the RMB) and move it to the left, quickly (press the LMB). After the surgery, leave the room.
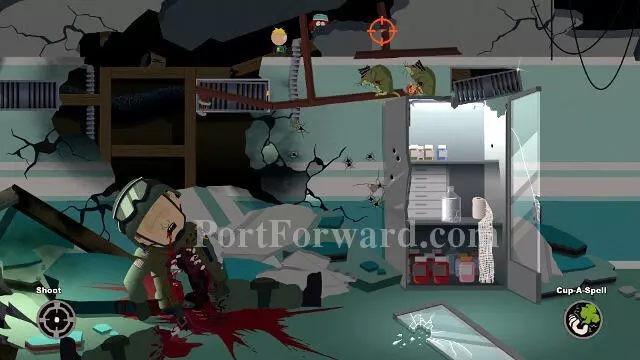
It is the fastest way if you shoot at the venting shaft, use the powder and walk over the fridge upstairs. The alternative rote is to walk over the soldier (literally), while shrunk, and climb over the round route. Then, you can shoot at the spot shown in the screenshot, to get rid of rats immediately. Then, enter the venting shaft and follow it until you reach the exit. The small mice that you find there can be eliminated with one shot.

Take a shot at the grenade of the dad soldier. Walk through the passage that the explosion created and collect the chinpokomon. Then, summon Stan and use Buddy Command on the rifle, to neutralize it. Alternatively, you can use the probe to reach the valve, shut off the water and teleport into the pipe, where you need to shoot at the wires to make the lamp fall down, onto the rifle. After the rifle is activated, use the Cup-a-Spell on it. Then, go ahead. You will be attacked by a group of zombie fetuses. Apart from the fact that, just like the regular zombies,, they are invulnerable to being Grossed Out and to fire, they can heal themselves, on a regular basis. The best idea is to use a powerful mass fire attack. The buddy that can work well here is Cartman. Then, exit. There you will have to fight a final boss. It is two enemies in one, a fetus and umbilical cord. The cord can heal itself, on a regular basis so, ignore it and focus on the fetus. What works best here is the strong melee attacks. Also, Kenny's Charm or Butters' Professor Chaos will prove their worth here. Once you manage to bring the fetus's health to zero, you will automatically win the fight. The only thing left to do now is return to the girls.

Unfortunately, the clinic's file is in French. Return to the Elven Kingdom. There, you will be equipped with a special letter that will grant you passage to the mysterious kingdom up North, where you may be able to read the manuscript. But, before you go, you need to visit Photo-Dojo. The photographer at Photo-Dojo will have a strange request, when it comes to your looks.. Eventually, you will have to fight him, which you should have no problems with. Then, you will obtain a photo and you can go North, to Canada. Go to the entrance to the Lost Forest. To drive the rats away, use Dragon Shout.

In the Lost Forest, go North four times. Remember that you can avoid all of the zombies by dashing next to them. Talk to the customs officer and he will open the gates for you. In Canada, go to Ottawa to talk to the prince of Canada. He will direct you to Winnipeg. While in Ottawa, it is a good idea to visit the exchange to exchange the American Dollars for the Canadian ones. Then, go to Winnipeg. Along your way, watch out for wolves, they are vulnerable to fire.

Earl Winnipeg will help you, if you first deal with bears for him. Go to the right part of the city, where you will fight the battle. Bears are vulnerable to electricity. After you win, return to Earl and he will direct you back to the Prince in Ottawa. There, you will receive the order to eliminate the bishop of Banff. There is nothing else to do but to go to Banff.
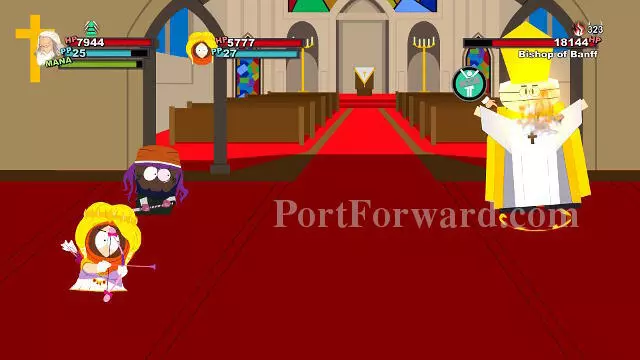
The opponent has quite a few armor points and is resistant to magic. Still, he should give up pretty soon, after you serve him with strong melee attacks and your abilities. After you win, you can spare his life (he will become your Facebook friend) or kill him. Return to the prince. Unfortunately, he will walk out on his end of the bargain. You will receive a letter from the Duchess, which you need to take to the Duke of Vancouver. Once you give it back to him, you are to go to the South of the city, to the mysterious monks. Walk onto the pier to be transferred to the ship and go to the cottage to the South, afterwards.
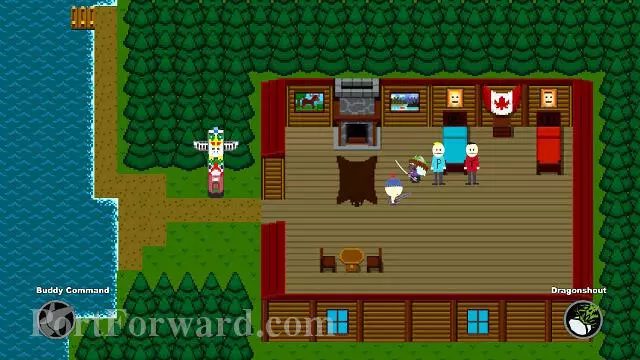
Cast Dragon Shout on Phillip, and then Cup-a-Spell on Terrence. Finally, show them the Squeaker. They will teach you the last spell, Nagasaki. During the training, keep holding the spell down, this is a way to cause an earthquake. Hold the spell for as long as the trembling wall crumbles. With the new ability, go to Quebec Catacombs, to the North of Ottawa.
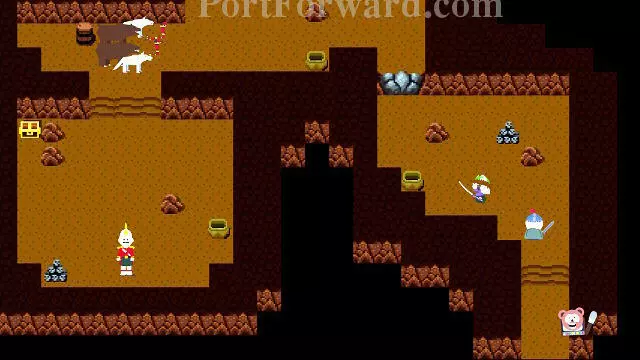
Use Nagasaki to open the way. Keep modulating the spell until the wall starts to tremble. Then, keep holding it, until it cracks. You will now need to match up against the entire wildlife of Canada. The Power Potion, in combination with some strongest AoE ability, e.g. Jimmy's Brown Note should be able to deal with them very quickly. Free the minister of Montreal and he will translate the letter for you. Finally, you can return to South Park. To get there, you need to go South in the forest. Go to Annie and to Kyle, after that.
More South Park: The Stick of Truth Walkthroughs
This South Park: The Stick of Truth walkthrough is divided into 10 total pages.


