
This Splinter Cell walkthrough is divided into 9 total pages.
You can jump to nearby pages of the game using the links above.
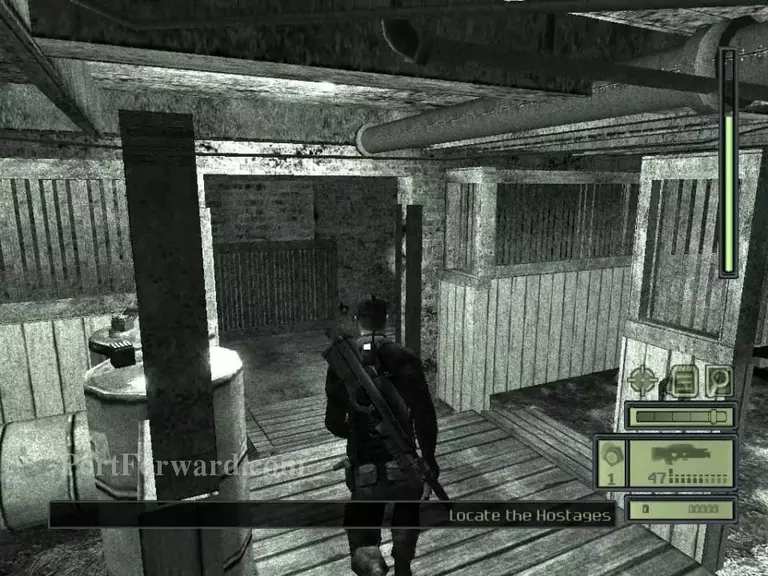
Abattoir
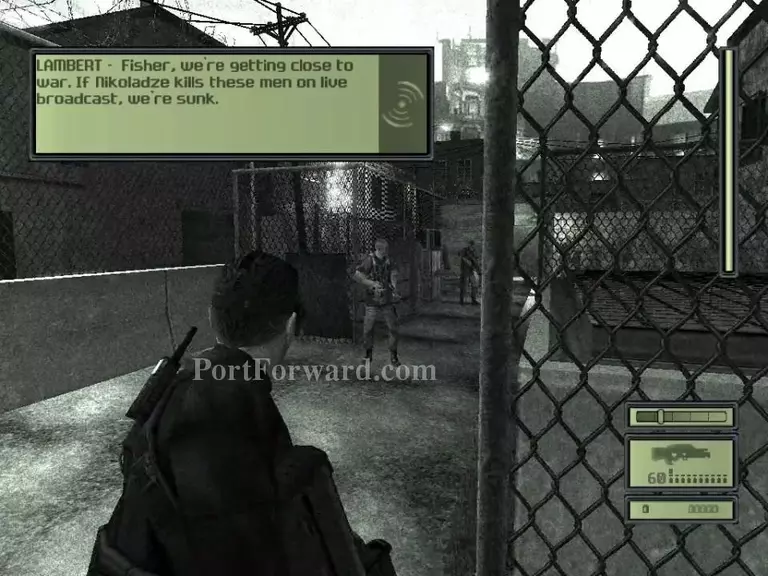
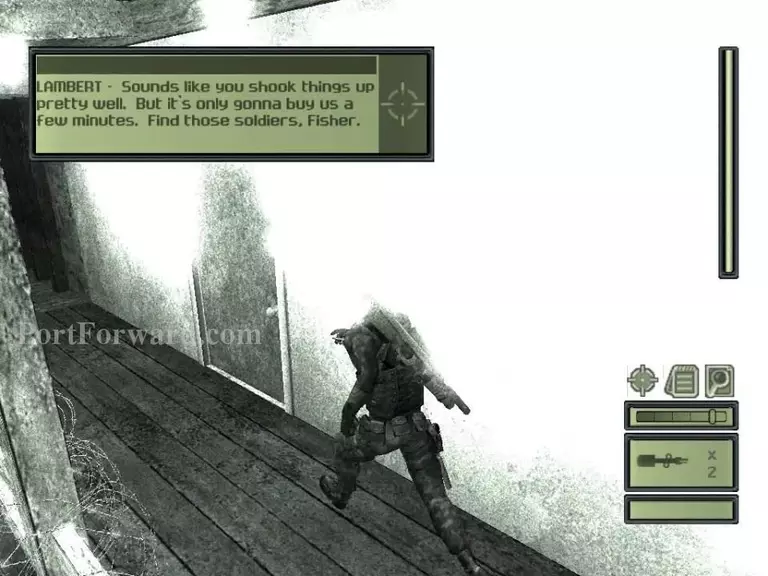
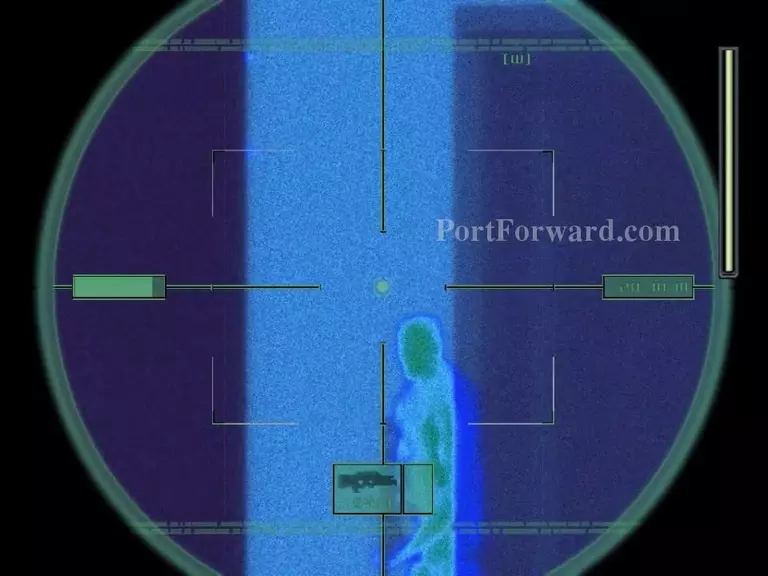
Get through the gateway and take out the guards.
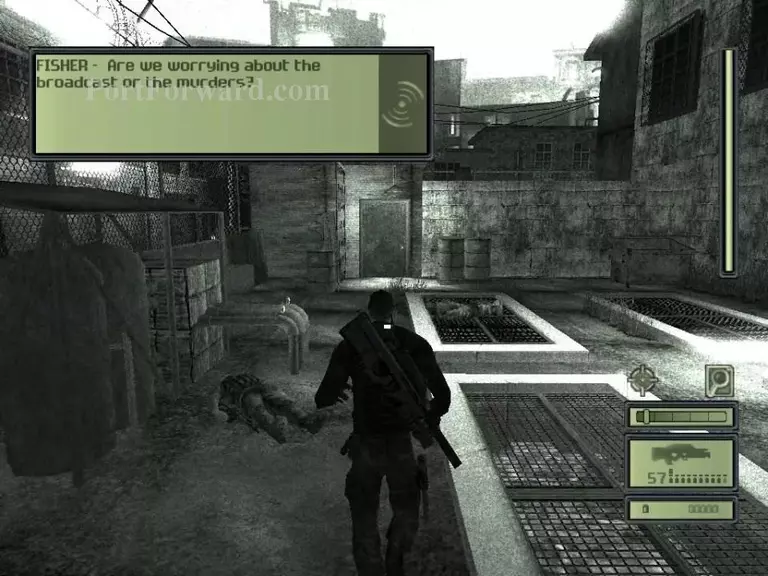
Then, proceed to the door ahead.
Inside, will be another door to enter.

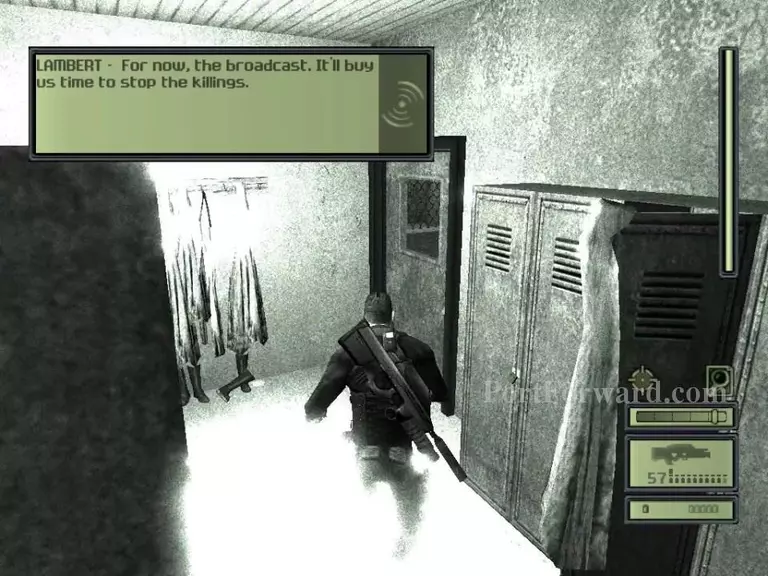
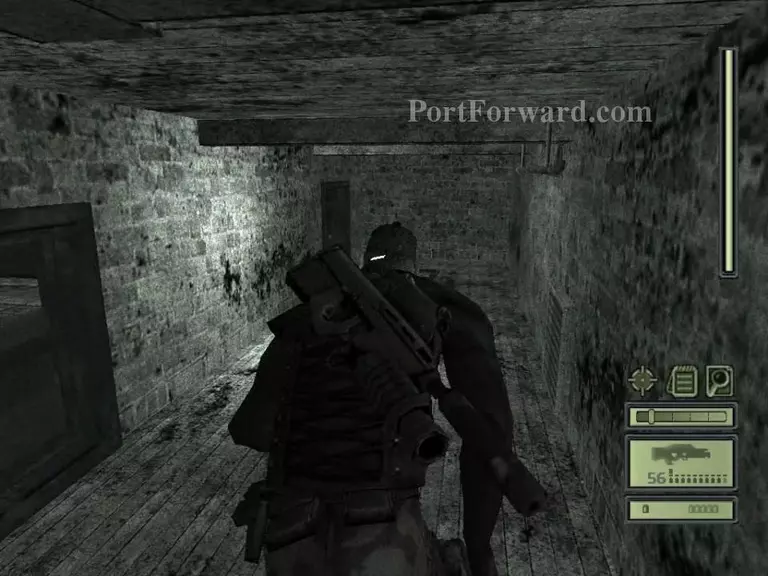
Take out the guard that'll be there and then go through the gateway.
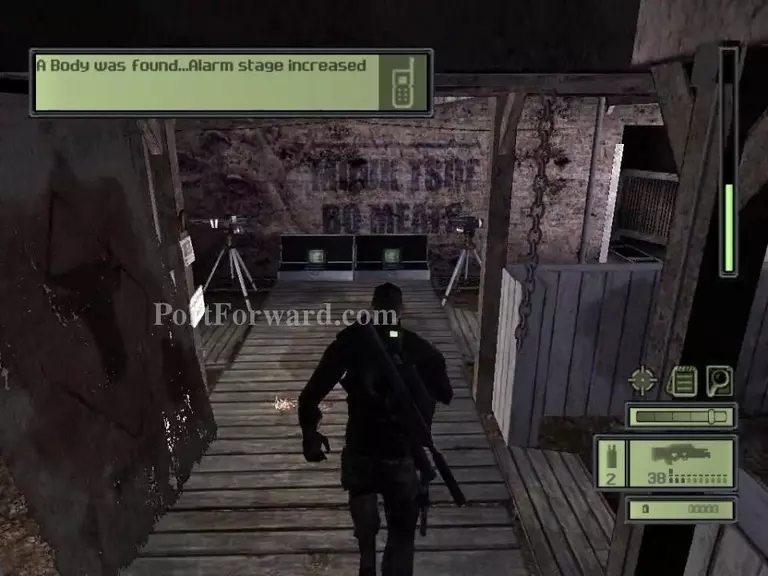
Continue straight ahead. There will be a spotlight so make sure you do not get spotted.
Turn right here.
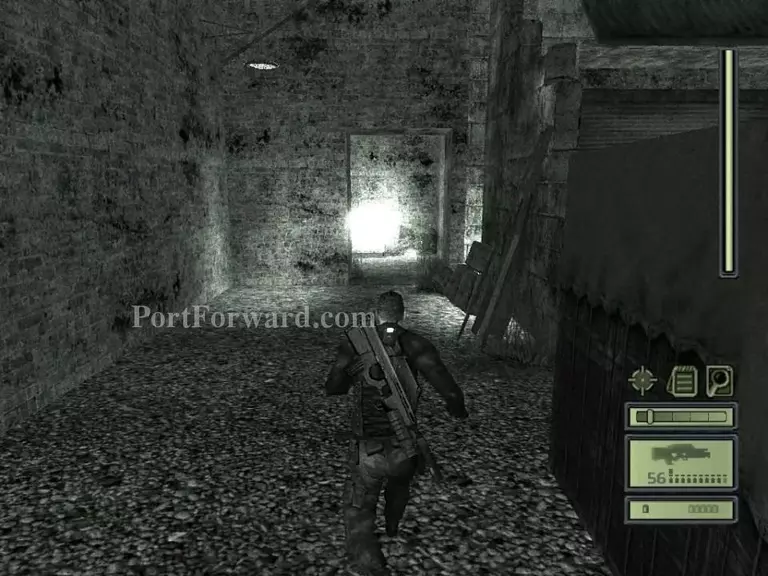
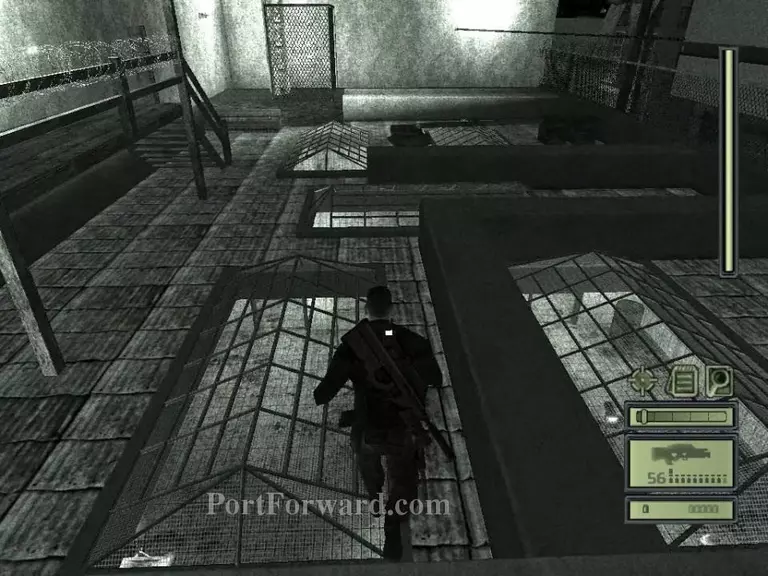
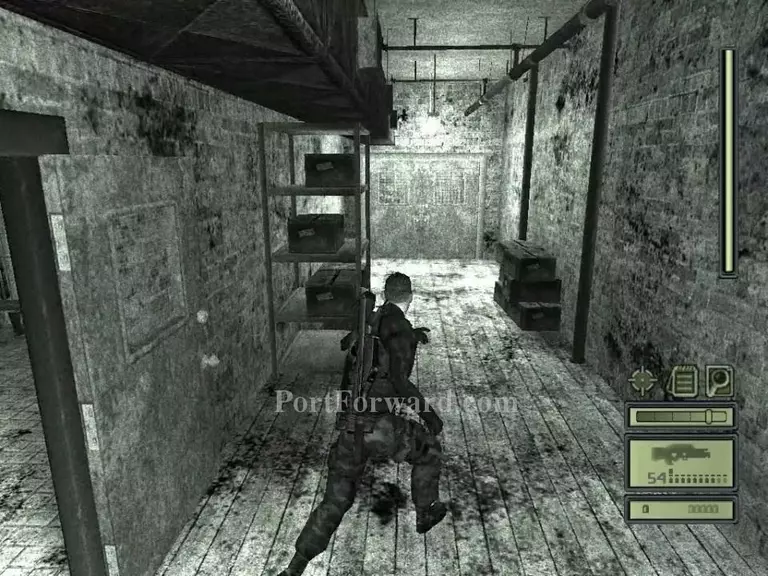
Proceed through this doorway.
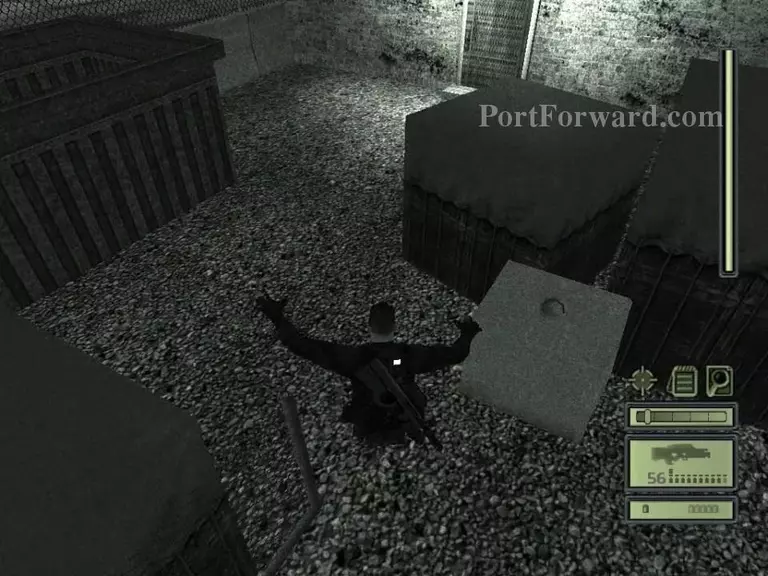
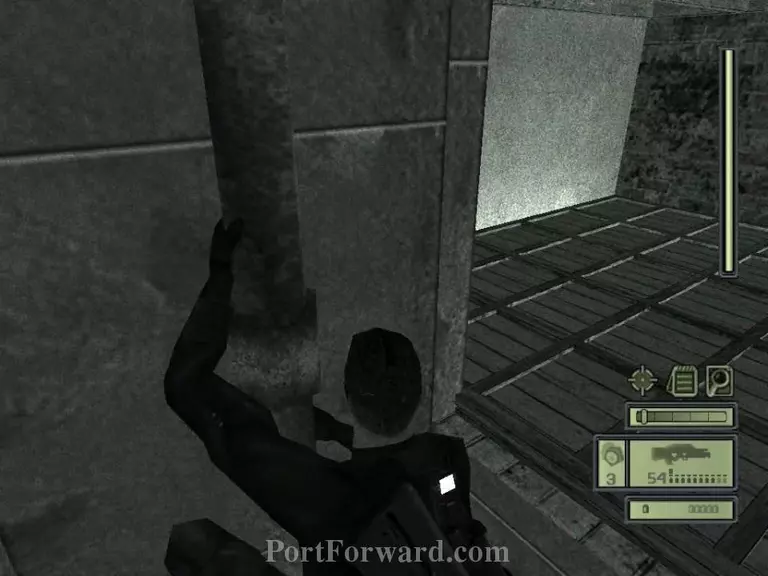
Jump onto the dumpster on the left...
Then, run and jump onto the wall to get onto the ledge above.
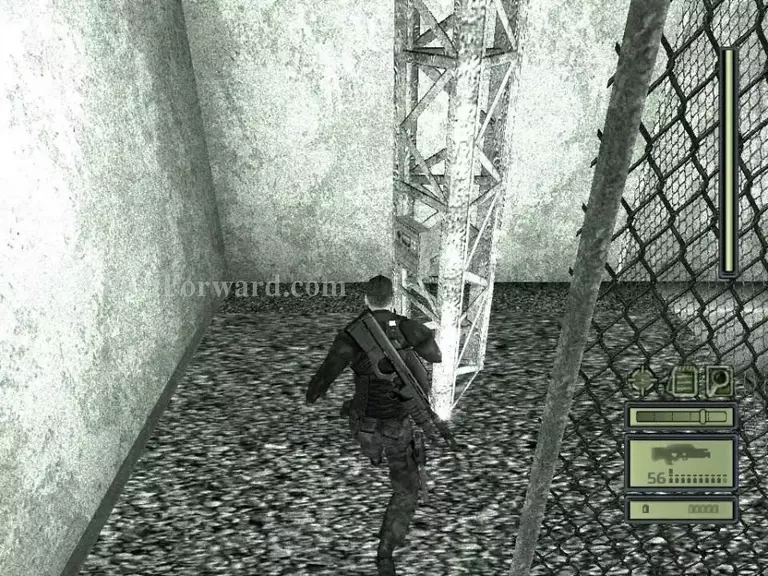
Go through the last hole in the wall on the left.
Go ahead to those little stairs where that beam is on the upper left part of the screen.
Switch the panel.
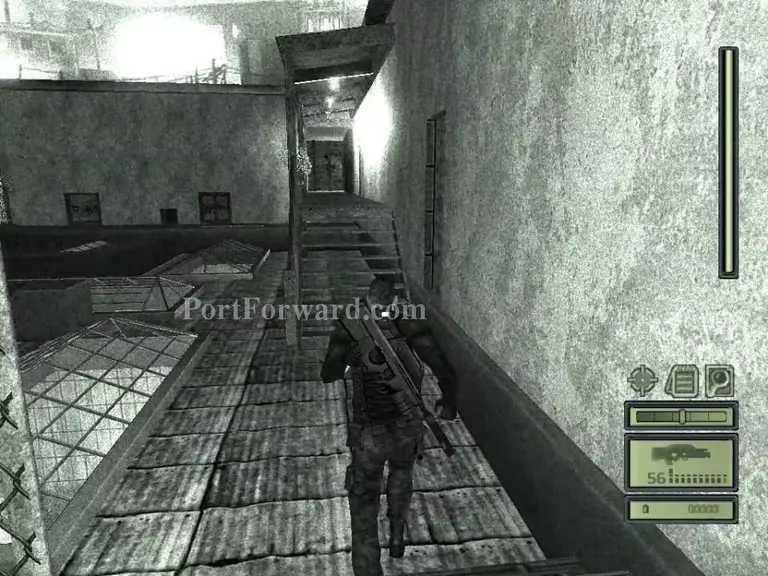
After the cutscene, go up these stairs.
Enter the first door on the right.
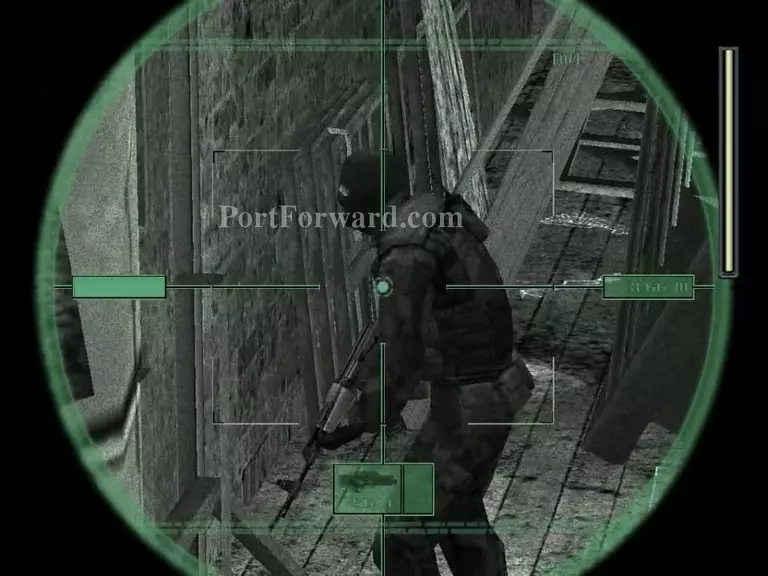
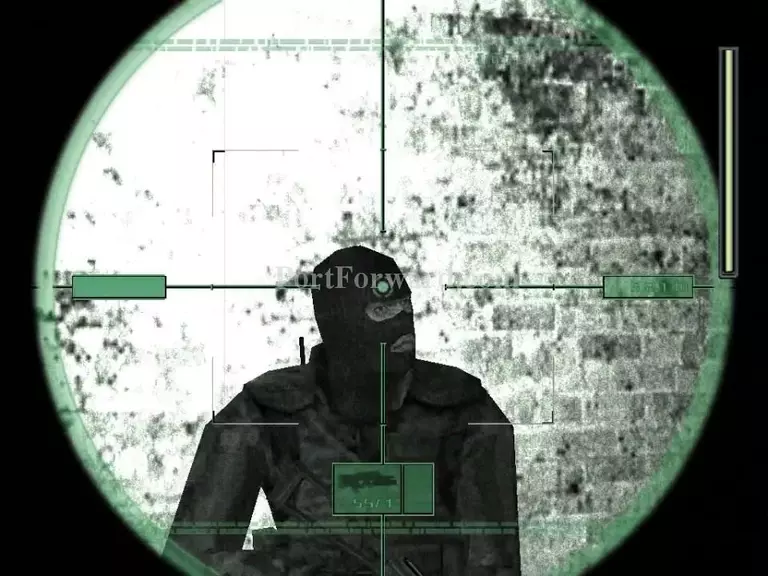
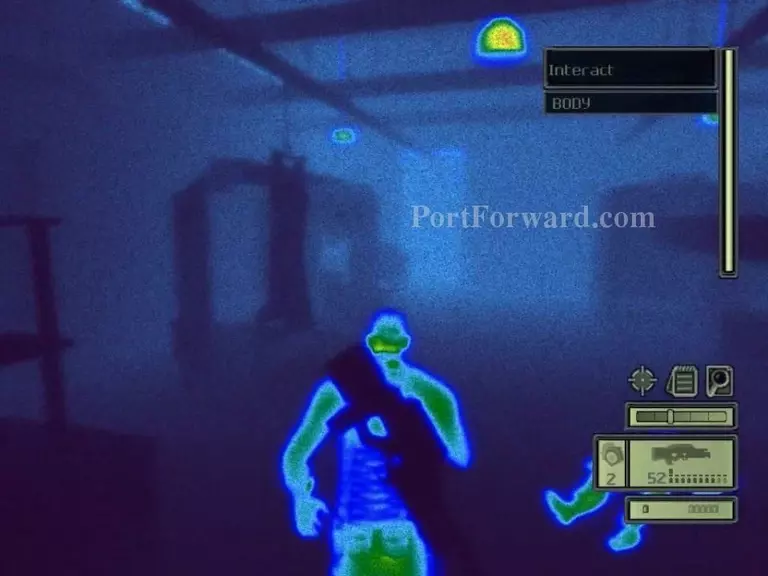
When you enter the second door, there'll be guards. Take them out.
Then, proceed to the door on the left.

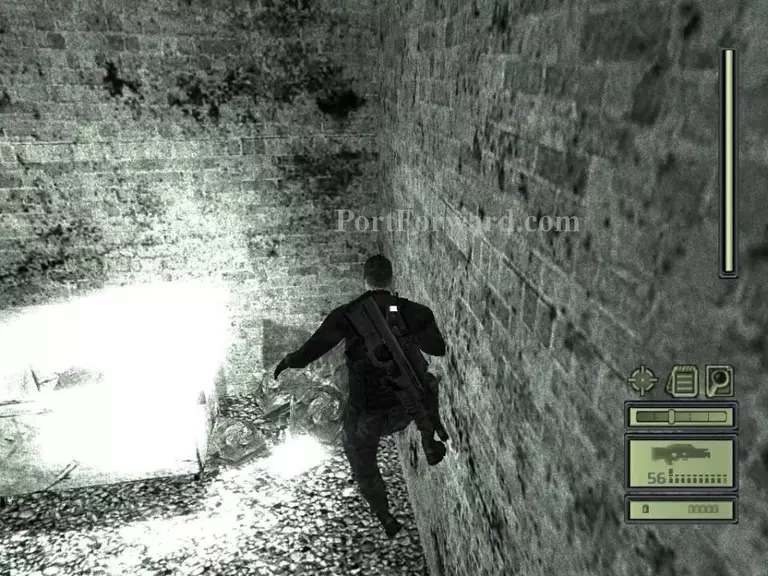
Jump down to the ground...
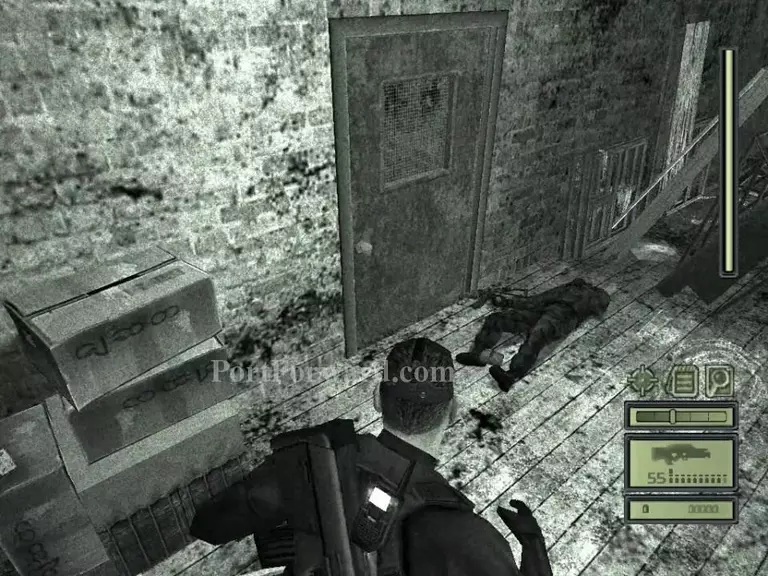
And take out the guard who'll be in the area.
Go through the doorway and proceed to the double doors.
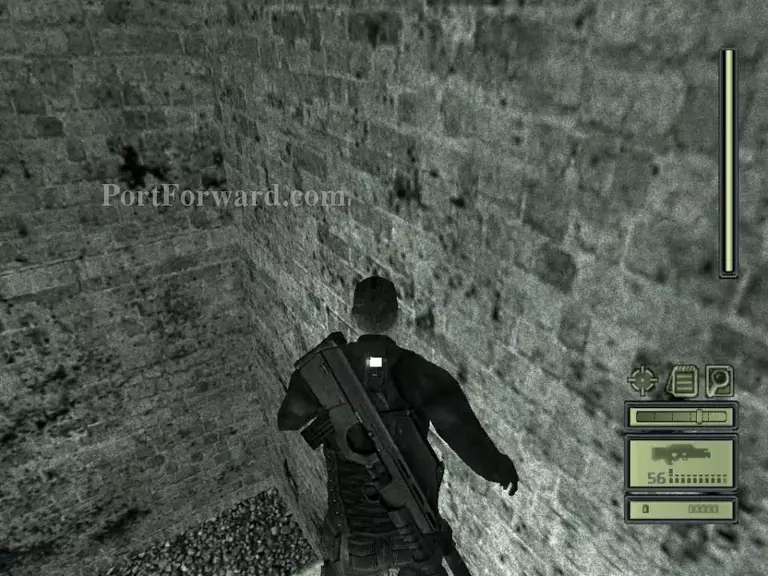
Turn left at the end of the hall.
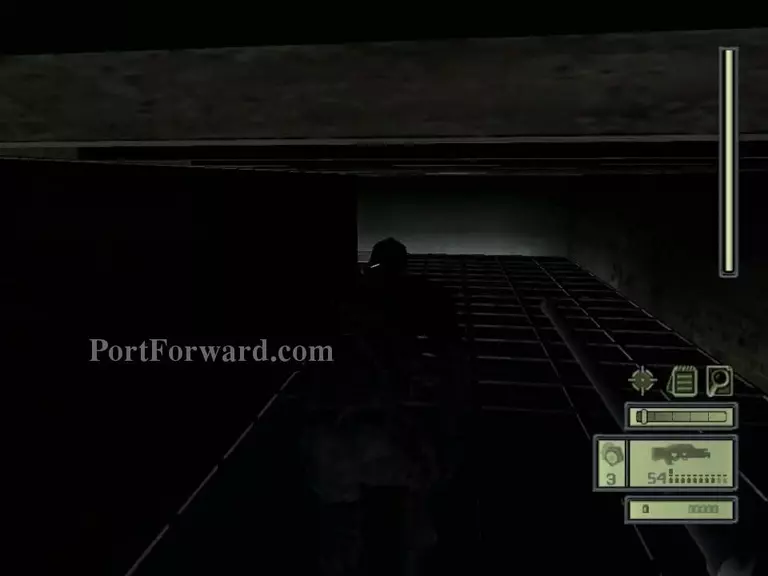
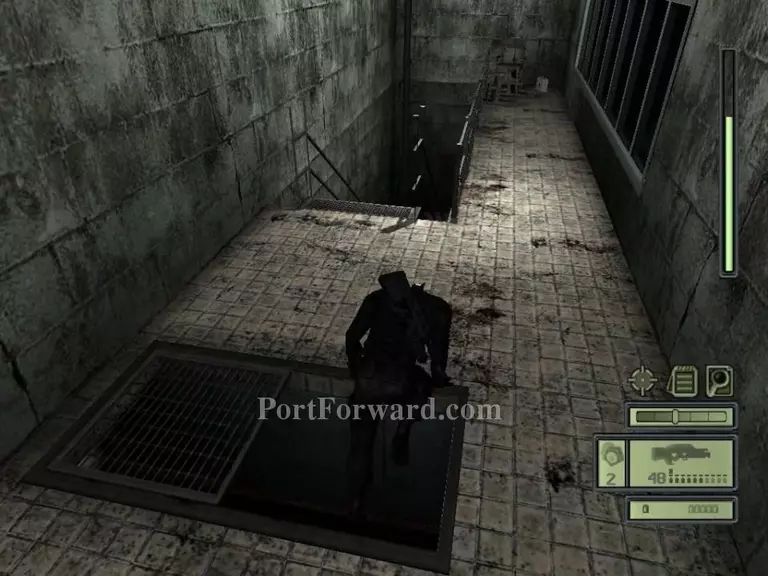
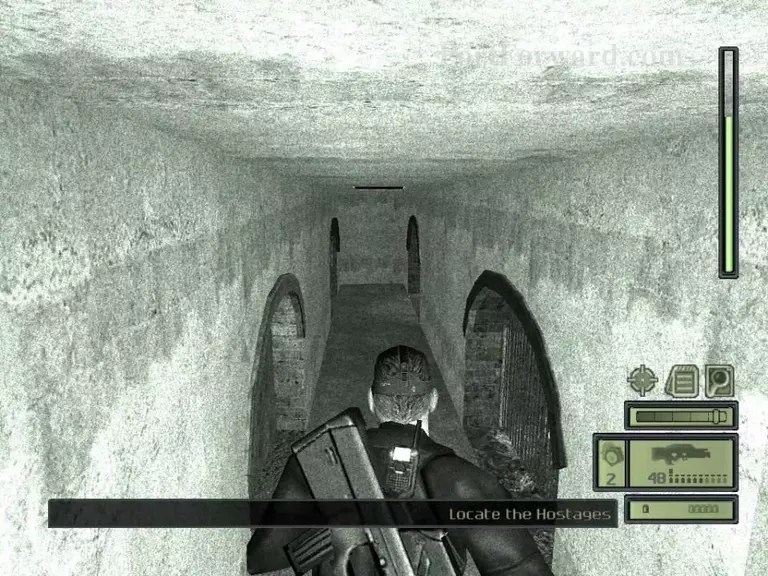
There'll be a little hole in the ground. Head in.
Follow the vent til you get to a pipe you can climb.
Go to the first little hole you get to.
Head to the vent opening that's straight ahead.
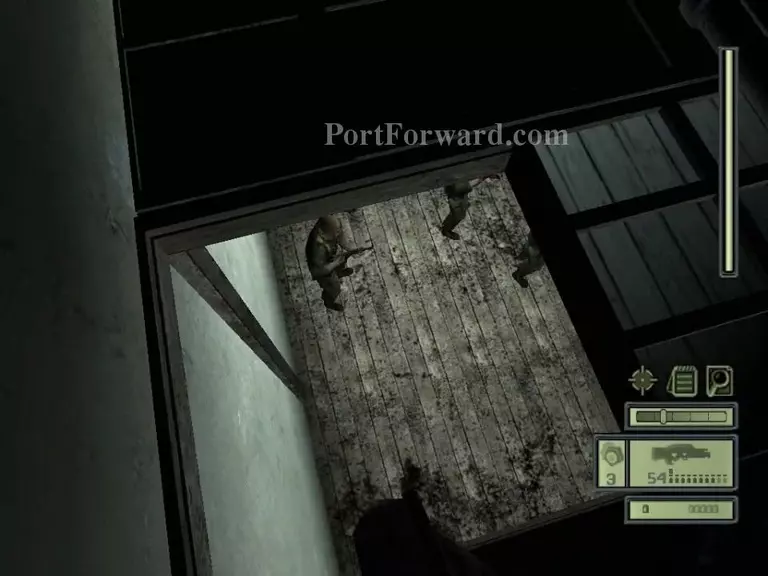
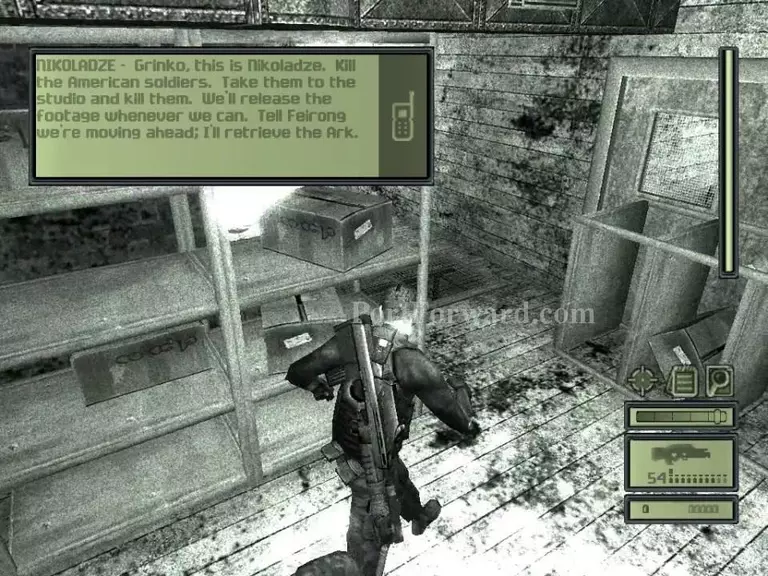
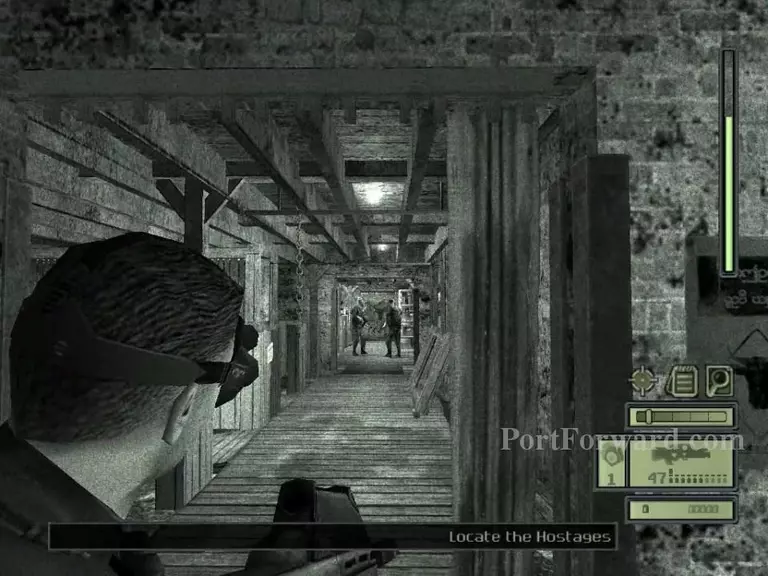
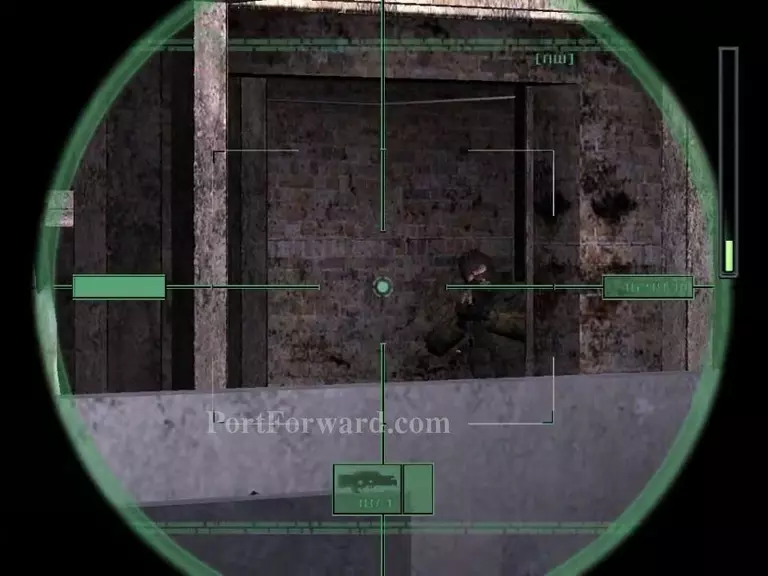
Attack the guards anyway you want; gun, grenades, as long as you take them out.
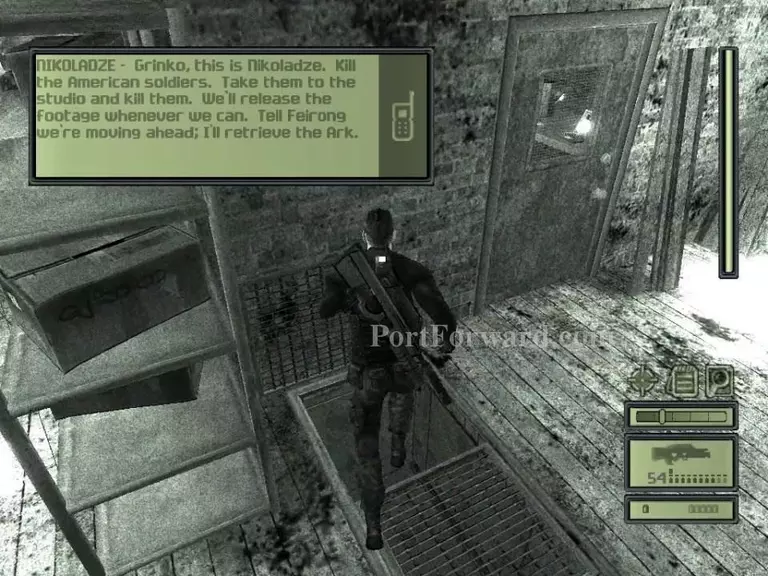
Head to the doorway that's on the right.
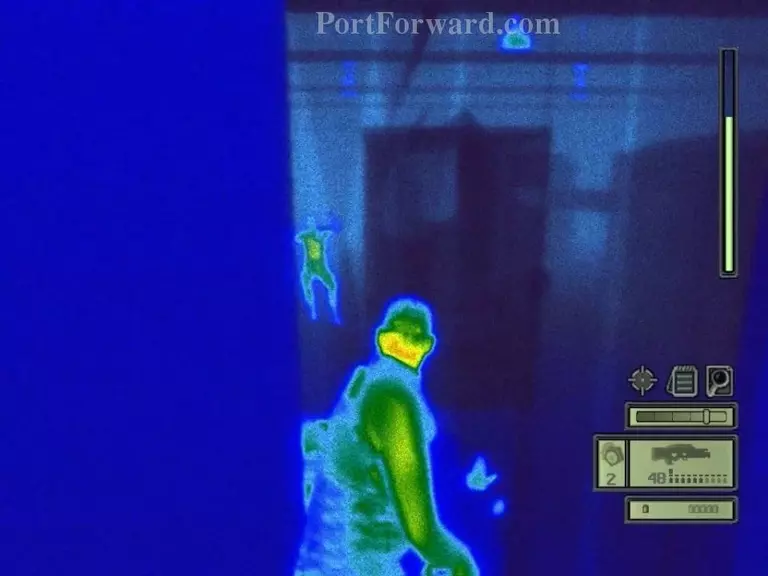
Take out the guards in the other room.
Head through all the doorways that's ahead and take out the guards.
After taking out the gurds at the last doorway after the hallway, head triaght.
There'll be another hole in the forund. Get in.
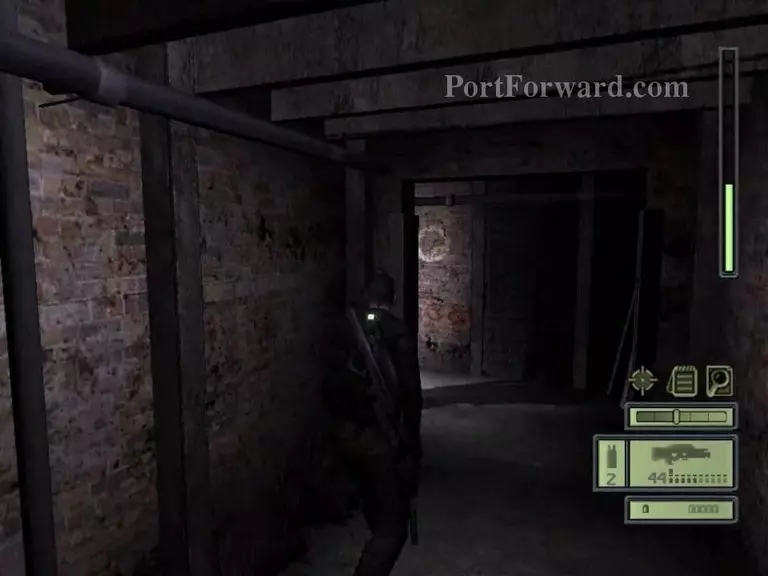
When you get out, head down the stairs.
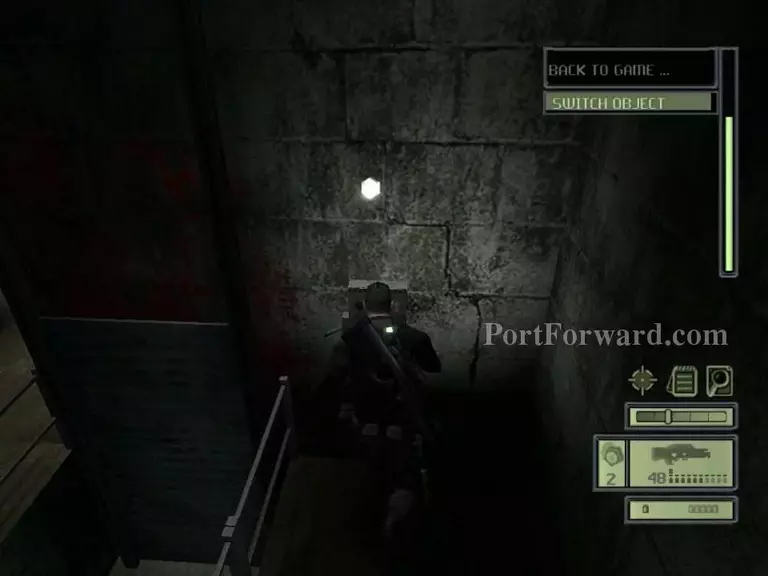
Switch the object and head through the door below that you just opened.
Head through the last hole in the wall on the right.
Go through this doorway, a left specifically, after taking out the guards in there.
Take another left and through the doorway.
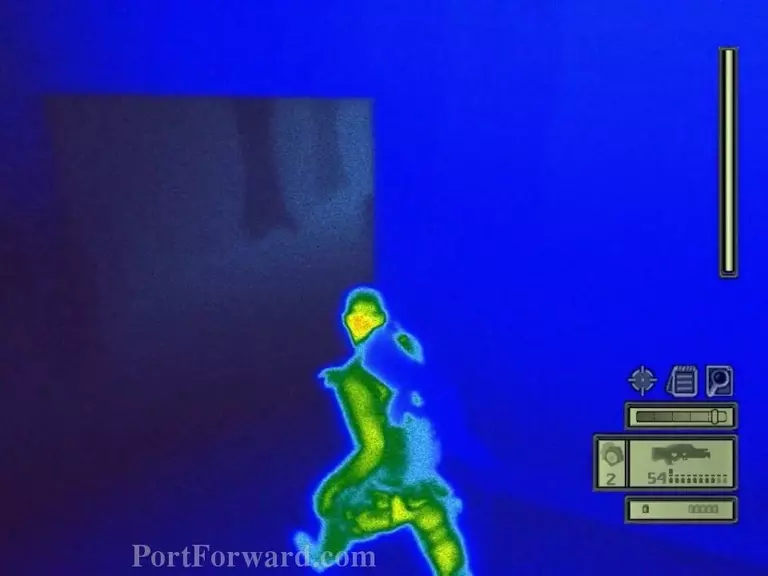
Take out the guards on the other side.
Go right through this doorway.
And a left at the end of the hallway.
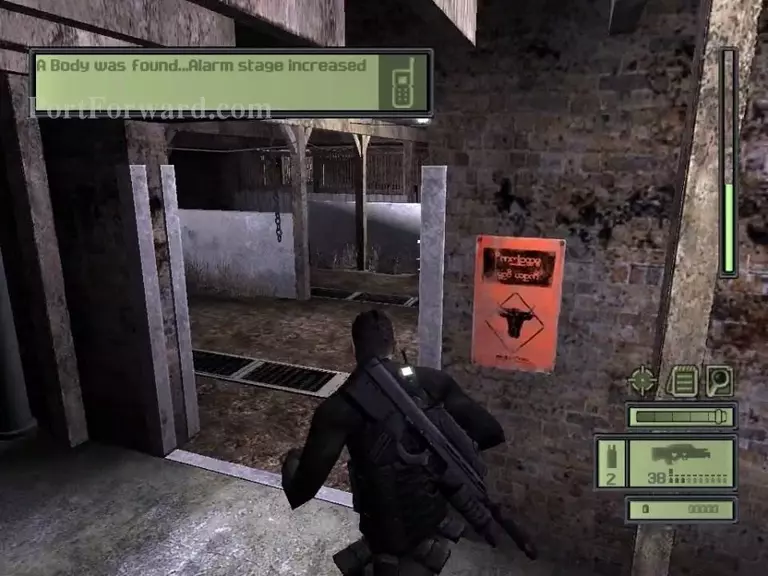
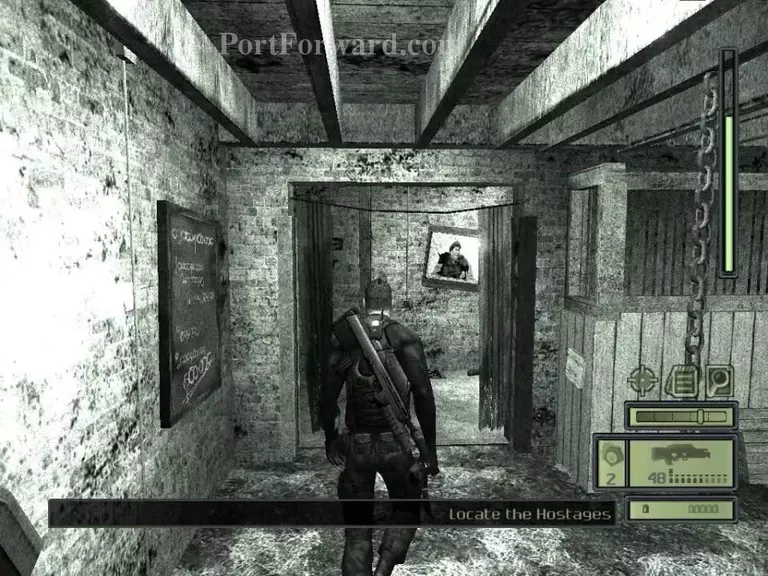
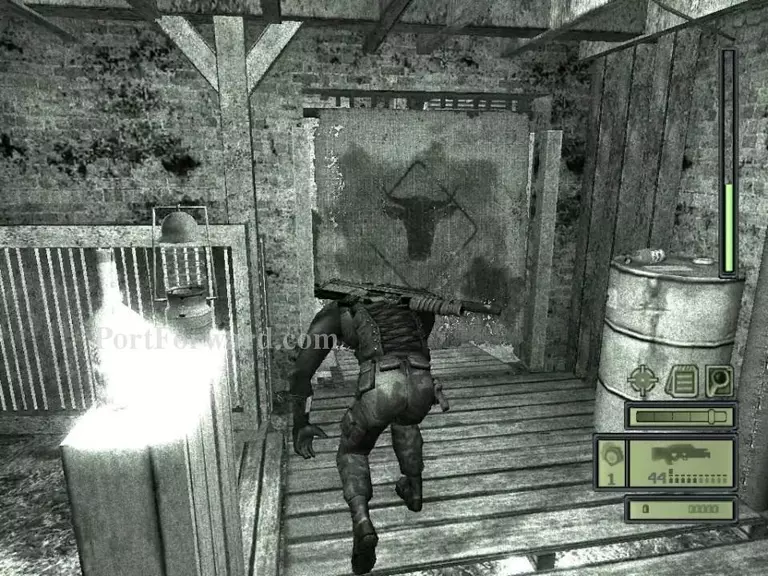
Then, head through this doorway with the red sign with a cow on it.
Take a right when you get here and throuh the doorway.
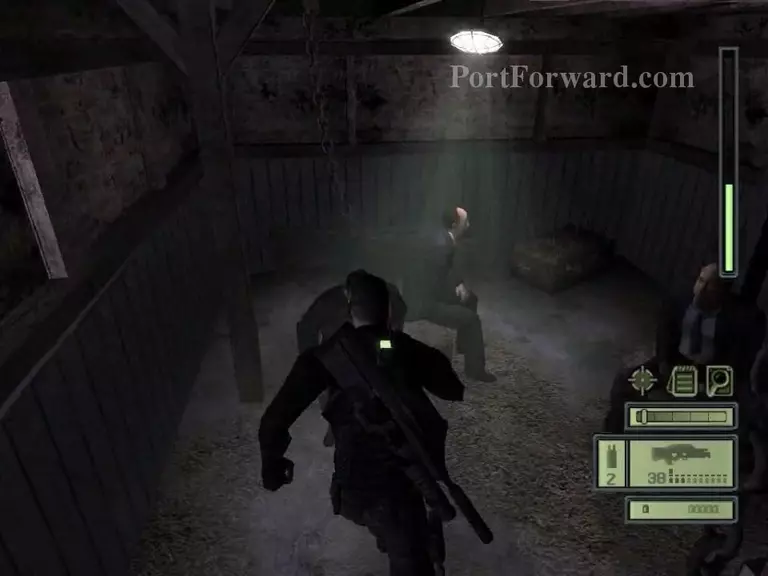
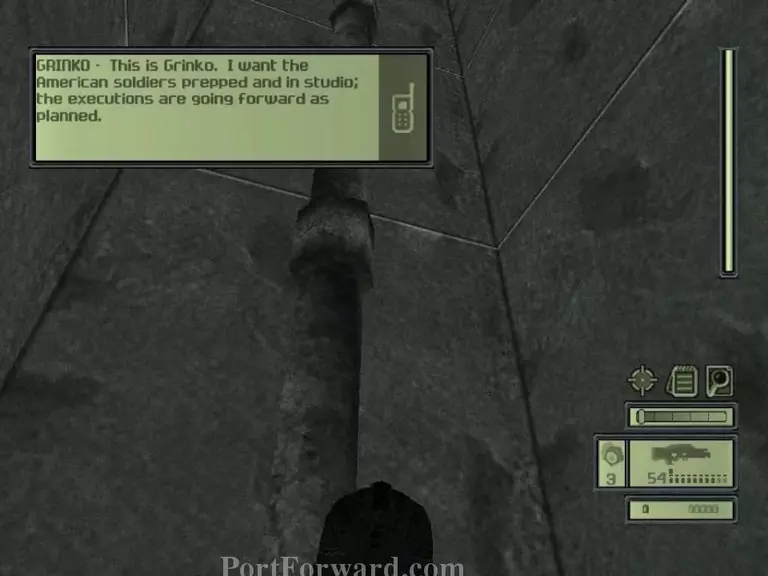
There will be some of the hostages.
Here's the fun. Kill all the guards that are coming to protect the hostages.

After getting info from Lambert, the mission will be complete.
More Splinter Cell Walkthroughs
This Splinter Cell walkthrough is divided into 9 total pages.


