
This Splinter Cell walkthrough is divided into 9 total pages.
You can jump to nearby pages of the game using the links above.
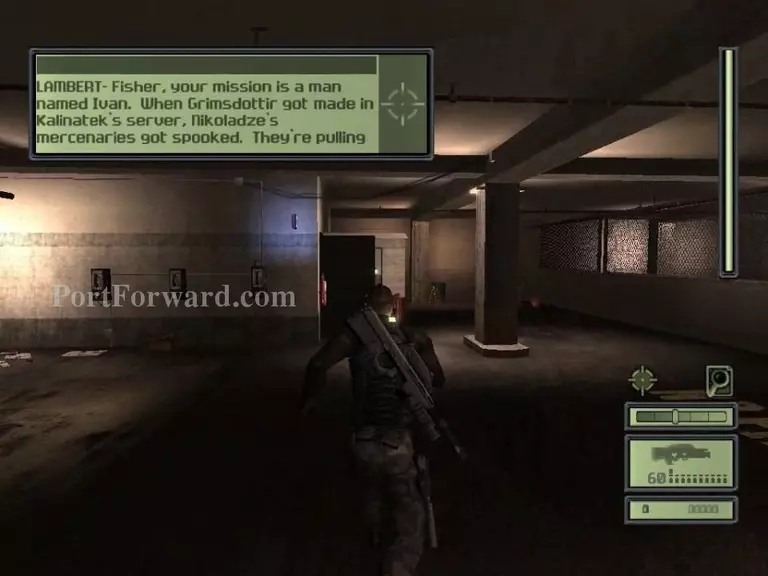
Kalinatek
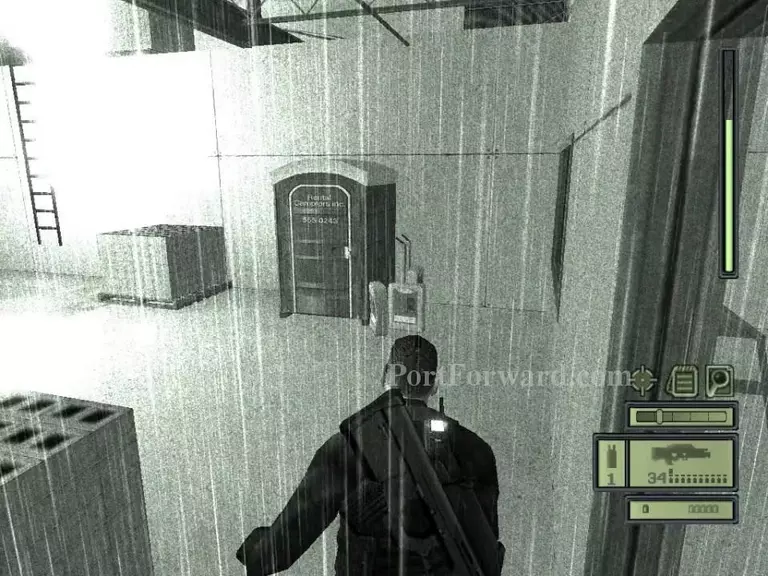
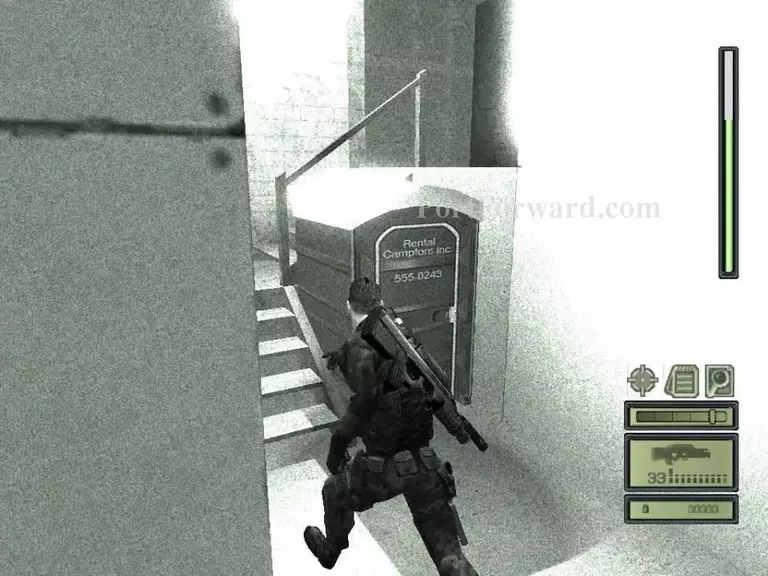
Walk ahead and the door should open. Kill the guards that are coming out.
Then, walk in through the door.
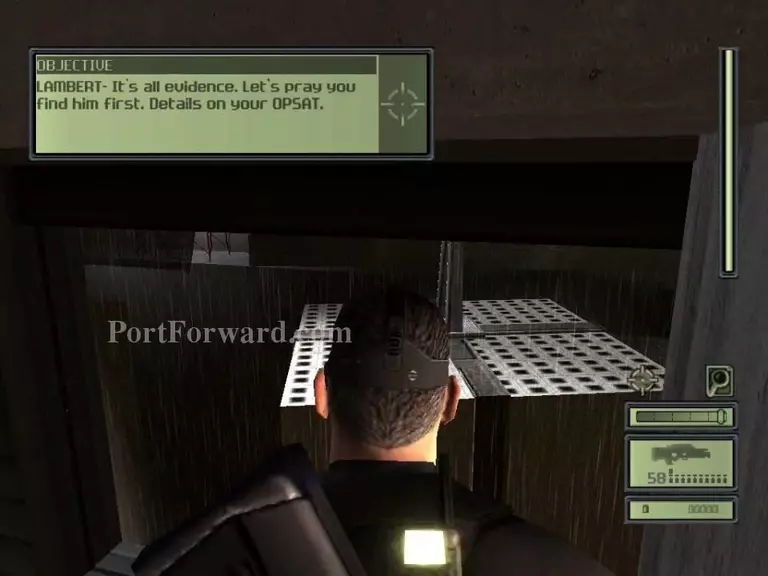
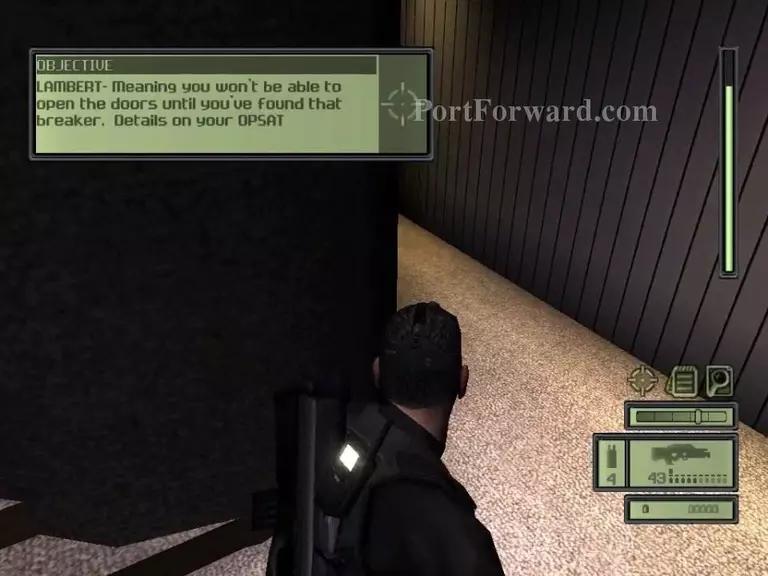
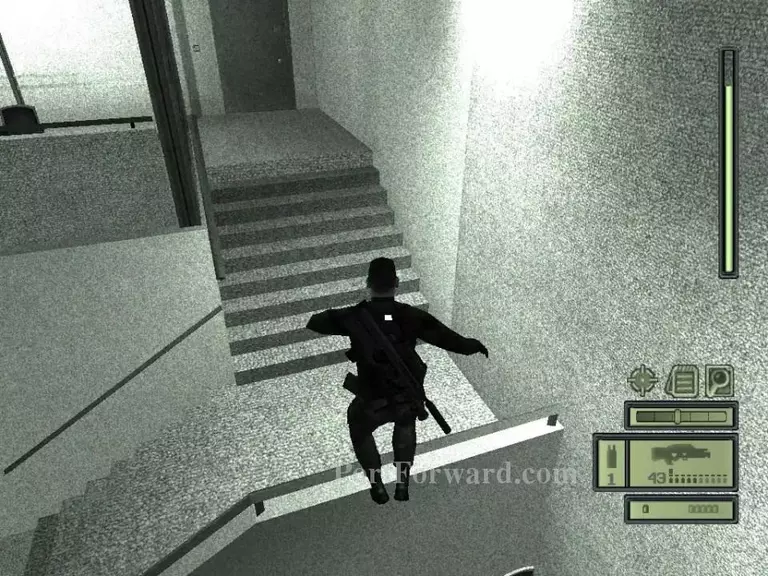
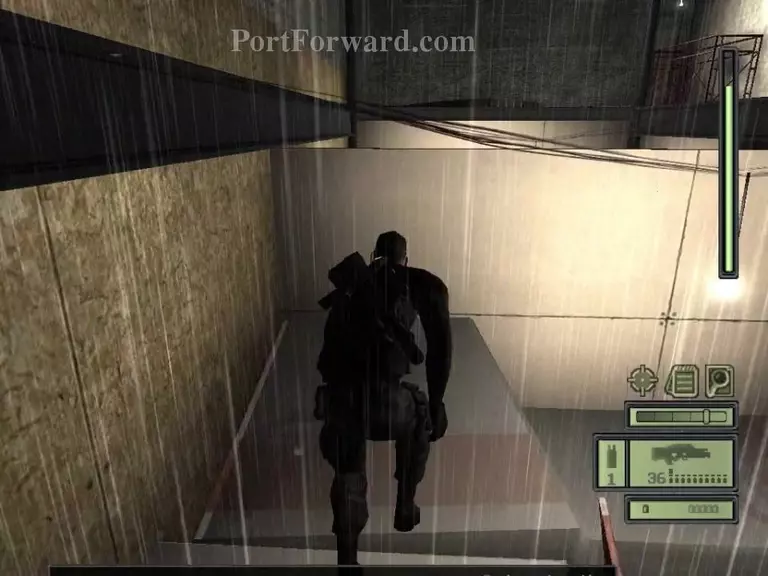
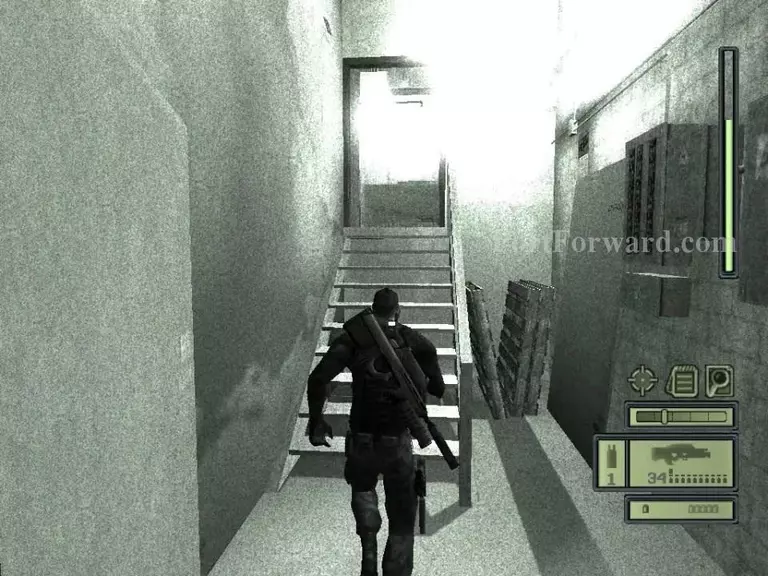
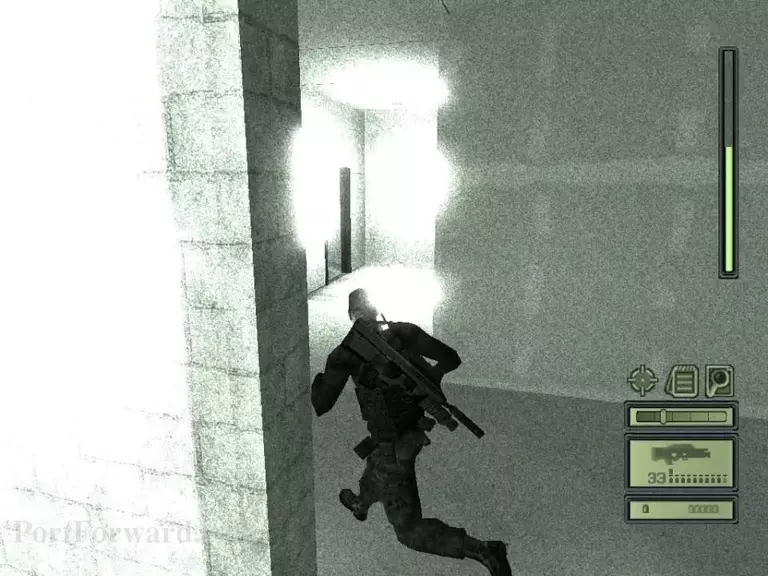
Head to the next floor.
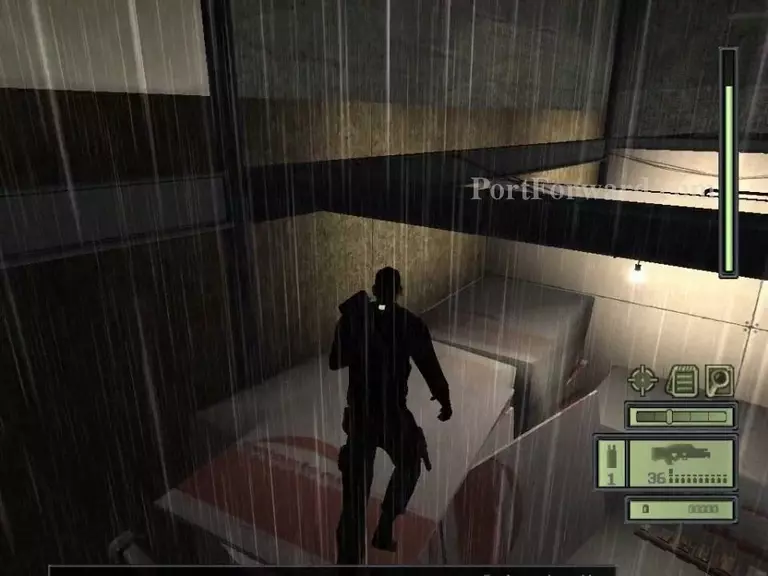
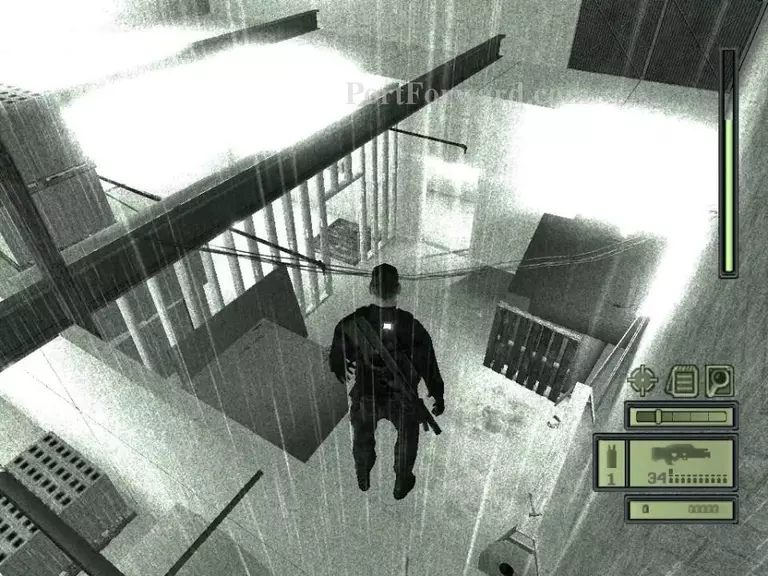
Get on top of the crates ahead.
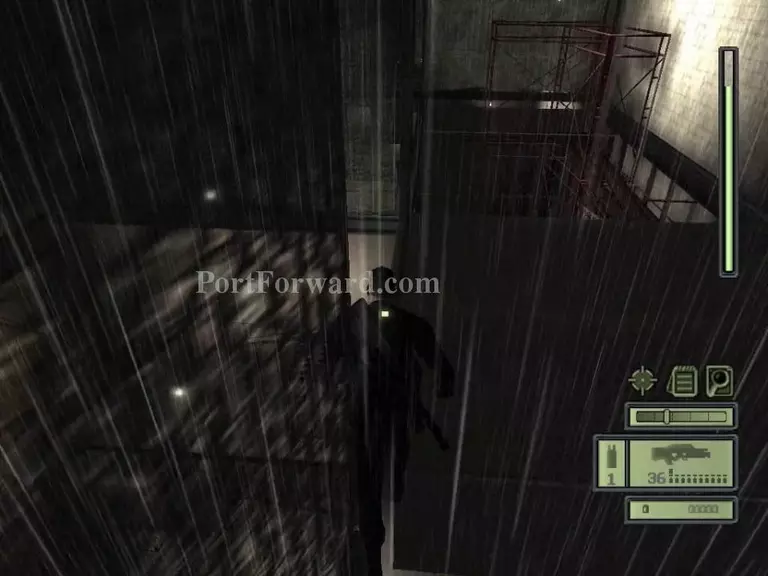
Jump to the hanging crates that's to the right.
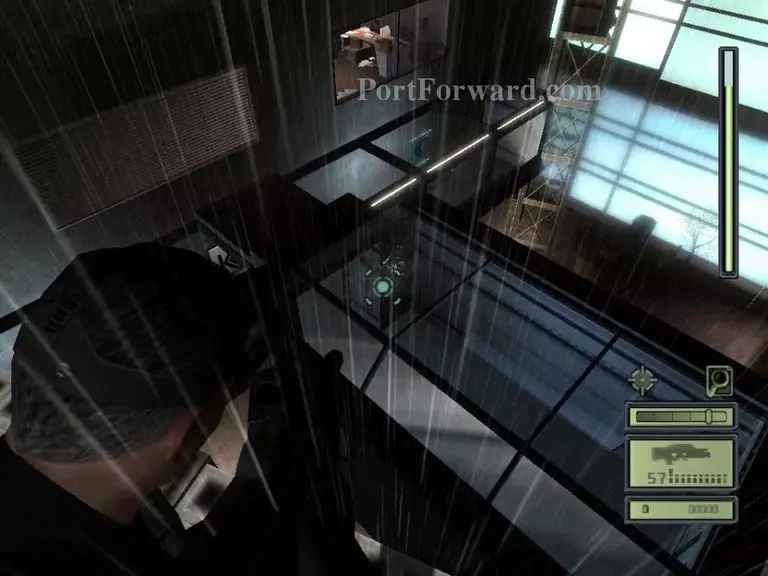
Shoot out a window pane to get in.
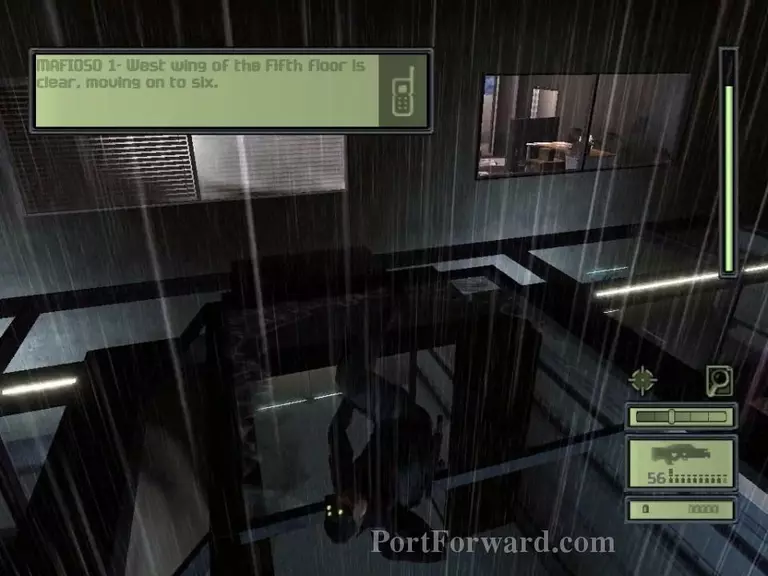
Jump down to get in.
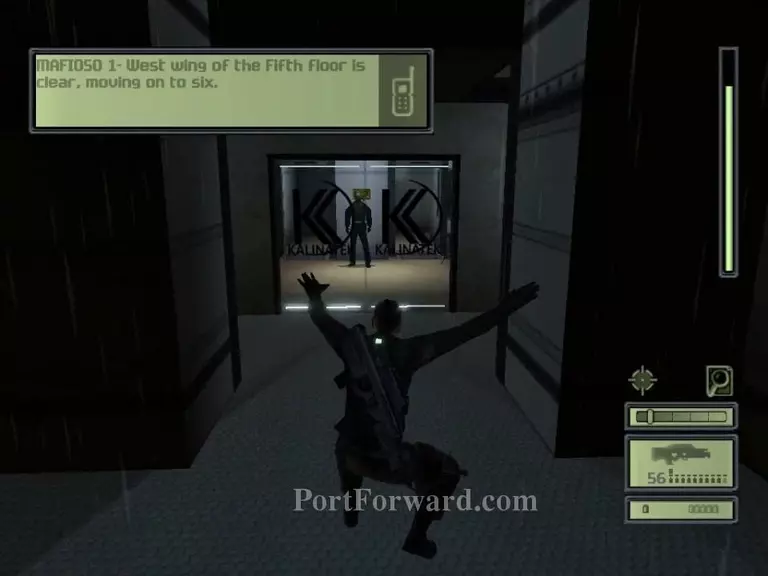
Head through the double doors with the K's that should be ahead of you.

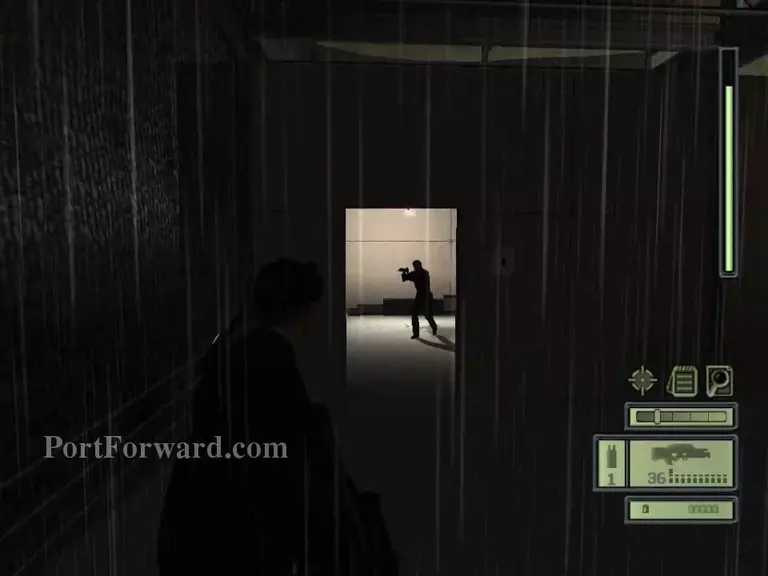
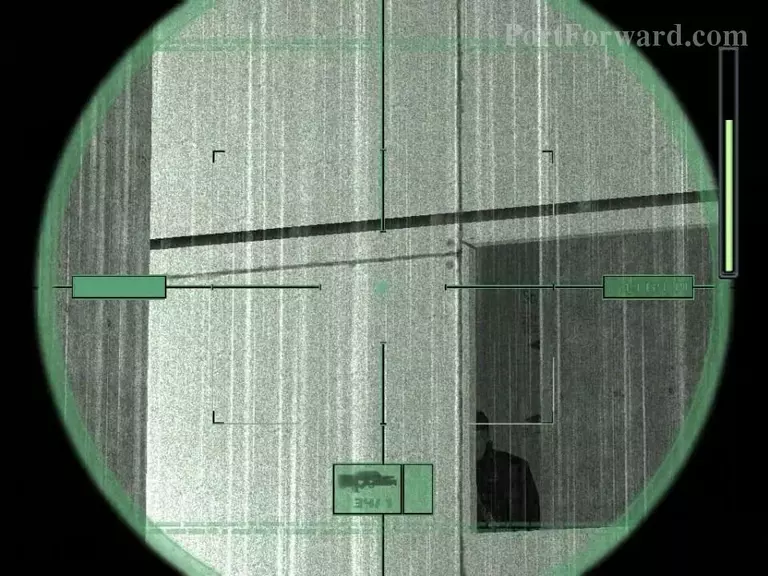
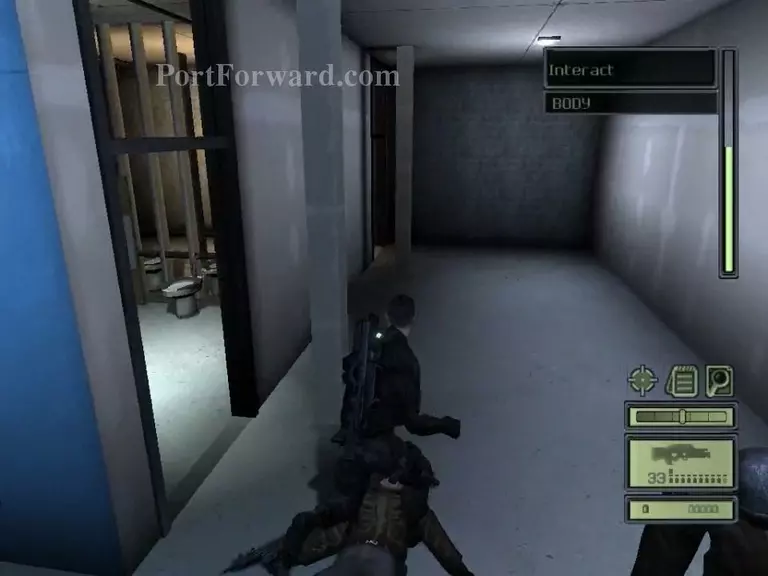
Take out the guard that's inside.
Go through the scanners and take out another guard that's coming around the cornor.

After that, wait for a guard to come in through the door that's ahead. Then, of course, take him out.
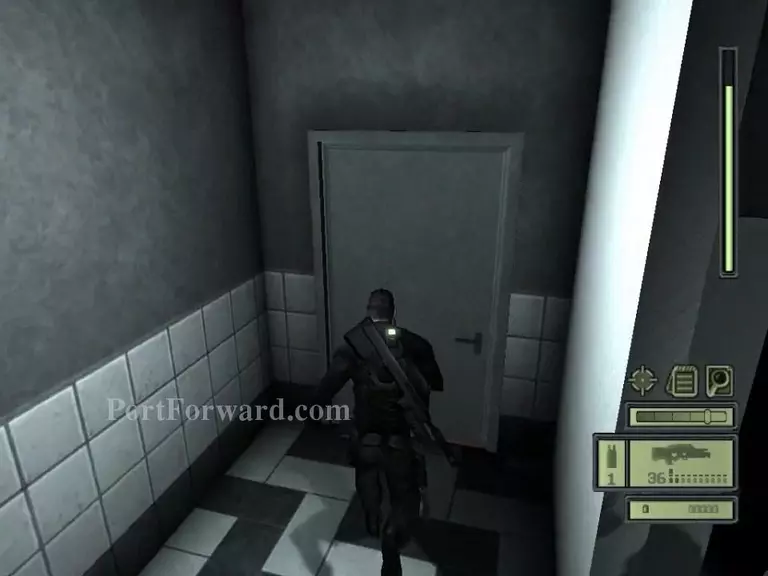
Head in through the door after that.
After the guards talk, take them out.
Then, proceed around the cornor.
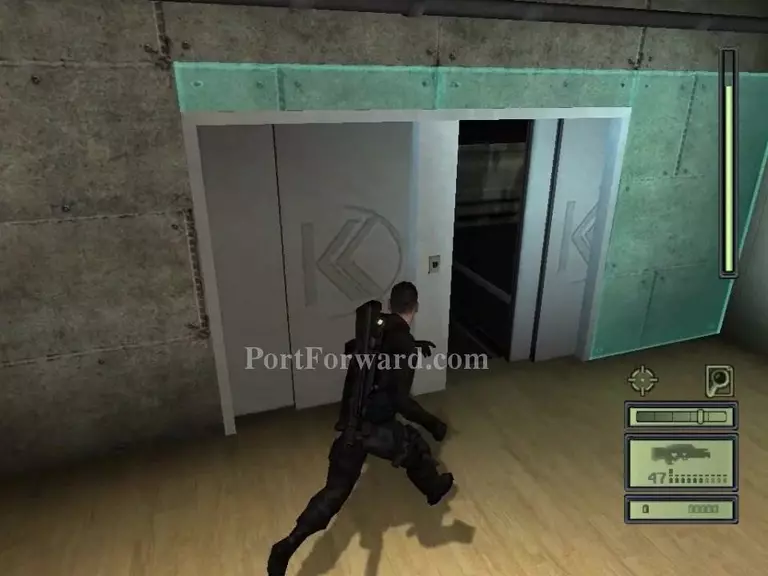
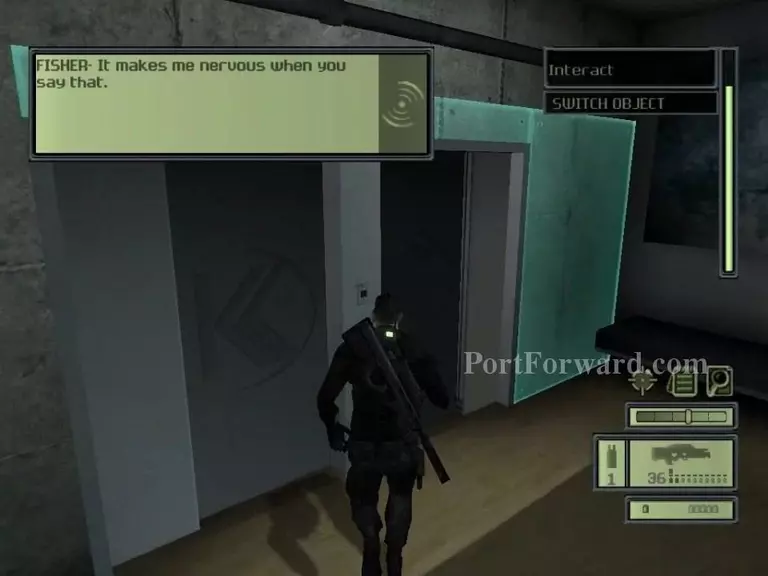
Enter the elevator which will lead to a loading screen.
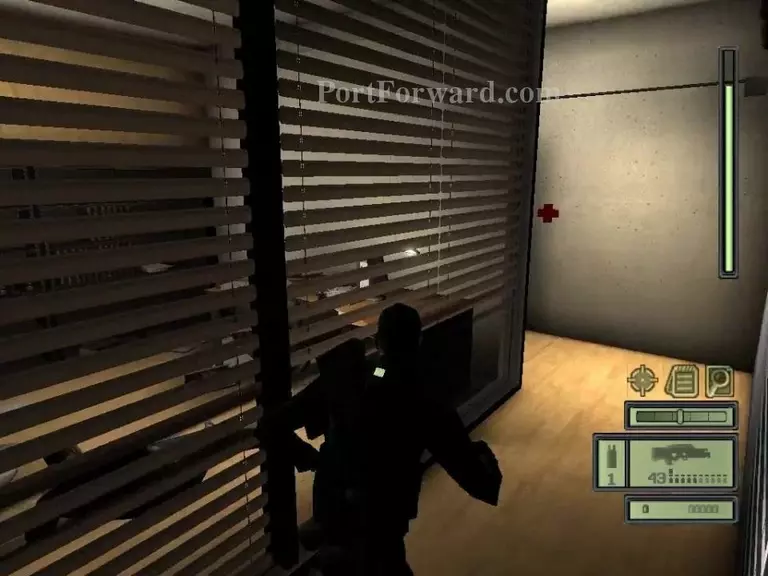
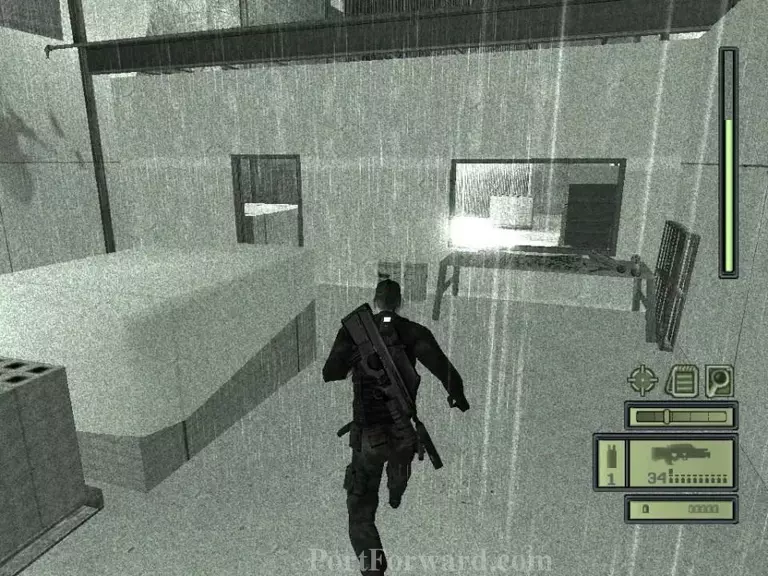
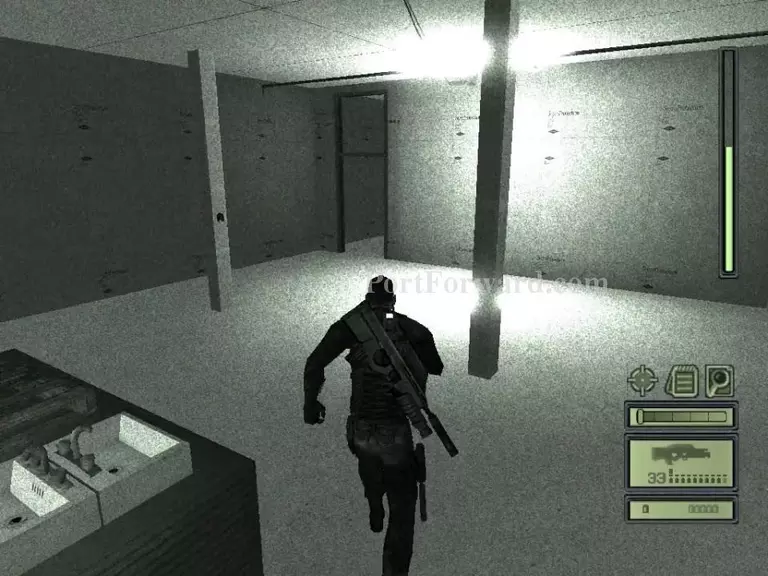
Follow the hall to the right.
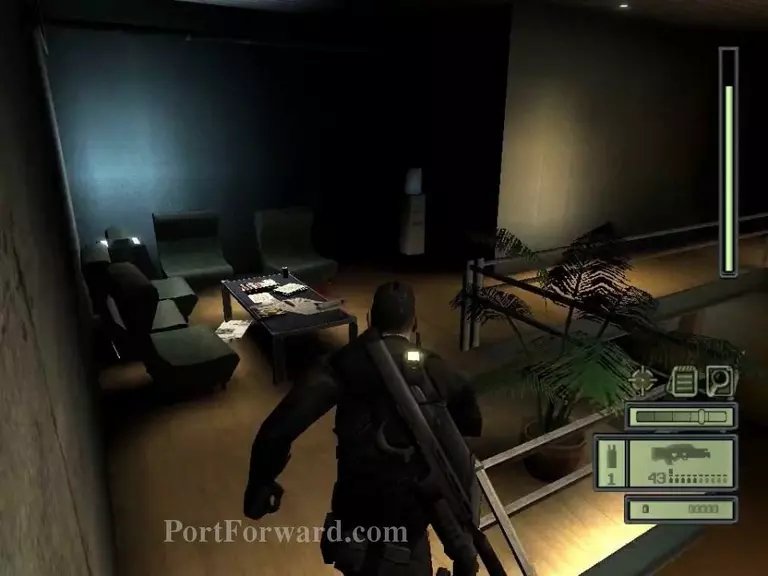
Turn right to the office on the right.
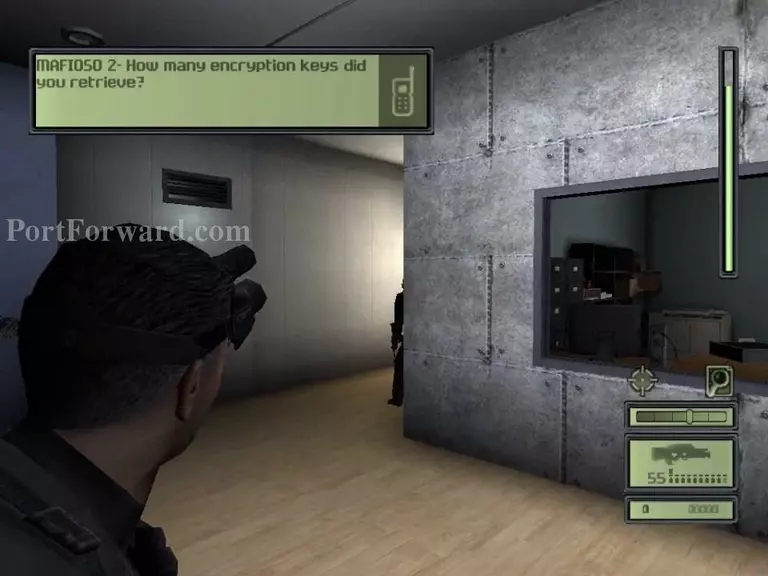
After picking up the wall mines, talk to the tow guys in the room.
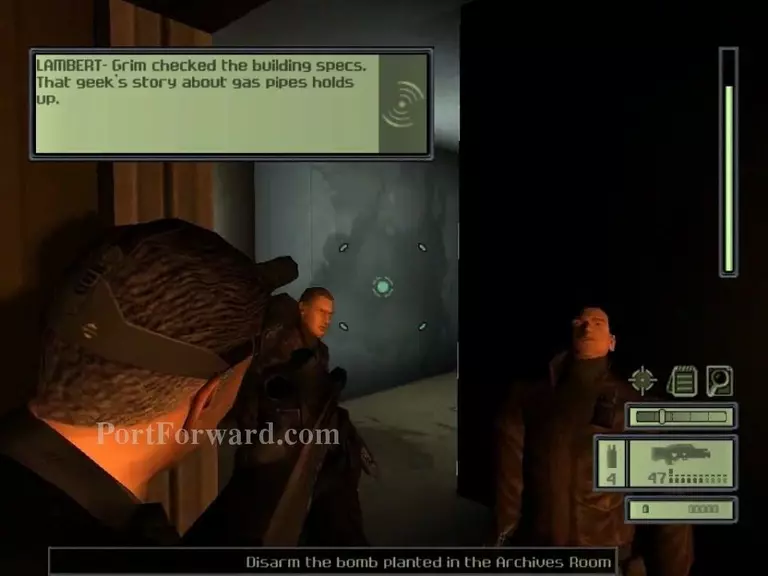
Leave when you're done. Take out the guards that'll be there waiting.
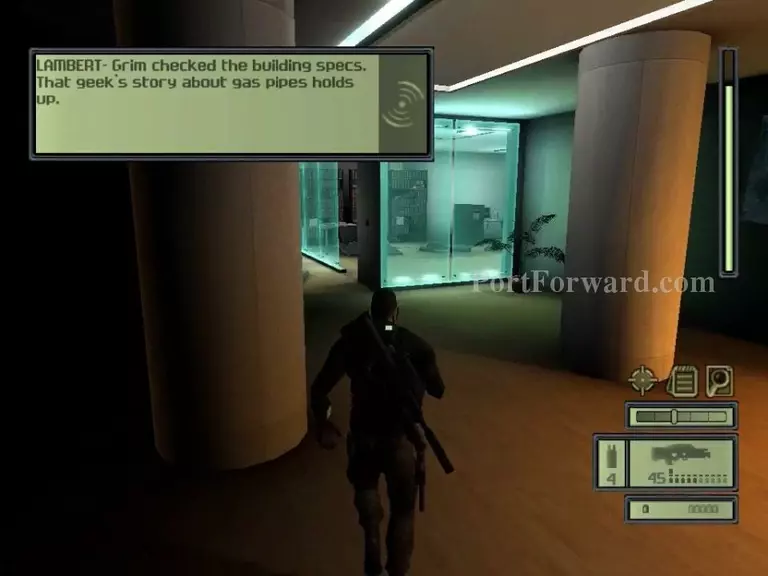
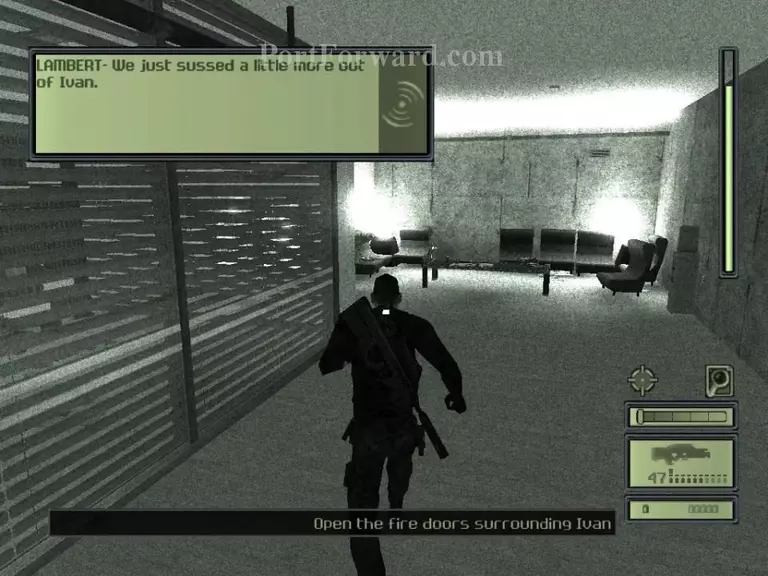
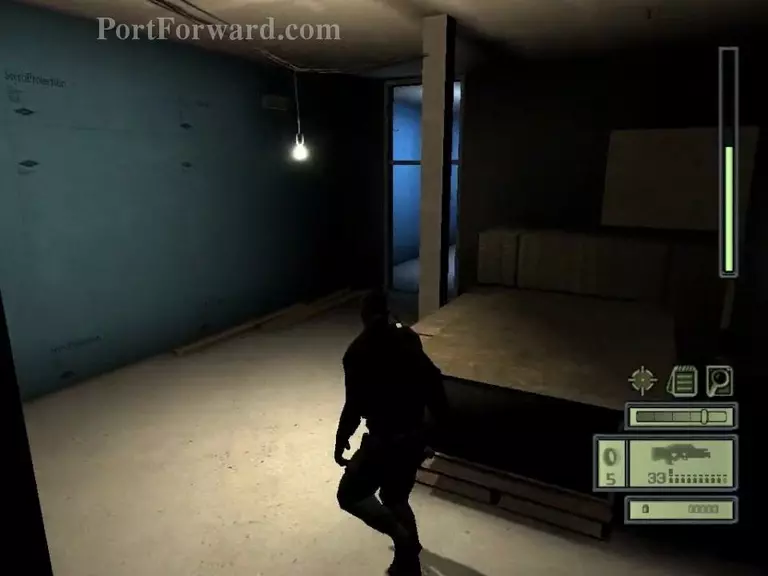
Go down the hall on the left.
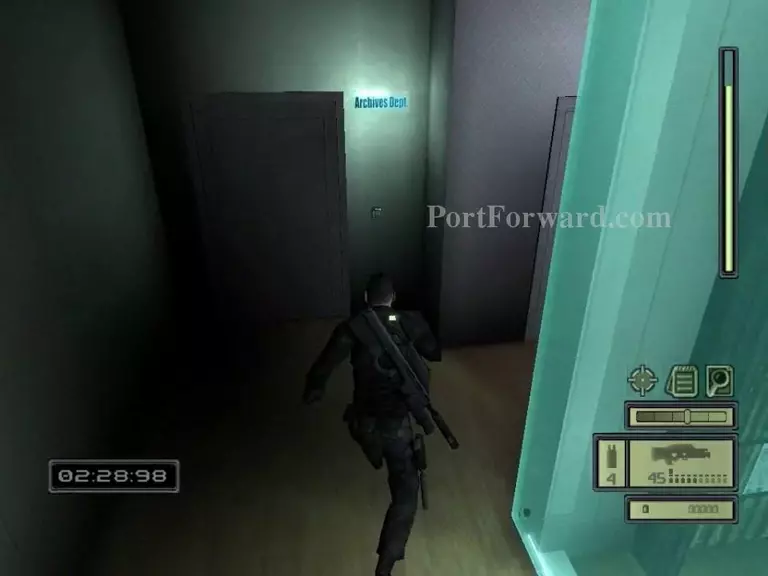
Head in the Archives Department by typing in the code for the door: 33575.
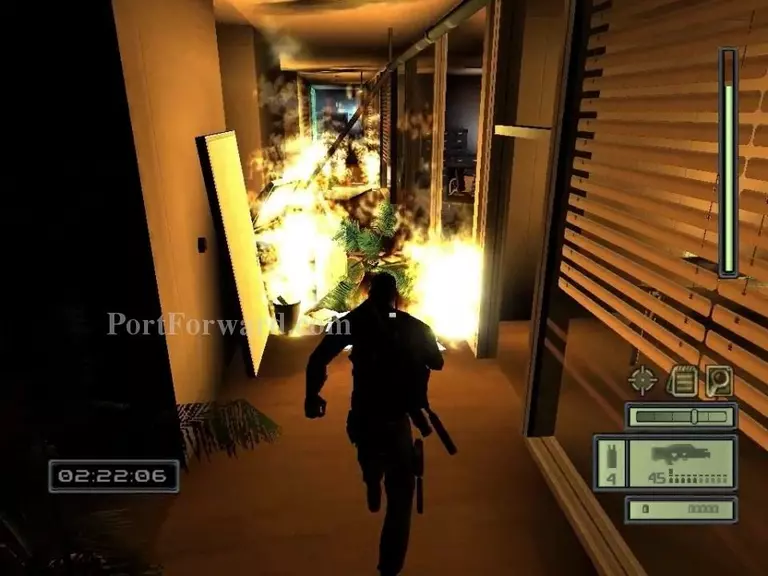
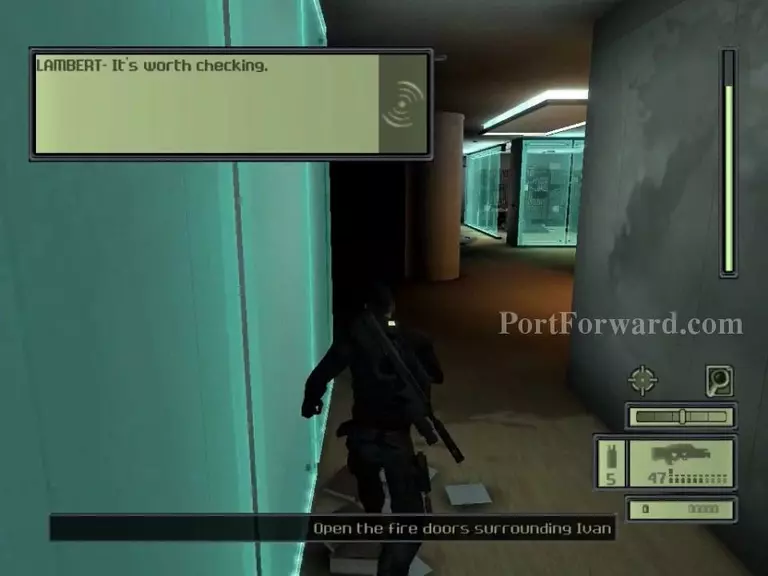
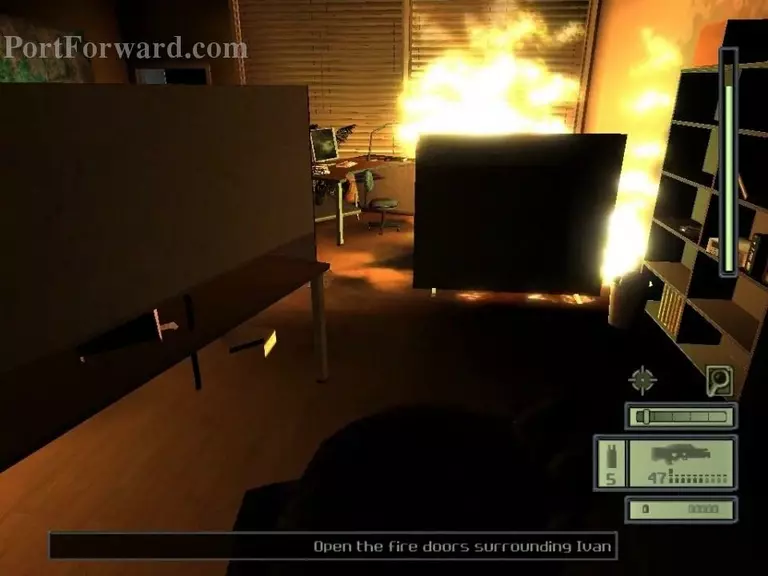
Go through the empty spaces between the fires in this hall.
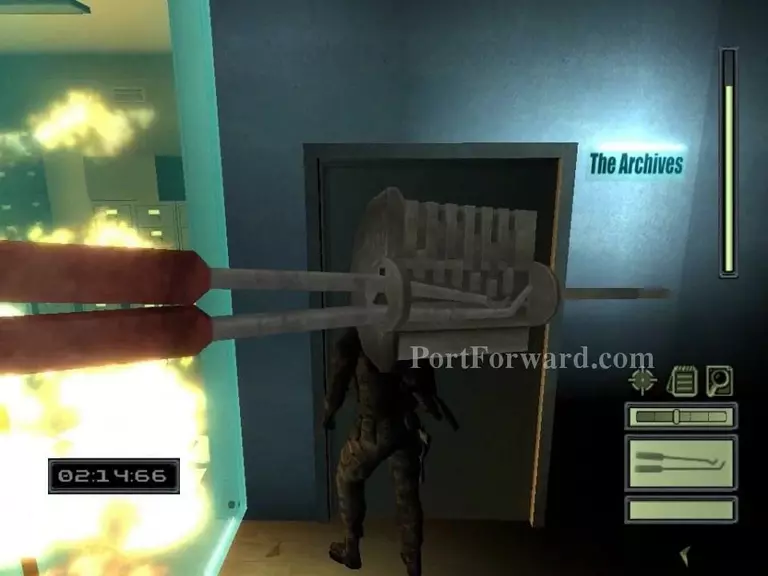
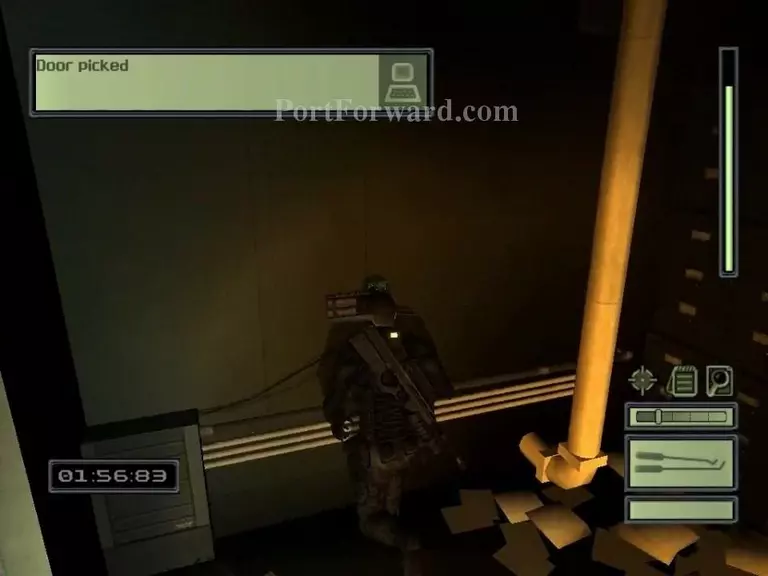
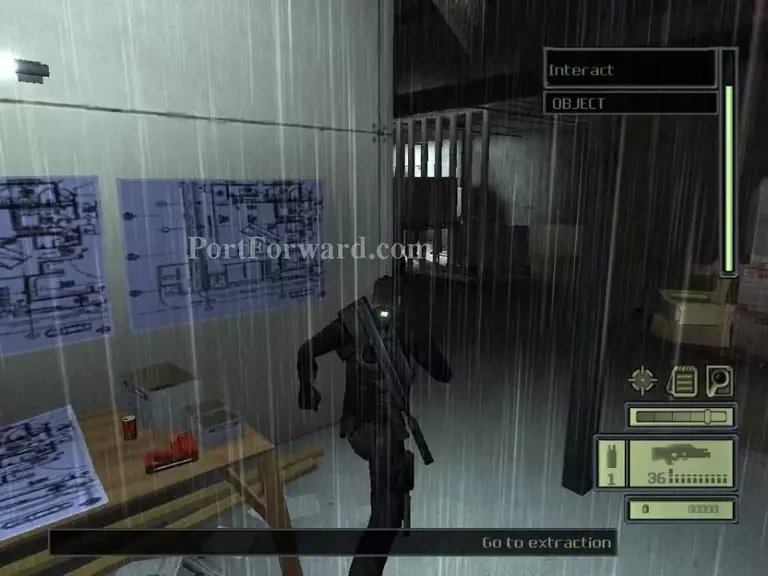
Then, lockpick the Archives room at the end of the hall.
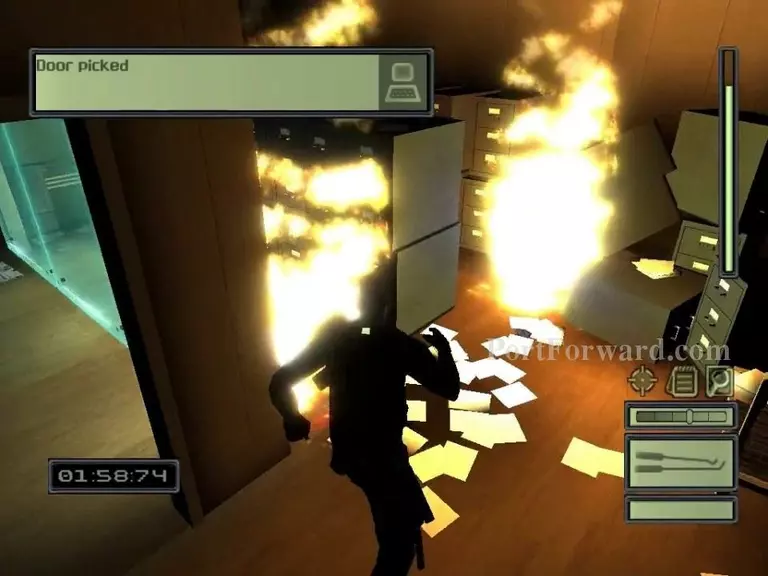
The bomb will be on the left part of the room.
Defuse it and be on your way.
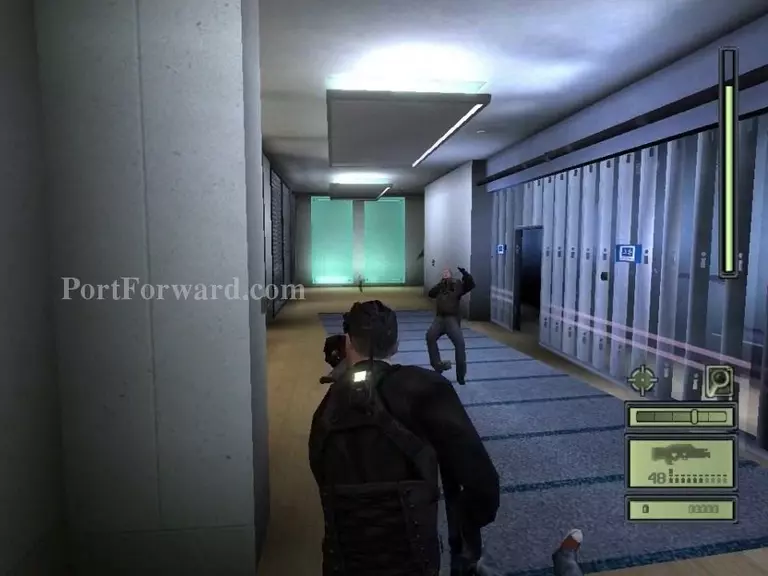
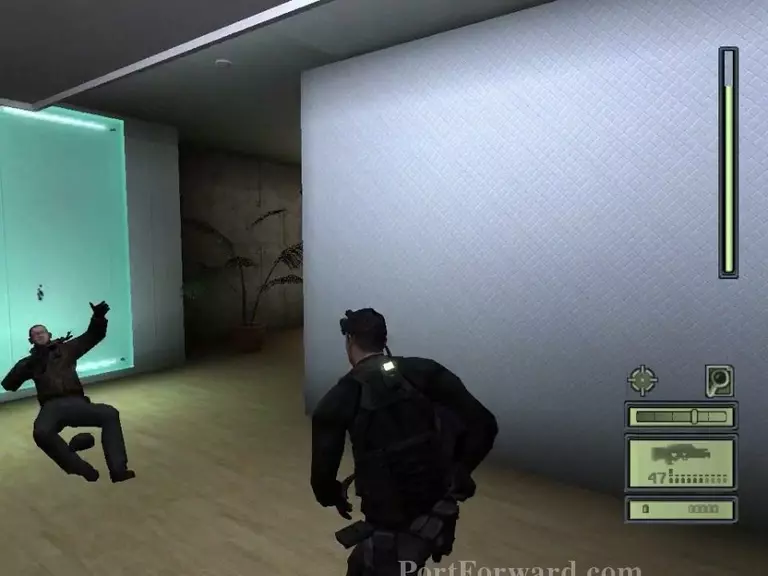
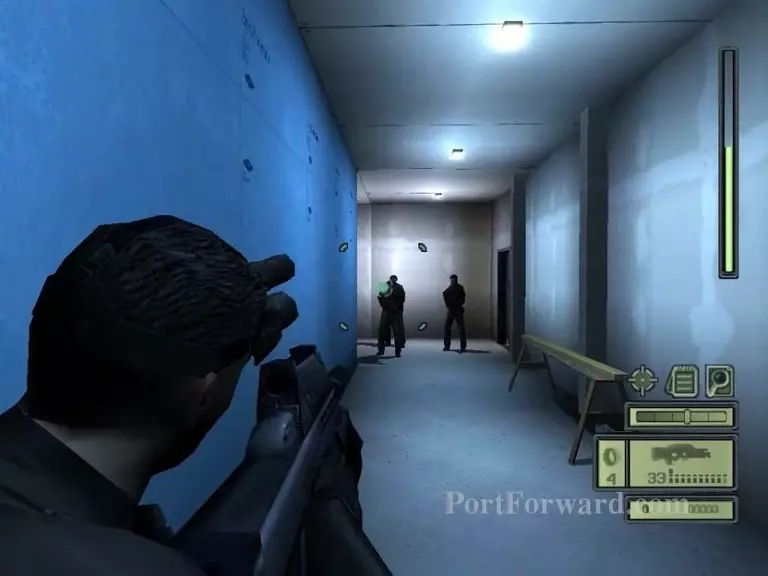
Now, there will be guards. Take them out.

Then, head down the conference room sort of a thing where the guards were.
Go around the screen.
Head down the stairs.
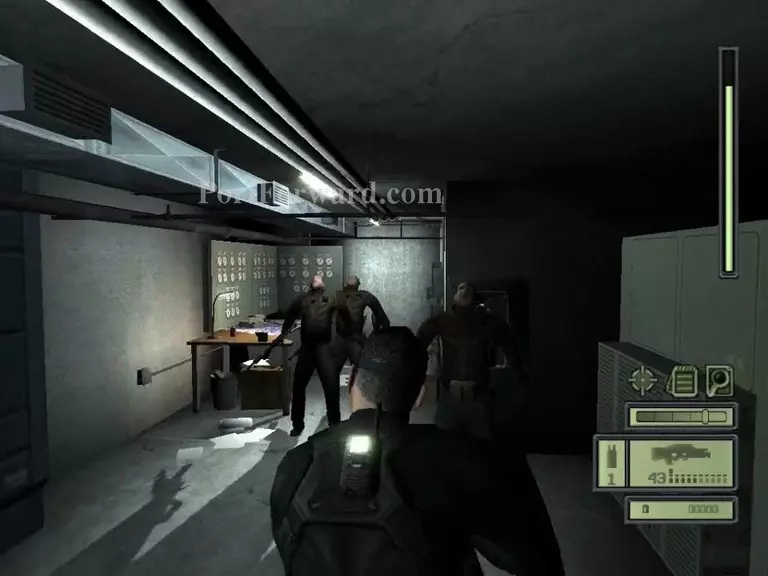
Take out the guards that'll be down there.
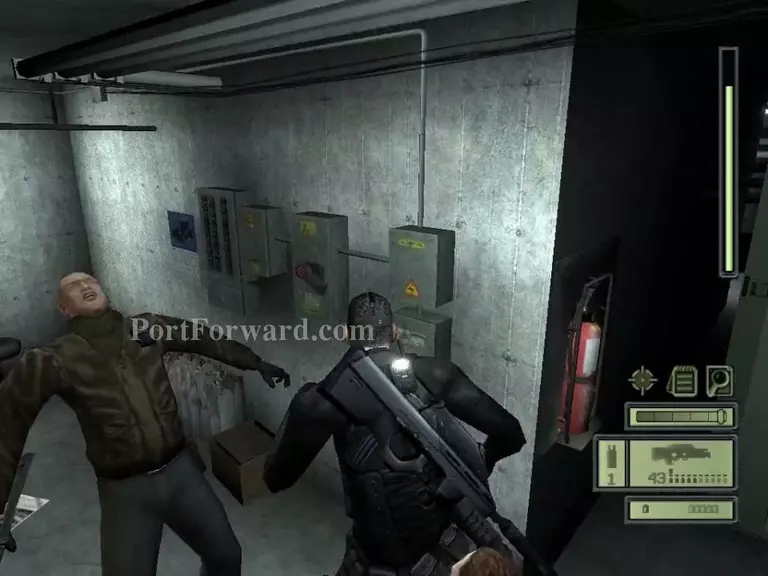
Flip the switch that'll be on the right.
Get back up and head to the door that's upstairs with the keypad.
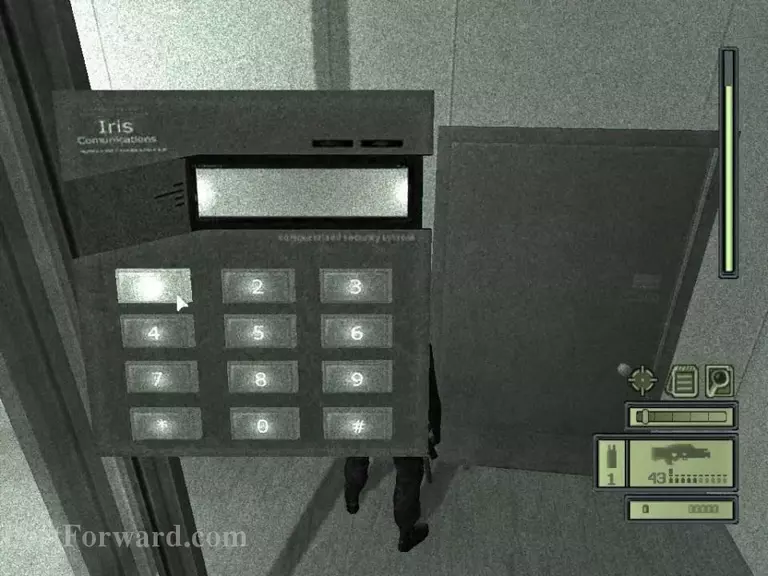
Enter the code 1250.
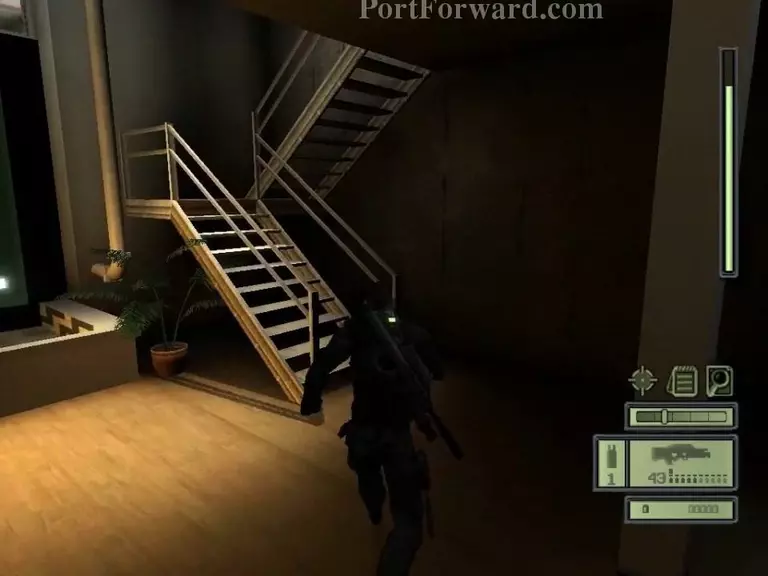
Sneak up the stairs that are ahead.
Just follow the walkway.
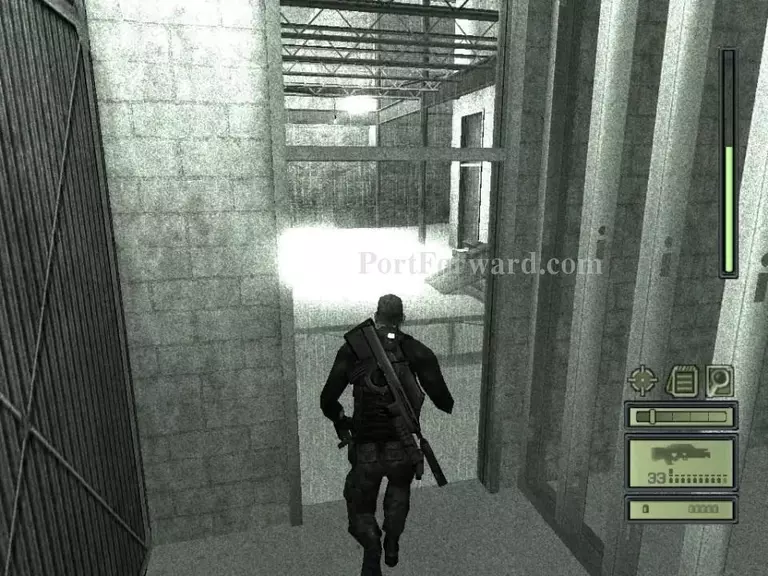
Go all the way down the hall and turn a left.
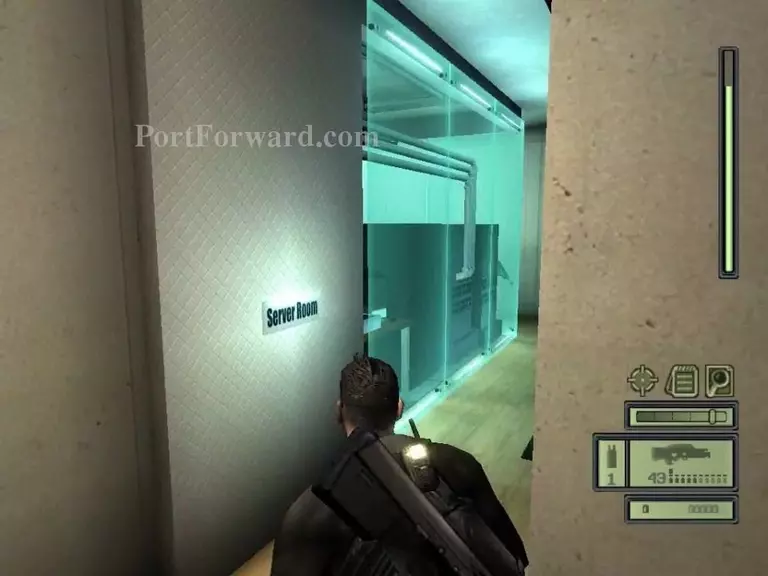
Then, turn right into the Server Room.
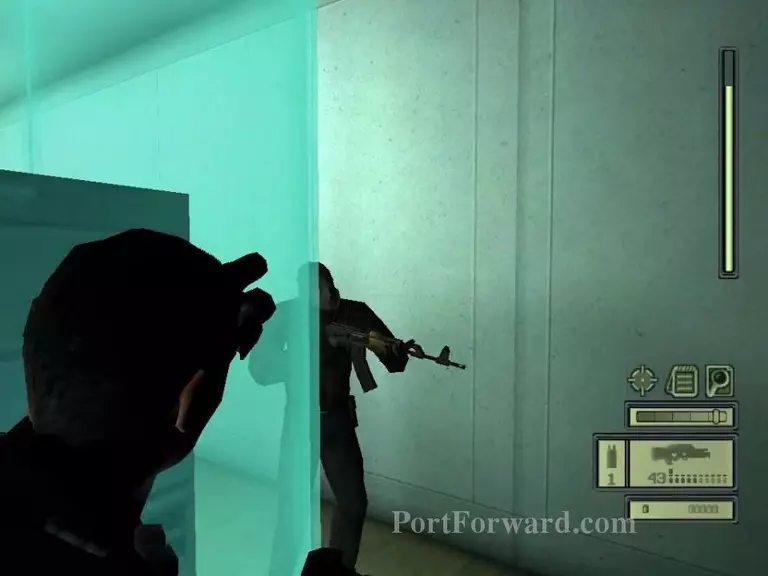
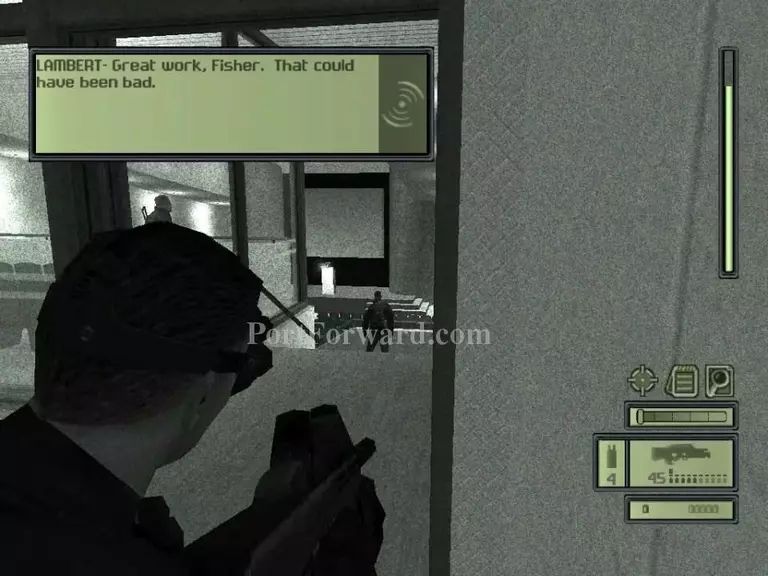
Take out any of the guards there.
And, take out the guard that's on the computer in the room.
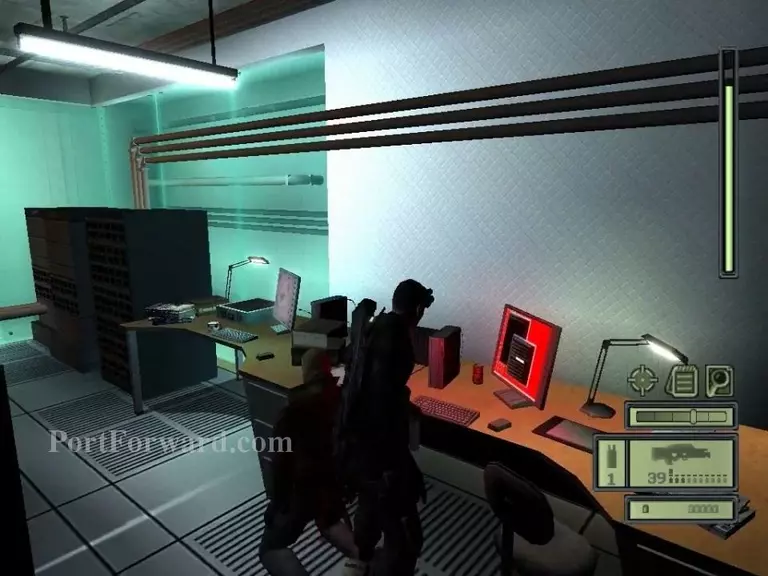
Use the computer after you take him out.
After the cutscene, get out of the room through the open oor.
Head upstairs.
Enter through the door that's on top of the stairs.

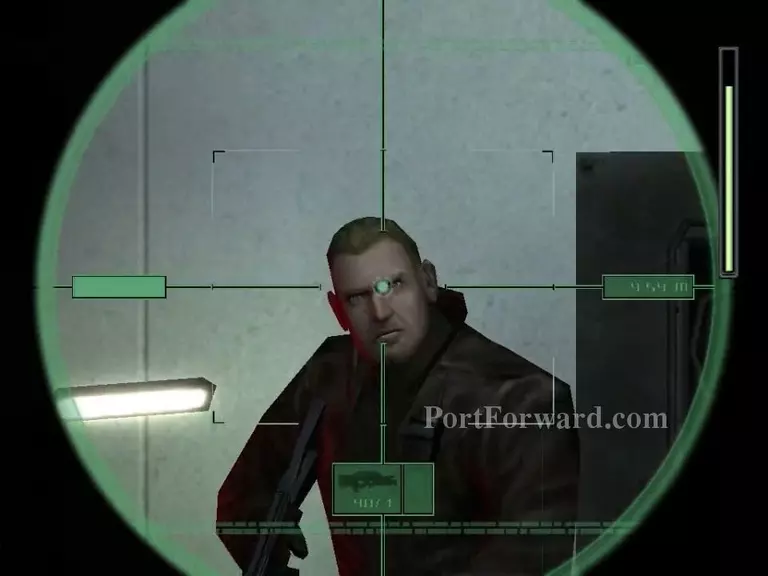
Take out the guards that'll be inside.
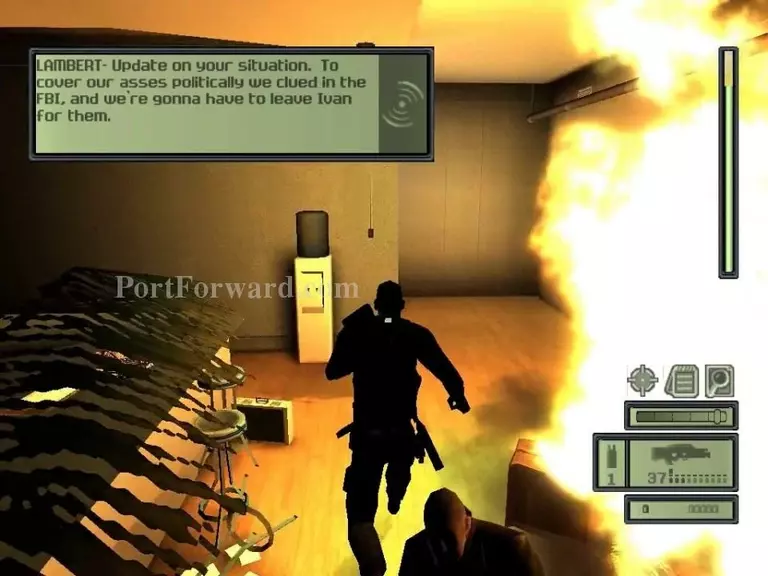
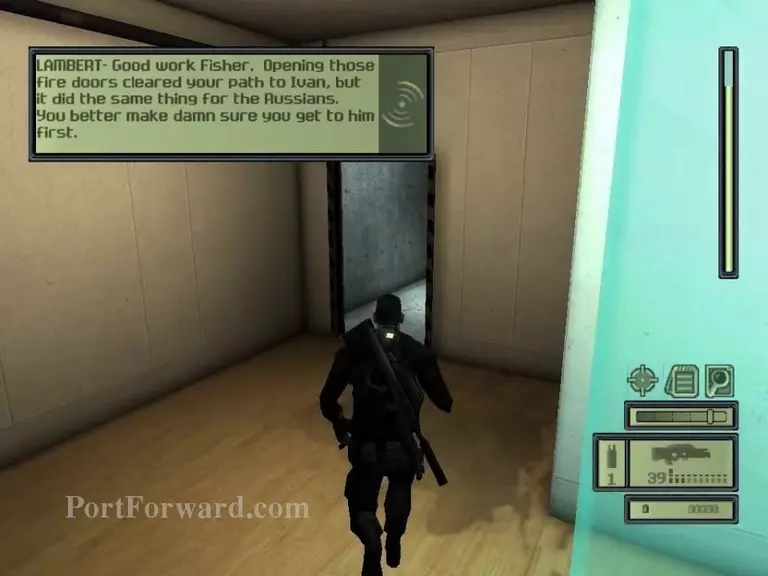
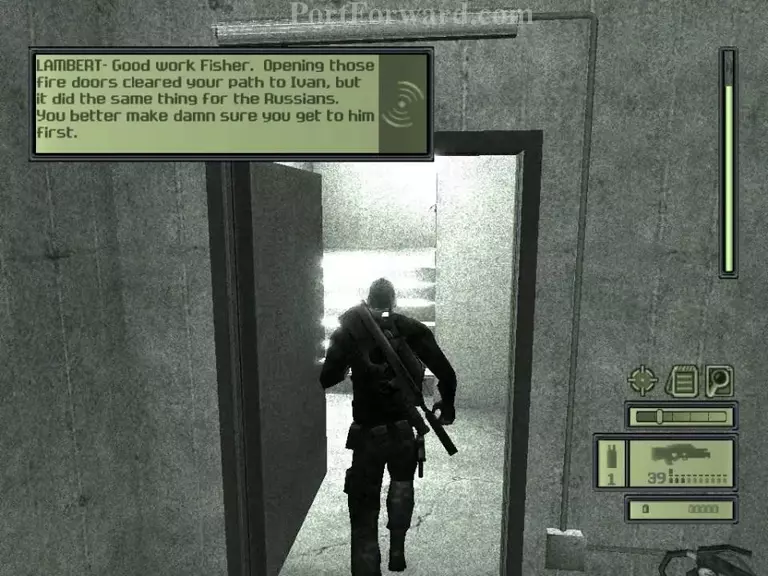
Then go past the fire and go through the door that's right ahead.
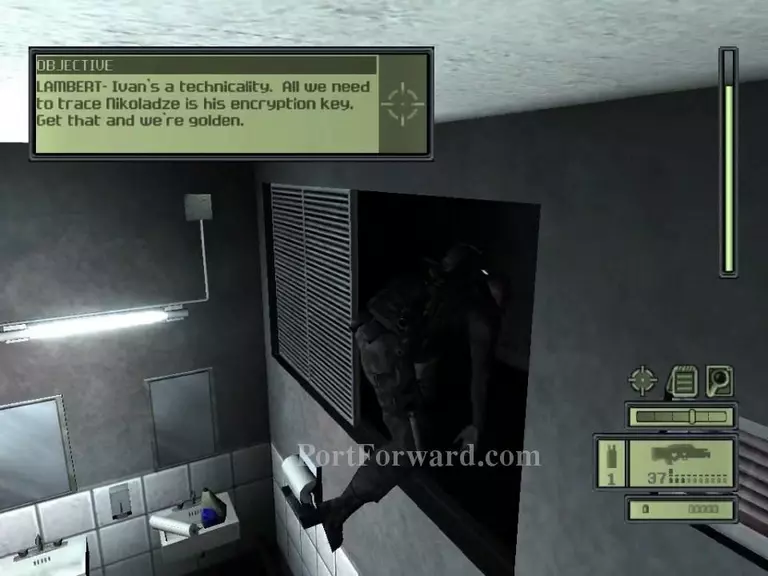
Head through the open vent to advance on.
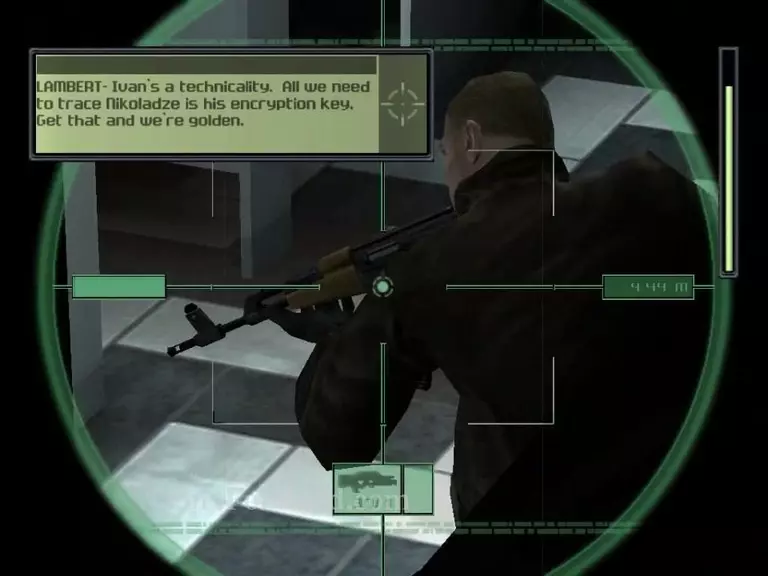
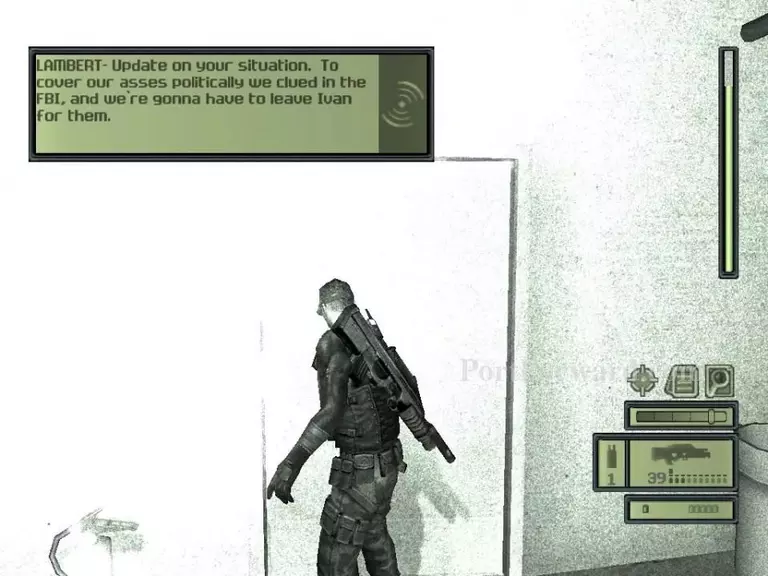
Then, when you get to the other open vent, kill the guy interrogating Ivan.
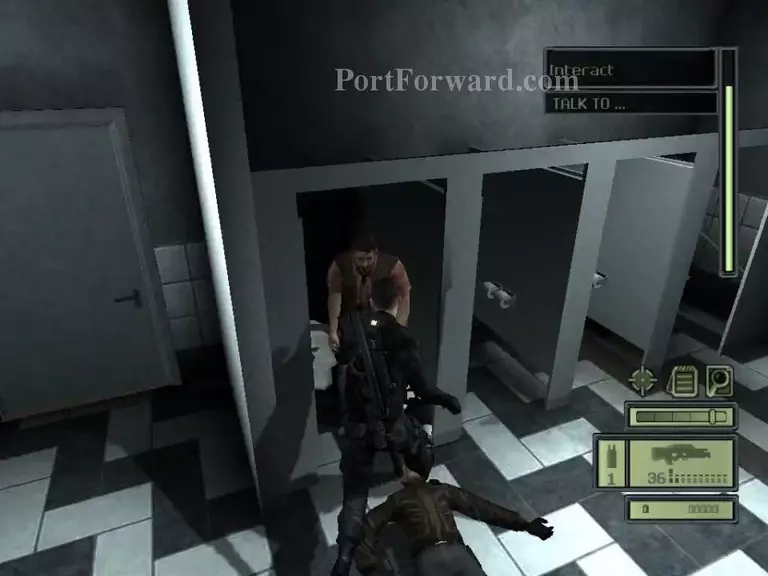
Get down on the gorund and talk to him.
After you're done, head out.
Head to the elevator that's ahead.
Go left when you get outta the elevator.
Get on top of these boxes.
Get on the ledge of this wall.
Head straight ahead on the beam.

Jump down to the ground.
Then, take out the guards that'll be inside.
Head inside and go through this door.
Run and jump up on the ledge ahead of you.
Then, head down and go through the doorway.
After heading through the doorways, head up the stairs.
There willl be guards so take them out.
Head straight and go upstairs.
Go down this hall and through that doorway.
Continue on to this hallway.
Take out the guards at the end of the hallway.
Enter the last doorway on the right.
And head through the next doorway ahead.
Then, this one...
And of course, another doorway. Head to the right, not upstairs.

Take out the guards that'll be awaiting your arrival.
After the cutscene, run and jump on the wall to your right to get on the helipad where your Osprey is at.
Done!
More Splinter Cell Walkthroughs
This Splinter Cell walkthrough is divided into 9 total pages.


