
This Splinter Cell walkthrough is divided into 9 total pages.
You can jump to nearby pages of the game using the links above.
Defense Ministry
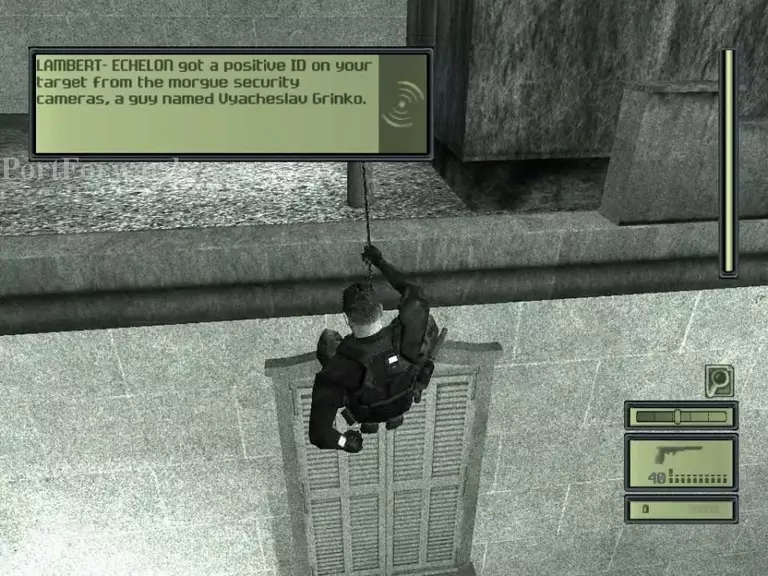
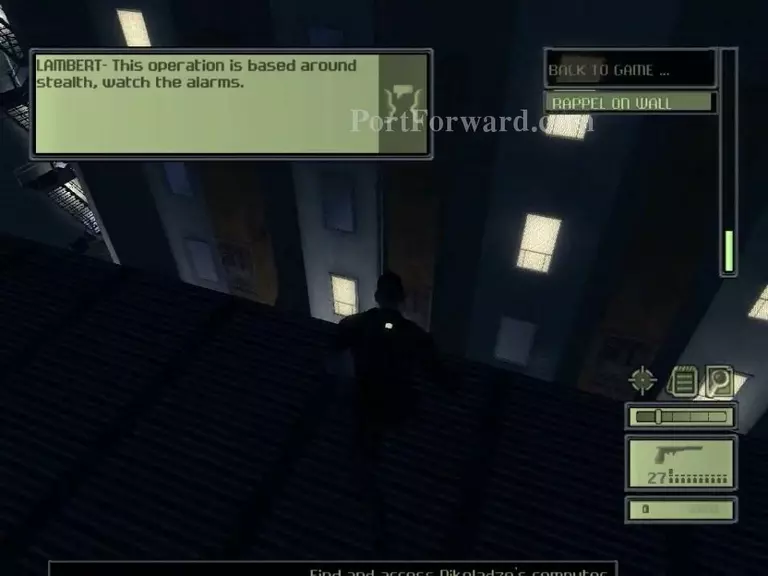
Rappel off the building you spawn on.

Enter the building through the open window.
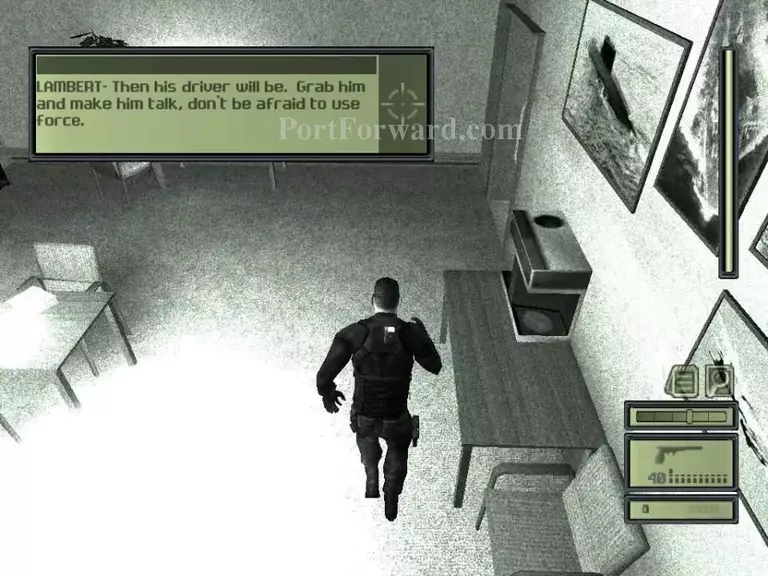
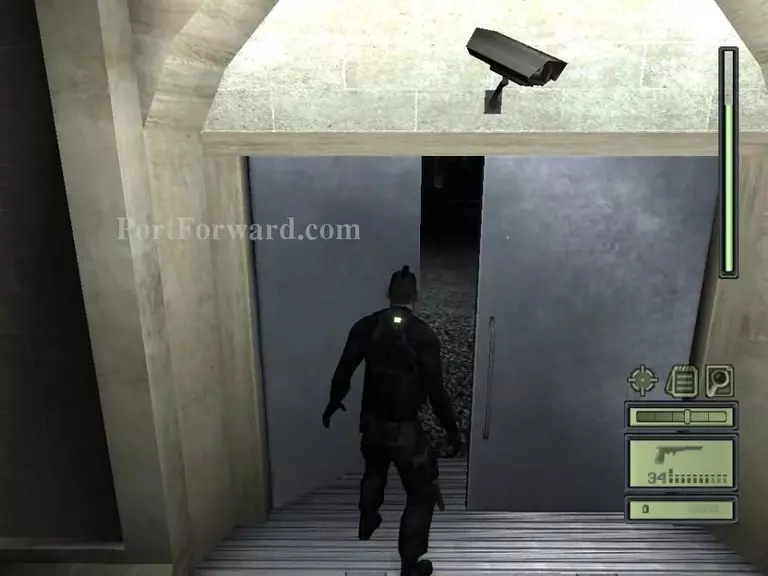
Get to the door on the right and watch out for the camera that's ion the right cornor. There will also be a guard so take him out to.
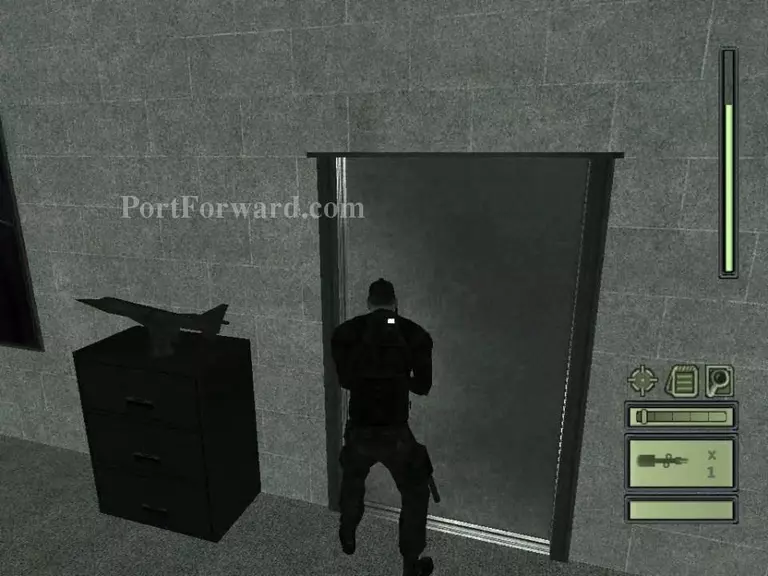
Go down the hall and get through this door.
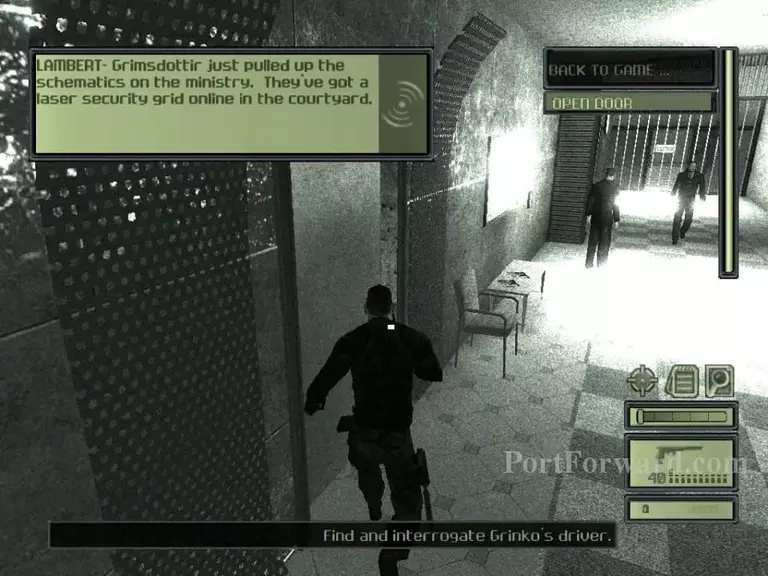
Head down the stairs.
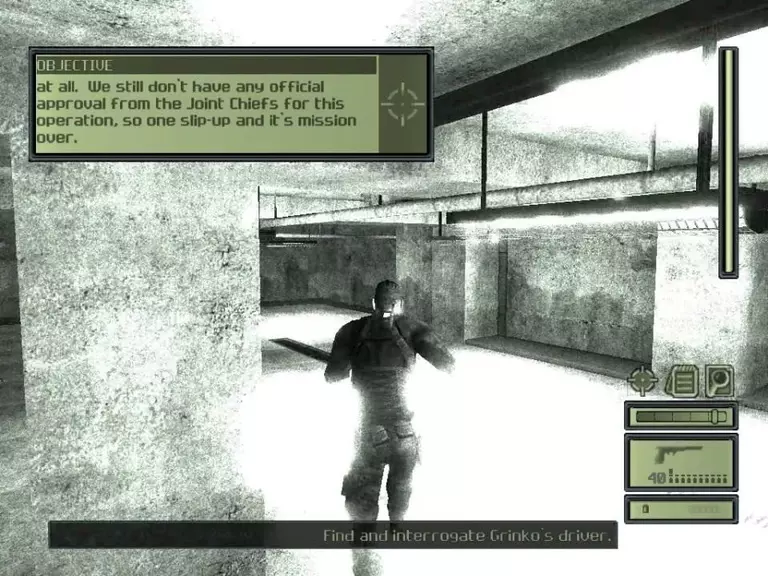
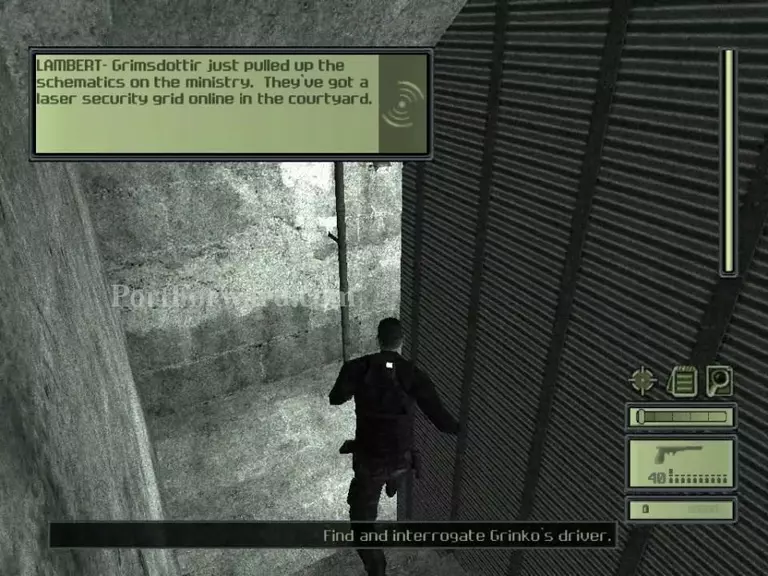
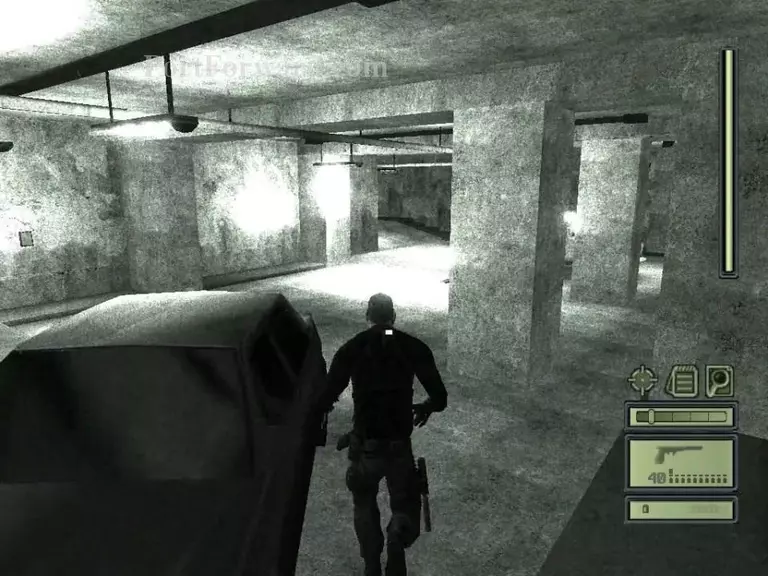
Go all the way down the stairs and you should get to the parking garage. Just go straight ahead and go through the tunnel.
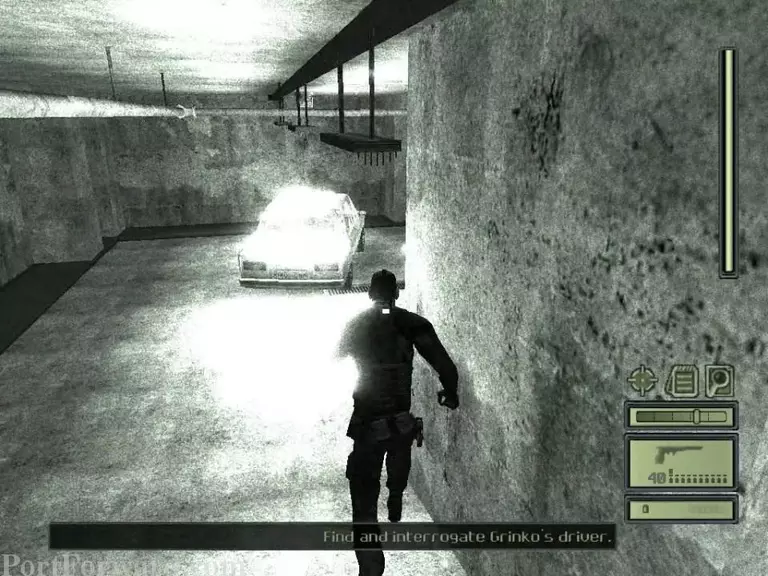
Now turn right and there will be a car. Grinko's car.
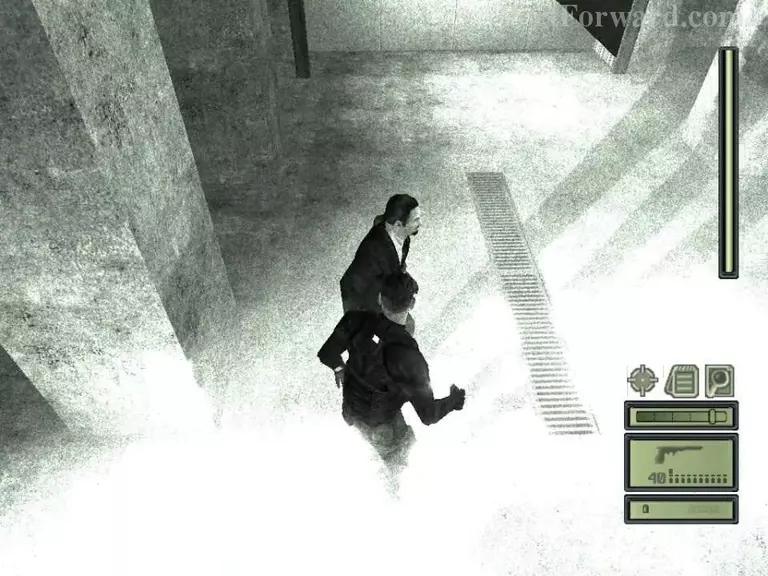
The driver should be in front of the car, pacing around.
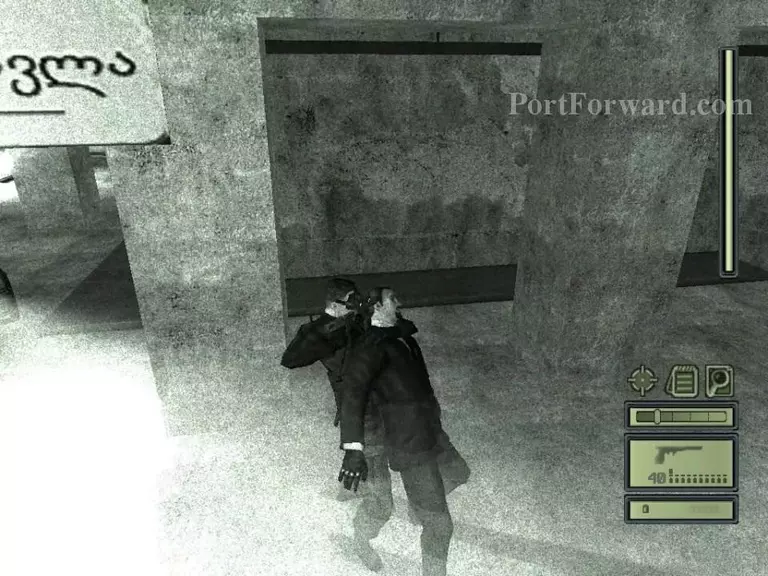
Interrogate him to get some info.
After you're done and knock him out, go back up the tunnel.
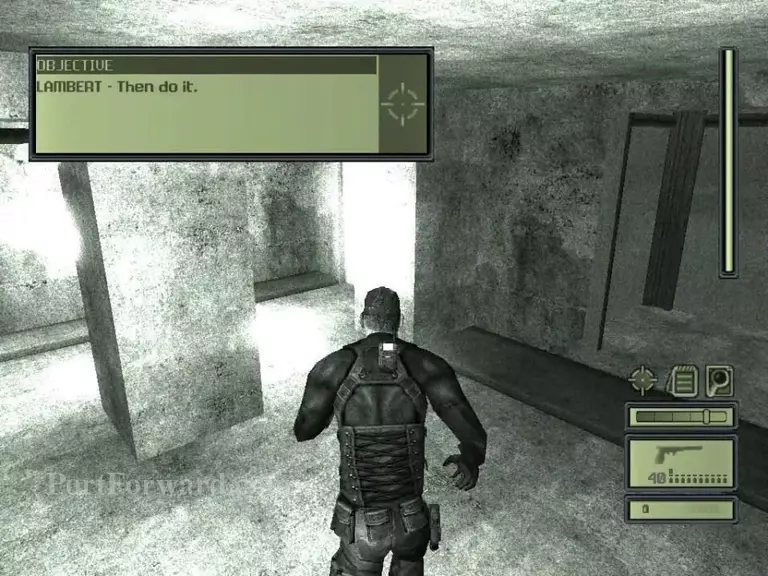
Now, go back upstairs.

When you get back to this hall, enter the door on the right side that's a little up the hall.
Then, pick the lock of the window cover thing.
Get on he balcony and jump to your left onto the ledge.
Shimmy to the wnidow that's on the same wall as the ledge.
Get inside and enter the door on the right. There will be a guard there.
Enter the double doors on your left.
Get down to the computer that's on the desk below.
Use the computer to deactivate the laser grid.
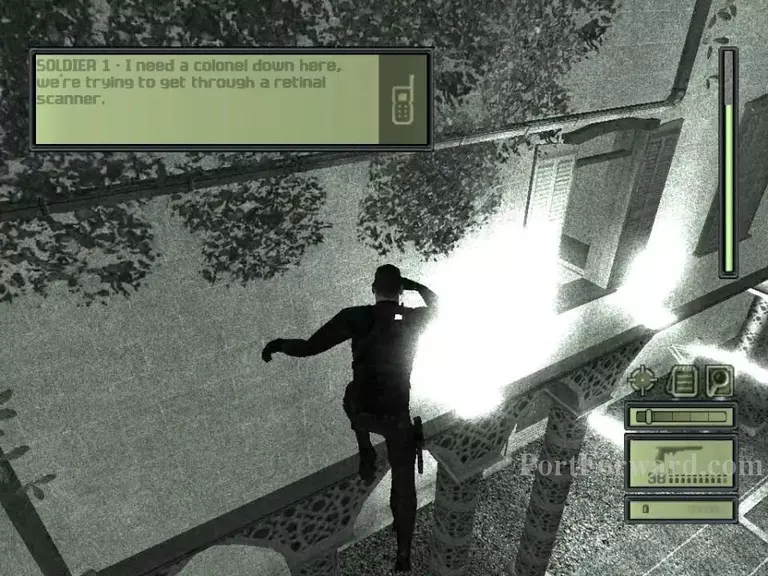
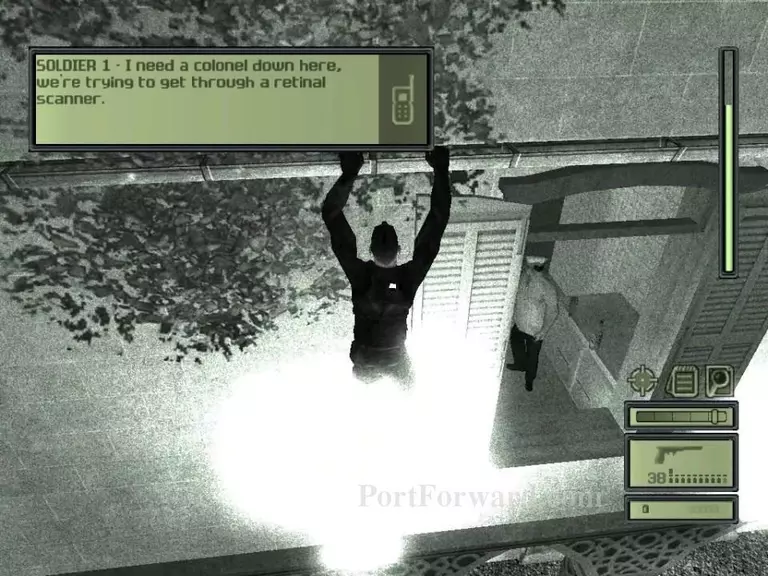
Take out a guard up the stairs so another guard can come down.
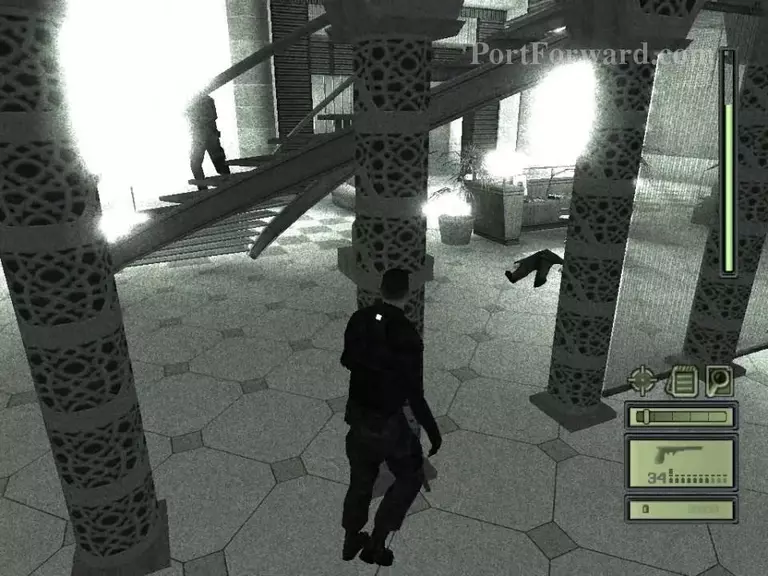
Hide under the stairs behind where the computers were and wait for the guard to come around where you are.

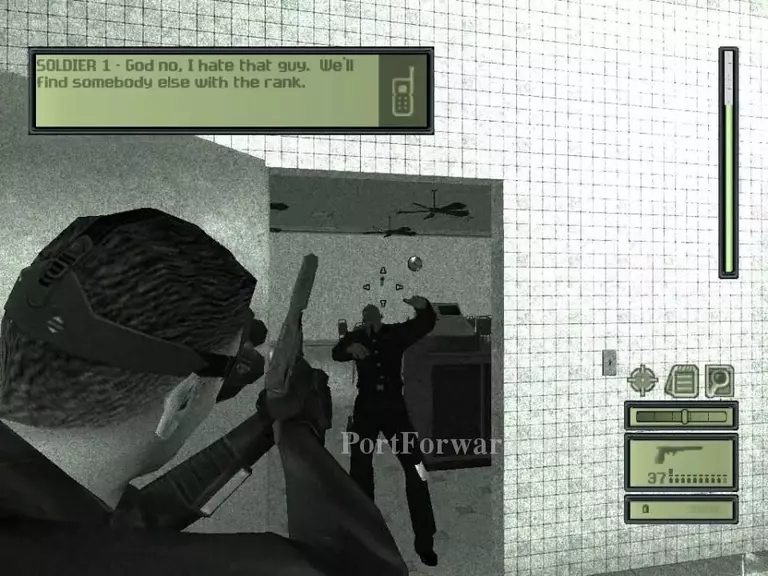
Then, sneak attack him to use the retinal scanner on the wall to Fisher's left to get through the door.
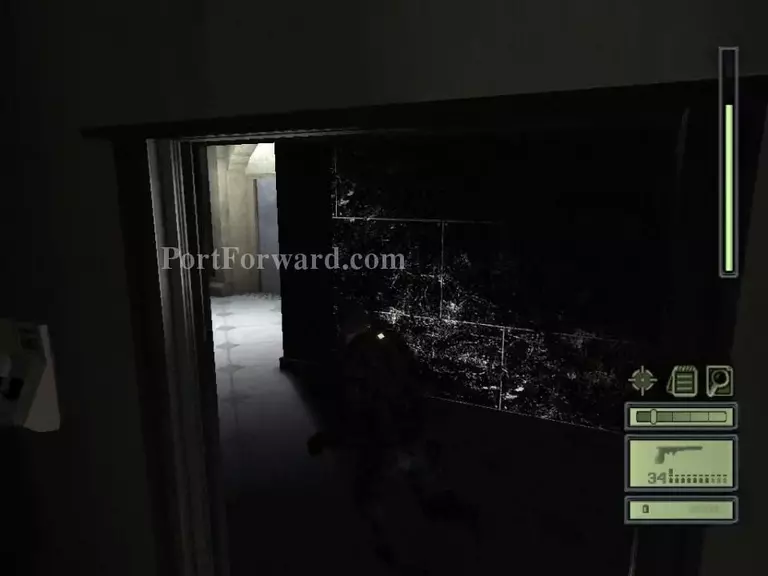
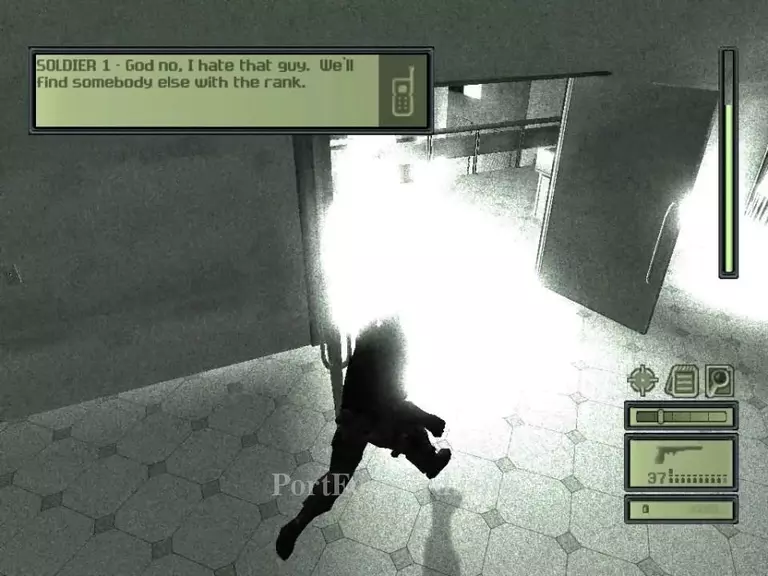
Enter the door you just opened now.
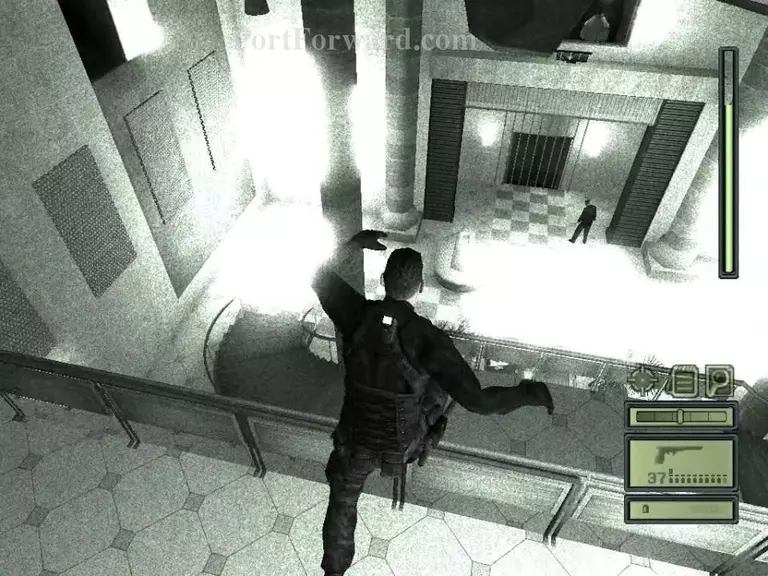
Head straight and there will be a door. Enter it.
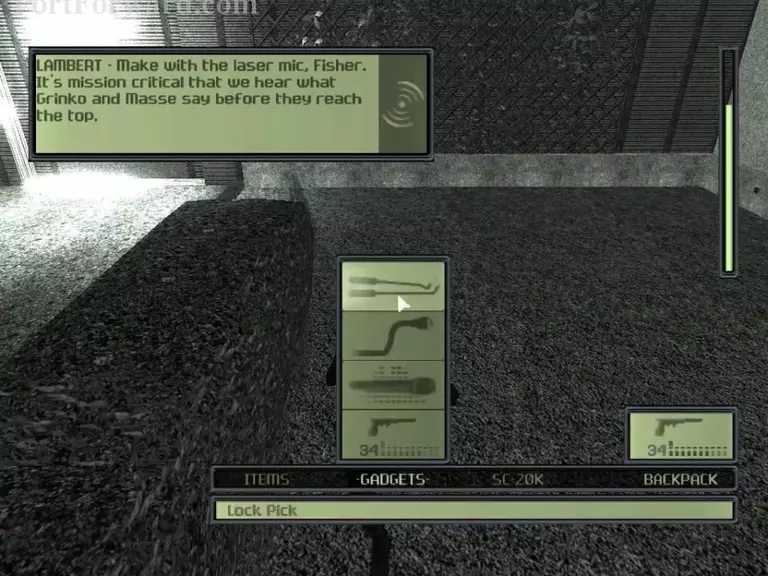
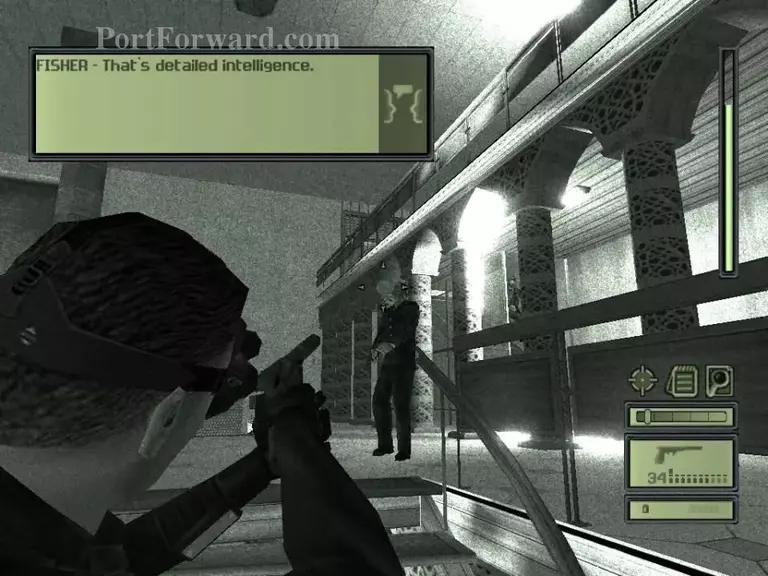
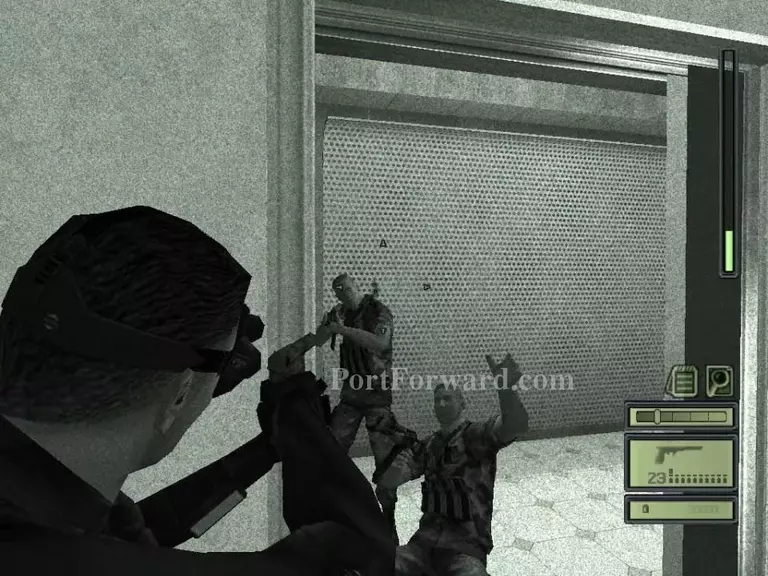
Select your laser mic out of your quick inventory to use.
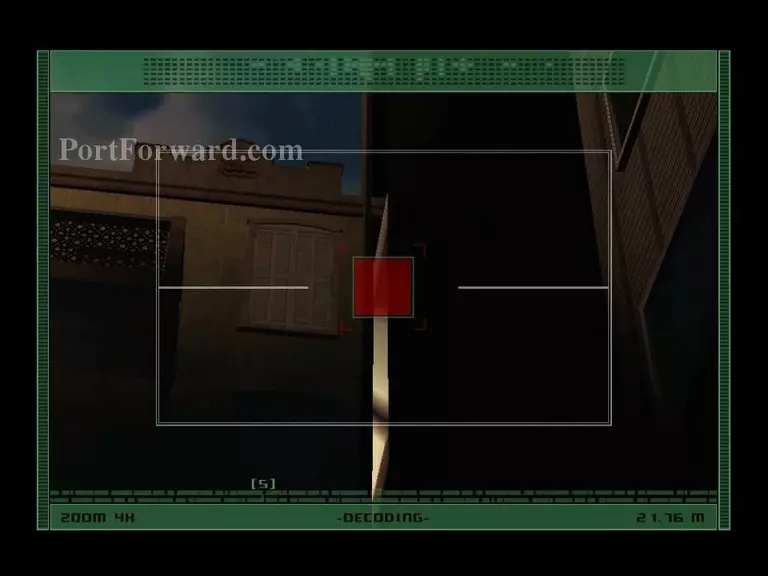
Point it at the people at the window to hear what they have to say.
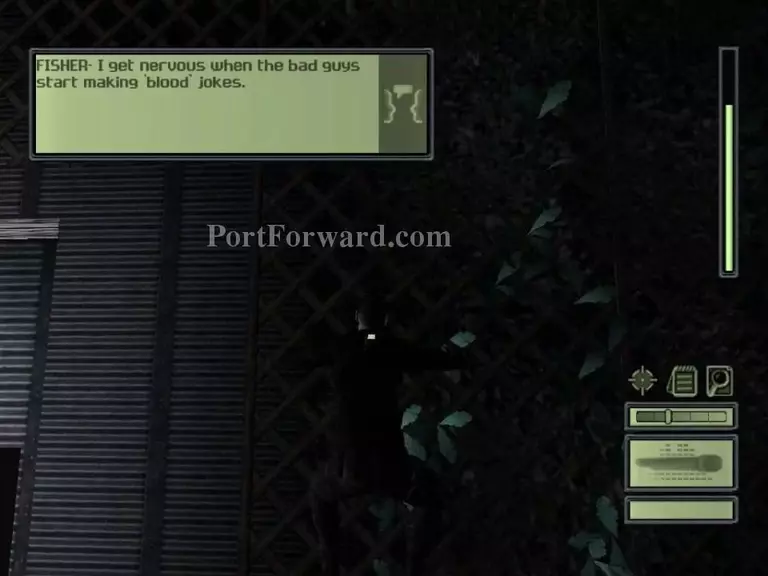
Climb this lattice to the open window.
Wait at the elevator that's just in front of the window you climbed through.
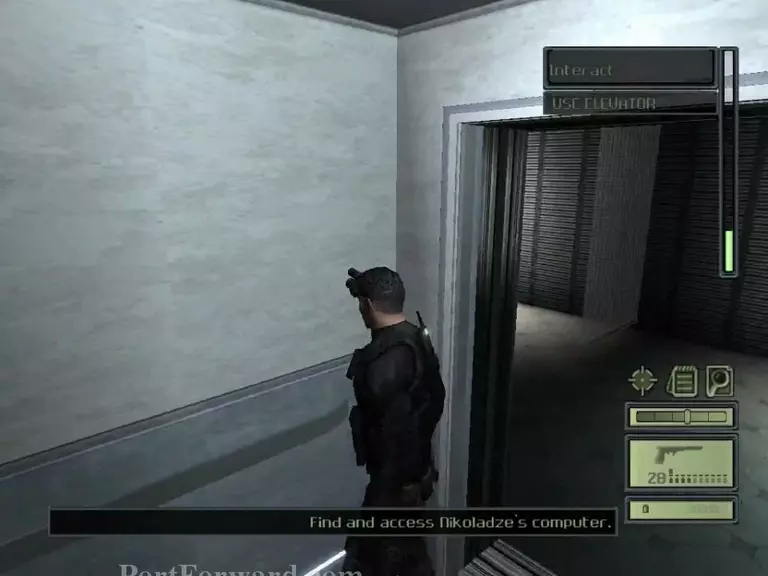
Head up.
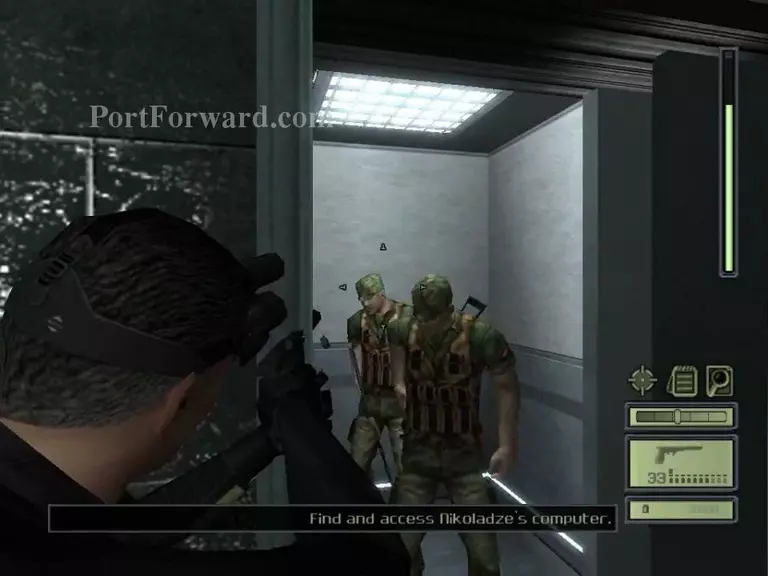
Wait for the guard to open the door that's ahead of the elevator.
Then, take him out and get in.
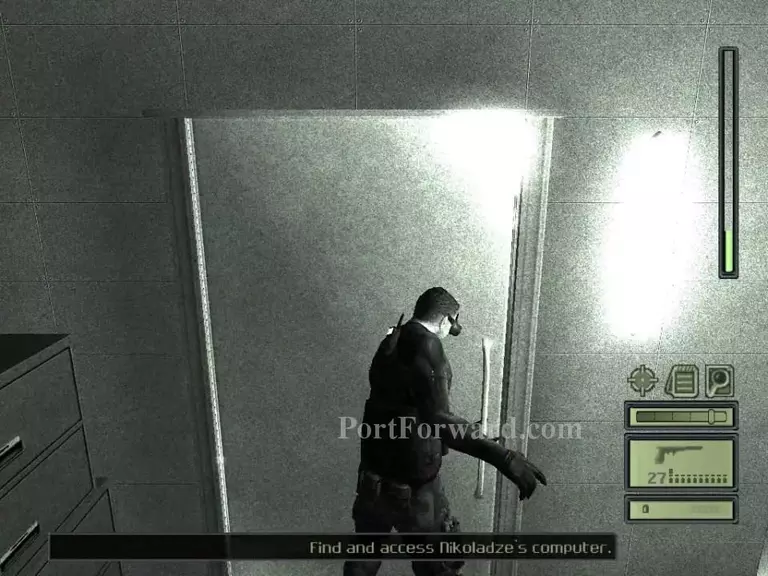
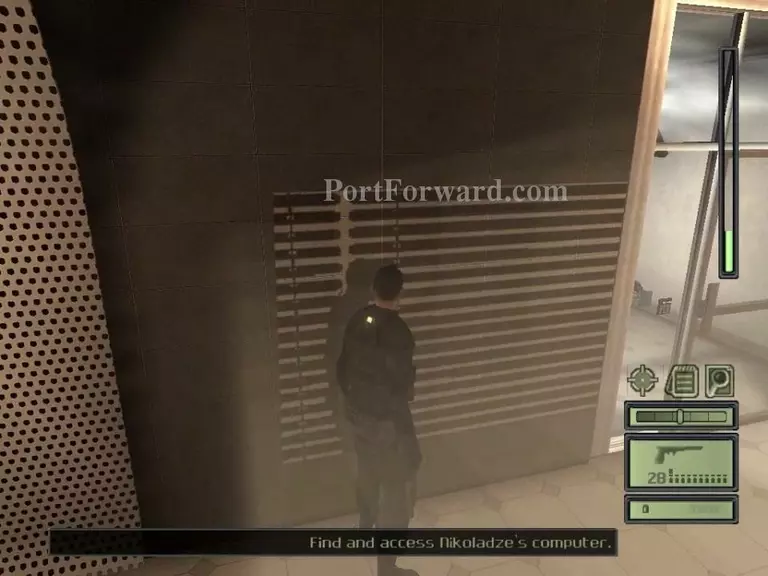
Get inside the door on the left wall.

Climb up the ladder to get to the roof.
Then, walk ahead to the edge of the roof and rappel down the wall.
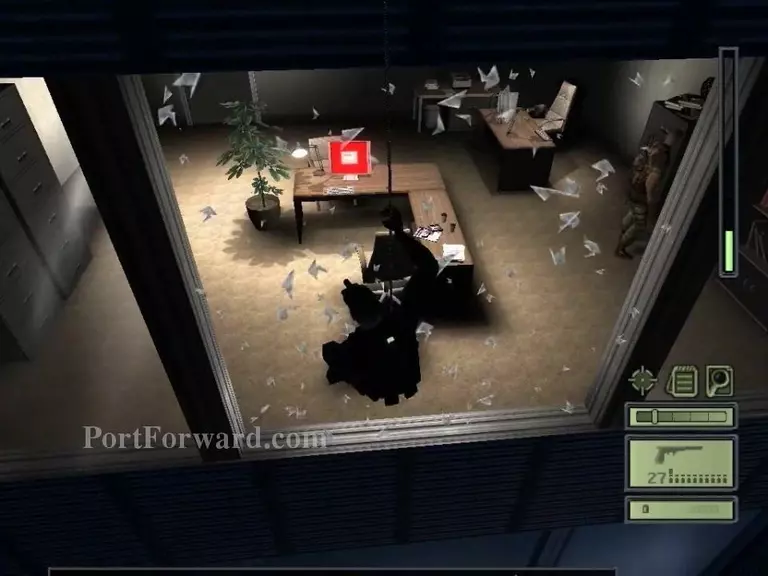
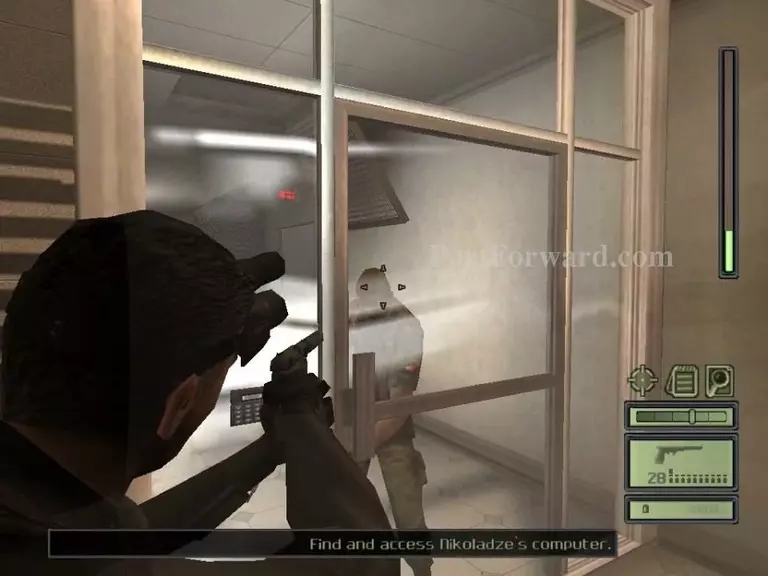
Crash into the first window you see.
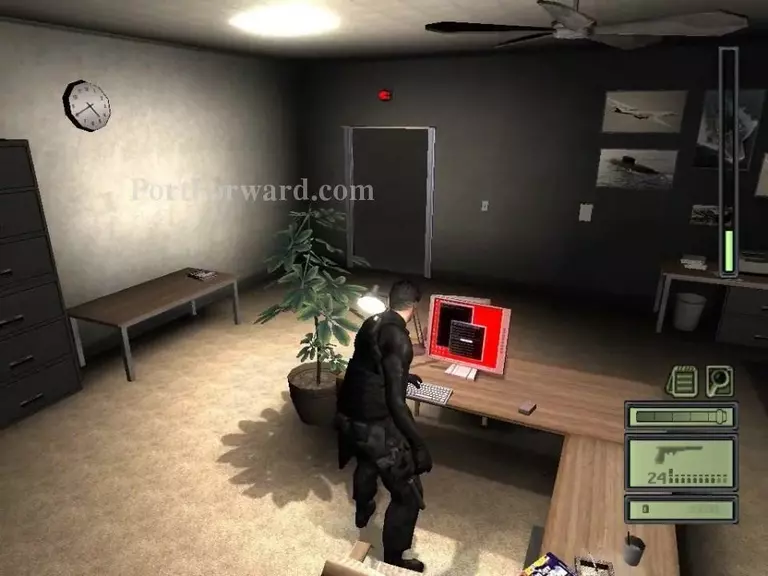
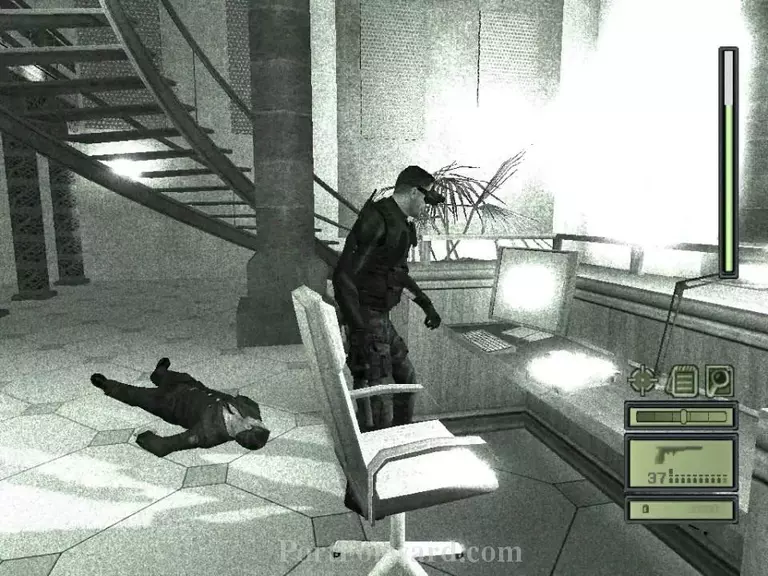
Take out the guard and use the computer.
After you get more data from the computer, kill any guards that come in the office.
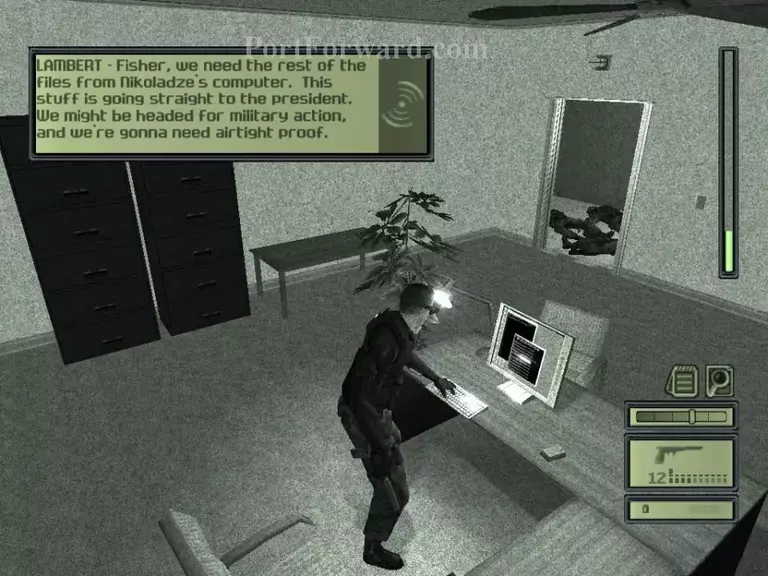
Then, when the computer is done, Lambert will need more files so use the computer again.
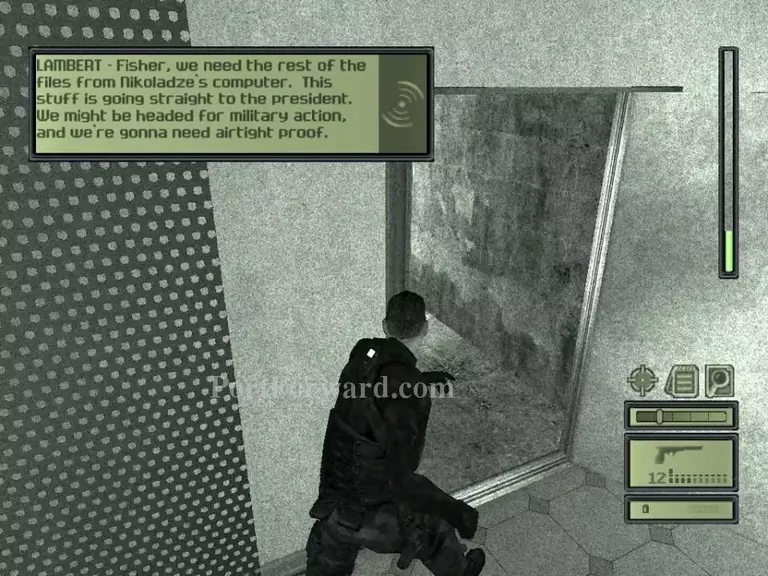
Go left out of the room and enter this door which is on the left side.
Then, heead downstairs to this door.

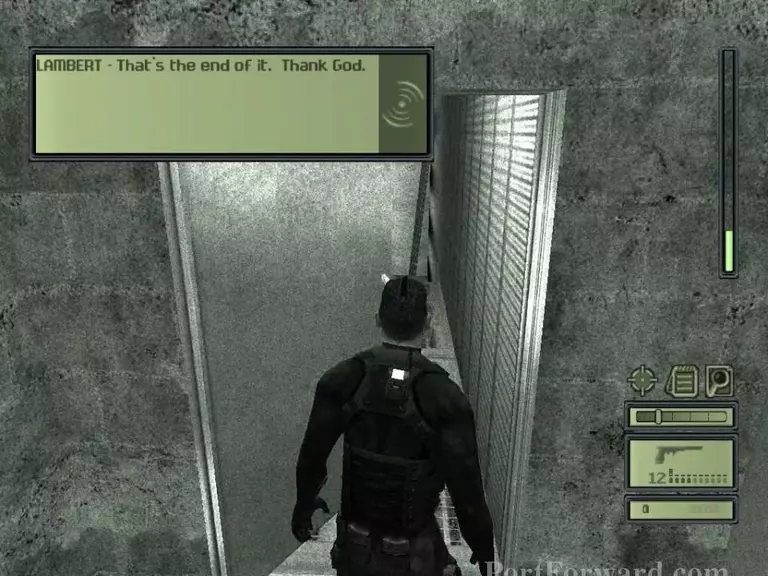
Ahead should be a open elevator door. Jump inside and climb down the wire.

Head straight when you get to the ground where there's a little slant.
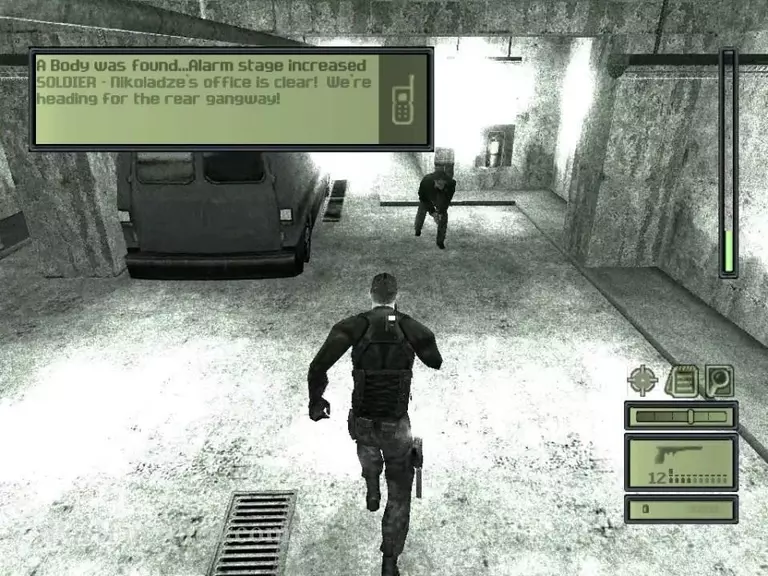
And there'll be the van. Done.
More Splinter Cell Walkthroughs
This Splinter Cell walkthrough is divided into 9 total pages.


