This Splinter Cell walkthrough is divided into 9 total pages.
You can jump to nearby pages of the game using the links above.
Presidential Palace
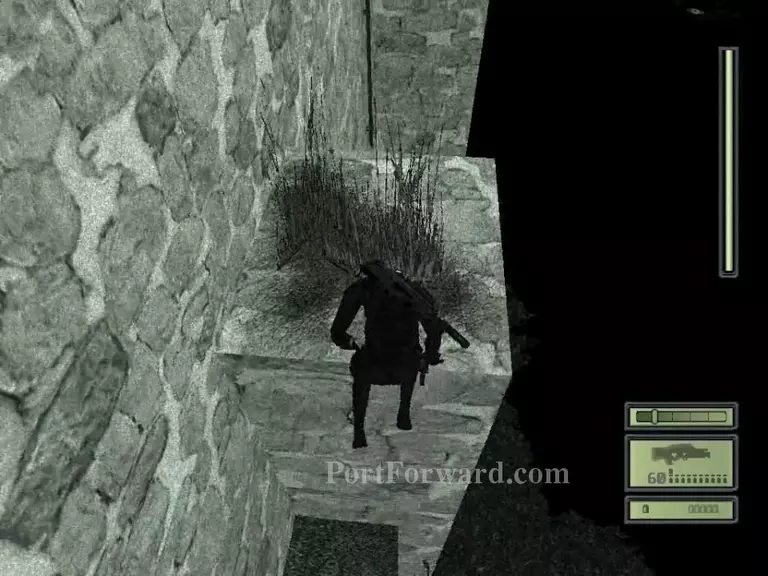
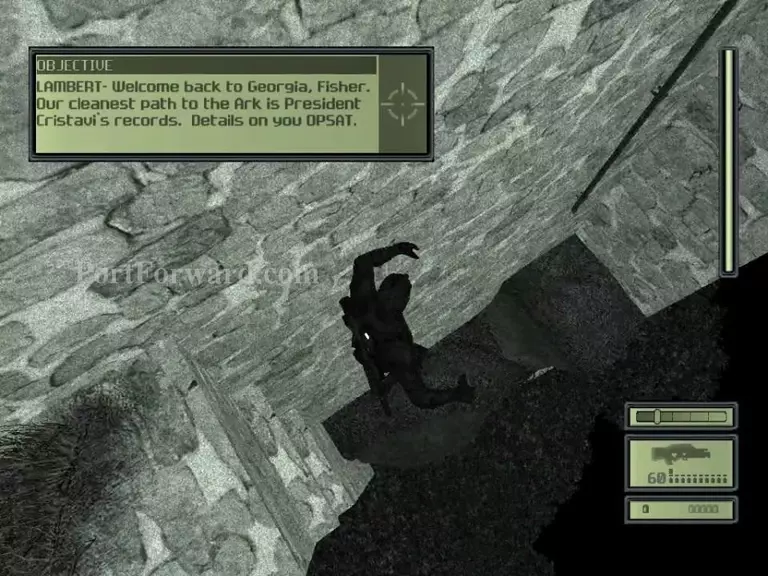
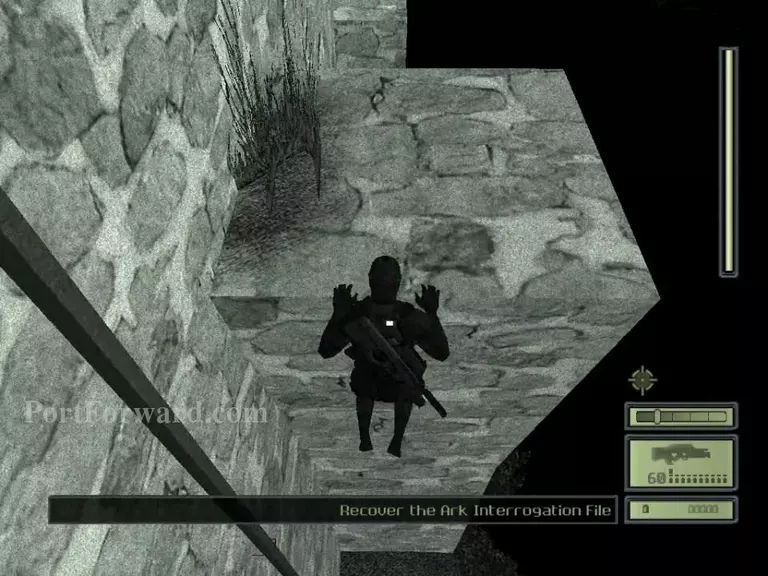
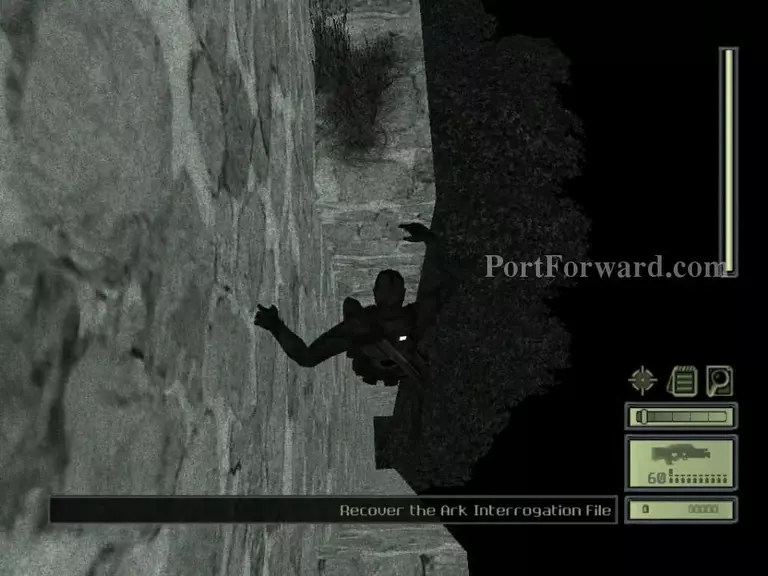
Climb up the wall ahead of you.
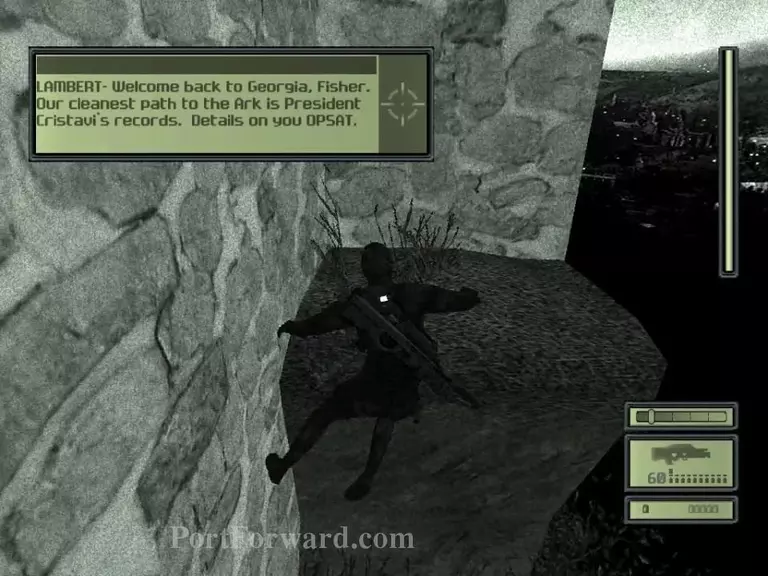
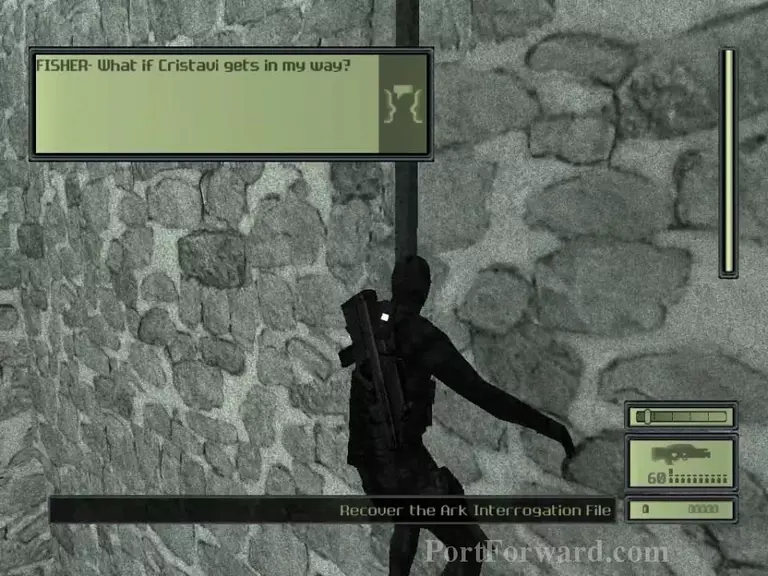
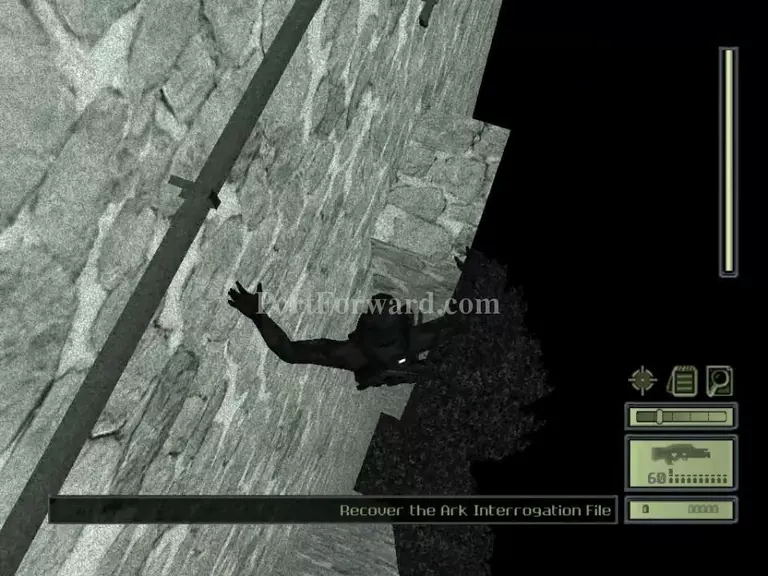
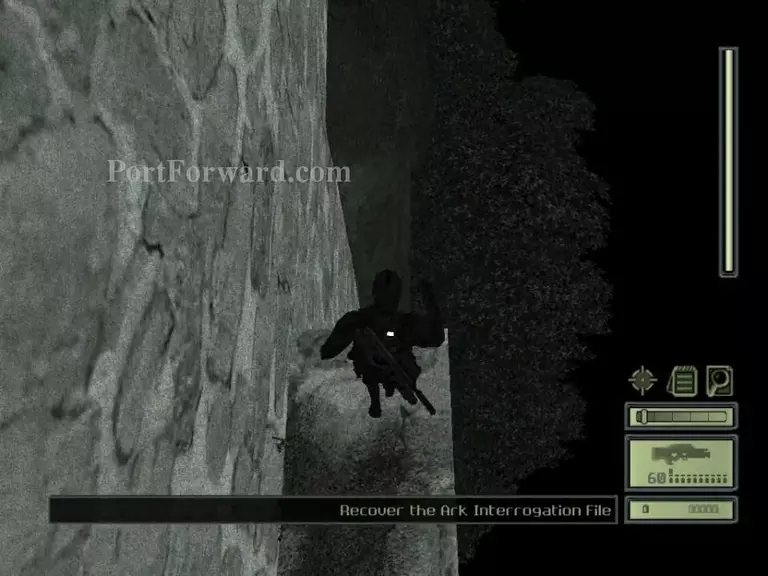
Jump down to the lowest ground...
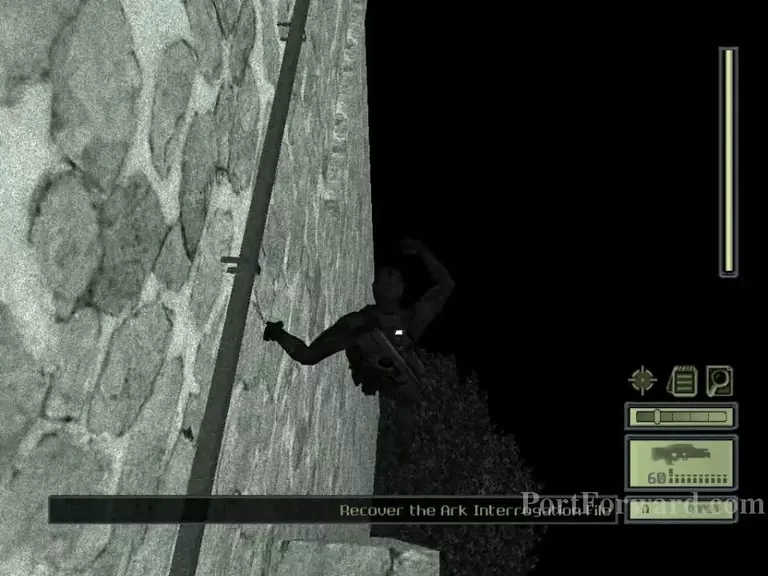
Run and jump to the next rock above.
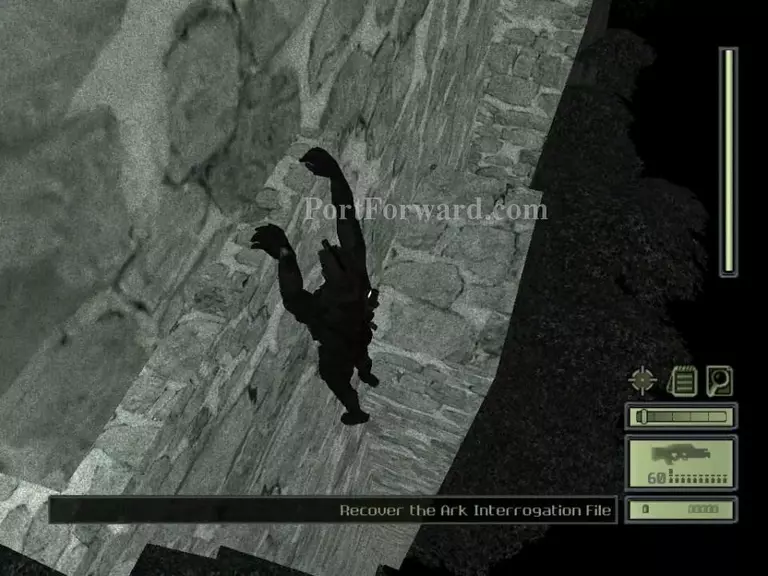
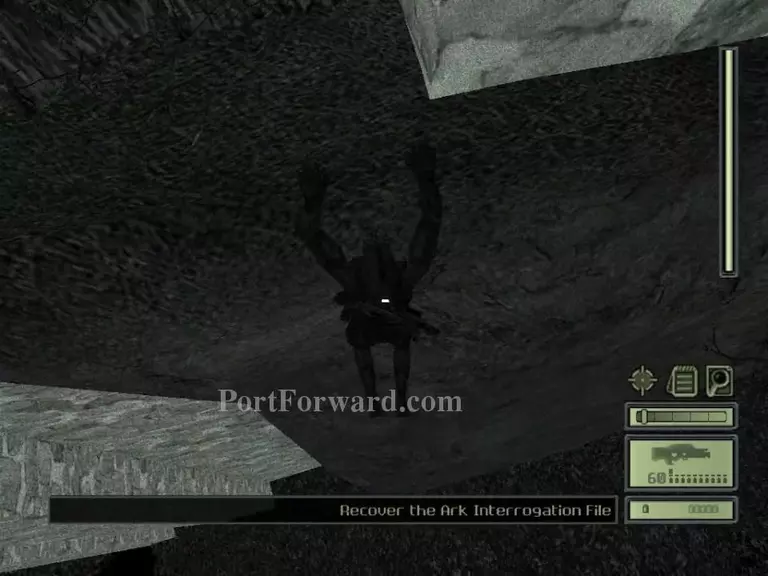
And then run and jump to the pip that's to the left.
Climb up to this ledge.
Run and jump to the next platform.
Jump to the ledge on the wall and shimmy along it.
Drop down to this platform.
Jump to the next one then...
To the next one.
Then, shimmy on the ledge.

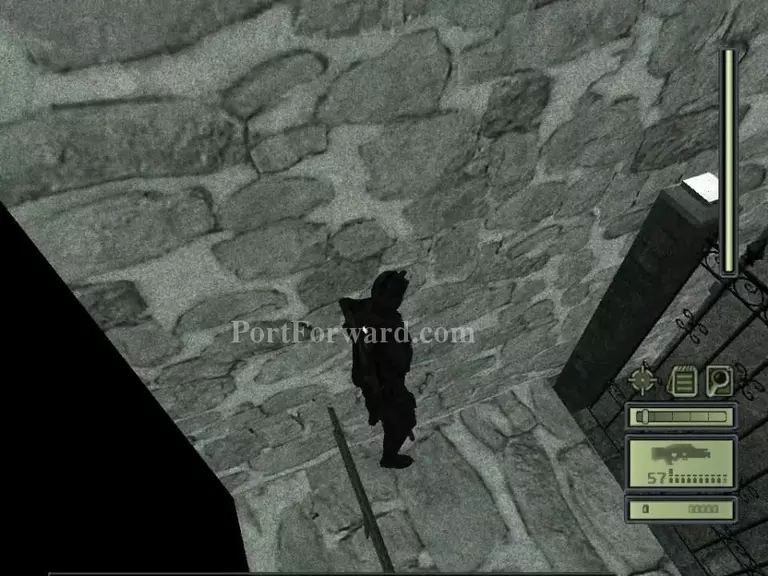
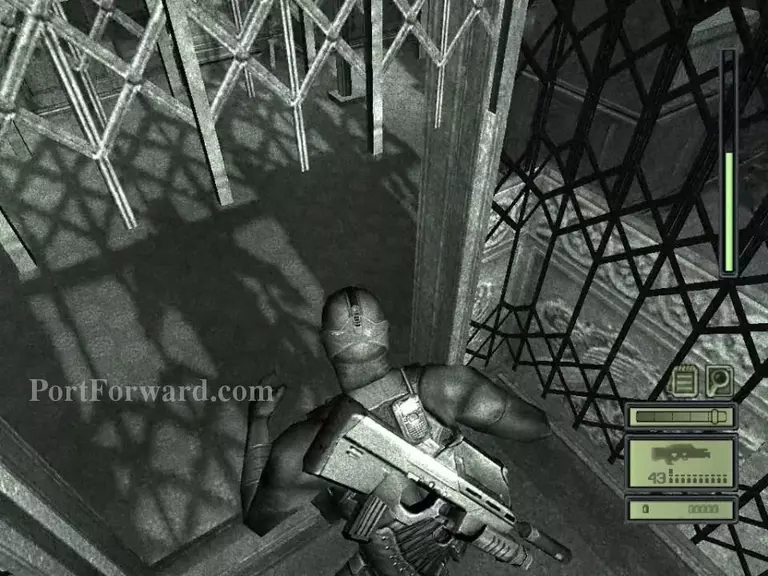
Climb the pipe that's on the wall.
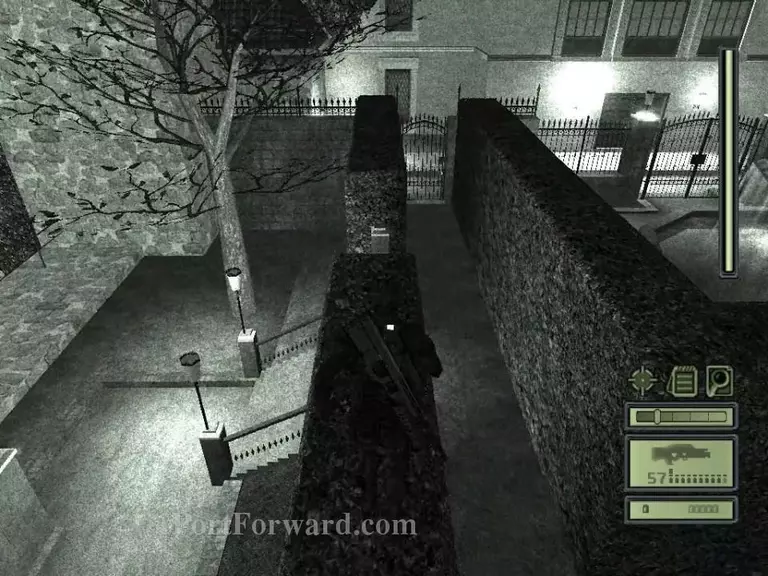
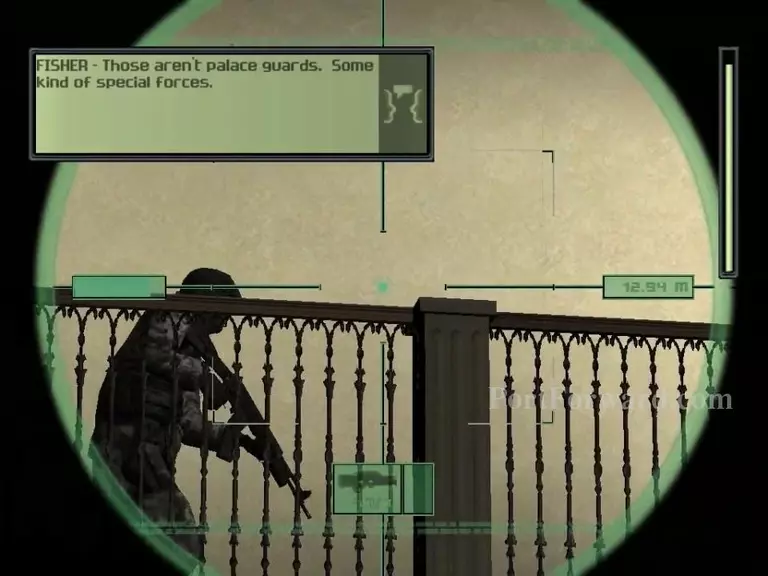
Take out the guards that'll be on the streets and towers.
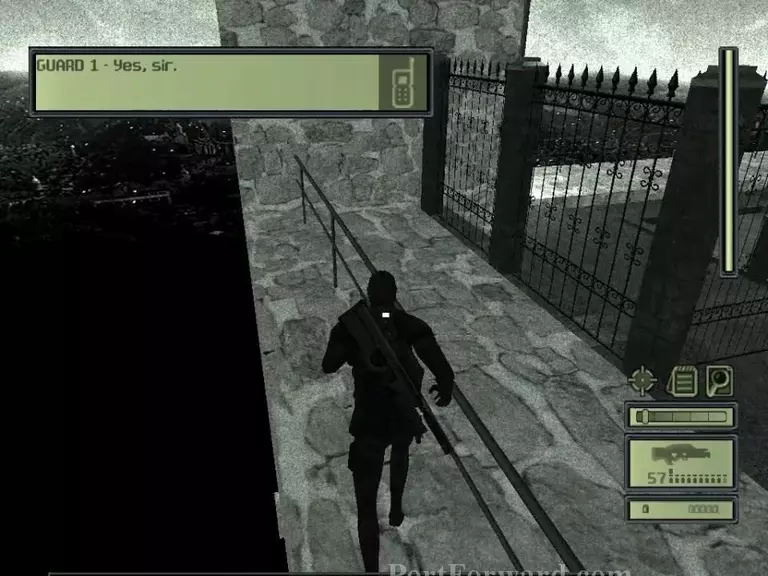
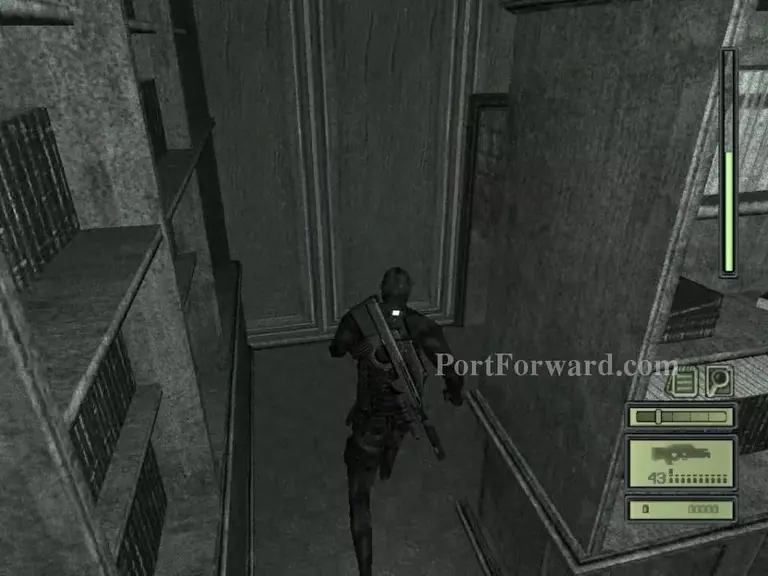
Walk along to the left...
Get on top of the railing...
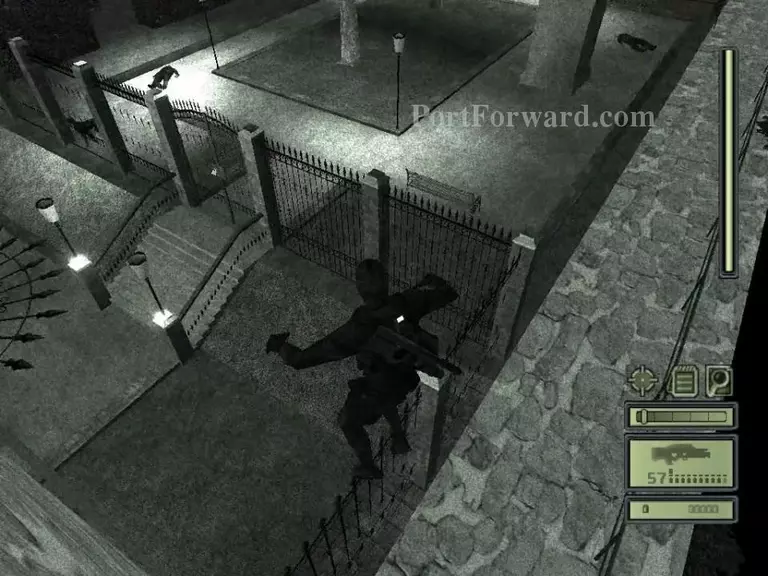
And run and jump on top of this fence, so the dogs don't become a problem.
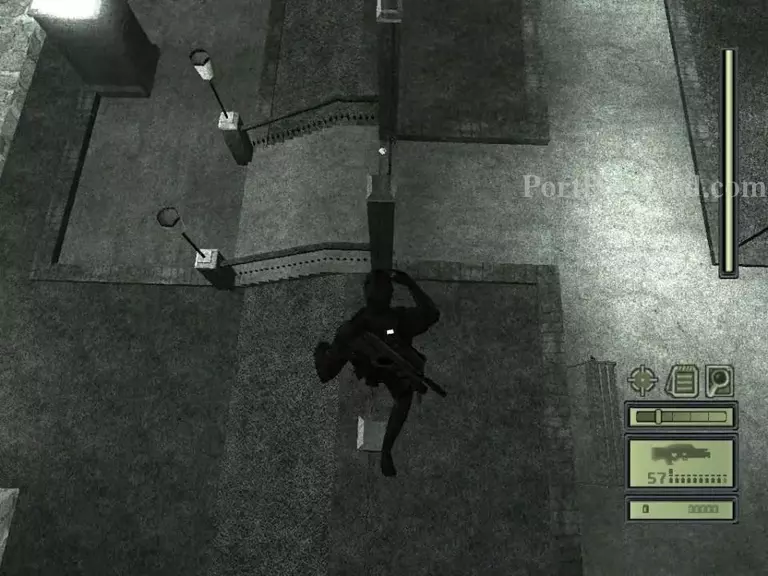
Continue along this fence.
Finally get on the ground after the maze part.
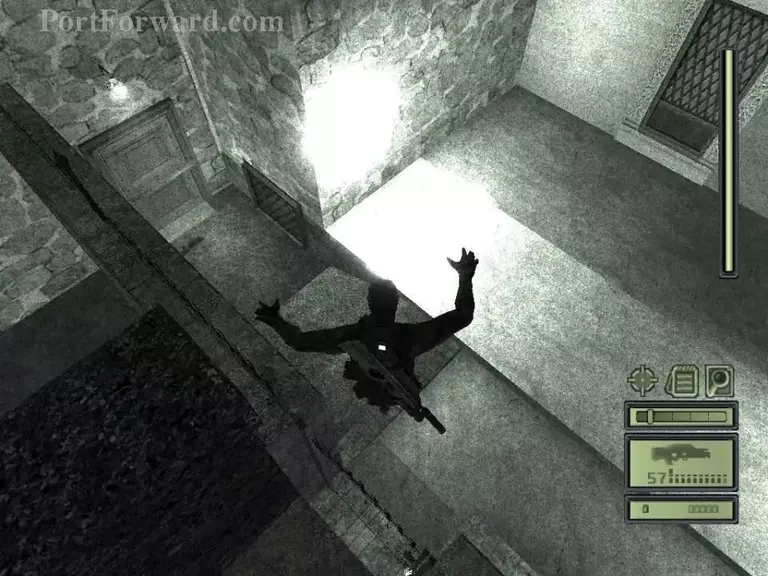
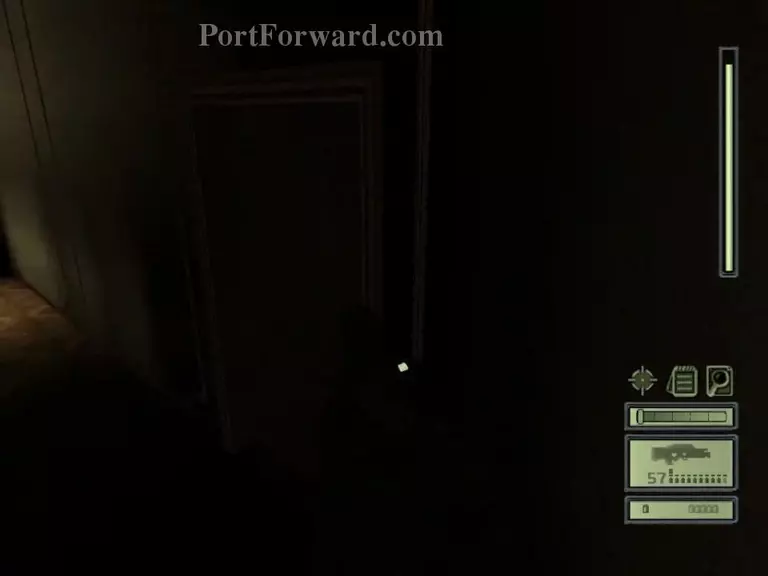
Head down to this door on the left.
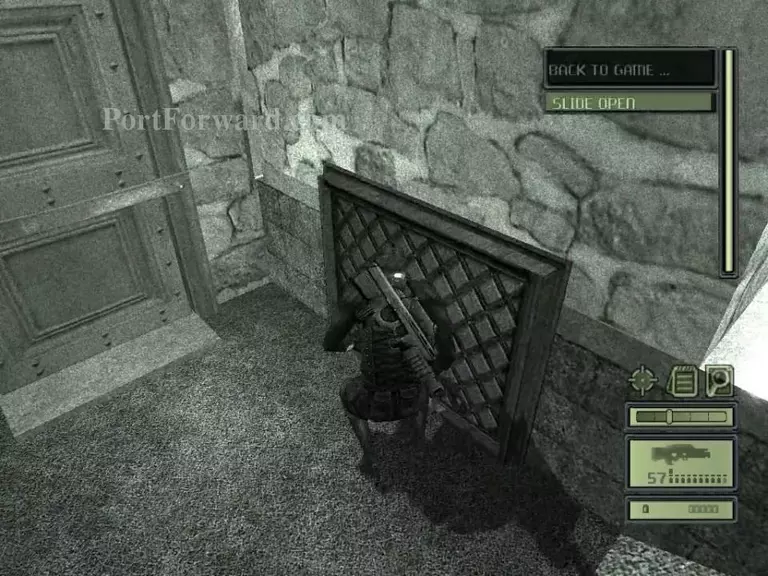
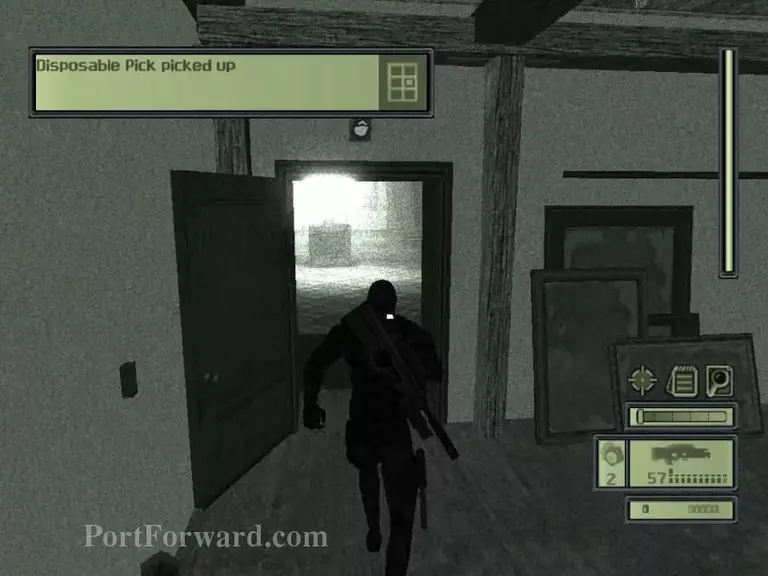
But instead of opening the door, open this sliding door thing and head in.
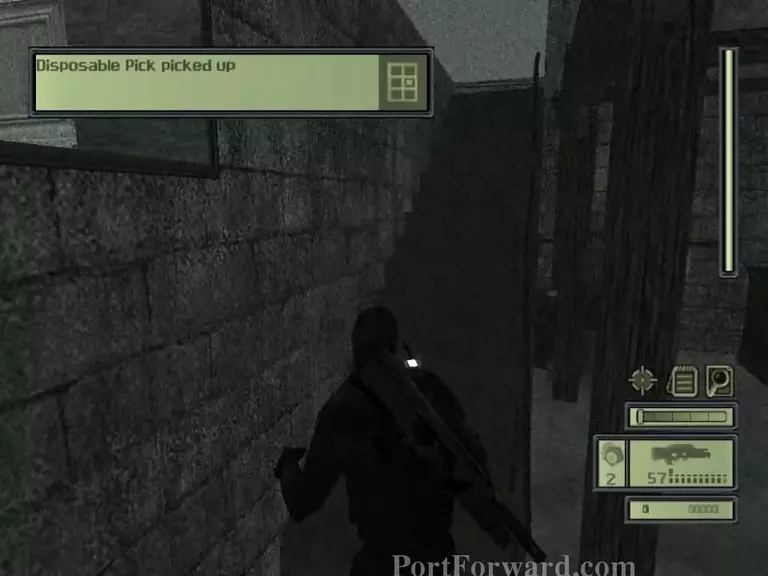
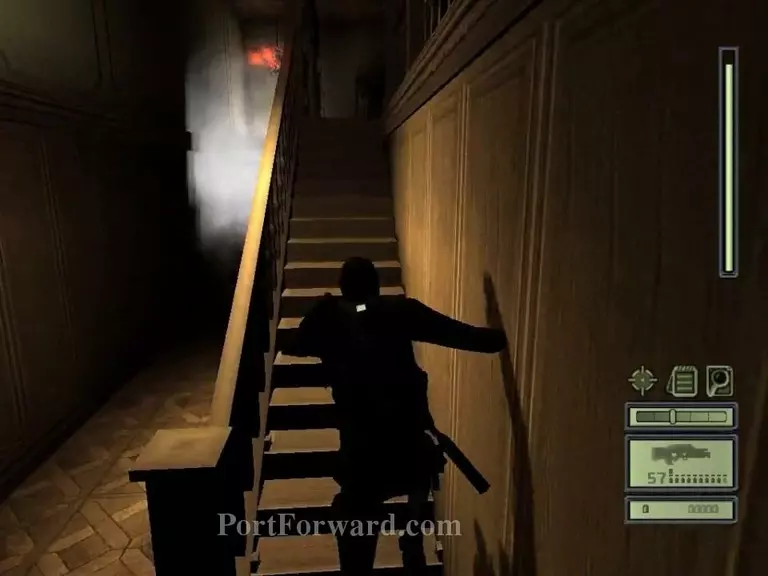
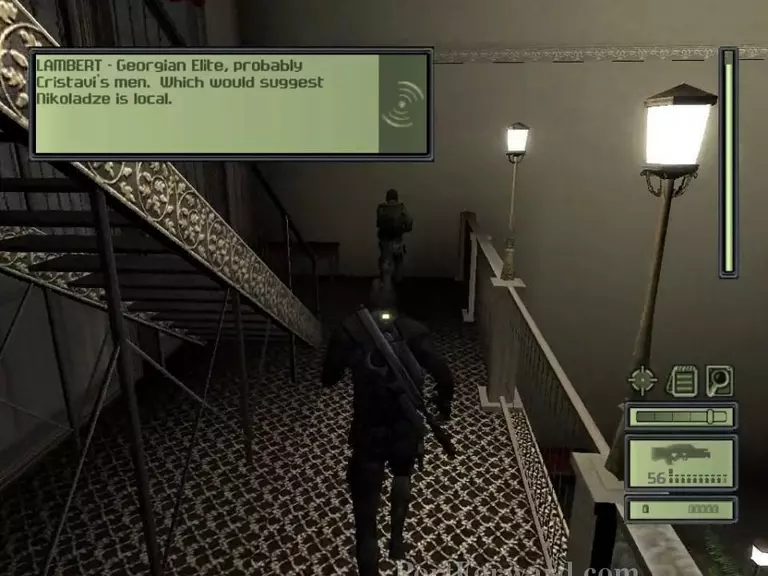
Head up the stairs.
And enter the door that's in the room above.
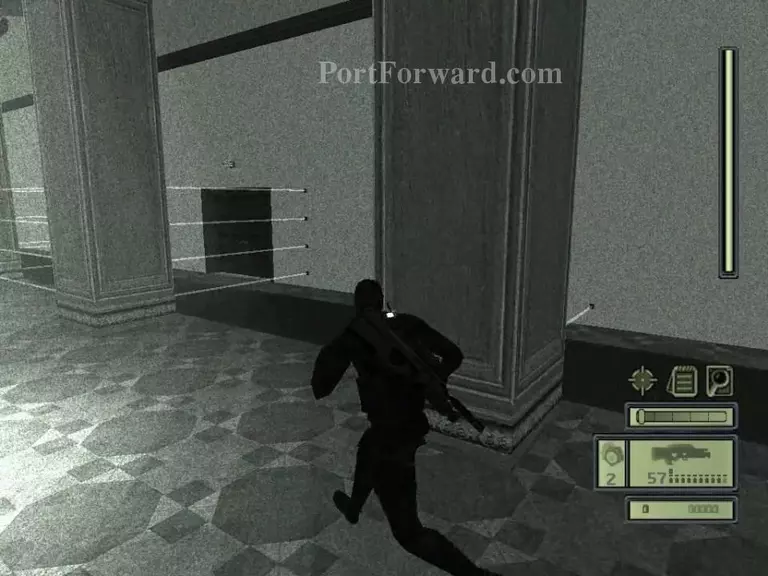
Enter the double doors on the right of you.
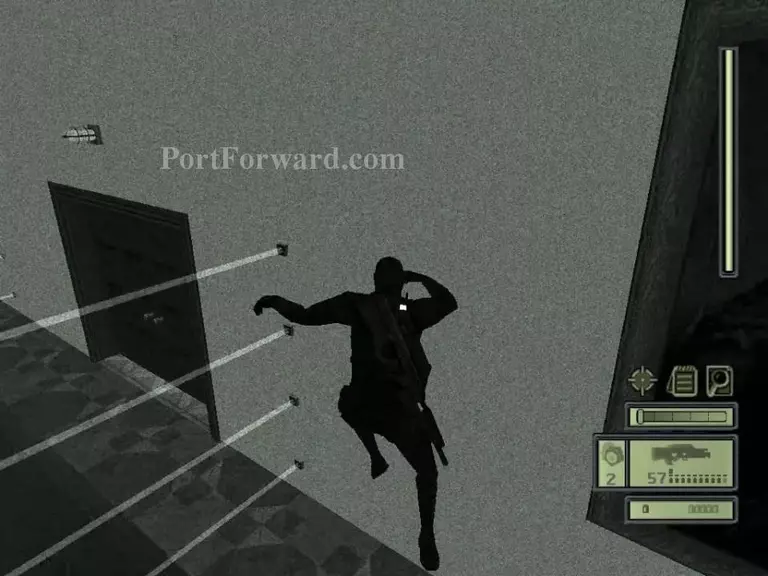
Run and jump over the lasers to enter them.
Go up the stairs at the end of the hall after taking out the guards inside.
Enter the door that's beside the stairs you just went up.
Take out the guards inside.

Then, continue along this walkway.
Take out this guard and go up the stairs.
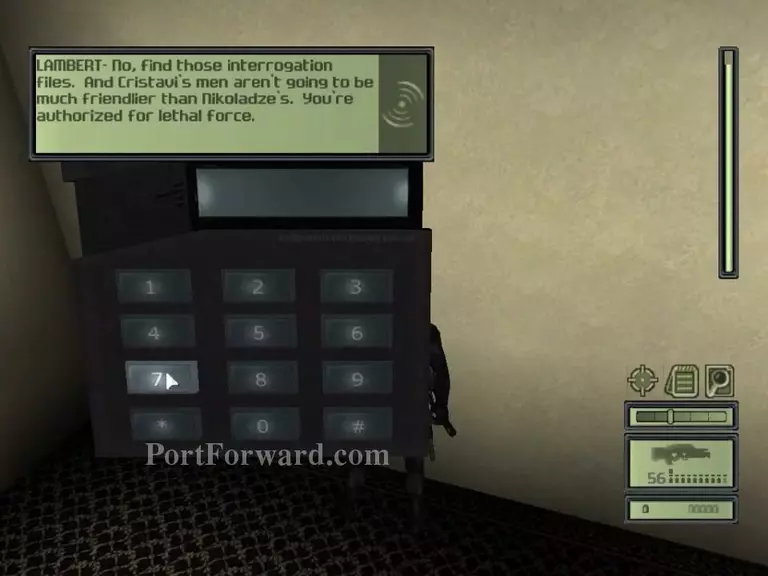
Enter the code on the door down the walkway to enter it, 70021.
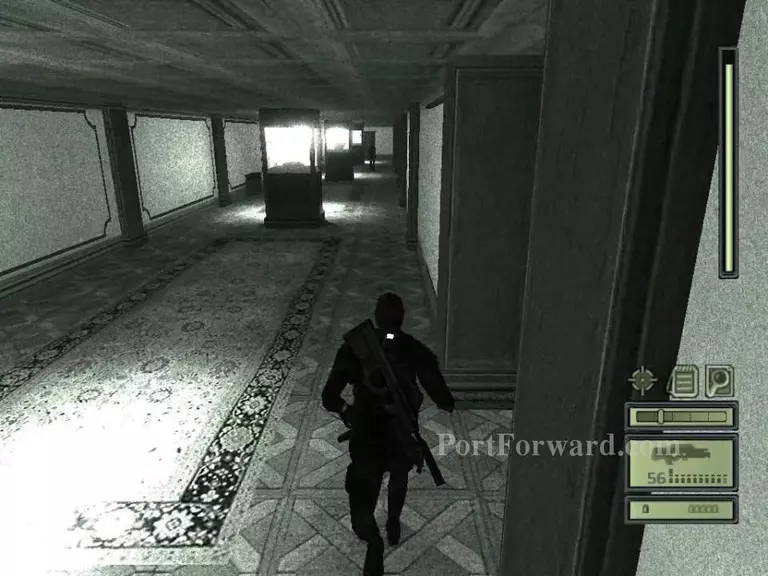
Continue down this hall.
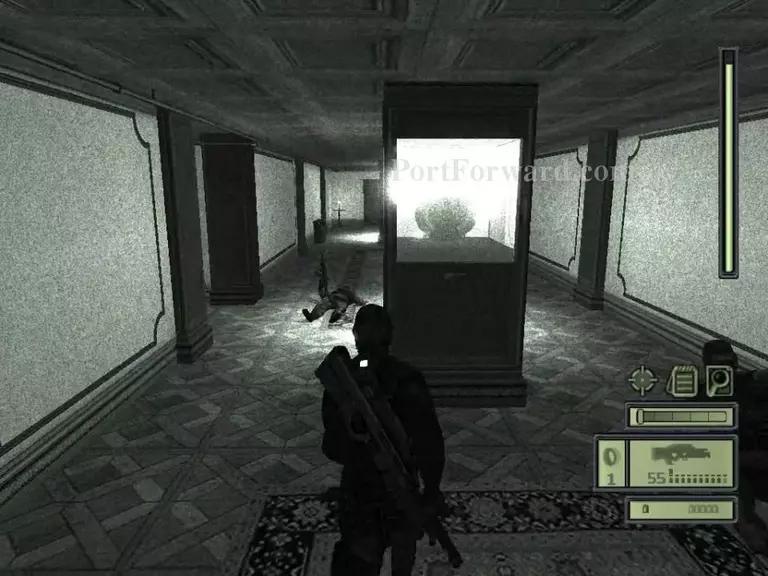
Enter the hall on your left after this second exhibition that;s in front of you.
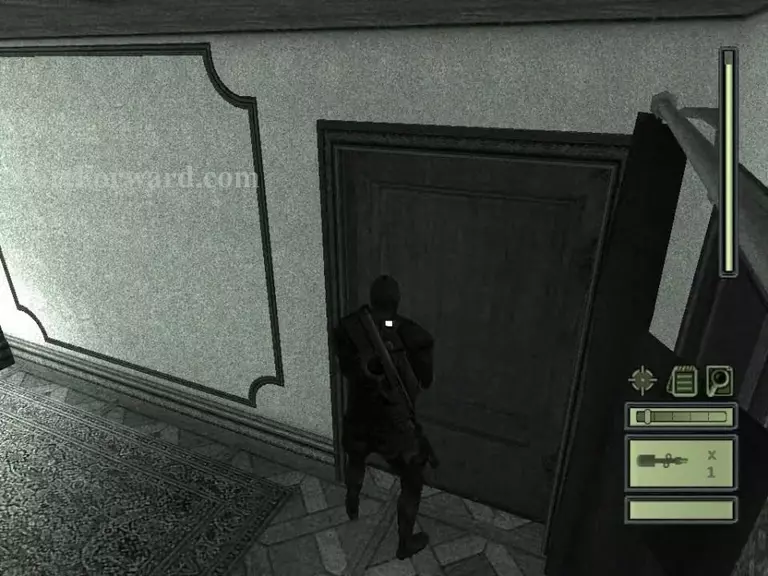
Enter the door on the left side of the hall.
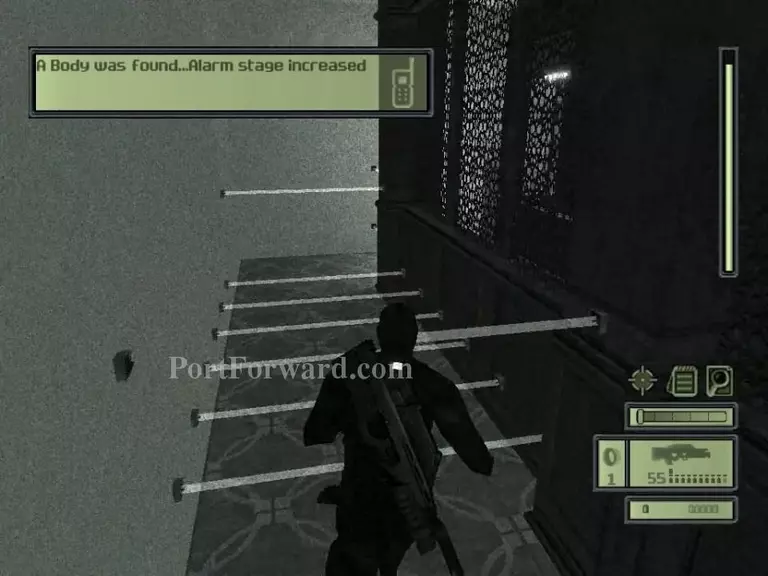
Rush through the alarms.
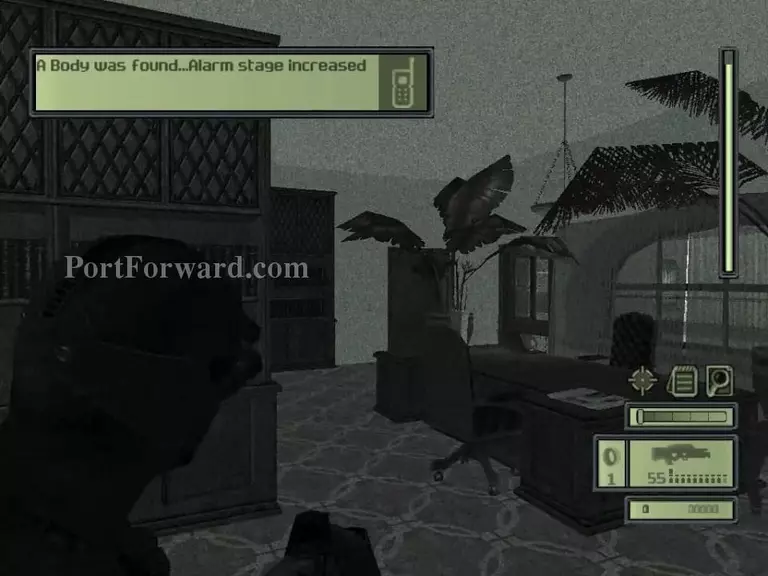
Wait for the guards to come out of the door and take them out.
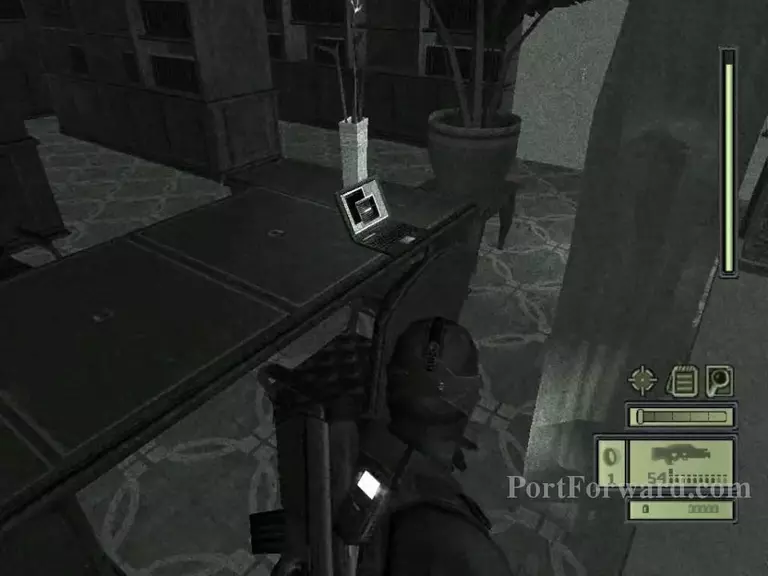
Go and use the computer on the desk.
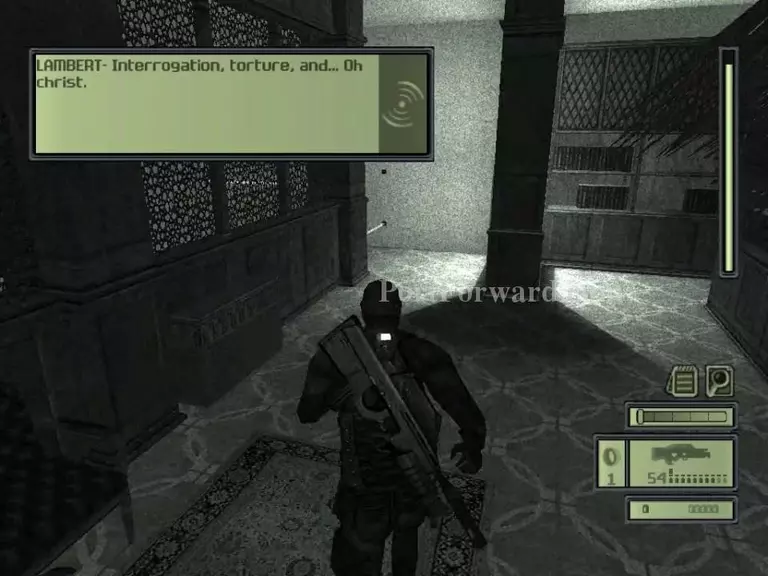
After that rush back to the door you came from and kill the guards that'll be there.
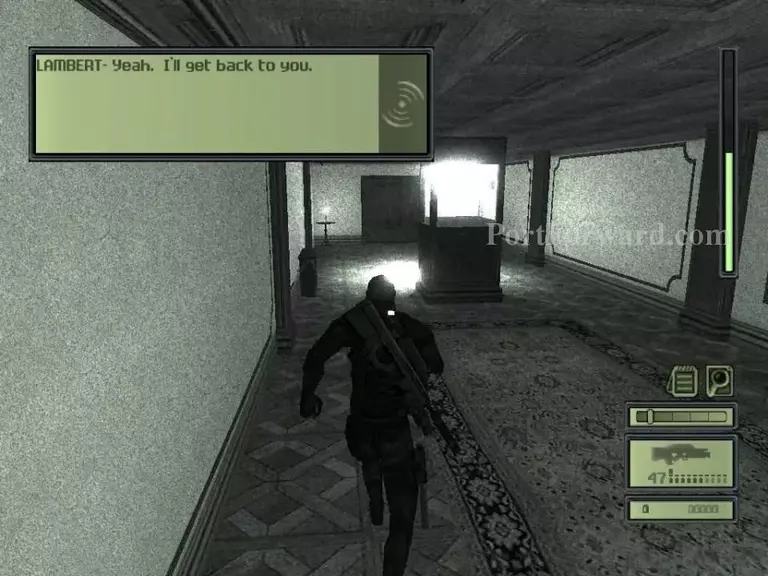
Head to the double doors on the end of the hall.

After taking out the guard that's inside, head inside the double doors.
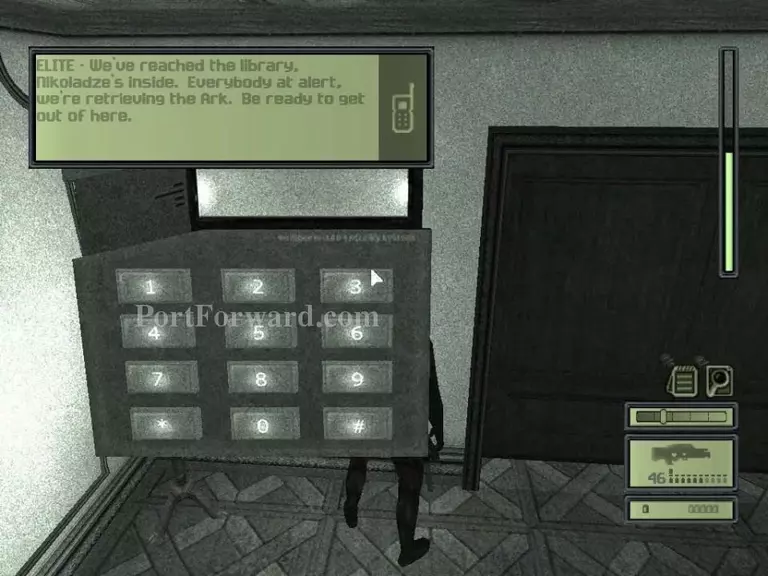
After the level loads, head down the hall to open the double doors with the keypad. Enter the code 66768.
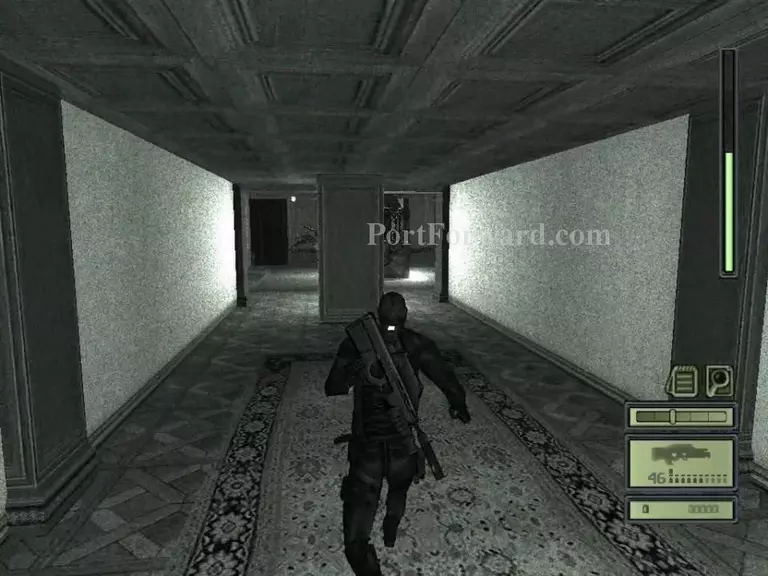
Head to the left and wait for the guards to pop out and kill them.
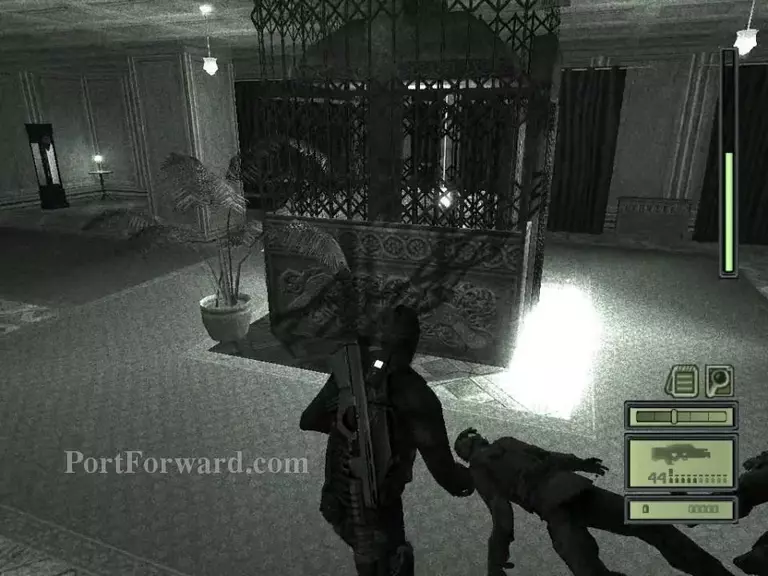
Then, get in the elevator in the center of the room and use it.
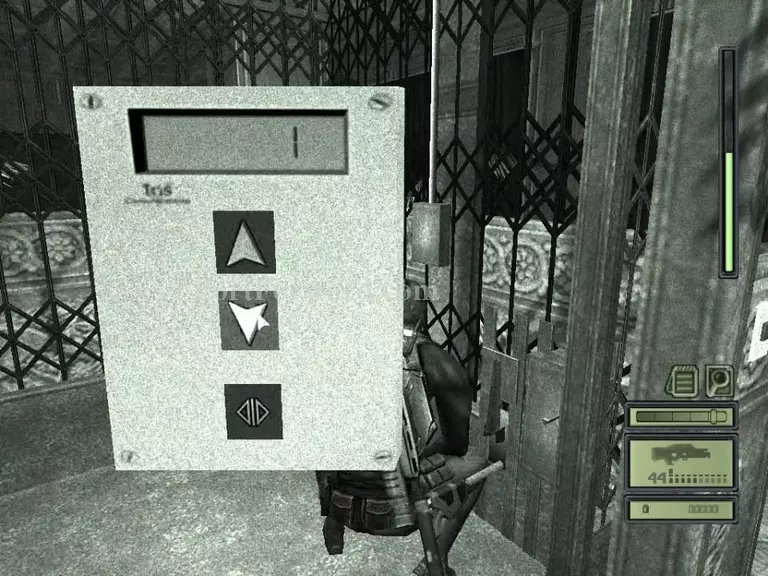
Descend down.
Head backwards to the right.
Enter the doorway that'll be there.
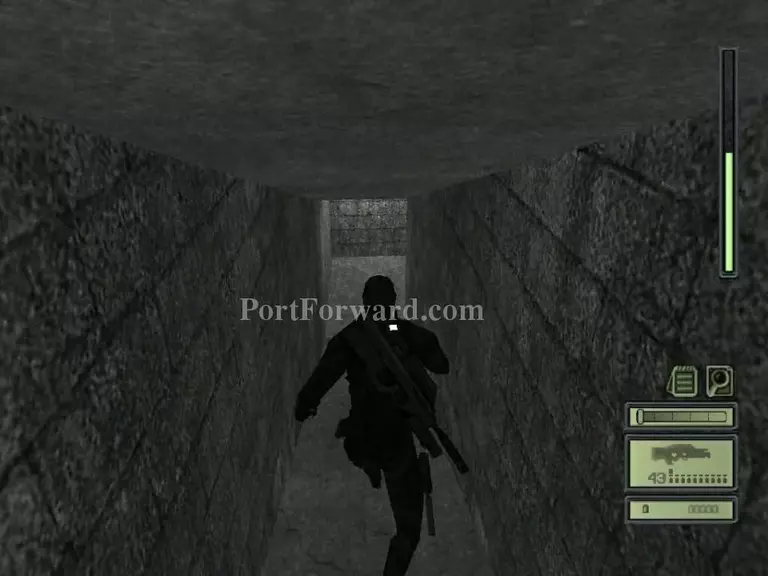
Follow the tunnel until you get to a room with lots of crates.
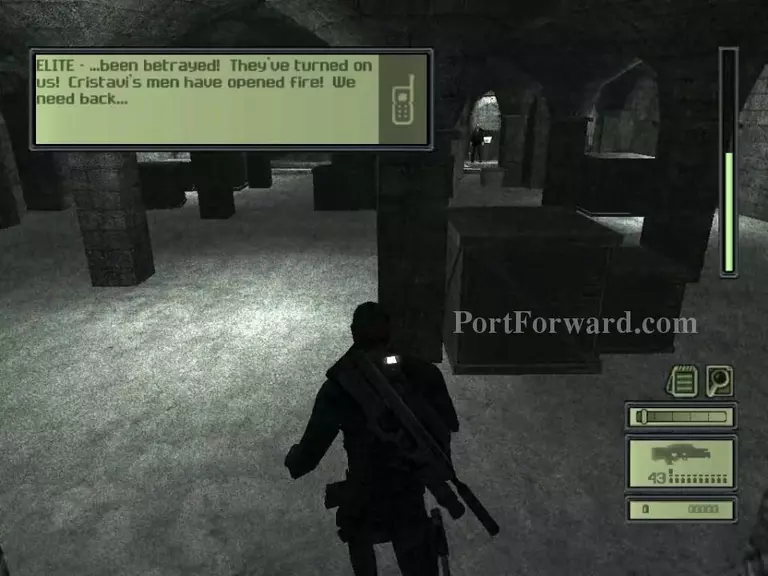
Your guy is right ahead, run and grab him.
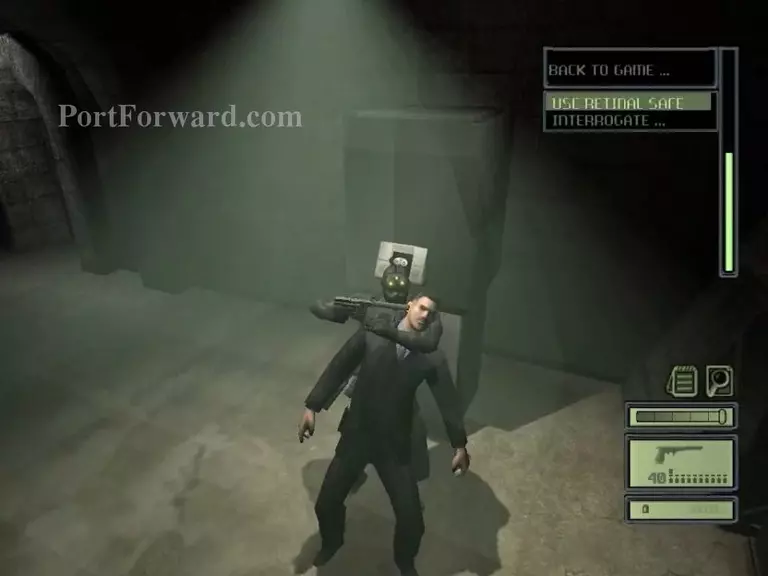
Walk him to the retinal scanner.
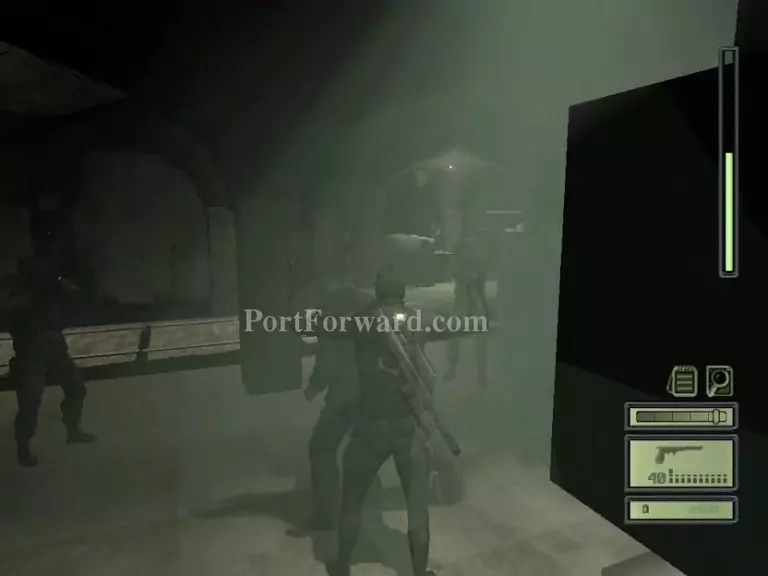
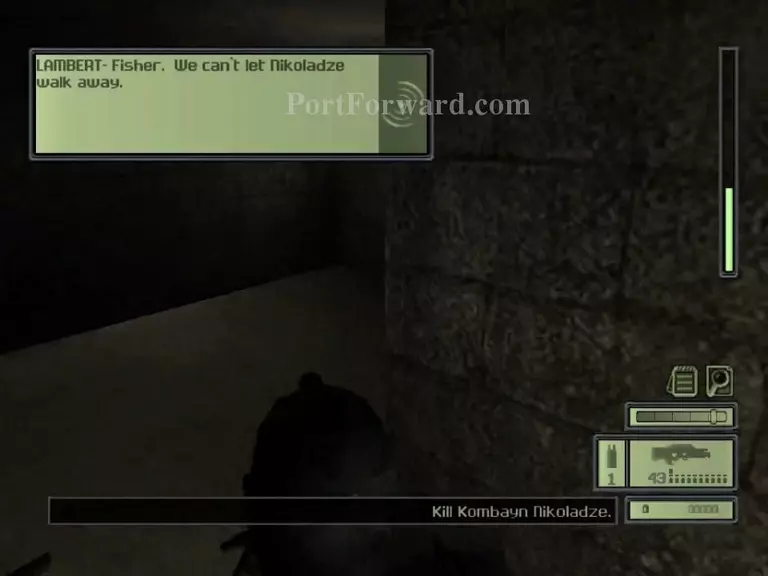
His guards will find you. Wait for him to talk.
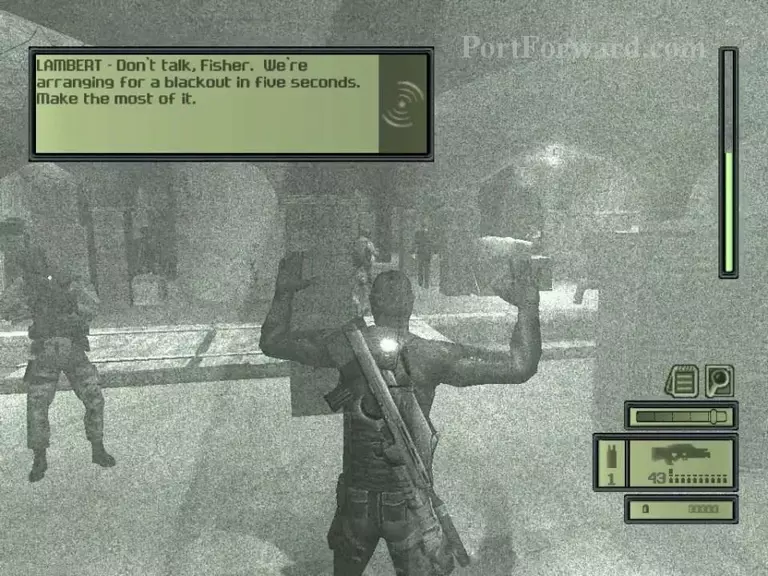
After the walks away, Lambert will tell you that he's going to do a blackout in the room. sO wait for it.
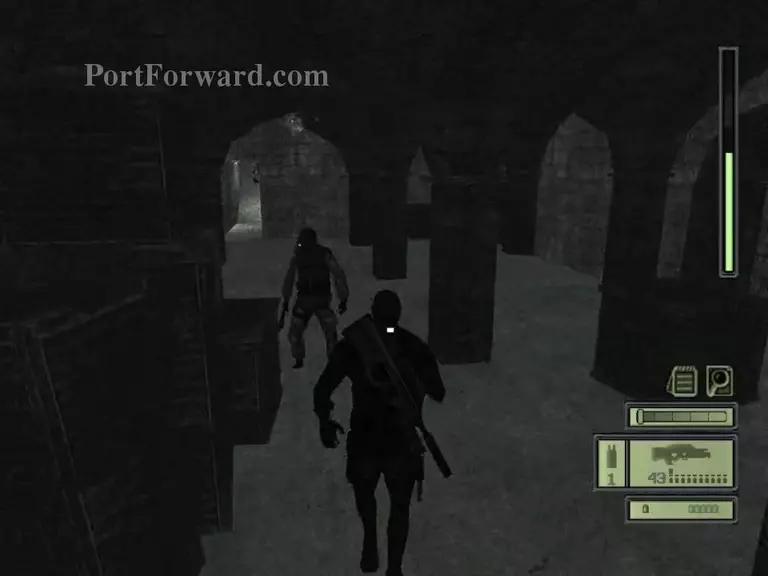
once it starts, run to the doorway you came from.
Turn to the right and go up the ramp and into the room.
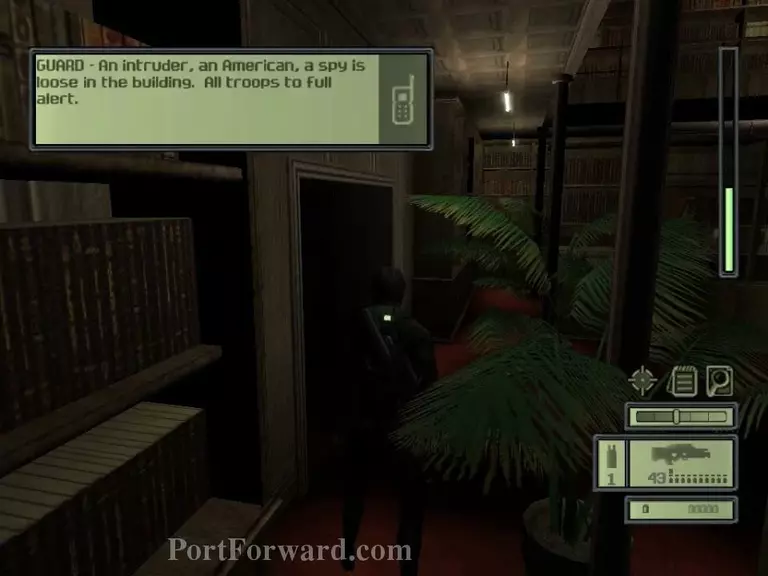
After the cutscene, go through the doorway to the left and head in the courtyard.
Get to the walkway on the right and take out the guard there.
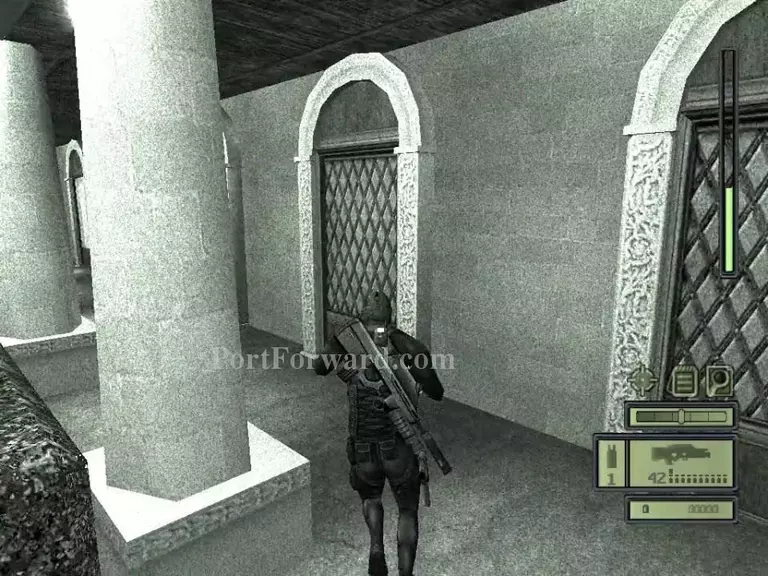
Run and jump up the pillar to the right of this pipe to get on the pipe and climb up.
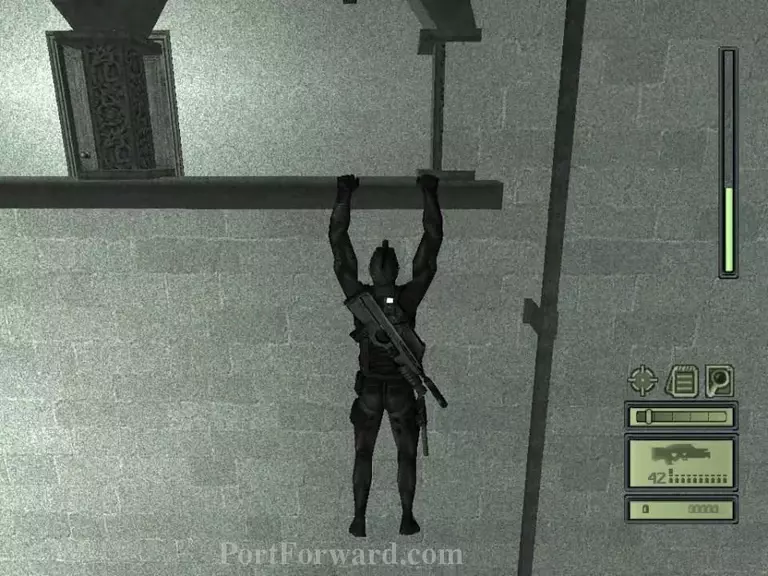
Get on this ledge that way and shimmy to the left and get in through the space.
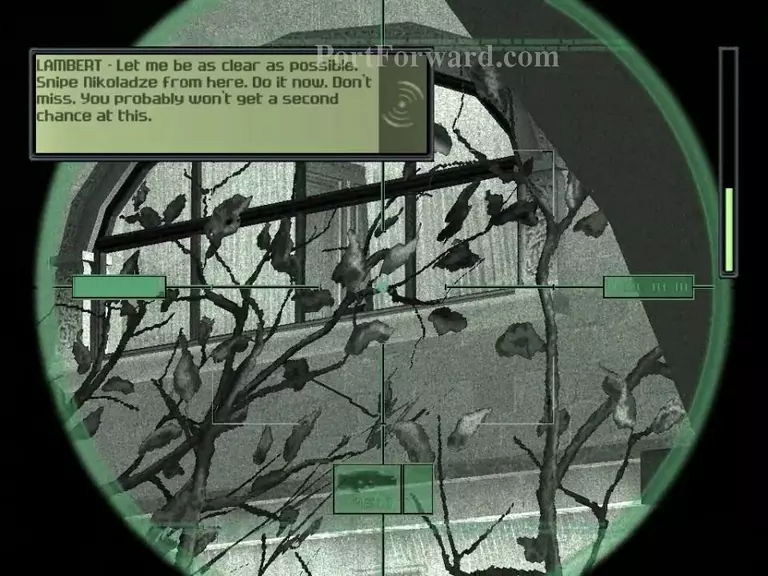
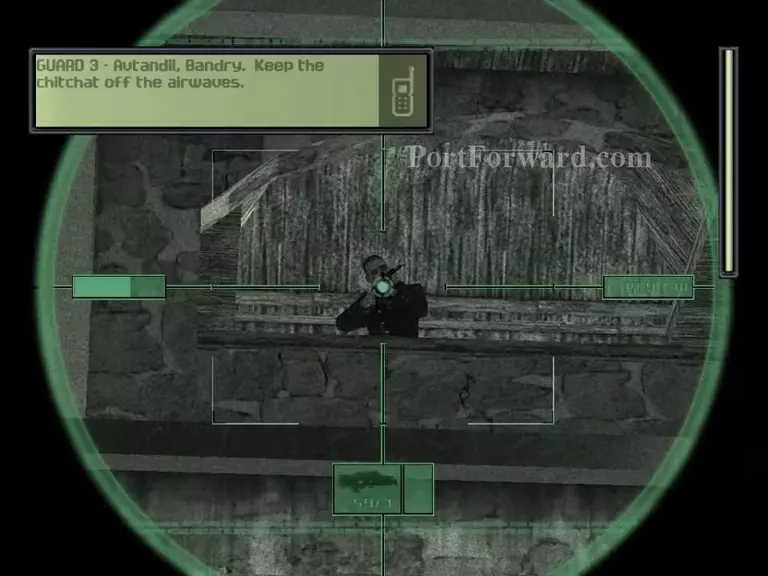
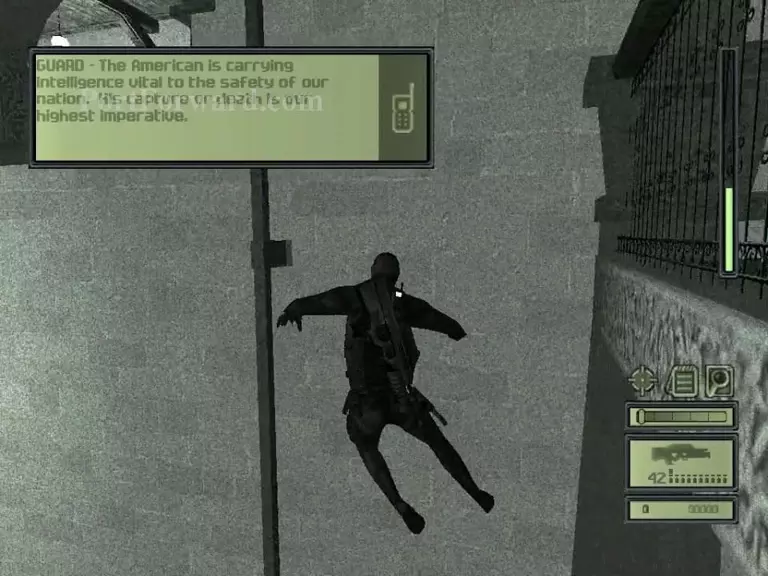
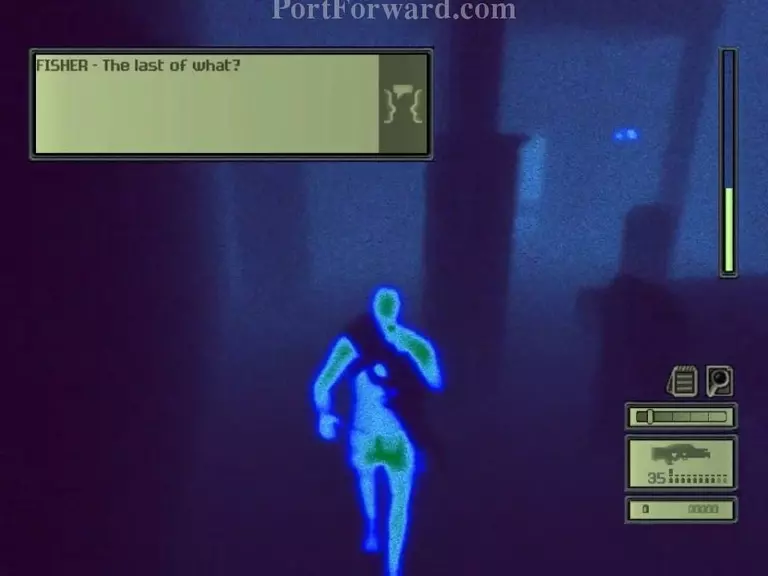
After the cutscene, zoom in on the window where your target is and kill him.
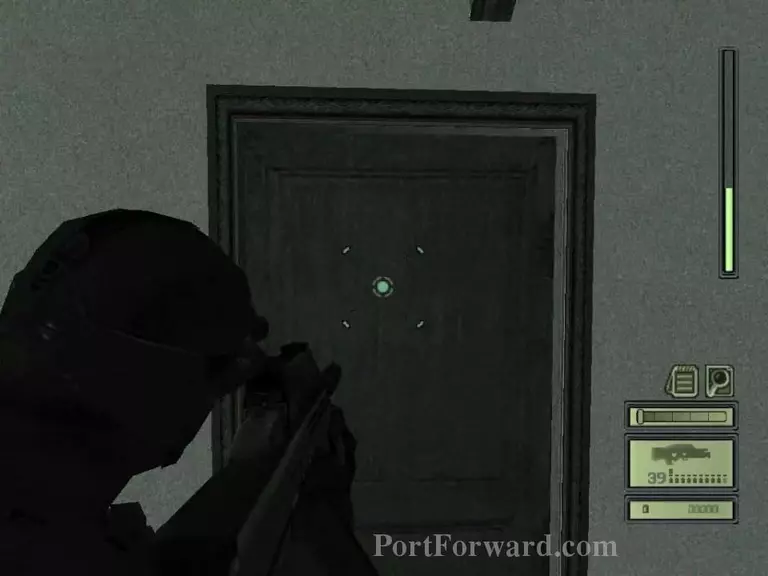
Then wait at the door that;s beside you for guards to come in. Take them out.
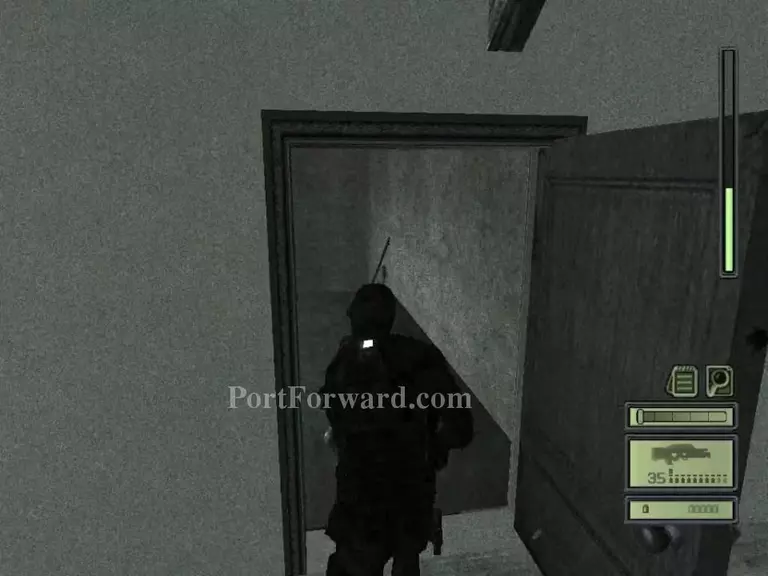
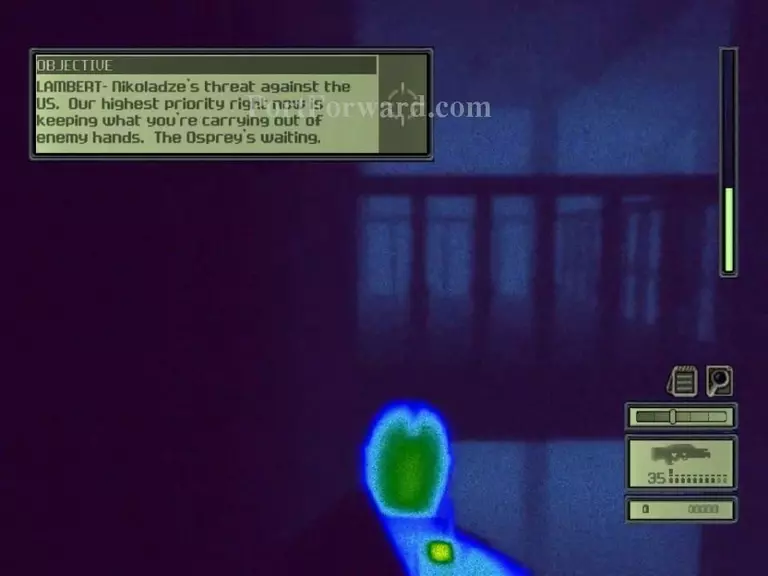
After that, head in.
Head to the end of the dining room and run and jump to get on the ledge.
Then jump to this balcony.
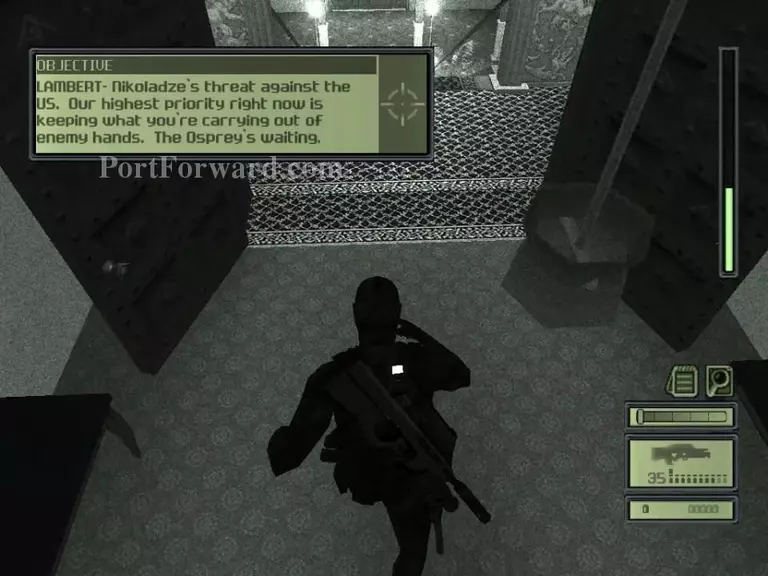
Open the doors and head down to the double doors. And that's it! Game over for the main missions! Thanks for checking out this walkthrough and game on!
More Splinter Cell Walkthroughs
This Splinter Cell walkthrough is divided into 9 total pages.