Star Trek: Elite Force II Walkthrough Demise

September 12, 2016 (Last Updated: ) | Reading Time: 5 minutes

This Star Trek: Elite Force II walkthrough is divided into 12 total pages.

You can jump to nearby pages of the game using the links above.

Demise

Star Trek: Elite Force II Walkthrough - Star Trek-Elite-Force-II 89

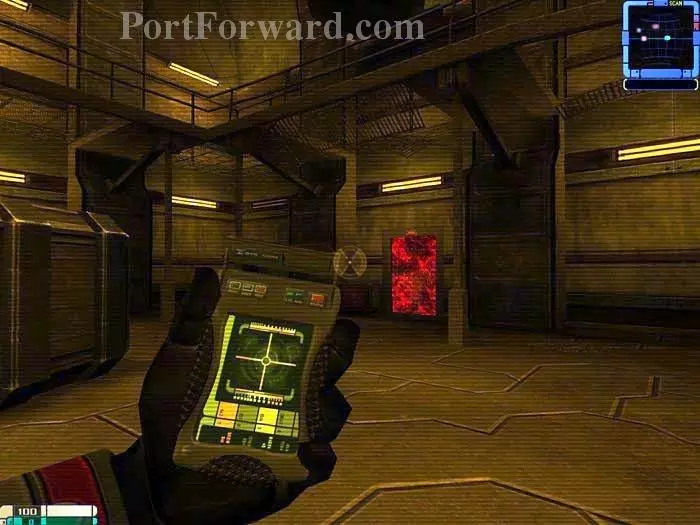
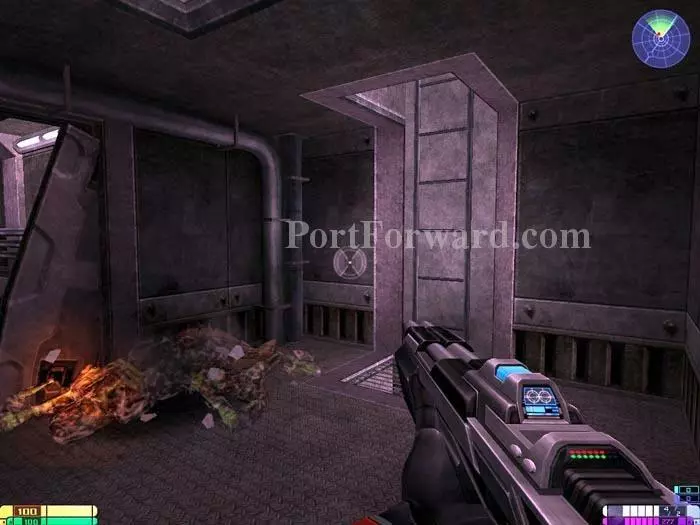
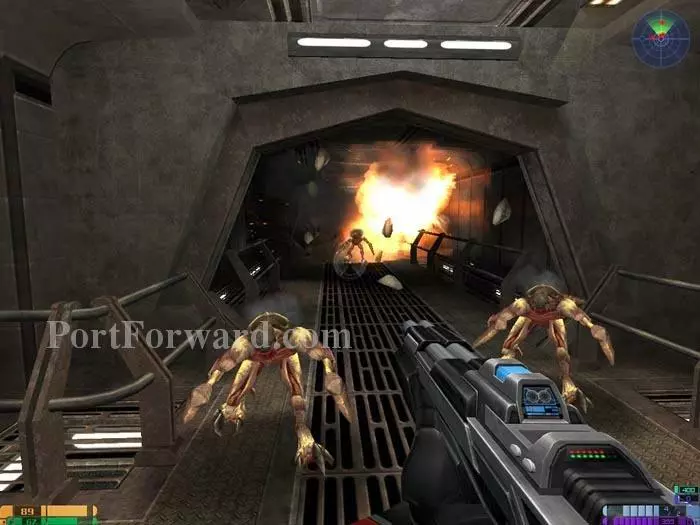
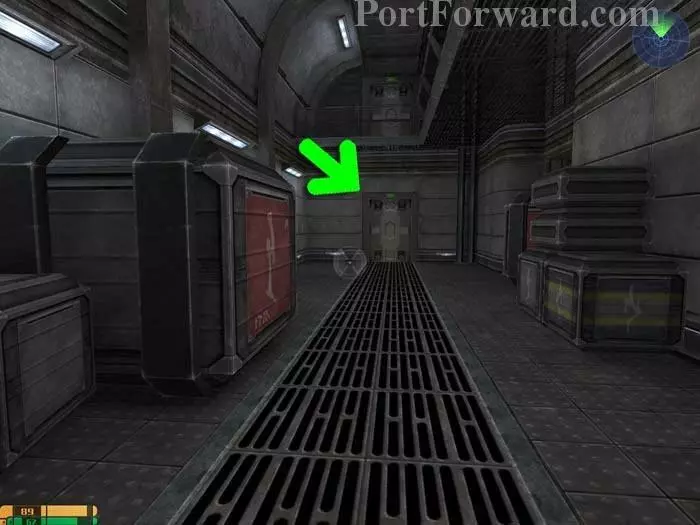
Use your tricorder's structural integrity view mode to spot the damaged door. Blast it to find a secret area.

Star Trek: Elite Force II Walkthrough - Star Trek-Elite-Force-II 90

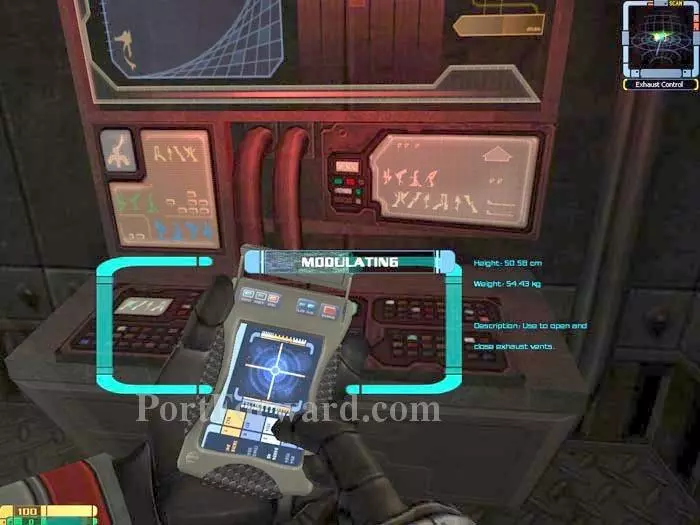
Inside you'll find health and energy terminals, as well as this Exhaust Vent Control terminal. Use your tricorder to shut down the fires outside.

Star Trek: Elite Force II Walkthrough - Star Trek-Elite-Force-II 91

Climb up these crates to reach the walkway above. A brief battle with the Xenomorphs follows.

Star Trek: Elite Force II Walkthrough - Star Trek-Elite-Force-II 92

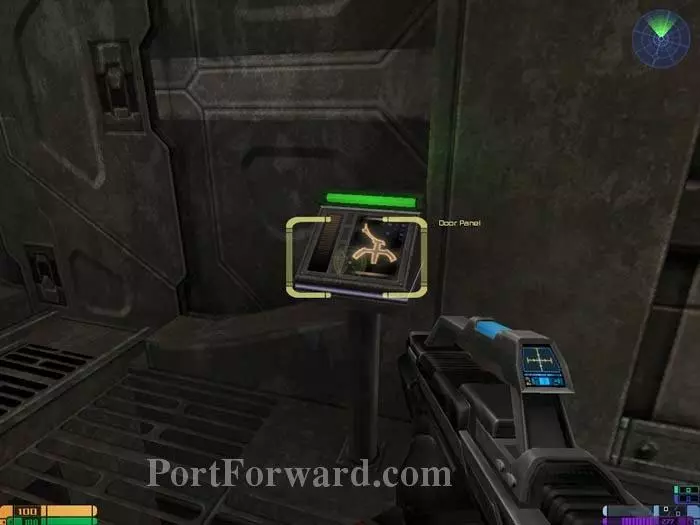
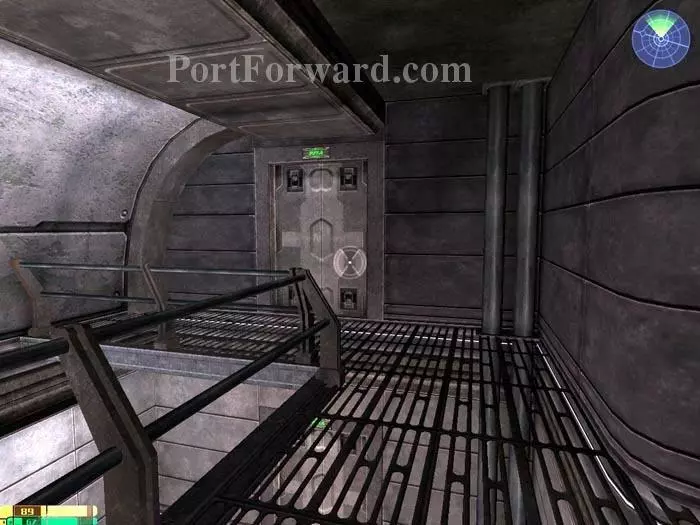
"Use" the door panel to open the door behind. Do the same on the next panel ahead.

Star Trek: Elite Force II Walkthrough - Star Trek-Elite-Force-II 93

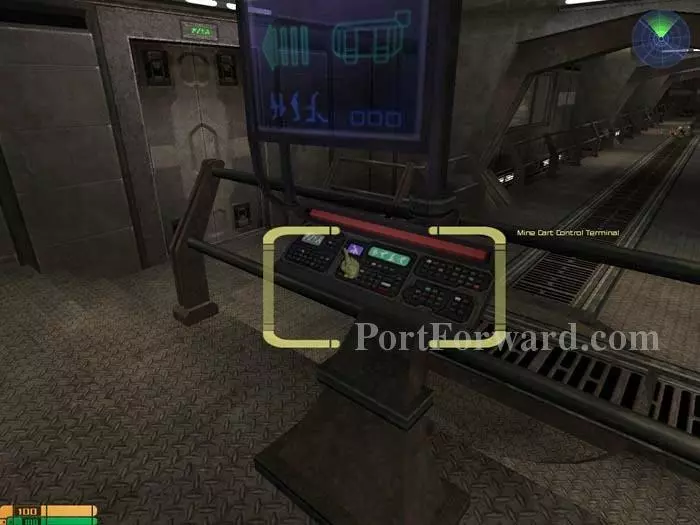
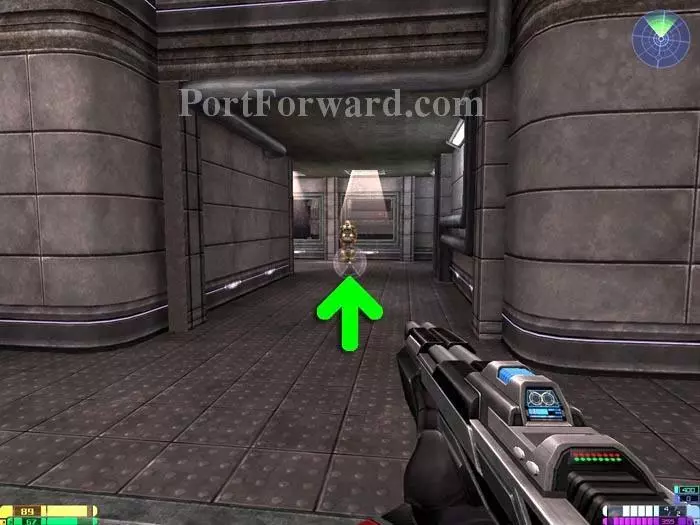
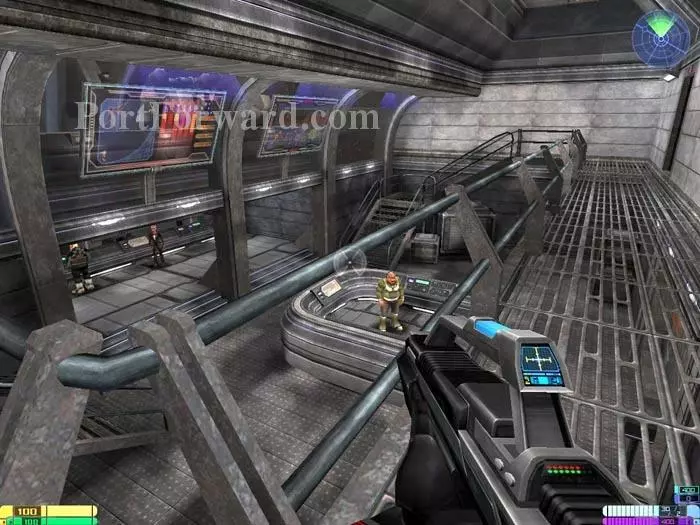
You'll battle some more Xenomorphs, and a grateful Attrexian emerges. "Use" this Mine Cart Control Terminal to discover that power is offline. Health and energy terminals are behind you. Continue through the green-lit door visible in the background.

Star Trek: Elite Force II Walkthrough - Star Trek-Elite-Force-II 94

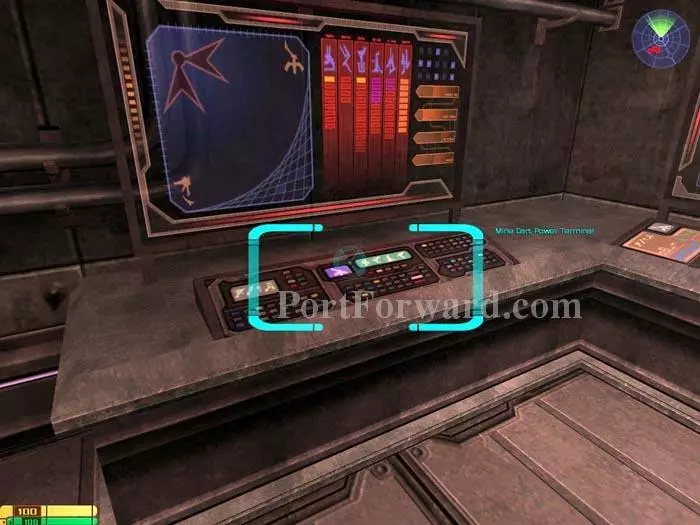
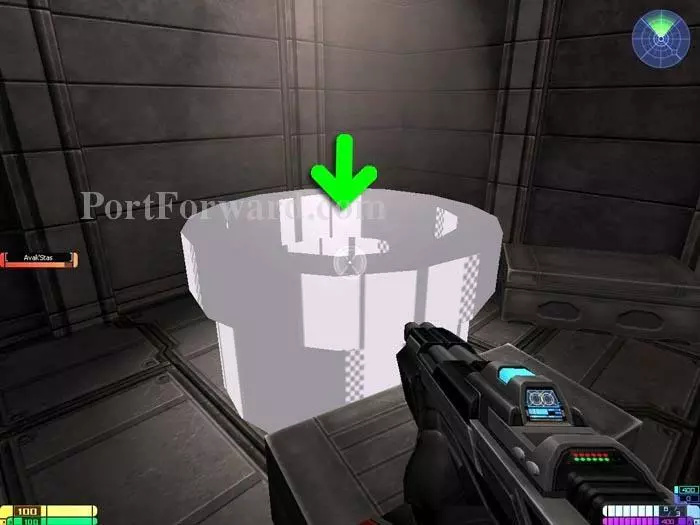
Use your tricorder on this Mine Cart Power Terminal while the Attrexian battles the Xenomorphs.

Star Trek: Elite Force II Walkthrough - Star Trek-Elite-Force-II 95

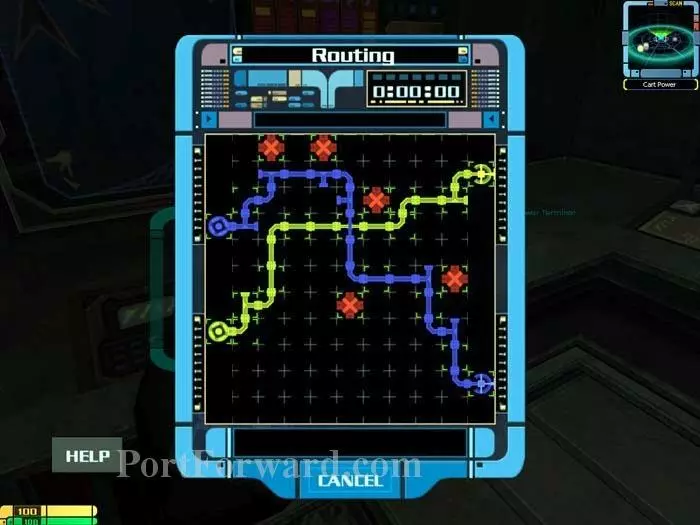
This one's a bit tricky. You must keep the yellow and blue lines separate.

Star Trek: Elite Force II Walkthrough - Star Trek-Elite-Force-II 96

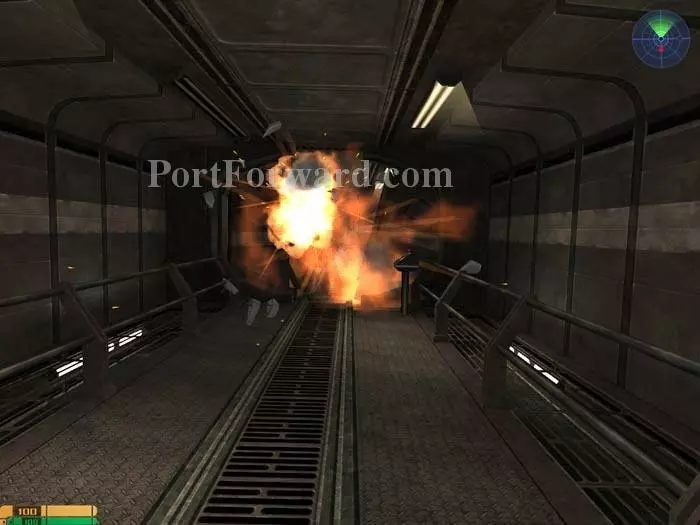
Return to the Mine Cart Control Terminal and send a mine cart crashing through the broken door.

Star Trek: Elite Force II Walkthrough - Star Trek-Elite-Force-II 97

Follow the green lights, battling any Xenomorphs on the way. Climb up this ladder. An energy terminal is at the top.

Star Trek: Elite Force II Walkthrough - Star Trek-Elite-Force-II 98

Again, follow the green-lit doors. This time the Xenomorphs are a bit tougher. Yikes! After the battle, a cutscene follows.

Star Trek: Elite Force II Walkthrough - Star Trek-Elite-Force-II 99

You must keep Avak'Stas alive. Xenomorphs enter the station through the hull, sucking out the air supply.

Star Trek: Elite Force II Walkthrough - Star Trek-Elite-Force-II 100

Fight against the rushing air to make your way through this door.

Star Trek: Elite Force II Walkthrough - Star Trek-Elite-Force-II 101

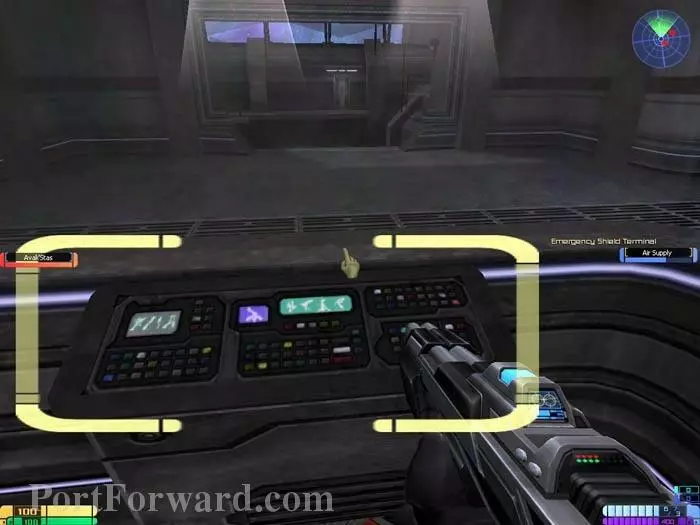
Before the air supply runs out, "use" this Emergency Shield Terminal to seal the rupture visible in the background.

Star Trek: Elite Force II Walkthrough - Star Trek-Elite-Force-II 102

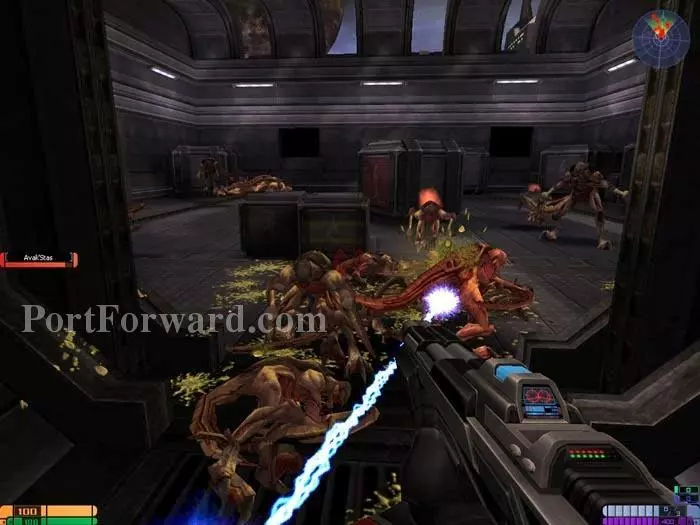
Follow Avak'Stas and defend him from the onslaught. He'll open the weapons locker.

Star Trek: Elite Force II Walkthrough - Star Trek-Elite-Force-II 103

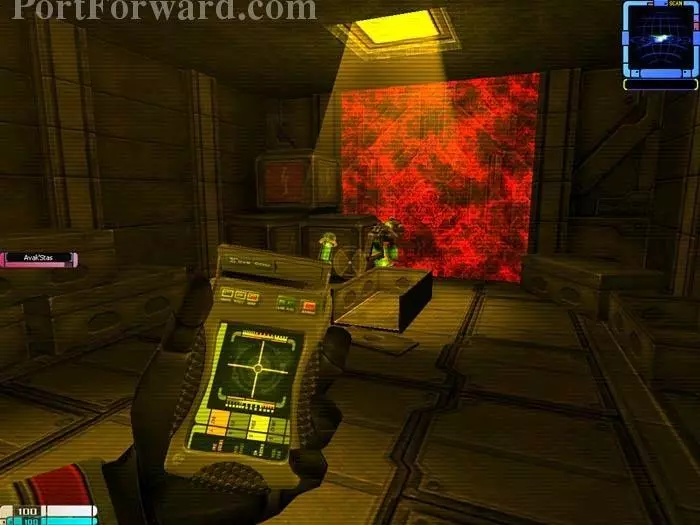
Enter the weapons locker. Inside you'll find power and health -- and a really nice surprise. Blast this wall with your Assault Rifle's secondary fire.

Star Trek: Elite Force II Walkthrough - Star Trek-Elite-Force-II 104

Jump on in! Anyone remember Lidsville?

Star Trek: Elite Force II Walkthrough - Star Trek-Elite-Force-II 105

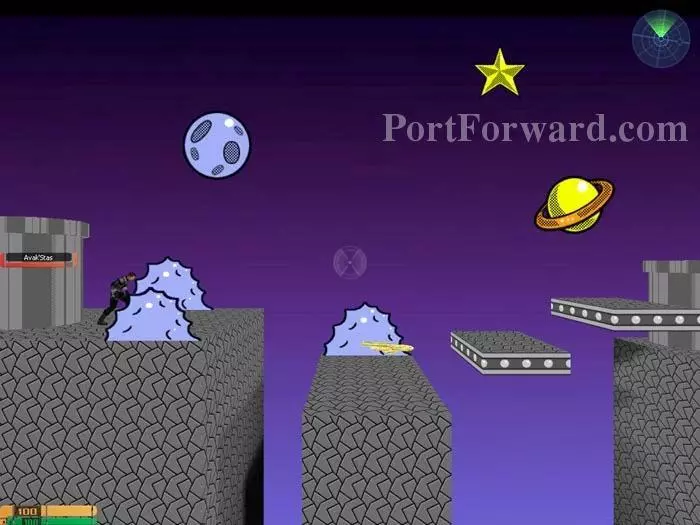
Woot! An old-fashioned side-scroller. Golden Starships 15-20 are available for the picking! Note: Quicksave works here.

Star Trek: Elite Force II Walkthrough - Star Trek-Elite-Force-II 106

Exit through this door then return to the other Attrexians and a cutscene.

Star Trek: Elite Force II Walkthrough - Star Trek-Elite-Force-II 107

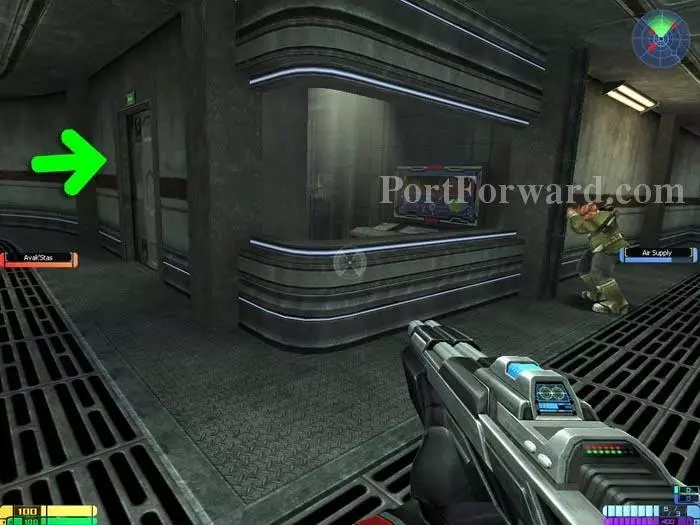
Continue through this door behind the Attrexians, turn left, then exit through the large door to a lift.

Star Trek: Elite Force II Walkthrough - Star Trek-Elite-Force-II 108

Take the lift up and battle the Xenomorphs, finally passing through a green-lit door.

Star Trek: Elite Force II Walkthrough - Star Trek-Elite-Force-II 109

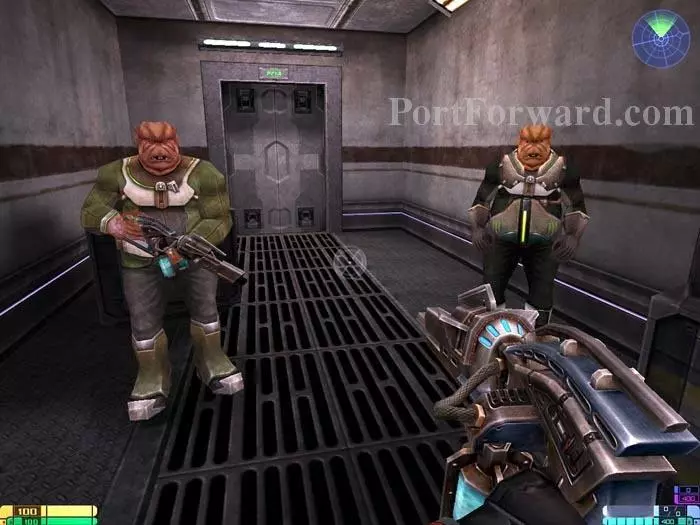
Approach this Attrexian to view another cutscene.

Star Trek: Elite Force II Walkthrough - Star Trek-Elite-Force-II 110

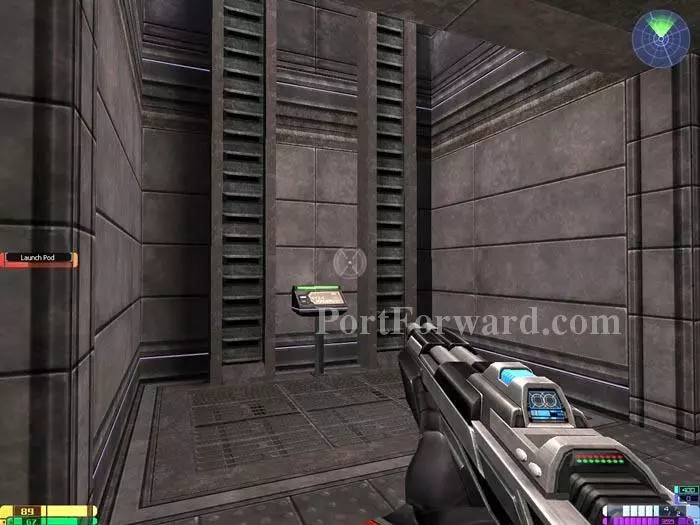
Wait for the Attrexian to get this lift working, then jump on.

Star Trek: Elite Force II Walkthrough - Star Trek-Elite-Force-II 111

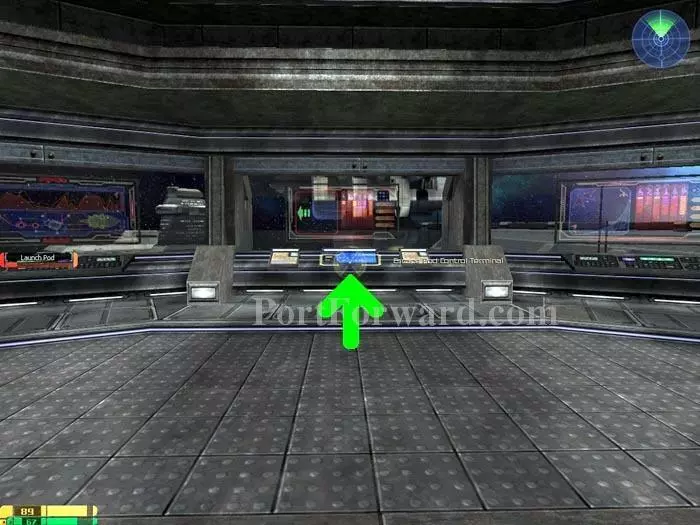
Take the lift up then "use" this Escape Pod Control Terminal to launch the escape pod.

Star Trek: Elite Force II Walkthrough - Star Trek-Elite-Force-II 112

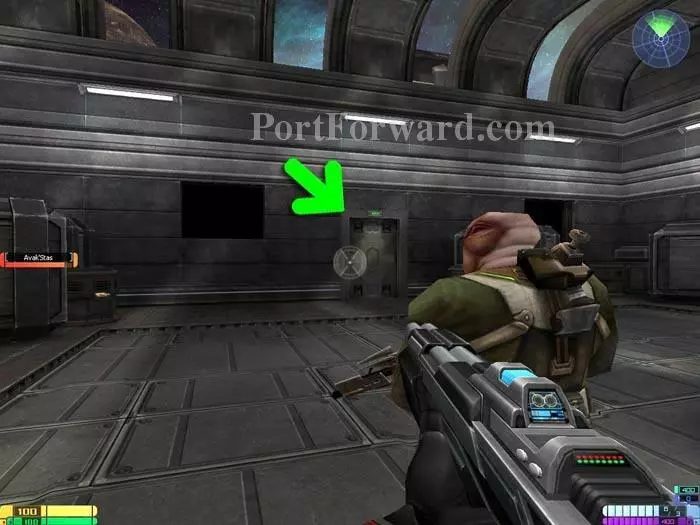
Take the lift back down and the Attrexian offers, "Thank you. Can we offer you some energy for your weapon?" Inside the indicated room you'll find an energy terminal and 50 plasma.

Star Trek: Elite Force II Walkthrough - Star Trek-Elite-Force-II 113

Exit through this door and battle the Xenomorphs on the other side. Inside are several vials of Idryllium.

Star Trek: Elite Force II Walkthrough - Star Trek-Elite-Force-II 114

Return to the lift then leave through this door. Climb the ladder to find energy and health.

Star Trek: Elite Force II Walkthrough - Star Trek-Elite-Force-II 115

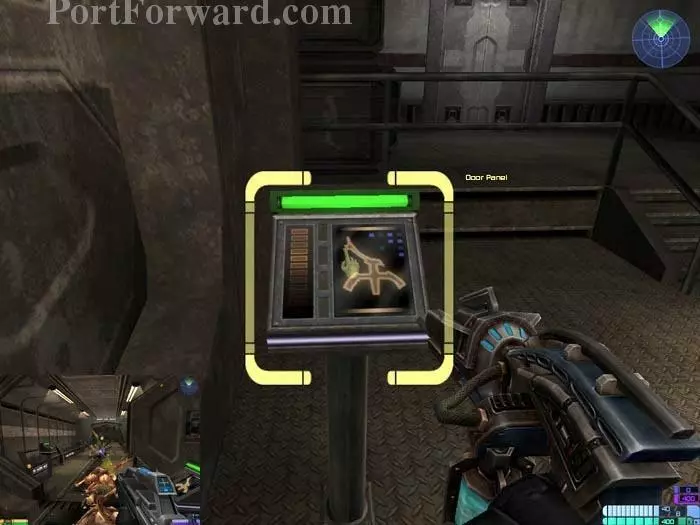
"Use" this Door Panel to open the adjacent door, then battle the Xenomorphs beyond.

Star Trek: Elite Force II Walkthrough - Star Trek-Elite-Force-II 116

The Command Center is just ahead. Take the stairs down to view a cutscene.

Star Trek: Elite Force II Walkthrough - Star Trek-Elite-Force-II 117

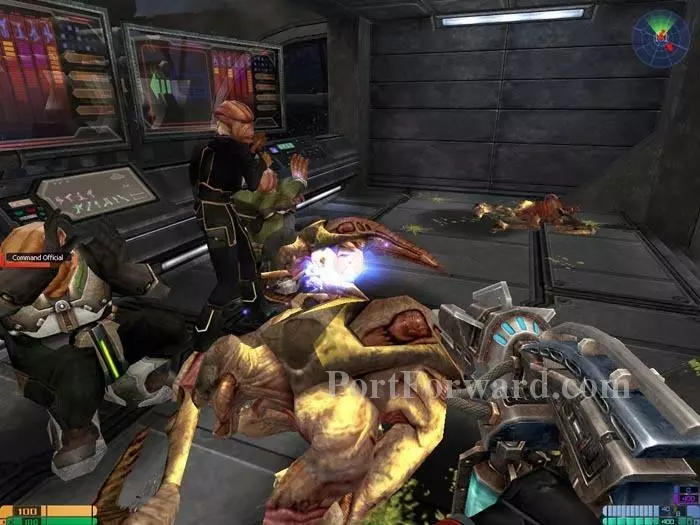
Protect the Command Official then view a series of cutscenes.

Star Trek: Elite Force II Walkthrough - Star Trek-Elite-Force-II 118

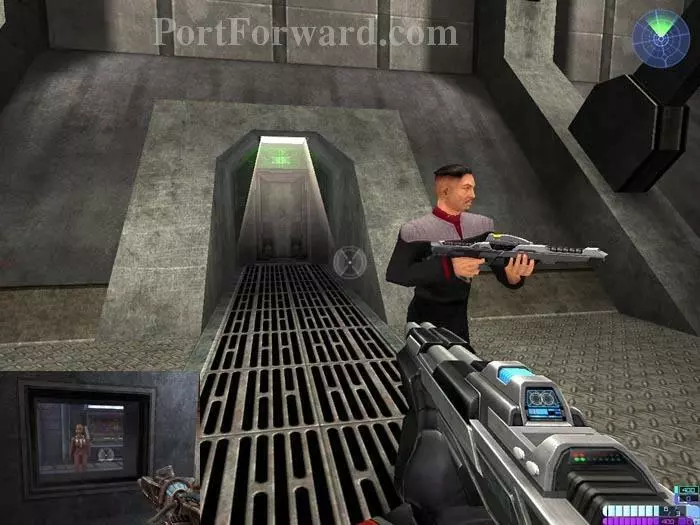
Enter this door behind Jorge, then another to the trapped Attrexian Chief Engineer.

Star Trek: Elite Force II Walkthrough - Star Trek-Elite-Force-II 119

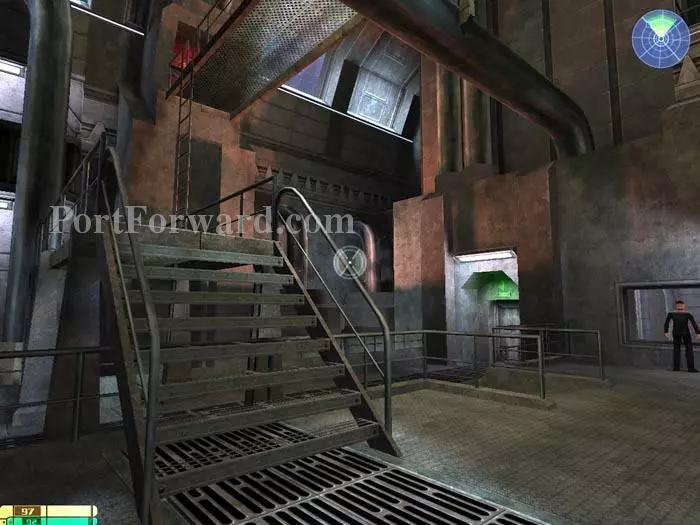
Follow these stairs and go up the ladder.

Star Trek: Elite Force II Walkthrough - Star Trek-Elite-Force-II 120

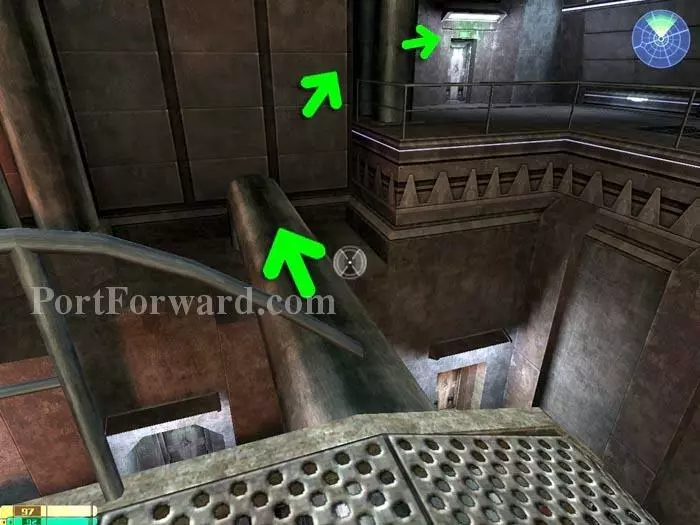
Walk across the pipe, jump over the railing and exit through the green-lit door.

Star Trek: Elite Force II Walkthrough - Star Trek-Elite-Force-II 121

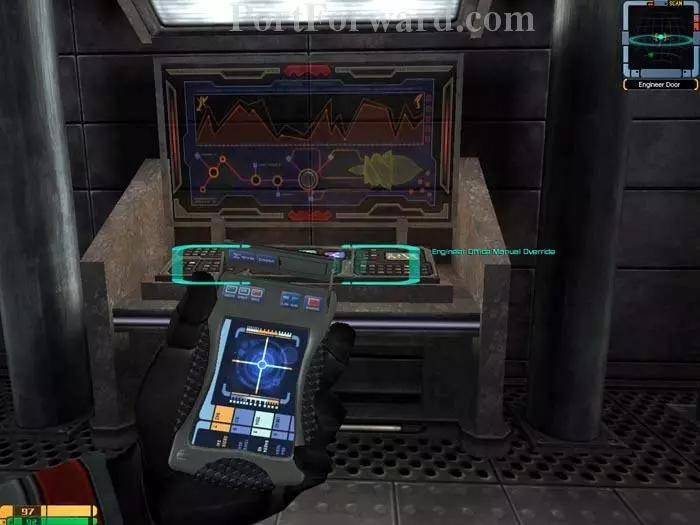
Use your tricorder on the Engineer Office Manual Override. You'll also find some Idryllium inside.

Star Trek: Elite Force II Walkthrough - Star Trek-Elite-Force-II 122

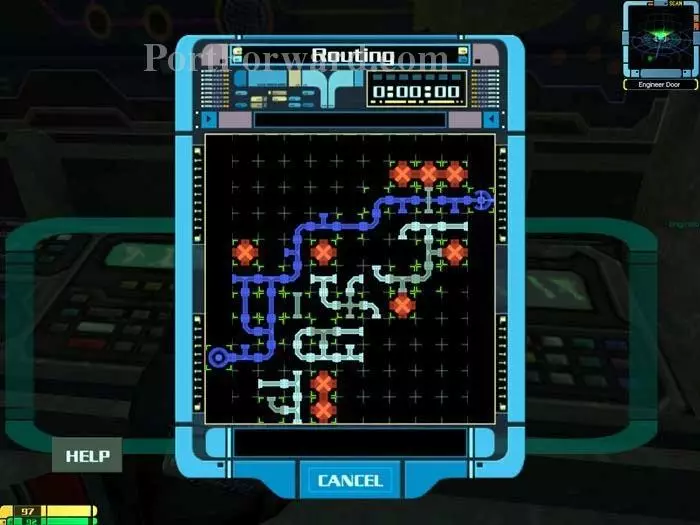
The toughest one yet. That cross-gate in the upper-right only flows straight across, so you're safe on the sides.

Star Trek: Elite Force II Walkthrough - Star Trek-Elite-Force-II 123

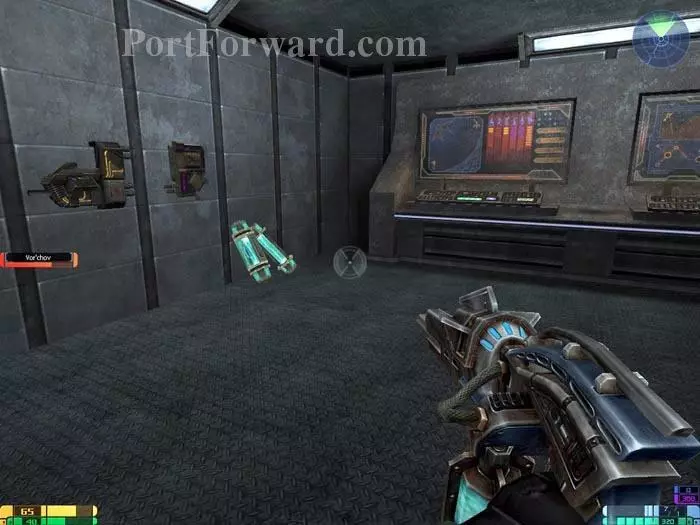
Return the way you came, then pass through the now-green door to rescue Vor'chov.

Star Trek: Elite Force II Walkthrough - Star Trek-Elite-Force-II 124

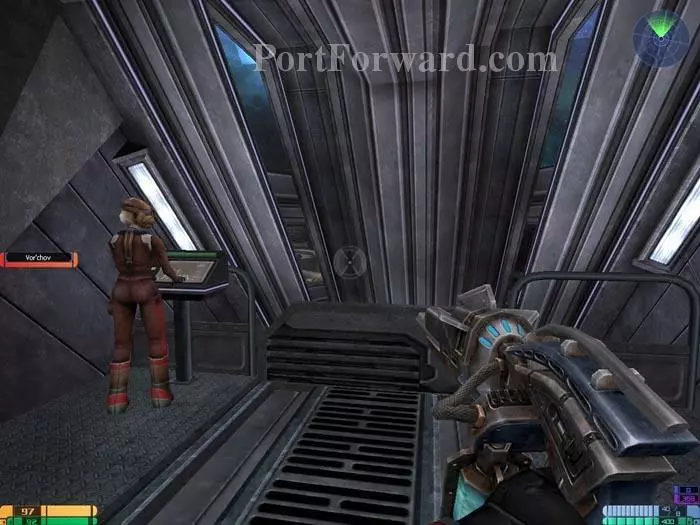
Get on the lift and accompany Vor'chov as she gets the three generators back online.

Star Trek: Elite Force II Walkthrough - Star Trek-Elite-Force-II 125

While Vor'chov works on the generators, return to the lift.

Star Trek: Elite Force II Walkthrough - Star Trek-Elite-Force-II 126

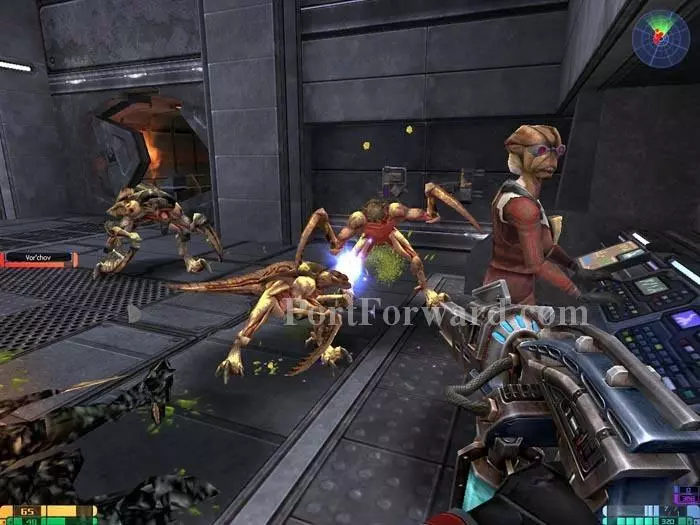
Take the lift back up before Vor'chov gets all three generators online. You'll find a secret area with Idryllium, health and energy terminals. The Xenomorphs will chase you to the lift and ignore Vor'chov.

More Star Trek: Elite Force II Walkthroughs

This Star Trek: Elite Force II walkthrough is divided into 12 total pages.

More From Portforward