Star Trek: Elite Force II Walkthrough Discovery

September 12, 2016 (Last Updated: ) | Reading Time: 11 minutes

This Star Trek: Elite Force II walkthrough is divided into 12 total pages.

You can jump to nearby pages of the game using the links above.

Discovery

Star Trek: Elite Force II Walkthrough - Star Trek-Elite-Force-II 127

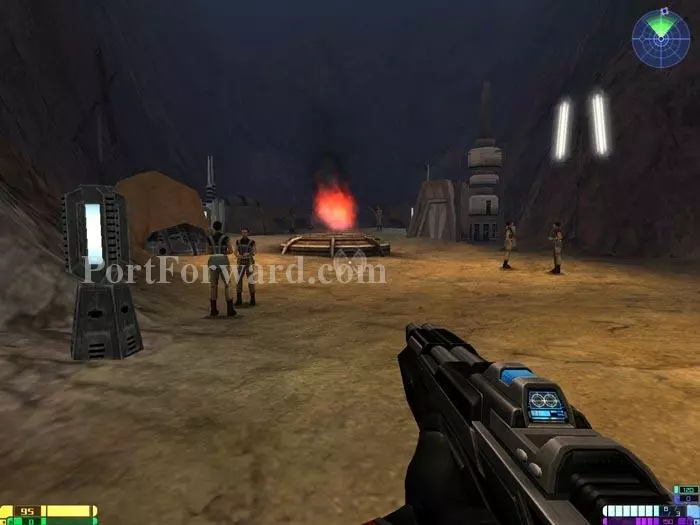
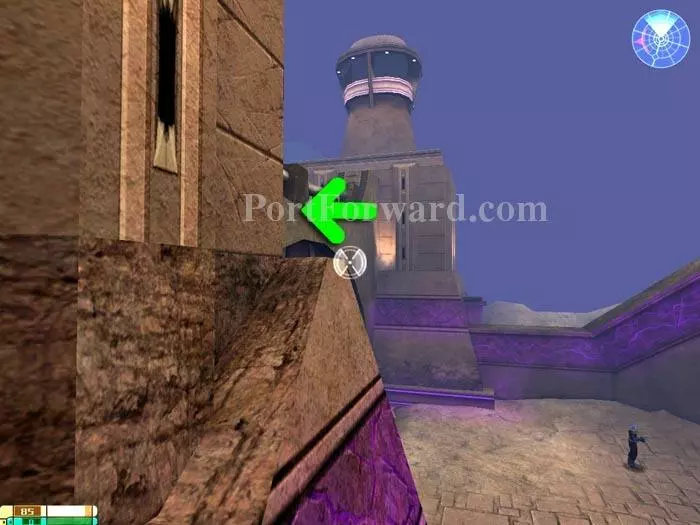
The 22nd Golden Starship is found above the rock bridge, as seen from atop the strange shuttle. Follow the path to the Idryll archeologists and a cutscene. Follow your beacon into the dig site to exit the area.

Star Trek: Elite Force II Walkthrough - Star Trek-Elite-Force-II 128

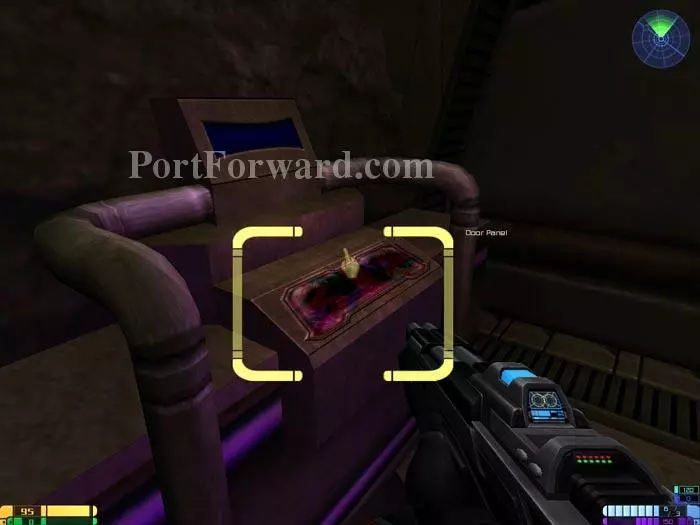
"Use" this Door Panel to discover that main power is offline and update your objectives.

Star Trek: Elite Force II Walkthrough - Star Trek-Elite-Force-II 129

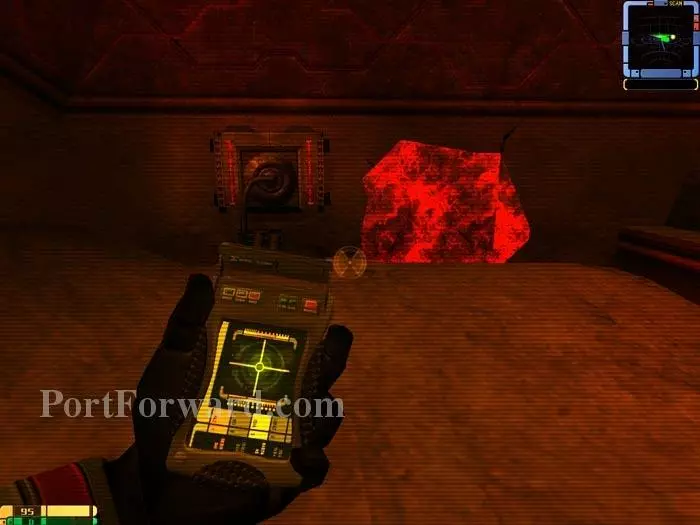
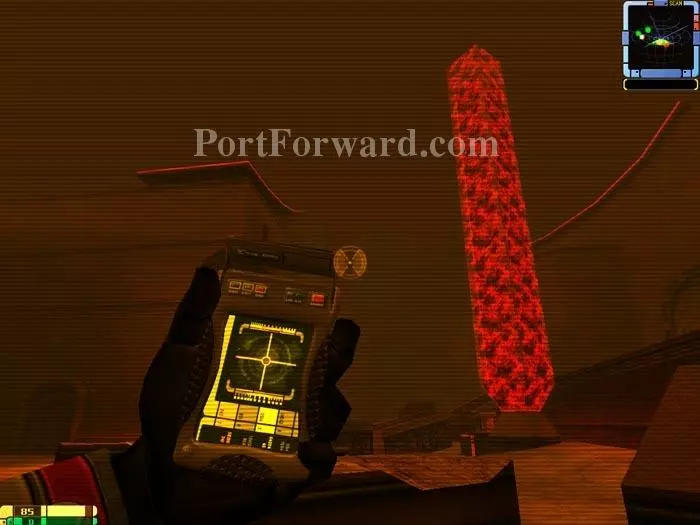
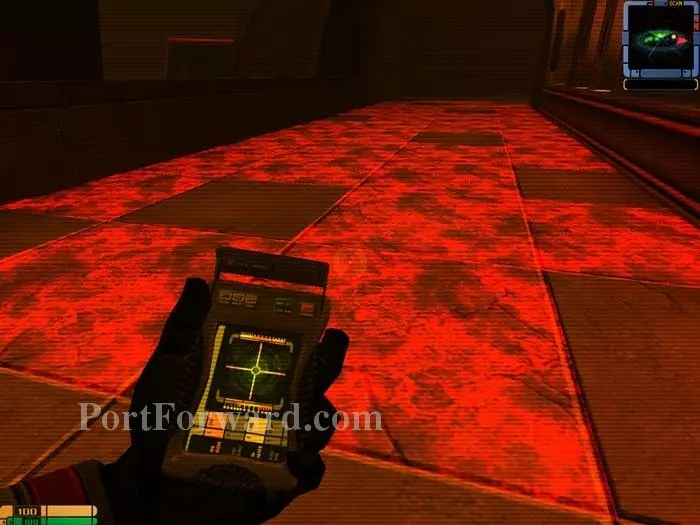
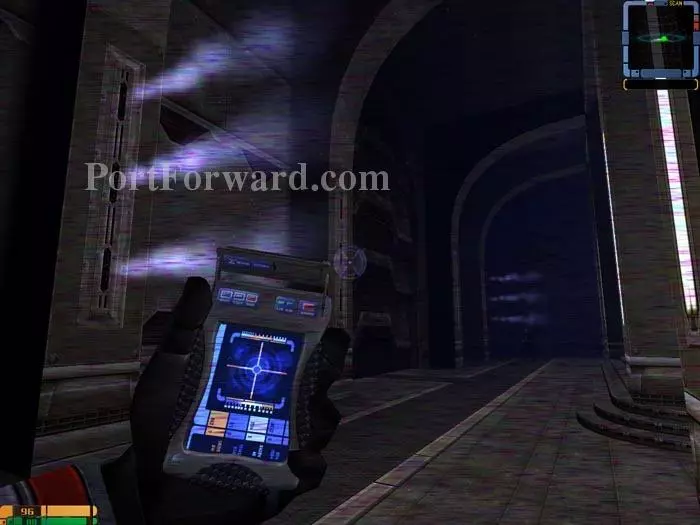
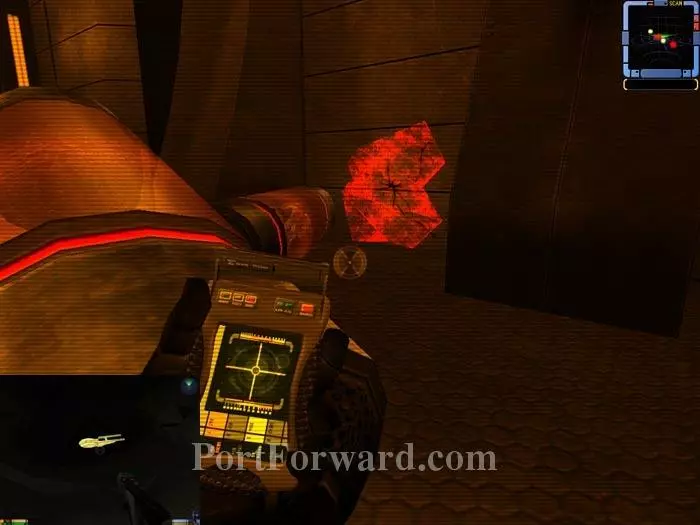
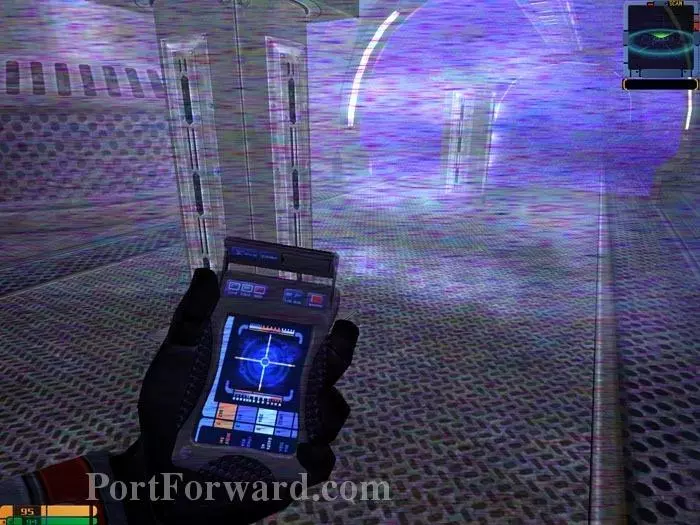
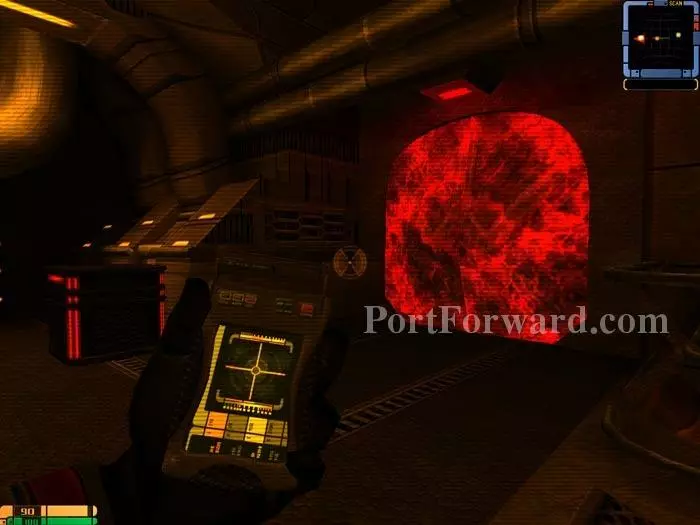
Your tricorder's Structural Integrity View Mode highlights the cracks in this wall. Blast and enter.

Star Trek: Elite Force II Walkthrough - Star Trek-Elite-Force-II 130

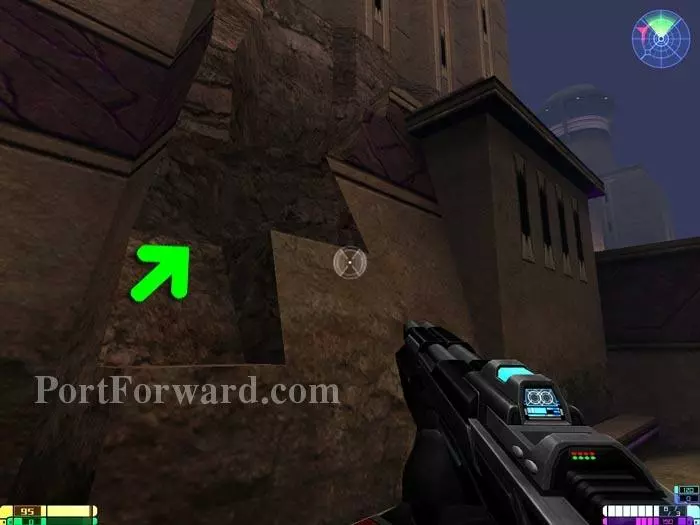
Ascend the conveniently stair-like ruins.

Star Trek: Elite Force II Walkthrough - Star Trek-Elite-Force-II 131

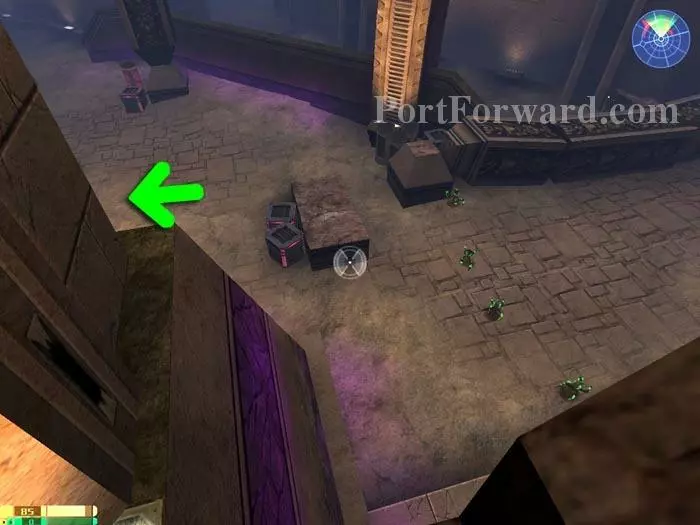
Continue around the corner to the left.

Star Trek: Elite Force II Walkthrough - Star Trek-Elite-Force-II 132

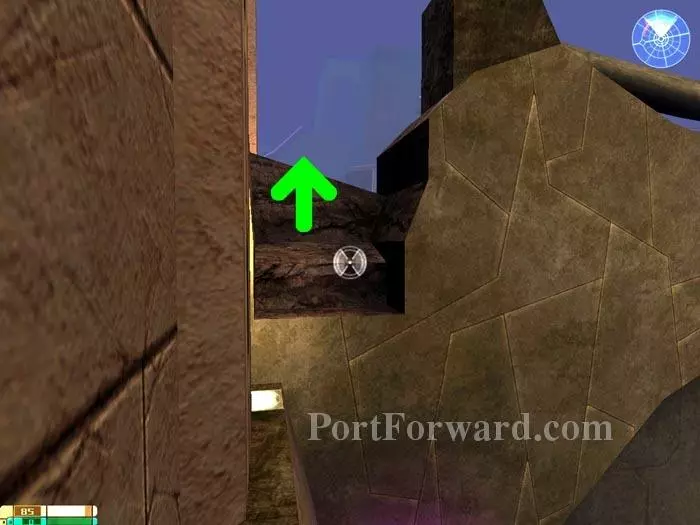
Ascend over this ridge.

Star Trek: Elite Force II Walkthrough - Star Trek-Elite-Force-II 133

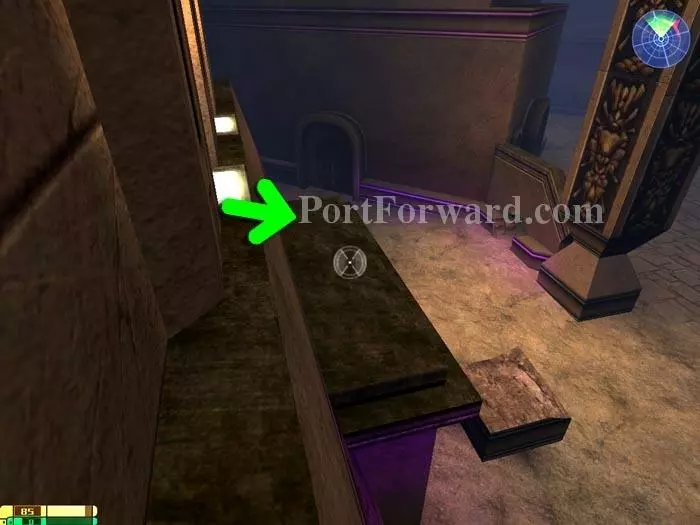
Carefully step around this corner.

Star Trek: Elite Force II Walkthrough - Star Trek-Elite-Force-II 134

Hop down to this ledge.

Star Trek: Elite Force II Walkthrough - Star Trek-Elite-Force-II 135

Lastly, jump down to this block then step onto the ground.

Star Trek: Elite Force II Walkthrough - Star Trek-Elite-Force-II 136

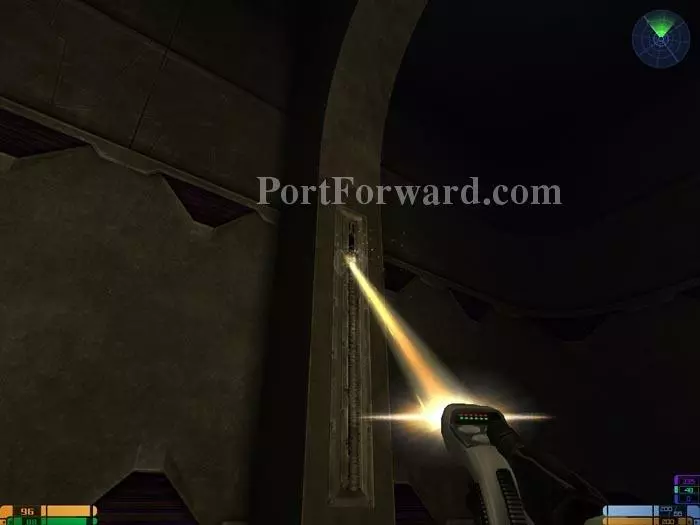
Use your Assault Rifle's secondary fire on the Idryllglicium next to this weakened column. The column falls on the wall behind it.

Star Trek: Elite Force II Walkthrough - Star Trek-Elite-Force-II 137

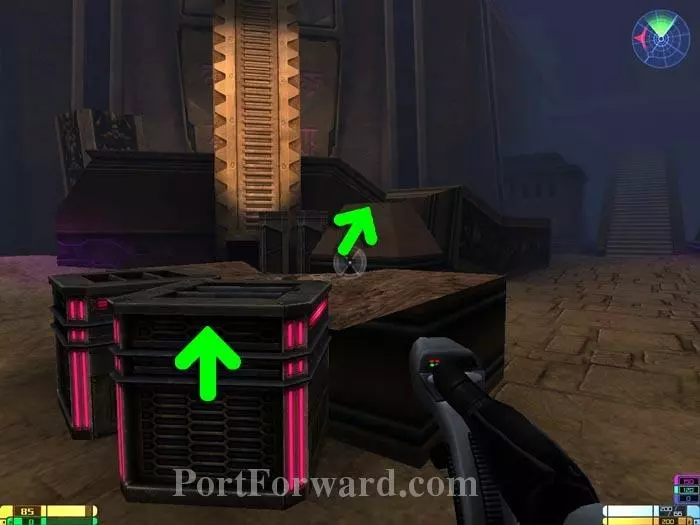
Climb onto the crates and smaller debris to make your way atop the fallen column.

Star Trek: Elite Force II Walkthrough - Star Trek-Elite-Force-II 138

Continue across the column to the 23rd Golden Starship.

Star Trek: Elite Force II Walkthrough - Star Trek-Elite-Force-II 139

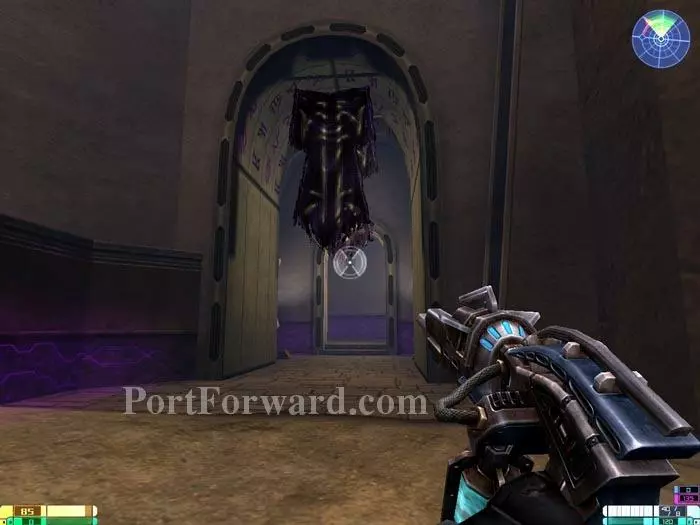
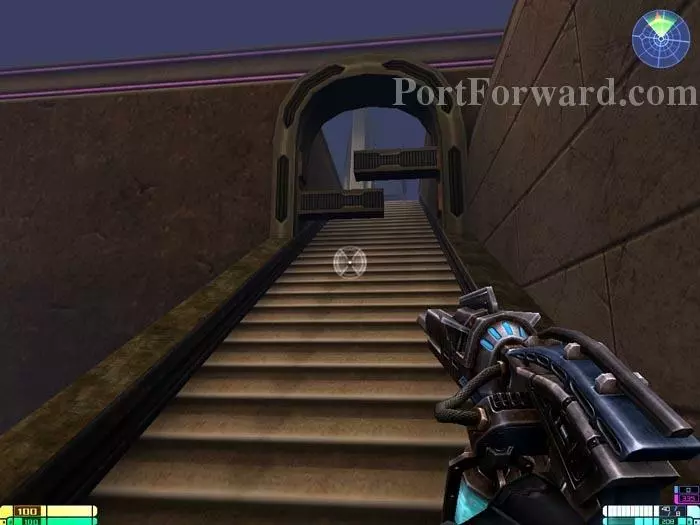
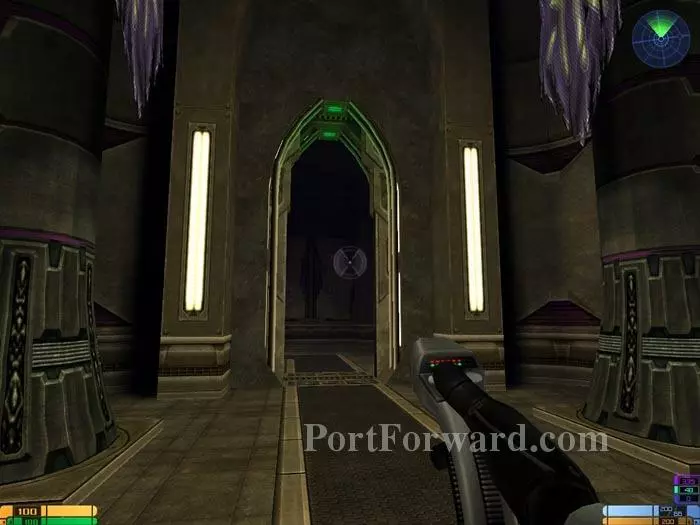
Ready your weapon and head through this archway and up some stairs to health and energy terminals.

Star Trek: Elite Force II Walkthrough - Star Trek-Elite-Force-II 140

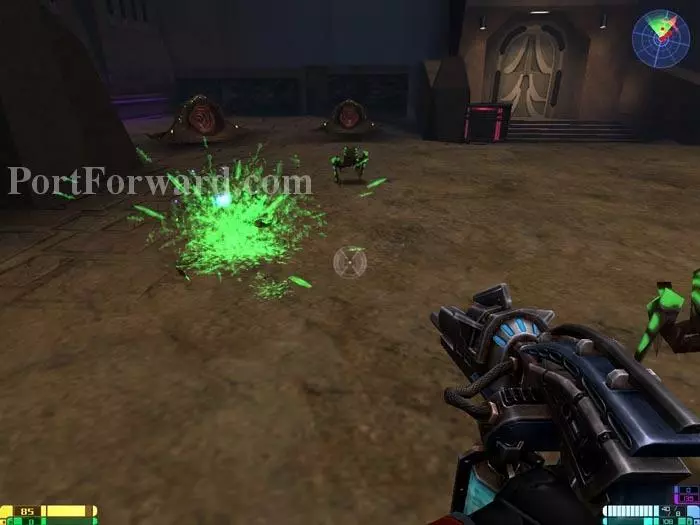
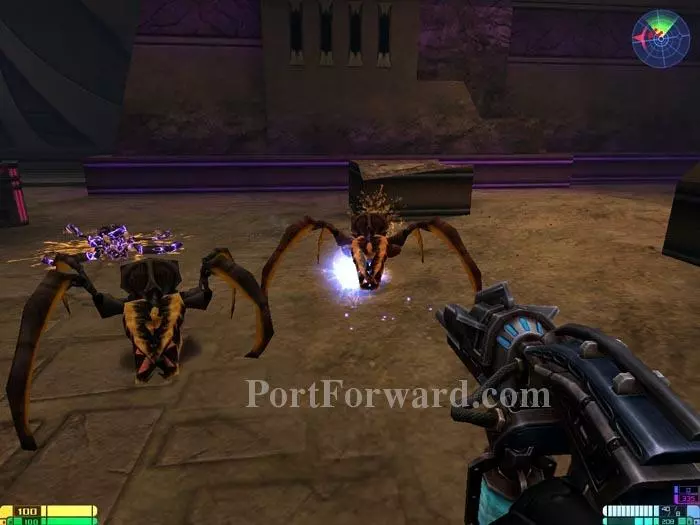
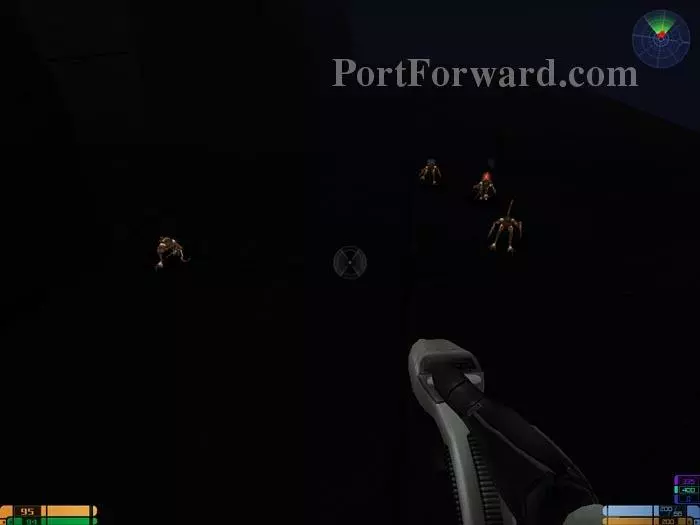
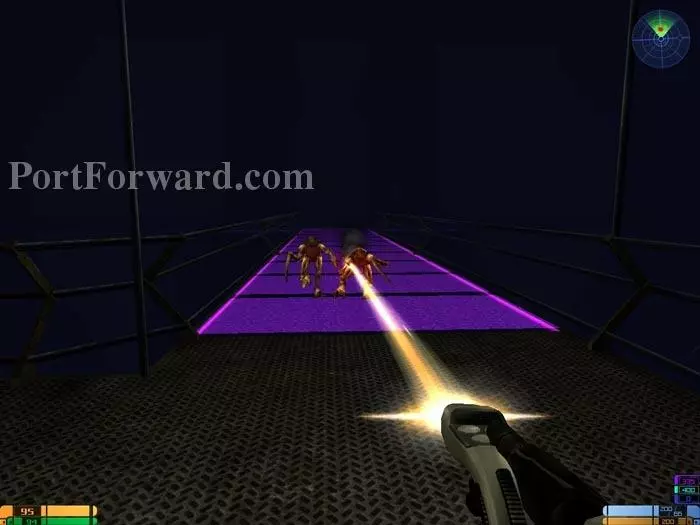
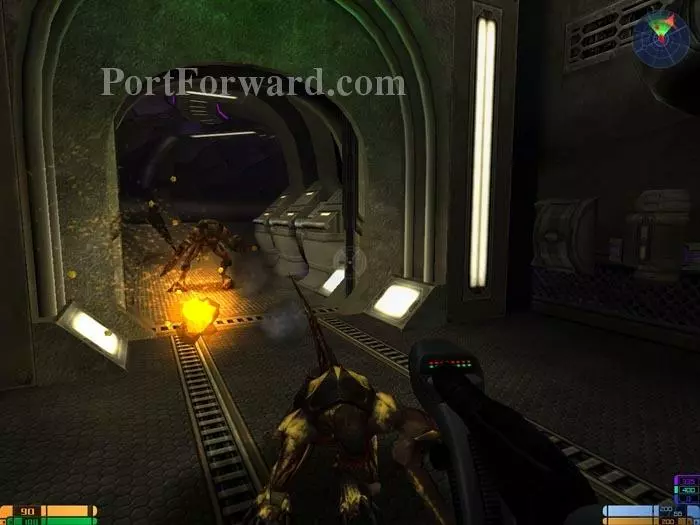
Time for a new foe: the "Brood Fiend." Kill them all.

Star Trek: Elite Force II Walkthrough - Star Trek-Elite-Force-II 141

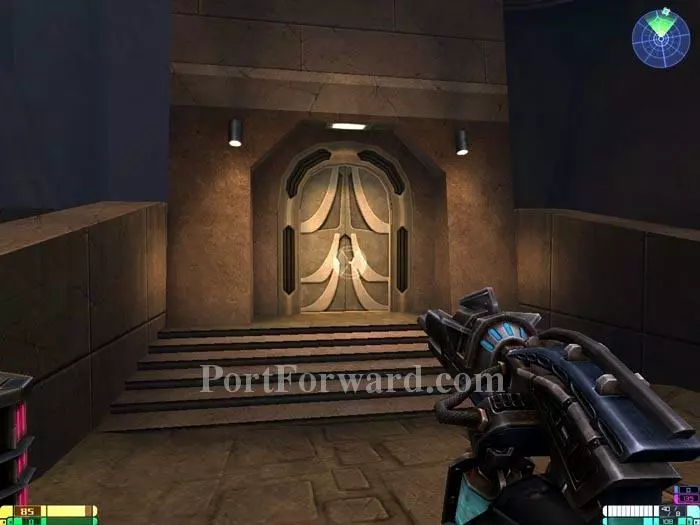
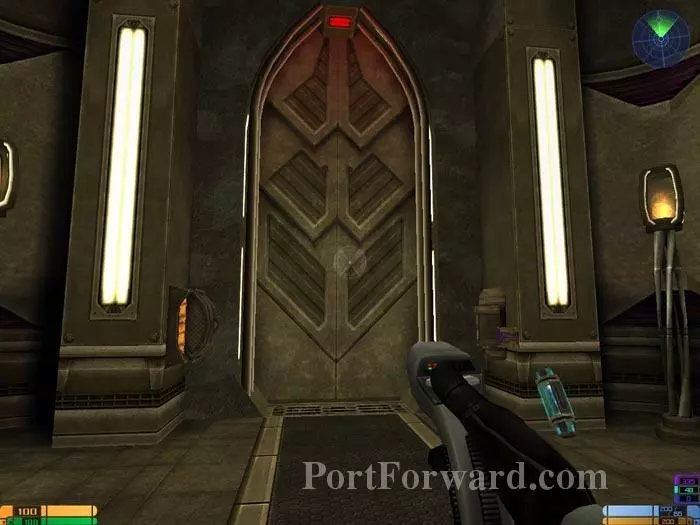
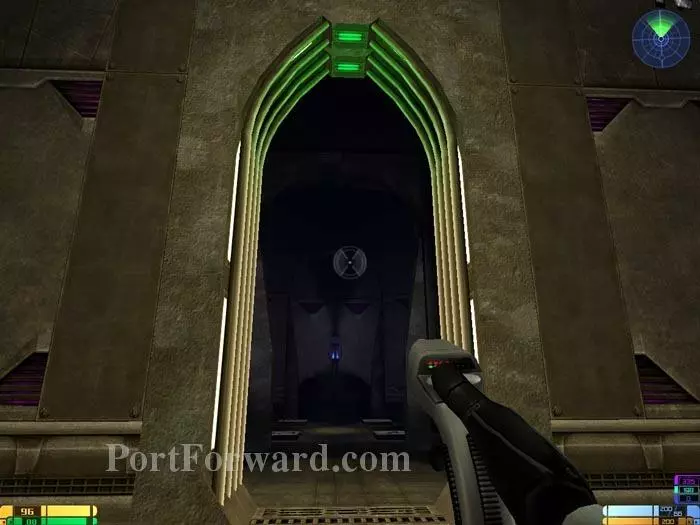
Pass through this doorway.

Star Trek: Elite Force II Walkthrough - Star Trek-Elite-Force-II 142

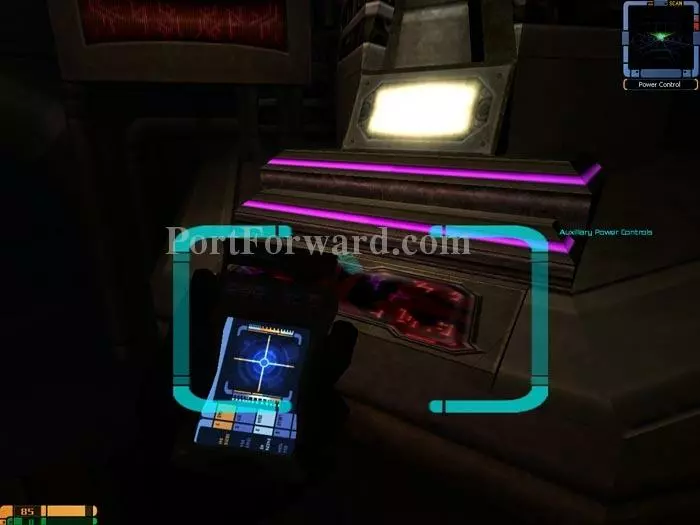
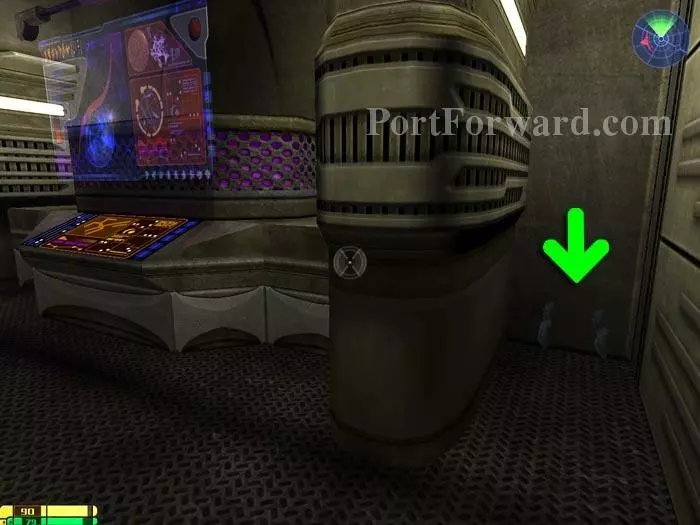
Grab the Idryllium then use your tricorder on the Auxiliary Power Controls to restore power.

Star Trek: Elite Force II Walkthrough - Star Trek-Elite-Force-II 143

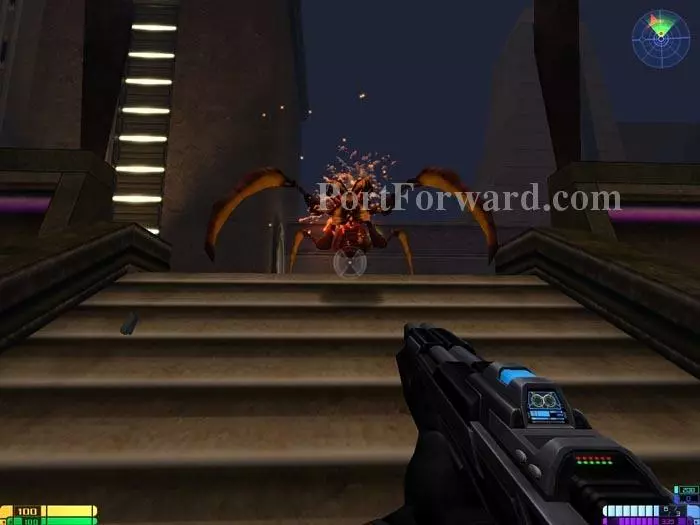
Approach these stairs and destroy the Brood Fiends that attack. Health and energy terminals are just inside the archway.

Star Trek: Elite Force II Walkthrough - Star Trek-Elite-Force-II 144

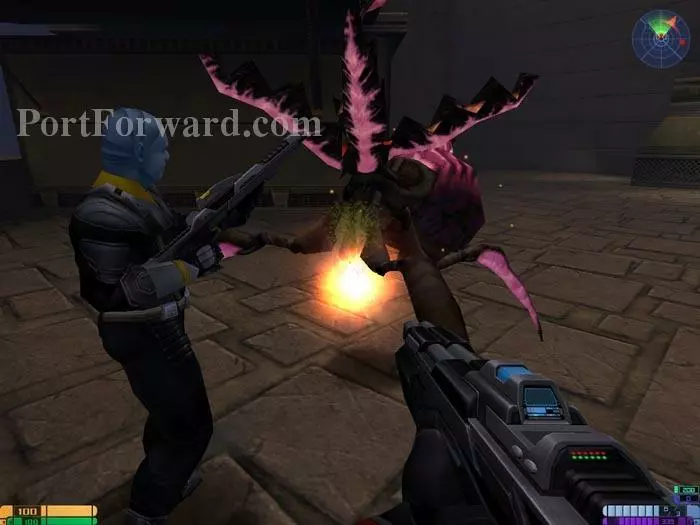
Return to the area with the fallen columns, and more Brood Fiends attack. Your team opens the now-powered door to join you.

Star Trek: Elite Force II Walkthrough - Star Trek-Elite-Force-II 145

Head up the stairs and use the Door Panel to slide these barriers out of the way.

Star Trek: Elite Force II Walkthrough - Star Trek-Elite-Force-II 146

Health and energy terminals - and some tougher Brood Fiends - are at the top.

Star Trek: Elite Force II Walkthrough - Star Trek-Elite-Force-II 147

Continue up the next set of stairs. A brief Brood Fiend battle ensues.

Star Trek: Elite Force II Walkthrough - Star Trek-Elite-Force-II 148

Chell advises using your tricorder's Structural Integrity View Mode before continuing. Better yet, use your phaser to blast away the unstable panels. Hop on the safe areas to cross.

Star Trek: Elite Force II Walkthrough - Star Trek-Elite-Force-II 149

If you fall, blasting this area will take you back to the bottom of the stairs and let you start over.

Star Trek: Elite Force II Walkthrough - Star Trek-Elite-Force-II 150

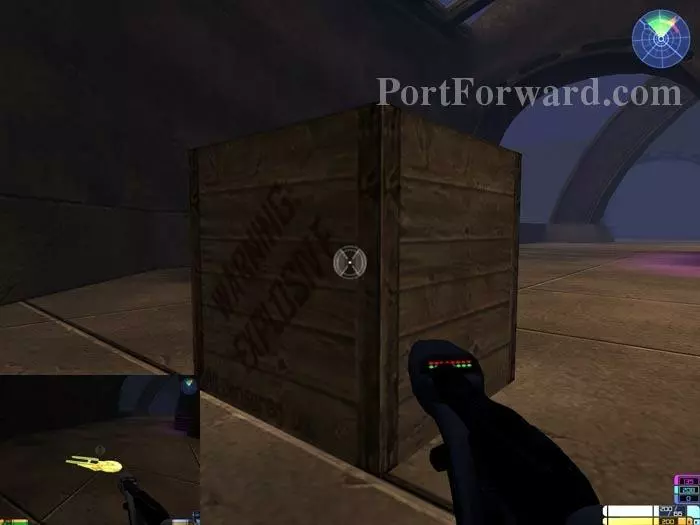
Blast away all the unstable panels and this explosive crate spawns. Destroy it to reveal the 24th Golden Starship.

Star Trek: Elite Force II Walkthrough - Star Trek-Elite-Force-II 151

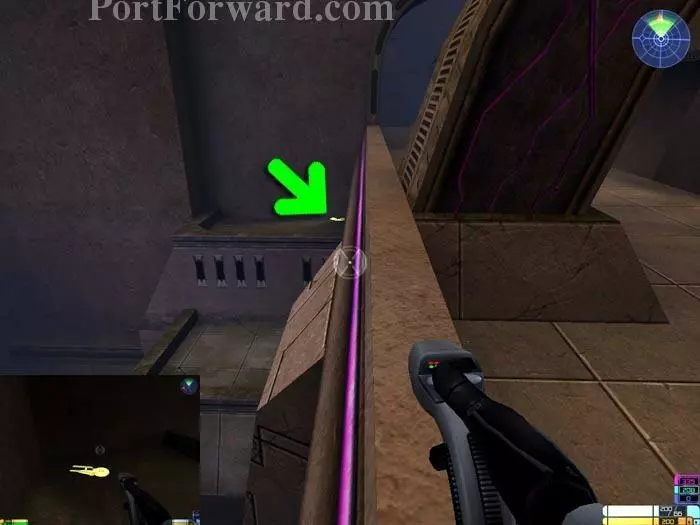
Hop onto the left ledge. Ahead you'll see the 25th Golden Starship.

Star Trek: Elite Force II Walkthrough - Star Trek-Elite-Force-II 152

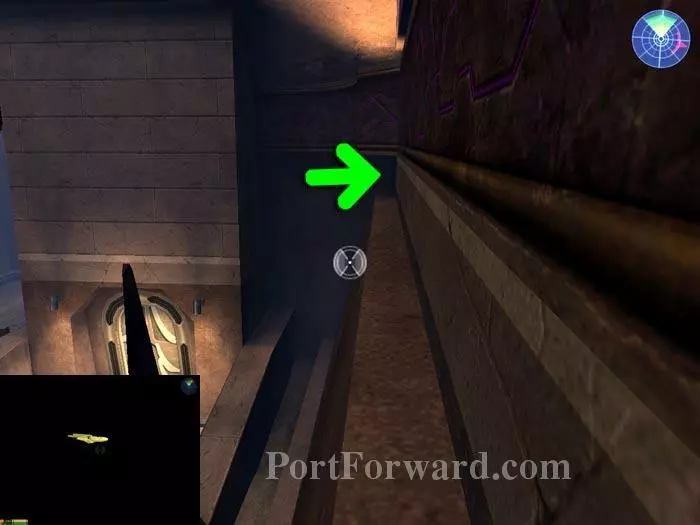
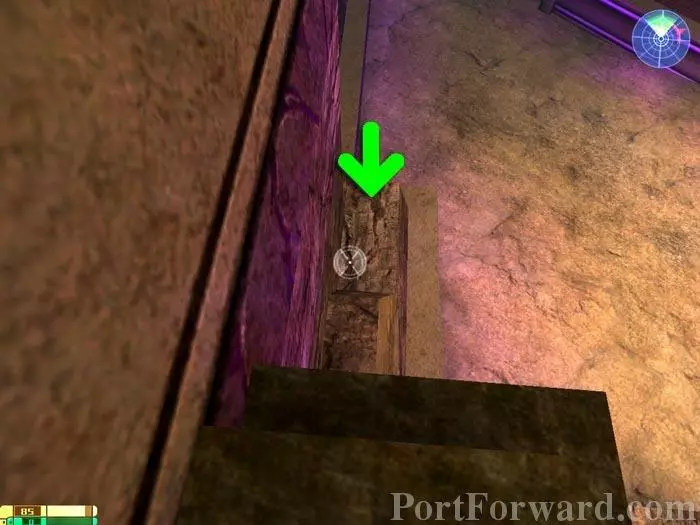
Follow the ledges to this dark nook and the 26th Golden Starship. Carefully make your way back down after retrieval. Return up the stairs.

Star Trek: Elite Force II Walkthrough - Star Trek-Elite-Force-II 153

Pass through this archway, destroy this bug, and activate this door panel to allow your teammates entry.

Star Trek: Elite Force II Walkthrough - Star Trek-Elite-Force-II 154

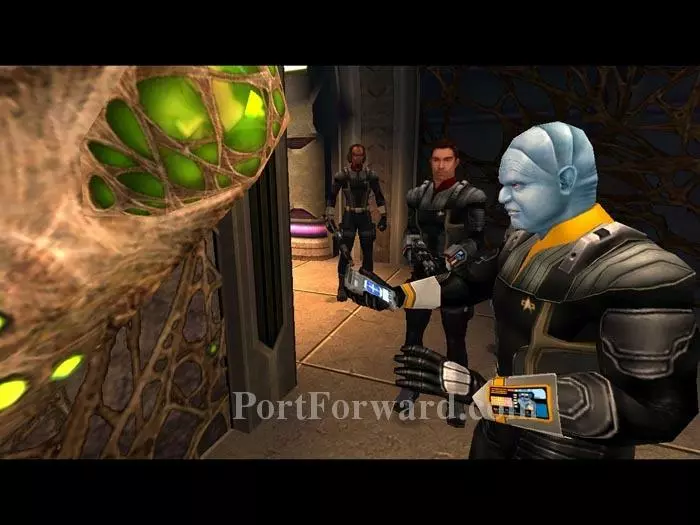
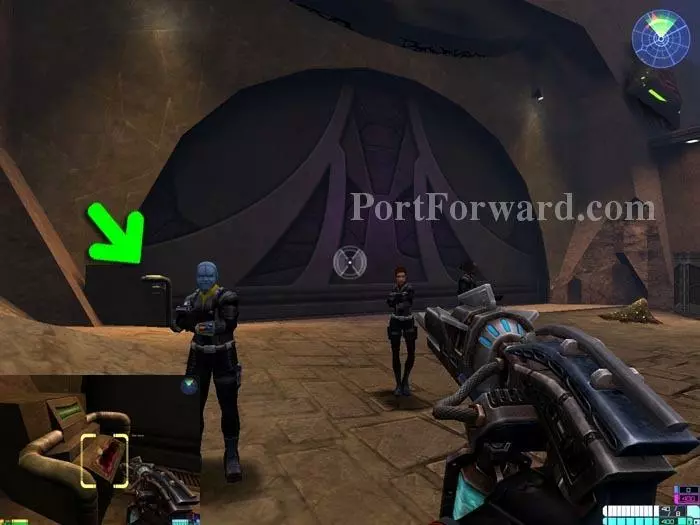
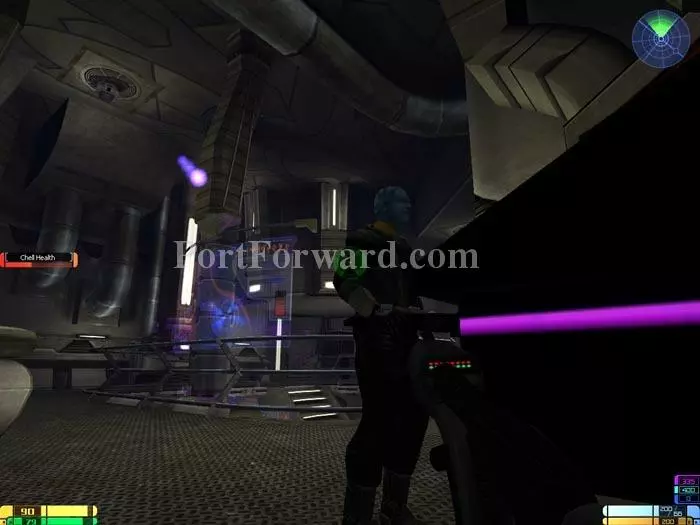
Watch a brief cutscene -- you've found the Idryll scouting party.

Star Trek: Elite Force II Walkthrough - Star Trek-Elite-Force-II 155

Defeat these Brood Fiends then "use" the indicated Door Panel. Cover Chell while he cracks the security code then pass through the door.

Star Trek: Elite Force II Walkthrough - Star Trek-Elite-Force-II 156

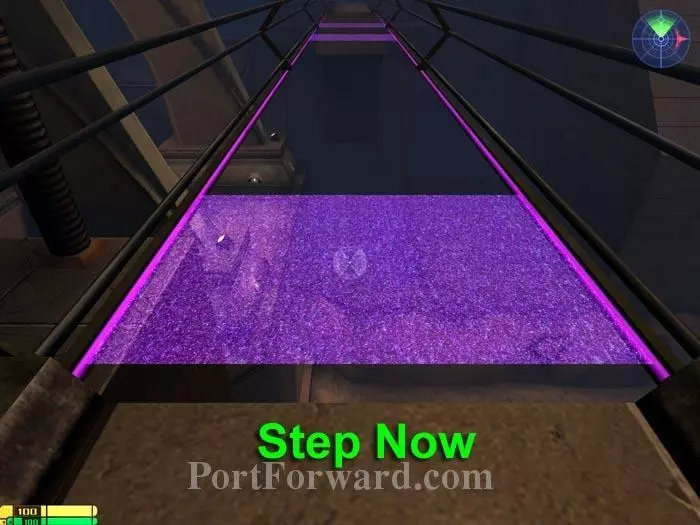
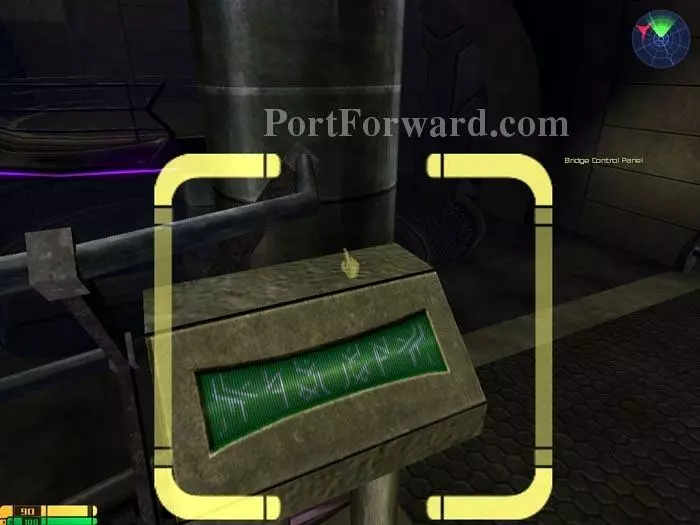
"Use" the Bridge Control Panel to activate the Energy Bridge. Notice the trio of flickering panels. Begin crossing when the first panel becomes lit. Wait until the panel ahead becomes lit and immediately step forward. Repeat.

Star Trek: Elite Force II Walkthrough - Star Trek-Elite-Force-II 157

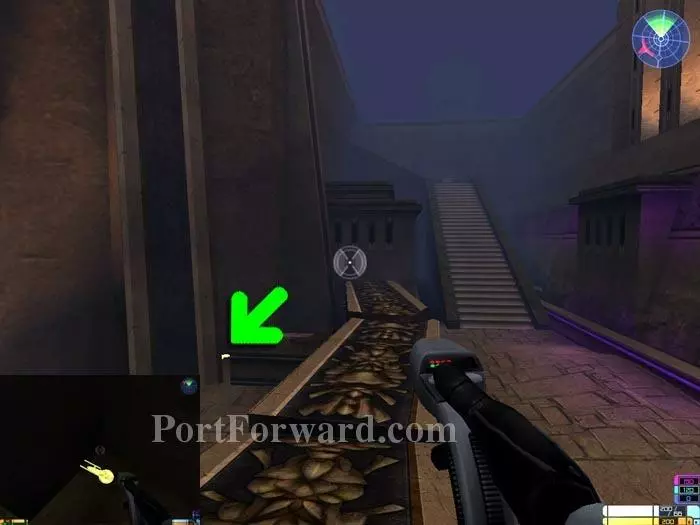
Destroy this Brood Fiend that waits on the other side. Take the stairs down (indicated). Notice the energy and health terminals in the background.

Star Trek: Elite Force II Walkthrough - Star Trek-Elite-Force-II 158

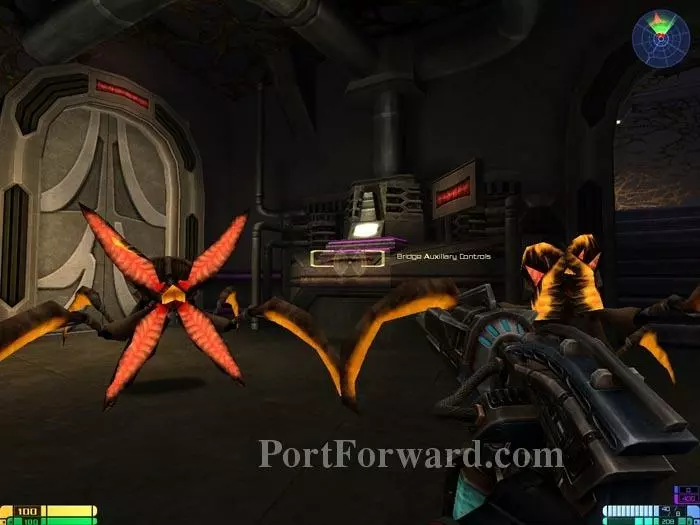
More Brood Fiends await. Defeat them. "Use" the Bridge Auxiliary Controls to have your team catch up.

Star Trek: Elite Force II Walkthrough - Star Trek-Elite-Force-II 159

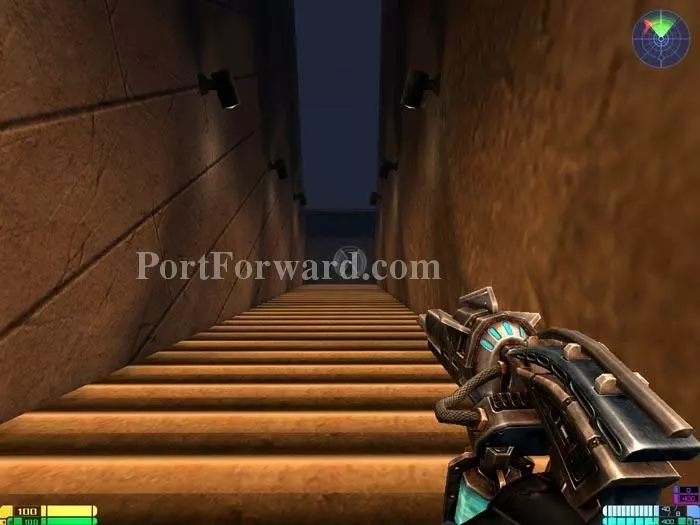
Another Brood Fiend bursts through the door to these stairs. Defeat it then take the stairs to the lower level. Health and energy replenishment is available.

Star Trek: Elite Force II Walkthrough - Star Trek-Elite-Force-II 160

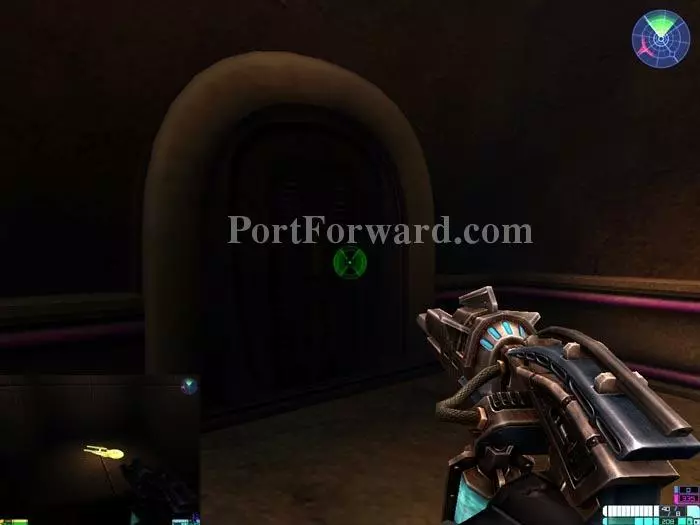
To the right you'll find this door. "Use" it to reveal the 27th Golden Starship.

Star Trek: Elite Force II Walkthrough - Star Trek-Elite-Force-II 161

"Use" the door panel to unleash the Queen Bug.

Star Trek: Elite Force II Walkthrough - Star Trek-Elite-Force-II 162

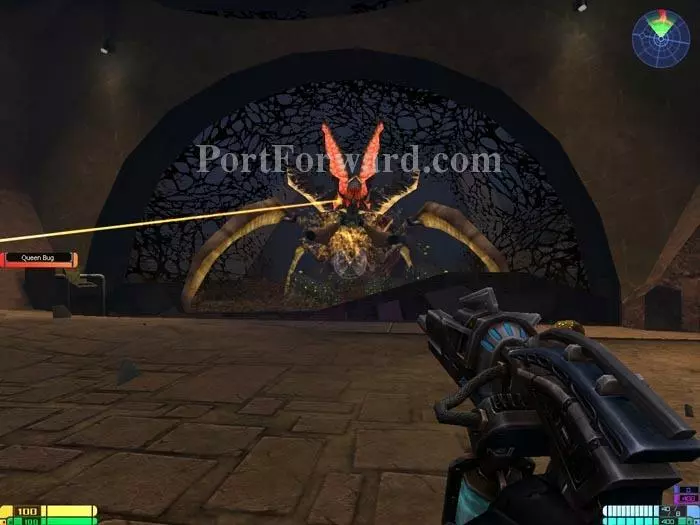
Hammer away. The exposed mouth parts seem to be the most vulnerable.

Star Trek: Elite Force II Walkthrough - Star Trek-Elite-Force-II 163

Continue to the lift and exit the area.

Star Trek: Elite Force II Walkthrough - Star Trek-Elite-Force-II 164

Destroy all the rotating turrets.

Star Trek: Elite Force II Walkthrough - Star Trek-Elite-Force-II 165

Health and energy refilss.

Star Trek: Elite Force II Walkthrough - Star Trek-Elite-Force-II 166

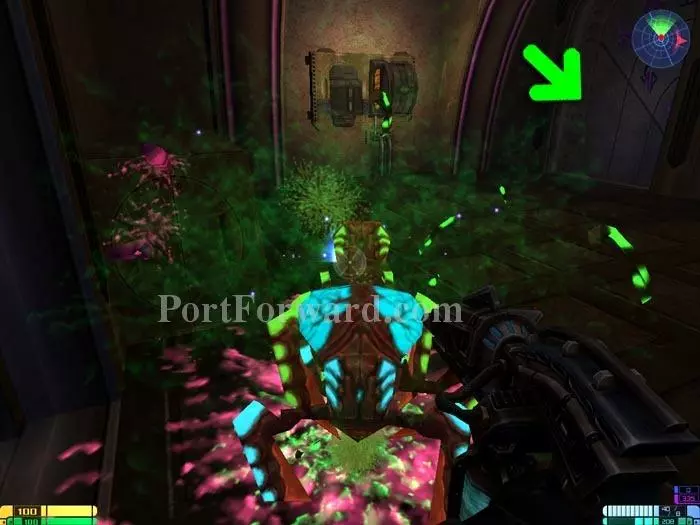
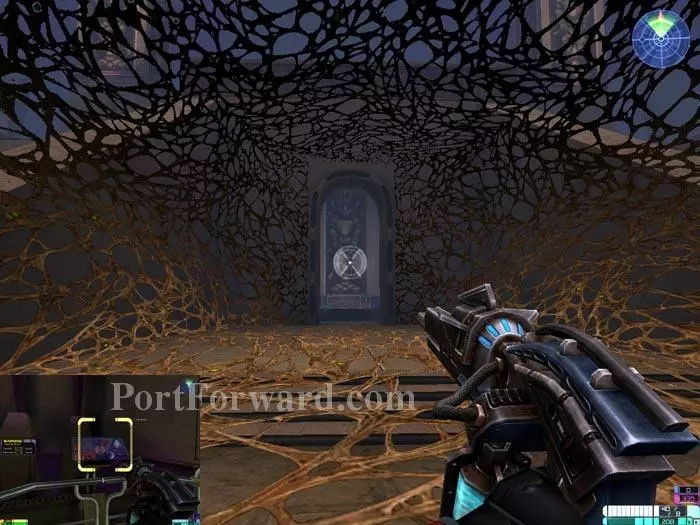
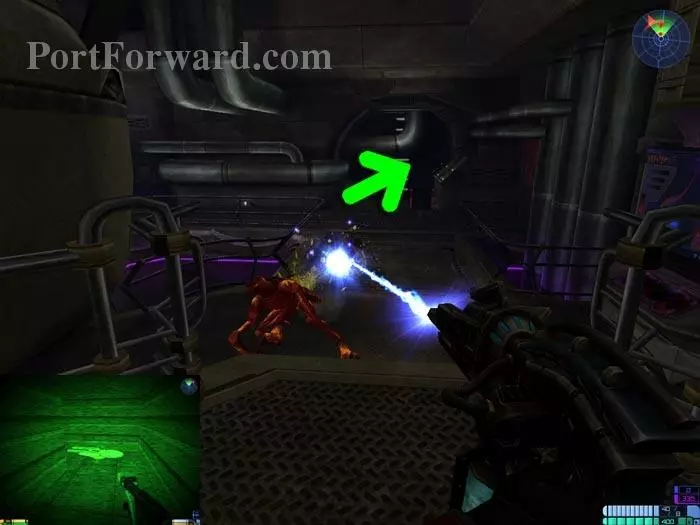
Proceed through this green-lit doorway.

Star Trek: Elite Force II Walkthrough - Star Trek-Elite-Force-II 167

Chell advises to use the tricorder's Trace Gas View Mode to spot where the gas is coming from. Save time and ignore vents that aren't releasing gas.

Star Trek: Elite Force II Walkthrough - Star Trek-Elite-Force-II 168

Use your phaser to seal the venting gas.

Star Trek: Elite Force II Walkthrough - Star Trek-Elite-Force-II 169

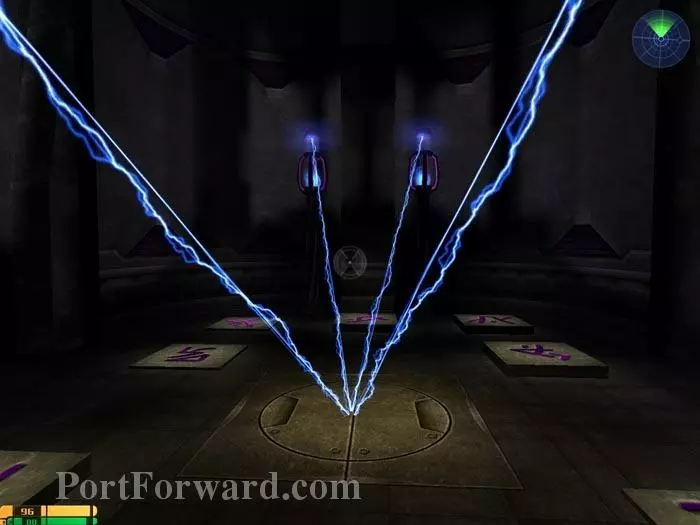
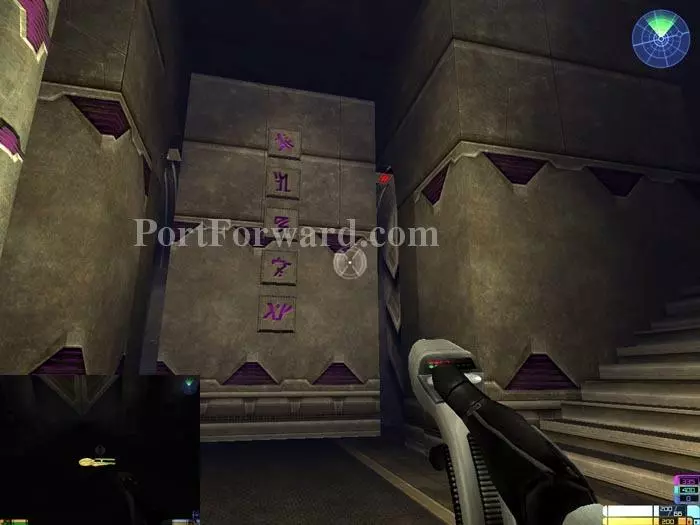
Now, let's work on that secret. Use your phaser to push each of these symbols into the wall. The order you hit them is unimportant.

Star Trek: Elite Force II Walkthrough - Star Trek-Elite-Force-II 170

You'll hear this door opening in the room behind you.

Star Trek: Elite Force II Walkthrough - Star Trek-Elite-Force-II 171

Step on the symbols in the floor corresponding to the wall panels. The order is important here -- mimic the symbols on the wall from top to bottom.

Star Trek: Elite Force II Walkthrough - Star Trek-Elite-Force-II 172

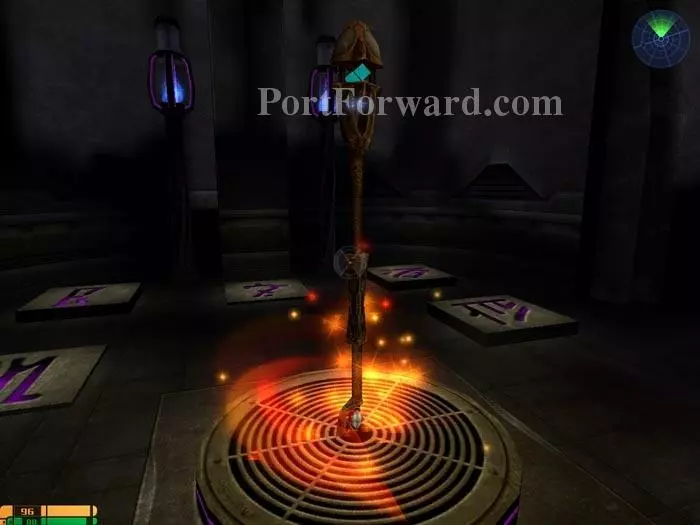
Your reward is this staff. Its potent secondary fire stuns your oponent with its touch.

Star Trek: Elite Force II Walkthrough - Star Trek-Elite-Force-II 173

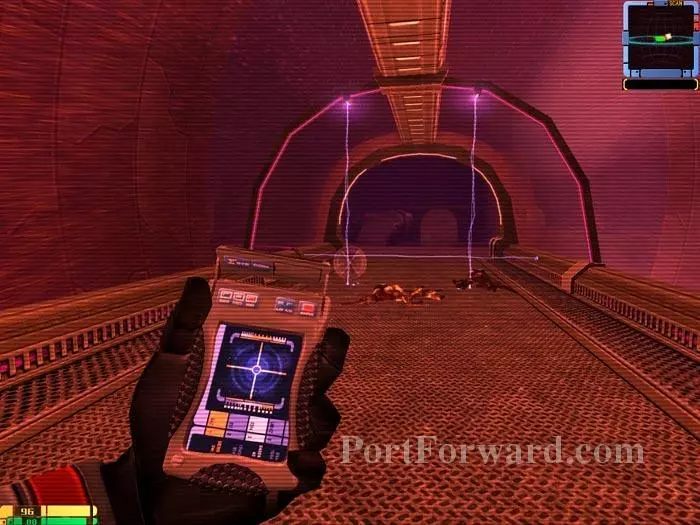
Exit through the door and then activate your tricorder's Bioscan View Mode and avoid the bio scanners.

Star Trek: Elite Force II Walkthrough - Star Trek-Elite-Force-II 174

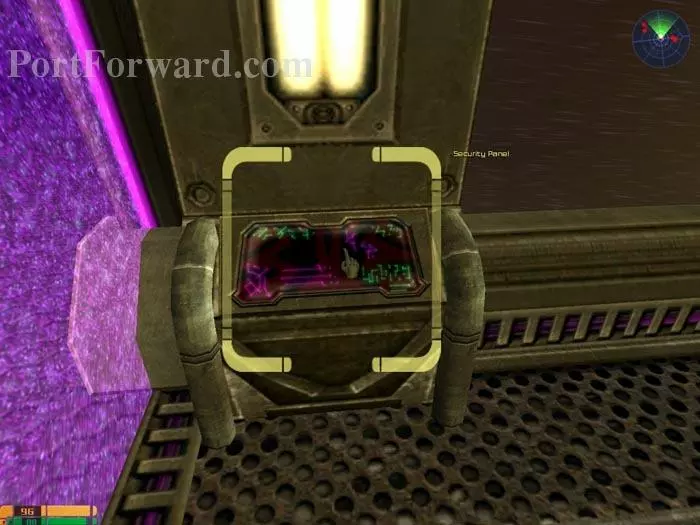
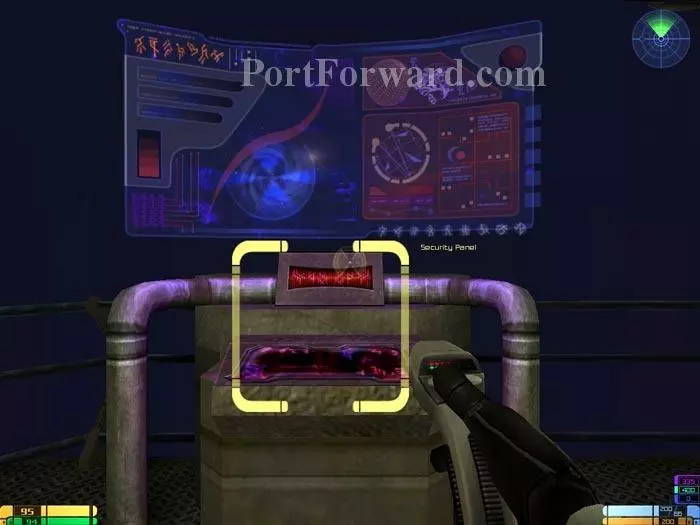
"Use" the Security Panel to deactivate the Bio Scanners and the force field.

Star Trek: Elite Force II Walkthrough - Star Trek-Elite-Force-II 175

Activate your tricorder's Structural Integrity View Mode and blast away this cracked wall. Retrieve the 28th Golden Starship.

Star Trek: Elite Force II Walkthrough - Star Trek-Elite-Force-II 176

Head around the back corner for a secret area and 50 Idryllium.

Star Trek: Elite Force II Walkthrough - Star Trek-Elite-Force-II 177

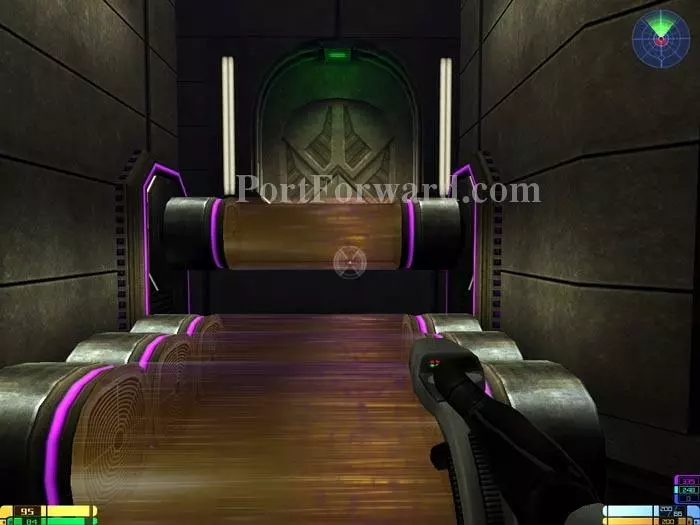
Jump onto these tubes and carefully time your jump so the rising tube seen in the back lifts you to within jumping distance of the door area. Pass through the green-lit door.

Star Trek: Elite Force II Walkthrough - Star Trek-Elite-Force-II 178

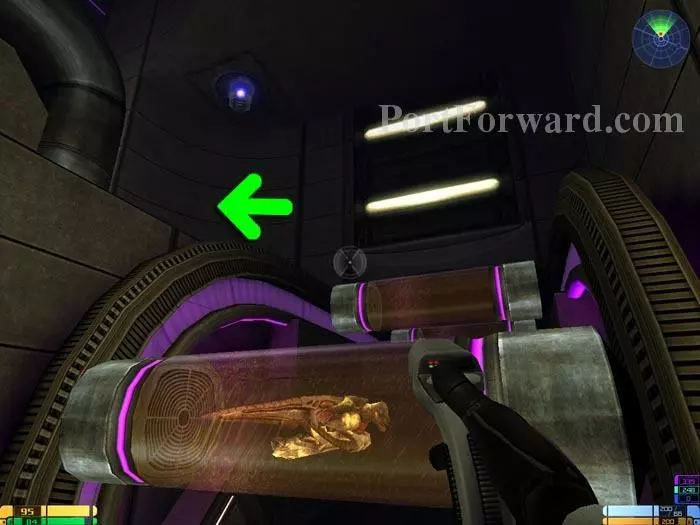
Shoot the ceiling turret. Jump on one of the tubes then jump off as indicated.

Star Trek: Elite Force II Walkthrough - Star Trek-Elite-Force-II 179

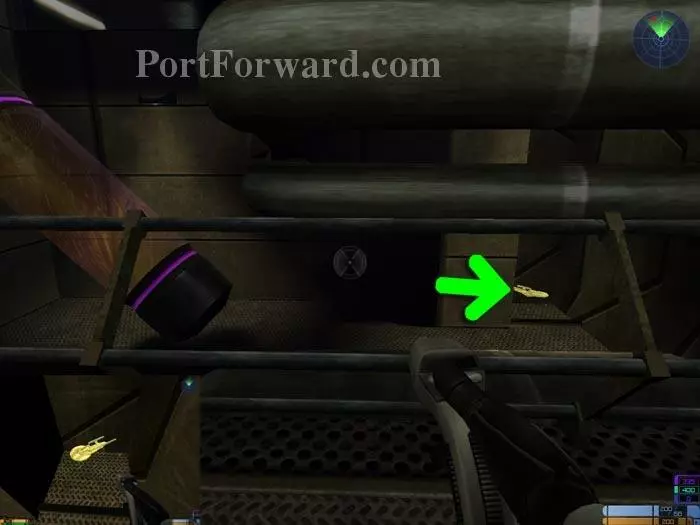
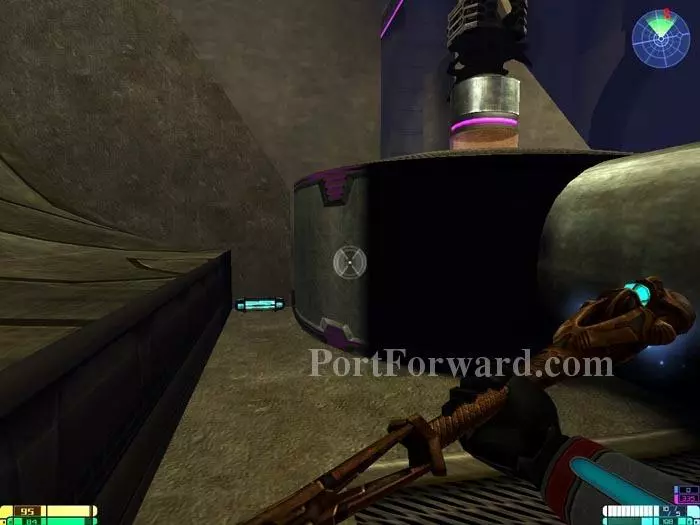
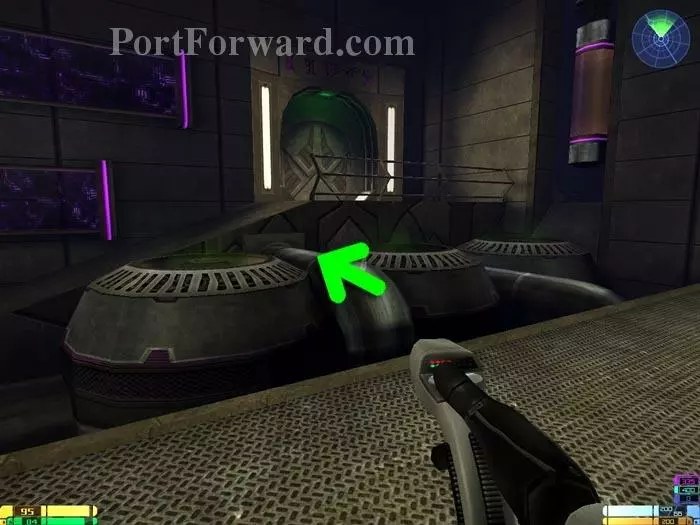
"Use" the wall under these pipes to reveal the 29th Golden Starship.

Star Trek: Elite Force II Walkthrough - Star Trek-Elite-Force-II 180

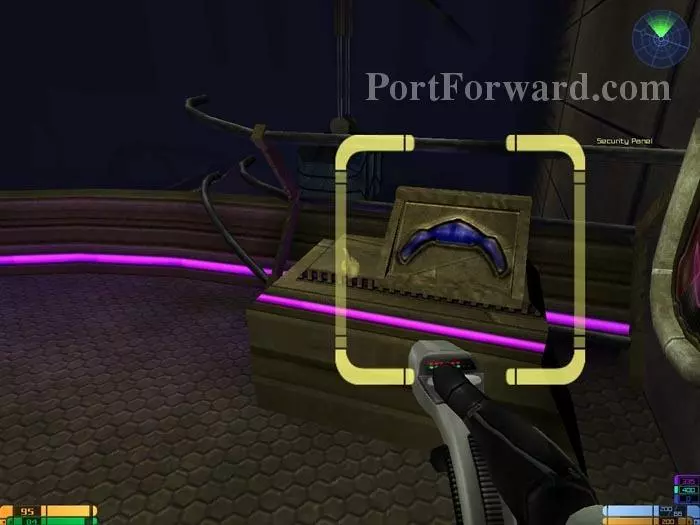
Jump down and make your way to "use" the security panel, activating the elevators.

Star Trek: Elite Force II Walkthrough - Star Trek-Elite-Force-II 181

Crawl along the ledge above the Security Panel to another secret area and more Idryllium.

Star Trek: Elite Force II Walkthrough - Star Trek-Elite-Force-II 182

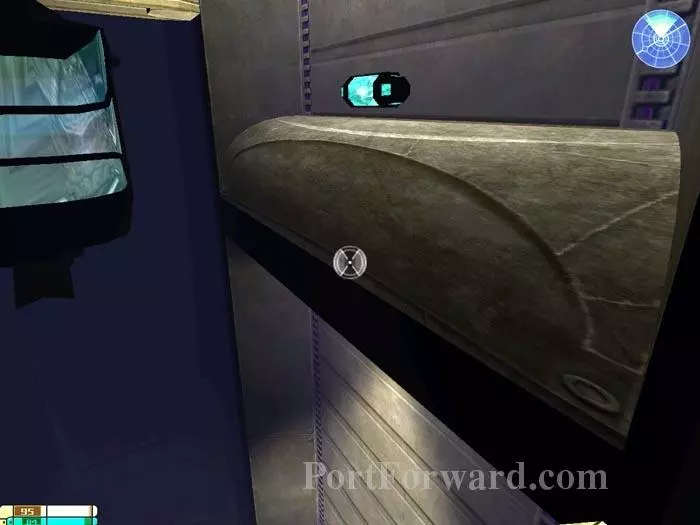
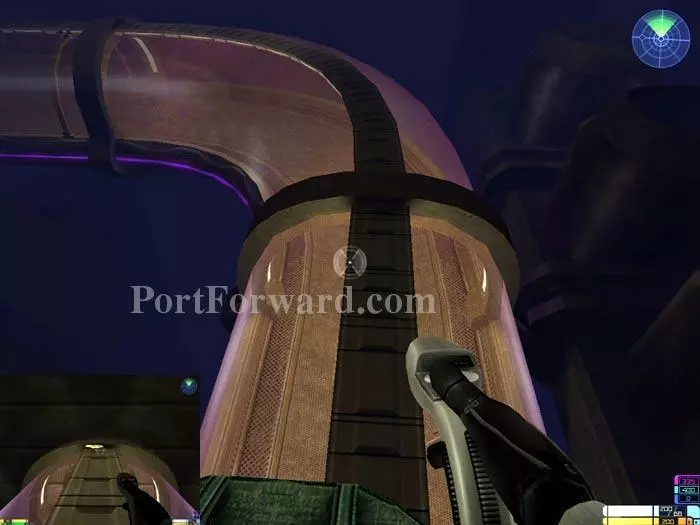
Hop onto one of the ascending elevators then leap onto this ledge where another secret area and more Idryllium awaits.

Star Trek: Elite Force II Walkthrough - Star Trek-Elite-Force-II 183

Take an elevator back down, jump onto the ledge above the previous secret area and jump onto this pipe. Take the ramp to the green door and exit.

Star Trek: Elite Force II Walkthrough - Star Trek-Elite-Force-II 184

"Use" the Security Panel to call the elevator visible in the background. Hop on.

Star Trek: Elite Force II Walkthrough - Star Trek-Elite-Force-II 185

Leap onto the roof of the habitrail. At the end is Golden Starship number 30.

Star Trek: Elite Force II Walkthrough - Star Trek-Elite-Force-II 186

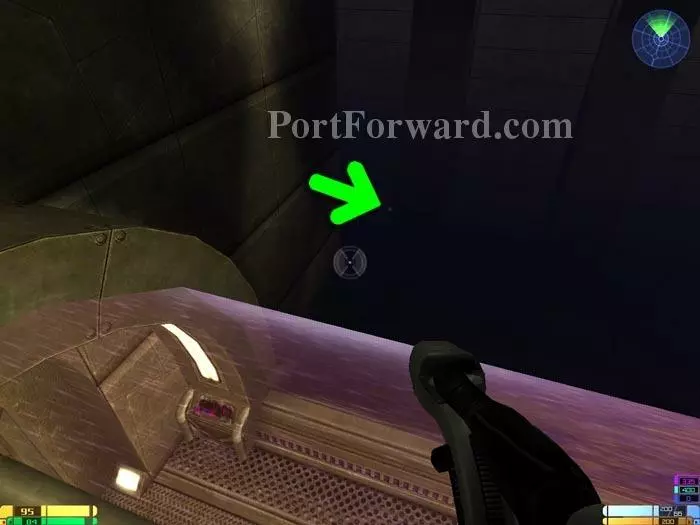
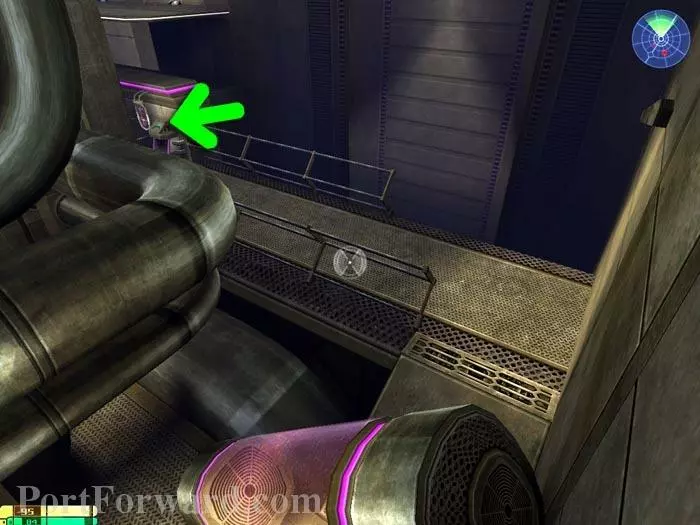
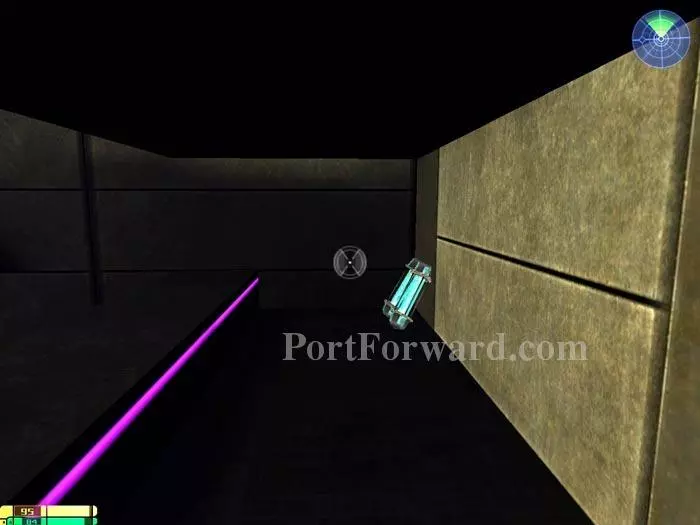
Slide off the right side and head for this floating light.

Star Trek: Elite Force II Walkthrough - Star Trek-Elite-Force-II 187

You'll be treated to another secret area complete with pint-size Xenomorphs!

Star Trek: Elite Force II Walkthrough - Star Trek-Elite-Force-II 188

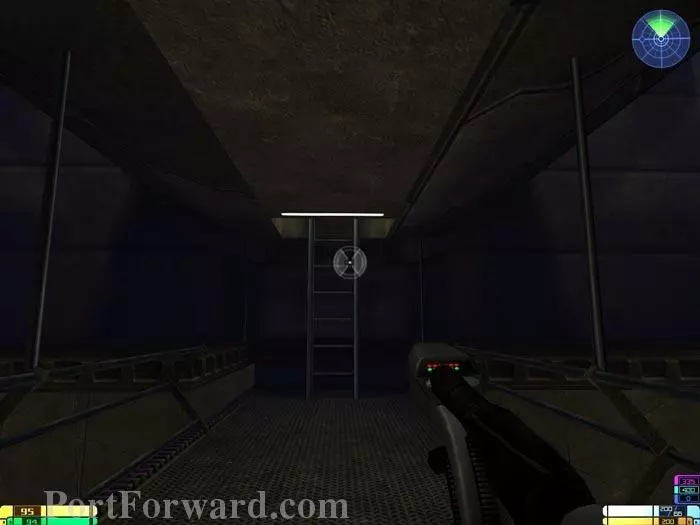
Next, go up this ladder and through the green doors.

Star Trek: Elite Force II Walkthrough - Star Trek-Elite-Force-II 189

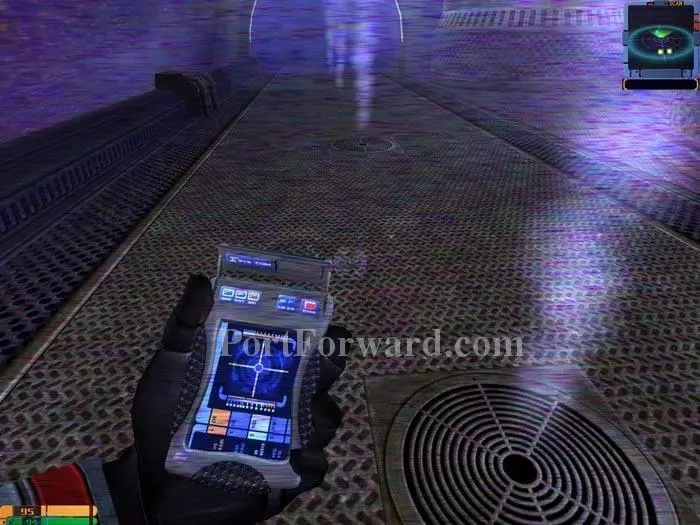
Jumpin' Jack Flash it's a Gas!

Star Trek: Elite Force II Walkthrough - Star Trek-Elite-Force-II 190

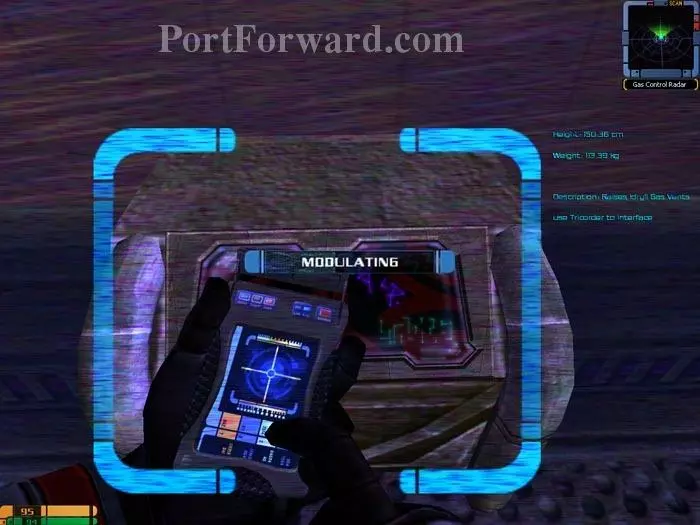
Use your tricorder to modulate the Idryll Gas Controls.

Star Trek: Elite Force II Walkthrough - Star Trek-Elite-Force-II 191

New vents rise from the floor. Your tricorder's Trace Gas View Mode will save you time -- only use your phaser where gas is venting. The vents will lower when all the dangerous vents are sealed.

Star Trek: Elite Force II Walkthrough - Star Trek-Elite-Force-II 192

Yea another energy bridge. Wait for the whole thing to go dark, then jump when this panel lights up. You can then bunny-hop to the other side in one quick dash.

Star Trek: Elite Force II Walkthrough - Star Trek-Elite-Force-II 193

"Use" the Security Panel and Chell reports, "Munro, whatever you did just opened the second door in the main hall."

Star Trek: Elite Force II Walkthrough - Star Trek-Elite-Force-II 194

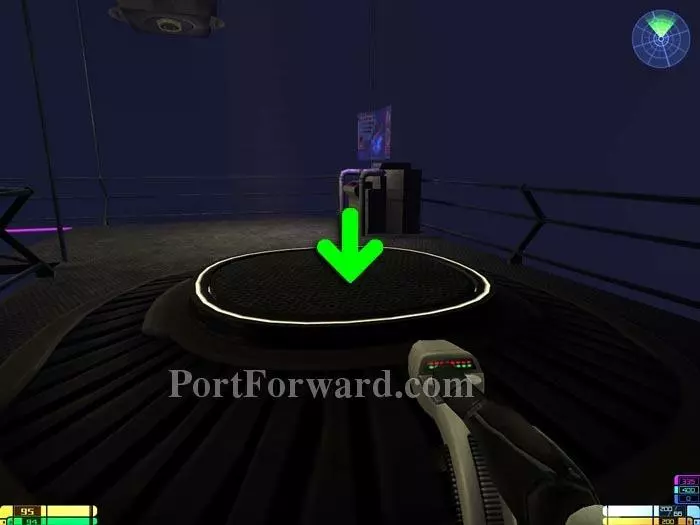
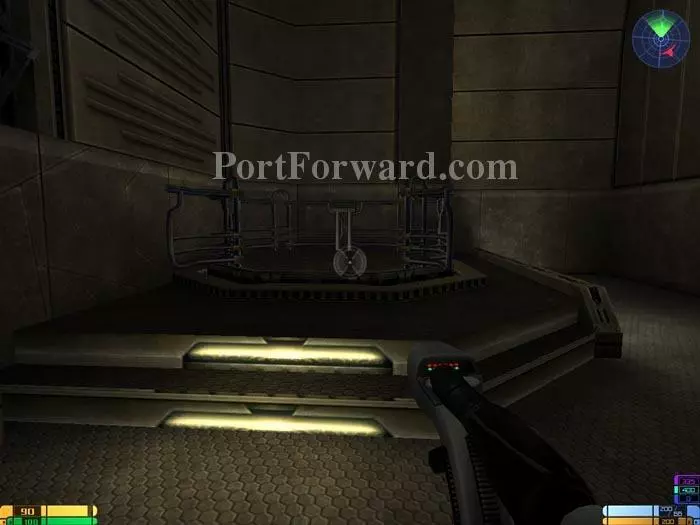
Stand on this round area.

Star Trek: Elite Force II Walkthrough - Star Trek-Elite-Force-II 195

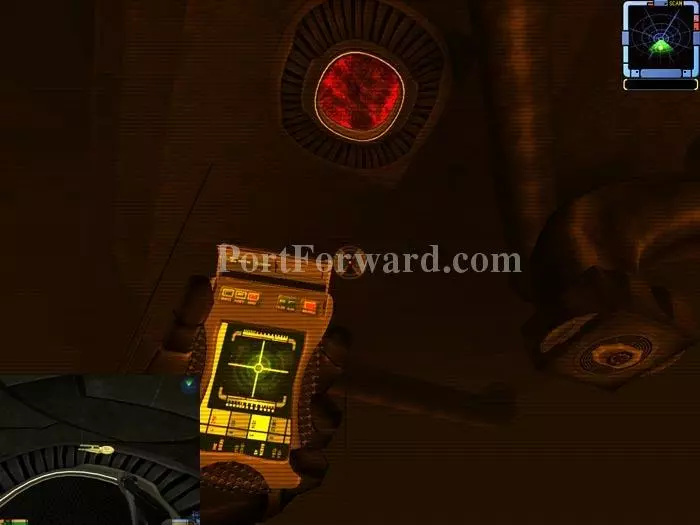
Look up. Use your tricorder's Structural Integrity View mode to eye your target. Blast away. The panel you're standing on will raise you to a secret area with the 31st Golden Starship.

Star Trek: Elite Force II Walkthrough - Star Trek-Elite-Force-II 196

Return over the now-safe bridge, battling Xenomorphs along the way. Turn right and exit the area through the green doors.

Star Trek: Elite Force II Walkthrough - Star Trek-Elite-Force-II 197

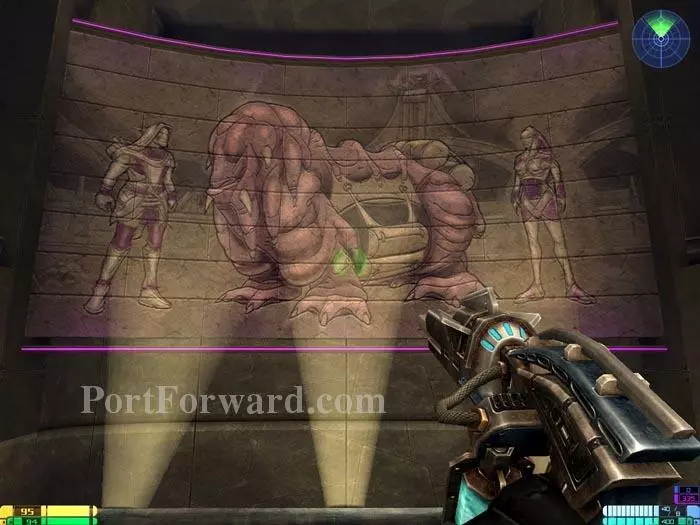
Chell remarks, "What a beautiful mural. I wonder if the Idryll created it."

Star Trek: Elite Force II Walkthrough - Star Trek-Elite-Force-II 198

To your left is another set of symbols. Phaser fire pushes them back, and the wall itself recedes, revealing Golden Starship 32. Ascend the stairs and exit through the green door behind the mural.

Star Trek: Elite Force II Walkthrough - Star Trek-Elite-Force-II 199

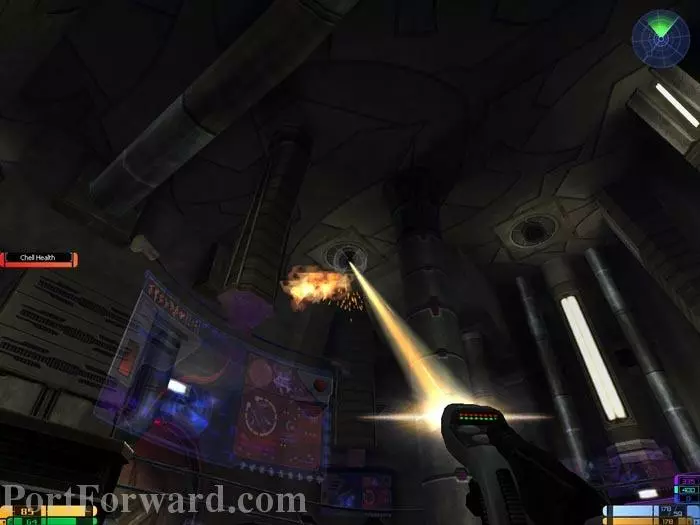
Chell needs you to defend him while he disables the security system. Begin by knocking out the ceiling turrets.

Star Trek: Elite Force II Walkthrough - Star Trek-Elite-Force-II 200

Several waves of turret attacks follow. Keep them off Chell so he can reach the console and disable the security system.

Star Trek: Elite Force II Walkthrough - Star Trek-Elite-Force-II 201

Pass through the green door on the second level to find the, er, um...archeologists.

Star Trek: Elite Force II Walkthrough - Star Trek-Elite-Force-II 202

This is a secret area with 10 shielding.

Star Trek: Elite Force II Walkthrough - Star Trek-Elite-Force-II 203

Take this lift to the lower level, where more Xenomorphs and ceiling turrets await.

Star Trek: Elite Force II Walkthrough - Star Trek-Elite-Force-II 204

Battle your way to the indicated area and activate your night vision. Golden Starship number 33 is hidden in a secret tunnel.

Star Trek: Elite Force II Walkthrough - Star Trek-Elite-Force-II 205

Destroy this door to find a secret area with Idryllium.

Star Trek: Elite Force II Walkthrough - Star Trek-Elite-Force-II 206

Fight your way past the Xenomorphs and go through this door. Note the health and energy terminals on the right.

Star Trek: Elite Force II Walkthrough - Star Trek-Elite-Force-II 207

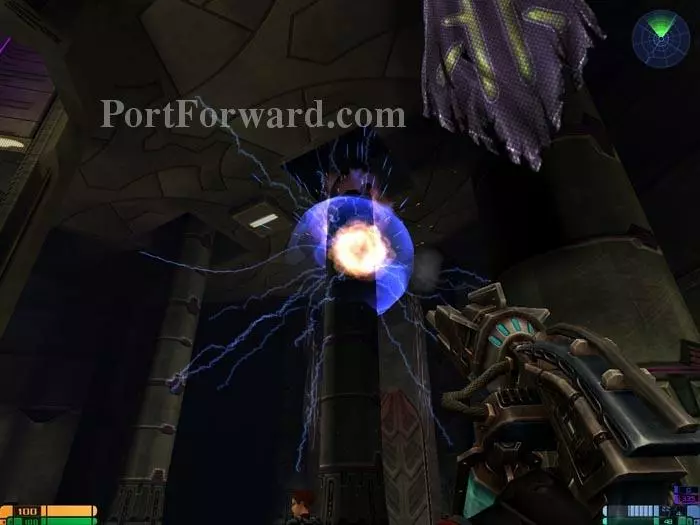
Boss time. Approach the other side and the Basher busts through the door on the right. He goes down pretty quickly against the Arc Gun and there's an energy terminal available here as well.

Star Trek: Elite Force II Walkthrough - Star Trek-Elite-Force-II 208

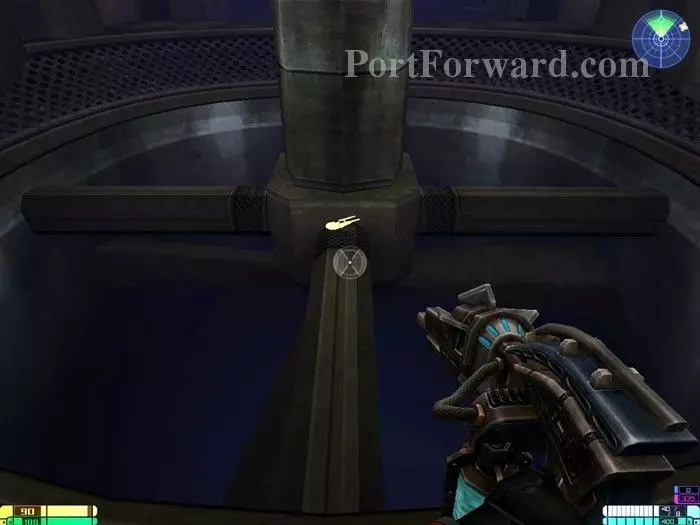
"Use" this Bridge Control Panel and a bridge drops into place.

Star Trek: Elite Force II Walkthrough - Star Trek-Elite-Force-II 209

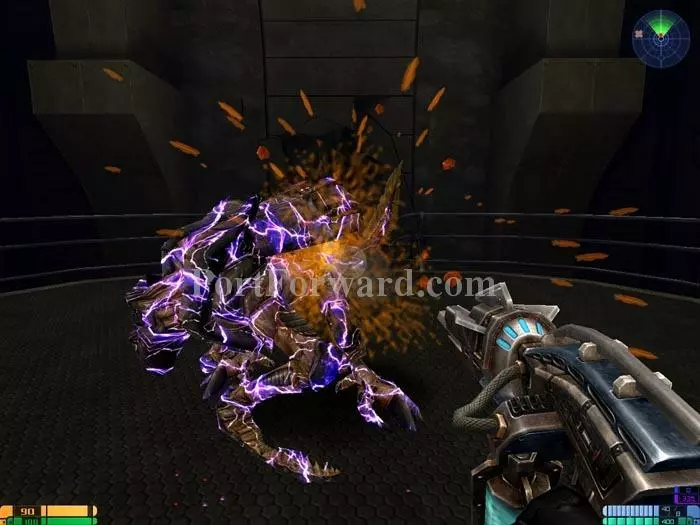
Pass to the other side and this guy busts out. Again, the Arc gun works well.

Star Trek: Elite Force II Walkthrough - Star Trek-Elite-Force-II 210

Jump over the railing to find Golden Starship 34.

Star Trek: Elite Force II Walkthrough - Star Trek-Elite-Force-II 211

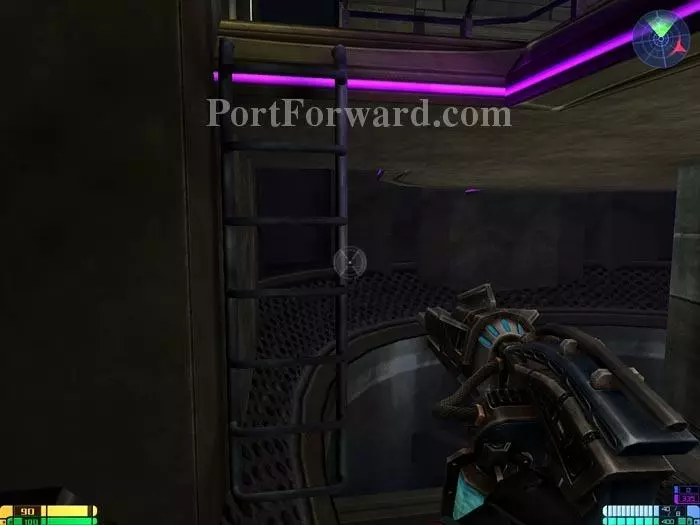
Return via this ladder.

Star Trek: Elite Force II Walkthrough - Star Trek-Elite-Force-II 212

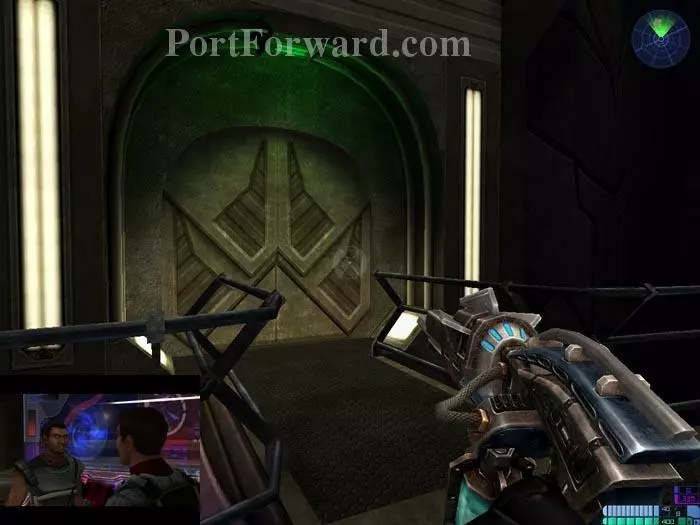
Pass through this green door to find the Idryll son and end the mission.

More Star Trek: Elite Force II Walkthroughs

This Star Trek: Elite Force II walkthrough is divided into 12 total pages.

More From Portforward