This Star Trek: Elite Force II walkthrough is divided into 12 total pages.
You can jump to nearby pages of the game using the links above.
Destruction
![Star Trek: Elite Force II Walkthrough - Star Trek-Elite-Force-II 213](star-trek-elite-force-ii-213-small.webp)
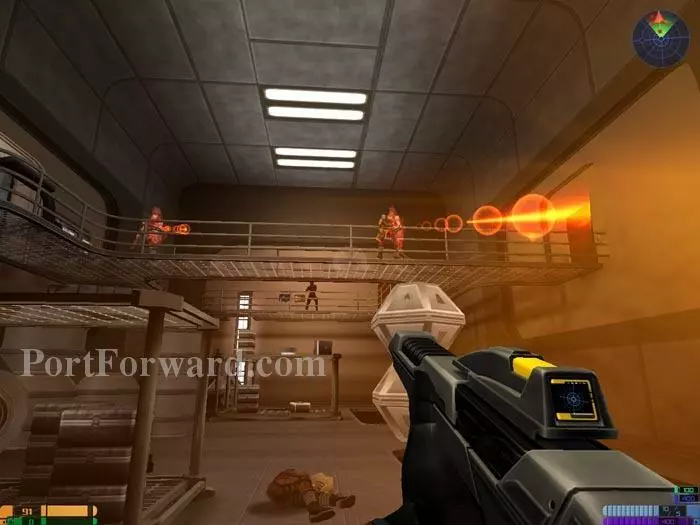
Make your way to the Cargo Bay, fighting past the Idryll and the explosive decompression.
![Star Trek: Elite Force II Walkthrough - Star Trek-Elite-Force-II 214](star-trek-elite-force-ii-214-small.webp)
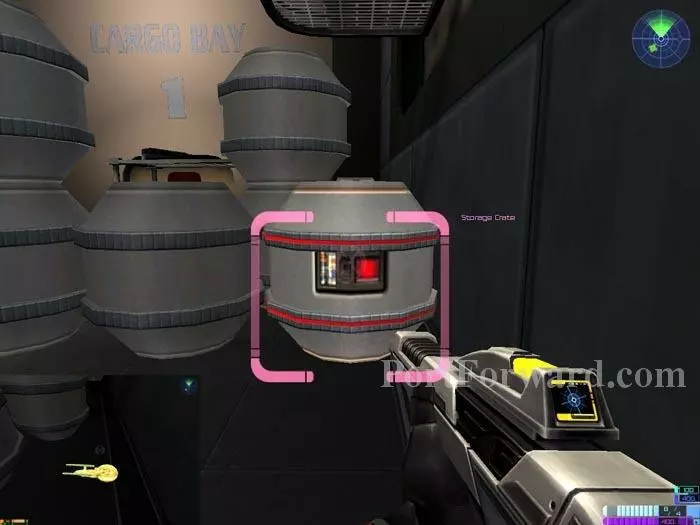
Destroy this Storage Container. Inside is Golden Starship 36.
![Star Trek: Elite Force II Walkthrough - Star Trek-Elite-Force-II 215](star-trek-elite-force-ii-215-small.webp)
Kill the Idryll then take this ladder up to the catwalk, where more Idryll beam aboard. Health and energy terminals are visible through the catwalk.
![Star Trek: Elite Force II Walkthrough - Star Trek-Elite-Force-II 216](star-trek-elite-force-ii-216-small.webp)
Defeat the remaining Idryll and Korban initiates a system lockdown. Pass through this now-available Jeffries tube.
![Star Trek: Elite Force II Walkthrough - Star Trek-Elite-Force-II 217](star-trek-elite-force-ii-217-small.webp)
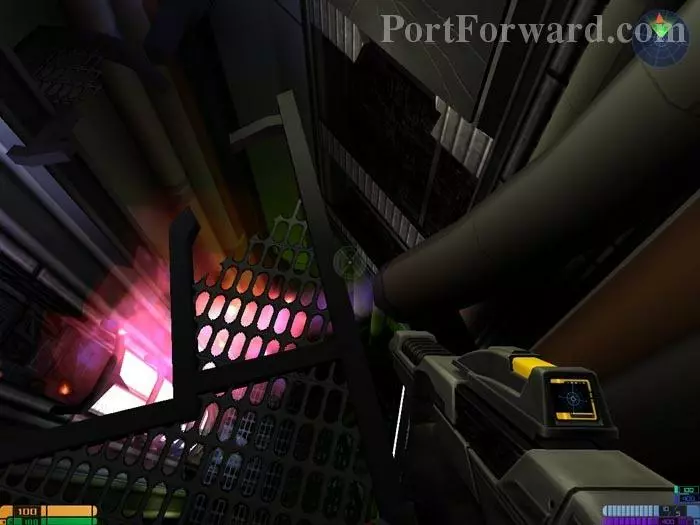
Wait for the flame to subside then jump down.
![Star Trek: Elite Force II Walkthrough - Star Trek-Elite-Force-II 218](star-trek-elite-force-ii-218-small.webp)
Continue this way.
![Star Trek: Elite Force II Walkthrough - Star Trek-Elite-Force-II 219](star-trek-elite-force-ii-219-small.webp)
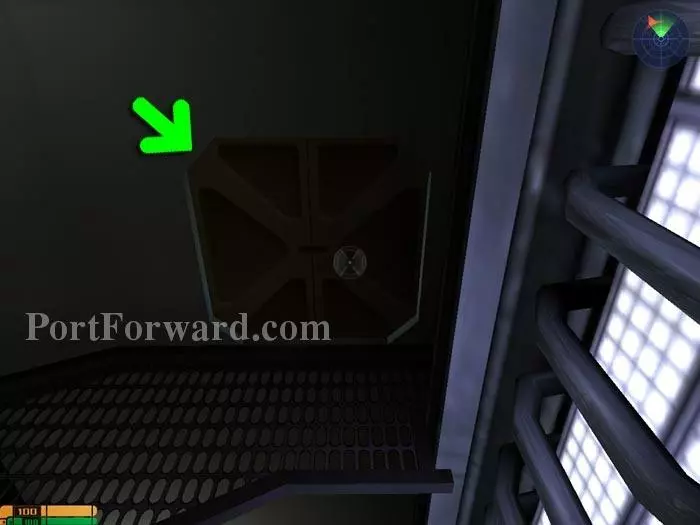
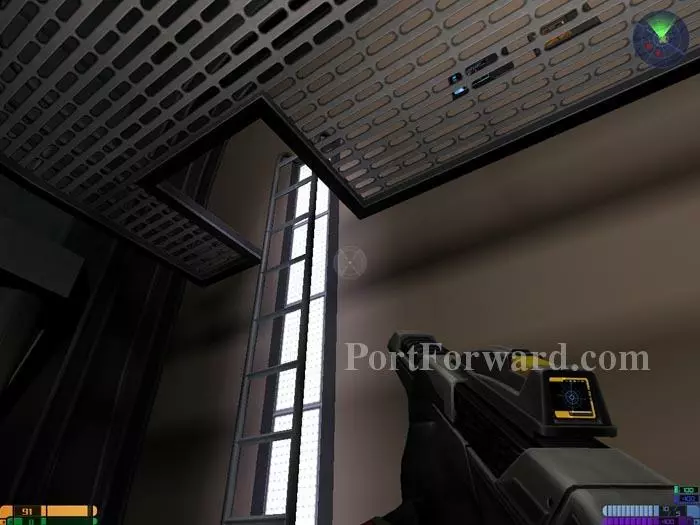
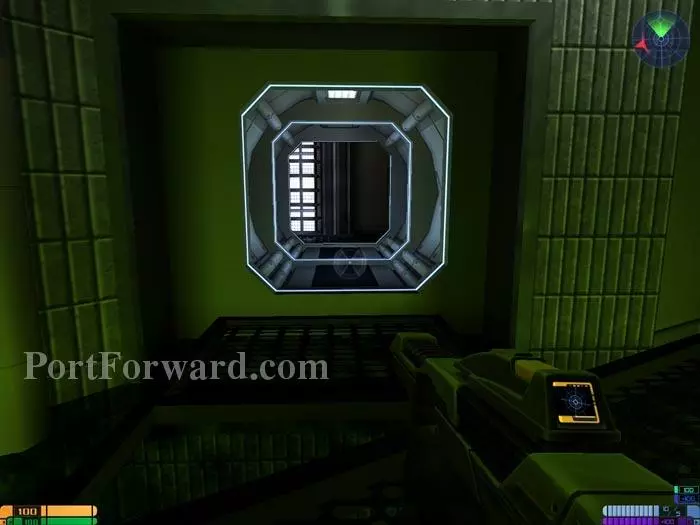
Then up the ladder and through this hatch. Take the next hatch on the right as well.
![Star Trek: Elite Force II Walkthrough - Star Trek-Elite-Force-II 220](star-trek-elite-force-ii-220-small.webp)
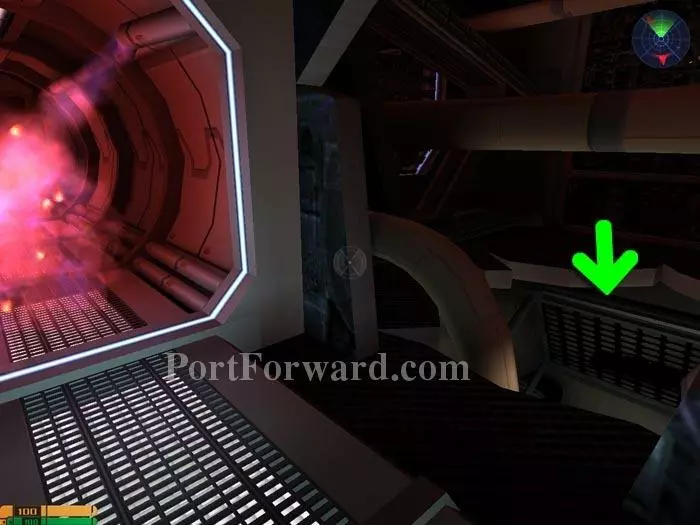
After the explosion, jump down through this hole.
![Star Trek: Elite Force II Walkthrough - Star Trek-Elite-Force-II 221](star-trek-elite-force-ii-221-small.webp)
You're back in the Library. Use this console and Golden Starship 37 beams in behind you.
![Star Trek: Elite Force II Walkthrough - Star Trek-Elite-Force-II 222](star-trek-elite-force-ii-222-small.webp)
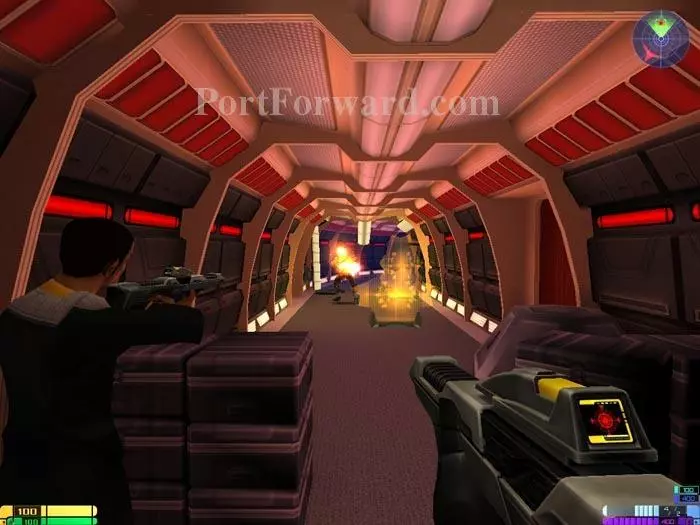
Assist Tuvok in defending the corridor.
![Star Trek: Elite Force II Walkthrough - Star Trek-Elite-Force-II 223](star-trek-elite-force-ii-223-small.webp)
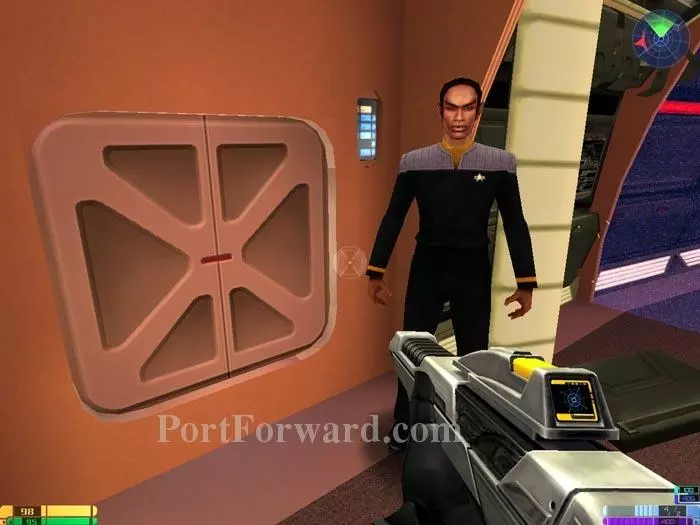
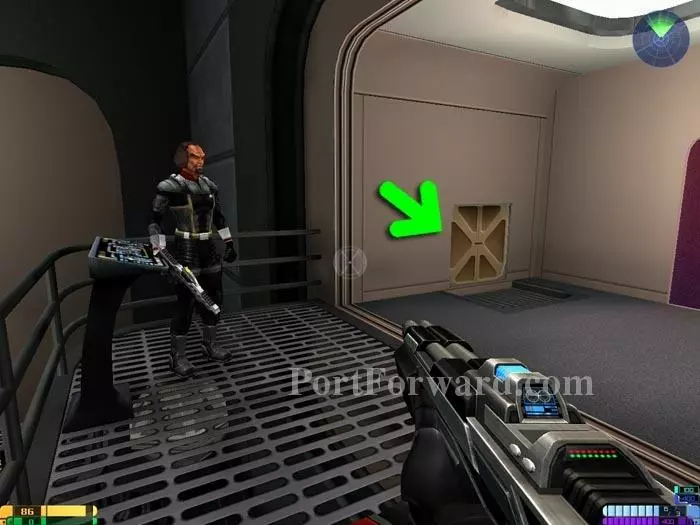
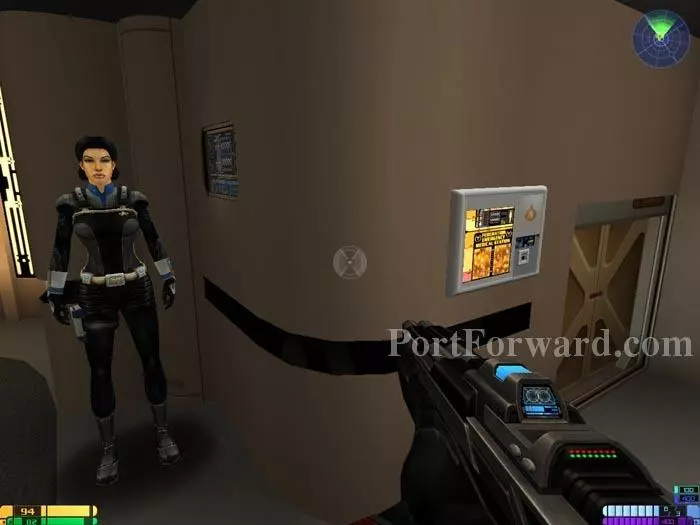
Tuvok orders you through this hatch to defend Sick Bay.
![Star Trek: Elite Force II Walkthrough - Star Trek-Elite-Force-II 224](star-trek-elite-force-ii-224-small.webp)
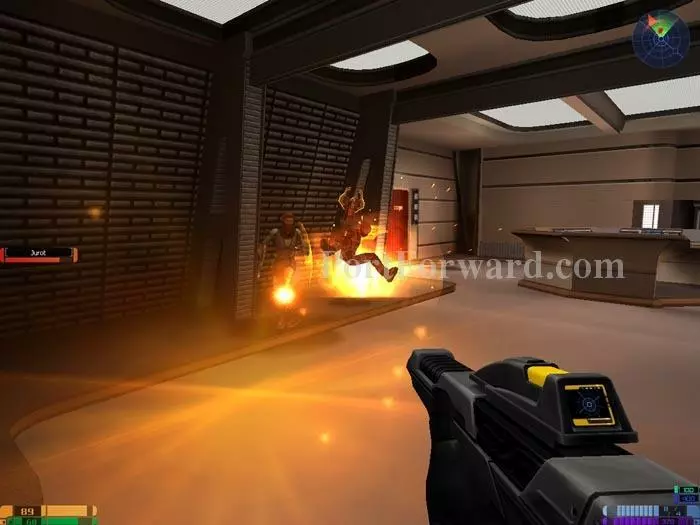
You must protect Jurot. Defeat these Idryll then pass through the door visible in the background. Sickbay is directly across the corridor.
![Star Trek: Elite Force II Walkthrough - Star Trek-Elite-Force-II 225](star-trek-elite-force-ii-225-small.webp)
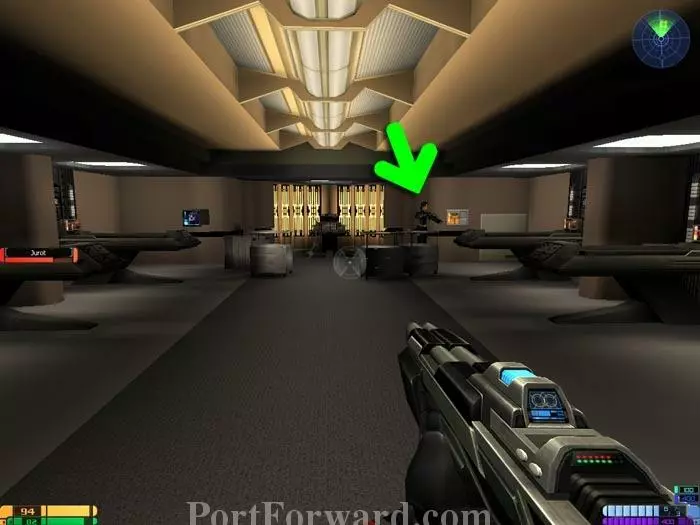
Approach Jurot. More Idryll beam in. Defeat them.
![Star Trek: Elite Force II Walkthrough - Star Trek-Elite-Force-II 226](star-trek-elite-force-ii-226-small.webp)
Chell requires assistance in Engineering. Jurot advises you to take this Jeffries tube. Note the health terminal.
![Star Trek: Elite Force II Walkthrough - Star Trek-Elite-Force-II 227](star-trek-elite-force-ii-227-small.webp)
Follow the Jeffries tube down a ladder to this Cargo Bay and more Idryll. Note the health and energy terminals.
![Star Trek: Elite Force II Walkthrough - Star Trek-Elite-Force-II 228](star-trek-elite-force-ii-228-small.webp)
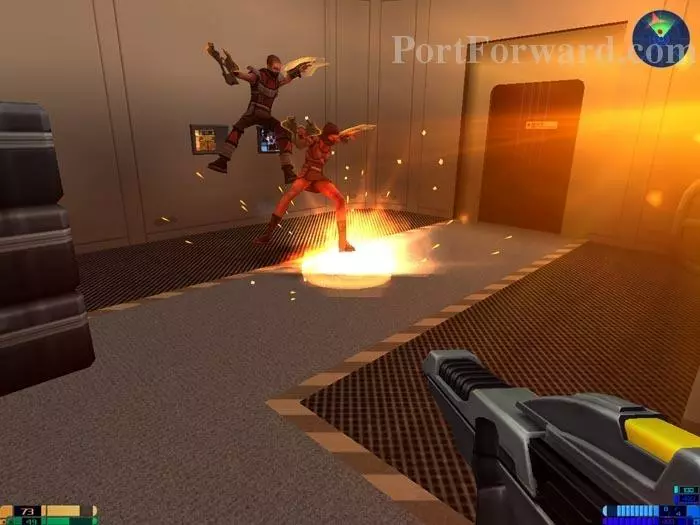
Barclay: "The warp core is overheating. Everyone out!" Approach him to view a cutscene of Idryll sabotaging the warp core.
![Star Trek: Elite Force II Walkthrough - Star Trek-Elite-Force-II 229](star-trek-elite-force-ii-229-small.webp)
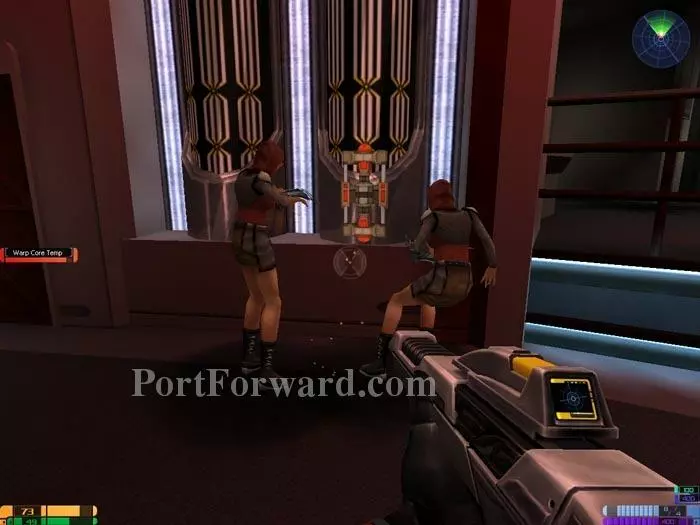
Each device's explosion will add to the warp core temperature. Destroy them before they explode.
![Star Trek: Elite Force II Walkthrough - Star Trek-Elite-Force-II 230](star-trek-elite-force-ii-230-small.webp)
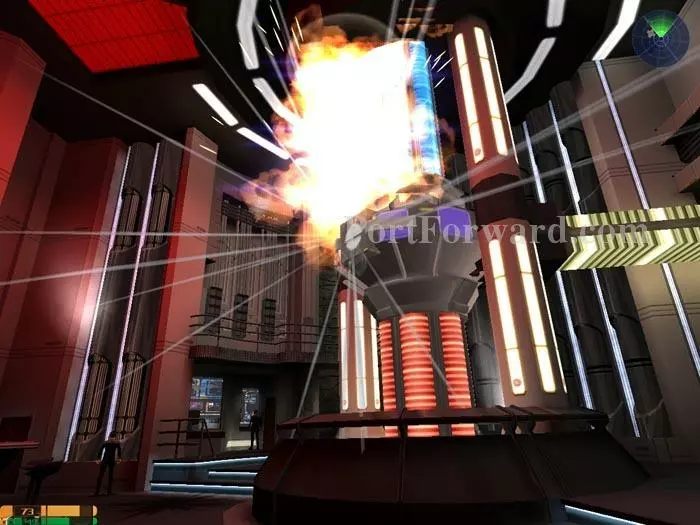
Standing on this table will give you a good vantage point and place you strategically for upcoming events.
![Star Trek: Elite Force II Walkthrough - Star Trek-Elite-Force-II 231](star-trek-elite-force-ii-231-small.webp)
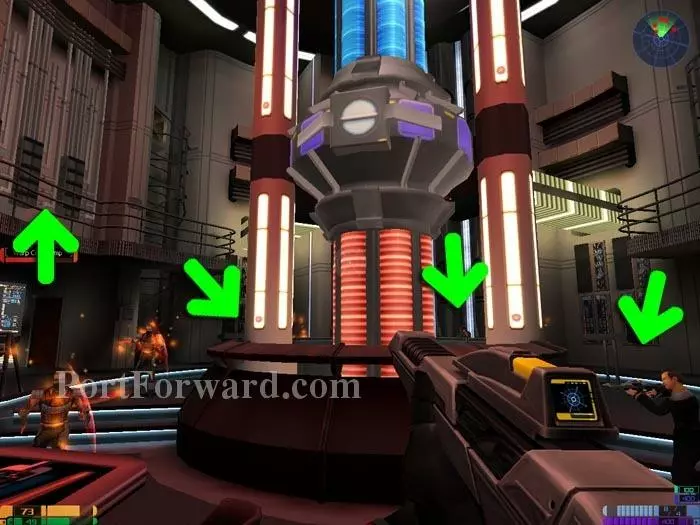
The arrows mark common beam-in points for the Idryll. Don't forget to watch the upper level.
![Star Trek: Elite Force II Walkthrough - Star Trek-Elite-Force-II 232](star-trek-elite-force-ii-232-small.webp)
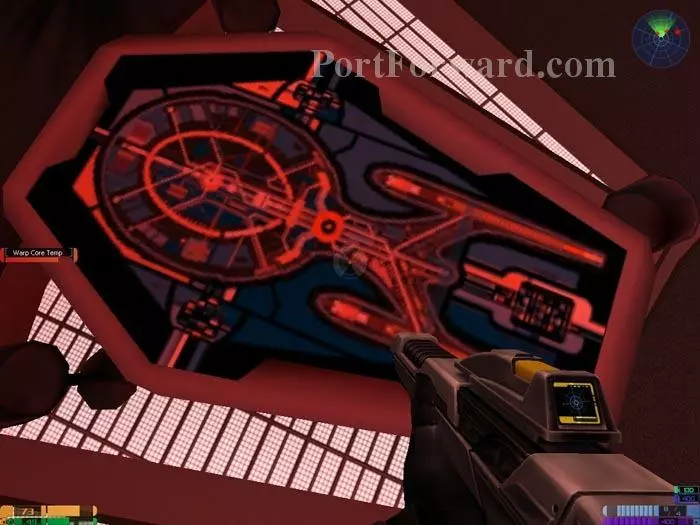
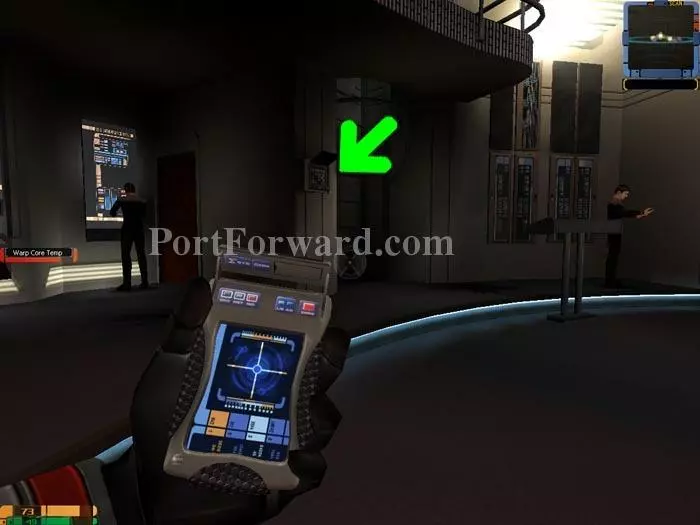
If you are successful at repelling the saboteurs, you are ordered to use your tricorder on this Warp Core Energy Panel (the table you were standing on).
![Star Trek: Elite Force II Walkthrough - Star Trek-Elite-Force-II 233](star-trek-elite-force-ii-233-small.webp)
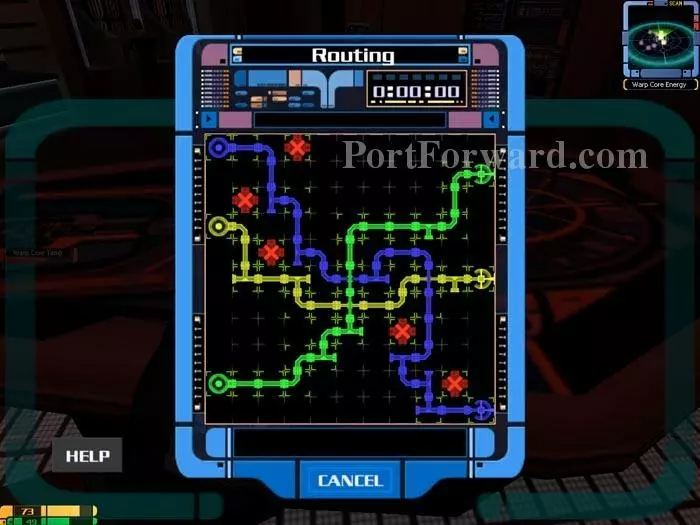
Ugh. The time you have left is dependent upon how fast you've repelled the Idryll saboteurs. Here's the solution.
![Star Trek: Elite Force II Walkthrough - Star Trek-Elite-Force-II 234](star-trek-elite-force-ii-234-small.webp)
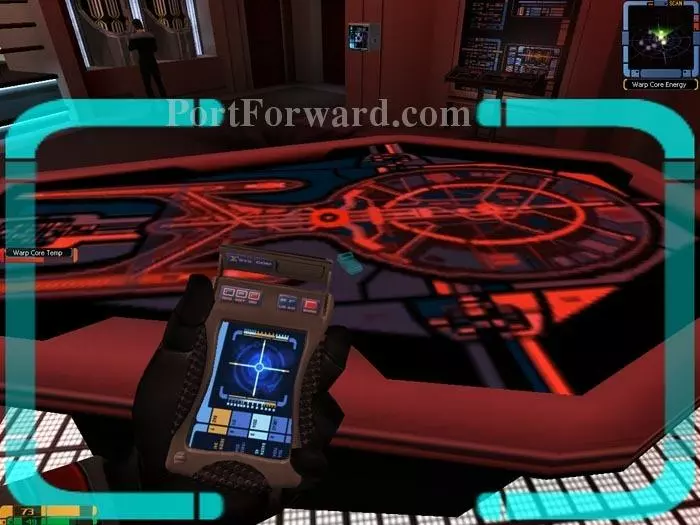
If you route power too slowly you must eject the core. Barclay gives you the code. Use your tricorder on the indicated panel.
![Star Trek: Elite Force II Walkthrough - Star Trek-Elite-Force-II 235](star-trek-elite-force-ii-235-small.webp)
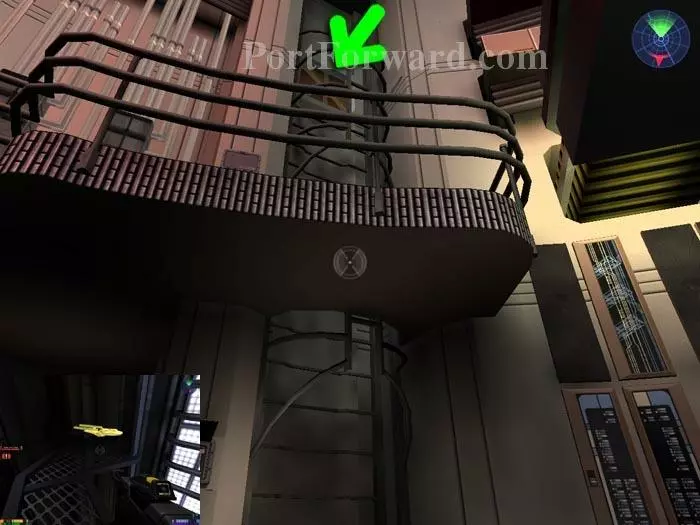
Take the ladder up to the indicated Jeffries hatch. Pass through to find Golden Starship 38.
![Star Trek: Elite Force II Walkthrough - Star Trek-Elite-Force-II 236](star-trek-elite-force-ii-236-small.webp)
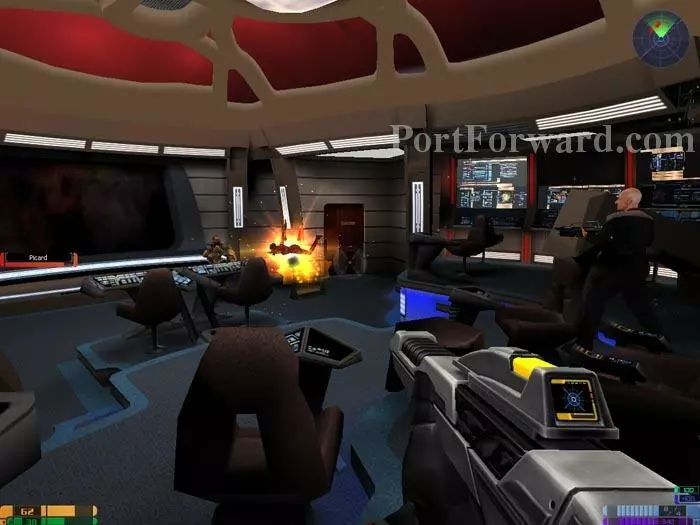
Take a turbolift to the Bridge. Defend Picard from the attacking Idryll.
![Star Trek: Elite Force II Walkthrough - Star Trek-Elite-Force-II 237](star-trek-elite-force-ii-237-small.webp)
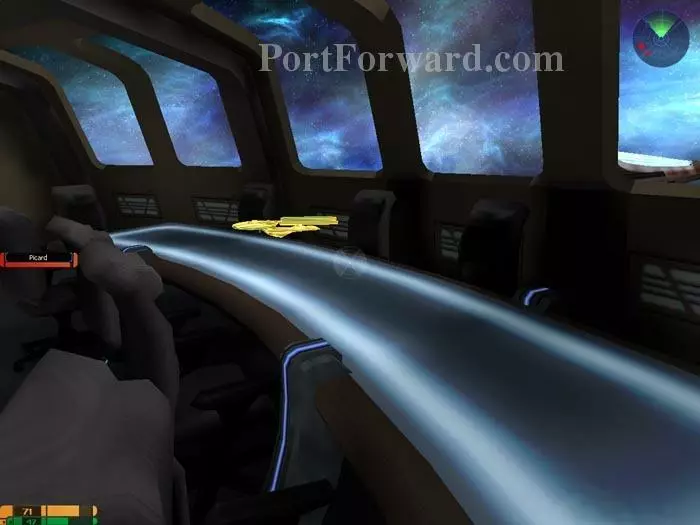
Head into the Observation Lounge before the action finishes to find Golden Starship 39. View a cutscene to end the level.
More Star Trek: Elite Force II Walkthroughs
This Star Trek: Elite Force II walkthrough is divided into 12 total pages.