This Star Trek: Elite Force II walkthrough is divided into 12 total pages.
You can jump to nearby pages of the game using the links above.
Payback
![Star Trek: Elite Force II Walkthrough - Star Trek-Elite-Force-II 342](star-trek-elite-force-ii-342-small.webp)
You escape the crashed shuttle. Follow your beacon, as indicated. Fight the Idryll. You'll find supplies at his camp, just visible in the background. Proceed under the tree.
![Star Trek: Elite Force II Walkthrough - Star Trek-Elite-Force-II 343](star-trek-elite-force-ii-343-small.webp)
Another Idryll encampment. Defeat them and take their supplies.
![Star Trek: Elite Force II Walkthrough - Star Trek-Elite-Force-II 344](star-trek-elite-force-ii-344-small.webp)
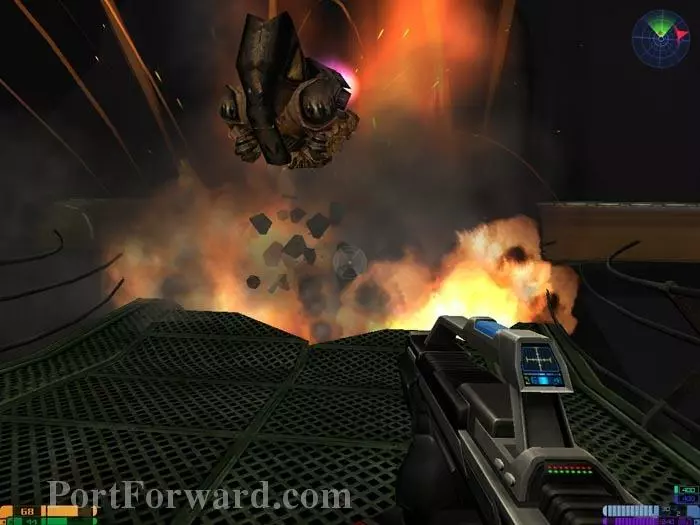
Make your way to this bridge. The bombardment causes the guard tower to fall.
![Star Trek: Elite Force II Walkthrough - Star Trek-Elite-Force-II 345](star-trek-elite-force-ii-345-small.webp)
More Idryll beam in. After defeating them climb over this rubble to the other side of the fallen tower.
![Star Trek: Elite Force II Walkthrough - Star Trek-Elite-Force-II 346](star-trek-elite-force-ii-346-small.webp)
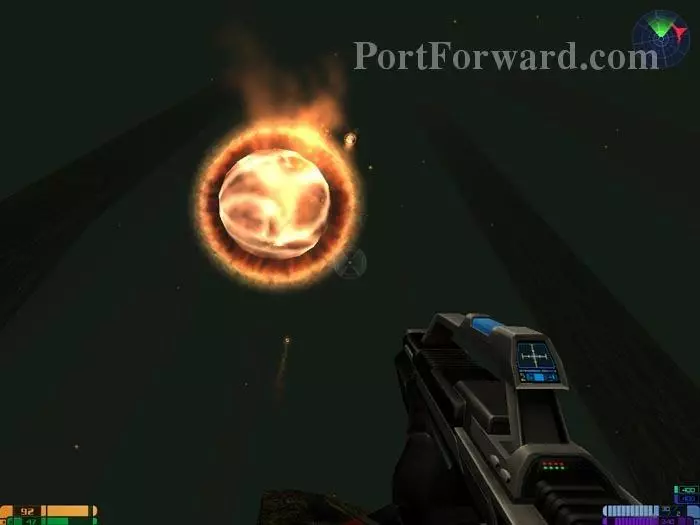
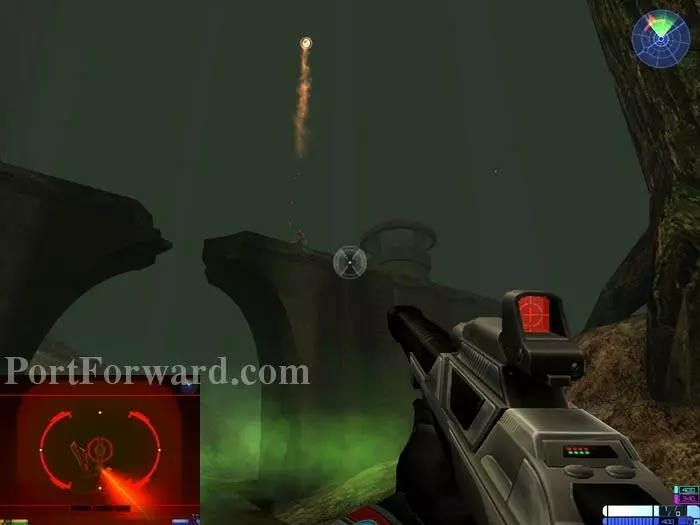
Keep moving to avoid the incoming bombardment. They will lock onto your position if you stand still.
![Star Trek: Elite Force II Walkthrough - Star Trek-Elite-Force-II 347](star-trek-elite-force-ii-347-small.webp)
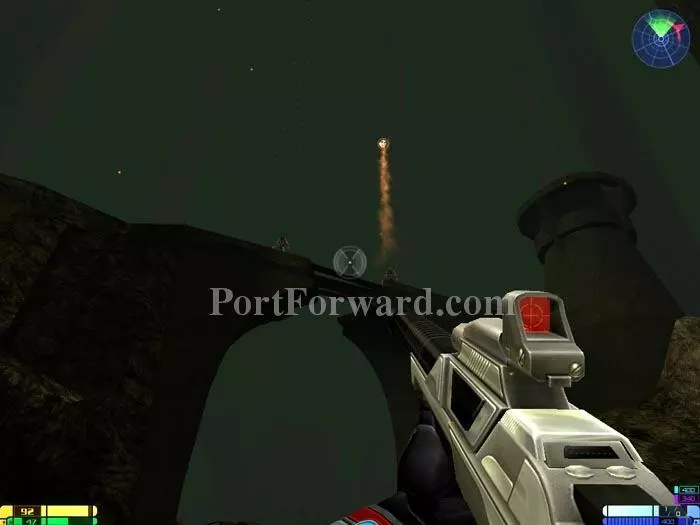
The bombardment is coming from these Idryll on the bridge.
![Star Trek: Elite Force II Walkthrough - Star Trek-Elite-Force-II 348](star-trek-elite-force-ii-348-small.webp)
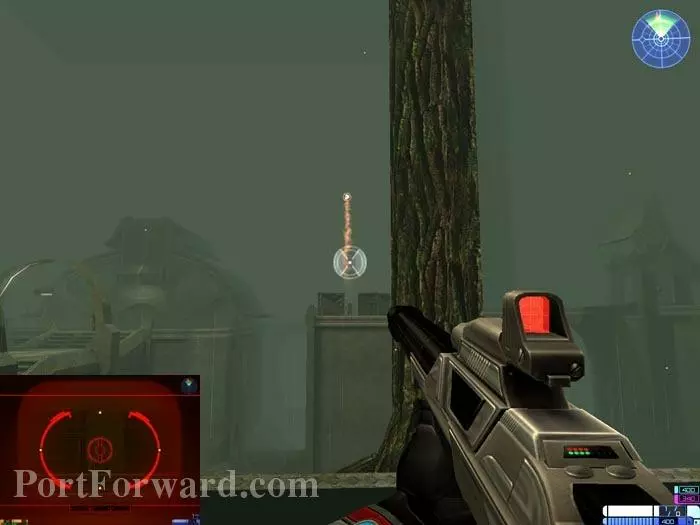
Use your Sniper Rifle to take them out.
![Star Trek: Elite Force II Walkthrough - Star Trek-Elite-Force-II 349](star-trek-elite-force-ii-349-small.webp)
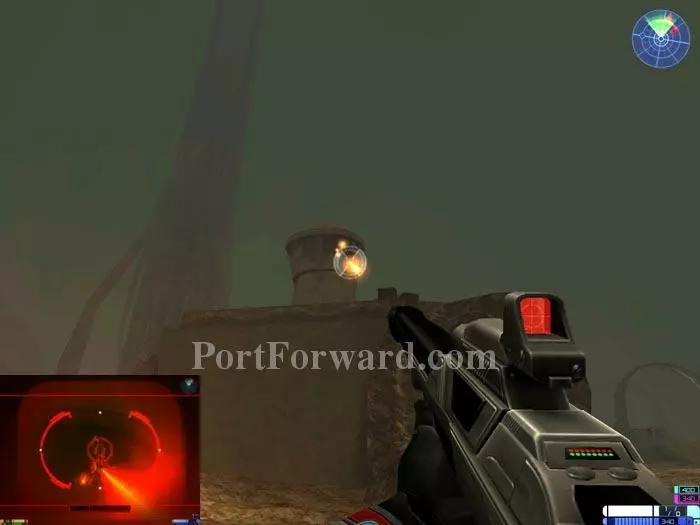
Snipe the Idryll in the guard tower ahead.
![Star Trek: Elite Force II Walkthrough - Star Trek-Elite-Force-II 350](star-trek-elite-force-ii-350-small.webp)
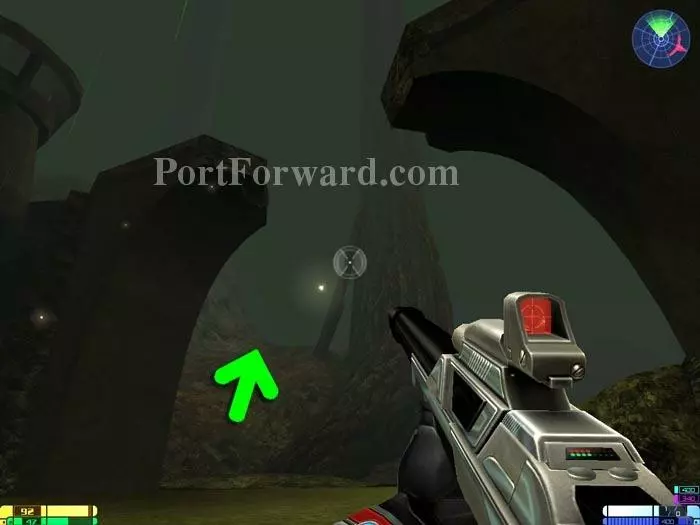
Walk up the indicated hill.
![Star Trek: Elite Force II Walkthrough - Star Trek-Elite-Force-II 351](star-trek-elite-force-ii-351-small.webp)
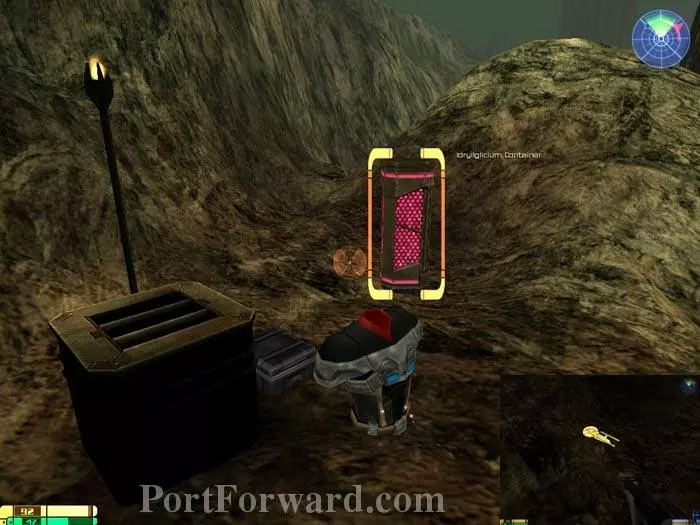
Destroy the Idryllglicium Container to find the 50th Golden Starship.
![Star Trek: Elite Force II Walkthrough - Star Trek-Elite-Force-II 352](star-trek-elite-force-ii-352-small.webp)
More Idryll on the bridge ahead. Your Sniper Rifle can take them out. To the right is another Idryll camp with supplies and a break in the bridge you can traverse to avoid the gas.
![Star Trek: Elite Force II Walkthrough - Star Trek-Elite-Force-II 353](star-trek-elite-force-ii-353-small.webp)
More Sniper Rifle fodder. To the right is yet another camp with supplies.
![Star Trek: Elite Force II Walkthrough - Star Trek-Elite-Force-II 354](star-trek-elite-force-ii-354-small.webp)
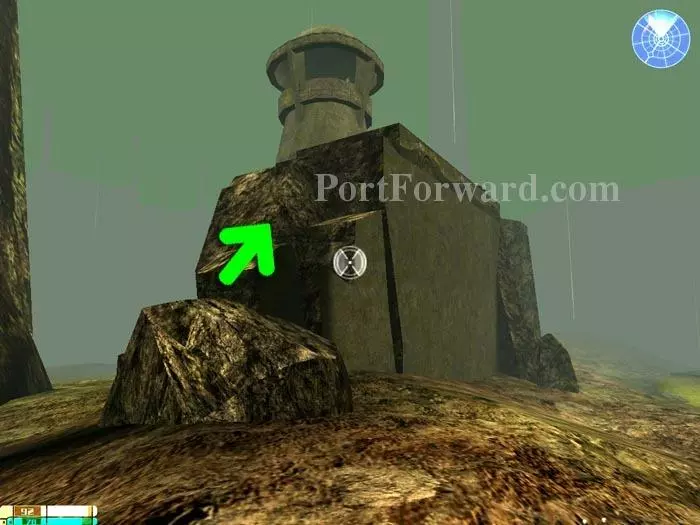
To the left is this rubble. Climb it to reach a secret area.
![Star Trek: Elite Force II Walkthrough - Star Trek-Elite-Force-II 355](star-trek-elite-force-ii-355-small.webp)
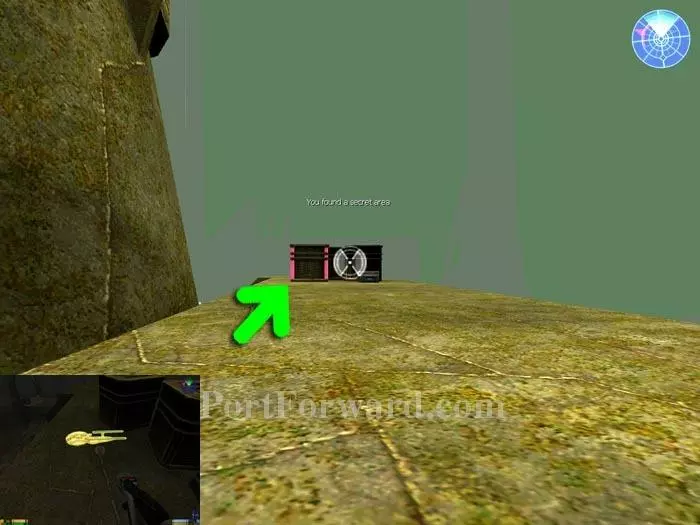
Destroy this crate to find Golden Starship 51.
![Star Trek: Elite Force II Walkthrough - Star Trek-Elite-Force-II 356](star-trek-elite-force-ii-356-small.webp)
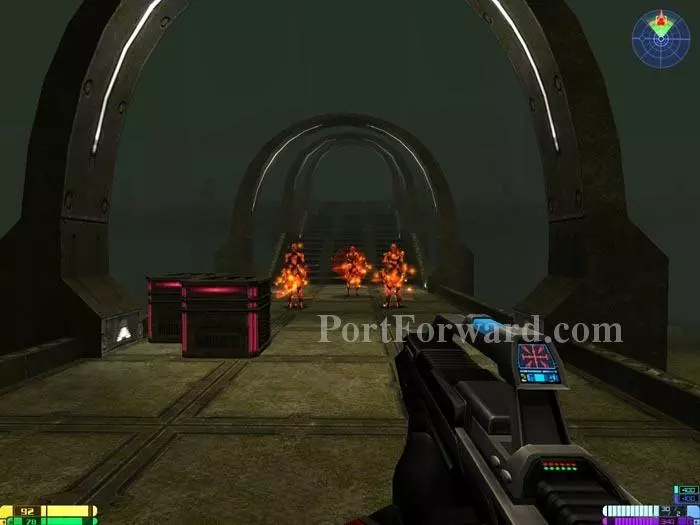
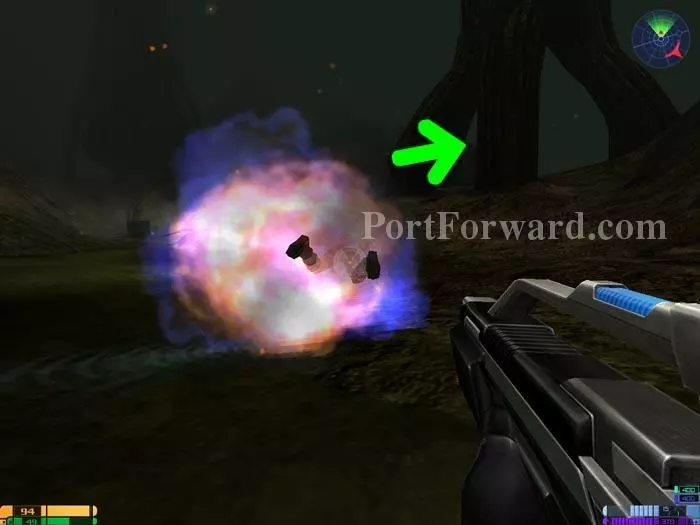
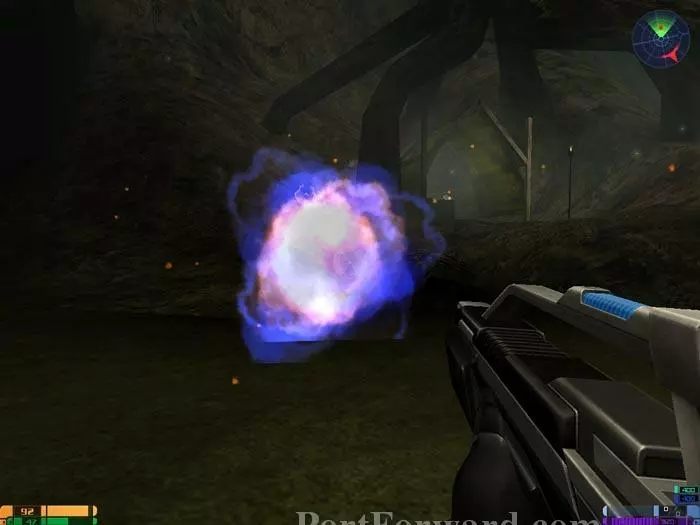
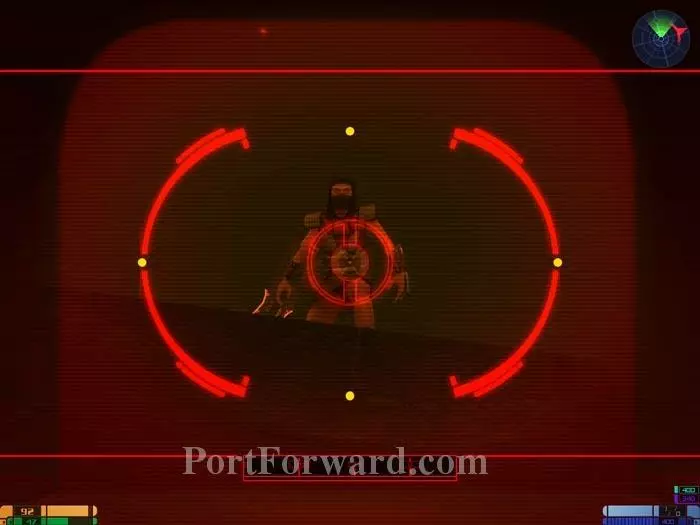
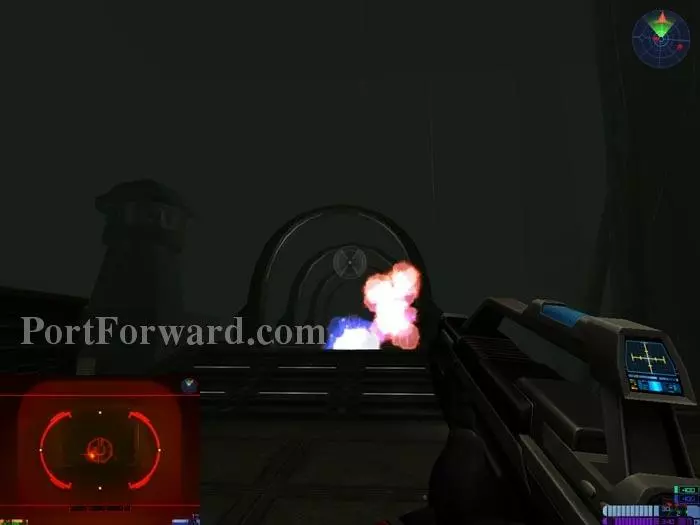
More Idryll beam in as you cross the bridge. The Enhanced Compression Rifle's secondary fire works well against them.
![Star Trek: Elite Force II Walkthrough - Star Trek-Elite-Force-II 357](star-trek-elite-force-ii-357-small.webp)
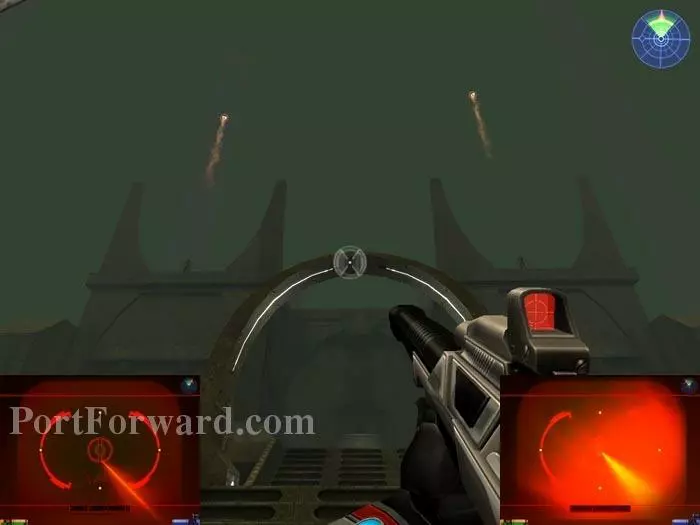
Snipe this pair while avoiding their bombardment.
![Star Trek: Elite Force II Walkthrough - Star Trek-Elite-Force-II 358](star-trek-elite-force-ii-358-small.webp)
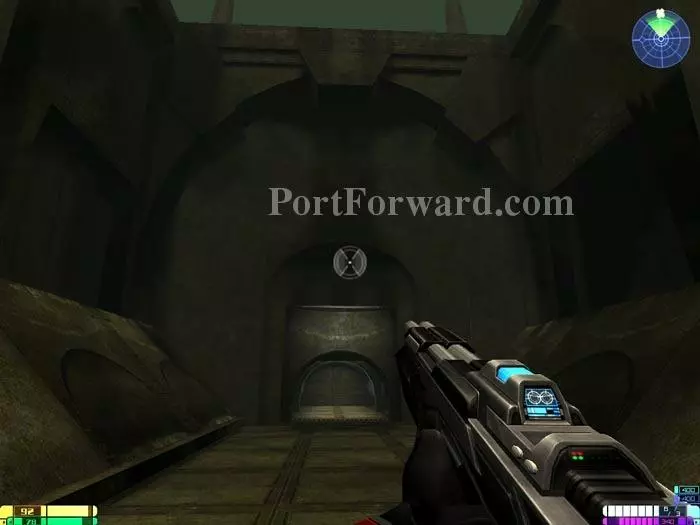
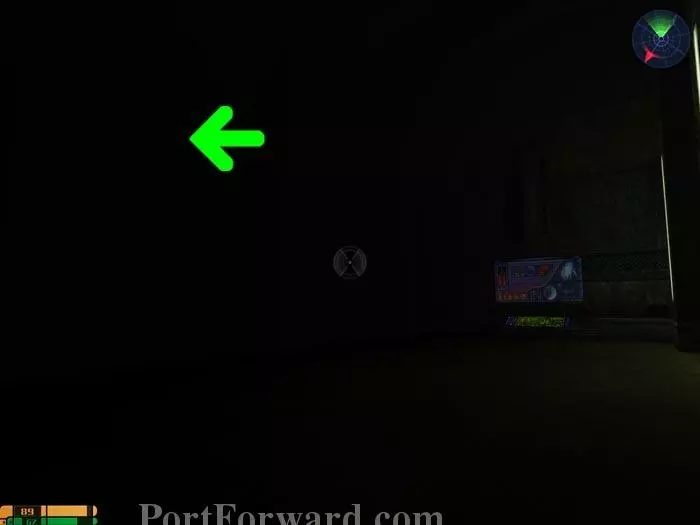
Pass through this door to exit the area.
![Star Trek: Elite Force II Walkthrough - Star Trek-Elite-Force-II 359](star-trek-elite-force-ii-359-small.webp)
This vantage point permits an attack between the crates. Snipe any other targets of opportunity on the other side before crossing.
![Star Trek: Elite Force II Walkthrough - Star Trek-Elite-Force-II 360](star-trek-elite-force-ii-360-small.webp)
Try to cross to the right and the bridge is knocked out. Use your tricorder on this Bridge Power Override for another random waveform-matching puzzle.
![Star Trek: Elite Force II Walkthrough - Star Trek-Elite-Force-II 361](star-trek-elite-force-ii-361-small.webp)
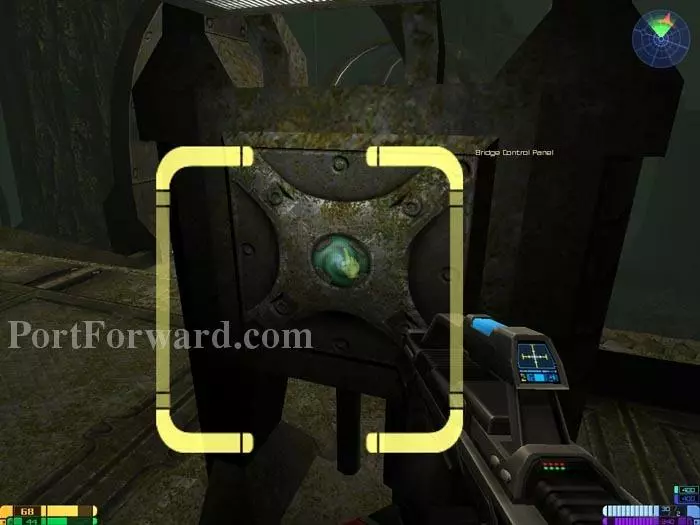
Backtrack to the center area and "use" this Bridge Control Panel to extend the bridge. Cross the bridge and descend the left stairs.
![Star Trek: Elite Force II Walkthrough - Star Trek-Elite-Force-II 362](star-trek-elite-force-ii-362-small.webp)
More Idryll on the other side. Missiliers are to the left, center and right of the bridge.
![Star Trek: Elite Force II Walkthrough - Star Trek-Elite-Force-II 363](star-trek-elite-force-ii-363-small.webp)
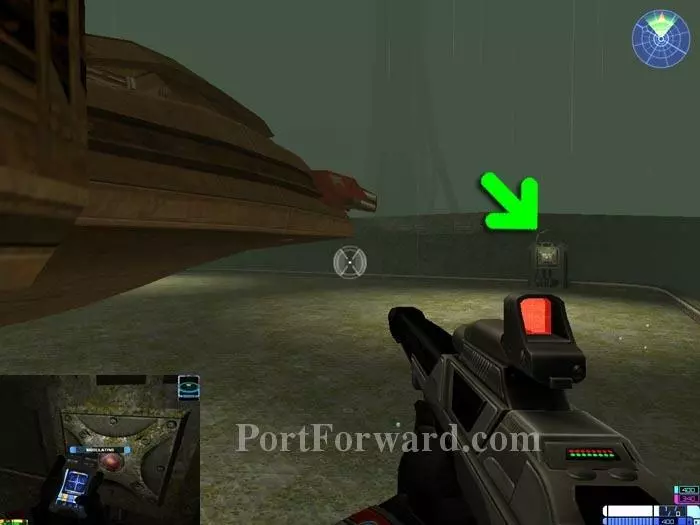
Defeat the snipers then take the walkway on the right. Modulate this terminal with your tricorder.
![Star Trek: Elite Force II Walkthrough - Star Trek-Elite-Force-II 364](star-trek-elite-force-ii-364-small.webp)
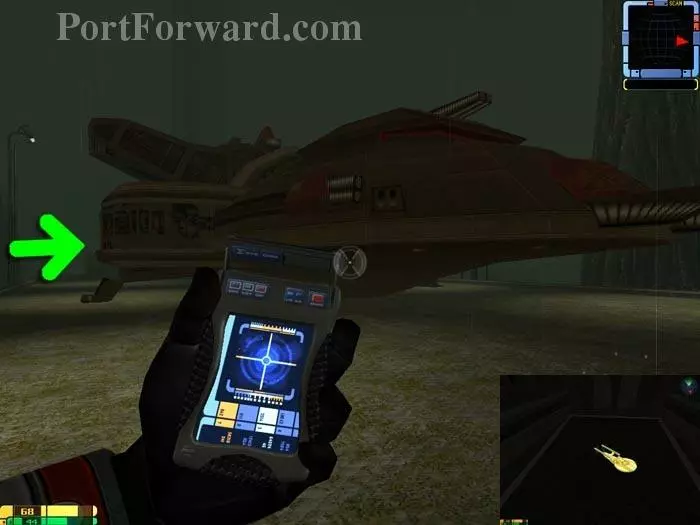
Enter the ship through the opened hatch to find a secret area with Idryllium and Golden Starship 52.
![Star Trek: Elite Force II Walkthrough - Star Trek-Elite-Force-II 365](star-trek-elite-force-ii-365-small.webp)
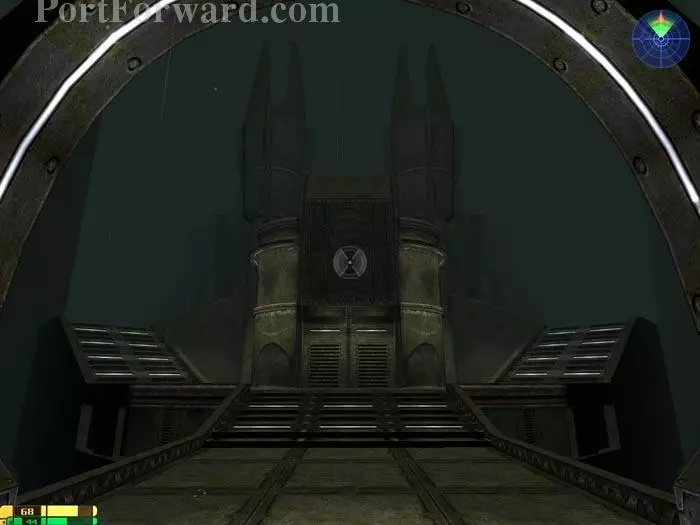
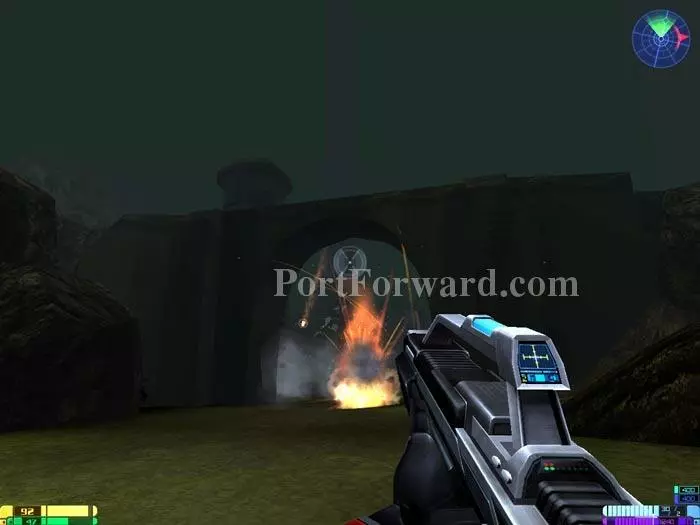
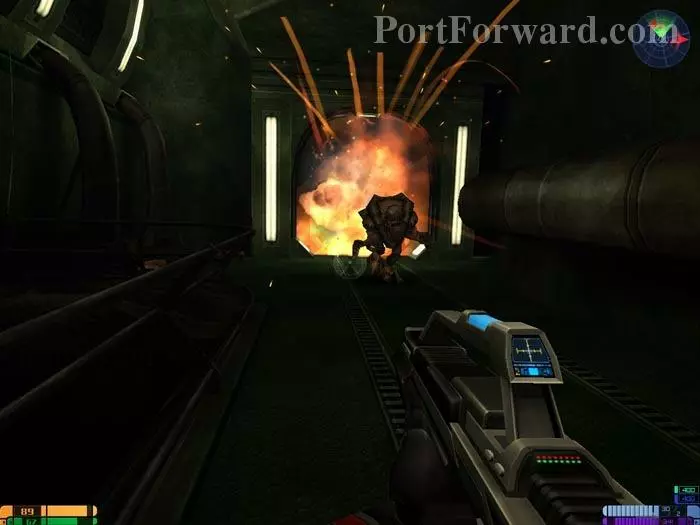
Continue around to the bridge behind this castle. The bridge collapses and you battle the triple boss...
![Star Trek: Elite Force II Walkthrough - Star Trek-Elite-Force-II 366](star-trek-elite-force-ii-366-small.webp)
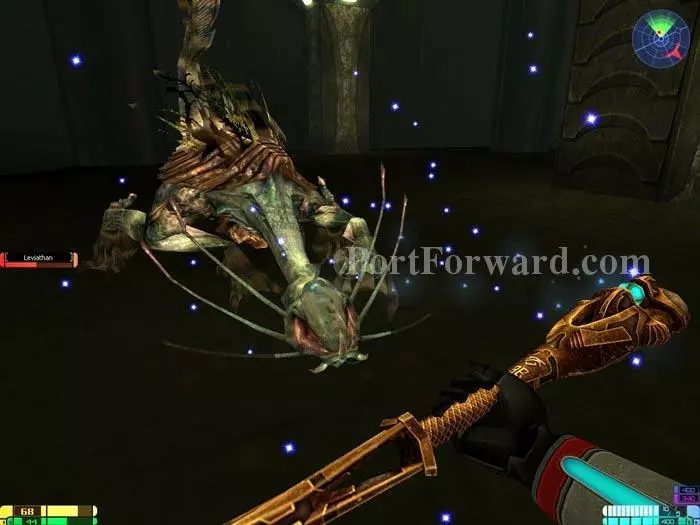
Leviathan. The Staff from Mission 5 is your best defense.
![Star Trek: Elite Force II Walkthrough - Star Trek-Elite-Force-II 367](star-trek-elite-force-ii-367-small.webp)
After defeating the three Leviathans, exit the area through this door.
![Star Trek: Elite Force II Walkthrough - Star Trek-Elite-Force-II 368](star-trek-elite-force-ii-368-small.webp)
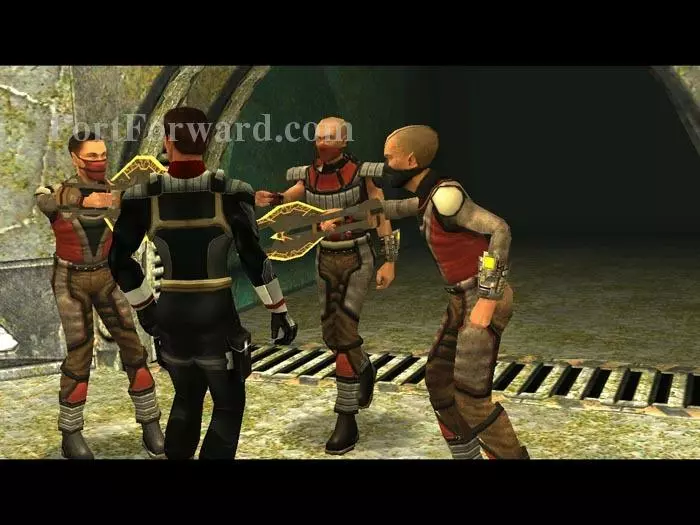
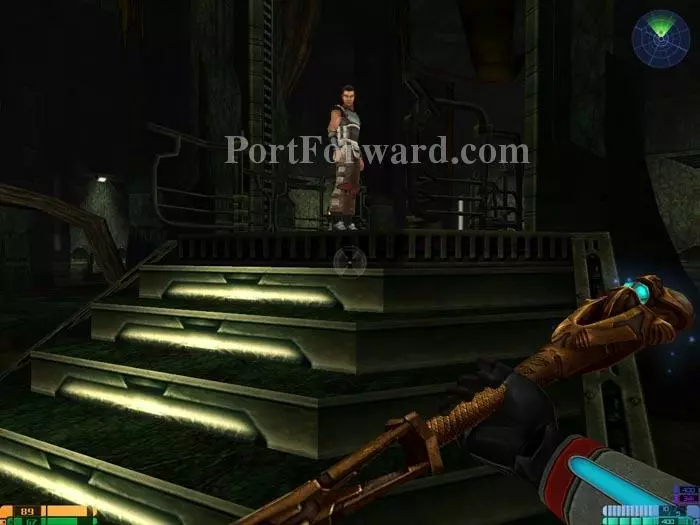
Where you are promptly captured.
![Star Trek: Elite Force II Walkthrough - Star Trek-Elite-Force-II 369](star-trek-elite-force-ii-369-small.webp)
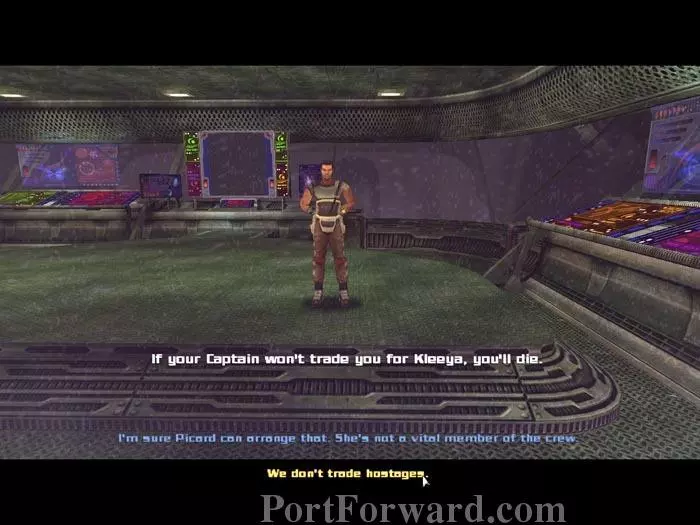
Krindo interrogates you. You must respond with "We don't trade hostages." or the mission ends in failure.
![Star Trek: Elite Force II Walkthrough - Star Trek-Elite-Force-II 370](star-trek-elite-force-ii-370-small.webp)
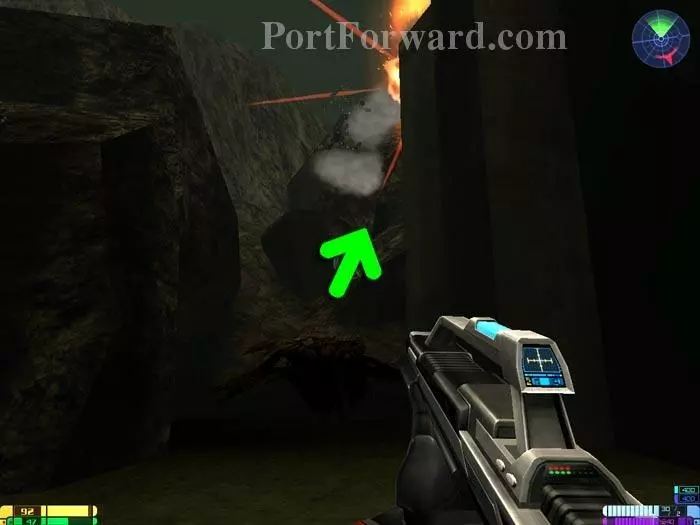
Defeat this Xenomorph then jump across the hole caused by this explosion. Take the door on the right after crossing.
![Star Trek: Elite Force II Walkthrough - Star Trek-Elite-Force-II 371](star-trek-elite-force-ii-371-small.webp)
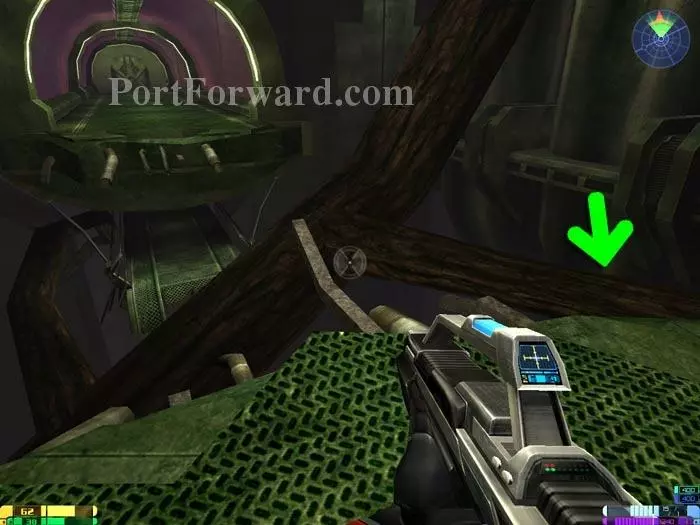
Continue through the habitrail to this area. Jump onto the indicated branch.
![Star Trek: Elite Force II Walkthrough - Star Trek-Elite-Force-II 372](star-trek-elite-force-ii-372-small.webp)
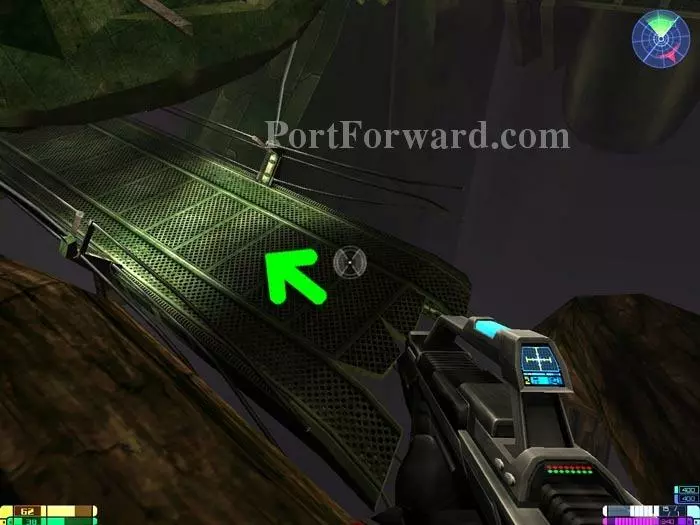
Jump to the lower deck and proceed as indicated.
![Star Trek: Elite Force II Walkthrough - Star Trek-Elite-Force-II 373](star-trek-elite-force-ii-373-small.webp)
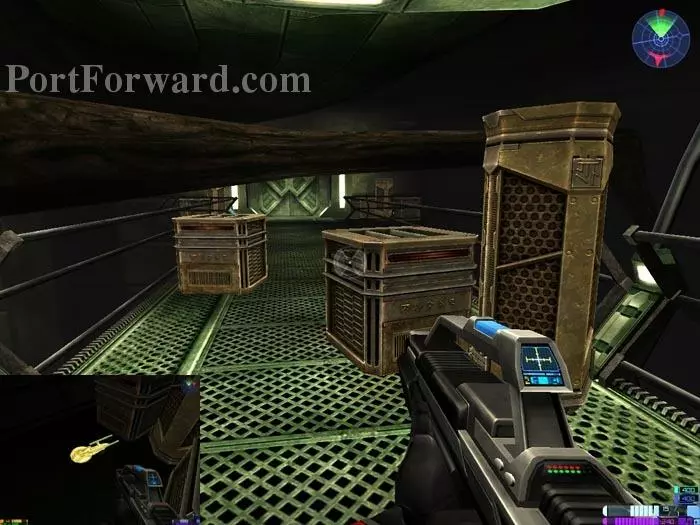
Duck under this branch and head to the back to a secret area. Golden Starship 53 is to the right of the door behind the crates. Backtrack across the tree to the other side of the bridge.
![Star Trek: Elite Force II Walkthrough - Star Trek-Elite-Force-II 374](star-trek-elite-force-ii-374-small.webp)
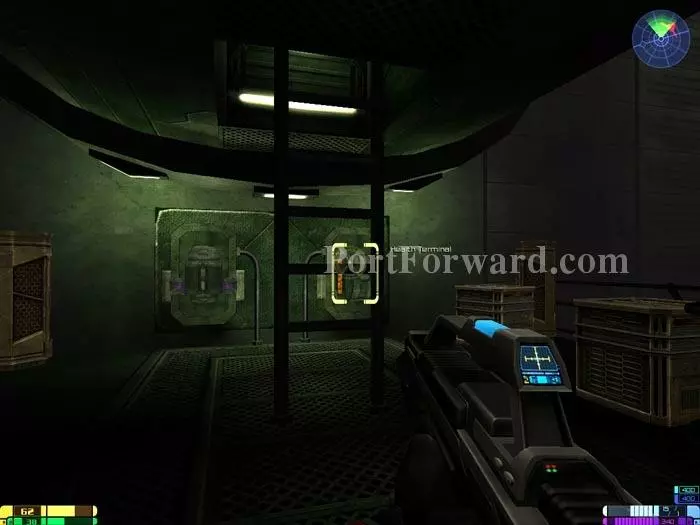
Use these health and energy terminals then climb this ladder. Defeat the Xenomorph and exit the area through the doors behind you.
![Star Trek: Elite Force II Walkthrough - Star Trek-Elite-Force-II 375](star-trek-elite-force-ii-375-small.webp)
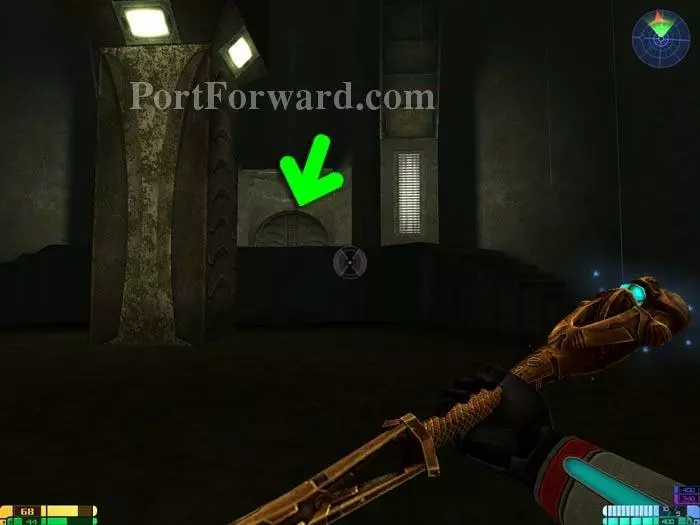
Defeat the initial batch of Xenomorphs then head down the corridor. Turn on your night vision and look at the indicated wall.
![Star Trek: Elite Force II Walkthrough - Star Trek-Elite-Force-II 376](star-trek-elite-force-ii-376-small.webp)
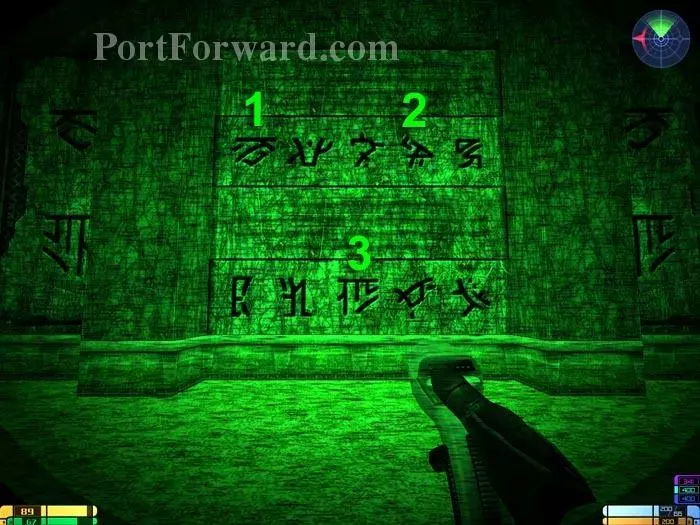
Fire your phaser at the symbols in the order indicated. The symbols are pushed into the wall, and you hear the door behind you open.
![Star Trek: Elite Force II Walkthrough - Star Trek-Elite-Force-II 377](star-trek-elite-force-ii-377-small.webp)
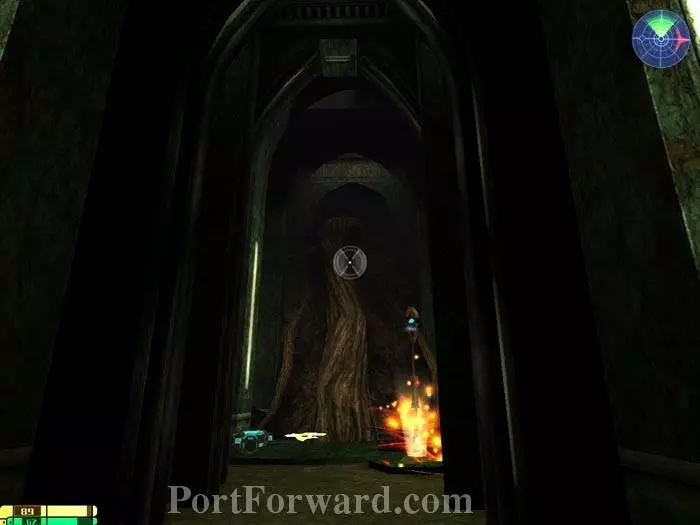
Inside you'll find the 54th Golden Starship and another Staff like the one found in Mission 5. Secondary fire stuns the target when touched. Grabbing the Staff credits you with Golden Starship 55.
![Star Trek: Elite Force II Walkthrough - Star Trek-Elite-Force-II 378](star-trek-elite-force-ii-378-small.webp)
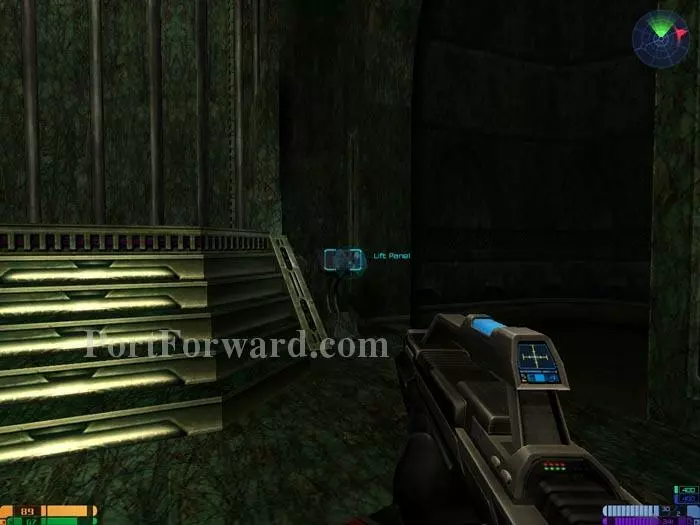
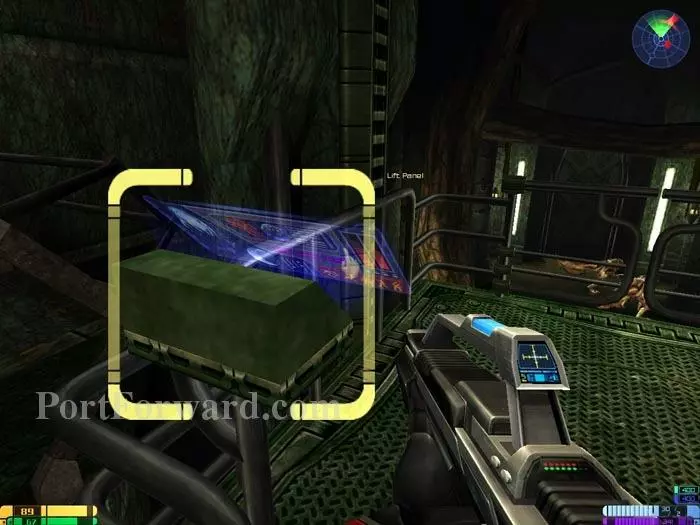
Modulate this Lift Panel with your tricorder, then step on board.
![Star Trek: Elite Force II Walkthrough - Star Trek-Elite-Force-II 379](star-trek-elite-force-ii-379-small.webp)
This Xenomorph bursts through to your left. Defeat it then take the door to the right.
![Star Trek: Elite Force II Walkthrough - Star Trek-Elite-Force-II 380](star-trek-elite-force-ii-380-small.webp)
Continue to this lift. Bombard the Xenomorphs below before "using" the Lift Panel. Health and energy terminals are also available. Pass through the large door visible to the rear.
![Star Trek: Elite Force II Walkthrough - Star Trek-Elite-Force-II 381](star-trek-elite-force-ii-381-small.webp)
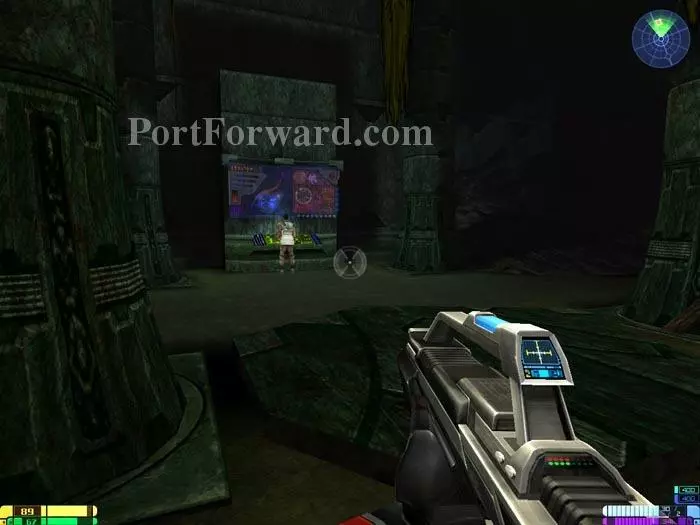
Approach Krindo to initiate a cutscene.
![Star Trek: Elite Force II Walkthrough - Star Trek-Elite-Force-II 382](star-trek-elite-force-ii-382-small.webp)
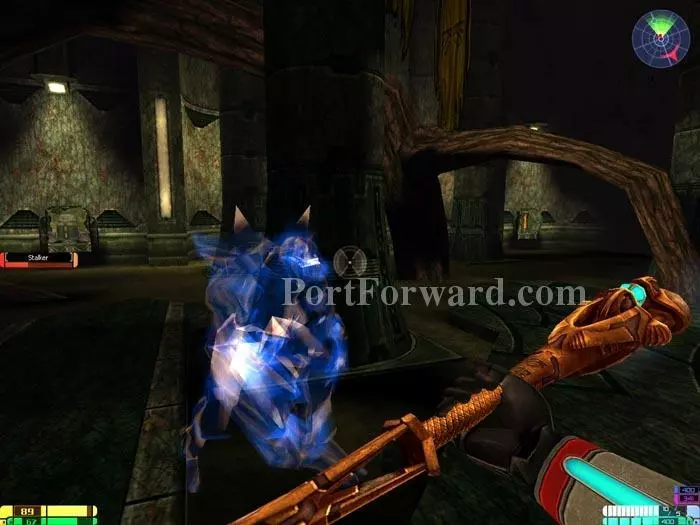
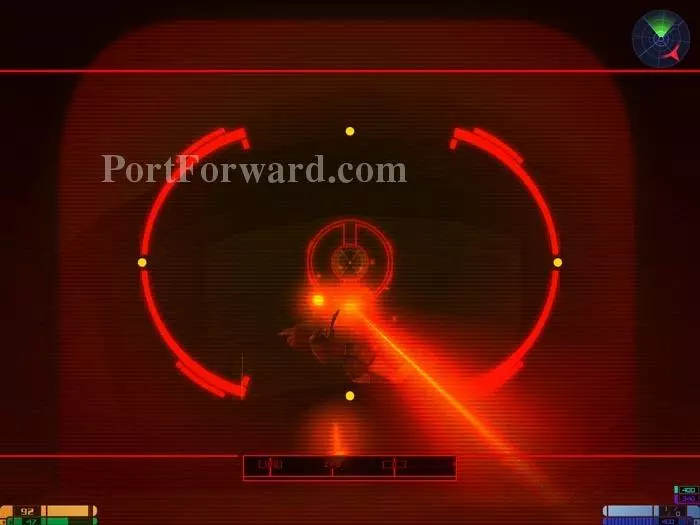
Use your Staff's secondary fire to prevent the Stalker from phase shifting. Note the energy and health terminals in the background.
![Star Trek: Elite Force II Walkthrough - Star Trek-Elite-Force-II 383](star-trek-elite-force-ii-383-small.webp)
Once the Stalker is defeated, Krindo informs you, "I have successfully rerouted power to the lift control mechanism. Let's get out of here." Follow him to the lift to end the mission.
More Star Trek: Elite Force II Walkthroughs
This Star Trek: Elite Force II walkthrough is divided into 12 total pages.