Star Trek: Elite Force II Walkthrough Incognito

September 12, 2016 (Last Updated: ) | Reading Time: 7 minutes

This Star Trek: Elite Force II walkthrough is divided into 12 total pages.

You can jump to nearby pages of the game using the links above.

Incognito

Star Trek: Elite Force II Walkthrough - Star Trek-Elite-Force-II 413

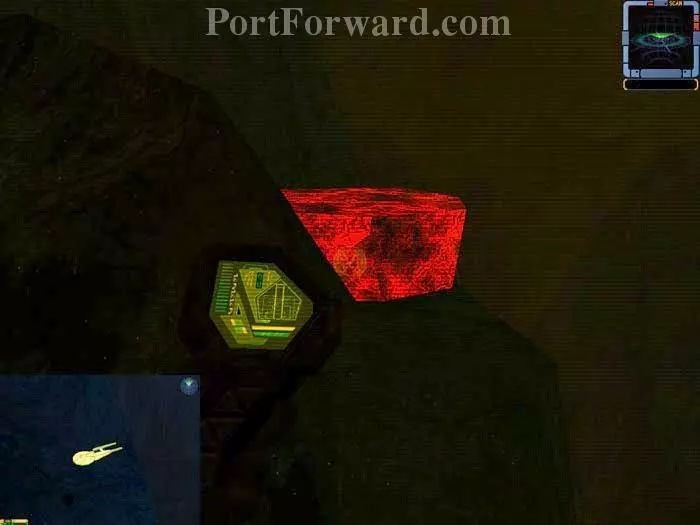
Take the tunnel on the left. Activate your (Romulan) tricorder's Structural Integrity View Mode to identify this destructible rock formation at the cliff's edge. You have no weapons, so you must jump on the rock to reveal Golden Starship 61. Note: I had trouble being credited with a Secret after retrieving the Starship. Step around the immediate area if need be.

Star Trek: Elite Force II Walkthrough - Star Trek-Elite-Force-II 414

Turn around and exit the cave.

Star Trek: Elite Force II Walkthrough - Star Trek-Elite-Force-II 415

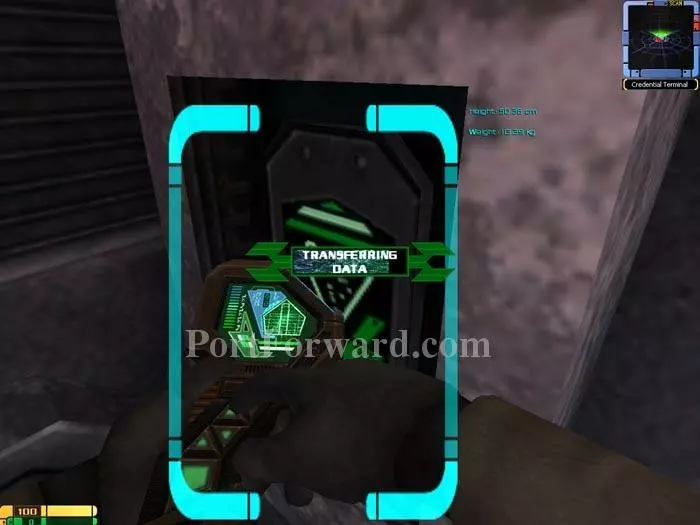
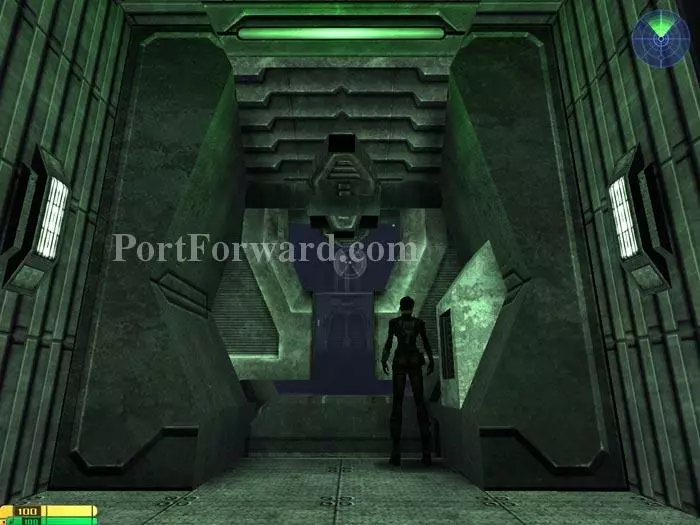
Turn right and approach the guard. He asks for your credentials. Use your tricorder on the Credential Input Terminal for clearance.

Star Trek: Elite Force II Walkthrough - Star Trek-Elite-Force-II 416

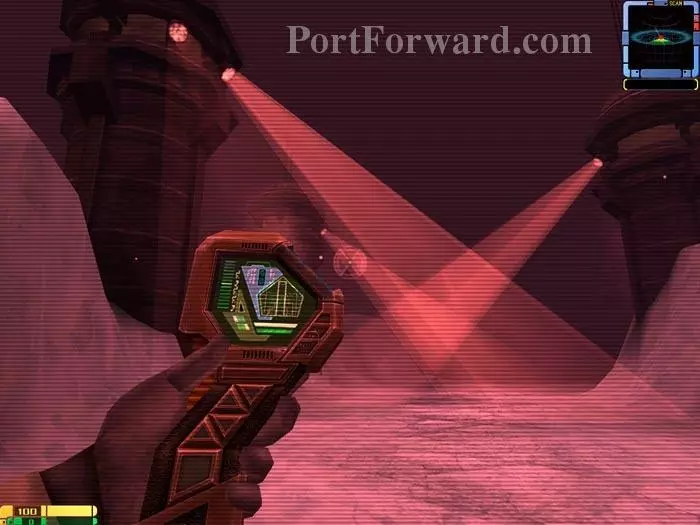
Activate your tricorder's Bioscan View Mode and avoid the searchlight-like Bio Scanners.

Star Trek: Elite Force II Walkthrough - Star Trek-Elite-Force-II 417

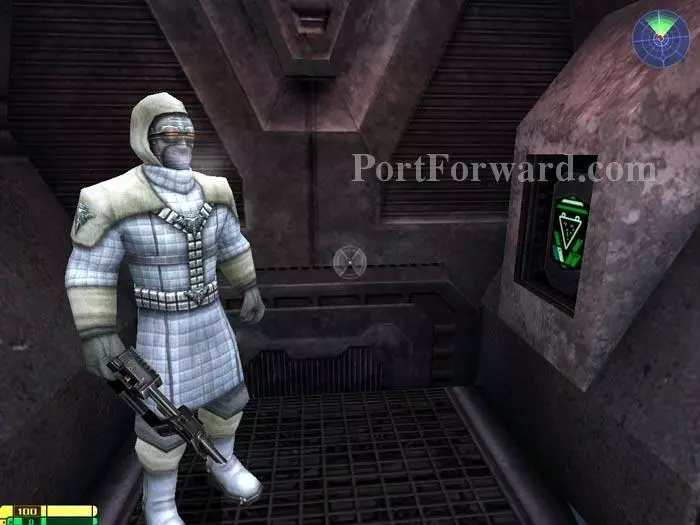
Again, use the tricorder to present your credentials at the second checkpoint.

Star Trek: Elite Force II Walkthrough - Star Trek-Elite-Force-II 418

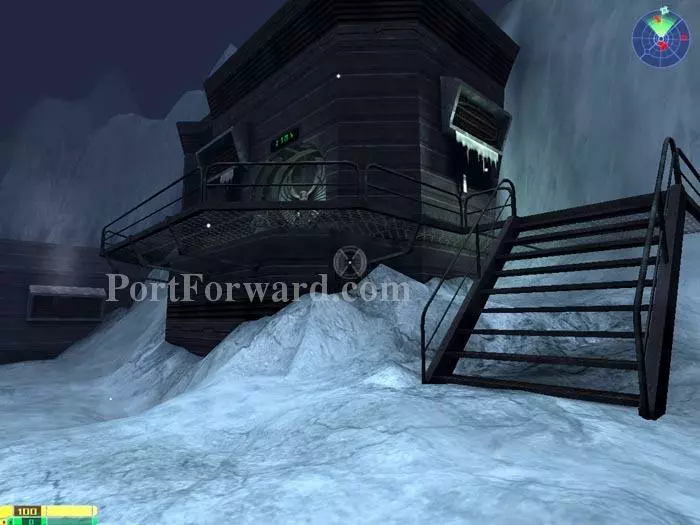
Watch the Romulan Warbird lift off then descend these steps to the right.

Star Trek: Elite Force II Walkthrough - Star Trek-Elite-Force-II 419

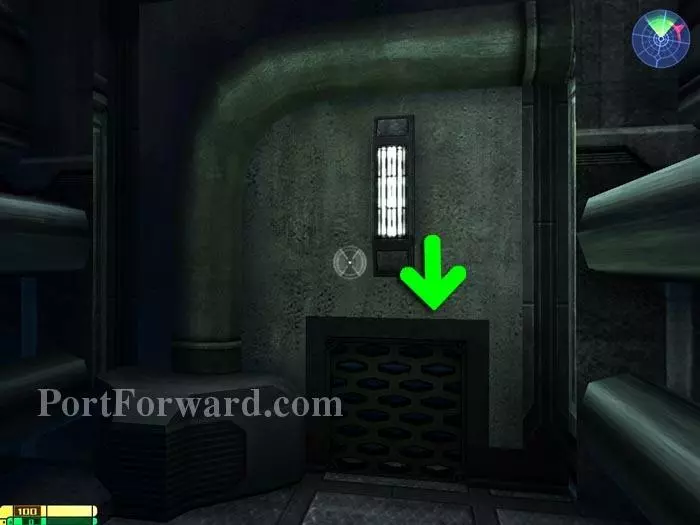
"Use" this vent cover and it slides open. Enter the vent.

Star Trek: Elite Force II Walkthrough - Star Trek-Elite-Force-II 420

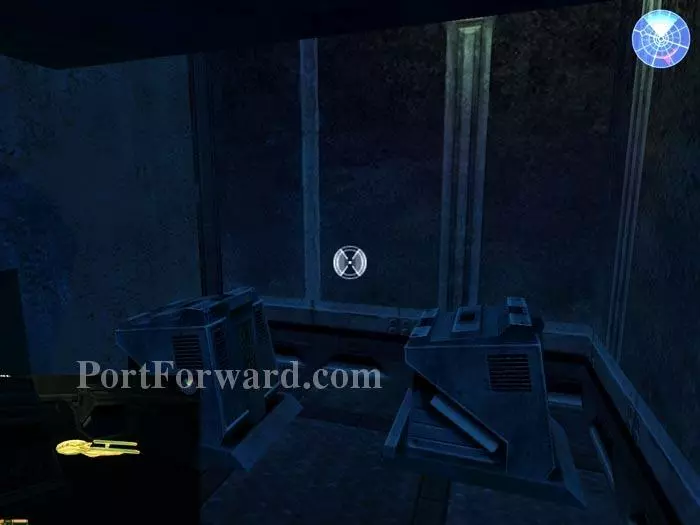
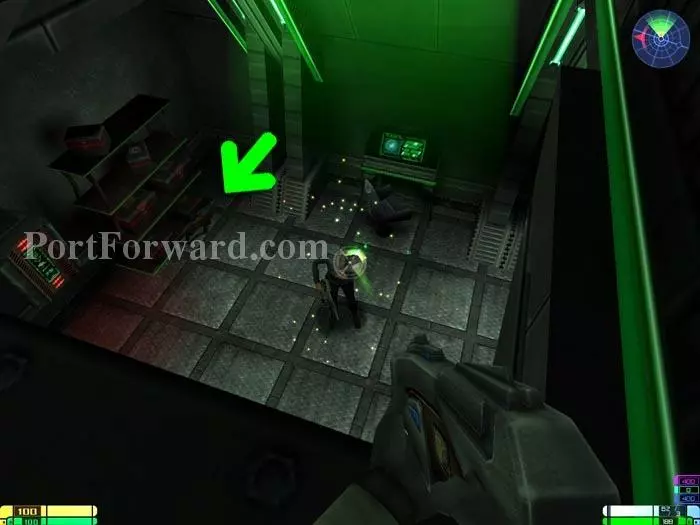
Climb onto one of these to reach the shelf above and Golden Starship 62.

Star Trek: Elite Force II Walkthrough - Star Trek-Elite-Force-II 421

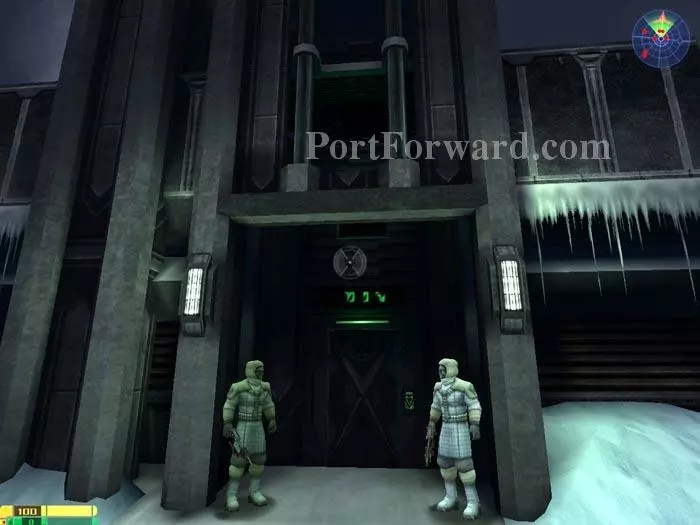
Head into this building.

Star Trek: Elite Force II Walkthrough - Star Trek-Elite-Force-II 422

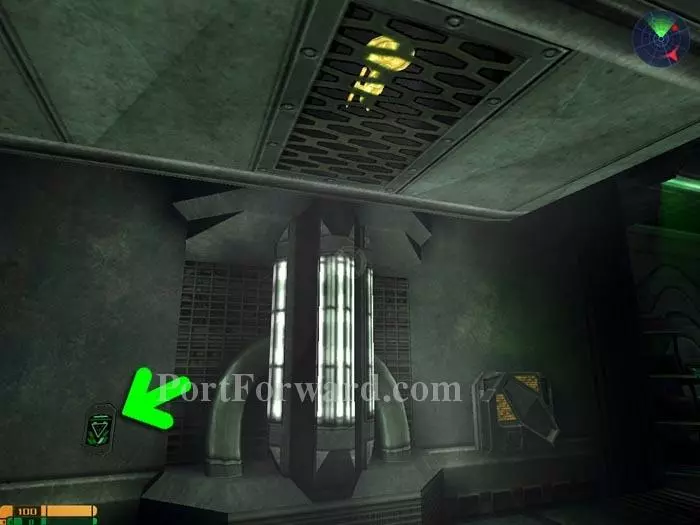
Note Golden Starship 63 in the ceiling above. "Use" the indicated switch to open the vent. Jump up to grab the Starship. Note: This is the only Golden Starship in this area that does not credit you with a Secret.

Star Trek: Elite Force II Walkthrough - Star Trek-Elite-Force-II 423

Next, go into this building.

Star Trek: Elite Force II Walkthrough - Star Trek-Elite-Force-II 424

"Use" the indicated ventilation grate and it slides open. Pass through to find Golden Starship 64.

Star Trek: Elite Force II Walkthrough - Star Trek-Elite-Force-II 425

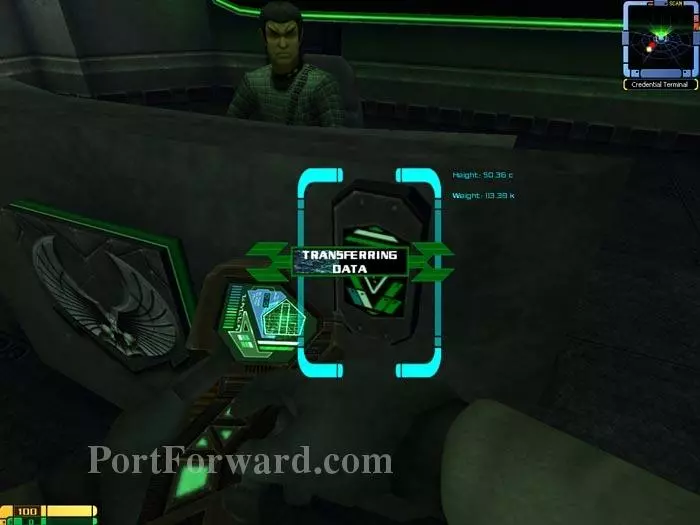
Talk to this desk-bound guard then present your credentials to this Credential Input Terminal. The guard upgrades your security clearance for access to Sector T.

Star Trek: Elite Force II Walkthrough - Star Trek-Elite-Force-II 426

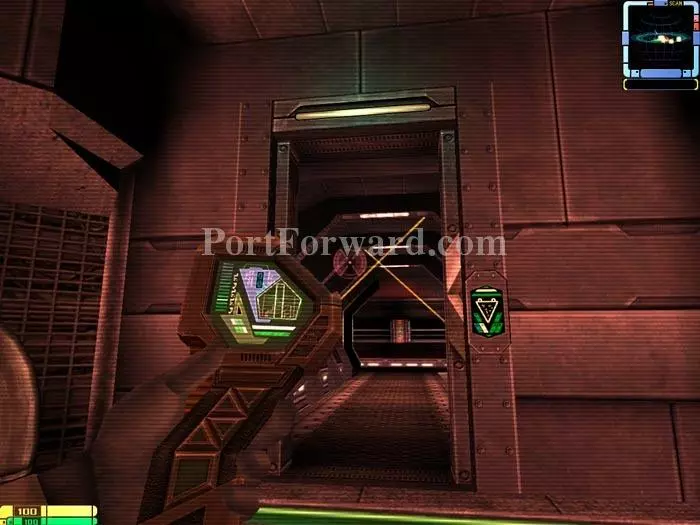
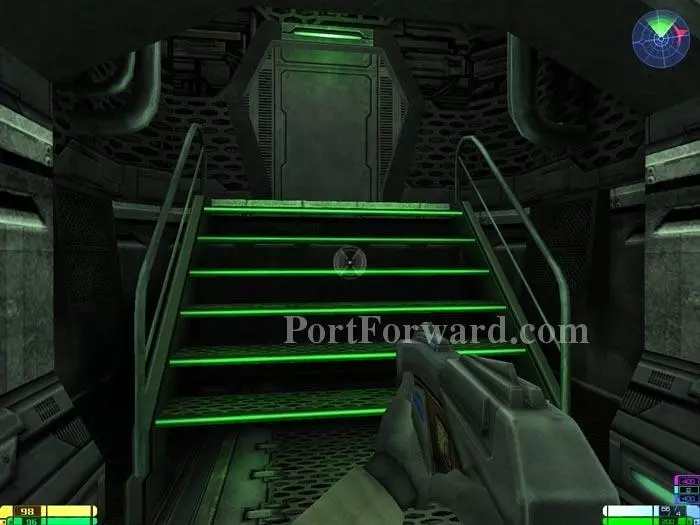
Ascend these stairs and pass through the now-accessible door.

Star Trek: Elite Force II Walkthrough - Star Trek-Elite-Force-II 427

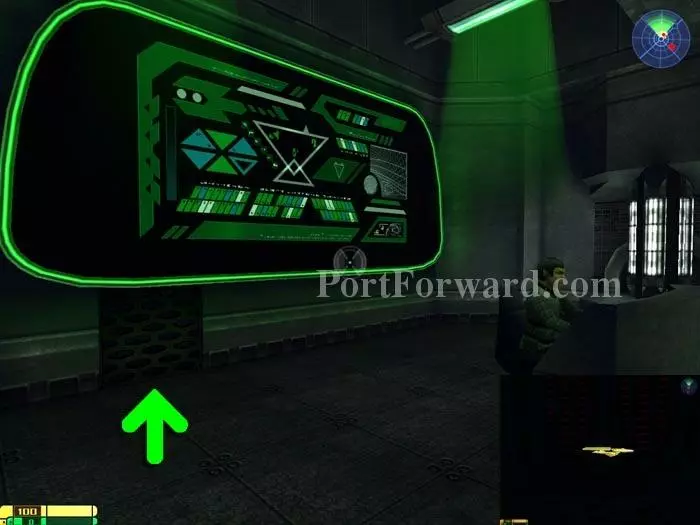
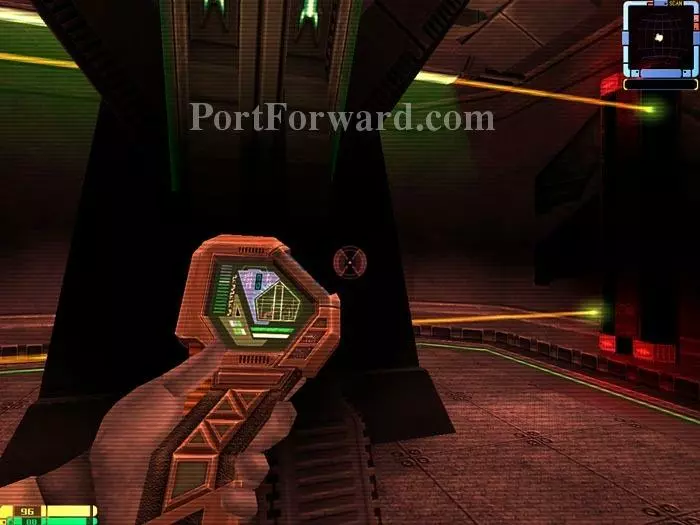
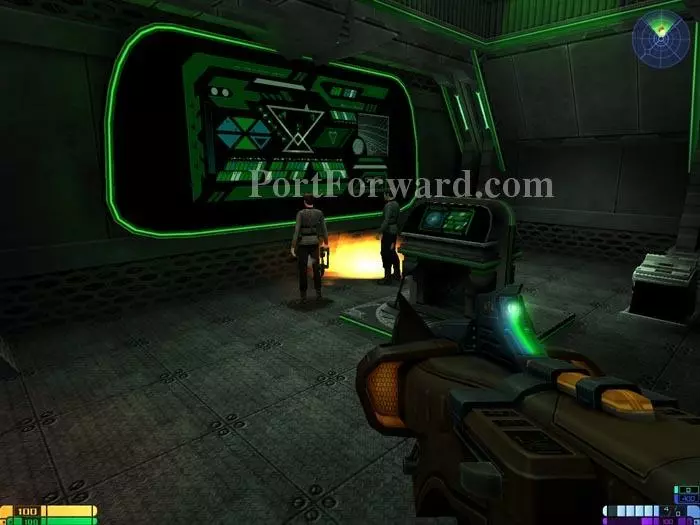
Use your tricorder on this Security Console to glean the Sector T access code.

Star Trek: Elite Force II Walkthrough - Star Trek-Elite-Force-II 428

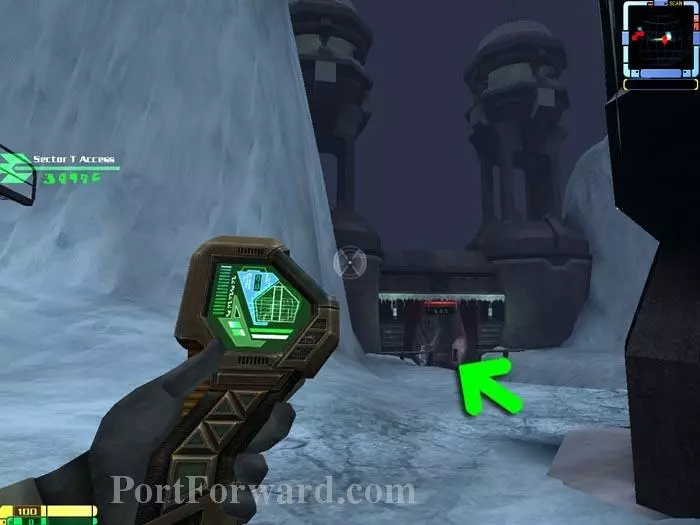
Your next destination is the Datapad next to this door.

Star Trek: Elite Force II Walkthrough - Star Trek-Elite-Force-II 429

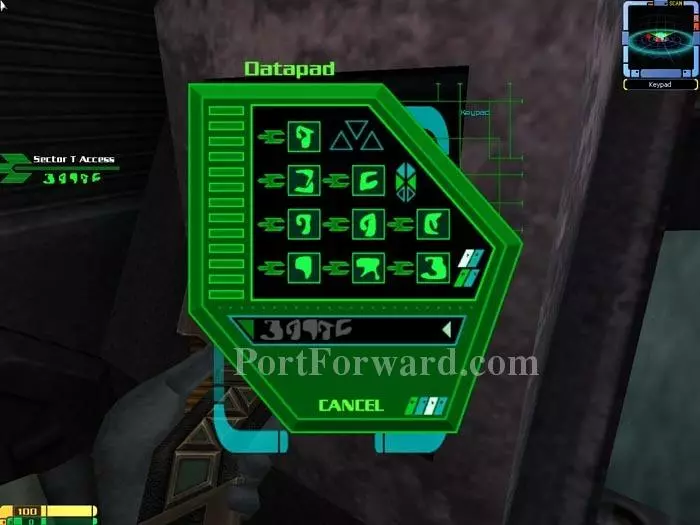
Use your tricorder on the Datapad for a simple symbol-matching puzzle.

Star Trek: Elite Force II Walkthrough - Star Trek-Elite-Force-II 430

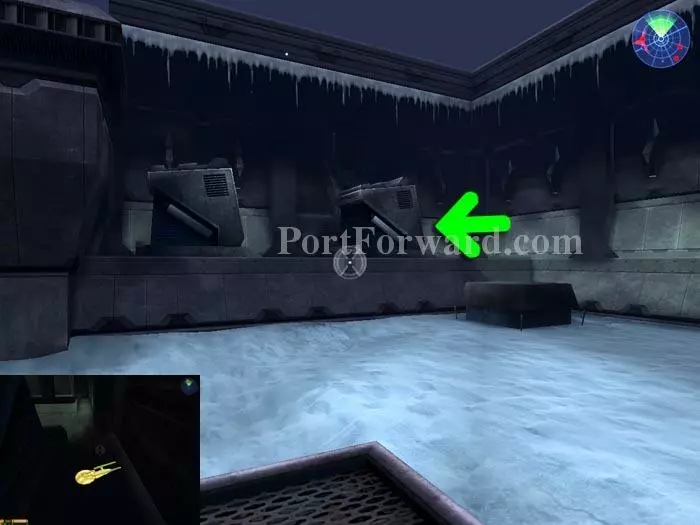
Pass through the door to a cutscene, then find the 65th Golden Starship behind this ventilation unit.

Star Trek: Elite Force II Walkthrough - Star Trek-Elite-Force-II 431

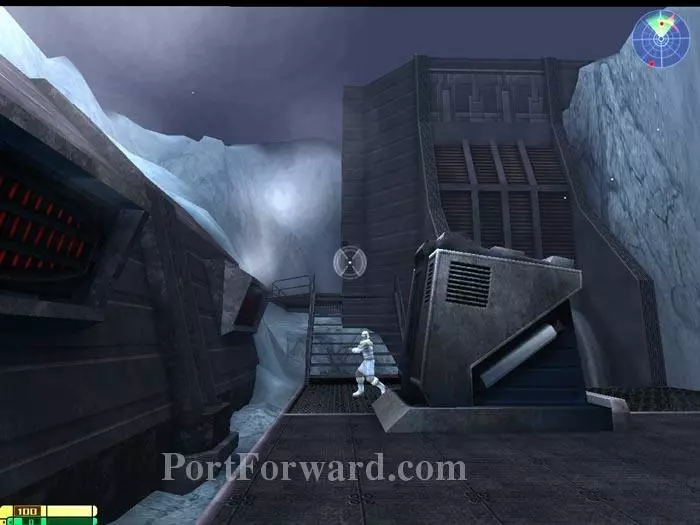
The Communications Center is up these stairs.

Star Trek: Elite Force II Walkthrough - Star Trek-Elite-Force-II 432

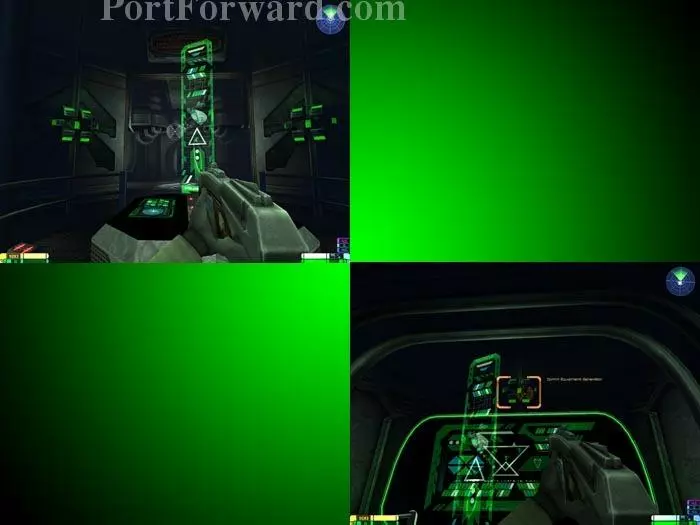
Use your Disruptor to destroy these three Comm Equipment Generators to create a distraction and complete the objective.

Star Trek: Elite Force II Walkthrough - Star Trek-Elite-Force-II 433

Get your Disruptor ready. You've got the Romulans' attention.

Star Trek: Elite Force II Walkthrough - Star Trek-Elite-Force-II 434

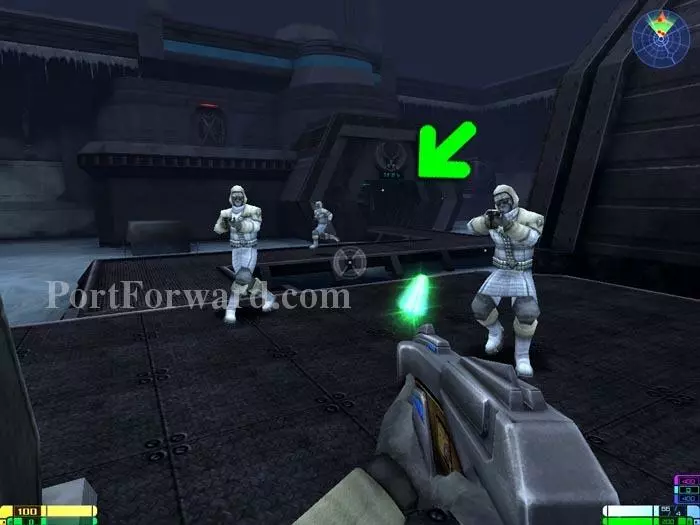
Fight past the Romulans and pass through the indicated doorway to exit the area.

Star Trek: Elite Force II Walkthrough - Star Trek-Elite-Force-II 435

Use the railing to hop onto this ledge. You'll find Golden Starship 66 in a cubbyhole to the rear-left. Note the health terminal pictured lower-right.

Star Trek: Elite Force II Walkthrough - Star Trek-Elite-Force-II 436

Continue up the stairs and approach the Romulan spy to view a cutscene.

Star Trek: Elite Force II Walkthrough - Star Trek-Elite-Force-II 437

Activate your tricorder's Bioscan View Mode before passing through the green door. Avoid two sets of Bioscanners then pass through the green door to the left.

Star Trek: Elite Force II Walkthrough - Star Trek-Elite-Force-II 438

Use your tricorder on this Computer Console to access the ladder and passageway to the right.

Star Trek: Elite Force II Walkthrough - Star Trek-Elite-Force-II 439

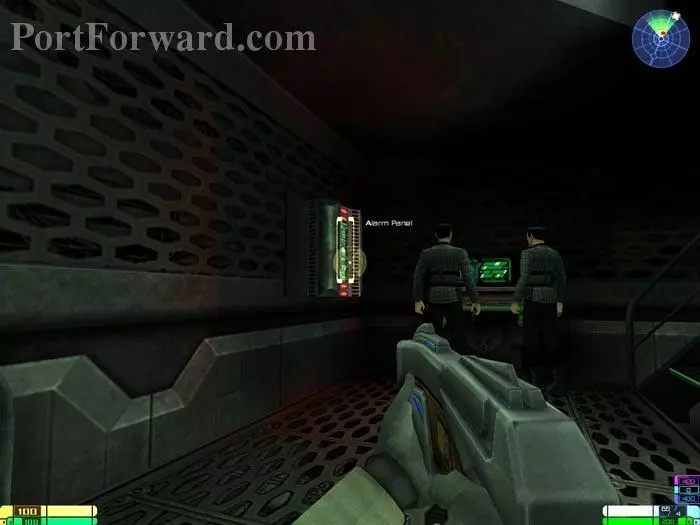
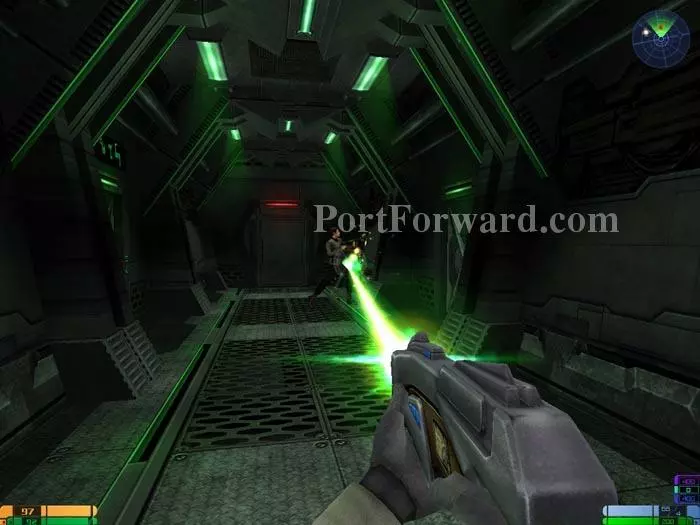
Kill these two Romulans before they can activate the Alarm Panel.

Star Trek: Elite Force II Walkthrough - Star Trek-Elite-Force-II 440

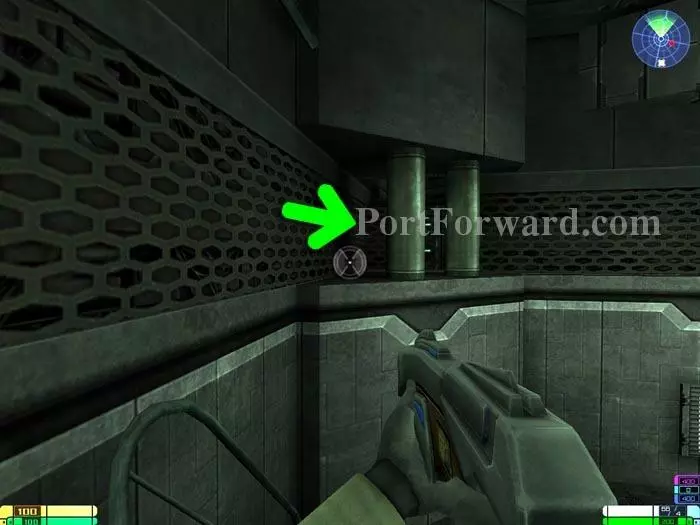
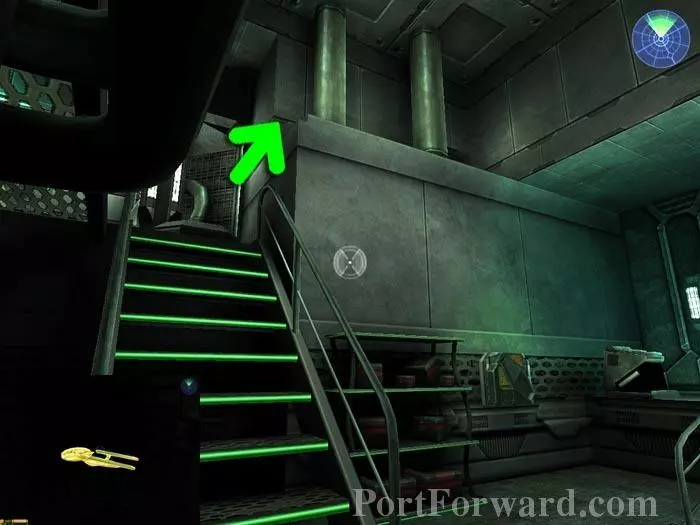
You'll find a secret area behind these pipes.

Star Trek: Elite Force II Walkthrough - Star Trek-Elite-Force-II 441

Snipe the Romulan from above. Pick up the indicated Romulan Experimental Radiation Disruptor.

Star Trek: Elite Force II Walkthrough - Star Trek-Elite-Force-II 442

Exit through the green door and you'll find a health terminal to the right. To the left you'll find these stairs and another green door. Pass through and defeat the Romulan on the other side.

Star Trek: Elite Force II Walkthrough - Star Trek-Elite-Force-II 443

Make two right turns, defeat this Romulan and pass through the green door on the left. (The green door on the right is where you started this area.)

Star Trek: Elite Force II Walkthrough - Star Trek-Elite-Force-II 444

Switch your tricorder to Bioscan View Mode and avoid the Bioscanners.

Star Trek: Elite Force II Walkthrough - Star Trek-Elite-Force-II 445

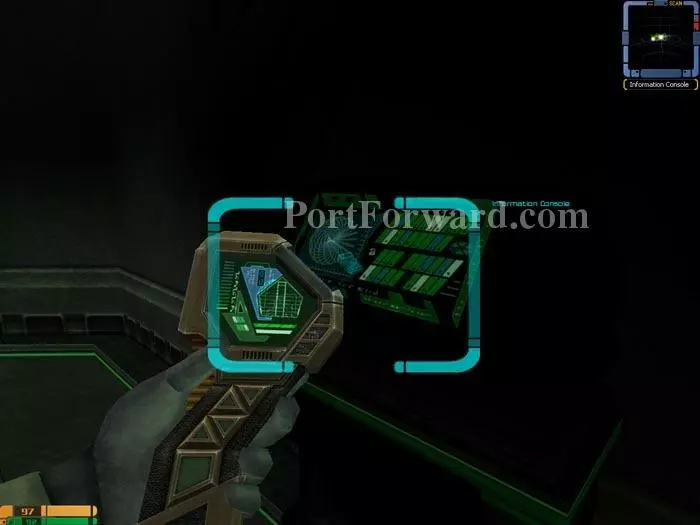
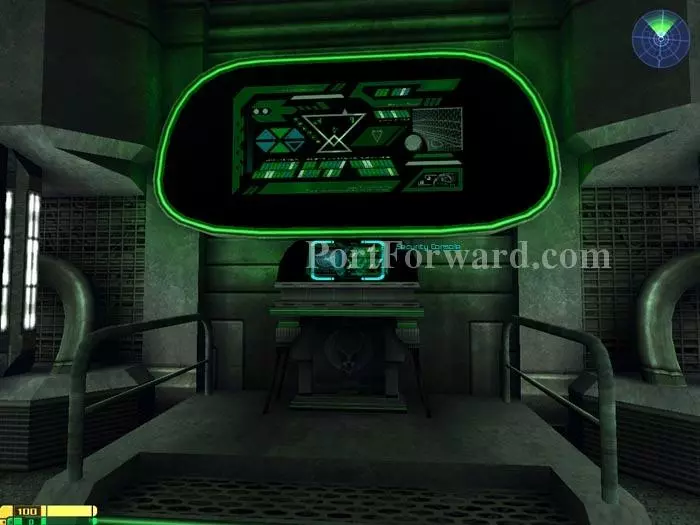
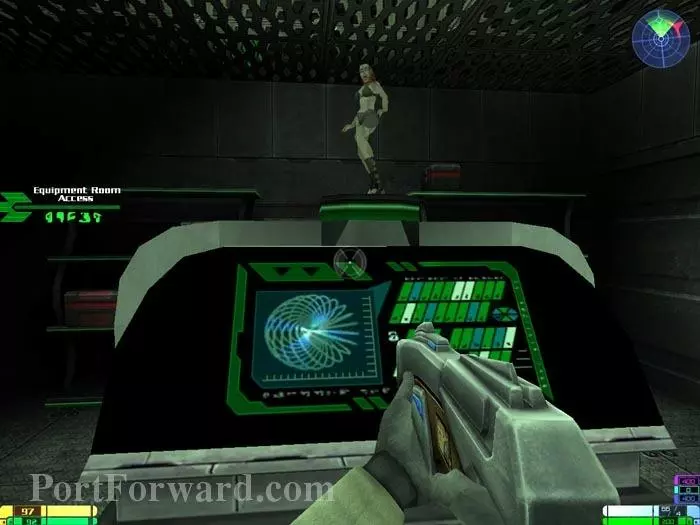
Use your tricorder on this Information Console to glean the Equipment Room Access Code.

Star Trek: Elite Force II Walkthrough - Star Trek-Elite-Force-II 446

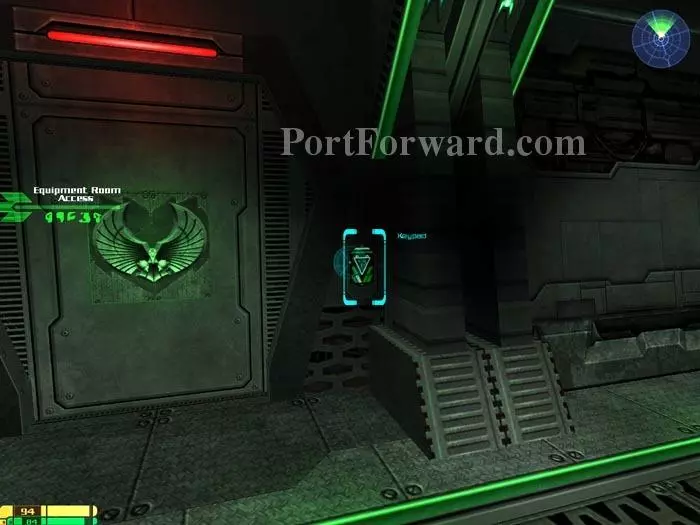
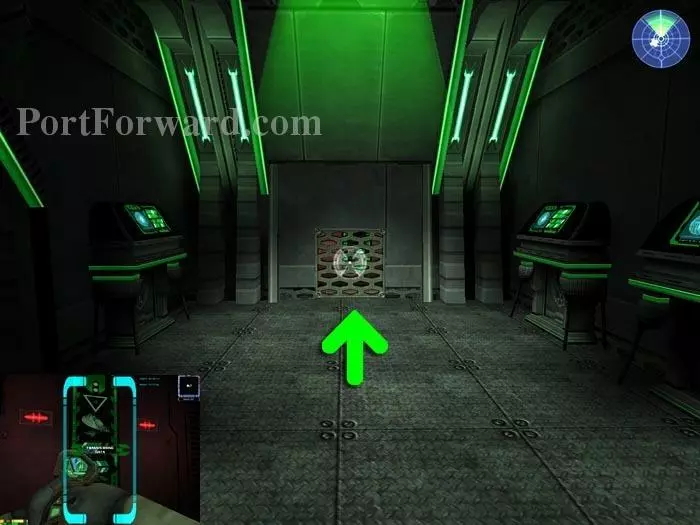
Find your way down the corridor to this keypad.

Star Trek: Elite Force II Walkthrough - Star Trek-Elite-Force-II 447

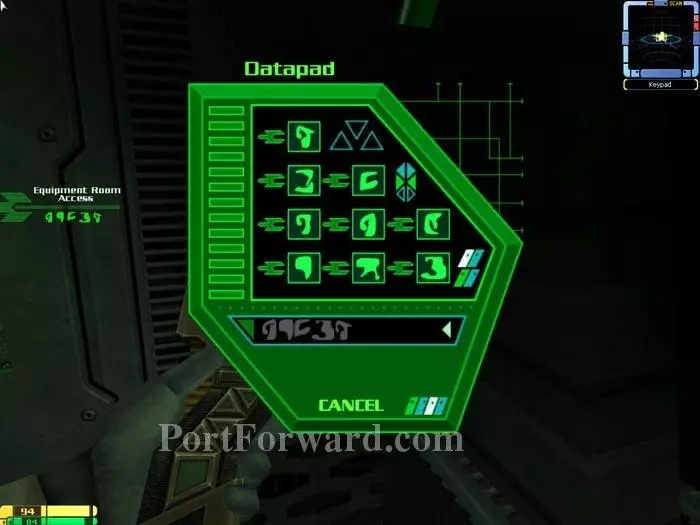
Use your tricorder for another symbol-matching puzzle and pass through the door.

Star Trek: Elite Force II Walkthrough - Star Trek-Elite-Force-II 448

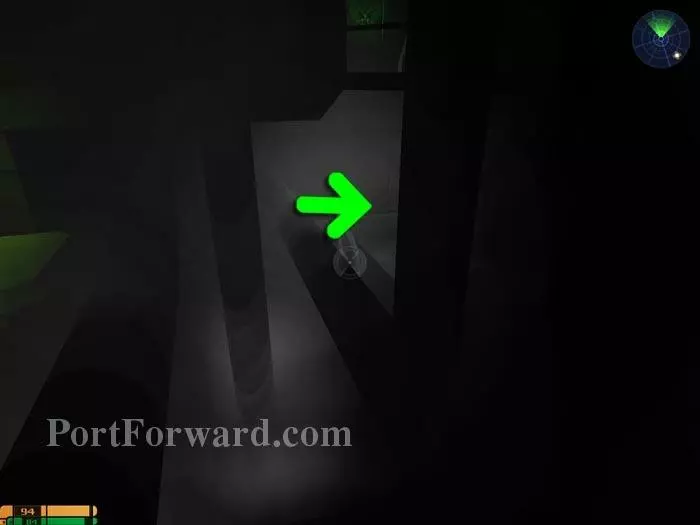
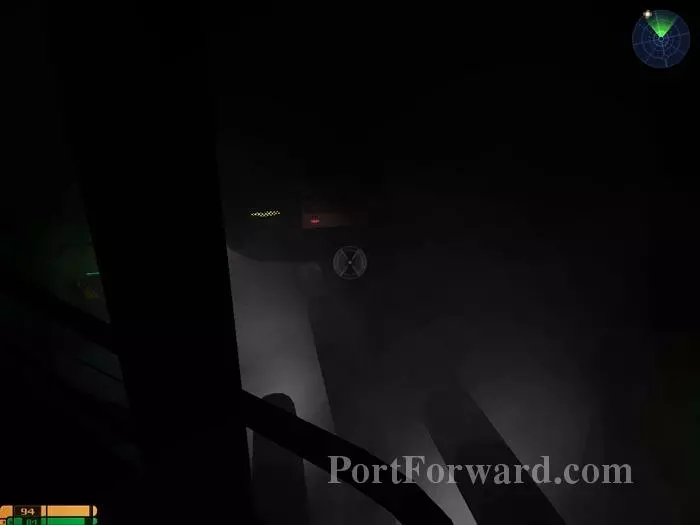
Hop onto the pipes then activate your night vision and go under the stairs.

Star Trek: Elite Force II Walkthrough - Star Trek-Elite-Force-II 449

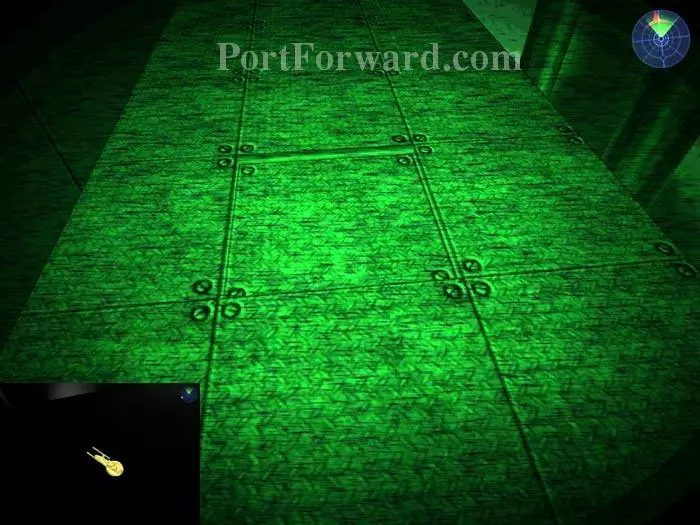
"Use" this section of flooring to reveal Golden Starship 67.

Star Trek: Elite Force II Walkthrough - Star Trek-Elite-Force-II 450

Don't get too greedy -- this Golden Starship is inaccessible for the moment.

Star Trek: Elite Force II Walkthrough - Star Trek-Elite-Force-II 451

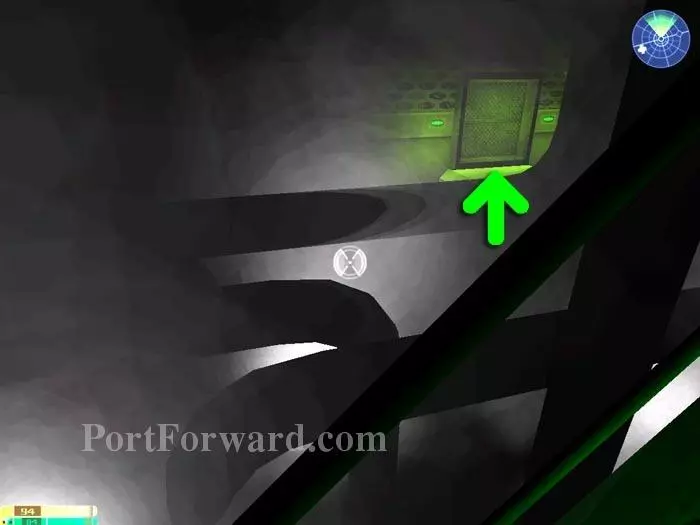
Back up the pipes and through this crawlway.

Star Trek: Elite Force II Walkthrough - Star Trek-Elite-Force-II 452

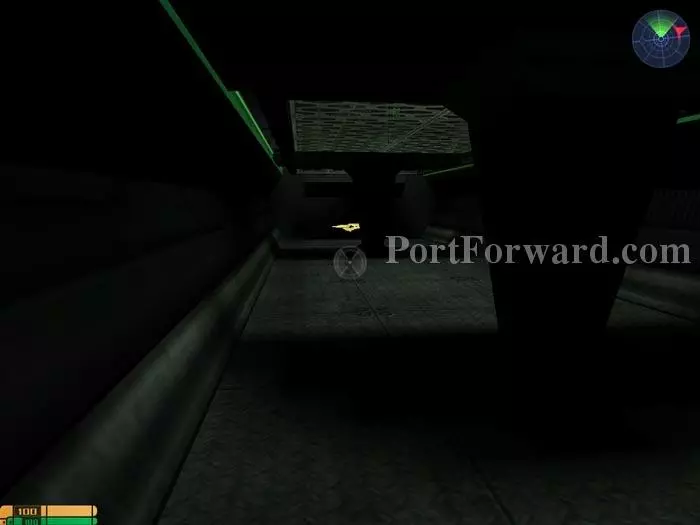
Take two rights to find Golden Starship 68.

Star Trek: Elite Force II Walkthrough - Star Trek-Elite-Force-II 453

Backtrack past the crawlspace entry you used previously then continue through this accessway.

Star Trek: Elite Force II Walkthrough - Star Trek-Elite-Force-II 454

Find this weakened panel and grab Golden Starship 69 - the one you first noticed in the Equipment Room.

Star Trek: Elite Force II Walkthrough - Star Trek-Elite-Force-II 455

Exit to find these two Romulans. Take them out.

Star Trek: Elite Force II Walkthrough - Star Trek-Elite-Force-II 456

Approach this hatch to slide it open. Use your tricorder on the Security Grid Console to disable the Bioscanners outside.

Star Trek: Elite Force II Walkthrough - Star Trek-Elite-Force-II 457

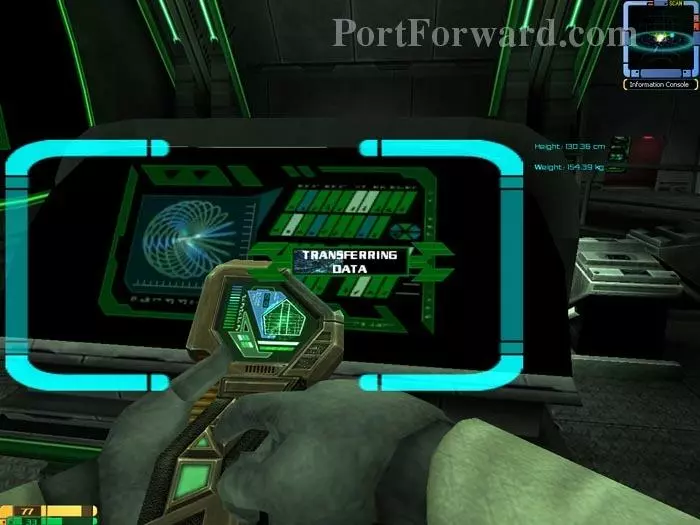
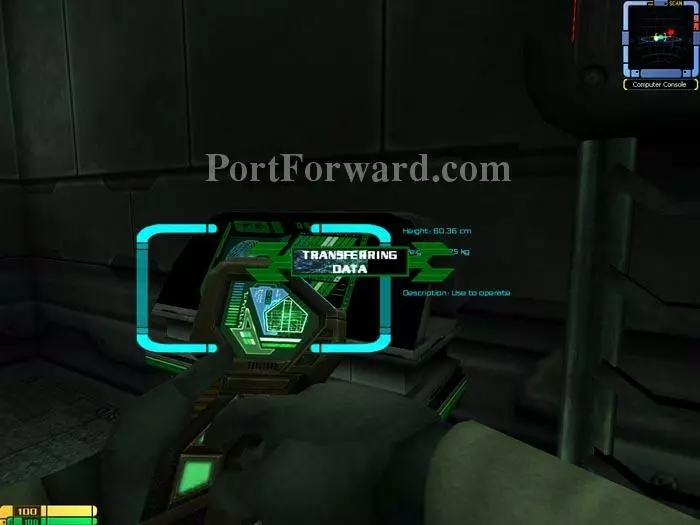
Use your tricorder on this Information Console to download data from the main computer and complete the objective.

Star Trek: Elite Force II Walkthrough - Star Trek-Elite-Force-II 458

Exit left then right. Pass the now-deactivated Bioscanners and through the green door. Descend the stairs to view a short cutscene.

Star Trek: Elite Force II Walkthrough - Star Trek-Elite-Force-II 459

You can activate this dancer hologram just for kicks.

Star Trek: Elite Force II Walkthrough - Star Trek-Elite-Force-II 460

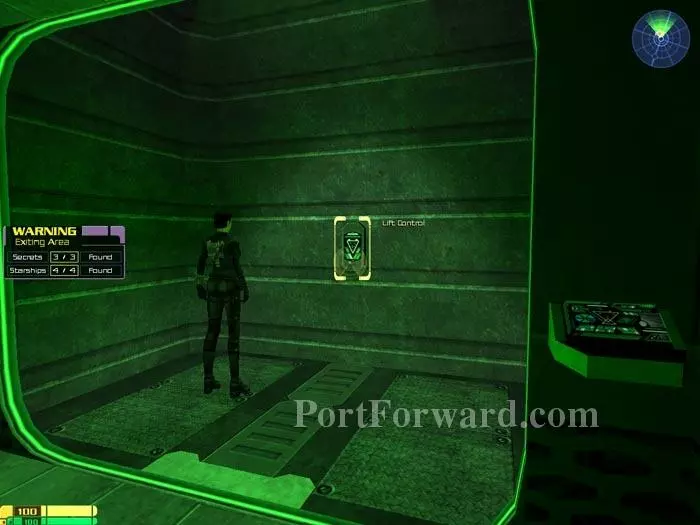
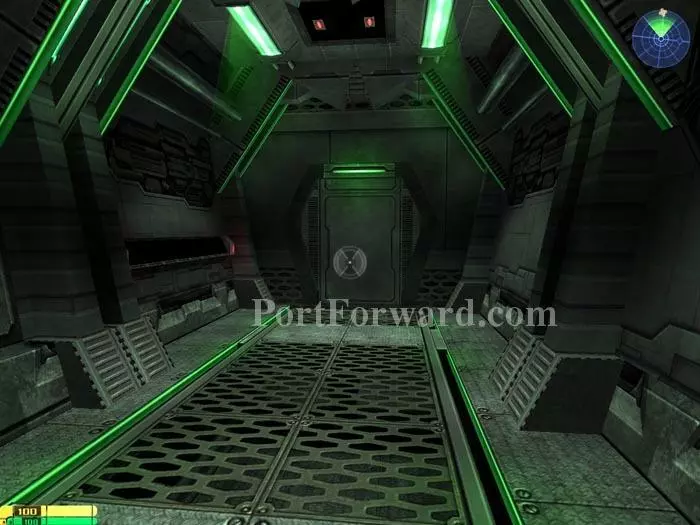
Follow the informant and "Use" the Lift Control to exit the area.

Star Trek: Elite Force II Walkthrough - Star Trek-Elite-Force-II 461

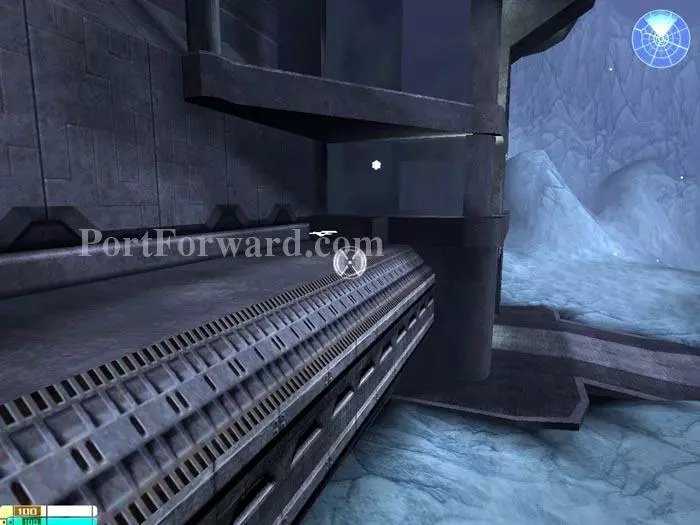
Turn right after exiting the lift. You'll find Golden Starship 70 on the ledge.

Star Trek: Elite Force II Walkthrough - Star Trek-Elite-Force-II 462

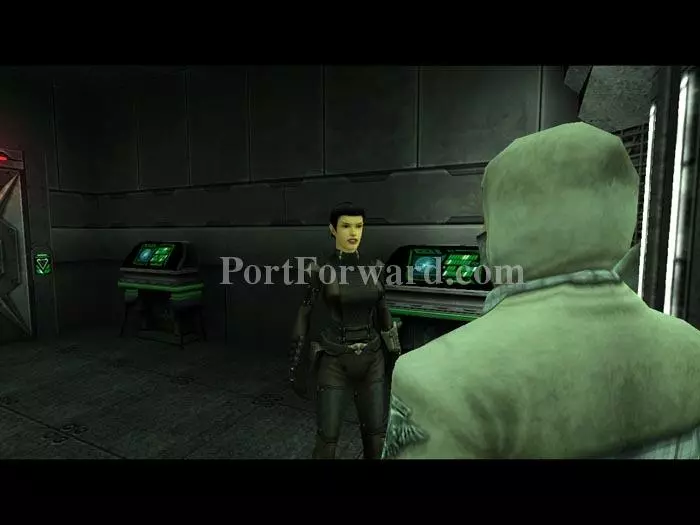
The informant leads you to the detention facility and Gonzalez.

Star Trek: Elite Force II Walkthrough - Star Trek-Elite-Force-II 463

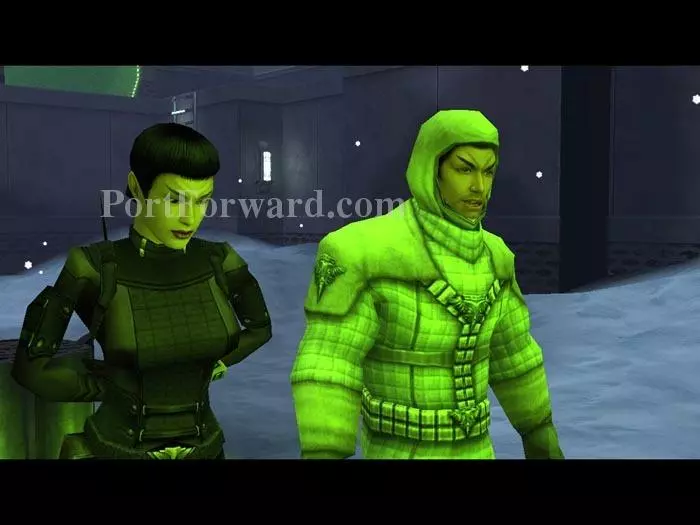
A brief cutscene follows where you discover she is a double-agent for the Order of the Empty Crown!

Star Trek: Elite Force II Walkthrough - Star Trek-Elite-Force-II 464

Her personal cloaking device makes her difficult to target, but one shot from your Rom X Rad's secondary fire can take her out.

Star Trek: Elite Force II Walkthrough - Star Trek-Elite-Force-II 465

Watch a lengthy cutscene and the mission ends.

More Star Trek: Elite Force II Walkthroughs

This Star Trek: Elite Force II walkthrough is divided into 12 total pages.

More From Portforward