This Star Trek: Elite Force II walkthrough is divided into 12 total pages.
You can jump to nearby pages of the game using the links above.
Mercenaries
![Star Trek: Elite Force II Walkthrough - Star Trek-Elite-Force-II 384](star-trek-elite-force-ii-384-small.webp)
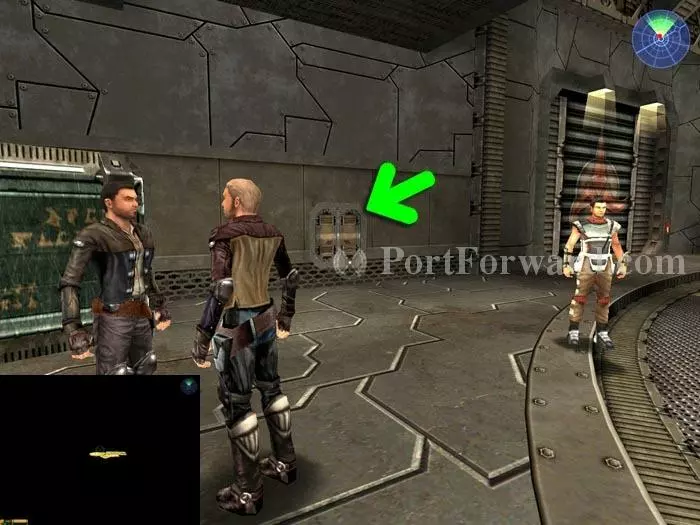
"Use" the switch to the right of this door and it opens to reveal Golden Starship 56. Open this Jeffries-like hatch and inside you'll find Golden Starship 57.
![Star Trek: Elite Force II Walkthrough - Star Trek-Elite-Force-II 385](star-trek-elite-force-ii-385-small.webp)
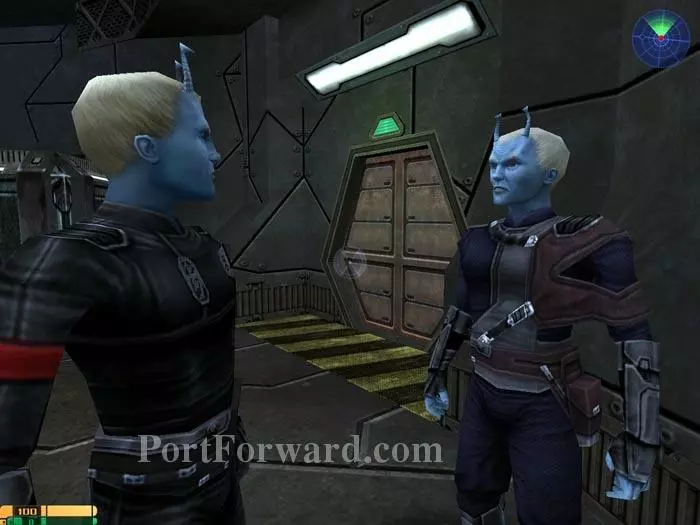
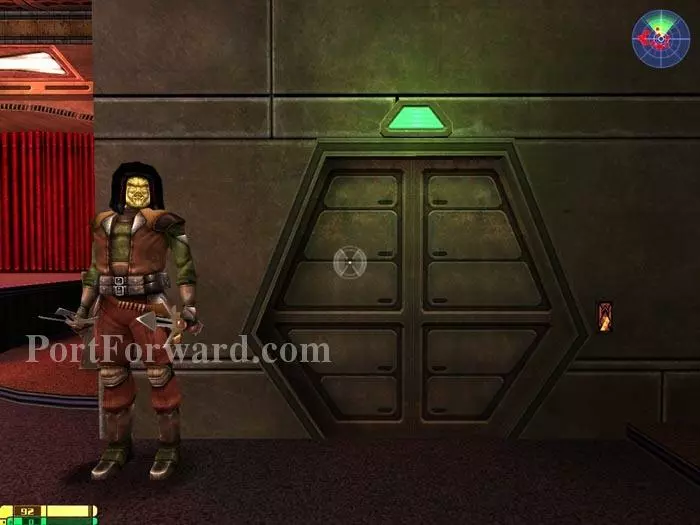
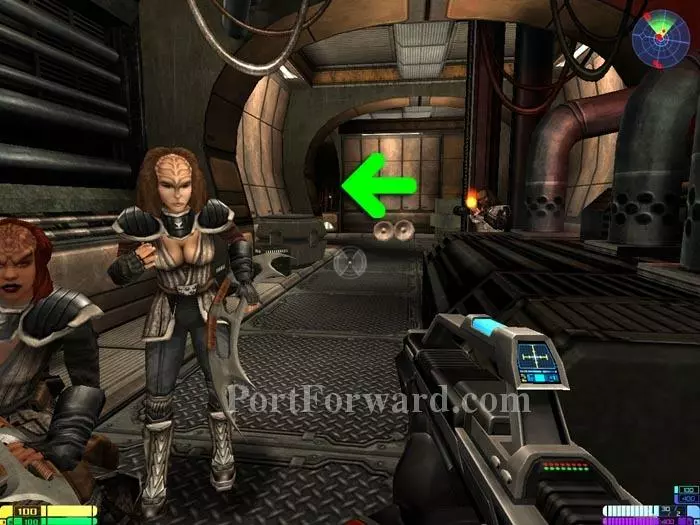
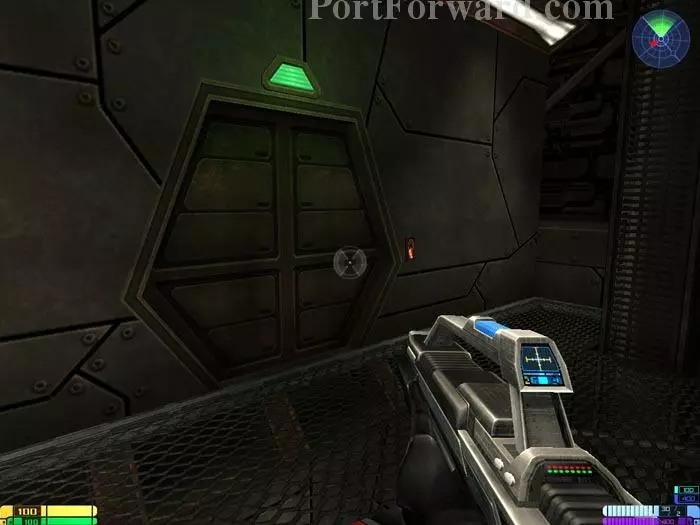
Exit through this green door behind the two Andorians.
![Star Trek: Elite Force II Walkthrough - Star Trek-Elite-Force-II 386](star-trek-elite-force-ii-386-small.webp)
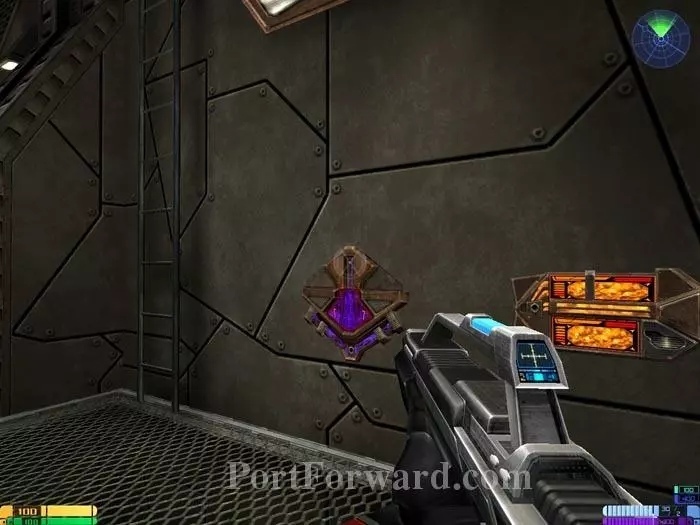
Golden Starship 58 is placed inside this steaming pipe.
![Star Trek: Elite Force II Walkthrough - Star Trek-Elite-Force-II 387](star-trek-elite-force-ii-387-small.webp)
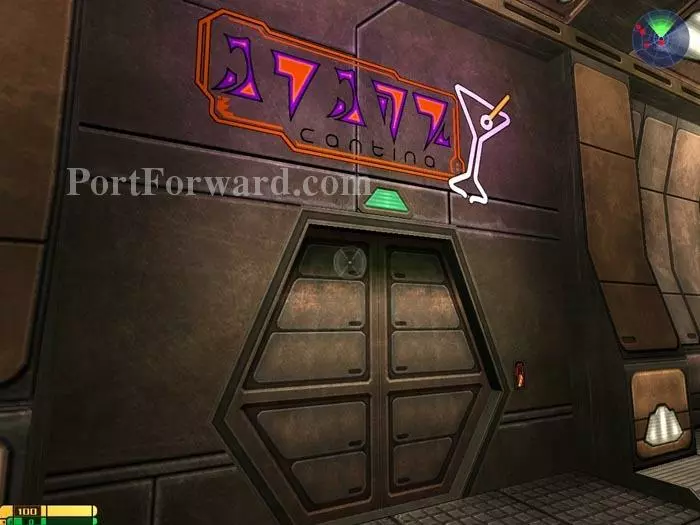
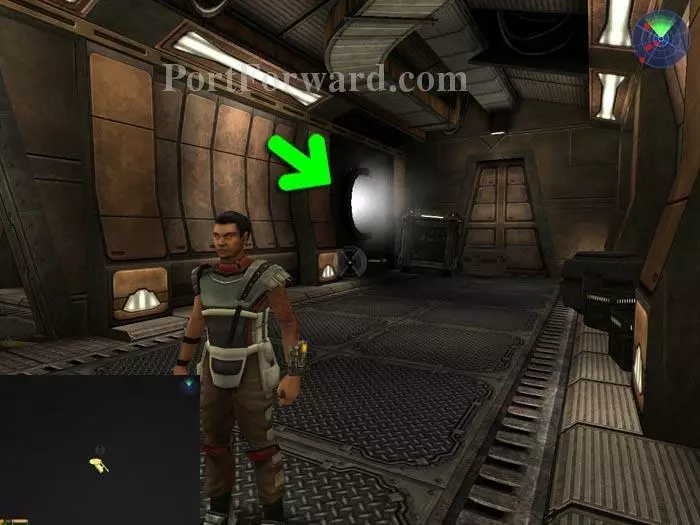
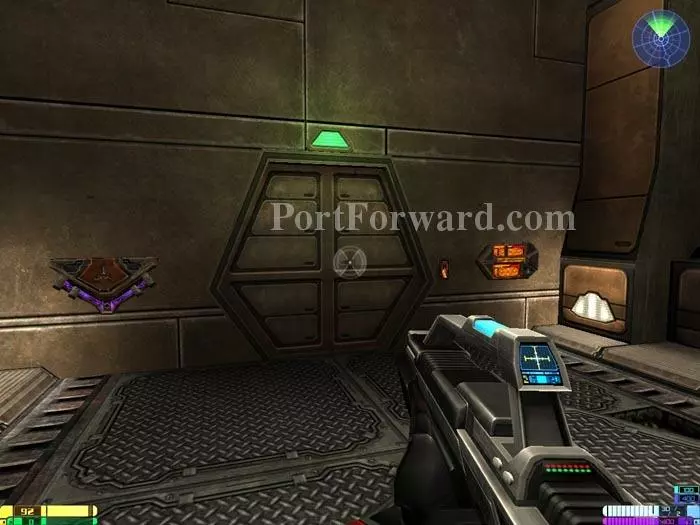
"Use" the switch to the right of this door and enter the Cantina.
![Star Trek: Elite Force II Walkthrough - Star Trek-Elite-Force-II 388](star-trek-elite-force-ii-388-small.webp)
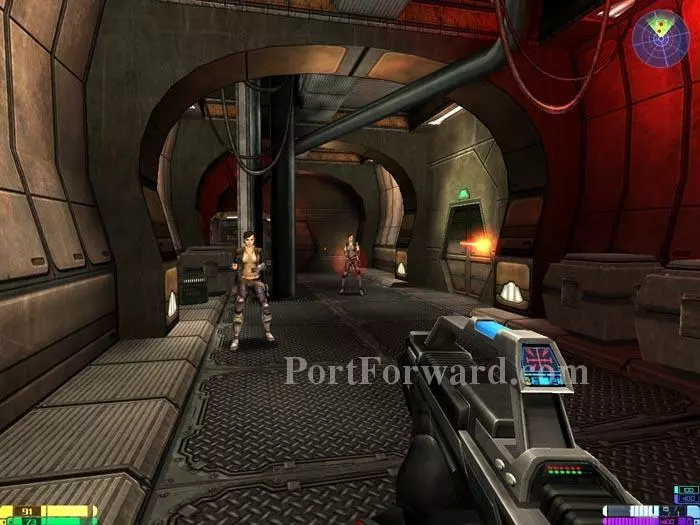
Morrowind's "House of Earthly Delights" and Neocron's "Pepper Park" come to mind.
![Star Trek: Elite Force II Walkthrough - Star Trek-Elite-Force-II 389](star-trek-elite-force-ii-389-small.webp)
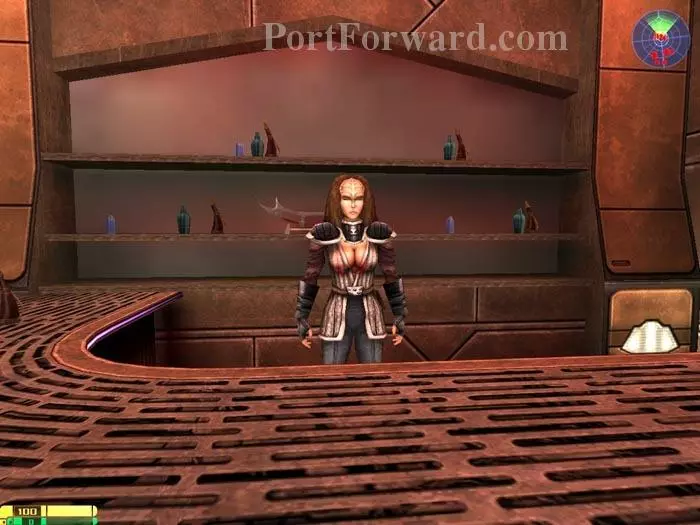
Talk to the bartender and view a cutscene.
![Star Trek: Elite Force II Walkthrough - Star Trek-Elite-Force-II 390](star-trek-elite-force-ii-390-small.webp)
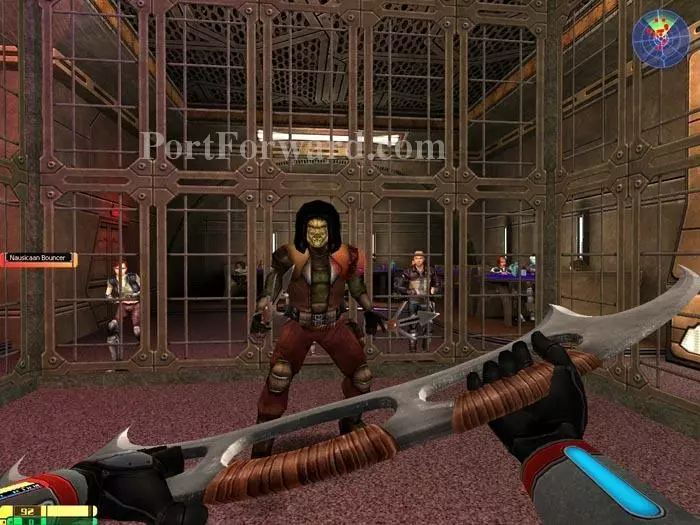
The Bat'leth's secondary attack provides a crushing overhead blow against the Nausicaan Bouncer.
![Star Trek: Elite Force II Walkthrough - Star Trek-Elite-Force-II 391](star-trek-elite-force-ii-391-small.webp)
Pass through this green door and the next to view a cutscene.
![Star Trek: Elite Force II Walkthrough - Star Trek-Elite-Force-II 392](star-trek-elite-force-ii-392-small.webp)
Respond to Omag with Ferengi Rules of Acquisition 60 and 181.
![Star Trek: Elite Force II Walkthrough - Star Trek-Elite-Force-II 393](star-trek-elite-force-ii-393-small.webp)
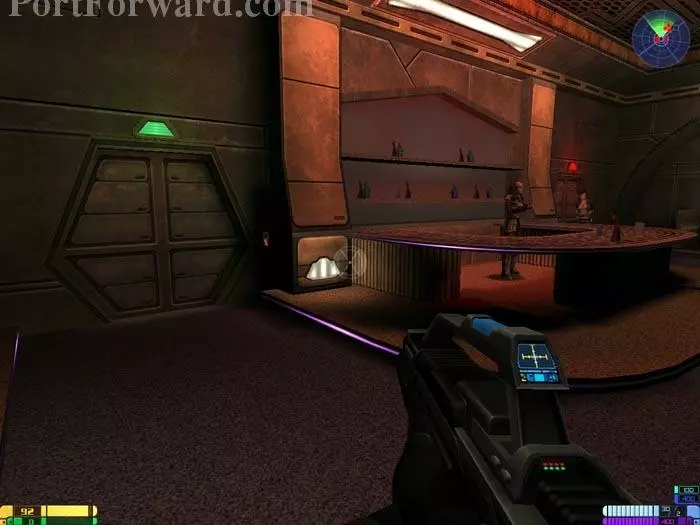
Time to break out the firepower. Exit the Cantina through this green door.
![Star Trek: Elite Force II Walkthrough - Star Trek-Elite-Force-II 394](star-trek-elite-force-ii-394-small.webp)
Fill up on energy and health, then pass through the green door.
![Star Trek: Elite Force II Walkthrough - Star Trek-Elite-Force-II 395](star-trek-elite-force-ii-395-small.webp)
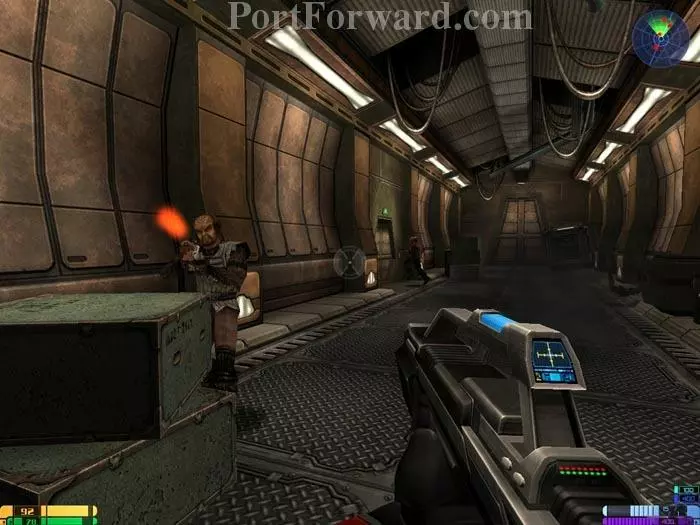
Fight off the Klingons (the Compression Rifle's secondary attack works well) and continue where indicated.
![Star Trek: Elite Force II Walkthrough - Star Trek-Elite-Force-II 396](star-trek-elite-force-ii-396-small.webp)
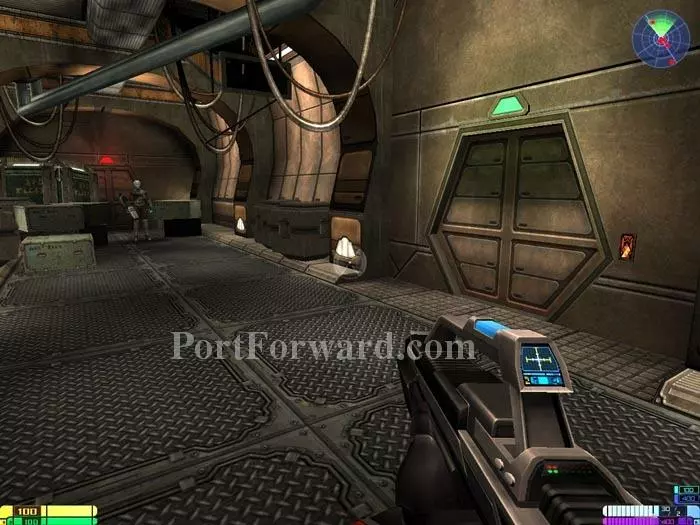
Pass through another green door.
![Star Trek: Elite Force II Walkthrough - Star Trek-Elite-Force-II 397](star-trek-elite-force-ii-397-small.webp)
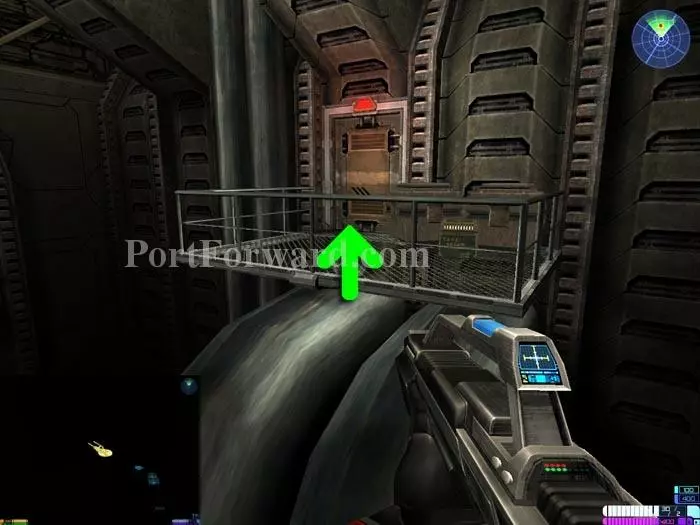
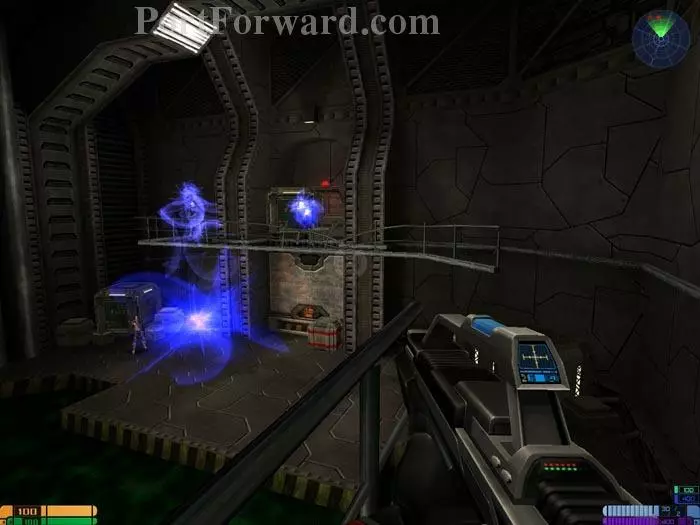
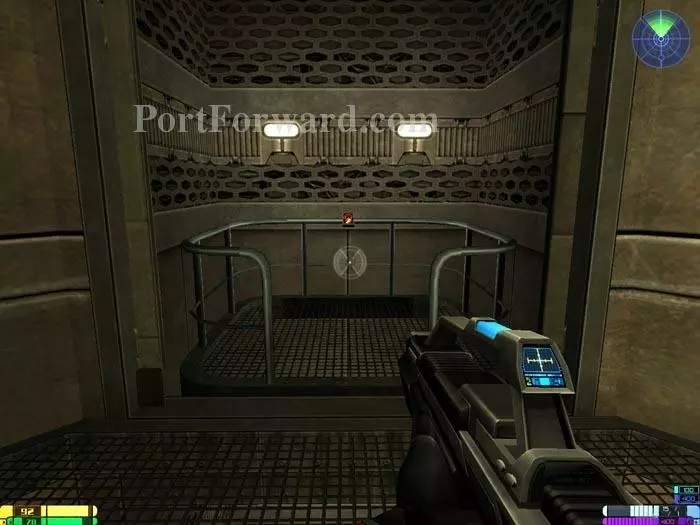
Jump across this railing and you'll find Golden Starship 59 behind the red door.
![Star Trek: Elite Force II Walkthrough - Star Trek-Elite-Force-II 398](star-trek-elite-force-ii-398-small.webp)
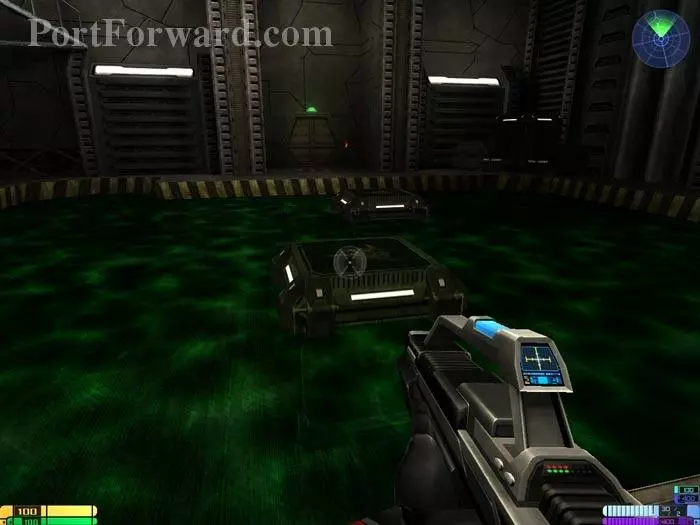
More energy and health. Climb the ladder.
![Star Trek: Elite Force II Walkthrough - Star Trek-Elite-Force-II 399](star-trek-elite-force-ii-399-small.webp)
Defeat the Klingons on the catwalk then go through this green door.
![Star Trek: Elite Force II Walkthrough - Star Trek-Elite-Force-II 400](star-trek-elite-force-ii-400-small.webp)
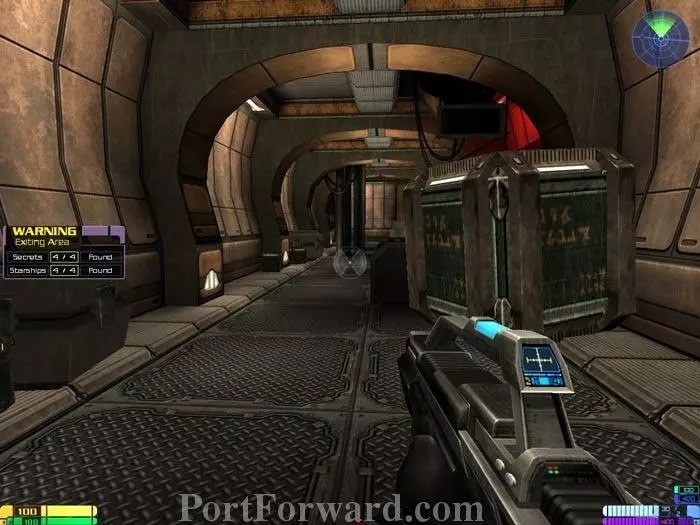
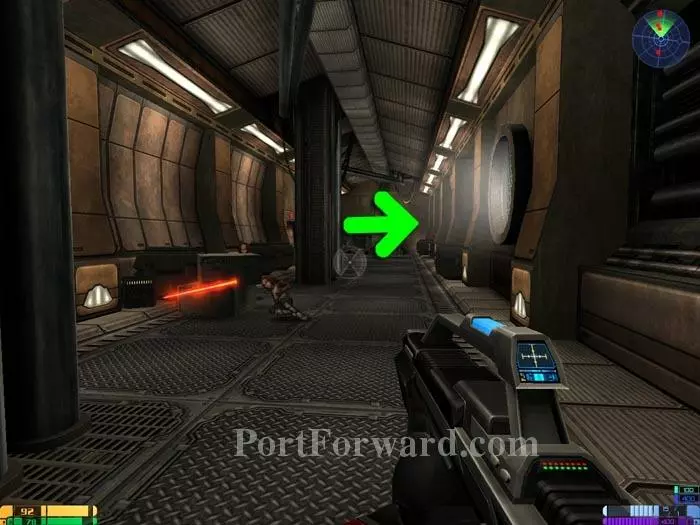
Continue down this corridor to exit the area.
![Star Trek: Elite Force II Walkthrough - Star Trek-Elite-Force-II 401](star-trek-elite-force-ii-401-small.webp)
Battle down the corridor and go through this green door.
![Star Trek: Elite Force II Walkthrough - Star Trek-Elite-Force-II 402](star-trek-elite-force-ii-402-small.webp)
Fight your way to the area below. Note the health terminal bottom center.
![Star Trek: Elite Force II Walkthrough - Star Trek-Elite-Force-II 403](star-trek-elite-force-ii-403-small.webp)
Hop across the crates and exit out the green door. The crates are very wobbly so don't linger.
![Star Trek: Elite Force II Walkthrough - Star Trek-Elite-Force-II 404](star-trek-elite-force-ii-404-small.webp)
Follow Omag as he makes this right turn down the corridor.
![Star Trek: Elite Force II Walkthrough - Star Trek-Elite-Force-II 405](star-trek-elite-force-ii-405-small.webp)
Yup, that's Omag rushing to the green door. Follow him through.
![Star Trek: Elite Force II Walkthrough - Star Trek-Elite-Force-II 406](star-trek-elite-force-ii-406-small.webp)
Omag takes a lift down. Keep pace by taking this lift down right after him.
![Star Trek: Elite Force II Walkthrough - Star Trek-Elite-Force-II 407](star-trek-elite-force-ii-407-small.webp)
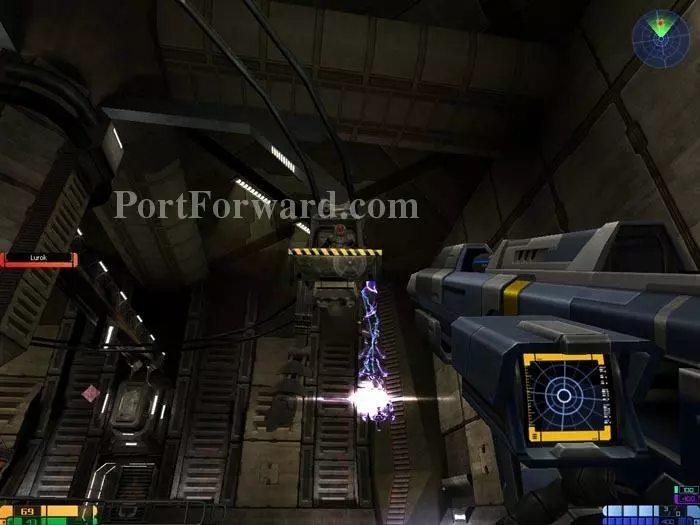
Omag convinces the Klingon Boss, Lurok, to do battle with you.
![Star Trek: Elite Force II Walkthrough - Star Trek-Elite-Force-II 408](star-trek-elite-force-ii-408-small.webp)
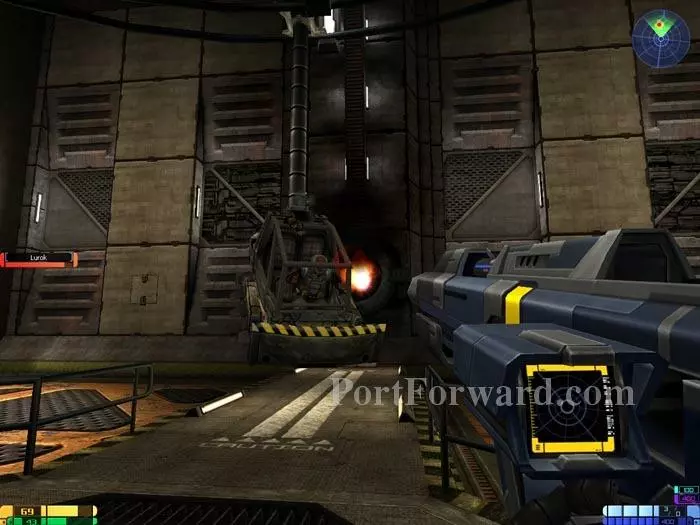
Pummel Lurok until his rig drops from the track. The Quantum Burst works well.
![Star Trek: Elite Force II Walkthrough - Star Trek-Elite-Force-II 409](star-trek-elite-force-ii-409-small.webp)
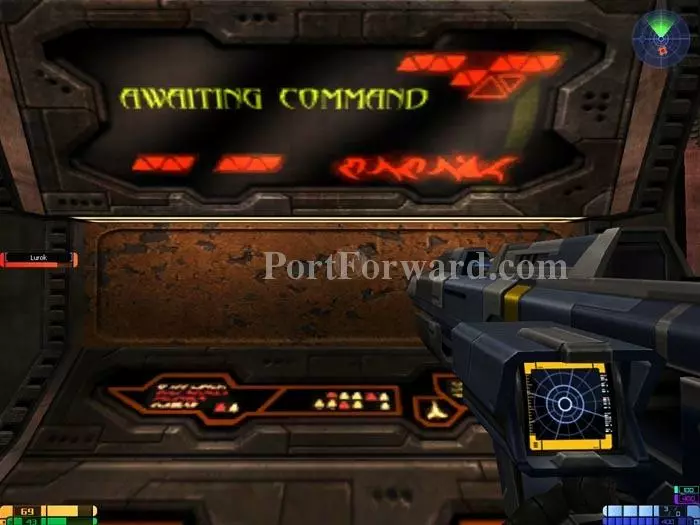
Rush over to the Repair Rig Manual Override in the center of the room. The display has changed from "System Busy" to "Awaiting Command." Activate it to swing Lurok's Rig in front of the exhaust vent.
![Star Trek: Elite Force II Walkthrough - Star Trek-Elite-Force-II 410](star-trek-elite-force-ii-410-small.webp)
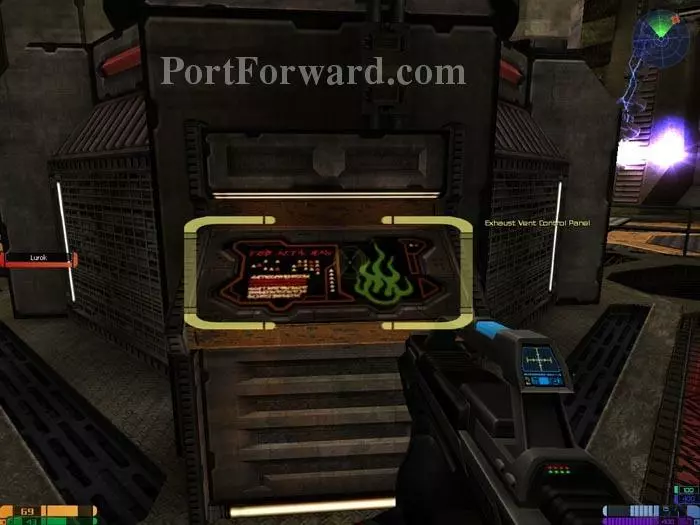
Hurry around the other side of the console to the Exhaust Vent Control Panel.
![Star Trek: Elite Force II Walkthrough - Star Trek-Elite-Force-II 411](star-trek-elite-force-ii-411-small.webp)
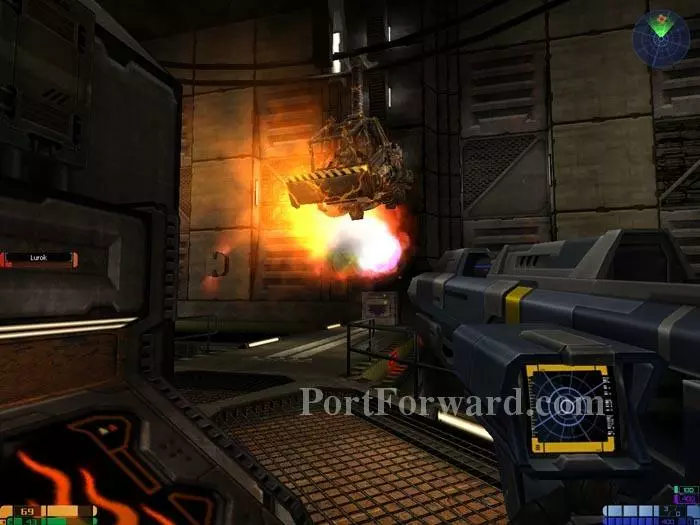
Activate it to send jets of hot flame over Lurok and his rig. Repeat the process several times and Lurok escapes the rig.
![Star Trek: Elite Force II Walkthrough - Star Trek-Elite-Force-II 412](star-trek-elite-force-ii-412-small.webp)
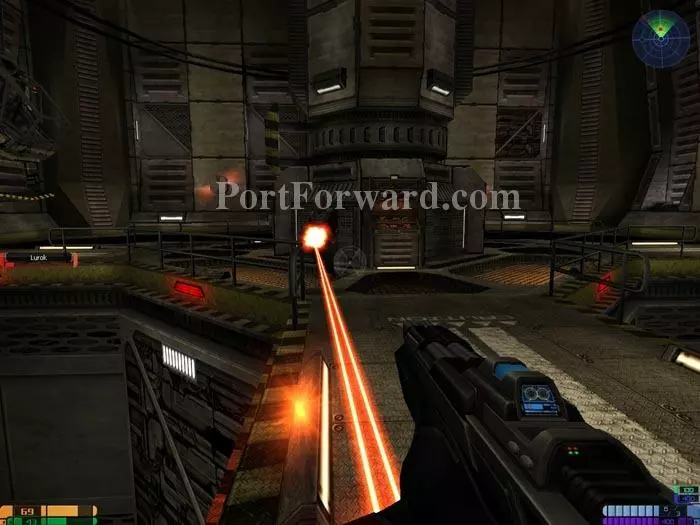
Now it's a fair fight. Defeat Lurok and end the mission.
More Star Trek: Elite Force II Walkthroughs
This Star Trek: Elite Force II walkthrough is divided into 12 total pages.