Star Trek: Elite Force II Walkthrough End Game 2

September 12, 2016 (Last Updated: ) | Reading Time: 8 minutes

This Star Trek: Elite Force II walkthrough is divided into 12 total pages.

You can jump to nearby pages of the game using the links above.

End Game 2

Star Trek: Elite Force II Walkthrough - Star Trek-Elite-Force-II 466

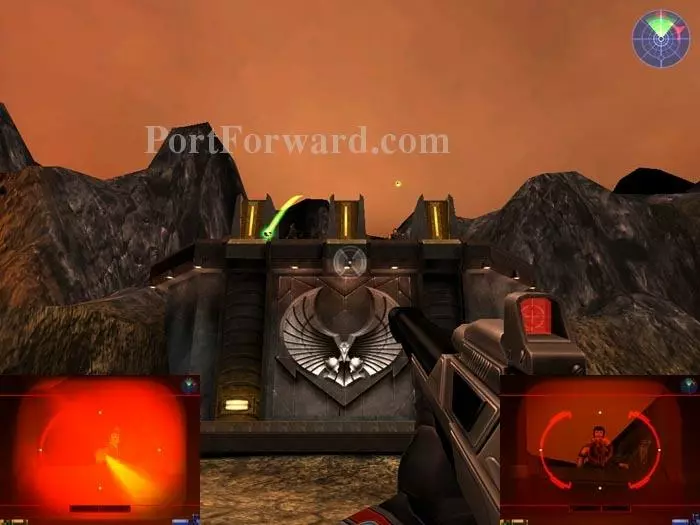
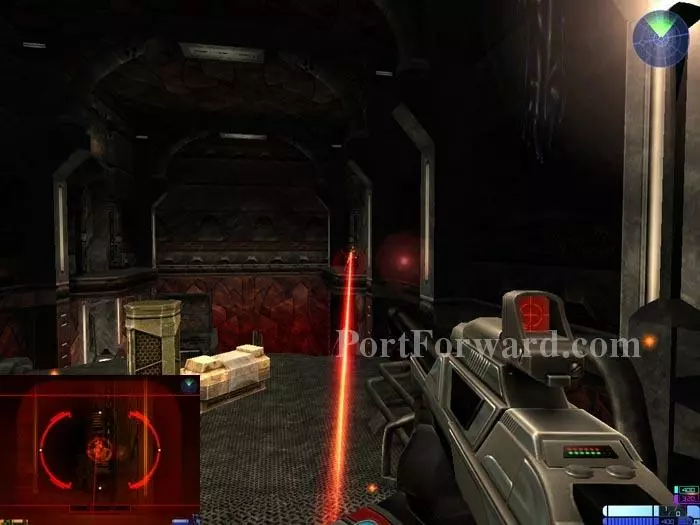
Switch your tricorder to Torpedo Strike View Mode. Target this guard tower and press and hold your "Use" key to have the Enterprise destroy the target. The tower's ruins fade, revealing this secret area with Idryllium.

Star Trek: Elite Force II Walkthrough - Star Trek-Elite-Force-II 467

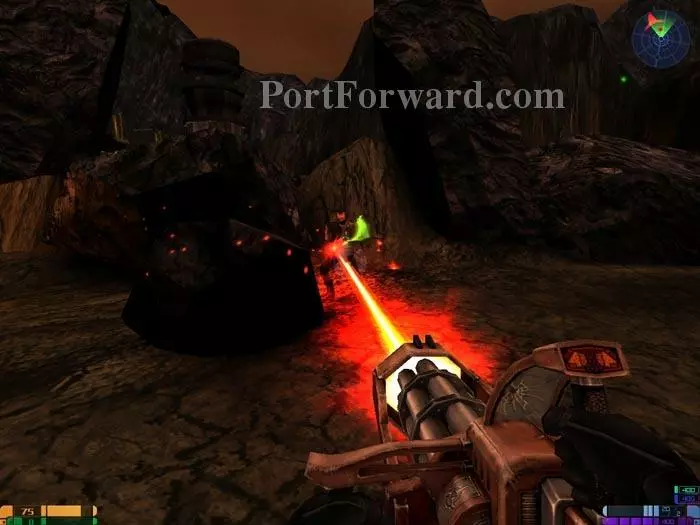
The Tetryon Gatling Gun works well against the many Romulans.

Star Trek: Elite Force II Walkthrough - Star Trek-Elite-Force-II 468

You'll find supplies to the right.

Star Trek: Elite Force II Walkthrough - Star Trek-Elite-Force-II 469

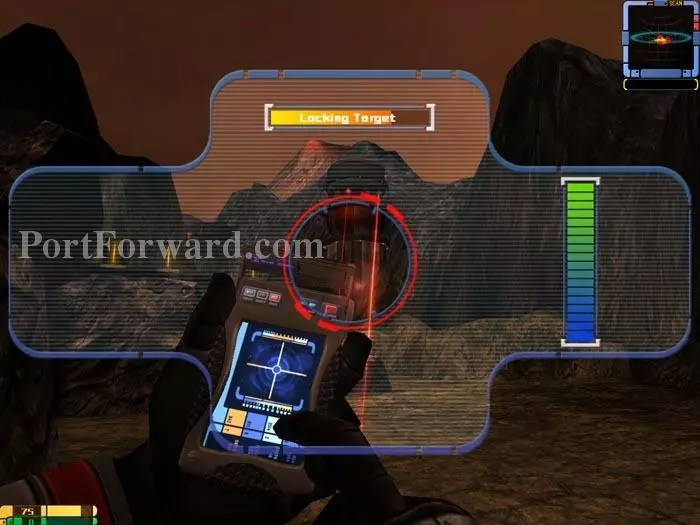
Another guard tower. Switch to Torpedo Strike View Mode and have the Enterprise take it out.

Star Trek: Elite Force II Walkthrough - Star Trek-Elite-Force-II 470

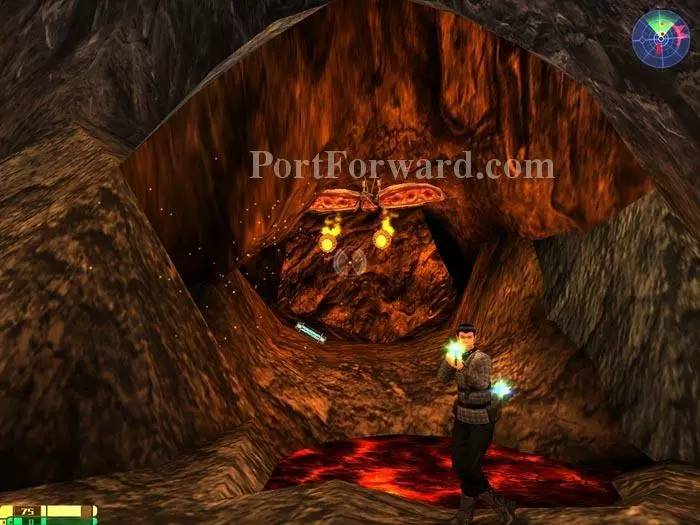
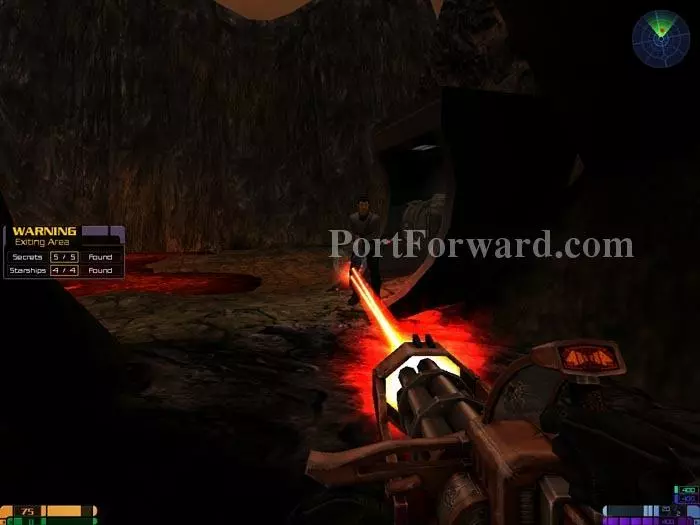
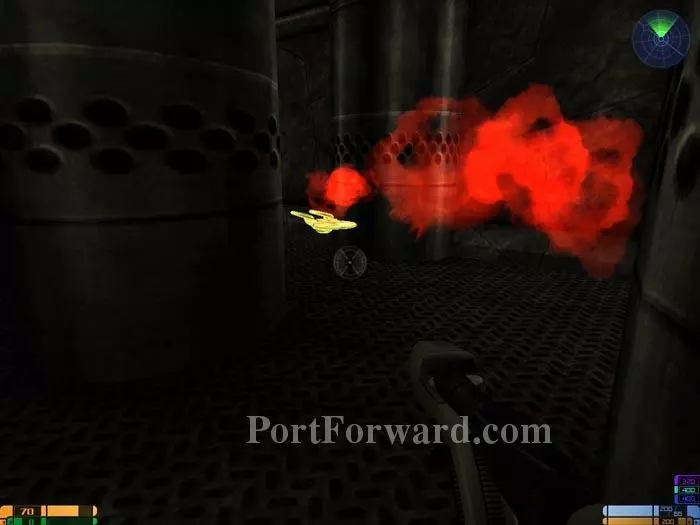
Golden Starship 72. Pass through the doorway in the background for a cutscene.

Star Trek: Elite Force II Walkthrough - Star Trek-Elite-Force-II 471

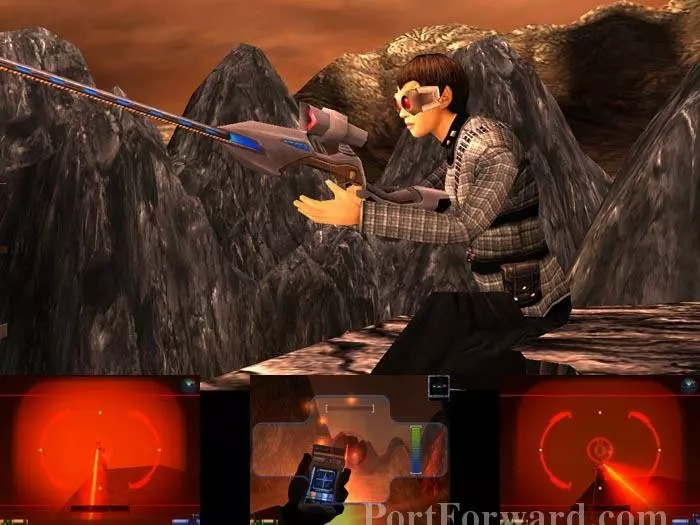
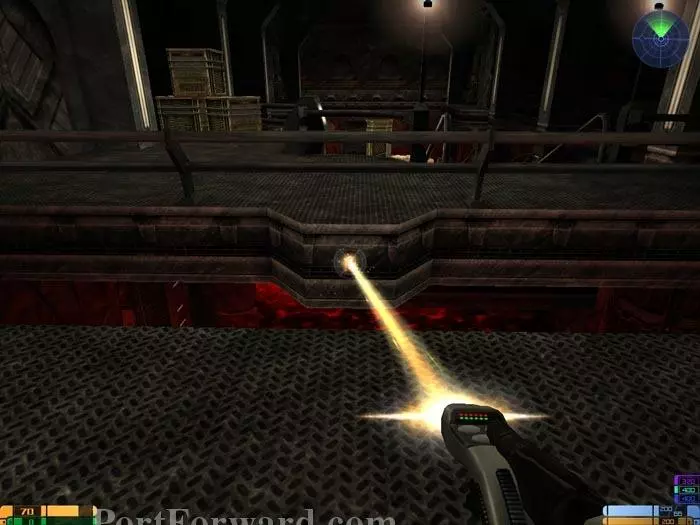
Snipers! Use your Sniper Rifle to take out the snipers on the cliffs. Your Tricorder's Torpedo Strike View Mode will call in orbital strikes from the Enterprise to take out snipers in the tower.

Star Trek: Elite Force II Walkthrough - Star Trek-Elite-Force-II 472

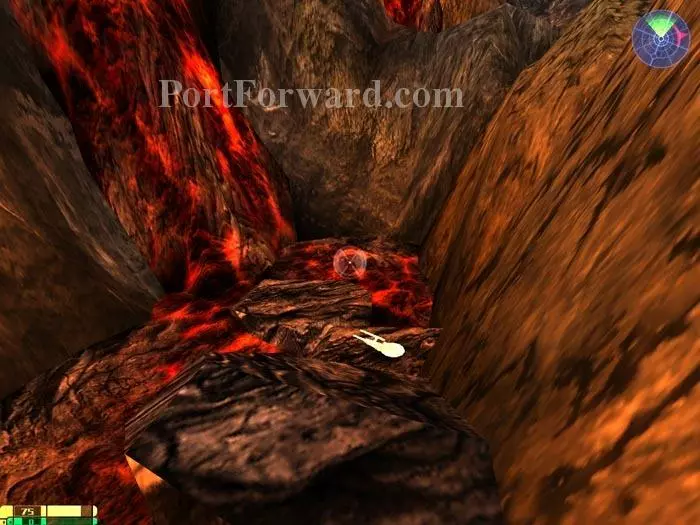
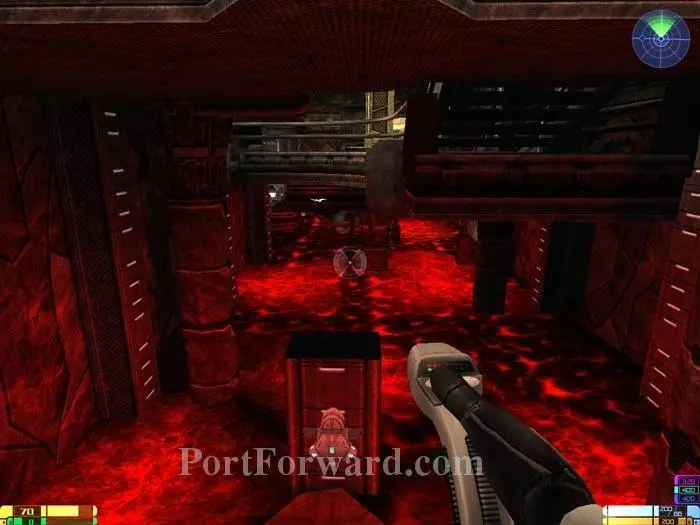
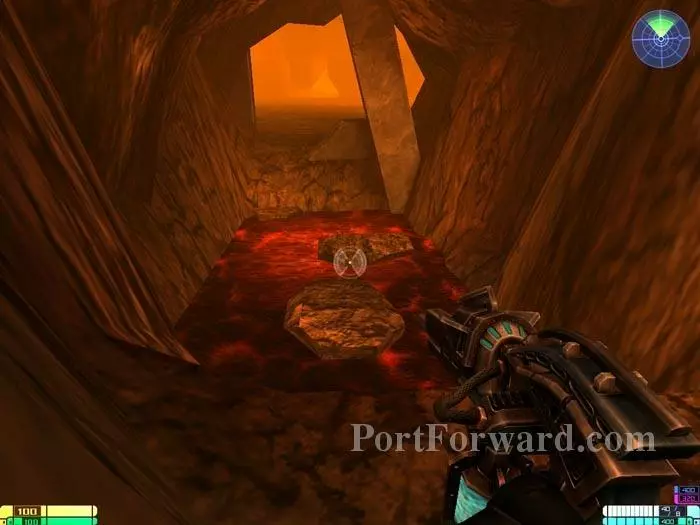
Golden Starship 73 is in the lava flow.

Star Trek: Elite Force II Walkthrough - Star Trek-Elite-Force-II 473

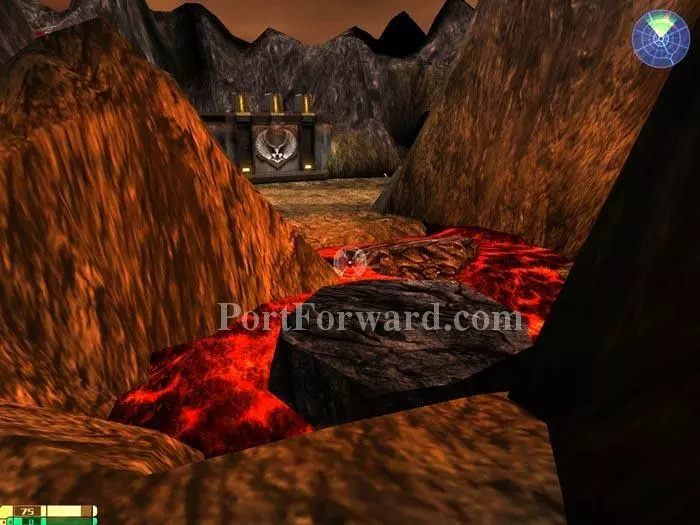
Hop across these rocks to cross the lava flow. They are wobbly so make it quick.

Star Trek: Elite Force II Walkthrough - Star Trek-Elite-Force-II 474

The 74th Golden Starship is in the lava flow to the left.

Star Trek: Elite Force II Walkthrough - Star Trek-Elite-Force-II 475

Kill all the Romulans in the area, including these two rooftop snipers.

Star Trek: Elite Force II Walkthrough - Star Trek-Elite-Force-II 476

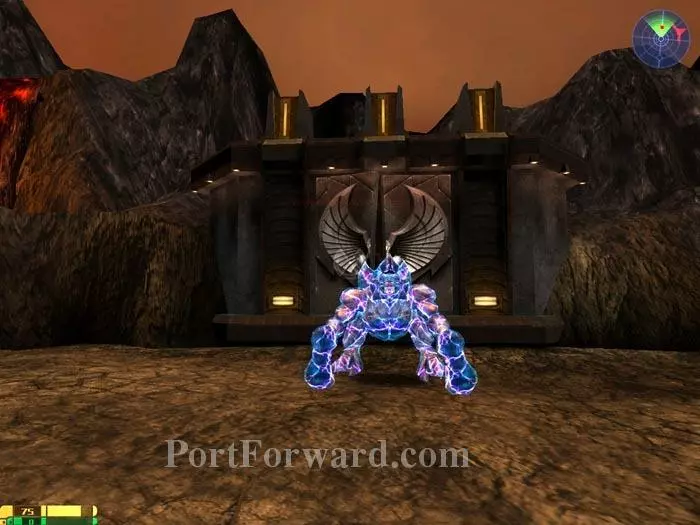
A Quadruped boss emerges. You can use your tricorder's Torpedo Strike View Mode to call in fire from the Enterprise to take him out.

Star Trek: Elite Force II Walkthrough - Star Trek-Elite-Force-II 477

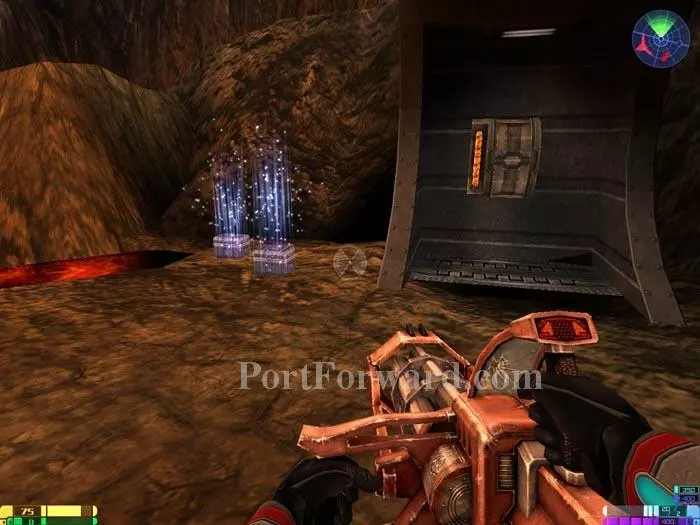
Secondary fire on your Enhanced Compression Rifle will take out this structurally weak door.

Star Trek: Elite Force II Walkthrough - Star Trek-Elite-Force-II 478

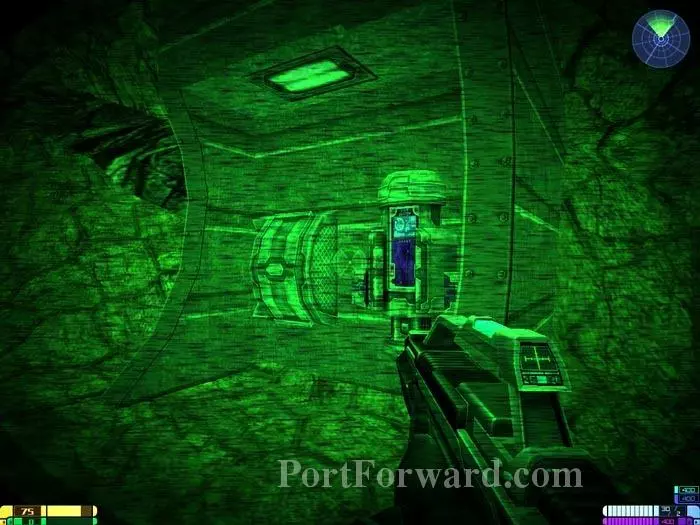
Your night vision reveals health and energy terminals to the right.

Star Trek: Elite Force II Walkthrough - Star Trek-Elite-Force-II 479

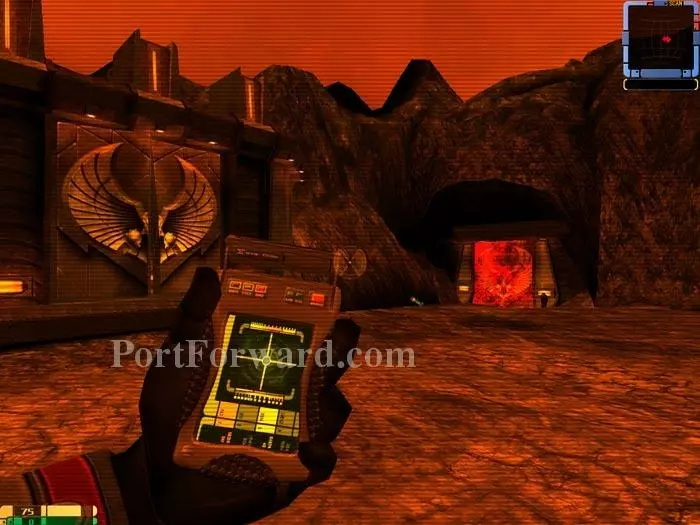
The tunnel on the left has Fed ammo. Grab it then battle the Romulans in the tunnel to the right, where you'll find more Idryllium.

Star Trek: Elite Force II Walkthrough - Star Trek-Elite-Force-II 480

More Federation ammo beams in as you approach. Head up the path on the right.

Star Trek: Elite Force II Walkthrough - Star Trek-Elite-Force-II 481

Turn left to find Idryllium and this weakened rock. Use something stronger than your Phaser to destroy it, revealing Golden Starship 75.

Star Trek: Elite Force II Walkthrough - Star Trek-Elite-Force-II 482

Backtrack through the tunnel to the right of the path to exit the area. Note the health and energy terminals to the right of this Romulan.

Star Trek: Elite Force II Walkthrough - Star Trek-Elite-Force-II 483

A large battle with the Romulans ensues. Use any remaining fire from the Enterprise plus your personal arsenal to finish them off.

Star Trek: Elite Force II Walkthrough - Star Trek-Elite-Force-II 484

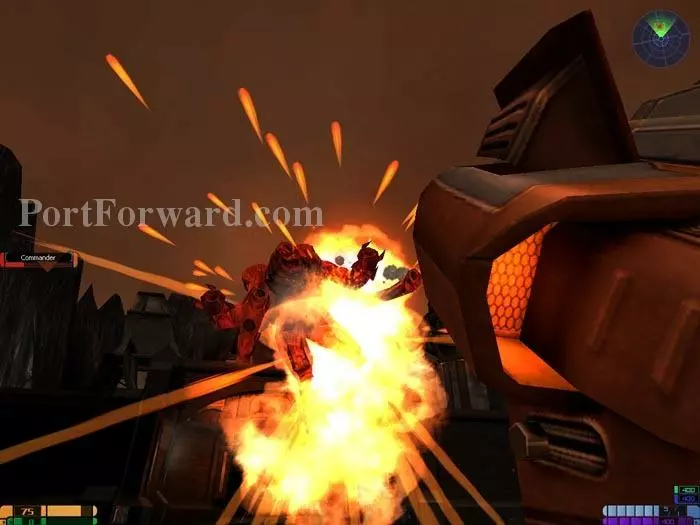
After all the Romulans are defeated, the Commander boss flies in. The Rom X Rad weapon is your best bet.

Star Trek: Elite Force II Walkthrough - Star Trek-Elite-Force-II 485

A cutscene follows the defeat of the Commander boss.

Star Trek: Elite Force II Walkthrough - Star Trek-Elite-Force-II 486

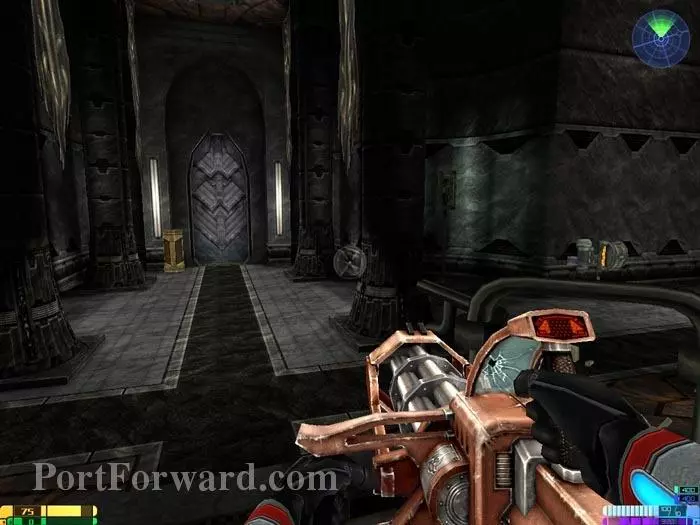
Pass through the door ahead. Note the energy and health terminals on the right. Idryllium is behind you.

Star Trek: Elite Force II Walkthrough - Star Trek-Elite-Force-II 487

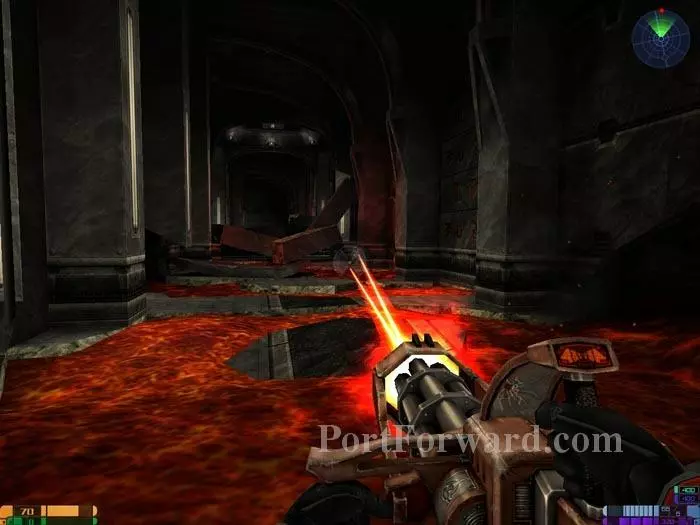
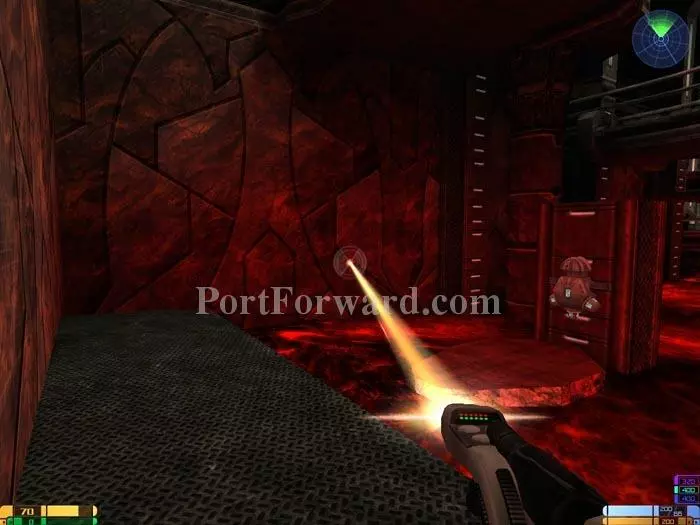
Your Tetryon Gatling Gun works well against the Romulans. Hop across the lava flow and fight your way through the ruins.

Star Trek: Elite Force II Walkthrough - Star Trek-Elite-Force-II 488

Fight your way across this bridge.

Star Trek: Elite Force II Walkthrough - Star Trek-Elite-Force-II 489

Romulan reinforcements beam in. Kill them all.

Star Trek: Elite Force II Walkthrough - Star Trek-Elite-Force-II 490

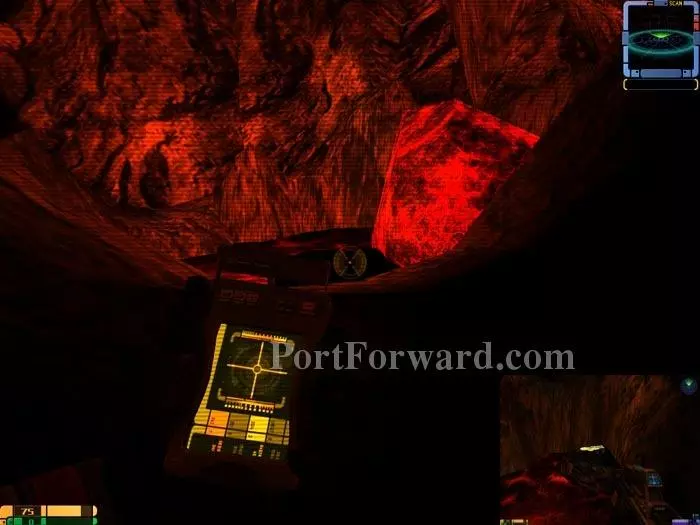
Spot this weakened wall panel with your tricorder's Structural Integrity View Mode. Blast it with your phaser.

Star Trek: Elite Force II Walkthrough - Star Trek-Elite-Force-II 491

Golden Starship 76 is inside. Wait for the flame to subside before advancing.

Star Trek: Elite Force II Walkthrough - Star Trek-Elite-Force-II 492

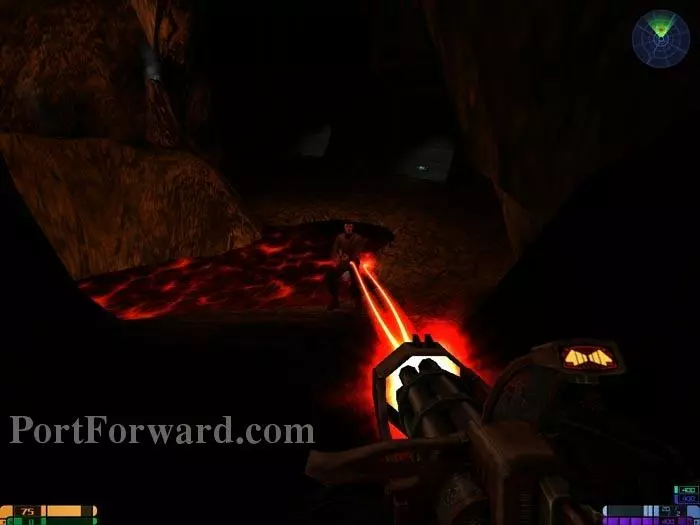
Snipe the sniper in the next room.

Star Trek: Elite Force II Walkthrough - Star Trek-Elite-Force-II 493

Jump across the railing behind you and shoot this switch to descend.

Star Trek: Elite Force II Walkthrough - Star Trek-Elite-Force-II 494

Spot the Golden Starship -- we'll get to that in a moment. Use the energy terminal at the bottom.

Star Trek: Elite Force II Walkthrough - Star Trek-Elite-Force-II 495

Shoot this switch to ascend.

Star Trek: Elite Force II Walkthrough - Star Trek-Elite-Force-II 496

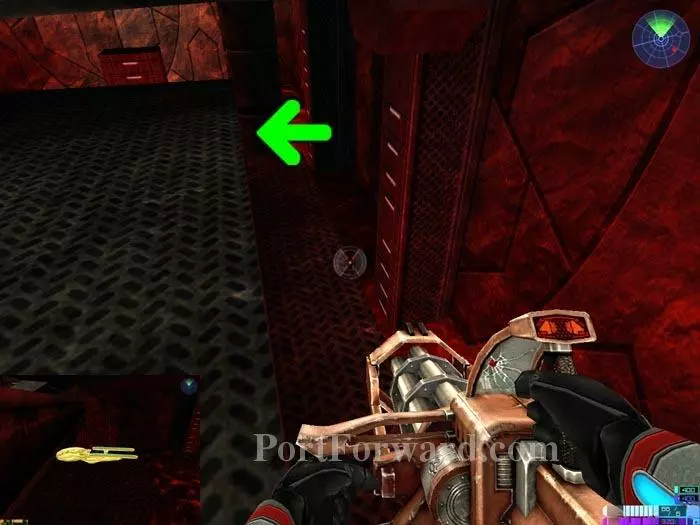
Drop down to this ledge. You'll find Golden Starship 77 around the left bend.

Star Trek: Elite Force II Walkthrough - Star Trek-Elite-Force-II 497

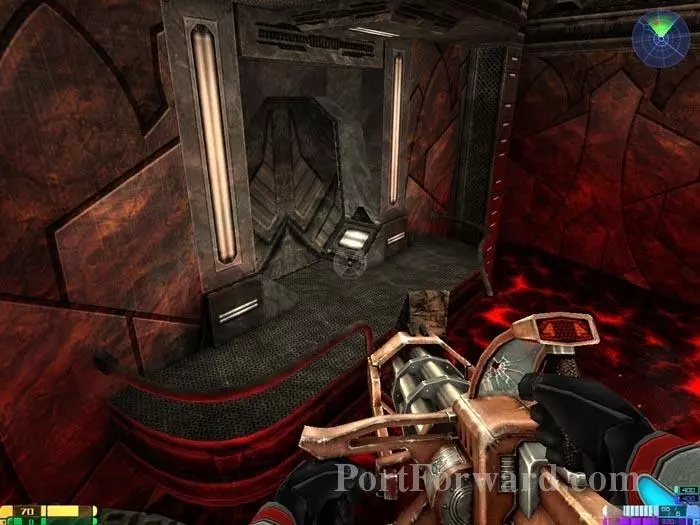
Leap down across the railing and pass through this door.

Star Trek: Elite Force II Walkthrough - Star Trek-Elite-Force-II 498

The Romulans are offered membership in the inner circle of the Empty Crown if they defeat you. Defeat them.

Star Trek: Elite Force II Walkthrough - Star Trek-Elite-Force-II 499

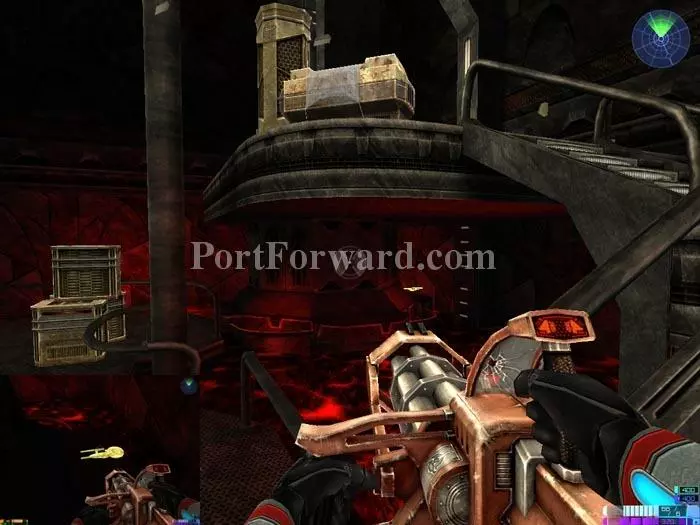
Make your way to this area where you'll find Golden Starship 78. You can just pass around the base of the elevator to pick up the starship.

Star Trek: Elite Force II Walkthrough - Star Trek-Elite-Force-II 500

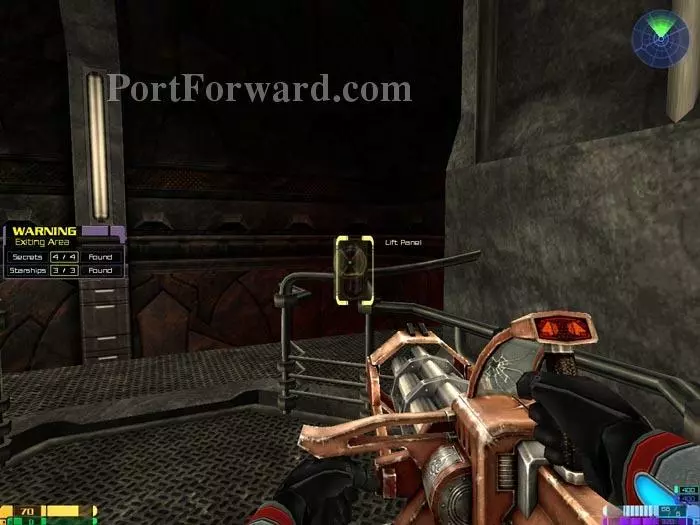
"Use" this Lift Panel to exit the area.

Star Trek: Elite Force II Walkthrough - Star Trek-Elite-Force-II 501

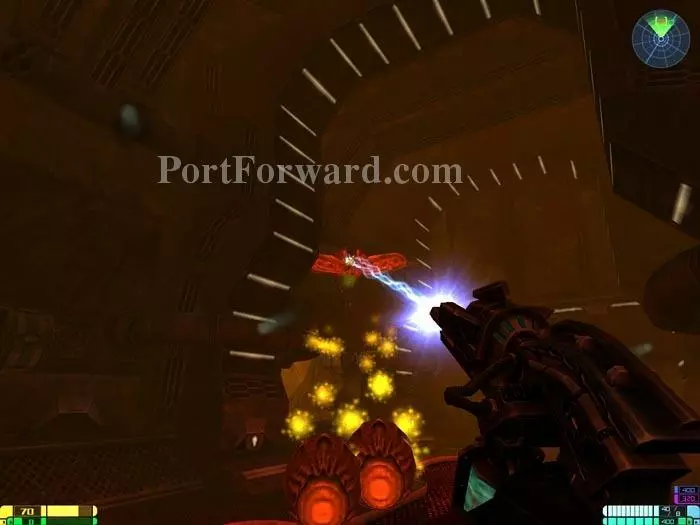
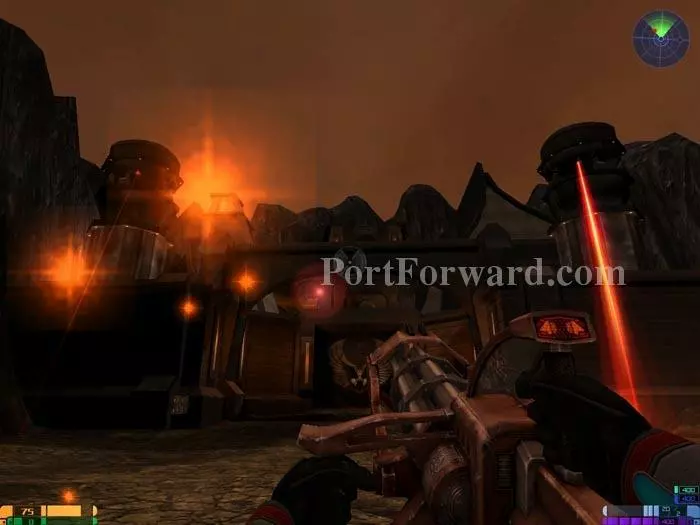
Switch to the Arc Gun. Your first victim is this Cruiser Turret.

Star Trek: Elite Force II Walkthrough - Star Trek-Elite-Force-II 502

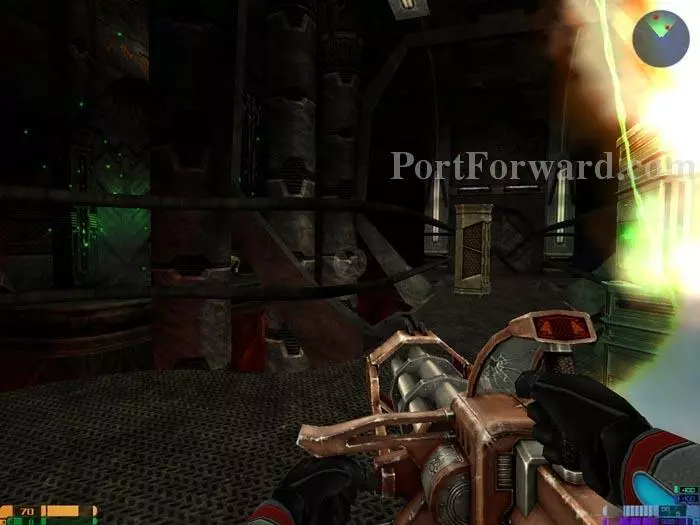
This Xenomorph bursts through a wall. After defeating him you can pass through the hole to grab some Idryllium. Exit through the other hole visible to the left.

Star Trek: Elite Force II Walkthrough - Star Trek-Elite-Force-II 503

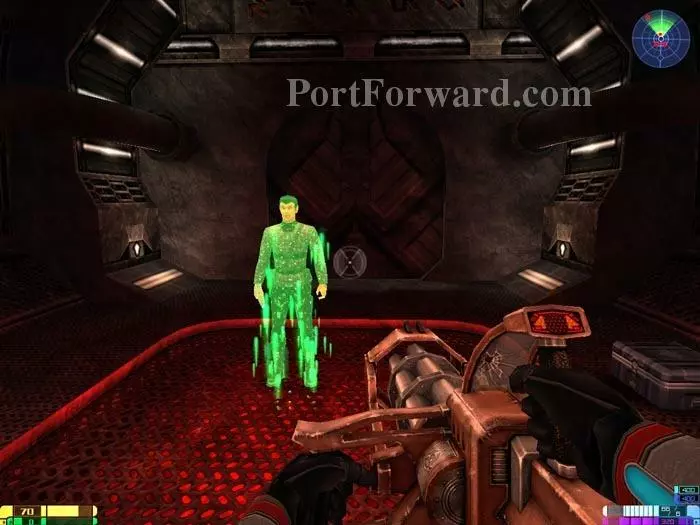
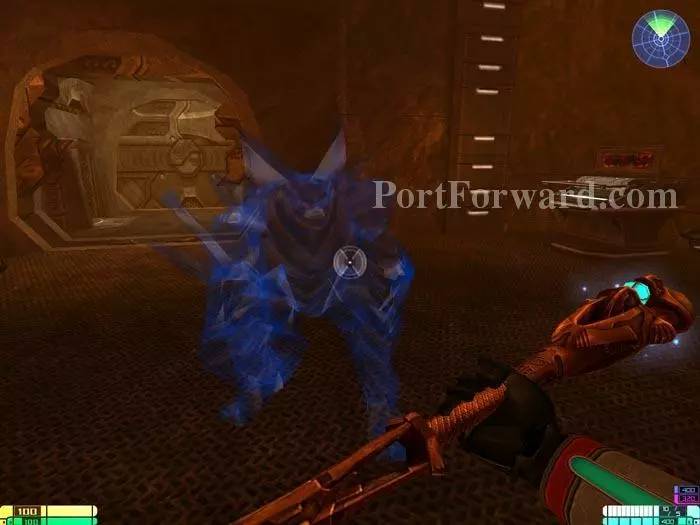
Next up is this phase-shifting Stalker.

Star Trek: Elite Force II Walkthrough - Star Trek-Elite-Force-II 504

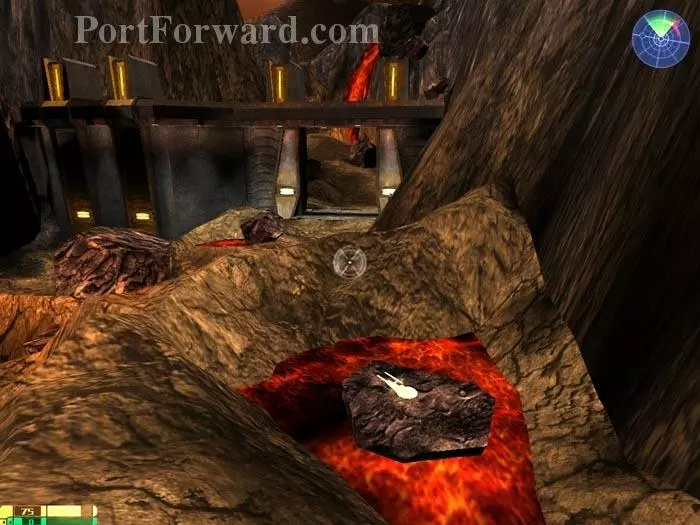
Hop across the oscillating boulder as indicated.

Star Trek: Elite Force II Walkthrough - Star Trek-Elite-Force-II 505

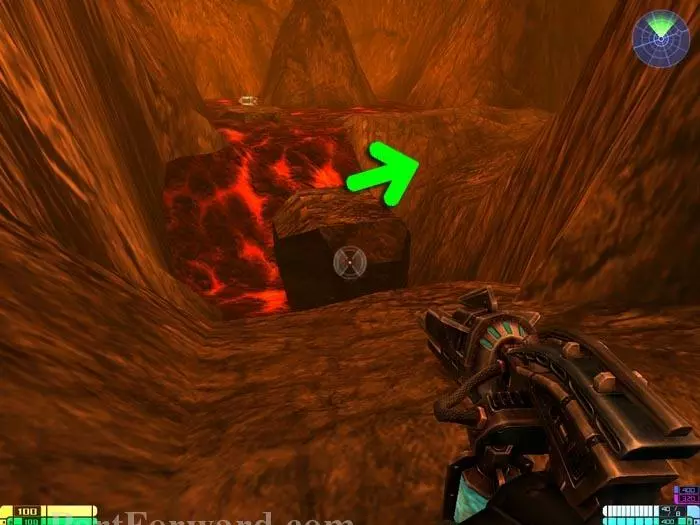
Use the energy and health terminals on the left, then destroy this structurally unsound boulder. Golden Starship 79 is beyond.

Star Trek: Elite Force II Walkthrough - Star Trek-Elite-Force-II 506

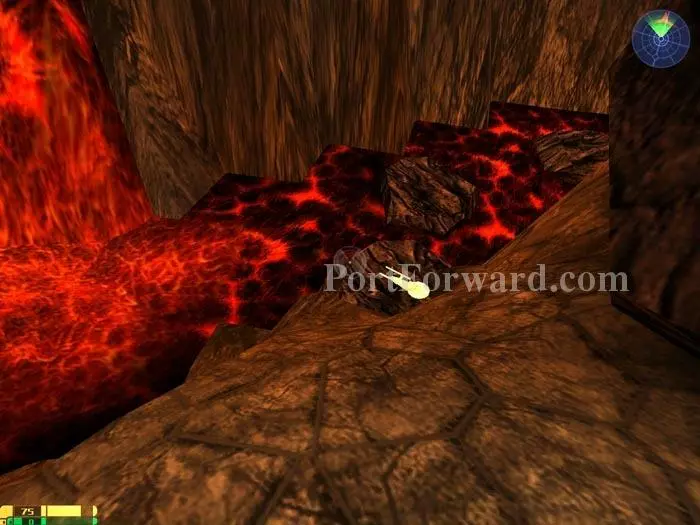
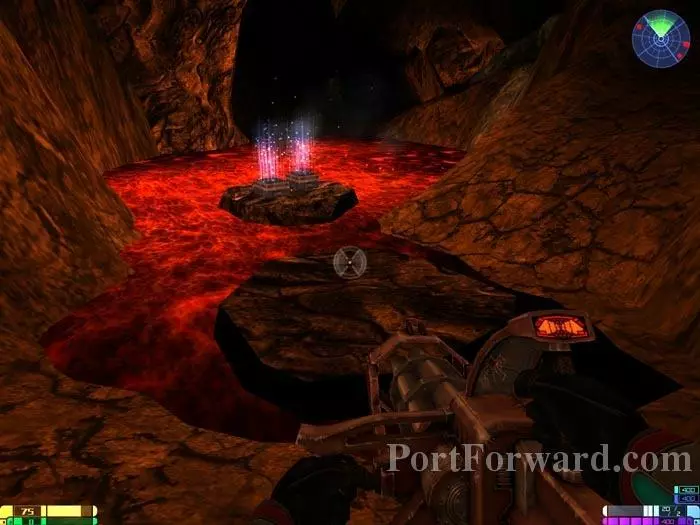
Frogger time again. Hop straight across to the other side.

Star Trek: Elite Force II Walkthrough - Star Trek-Elite-Force-II 507

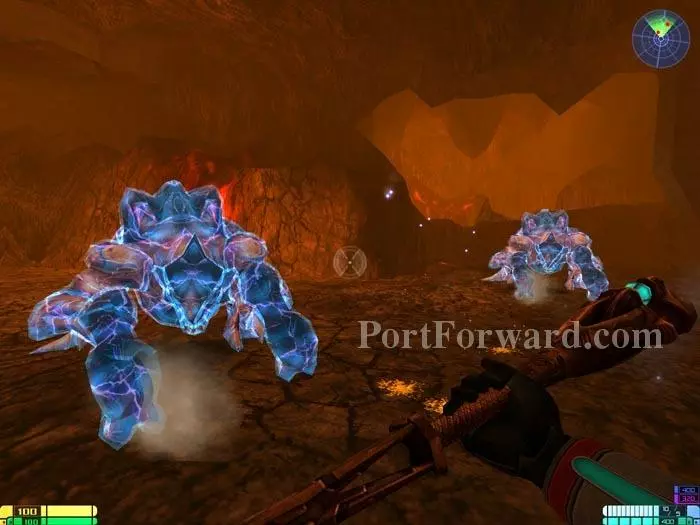
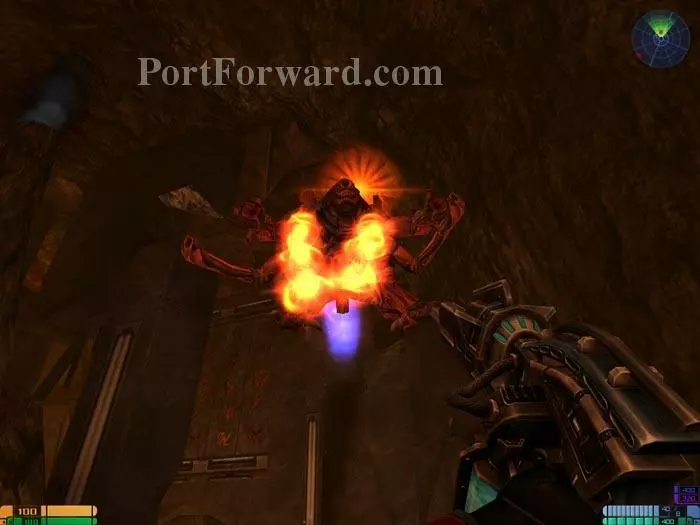
Now it's two Quadrupeds to battle. Remember, the Staff's secondary fire freezes the enemy with its touch.

Star Trek: Elite Force II Walkthrough - Star Trek-Elite-Force-II 508

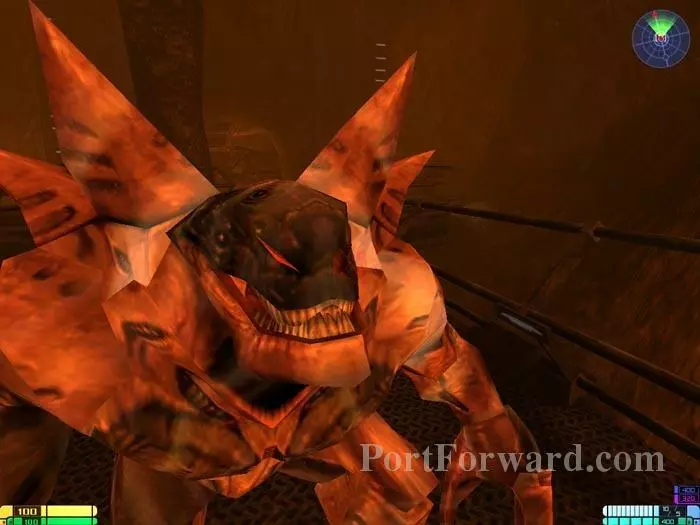
Next, onto another Cruiser Turret and this Stalker. The Staff works well against the Stalker to prevent him from phase shifting.

Star Trek: Elite Force II Walkthrough - Star Trek-Elite-Force-II 509

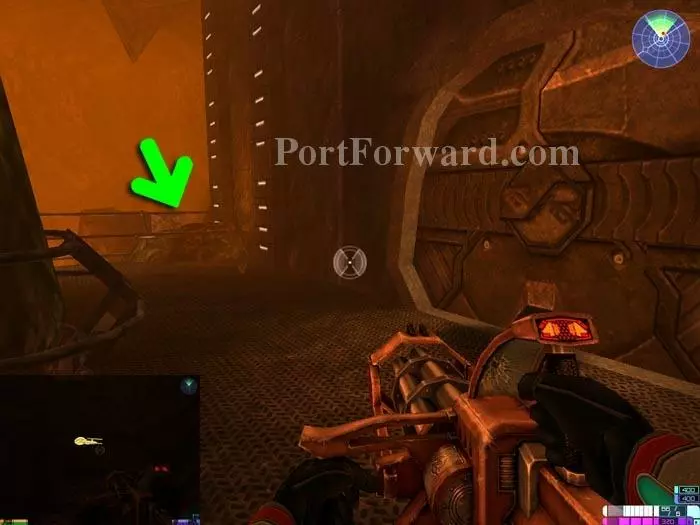
Golden Starship 80 is past the railing, as indicated.

Star Trek: Elite Force II Walkthrough - Star Trek-Elite-Force-II 510

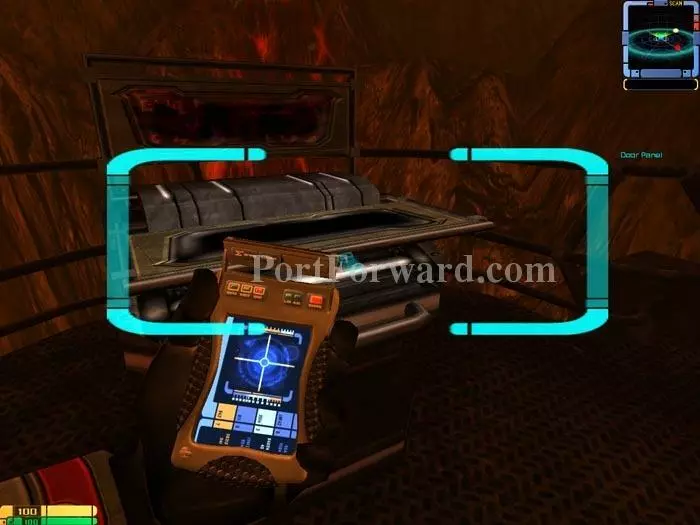
Use your tricorder to modulate this Door Panel.

Star Trek: Elite Force II Walkthrough - Star Trek-Elite-Force-II 511

Another Stalker spawns. After defeating him, use your tricorder to modulate the Door Panel visible on the right. Pass through the door visible on the left.

Star Trek: Elite Force II Walkthrough - Star Trek-Elite-Force-II 512

Defeat the Commander. Beware the Cruiser Turret in this area as well.

Star Trek: Elite Force II Walkthrough - Star Trek-Elite-Force-II 513

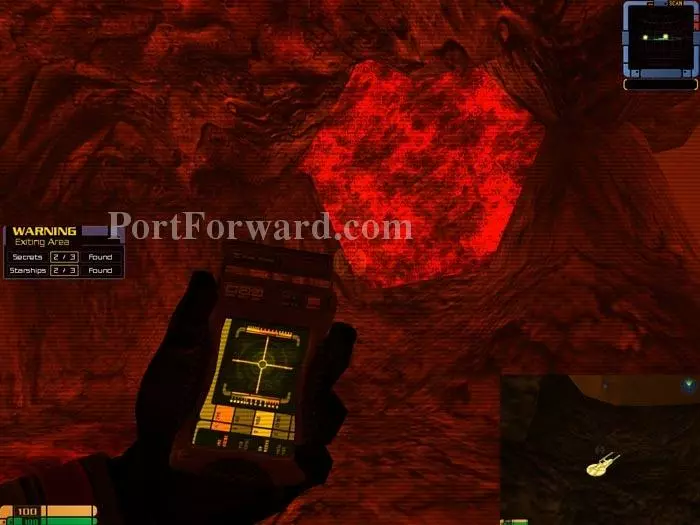
Before exiting, turn around to spot this weakened area of rock. Blast it to find Golden Starship 81, the final Golden Starship of the game.

Star Trek: Elite Force II Walkthrough - Star Trek-Elite-Force-II 514

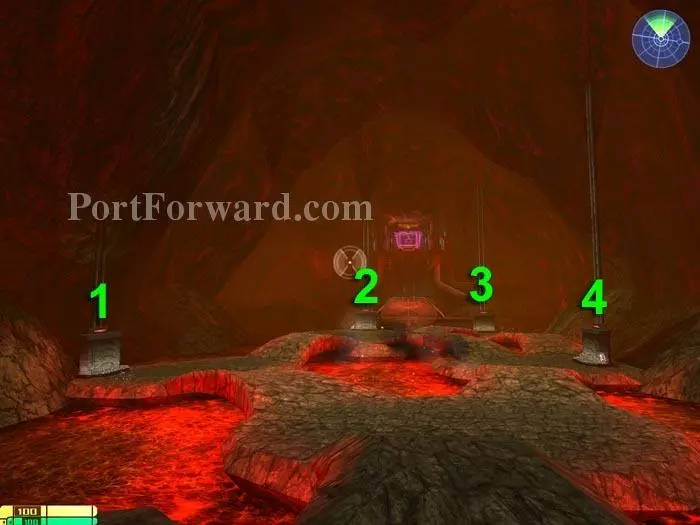
There are four sets of health and energy terminals in the area. The terminals open at random intervals. Behind the terminal indicated "2" above is the only Secret for this area - a Romulan Experimental Radiation Gun.

Star Trek: Elite Force II Walkthrough - Star Trek-Elite-Force-II 515

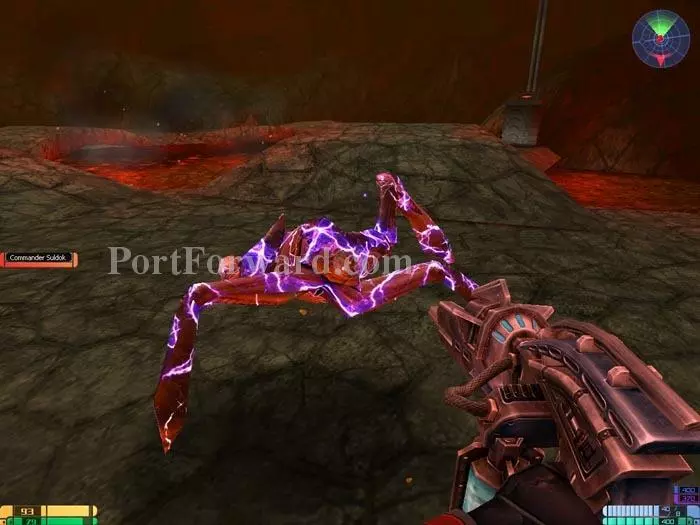
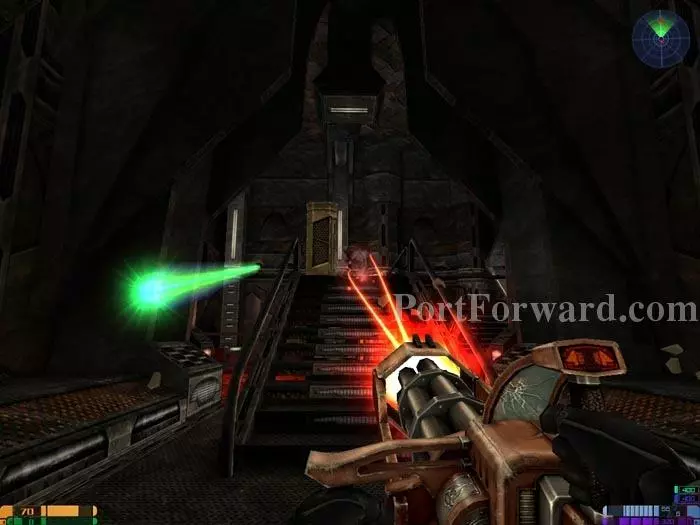
Your Arc Gun or the Rom X Rad's primary fire work well against the spider-like Pendra.

Star Trek: Elite Force II Walkthrough - Star Trek-Elite-Force-II 516

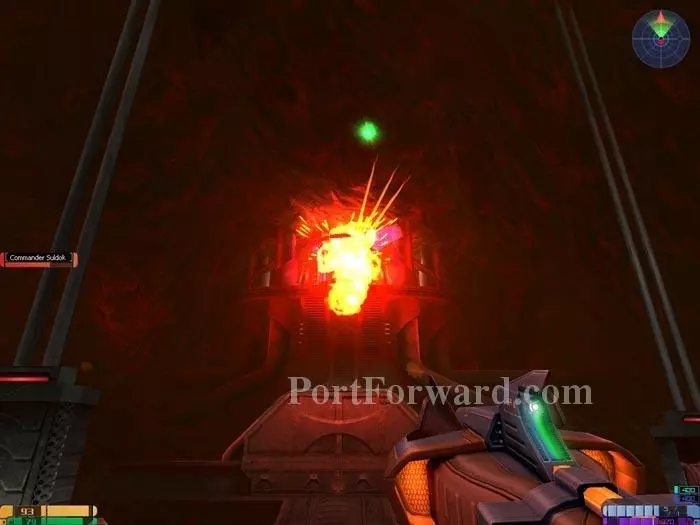
Quantum Bursts and the Rom X Rad's secondary fire work well against Commander Suldok.

Star Trek: Elite Force II Walkthrough - Star Trek-Elite-Force-II 517

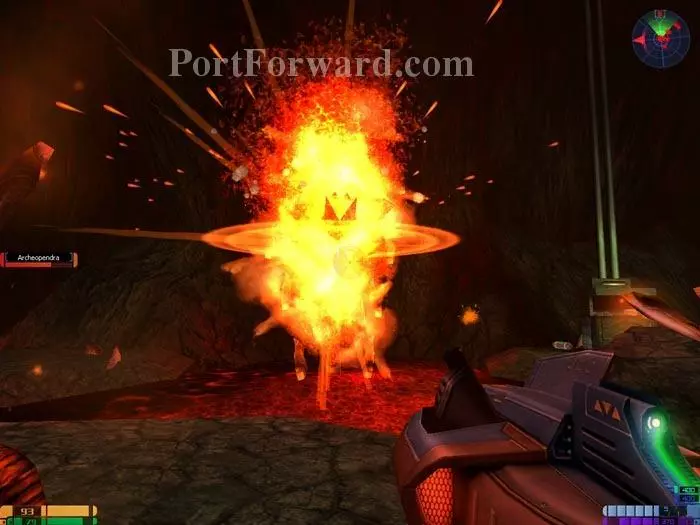
Alternate between the Rom X Rad's primary fire for the Pendra and its secondary fire against the Archeopendra.

Star Trek: Elite Force II Walkthrough - Star Trek-Elite-Force-II 518

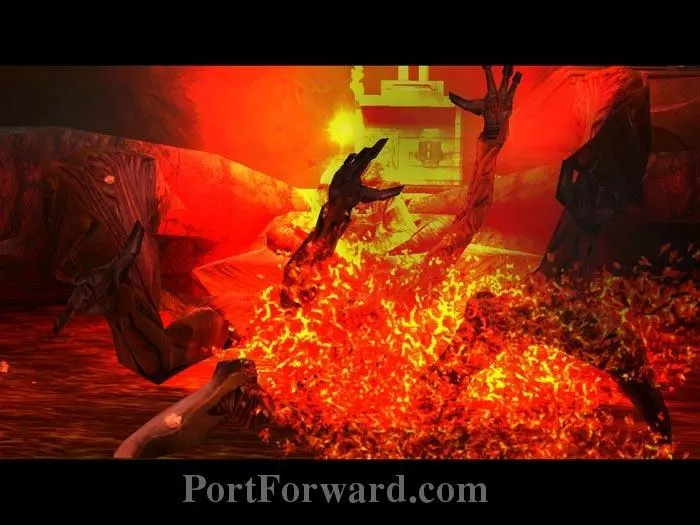
The Archeopendra is the final boss. Defeat it to end the mission and the game.

Star Trek: Elite Force II Walkthrough - Star Trek-Elite-Force-II 519

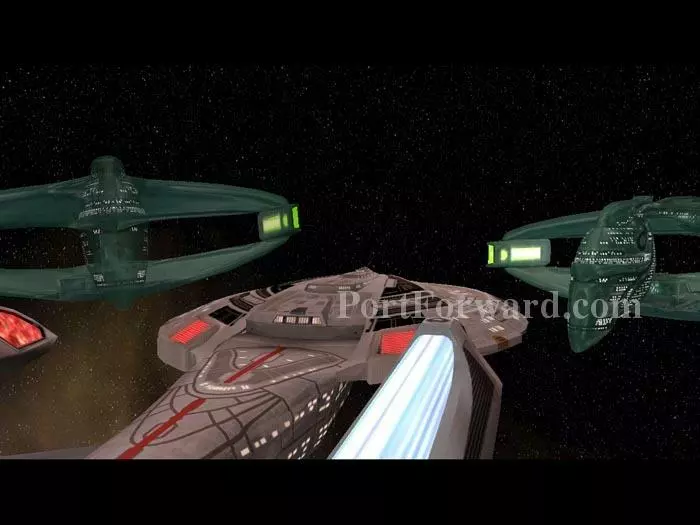
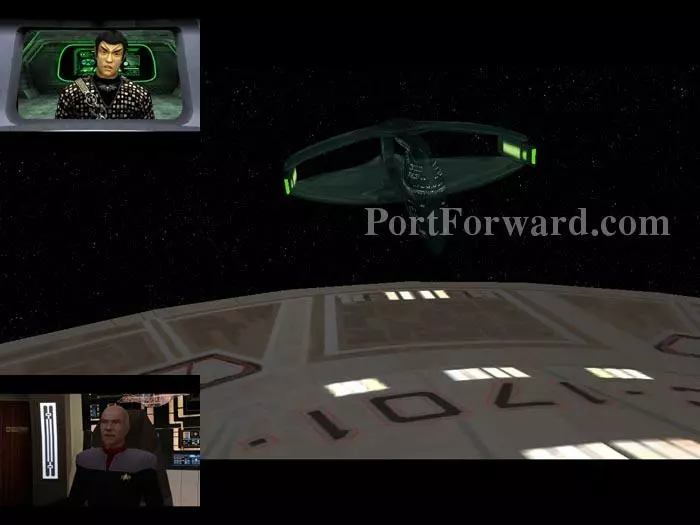
A final series of cutscenes plays to close the story. The Hazard Team has been a huge success, and Picard recommends expanding the program throughout Star Fleet.

Star Trek: Elite Force II Walkthrough - Star Trek-Elite-Force-II 520

If you chose to meet Telsia in Information Gathering 7 you see a cutscene with her, otherwise you see a cutscene with Kleeya accepting Munro's invitation to earth.

Star Trek: Elite Force II Walkthrough - Star Trek-Elite-Force-II 521

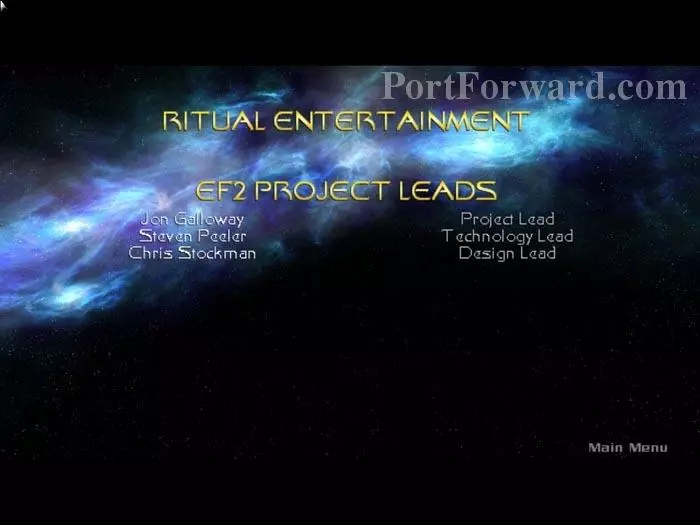
Lastly, the end credits. And that is the game! I hope you enjoyed this game and I hoped this walkthrough helped you! Game on!

More Star Trek: Elite Force II Walkthroughs

This Star Trek: Elite Force II walkthrough is divided into 12 total pages.

More From Portforward