This Starcraft 2: Heart of the Swarm walkthrough is divided into 27 total pages.
You can jump to nearby pages of the game using the links above.
Final 3: The Reckoning
![Starcraft 2: Heart of the Swarm Walkthrough - Starcraft 2-Heart-of-the-Swarm 874](starcraft-2-heart-of-the-swarm-874-small.webp)
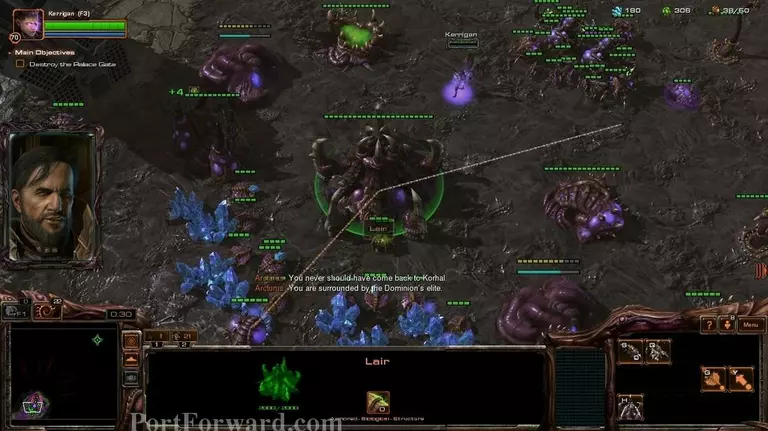
This mission can be either hard or easy, depending on how you try to complete it.
![Starcraft 2: Heart of the Swarm Walkthrough - Starcraft 2-Heart-of-the-Swarm 875](starcraft-2-heart-of-the-swarm-875-small.webp)
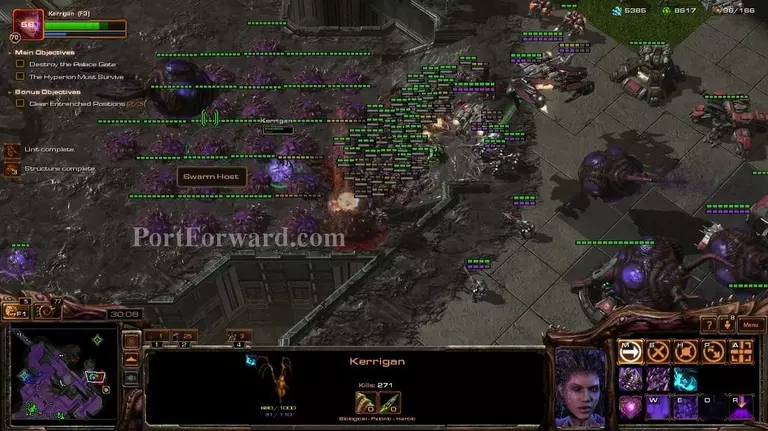
Best strategies i can think of are: Mass ultralisks, viper/muta, mass banelings (attacking every time you have around 200 banelings) or creeper strain swarm hosts.
![Starcraft 2: Heart of the Swarm Walkthrough - Starcraft 2-Heart-of-the-Swarm 876](starcraft-2-heart-of-the-swarm-876-small.webp)
I used the creeper strain swarm hosts, which is why i got the Maliagnant creep spell for kerrigan.
![Starcraft 2: Heart of the Swarm Walkthrough - Starcraft 2-Heart-of-the-Swarm 877](starcraft-2-heart-of-the-swarm-877-small.webp)
If you do not have the creeper strain, you can use the strategy i've used for the last few missions, mass ultralisks.
![Starcraft 2: Heart of the Swarm Walkthrough - Starcraft 2-Heart-of-the-Swarm 878](starcraft-2-heart-of-the-swarm-878-small.webp)
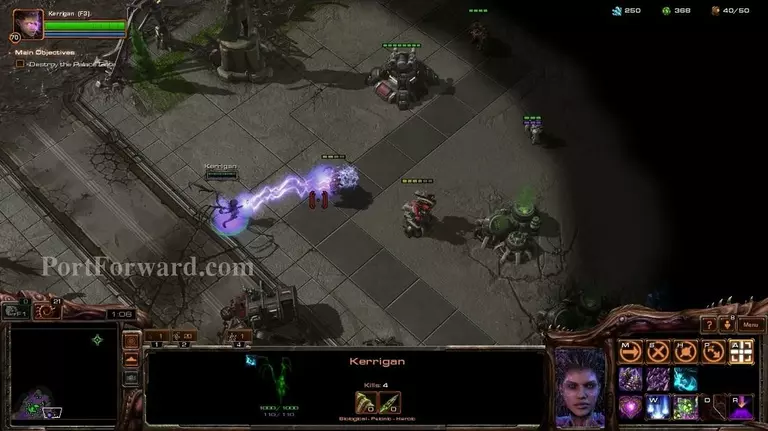
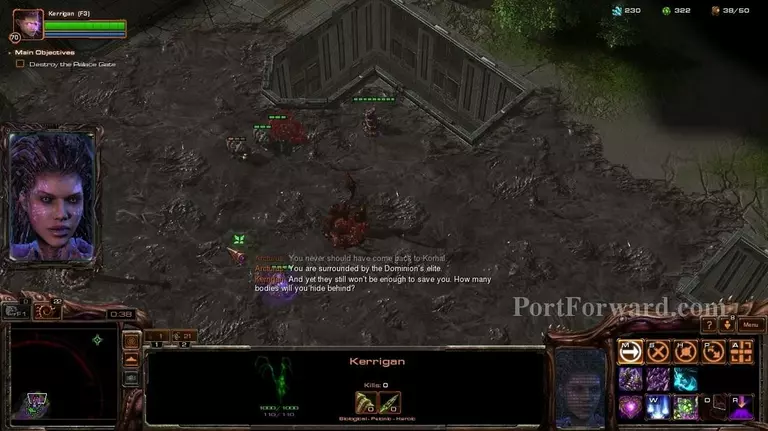
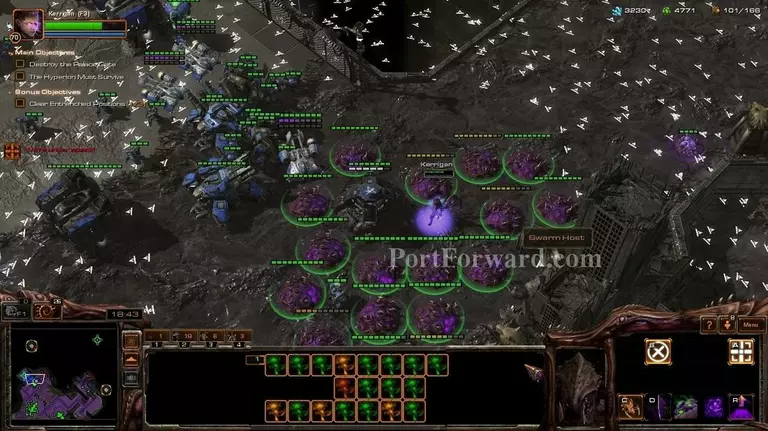
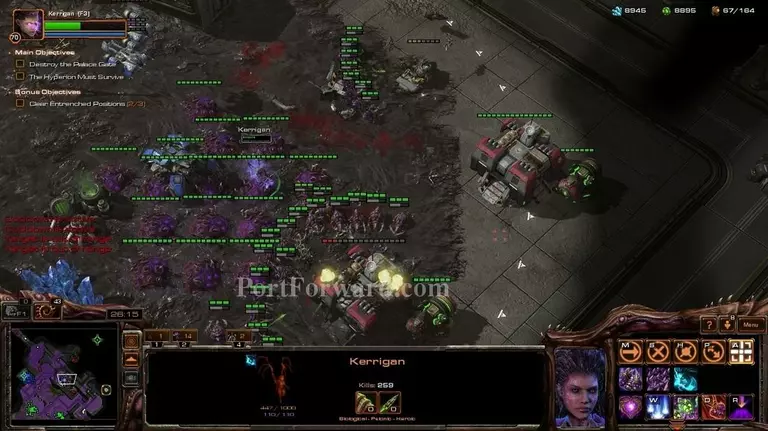
In either case, start by taking the base to the south.
![Starcraft 2: Heart of the Swarm Walkthrough - Starcraft 2-Heart-of-the-Swarm 879](starcraft-2-heart-of-the-swarm-879-small.webp)
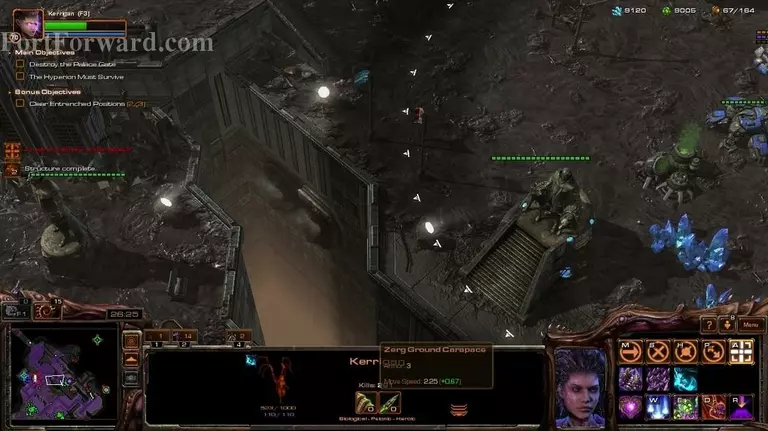
Make another hatchery while you're at it.
![Starcraft 2: Heart of the Swarm Walkthrough - Starcraft 2-Heart-of-the-Swarm 880](starcraft-2-heart-of-the-swarm-880-small.webp)
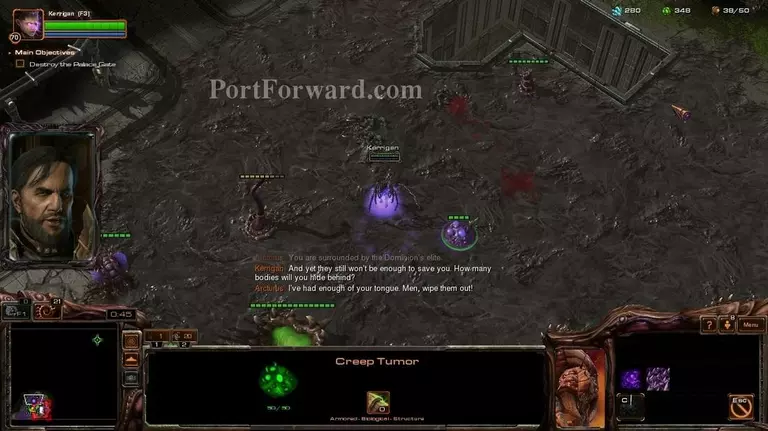
The hyperion is going to help you this mission.
![Starcraft 2: Heart of the Swarm Walkthrough - Starcraft 2-Heart-of-the-Swarm 881](starcraft-2-heart-of-the-swarm-881-small.webp)
They are going to try to establish a base, and if you're unlucky, they are going to be attacked even before they are able to defend themselves.
![Starcraft 2: Heart of the Swarm Walkthrough - Starcraft 2-Heart-of-the-Swarm 882](starcraft-2-heart-of-the-swarm-882-small.webp)
So you might have to go help them.
![Starcraft 2: Heart of the Swarm Walkthrough - Starcraft 2-Heart-of-the-Swarm 883](starcraft-2-heart-of-the-swarm-883-small.webp)
Anyway, you're going to want the base to the south for the minerals and gas.
![Starcraft 2: Heart of the Swarm Walkthrough - Starcraft 2-Heart-of-the-Swarm 884](starcraft-2-heart-of-the-swarm-884-small.webp)
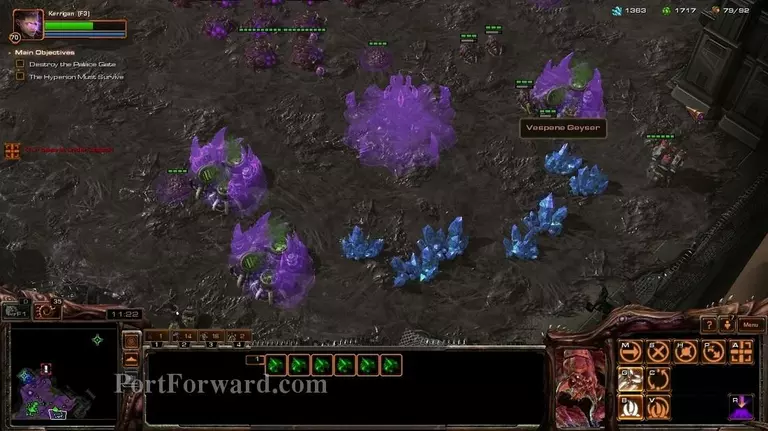
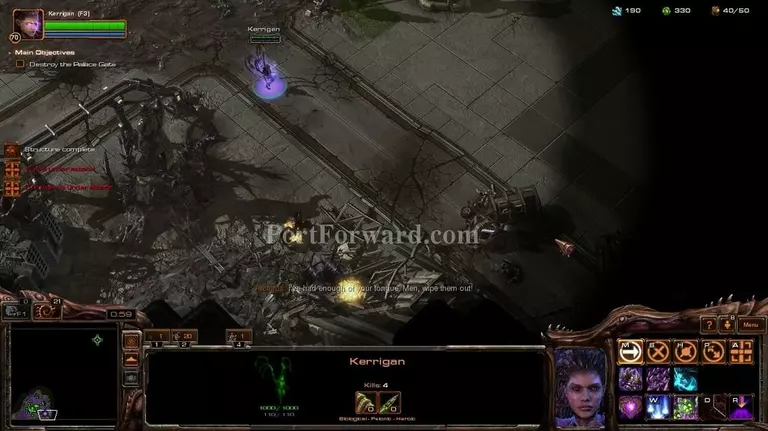
You're gonna want to make a base to the south right after you have finished of the terran outpost.
![Starcraft 2: Heart of the Swarm Walkthrough - Starcraft 2-Heart-of-the-Swarm 885](starcraft-2-heart-of-the-swarm-885-small.webp)
Also, the hyperion will get attacked quite often, they might need help from time to time.
![Starcraft 2: Heart of the Swarm Walkthrough - Starcraft 2-Heart-of-the-Swarm 886](starcraft-2-heart-of-the-swarm-886-small.webp)
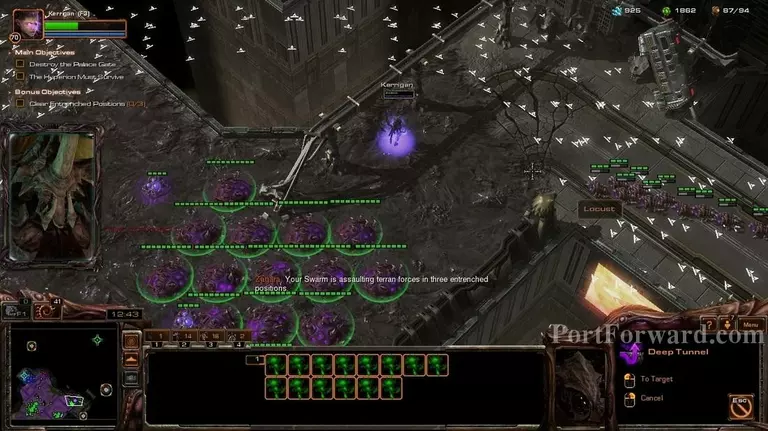
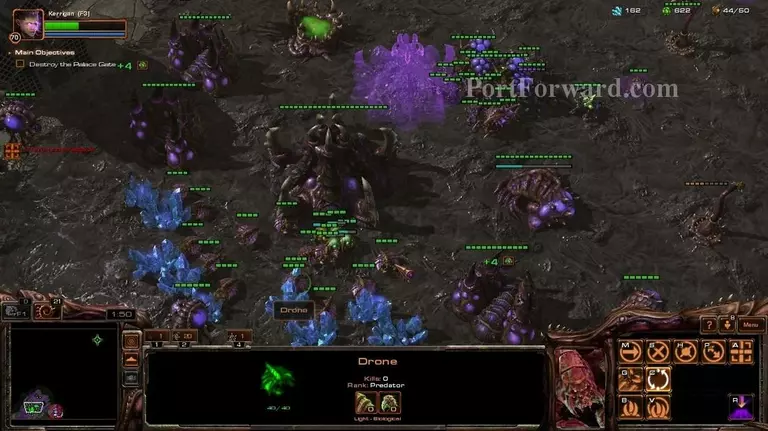
You're going to want to start pushing to the south optional objective.
![Starcraft 2: Heart of the Swarm Walkthrough - Starcraft 2-Heart-of-the-Swarm 887](starcraft-2-heart-of-the-swarm-887-small.webp)
Also, if you're going the ultralisk route, i would recommend getting some hydras since the enemies like to make quite a few flyers.
![Starcraft 2: Heart of the Swarm Walkthrough - Starcraft 2-Heart-of-the-Swarm 888](starcraft-2-heart-of-the-swarm-888-small.webp)
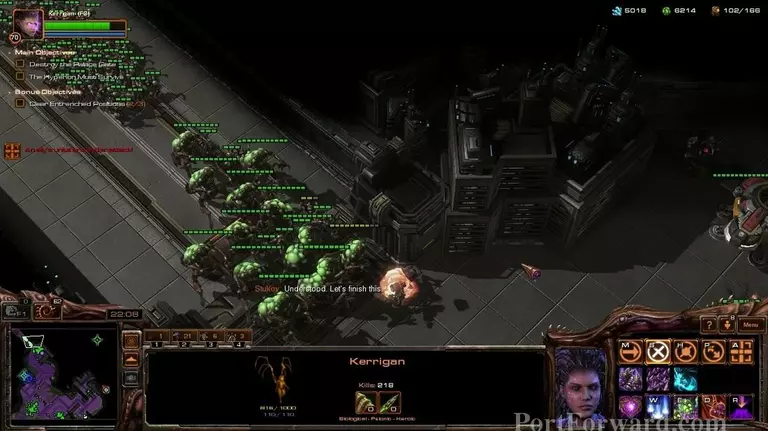
After you finish the optional objective...
![Starcraft 2: Heart of the Swarm Walkthrough - Starcraft 2-Heart-of-the-Swarm 889](starcraft-2-heart-of-the-swarm-889-small.webp)
...an army of allied forces will start attacking the terran. Every optional objective gives you different allies. This time it was the usual zerg.
![Starcraft 2: Heart of the Swarm Walkthrough - Starcraft 2-Heart-of-the-Swarm 890](starcraft-2-heart-of-the-swarm-890-small.webp)
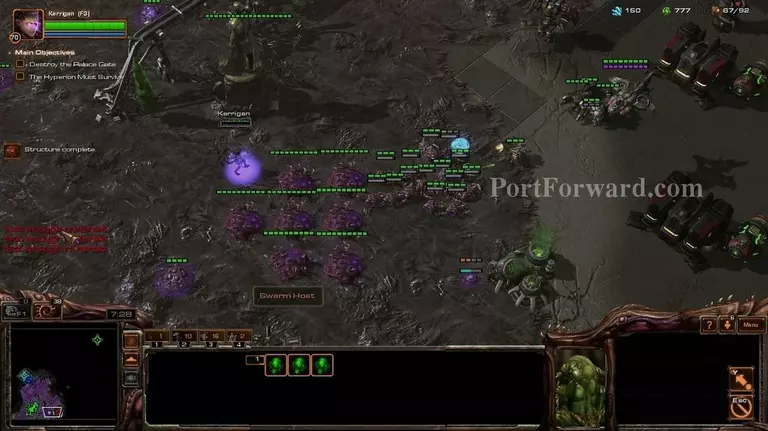
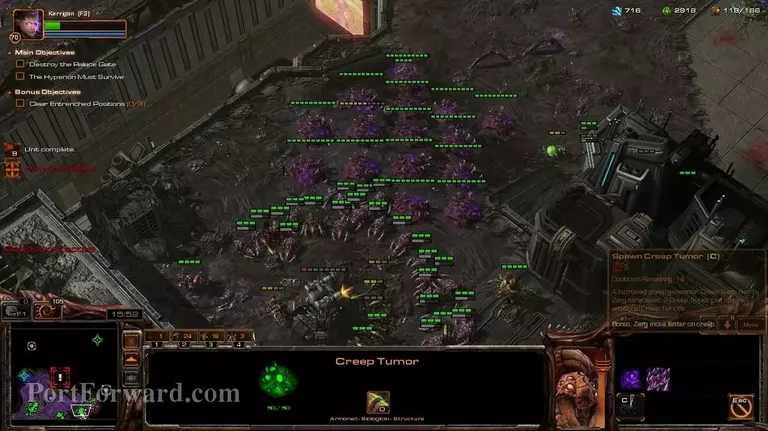
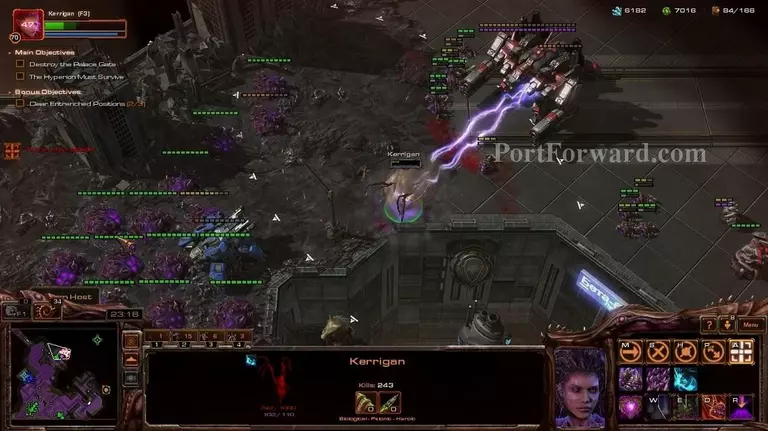
After you're done with that, i recommend you start pushing to the north optional objective.
![Starcraft 2: Heart of the Swarm Walkthrough - Starcraft 2-Heart-of-the-Swarm 891](starcraft-2-heart-of-the-swarm-891-small.webp)
If you're using the swarm host strategy, be sure to kill the science vessels and raves. (That is, if you're using burrow on the swarm hosts, otherwise it won't matter, but i don't recommend anything but burrow)
![Starcraft 2: Heart of the Swarm Walkthrough - Starcraft 2-Heart-of-the-Swarm 892](starcraft-2-heart-of-the-swarm-892-small.webp)
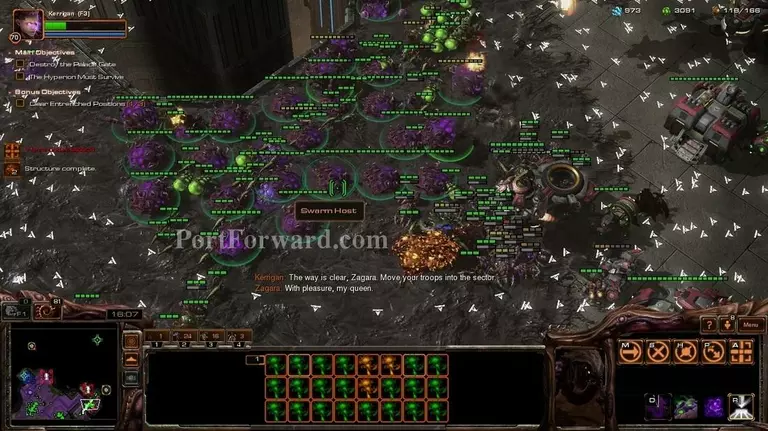
The optional objective to the north is a bit more fortified, but it should still be easy enough with whatever strategy you opted to go for.
![Starcraft 2: Heart of the Swarm Walkthrough - Starcraft 2-Heart-of-the-Swarm 893](starcraft-2-heart-of-the-swarm-893-small.webp)
Doing the optional objective will set loose an allied force of infested marines and aberrations.
![Starcraft 2: Heart of the Swarm Walkthrough - Starcraft 2-Heart-of-the-Swarm 894](starcraft-2-heart-of-the-swarm-894-small.webp)
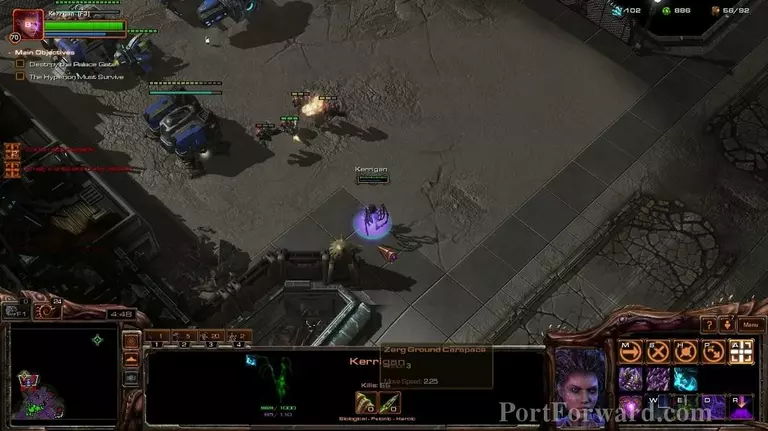
The Odin will attack the hyperion after some time. I managed to get in his way just when he decided to attack.
![Starcraft 2: Heart of the Swarm Walkthrough - Starcraft 2-Heart-of-the-Swarm 895](starcraft-2-heart-of-the-swarm-895-small.webp)
He can be really tough to kill, especially since you cannot stun him.
![Starcraft 2: Heart of the Swarm Walkthrough - Starcraft 2-Heart-of-the-Swarm 896](starcraft-2-heart-of-the-swarm-896-small.webp)
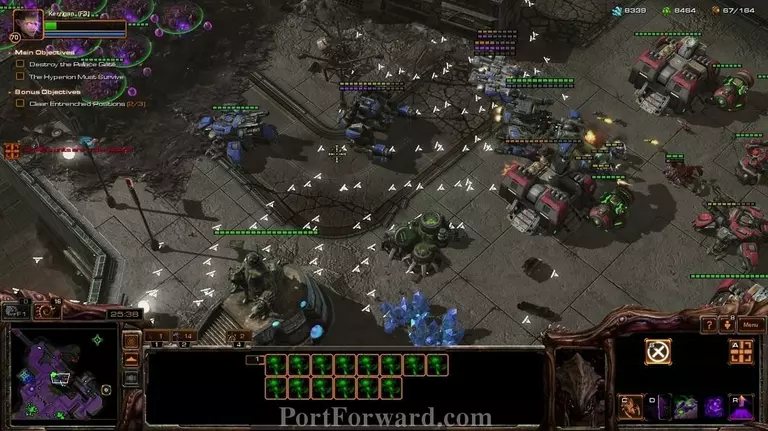
After you're done with Odin, you're going to want to take out the base in the middle of the map.
![Starcraft 2: Heart of the Swarm Walkthrough - Starcraft 2-Heart-of-the-Swarm 897](starcraft-2-heart-of-the-swarm-897-small.webp)
With some help of the hyperion, it shouldn't be hard.
![Starcraft 2: Heart of the Swarm Walkthrough - Starcraft 2-Heart-of-the-Swarm 898](starcraft-2-heart-of-the-swarm-898-small.webp)
After you're finished with the middle, you're gonna want to make an expansion there if you're not using the swarm host strategy, otherwise it's unneeded.
![Starcraft 2: Heart of the Swarm Walkthrough - Starcraft 2-Heart-of-the-Swarm 899](starcraft-2-heart-of-the-swarm-899-small.webp)
After you're done with that, you're gonna want to start pushing for the last optional objective.
![Starcraft 2: Heart of the Swarm Walkthrough - Starcraft 2-Heart-of-the-Swarm 900](starcraft-2-heart-of-the-swarm-900-small.webp)
The base could be a bit tough to break.
![Starcraft 2: Heart of the Swarm Walkthrough - Starcraft 2-Heart-of-the-Swarm 901](starcraft-2-heart-of-the-swarm-901-small.webp)
I used the Drop Pods ability for it.
![Starcraft 2: Heart of the Swarm Walkthrough - Starcraft 2-Heart-of-the-Swarm 902](starcraft-2-heart-of-the-swarm-902-small.webp)
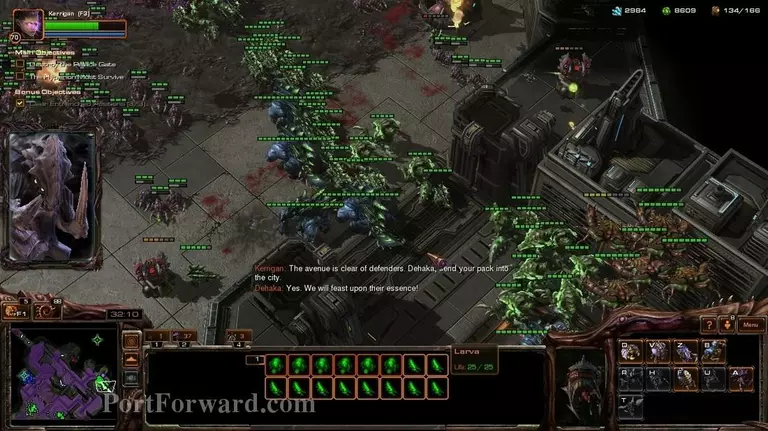
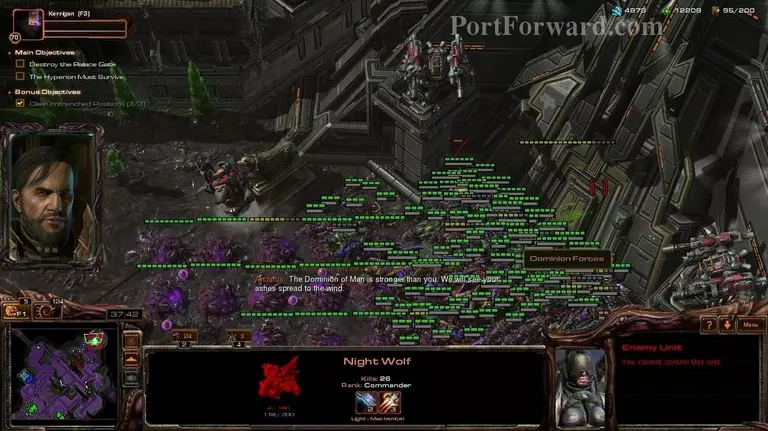
After you're done with it, a huge primal zerg army will attack the castle.
![Starcraft 2: Heart of the Swarm Walkthrough - Starcraft 2-Heart-of-the-Swarm 903](starcraft-2-heart-of-the-swarm-903-small.webp)
Start pushing along with them.
![Starcraft 2: Heart of the Swarm Walkthrough - Starcraft 2-Heart-of-the-Swarm 904](starcraft-2-heart-of-the-swarm-904-small.webp)
It should be easy enough with them at your side.
![Starcraft 2: Heart of the Swarm Walkthrough - Starcraft 2-Heart-of-the-Swarm 905](starcraft-2-heart-of-the-swarm-905-small.webp)
You should be able to end it right here if you're using the swarm host strategy, and maybe a few runs if you're using the others.
![Starcraft 2: Heart of the Swarm Walkthrough - Starcraft 2-Heart-of-the-Swarm 906](starcraft-2-heart-of-the-swarm-906-small.webp)
After you've finished off the base, you should be able to easily take on the castle door.
![Starcraft 2: Heart of the Swarm Walkthrough - Starcraft 2-Heart-of-the-Swarm 907](starcraft-2-heart-of-the-swarm-907-small.webp)
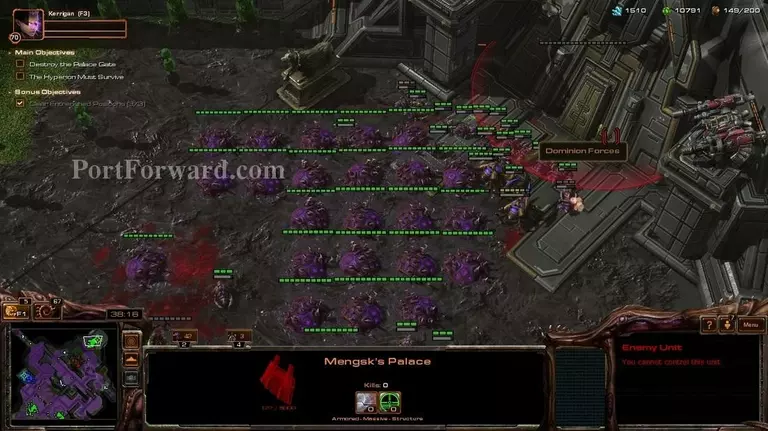
After you're done with that...
![Starcraft 2: Heart of the Swarm Walkthrough - Starcraft 2-Heart-of-the-Swarm 908](starcraft-2-heart-of-the-swarm-908-small.webp)
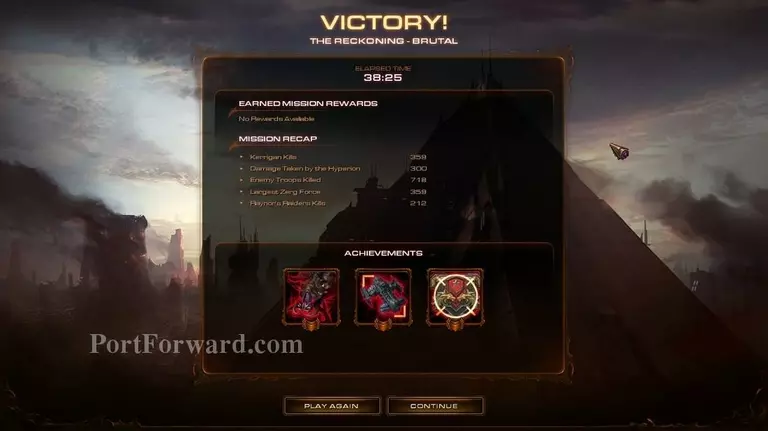
...Congratulations! You just bear Starcraft 2: Heart of the Swarm!
More Starcraft 2: Heart of the Swarm Walkthroughs
This Starcraft 2: Heart of the Swarm walkthrough is divided into 27 total pages.