
This Starcraft 2: Heart of the Swarm walkthrough is divided into 27 total pages.
You can jump to nearby pages of the game using the links above.
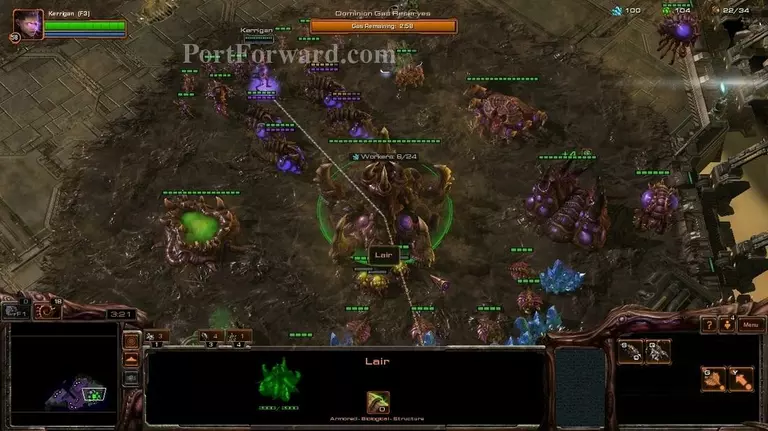
Skygeirr 1: Infested
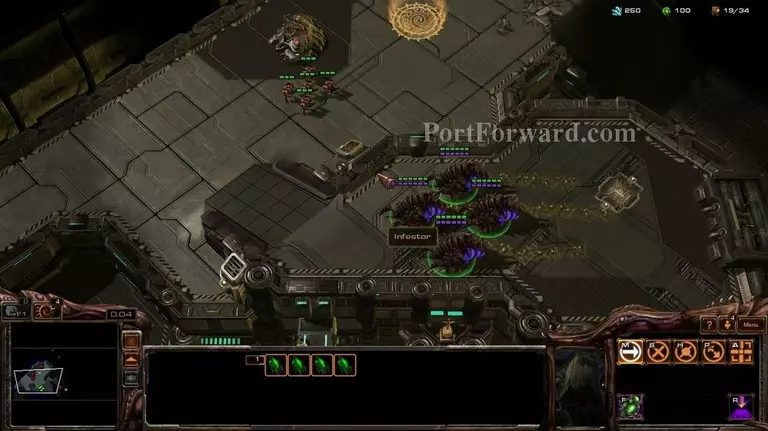
This mission might be a bit hard. You start off with 4 infestors.
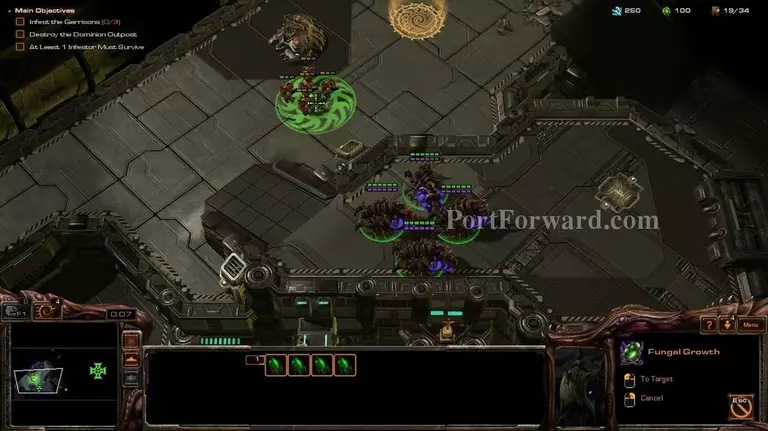
Use your fungal growth ability to kill the marines.
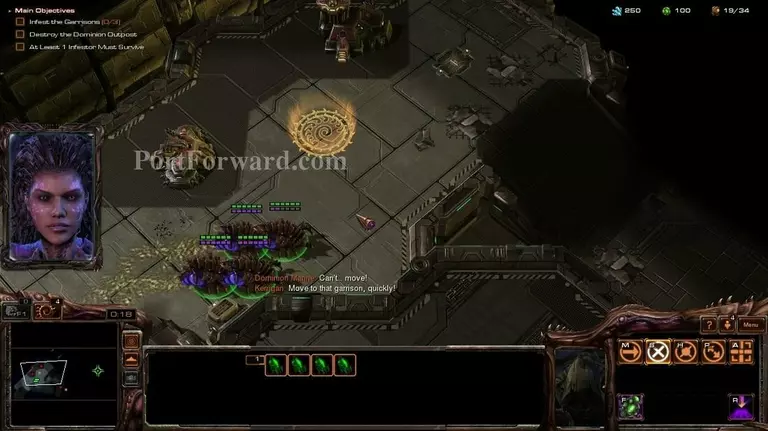
Step into the circle to...
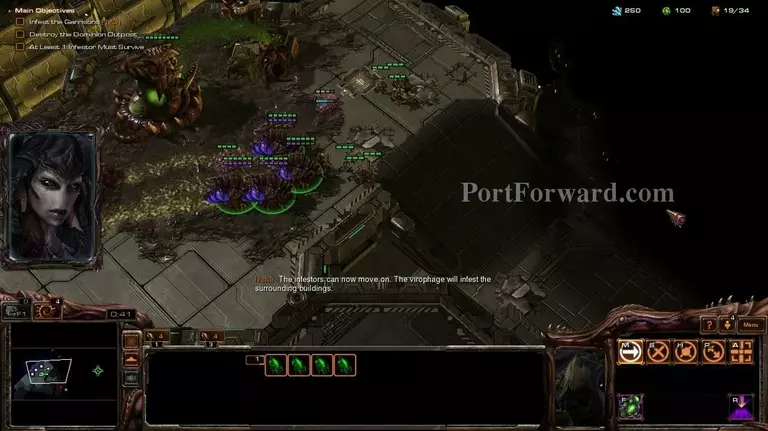
...mutate a virophage that spawns infested terrans.

Your second ability takes control of one enemy unit, permanently.
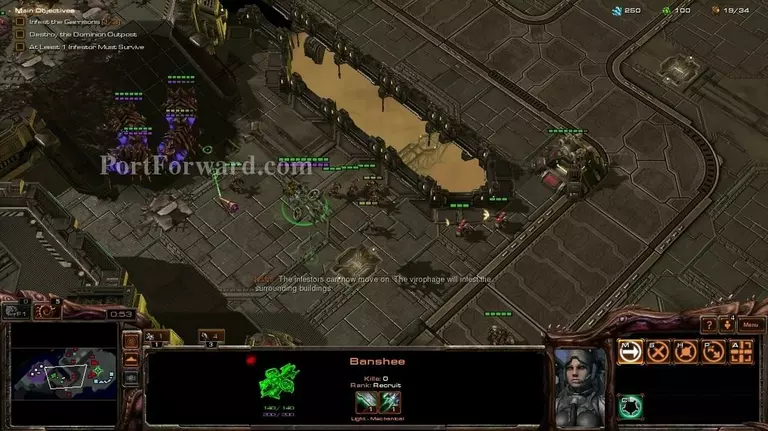
Rather useful on the banshees, since they can use cloak.
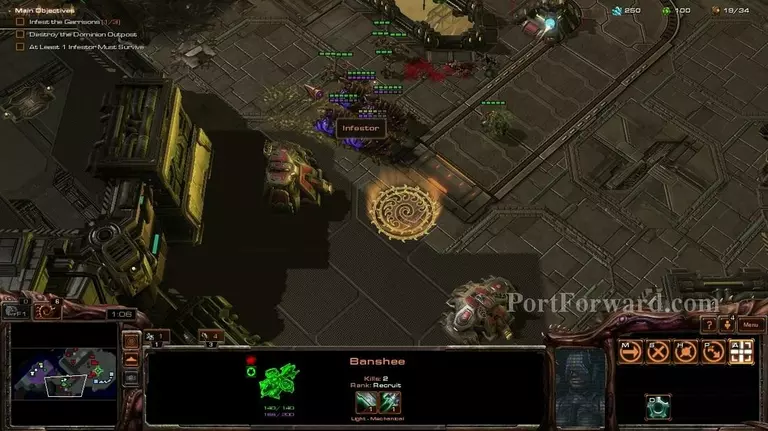
Plant the second virophage.

Push forward with the infested terrans and the banshees.

Use your neural parasite on the enemy diamond backs.

Diamond backs deal a heavy ammount of damage to armored targets.
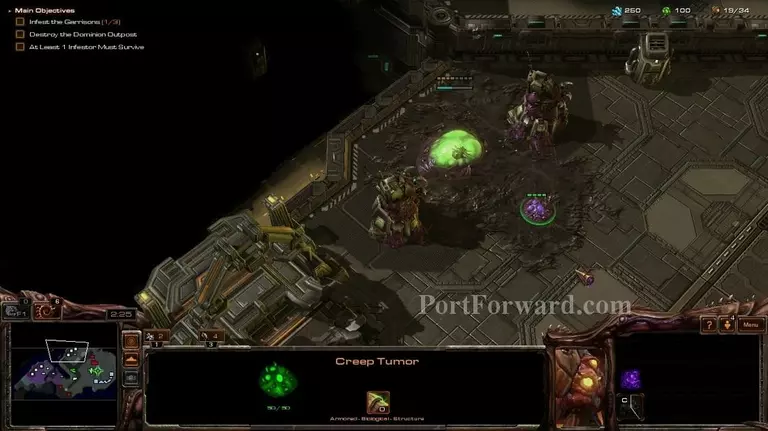
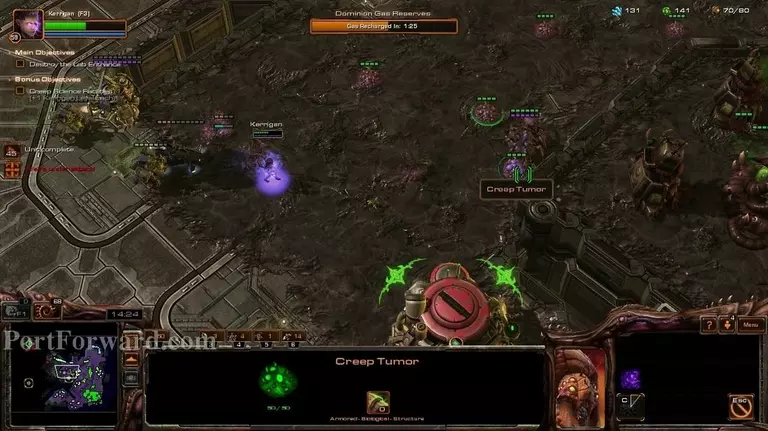
Plant the third virophage. Also, notice that every time you plant one, a creep tumor appears.
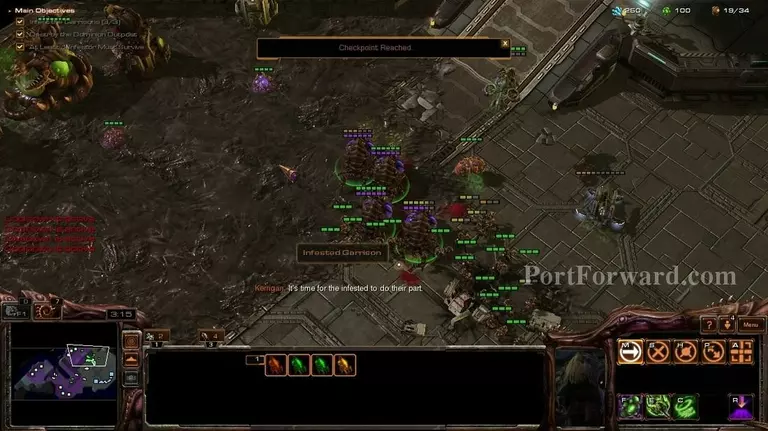
After you plant the three phages and take care of the enemy base...
...you will get a base yourself. Start off with drones, as per usual.
Also, spread that creep, since it will be required for the optional objective.

Try pushing forward, but be careful not to lose your infestors. They cost a lot of gas.
Make a second hatchery and 2 evolution chambers.
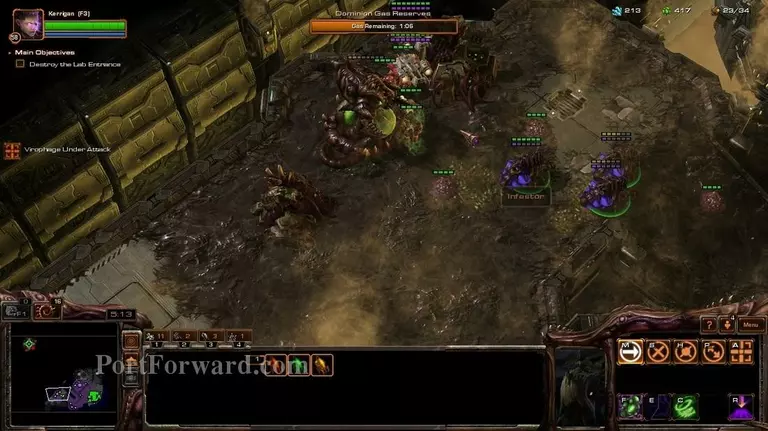
Also, remember to defend the virophages. The enemies will send out squads to destroy them.
You can replant them if you lose them, but it has to be with an infestor. That's why you're not supposed to lose your infestors.
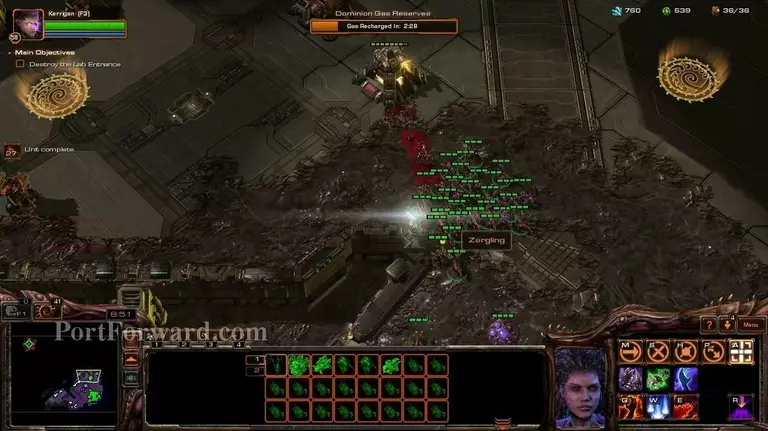
My strategy on this mission was a lot of zerglings.
Push forward with zerglings and kerrigan. You can use the infestors to mind control additional enemy units, but be careful not to lose them.

Get the two virophages on the high ground after you've taken care of the terran there.

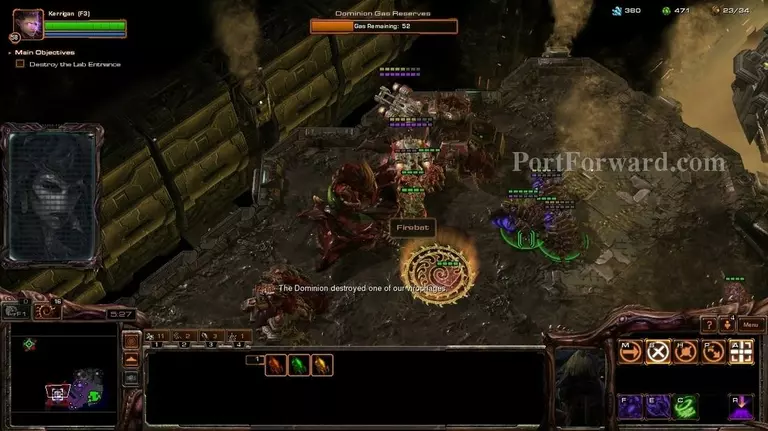
The wild mutation abiliy will be extremely useful, since it gives bonus health to your zerglings. They will die really fast against the firebats and helbats.
Also, make sure to target the siege tanks. They will be a menace.

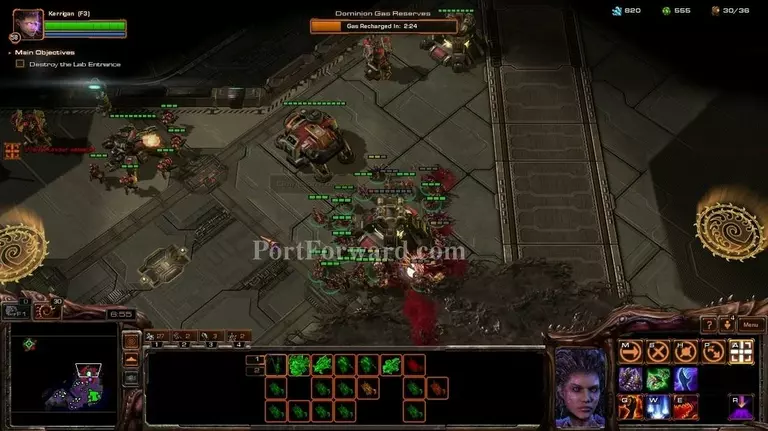
Destroy the terran base to the north. Also, make an expansion over there right after destroying it. I made the mistake of taking it a lot later than i should have.

Make 2 additional hatcheries for more zergling reinforcements, since we will be losing them every second.
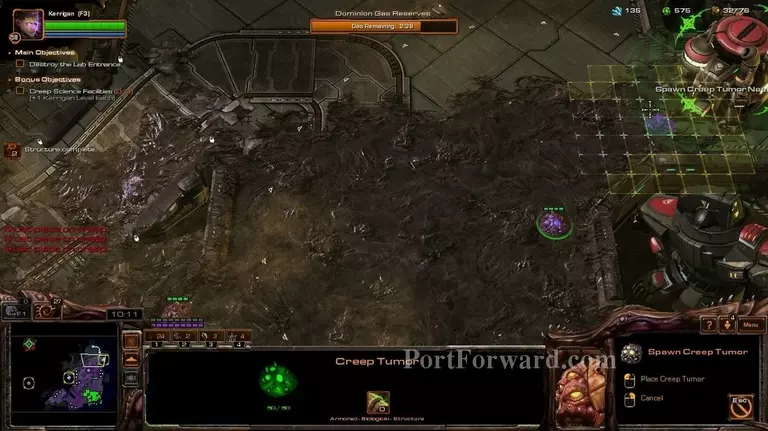
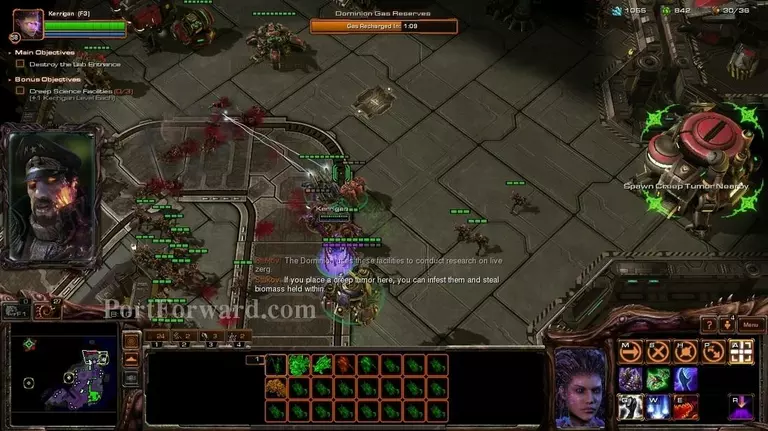
To do the optional objective, you must place a creep tumor next to the science facility.
The terran will attack with everything they got, marines, siege tanks, medivacs, etcetera.
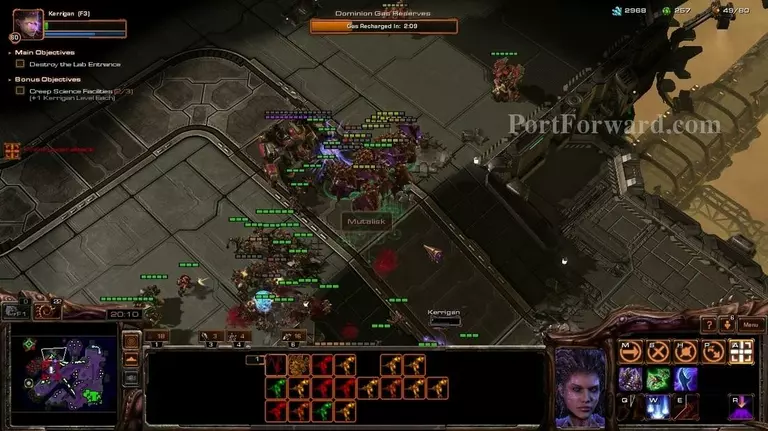
Make a single queen just for the creep tumors. Also, i made the mistake of trying to go for mutalisks, but it was not worth it. Zerglings all the way.
If the infested terran are not attacking, only push forward while your creep is spreading, if the infested are attacking however, push with them.

Your zerglings will die out really fast, that is why you need to make many hatcheries.
When your creep tumors are close enough, go for the second optional objective.
There are more virophage locations to the west, also the optinal objective is that way.
The infested terran will not go that way, which is why you will have to go with kerrigan and your zerglings only.

Destroying the base to the west should be pretty easy, since there aren't many forces there.
There is a virophage far to the north.

"Even with wild mutation they lose their health so fast.
Thing is, thores and turrets counter your mutalisks too hard to use them.

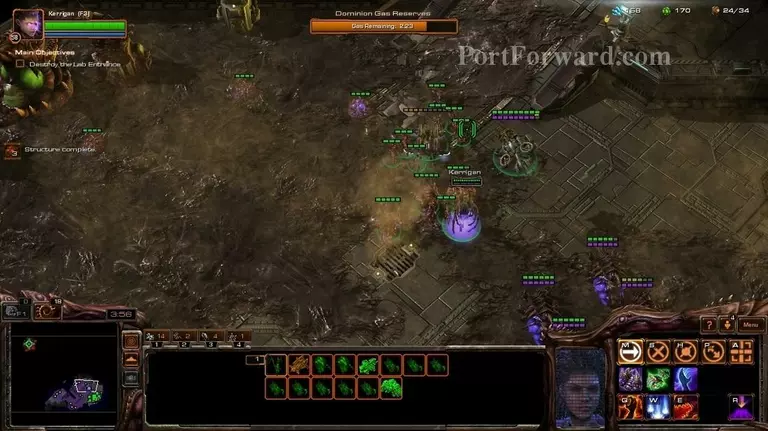
After you have all of the virophages, the expansion and completed the optinal objectives, it will be time to destroy the enemy base.
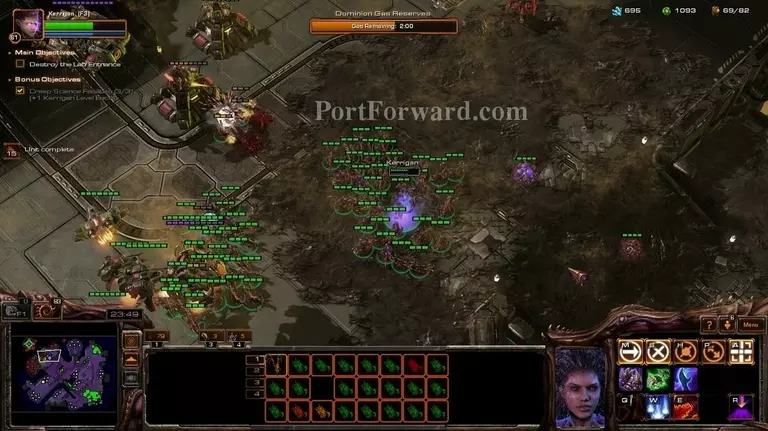
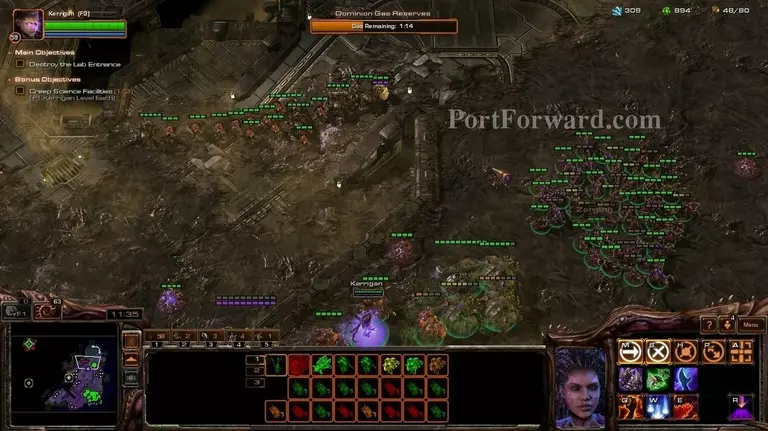
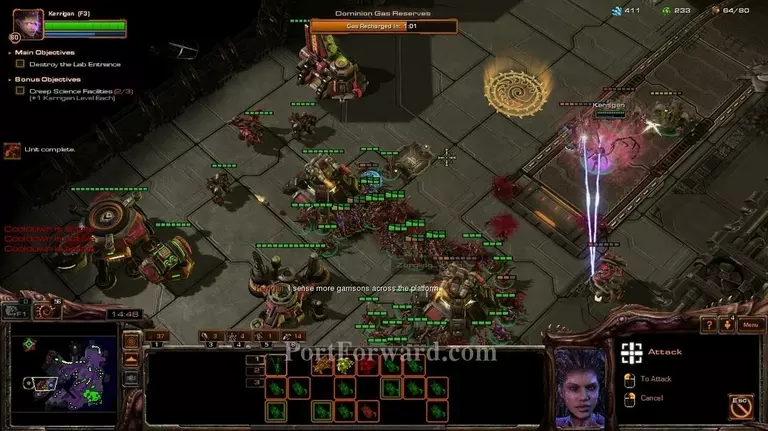
Attack with Kerrigan and the zerglings and when they die, just make more zerglings. They are easy enough to produce in vast ammounts.

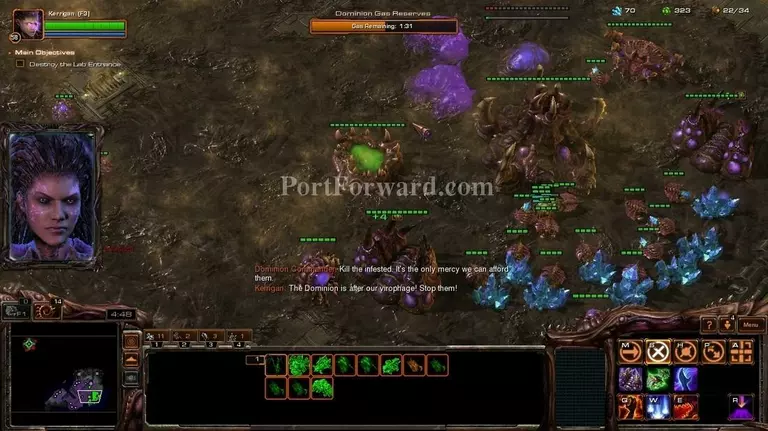
After the infested terrans start attacking again, it's game over for the enemies.

Produce zerglings constantly and attack constantly.

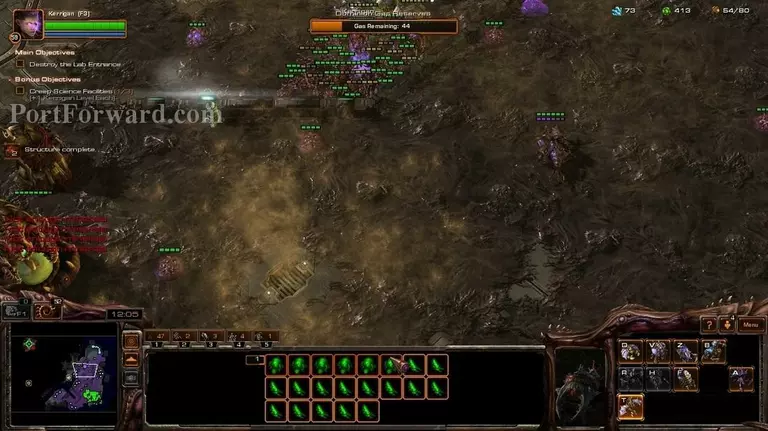
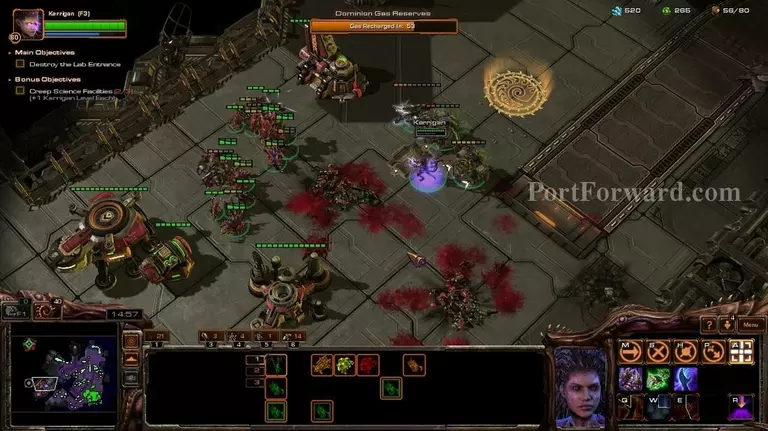
The planetary fortress might be a bit hard to take care of, but after some time...
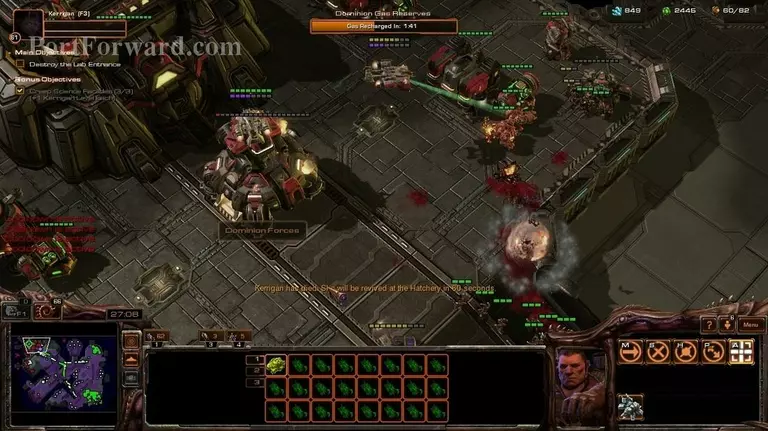
...you should be able to get it to red health. That's when it will start degenerating, making it an easy target.

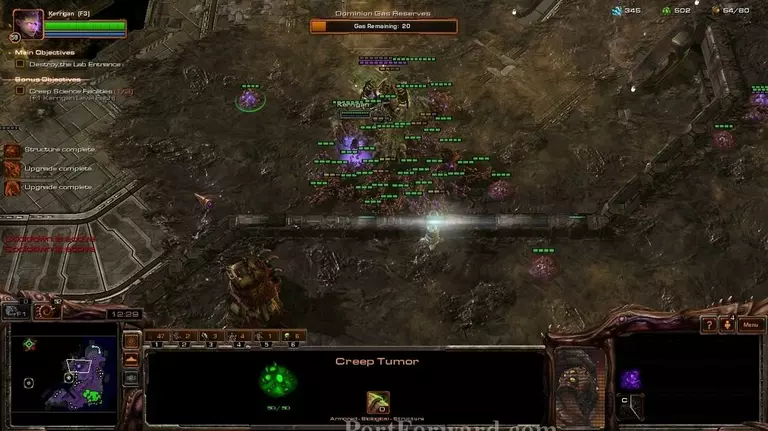
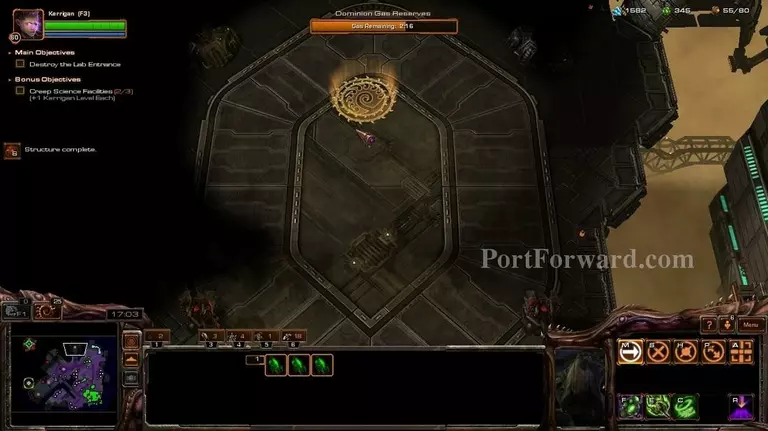
You should be able to define the meaning of the Swarm to the terrans after enough time.

Destroy the lab entrance and the mission will end.
More Starcraft 2: Heart of the Swarm Walkthroughs
This Starcraft 2: Heart of the Swarm walkthrough is divided into 27 total pages.


