This Super Mario Bros 3 walkthrough is divided into 8 total pages.
You can jump to nearby pages of the game using the links above.
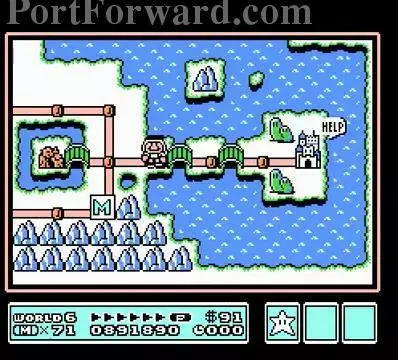
World 6: Ice Land - Iced Land
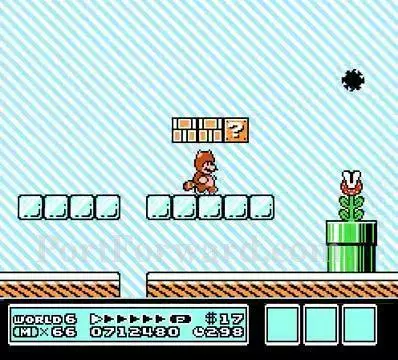
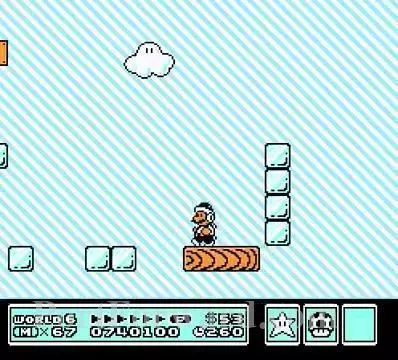
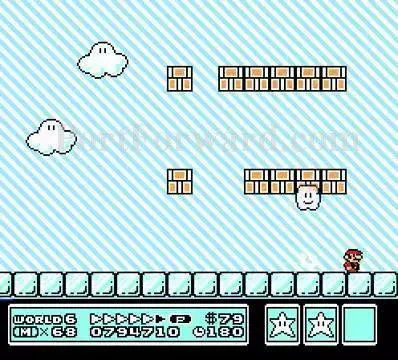
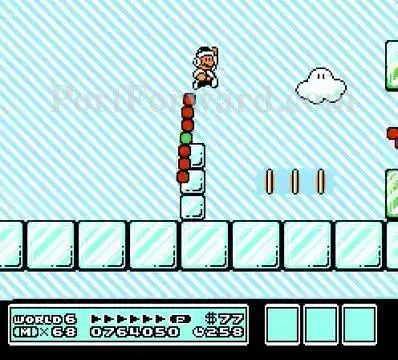
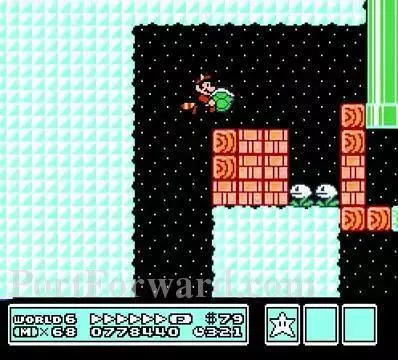
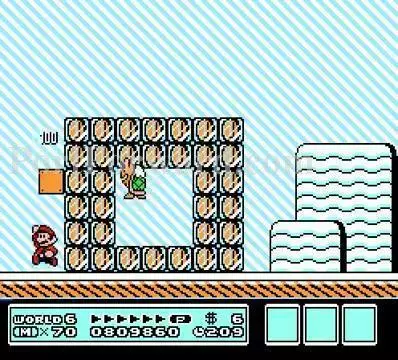
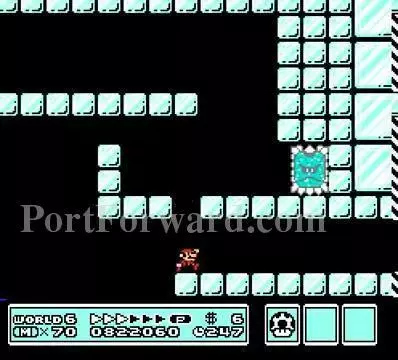
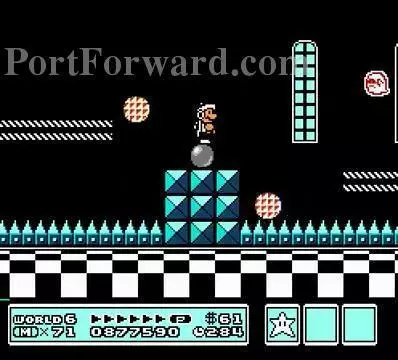
6-1: This level as a whole as you expect from the times you played ice levels in certain games is slippery. If you move at a certain speed, you will slide forward a certain distance after stopping. Meet Ptooie/FuuFuu Pakkun. It will juggle a spiked ball into the air with its breath. Some Ptooies actually walk.
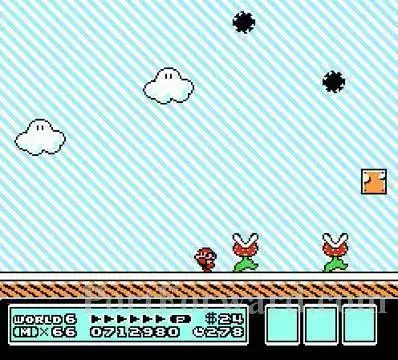
Like these over here. Wait for the spike to be at its highest point to jump safely over the Ptooies.
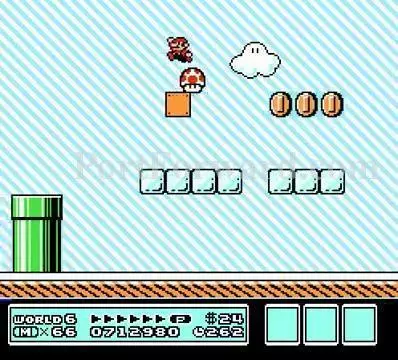
Here is a power-up if needed.
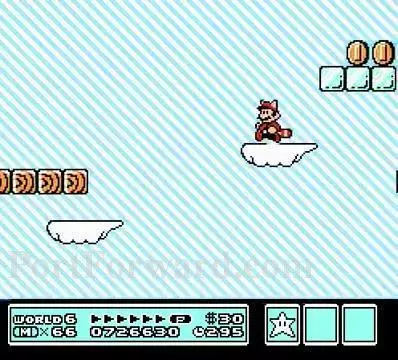
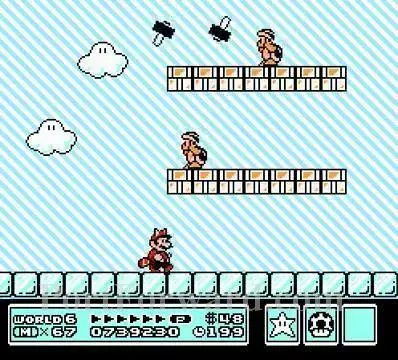
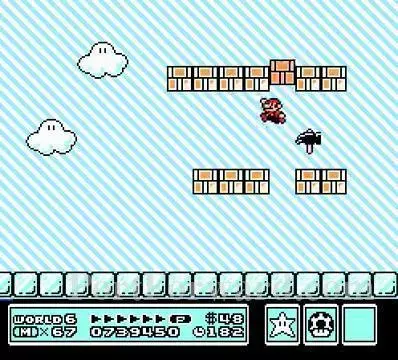
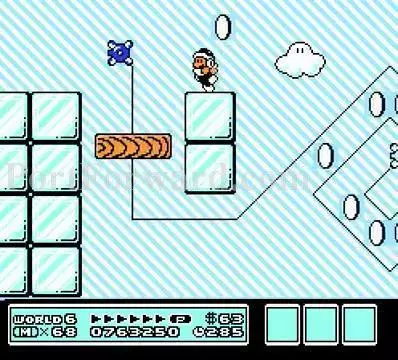
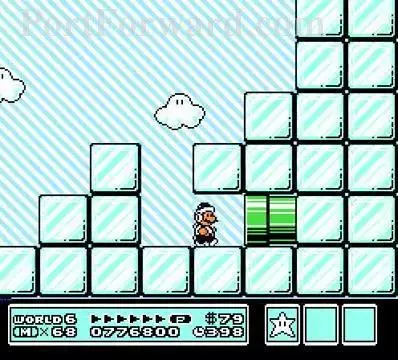
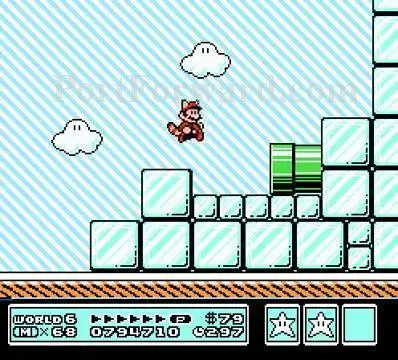
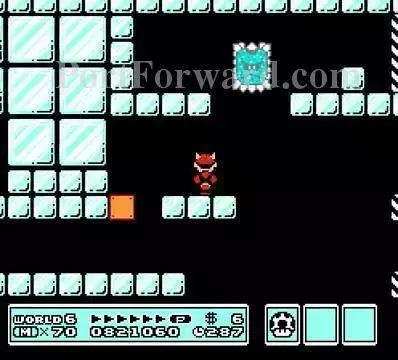
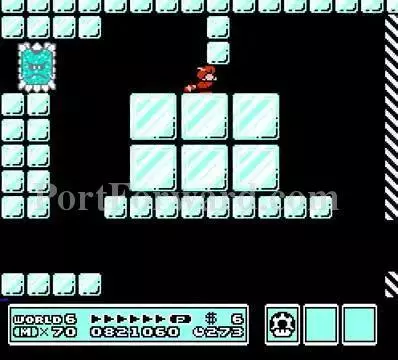
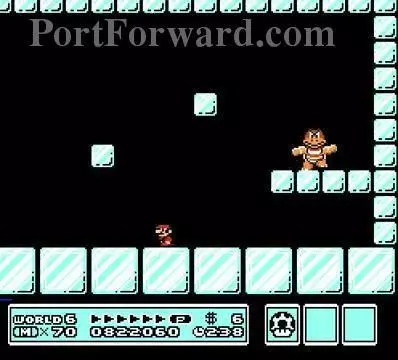
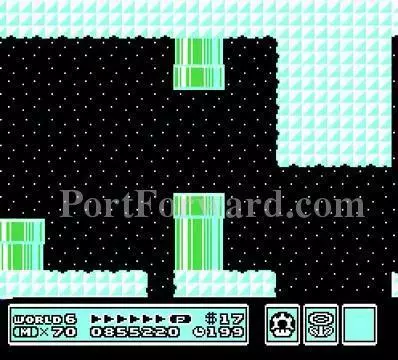
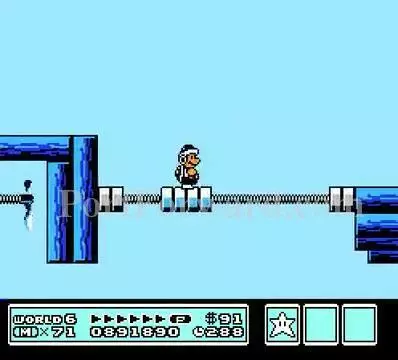
6-2: The level scrolls automatically.
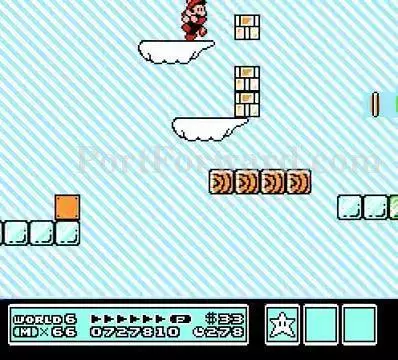
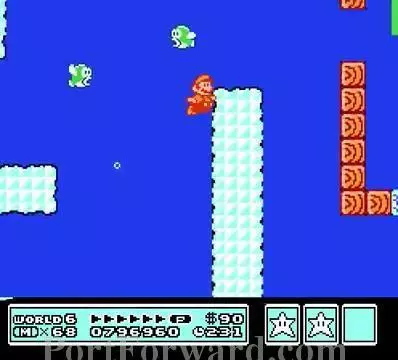
Use these weird glacier platforms to get through tricky walls.
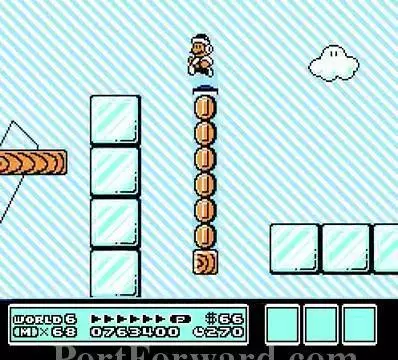
especially one where the platforms are off sync and you have to do some fancy maneuvering to pass this wall.
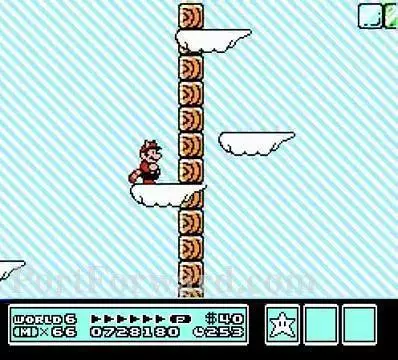
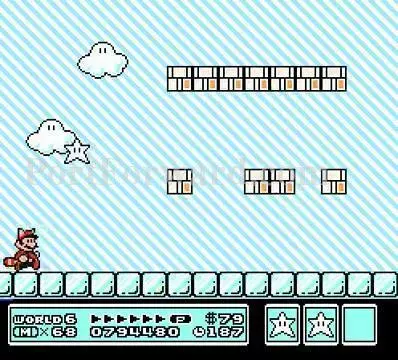
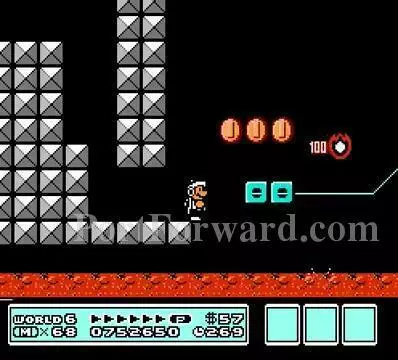
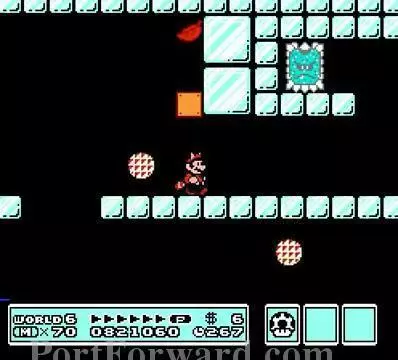
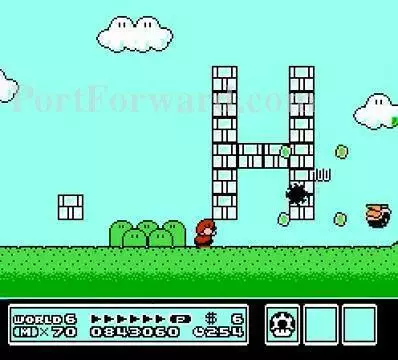
6-3: I started this level as Hammer Mario. The hammers he throws are more powerful than fireballs and kill any enemy that fireballs can't such as Boo Diddley, Hot Foot, Thwomp Traps, and Podobos.
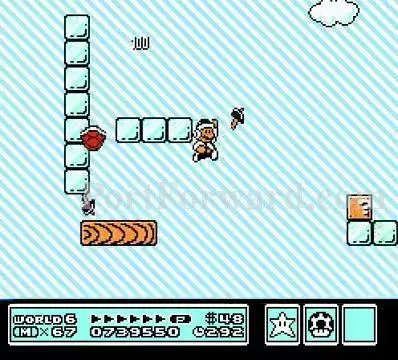
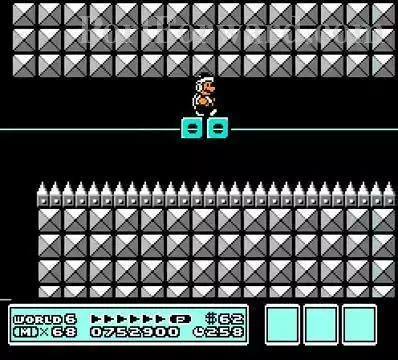
Wait for the platform to start passing under this wall then jump over the wall to land back on the platform.

If you are lucky you can land on a Paratroopa to clear the gap if you mistimed a jump.
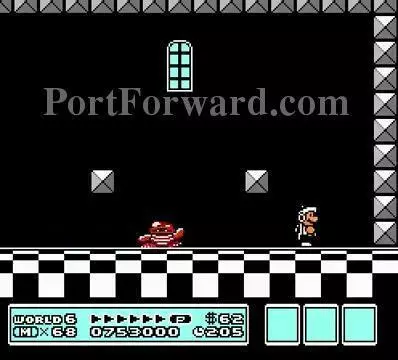
6-Hammer Bros: The fight takes place on slippery ice so time your attacks carefully.
You got a hammer.
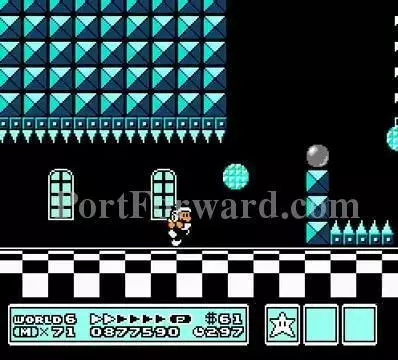
You get a star in another fight.
This one is a Jugem Cloud.
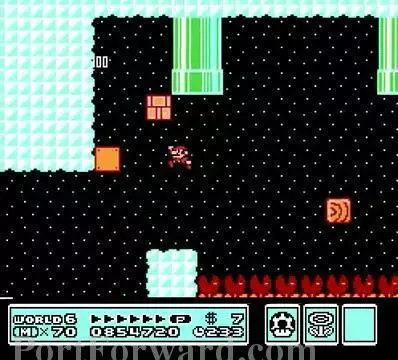
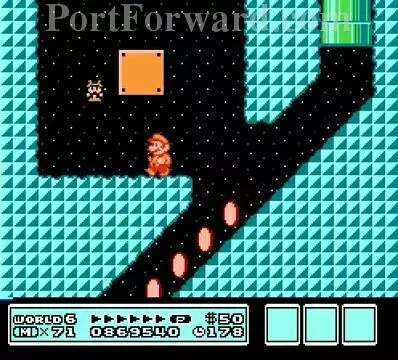
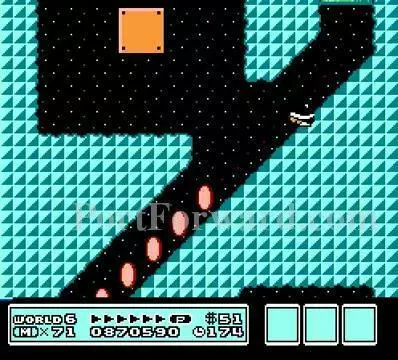
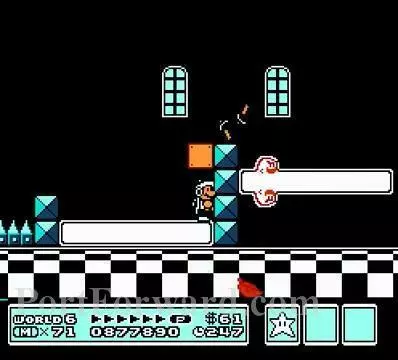
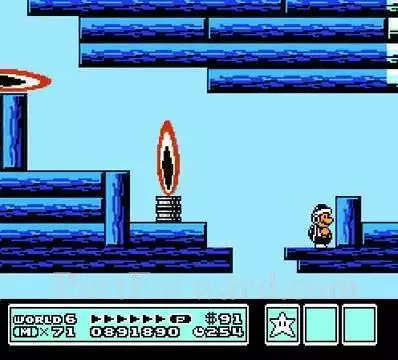
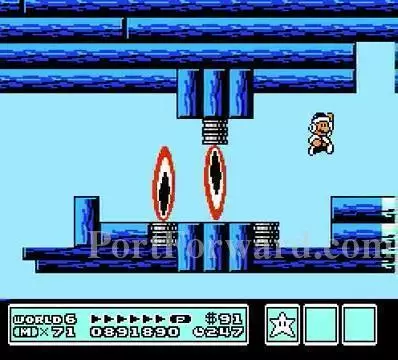
6-Castle: Carefully stand on this edge and chuck a hammer to kill this Podobo before riding up the track.
Stay on this platform to avoid the spikes.
Run and duck under this wall before the Rotodisc hits you.
The hammers make short work of Boom Boom because they do damage each frame they pass through an enemy.
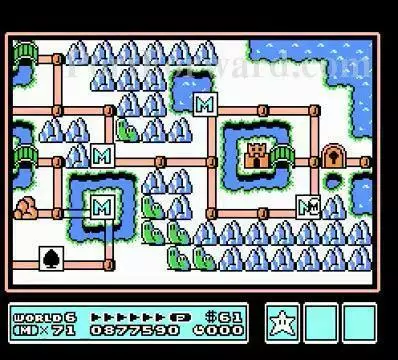
Another view of the map.

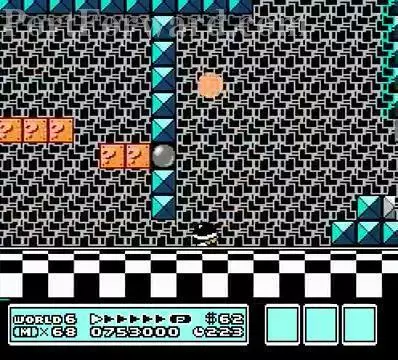
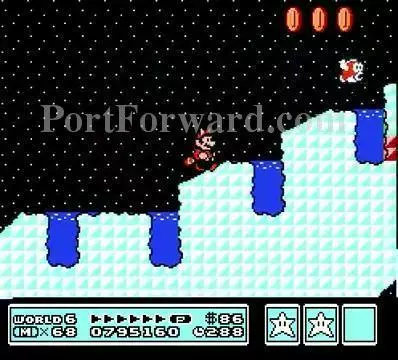
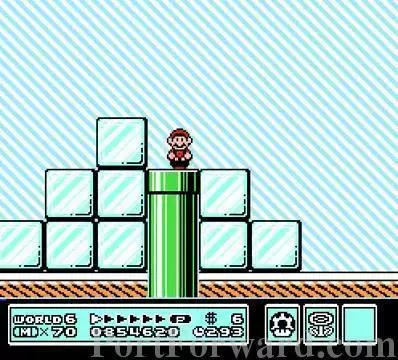
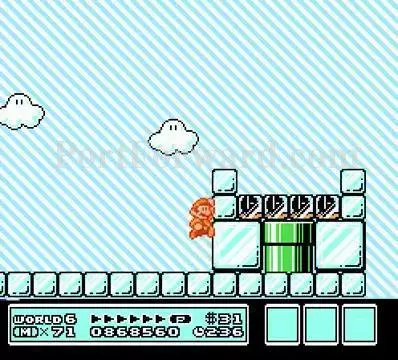
6-4: Wait for the rotary lift to stop moving then use it to get on the icy platform.
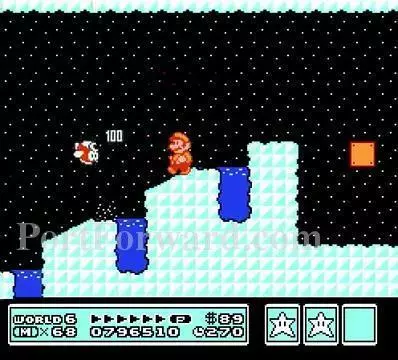
Don't slip now. Wait for the track platform to get on the other side of this wall before jumping on it. It's risky by there is a hidden red note block exactly to the right of the top ice block. Jump on the platform and reveal it then jump to it and go to coin heaven which is similar to the one in 3-7 but no item at the end.
Hot the P-switch and collect all the coins.
The Rotary Lifts are hard to jump over.
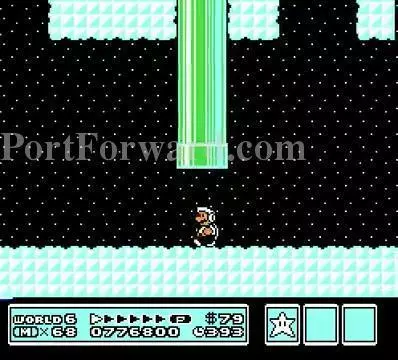
6-5: Enter the pipe at the start of the level.
If you are looking to hold onto Hammer Mario, forget it.
You can only clear this level as Raccoon or Tanuki Mario which is a drag.
You must take a Koopa Shell and fly up to hear with it and take out the Nippers and proceed into the pipe.
6-6: Once again, enter this pipe. Seems there are alot of underground levels in this world.
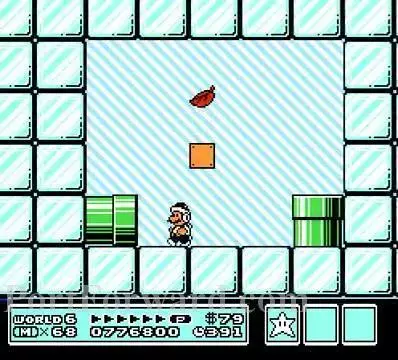
This Cheep Cheeps hops in and out of ponds. If you are already in the pond, it can't hurt you.
Get the Fire Flower and take him out so he won't be a nuisance.
Go for a swim and execute any Cheep Cheeps that get in the way.
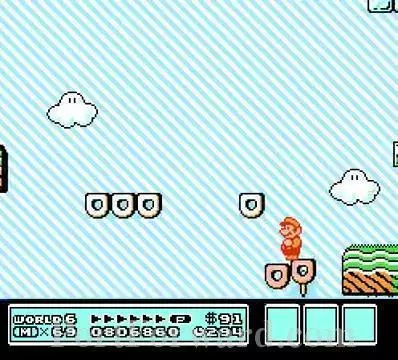
6-7: This level scrolls to the right and in some spots will scroll upward too. There are several spots where you must stay on the Donut Lift and jump off at the last second to get all the coins if you are that greedy.
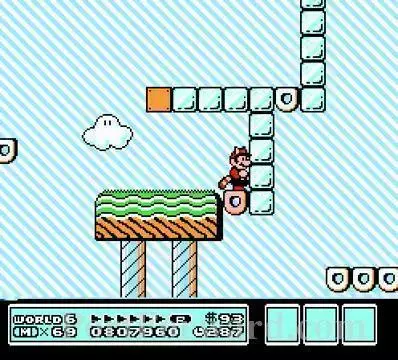
This ? Block has a Super Leaf. Get it and wait for this Donut Lift to fall down and carefully jump to the right but watch out for the Fire Chomp.

I lost my powers from said Fire Chomp otherwise this would have been a Fire Flower that would have been used in the next area.
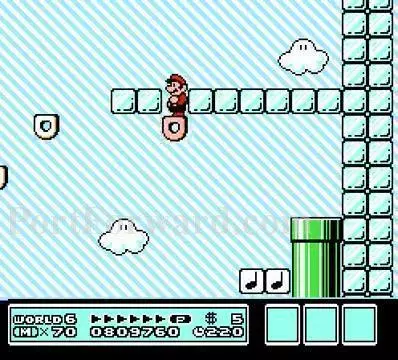
At the end of the scrolling, stand here and wait for it to fall in range and jump to safety.
This is where the Fire Flower would have been used to get all these frozen coins. If you fall off the left side, this hidden coin will help you get back over the coin wall.
6-Castle 2: Wait fot the Thwomp Trap to move past you then blow by it.
Slide under this low wall before the Thwomp Trap gets you.
This is a Super Leaf if needed.
I got hit but you got to be careful when getting down here.
Don't get caught underneath the floating floor on the right in this fight.

6-8: Get the powerup here.

Nippers ahoy. Jump high to get over these.
Throw these ice blocks at Buster Beetle before he hits you first.
6-9: Go down this pipe at the start. If you have Raccoon or Tanooki Mario, you can skip this level altogether and fly over the ice wall. There is a 1-up up there too.

Beware of the Blooper Nanny as you try to get to the high road as much as possible.
There is a P-switch in this brick to turn the Munchers into coins.
Go up this pipe to end the level.

6-10: Bop the brick here for a power-up.
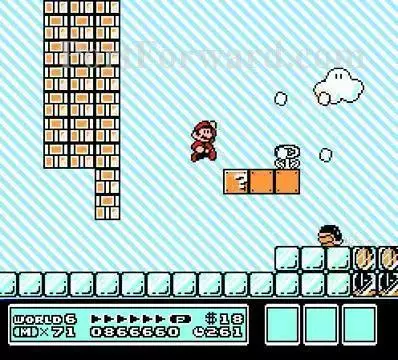
Get the Fire Flower to unfreeze the coins.

Don't unfreeze these Munchers.
Unfreeze these ones instead.
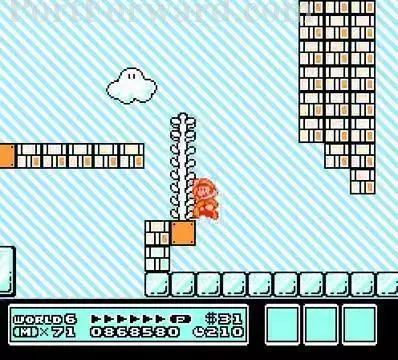
Backtrack and climb the vine and hit the nearby P-switch and enter the pipe left behind by the Munchers.
You got your Hammer Suit back.
Hammer Mario can't slide down the slope.
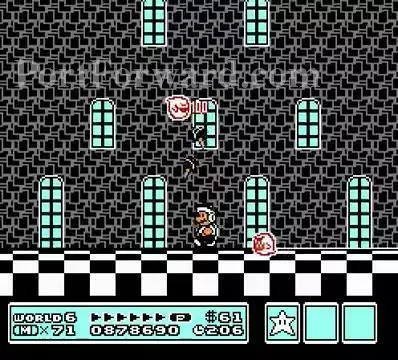
6-Castle 3: Duck under the Rotodisc if it gets too close.
Lure Boo Diddley to you then kill it with a Hammer. Beware that platform will make you move and can dump you into the spiles.
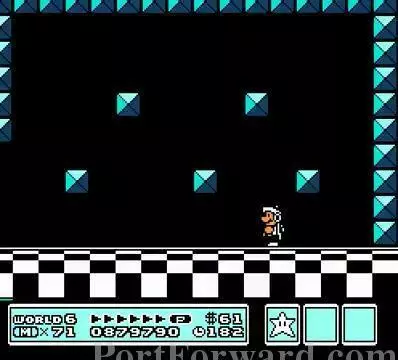
Stretch is no match for your hammers either.
The floor will scroll up so clear out the Boo Diddleys if you can.
Defeat Boom Boom again.
Final map view
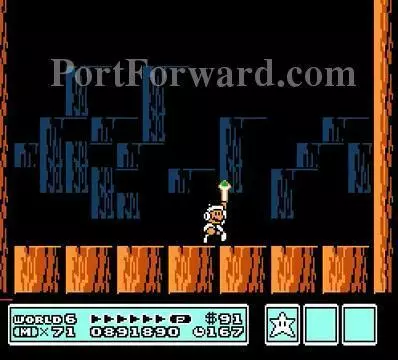
6-Airship: Jump on the bolt to make it move right.
Don't fall into the gap.
The level moves too slow so you have to be patient.
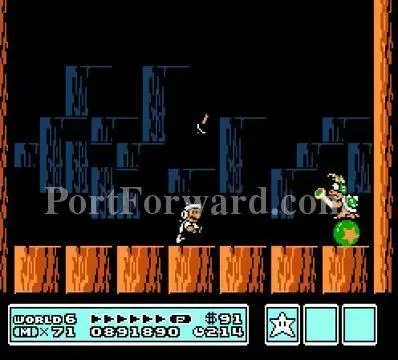
Lemmy Koopa runs around on a bouncy ball. Hammers don't do damage to him at all.
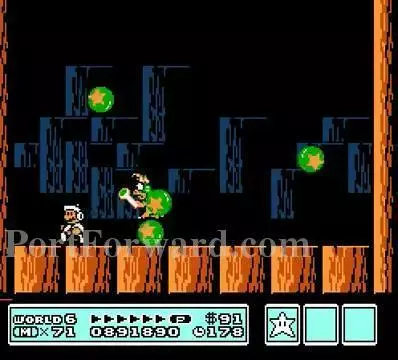
He throws out bouncy balls that can be jumped on. As long as they don't land on you, you are safe.
Ice Land/Iced Land complete.
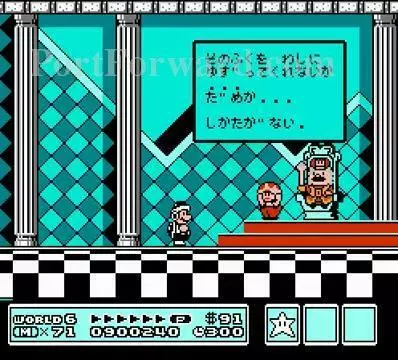
Japanese: sonofuku wo washini yuzuttekurenaika... damega... shikataganai.
English: Hey, you! How about lending me your clothes? No dice?! What a drag.
More Super Mario Bros 3 Walkthroughs
This Super Mario Bros 3 walkthrough is divided into 8 total pages.