
This Super Metroid walkthrough is divided into 14 total pages.
You can jump to nearby pages of the game using the links above.
7a. X-Ray Scope to A Lot of Items

Remember how I said this is a non-linear game? Many more optional items have now become accessible. This walkthrough will guide you toward some of the more useful ones, but also includes a route which goes straight to the next area from here.
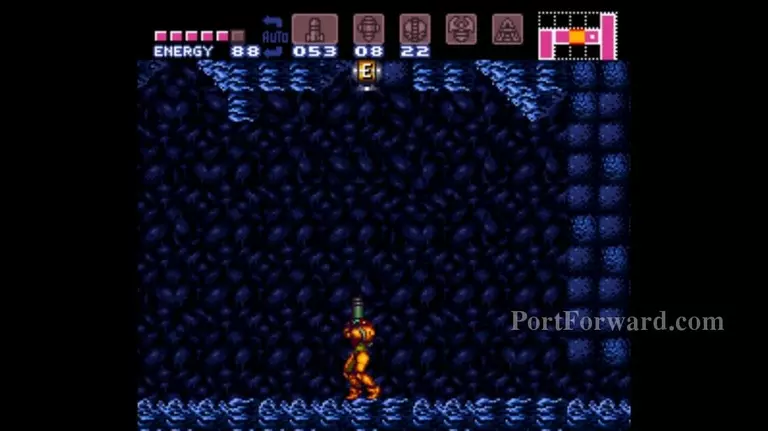
Anyway, to collect a bunch of fun and helpful items, go left from here. Keep going left until you get to the pink room. We're heading all the way back to the left entrance of Brinstar.
Climb up the right side of the room, then go left and enter the blue door.
One room left from here and we'll be back at the entrance. Once you're there, go to the upper right door.
Use your increased running speed to dash across the top platform. Go into the door and collect another reserve tank, then go through the pipe at the bottom of the room to get two hidden power-ups. One guess what they both are.
Yup.
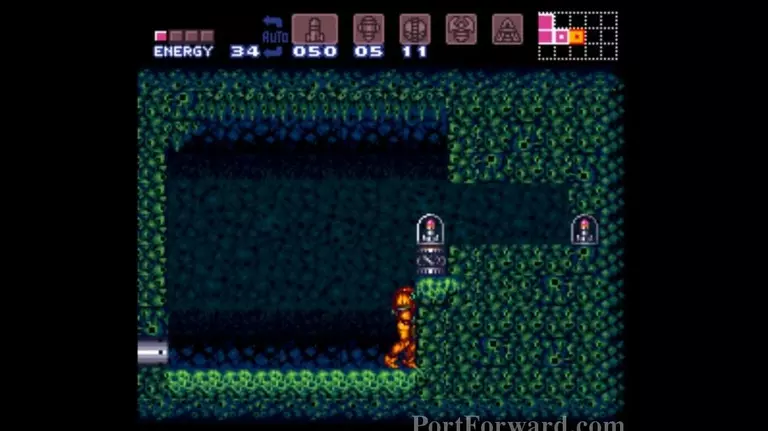
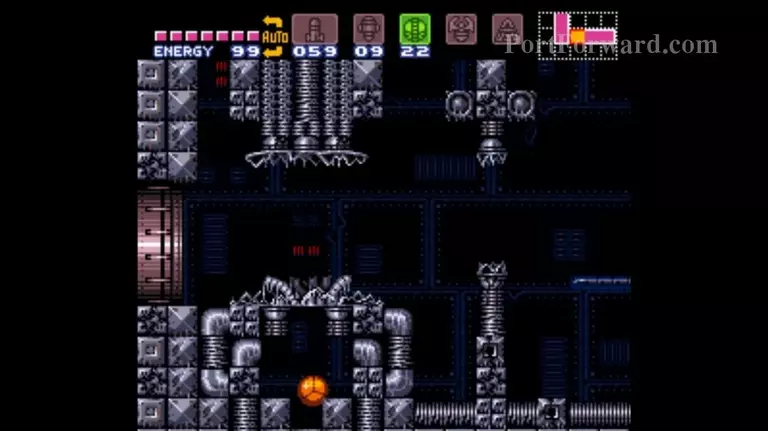
To exit the room, shoot out the ceiling, get 5 more super missiles, then fall down toward the other door. But don't exit yet: you don't want to miss the missile pack underneath the first crumbling floor section.
Use some sort of item to get down through here.
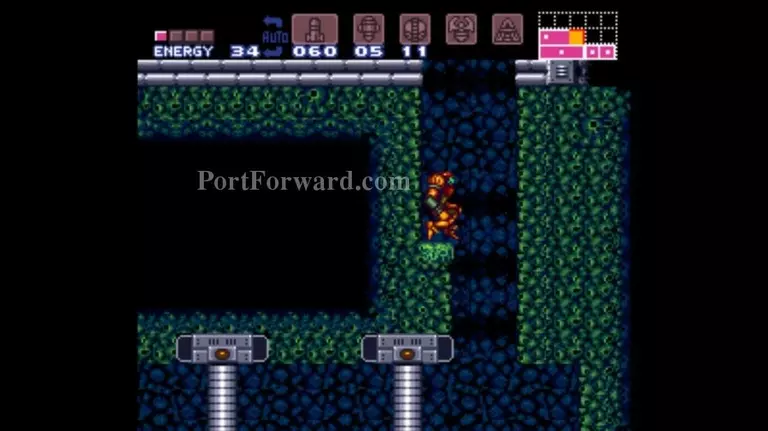
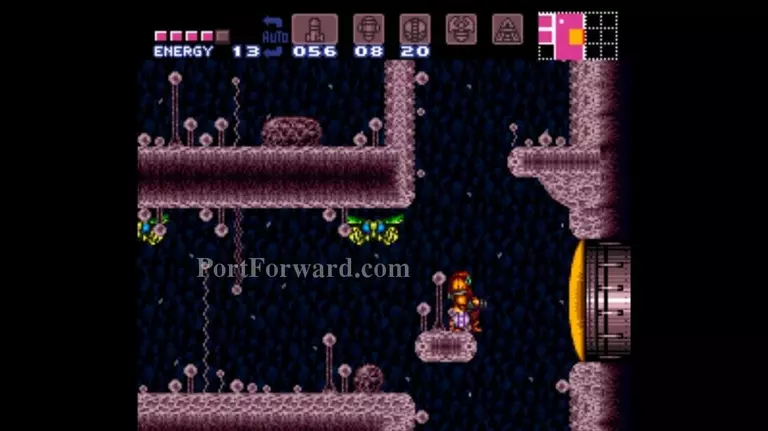
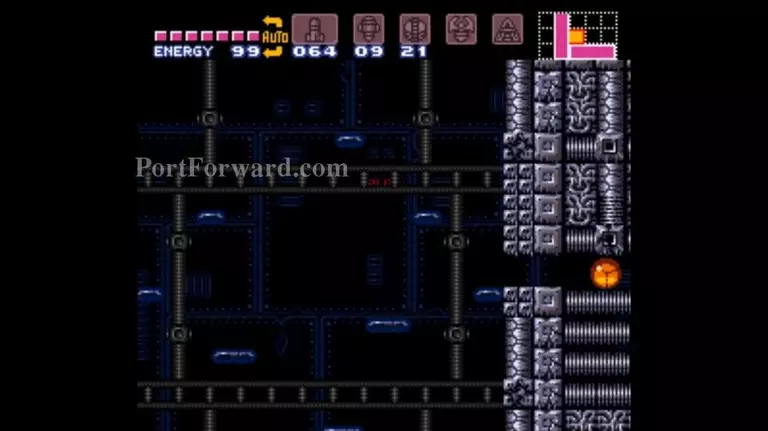
You'll get to a narrow metallic hallway with an energy tank waiting at the end. You should probably run blindly toward it. It'll be fine.

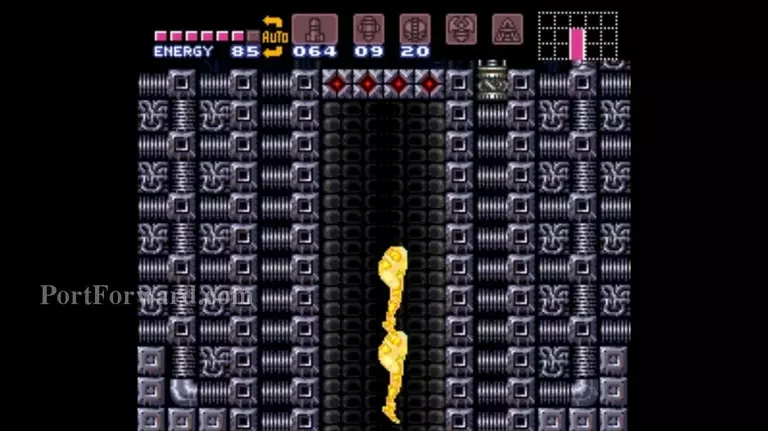
Jump over the gap, get the super missiles inside the green door, and then you're safe to fall down this hole. There's a save point to your left, but if you've saved recently, I would actually avoid it. You'll see why in a second.
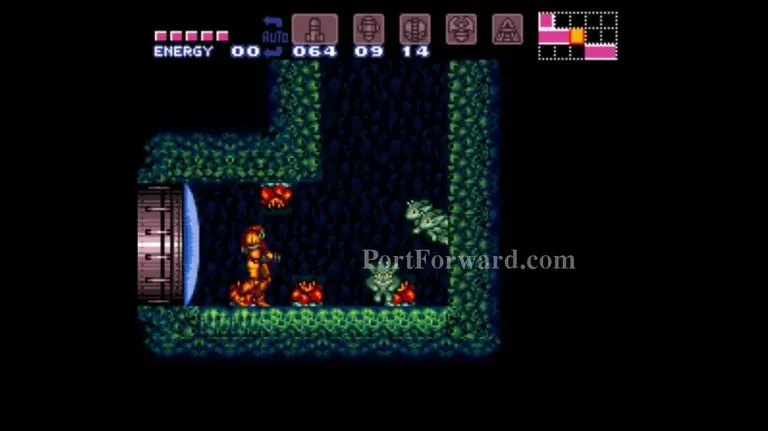
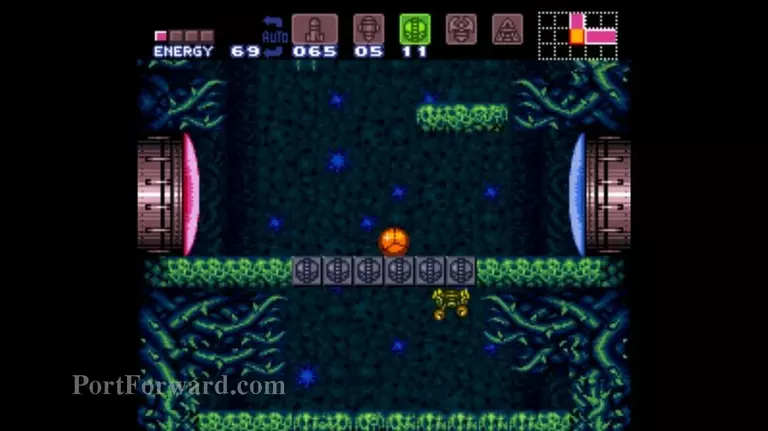
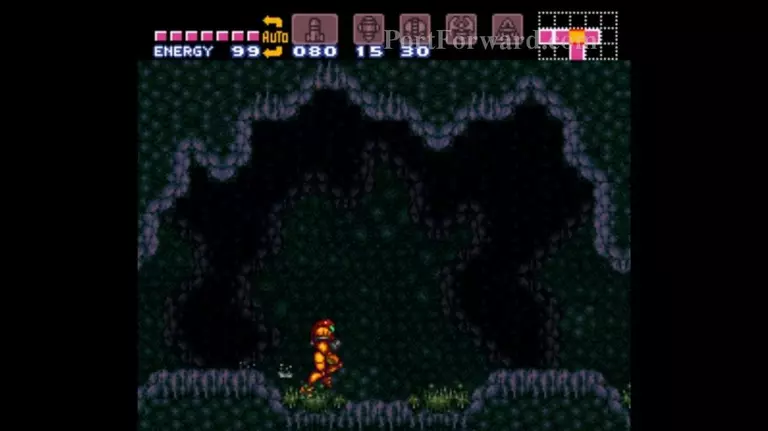
These cute little Etecoons are here to teach you about one of the game's more advanced techniques: wall-jumping. Run and jump toward a wall, then push the opposite direction and jump again. There will be a split-second when Samus appears to be perched on the wall. This is when you can wall-jump.
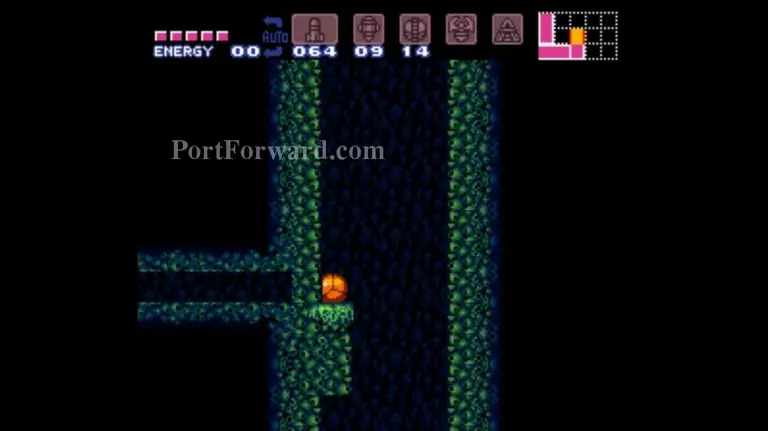
The reason not to save in the previous area was that if you can't wall-jump even once, you're actually trapped down here. It's a bit of a harsh lesson (which, personally, I liked). Thankfully, you can exit the room easily once you reach this ledge, but there are power bombs waiting at the very top. (To get them, jump or wall-jump toward the top right of the room, then change to a ball in midair.)
Go right and continue this way. In the larger pink room, go right, fall down the ledge, and you should see a series of grapplable (good word) blocks up and to your left. Use them to reach a missile pack.
Use a power bomb and X-ray radiation to find this secret entrance. Inside, kill things, then scan the floor to find another secret path which leads to more power bombs. On the way out there's one of those pipes that rises out of the floor.
Now, back inside the large pink room, enter this door around the middle of the right wall.
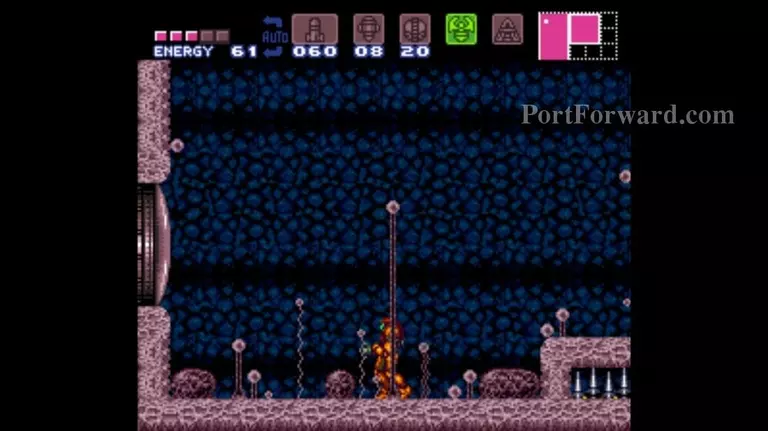
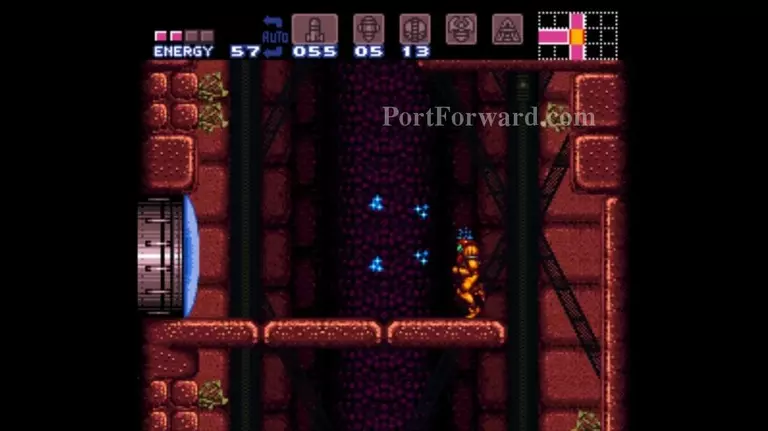
Use this long, uh, spindle? to line yourself up with the grapple block above. Wave beam lets you shoot open the upper right gate, then you can grapple swing yourself up there. Your prize for this acrobatic display is another energy tank. Use a rising pole to get back out.
Next, go through the door in the bottom right of the large pink room. Back in this area, jump to the upper right ledge and open this door.
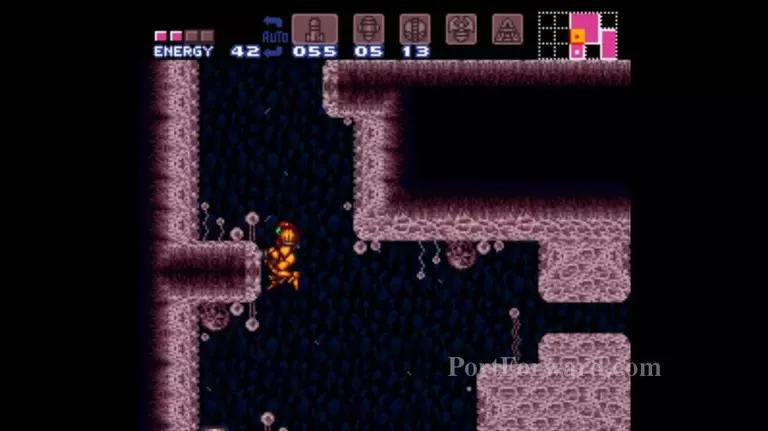
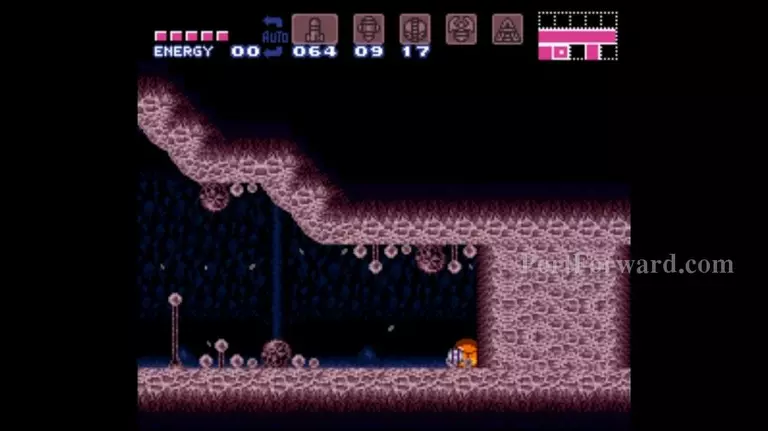
Kill more things, bomb the wall, get power bombs, power bomb another wall. You'll end up in a very familiar spot. (The camera is gone, for some reason.)
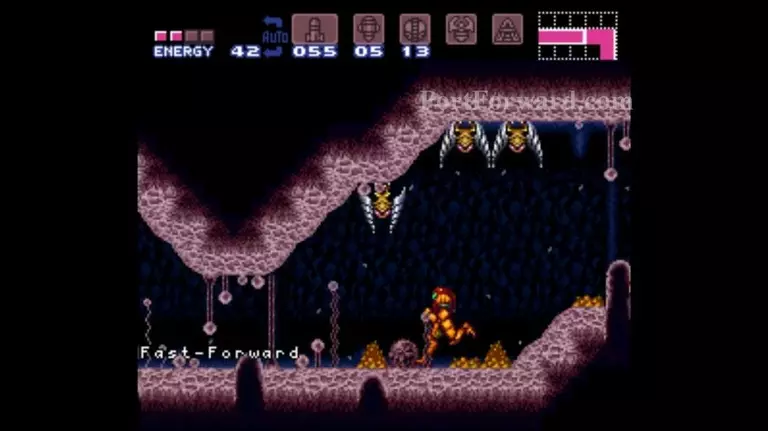
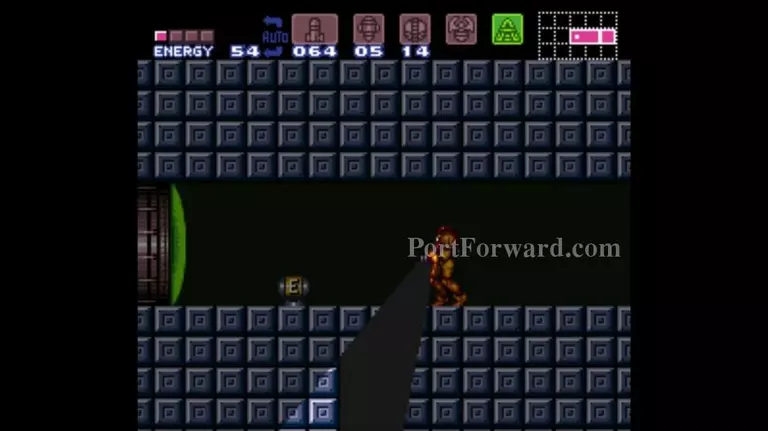
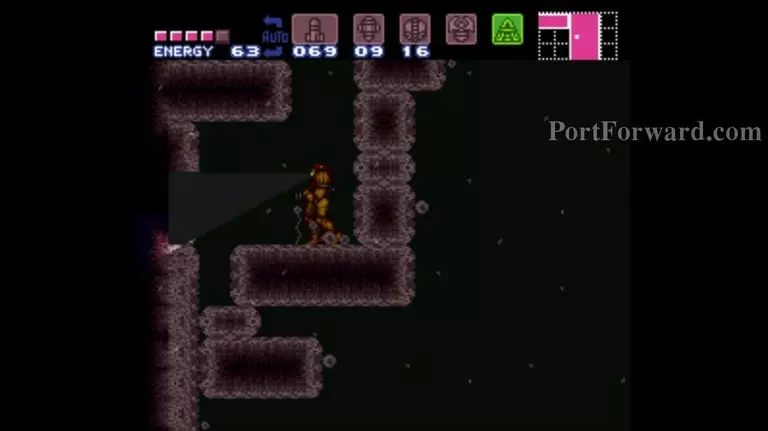
Head right all the way, then get this annoyingly placed energy tank. Most items in this game are hidden in reasonable spots, but this one is just...why would you even check here?
Go up the elevator. There's a missile pack hidden below the spot where Samus killed Mother Brain in the first Metroid.
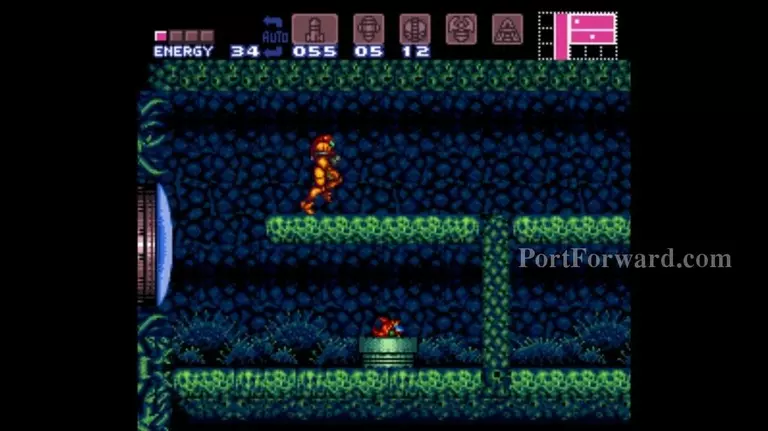
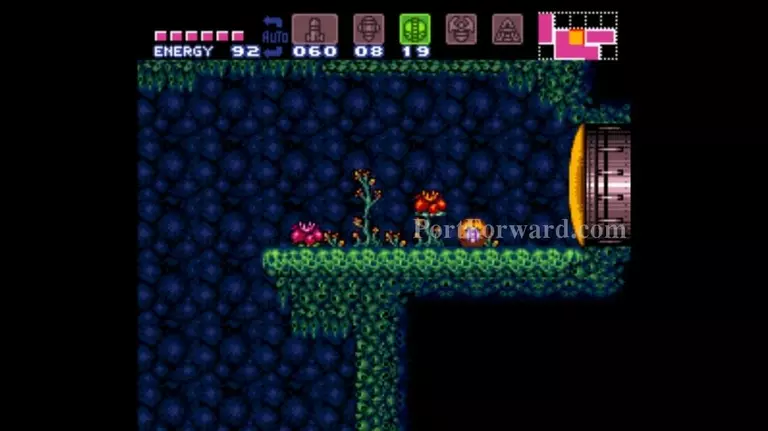
This spot in the next room is bombable. Inside, freeze the goo balls (Boyons), then run across them. Before you get to the end of the room, crouch.
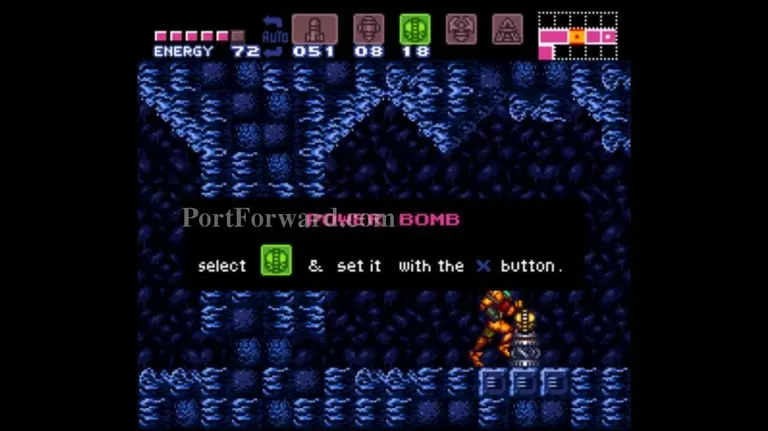
Reminder: crouch while running with speed booster to charge a shinespark. Once charged, press jump + up/sideways/aim upward to fly off at high speed. Shinesparking drains HP but is the only way to access certain (optional) areas. Also, it looks really cool.
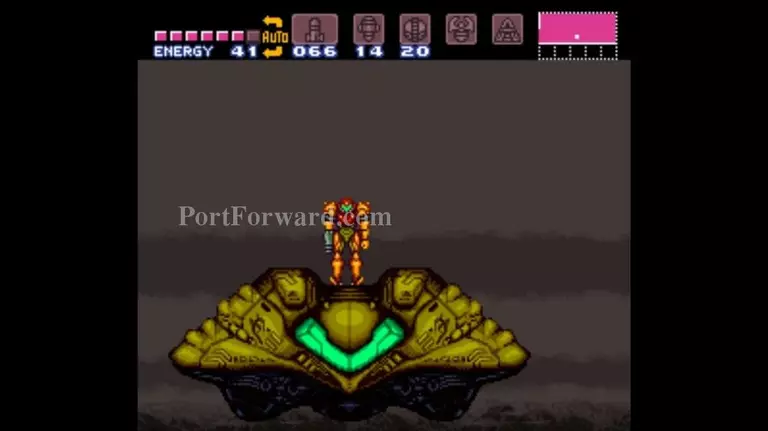
Use grapple to get out of here, then keep heading up. Again, the ship is right here, so you might as well use it. Continue right until you get to...
This room.
More Super Metroid Walkthroughs
This Super Metroid walkthrough is divided into 14 total pages.


