This Super Metroid walkthrough is divided into 14 total pages.
You can jump to nearby pages of the game using the links above.
9. Maridia Entrance to Maridia Exit
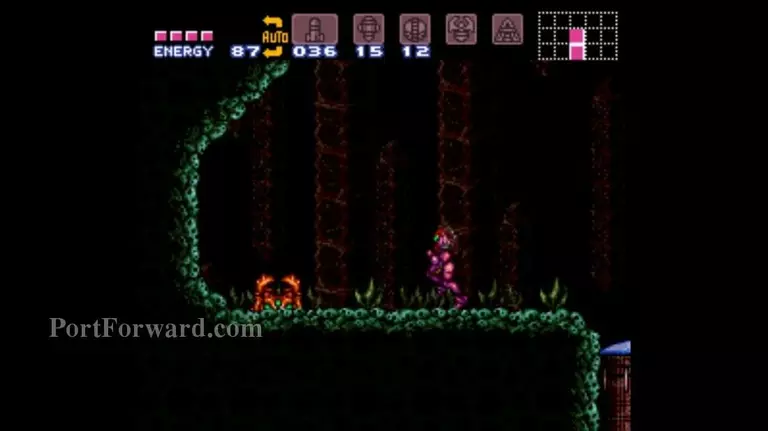
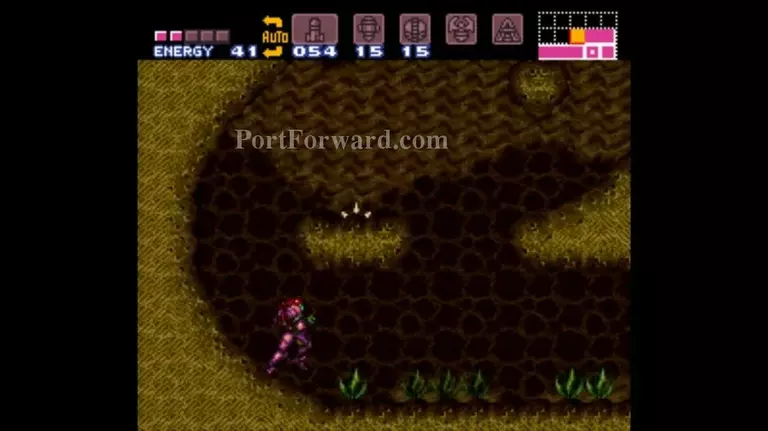
Use the conveniently placed ledges and platforms to ascend this room. Go through the door at the very top.
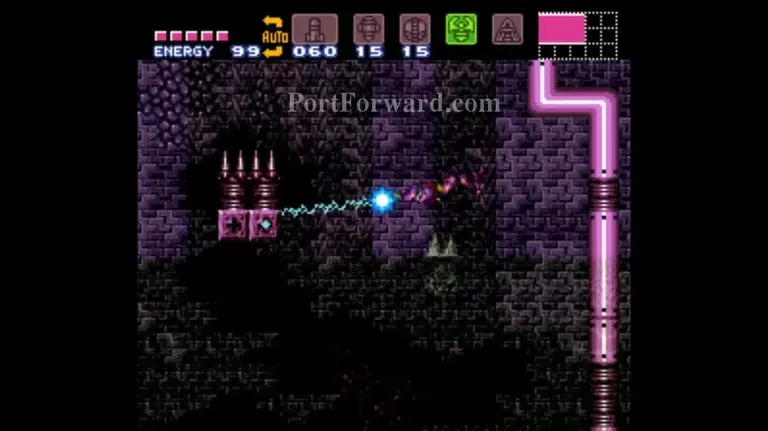
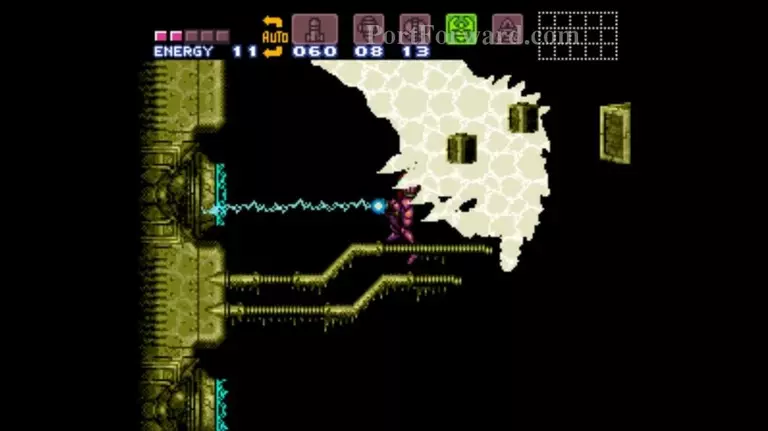
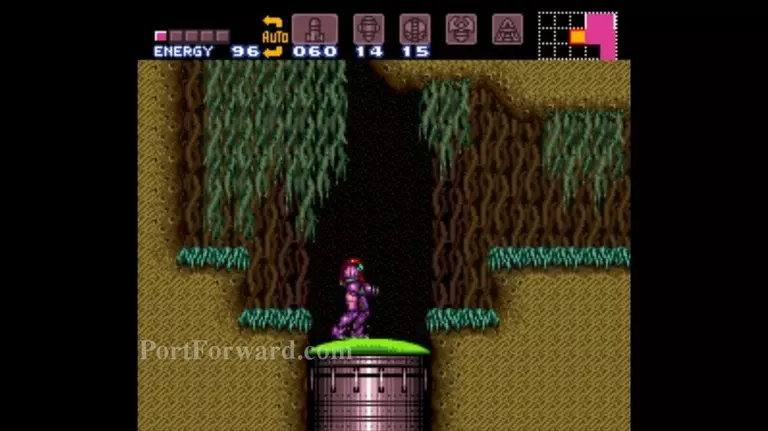
You'll have to grapple all the way across the top of this room. Good luck. If you fall, just go back to this starting point. Also, you can run and jump off a hill just below this door to reach the middle platform and save yourself some stress (but don't go in the door above--it only leads out of Maridia). Your goal is to get to the top right of this room.
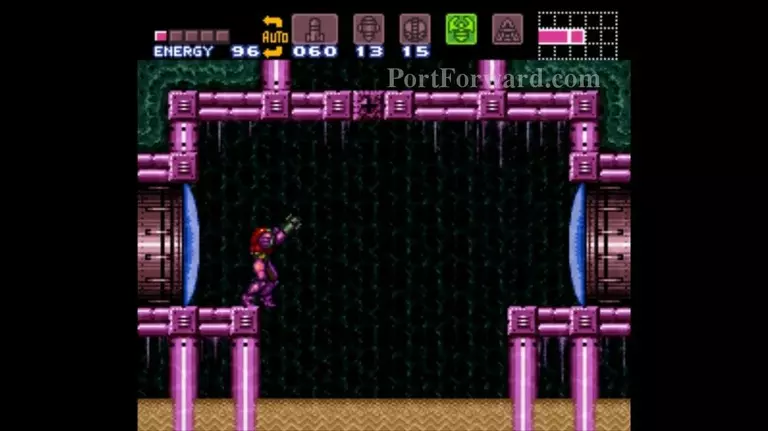
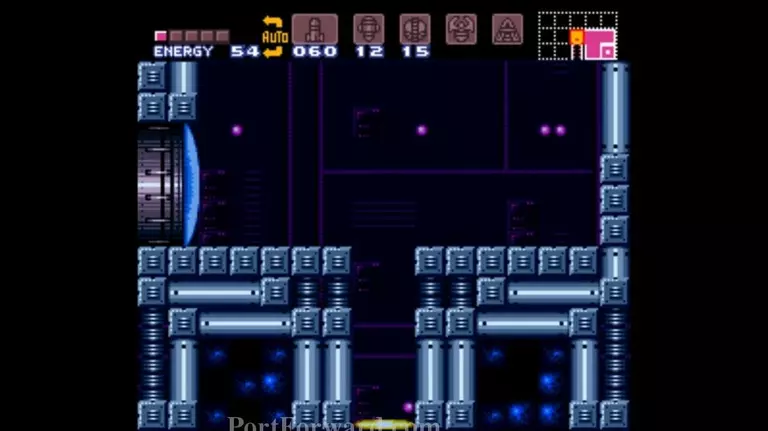
Down and to the right. Then power bomb the floor, fall down, and there'll be a save room on your left.
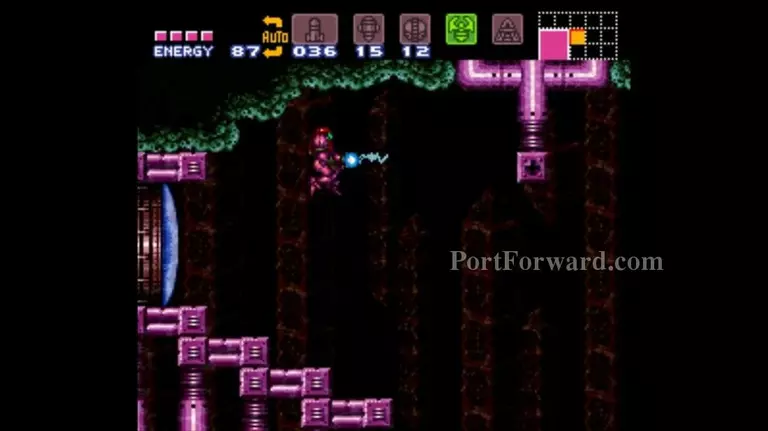
Now you want to get to the top left part of the room. If you're not comfortable wall-jumping yet, you can use the grapple beam on a vertical wall to do basically the same thing. Just attach to a block, press jump, and repeat.
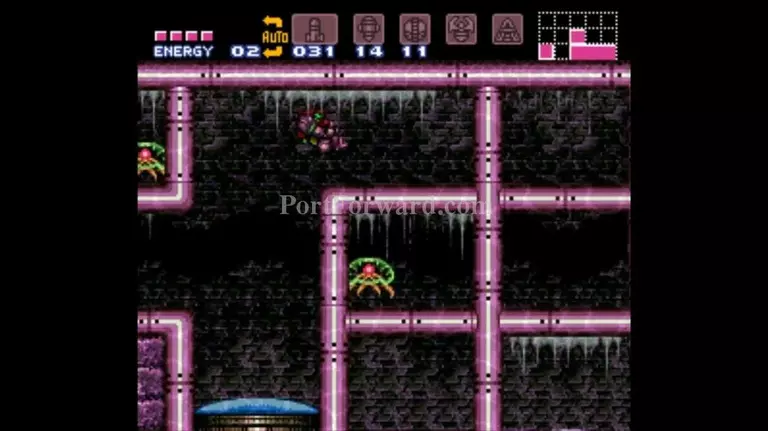
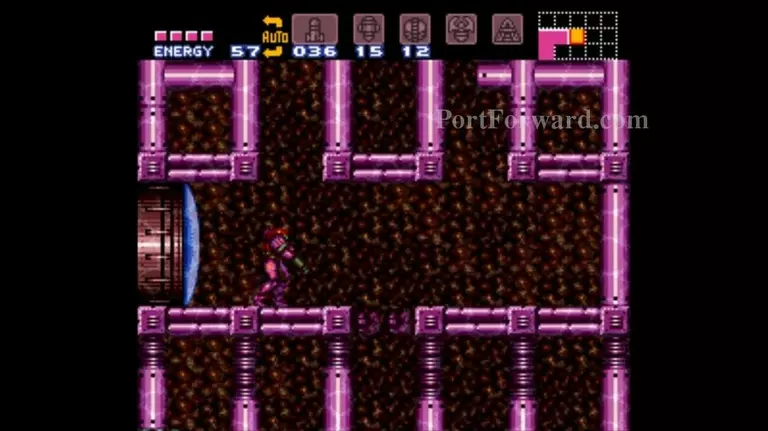
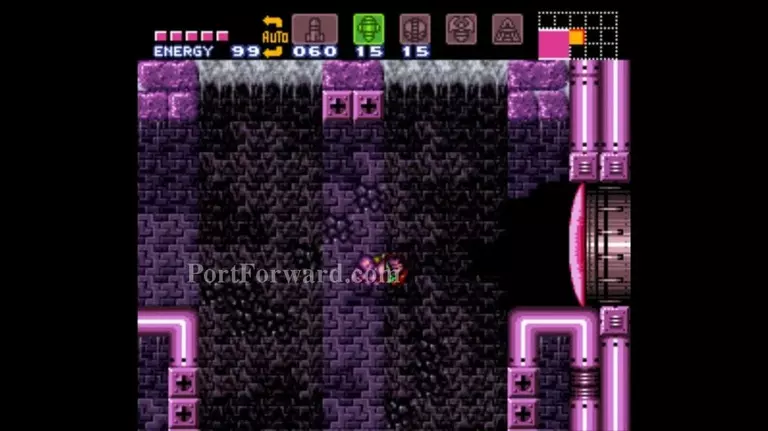
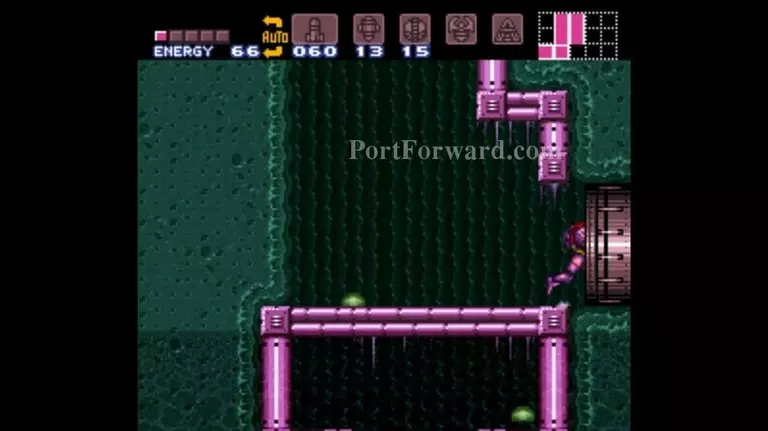
This pipe maze is less complicated than it looks. Keep shooting out walls until you get to the floor, then use the available distance to gain speed and run through all the way to the right. By the way, those things are "Mocktroids," and grapple beam will kill them in one hit. In the next room is...
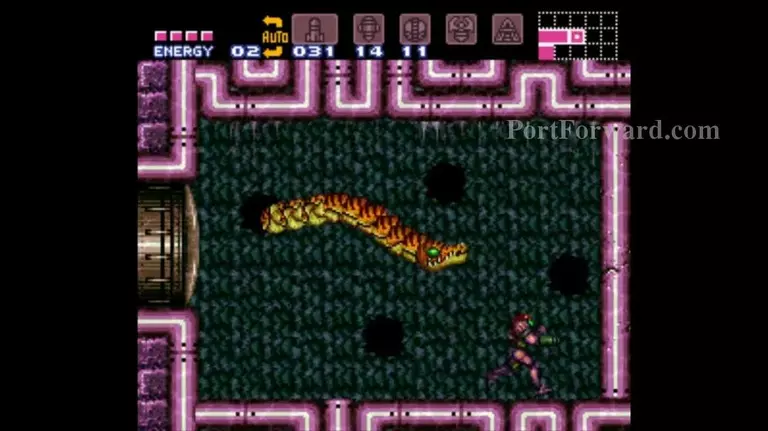
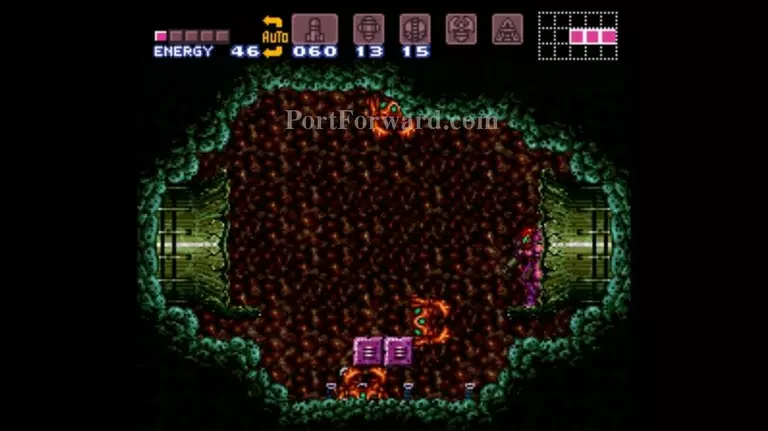
Botwoon, the annoying sea serpent. There isn't much strategy here; just shoot its head with super missiles and/or charged beam shots until it falls apart. The bottom left corner of the room is a safe spot, except for when it spits acid or whatever at you.
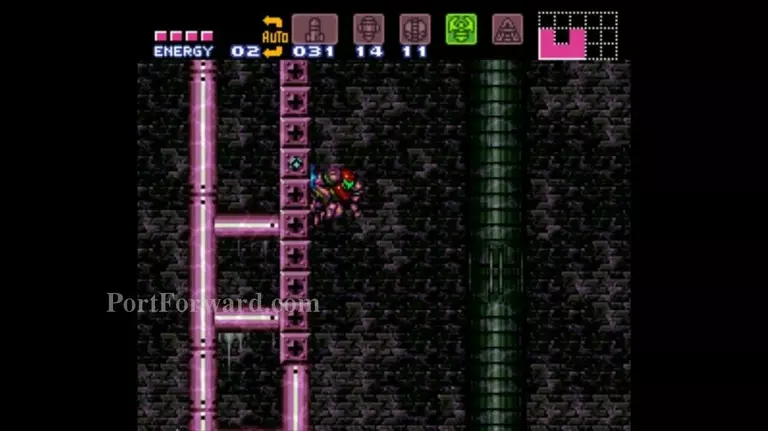
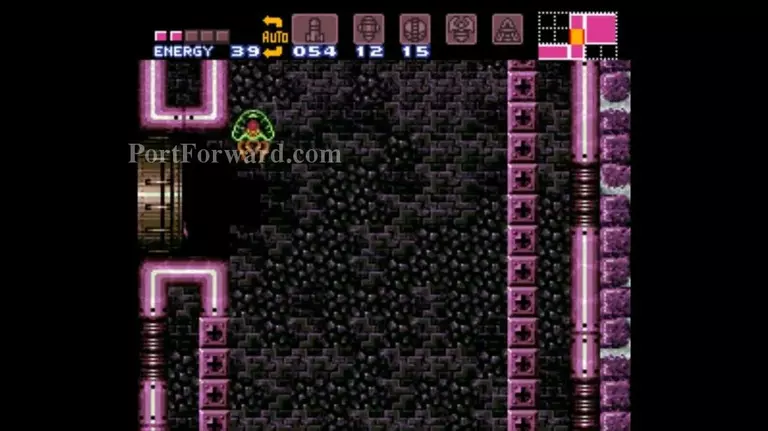
There's an energy tank through here. You can either navigate this maze starting from the other side, or you can jump and morph into a ball midair to get the tank right away. Watch out for the quicksand; if you get caught, try to jump out rhythmically while holding left or right. It's hard to explain the timing, but the sand will pull you under if just mash jump as quickly as possible.
In any case, you still have to get across this room. You can either continue through the maze or run across starting from this point. Use the infinitely respawning enemies in the last sand pit to refill. Go up and to the right.
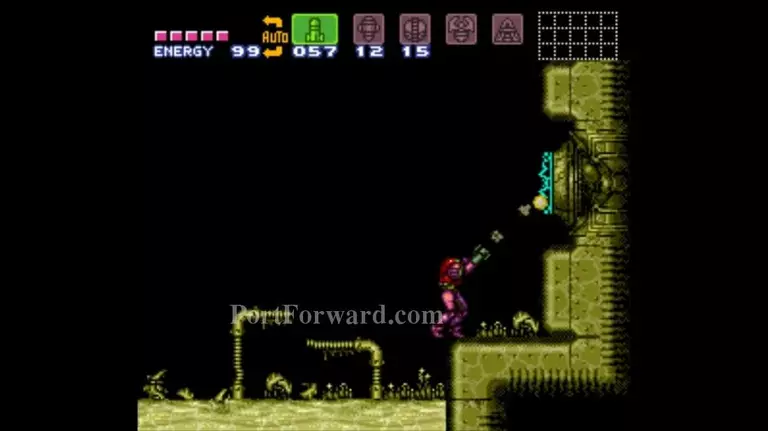
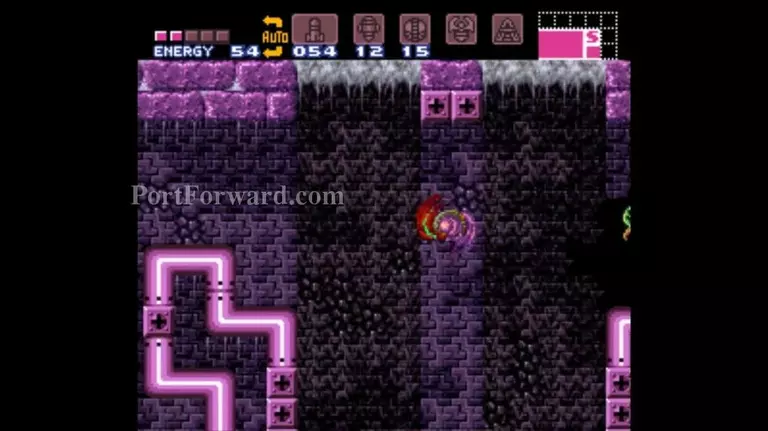
Hilariously, the entire floor of this room is quicksand lying on top of a bed of spikes. This screenshot is the most annoying part: you want to grapple the rightmost block, swing all the way around in a circle, then launch yourself up and grapple the single block in the pipe barrier. Or, wall-jump.
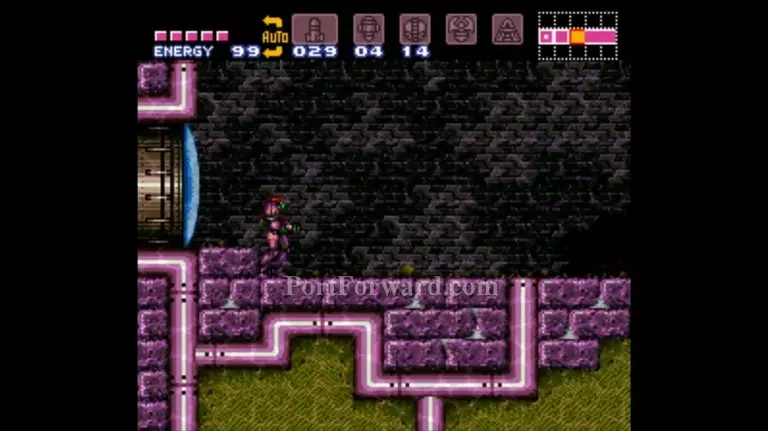
This room has a save point and an energy recharge station. Then, go down and right, fall past the fake spikes, break the characteristic eye door, and get ready to fight...
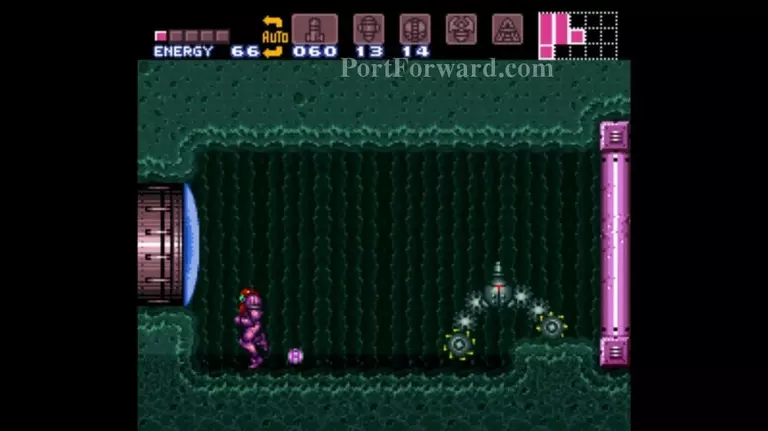
Draygon is another complicated boss. First, shoot 3 missiles at each of these turrets to get them out of the way. Draygon's weak point is her belly. The, I guess, "fair" way to kill her is to shoot missiles and super missiles at her while she's swooping back and forth.
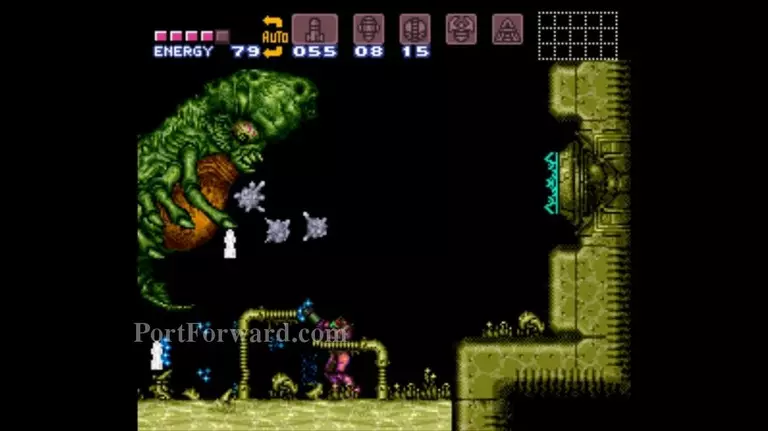
Shoot the grey goo she releases. They can stick to you, slowing you down and making Draygon move in to grab you. Struggle frantically to break free.
Now, here's the "unfair" way to end this fight: let her grab you, then grapple the upper broken turret. It will electrify you and drain both of your HP, quickly killing Draygon. Then, watch as her children come back and collect their mother's corpse. You monster.
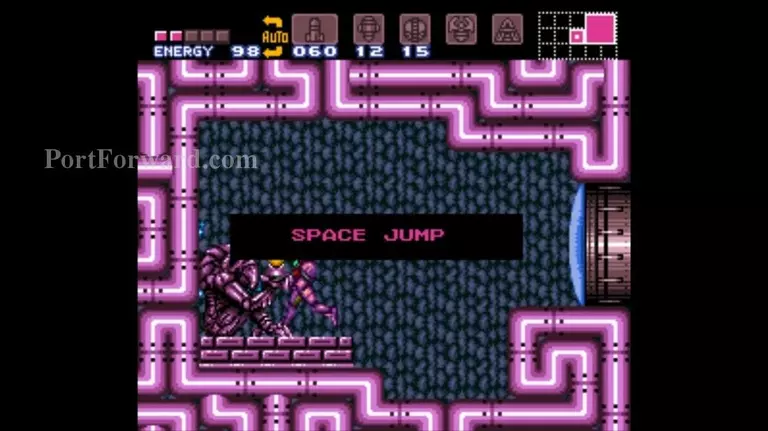
Space Jump! As the name suggests, this upgrade lets you jump forever. The timing for pressing the jump button is somewhat tricky, but it's much more lenient underwater, so you have some time to get accustomed to the ability.
Unlimited aerial jumps make it much easier to get back across this room.
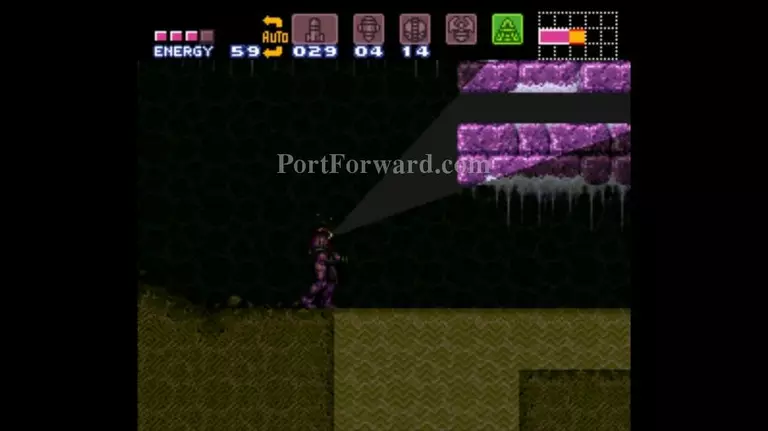
Go in here and use space jump to navigate the next room. Continue left until you get to a nice sandy area. (Well, I think it's nice.)
Climb up the left side of the room. Or space jump up the middle. It doesn't really matter as long as you end up at the flashing door near the upper middle of the room.

Plasma Beam! This greatly increases your beam's power, makes it damage more enemy types, and lets it "pierce" to hit multiple creatures at a time. Use it to kill the pink space pirates in this room. Oddly, charged Plasma Beam shots don't hurt them.
Go back to the middle left side of the large room and enter this tube. When you come out, enter the right door and traverse the annoying room with sand and baby Draygons (Evir).
So, the next upgrade isn't very important. It's practically useless, honestly. But if you don't get it, it'll be the only empty space in your equipment screen, and you don't want that, do you? No, of course not. So grapple this block and jump up through the gap it creates.
Watch out for the crumbling floor on the left side of this walkway.
This interesting machine is called Shaktool. Don't break it, because you need it to carve out the wall to the right. Lay a power bomb to reveal said wall, then take a break and go to the bathroom or something.
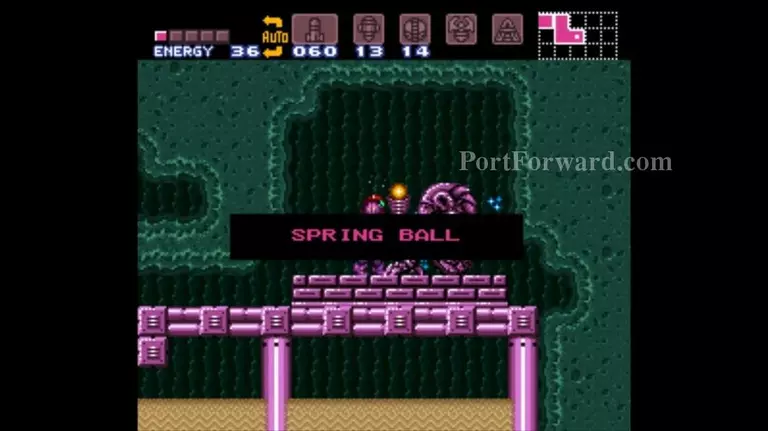
Spring Ball! It allows you to jump while you're a ball, and continue bouncing if you hold the jump button. This is fun, but there are very few places in the game where you'll actually need to use it. One is in the "100% Item Locations" chapter. I guess it also helps you exit this room.
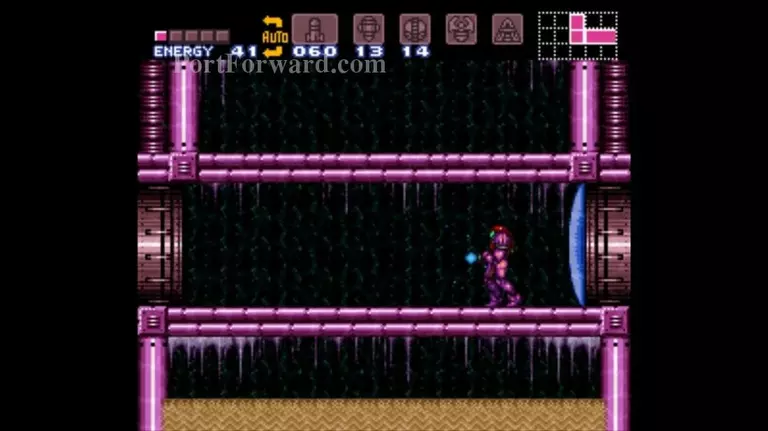
Fall down that crumbling floor I told you to avoid before, then keep going left until the next screenshot.
These crabs (Scisers) indicate a secret exit underneath the platform. Below, use the blue door to exit Maridia. The pink door contains the Maridia Map Station, which is pretty pointless now, but go ahead if you want.
Finally, it's time to return to Norfair.
More Super Metroid Walkthroughs
This Super Metroid walkthrough is divided into 14 total pages.