
This Super Metroid walkthrough is divided into 14 total pages.
You can jump to nearby pages of the game using the links above.
10. Norfair Entrance to Ridley
Go through this door, save, and continue right.
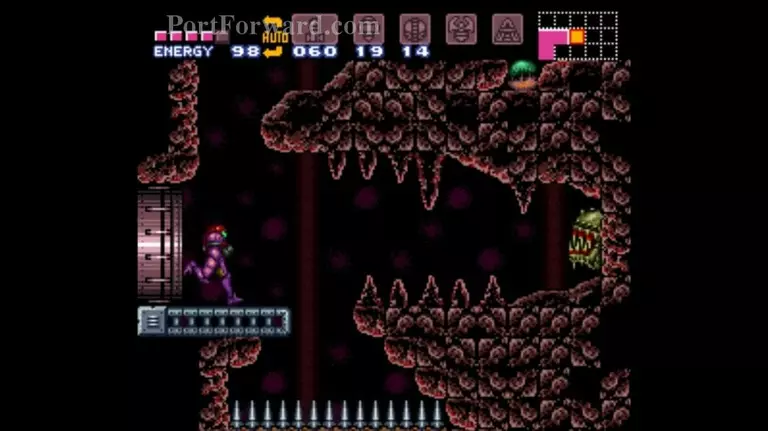
Take the bottom left door, fall down, then go right and space jump or grapple across. After that, open the orange door below you.
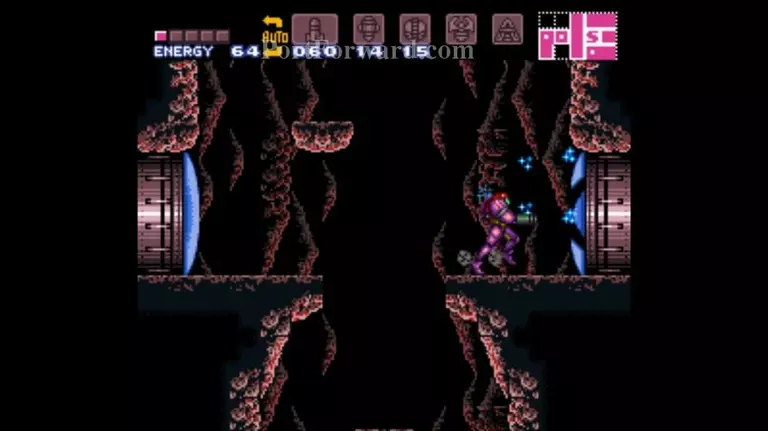
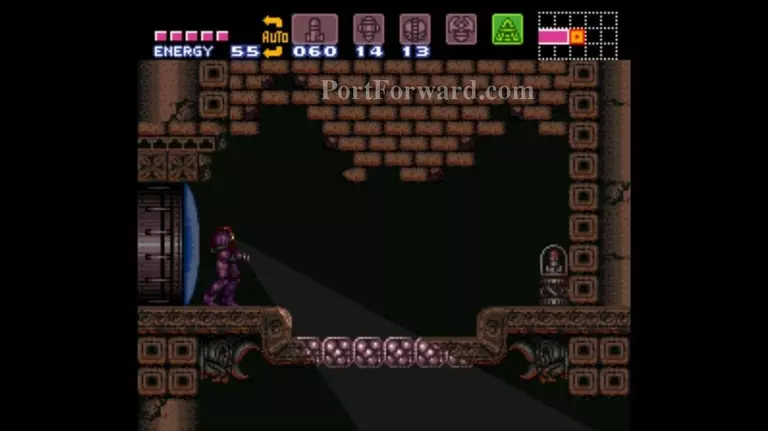
The entrance to Lower Norfair (surprise!) is at the top left of this room. Be very thankful that you have Gravity Suit and Space Jump. Believe it or not, it's possible to get into Lower Norfair with neither. Save to your left before taking the elevator.
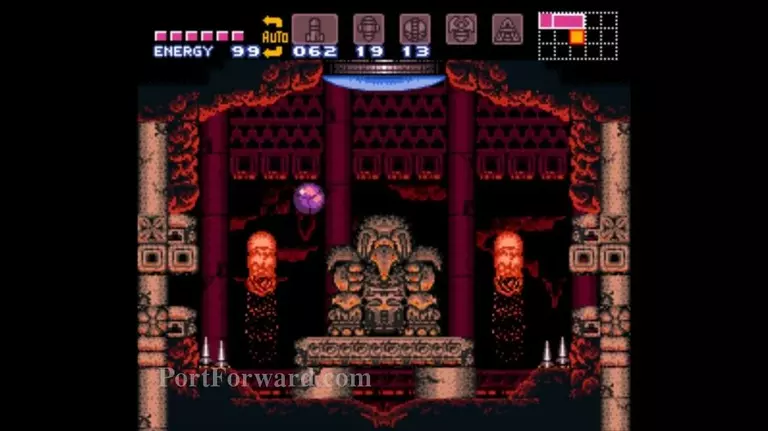
Head left, power bomb the wall to reveal this statue, then let it hold you to empty the lava from this room. This also opens a hole in the floor.
Yeah, thanks, game.
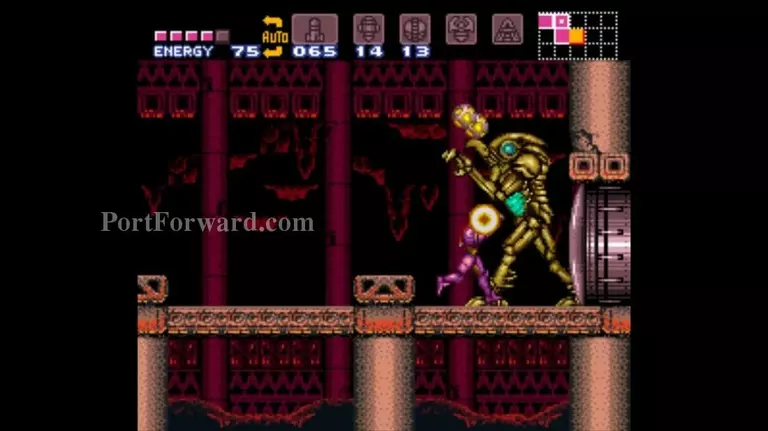
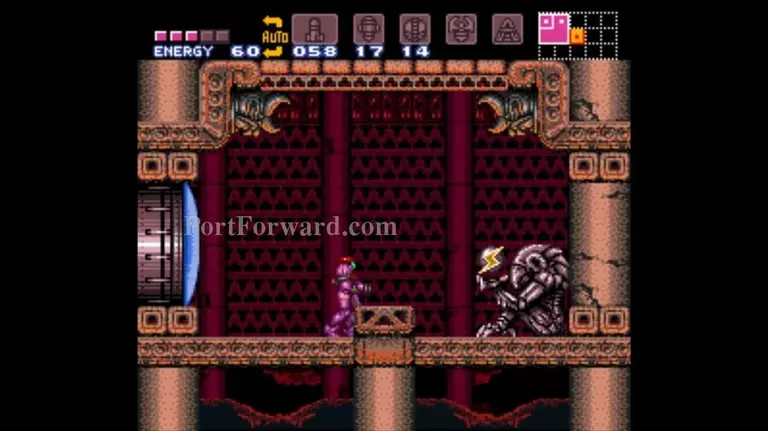
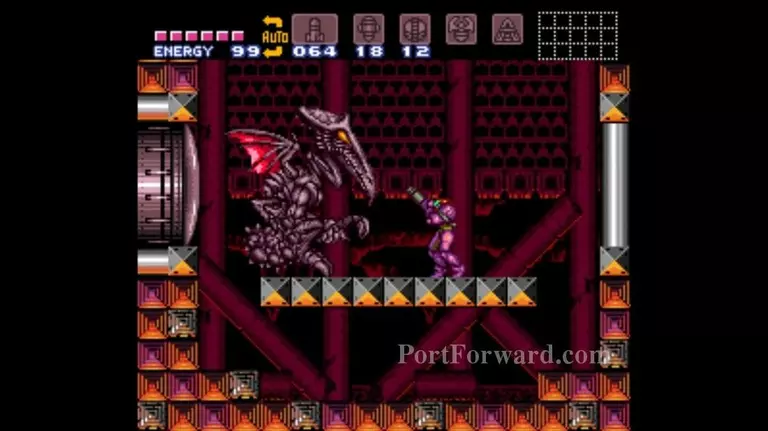
Fall down after getting those missiles to fight the Golden Torizo. It's much stronger than the first Torizo, but the fight is still pretty similar.
Big differences: it sidesteps to dodge missiles, and catches super missiles to throw them back at you. You can hit it with super missiles while it's already holding one, but charged plasma beam is the best choice for this fight anyway.
Secret.
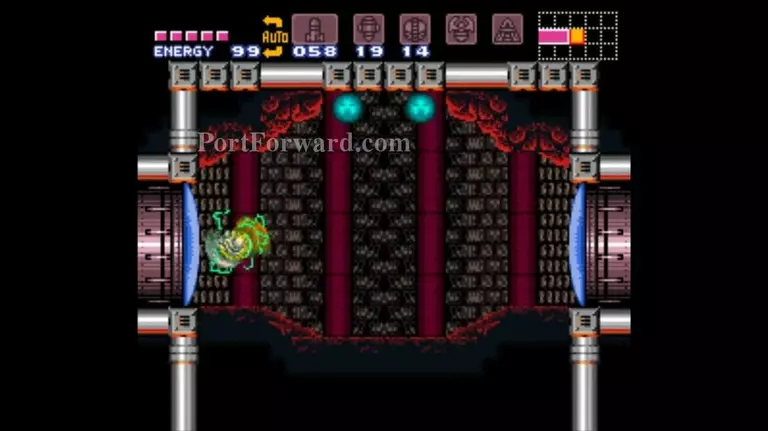
Screw Attack! Funny name, but it turns your spin jump into a lethal weapon that kills almost everything on contact. Continue through the door at the top of this room after using the energy recharge station in the middle.
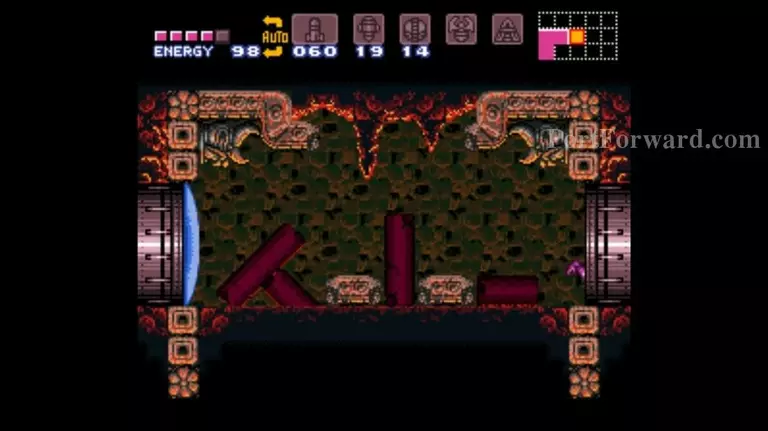
Go right, using Screw Attack to break the pillars as you go. It also makes the following room easy to ascend.
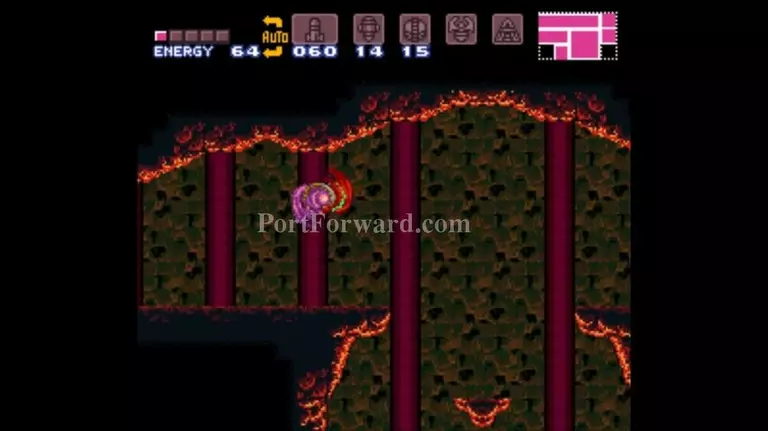
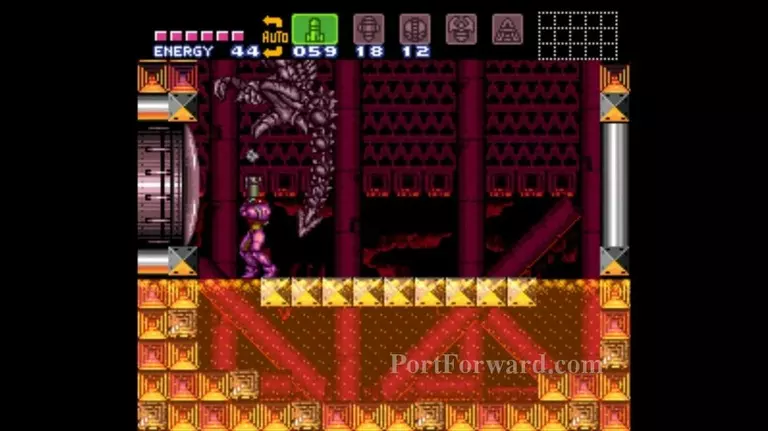
Okay, don't panic, but you're falling into a room full of upgraded space pirates and rising lava. The enemies die to Screw Attack like everything else, so be patient and use your platforming skills to get to the top.
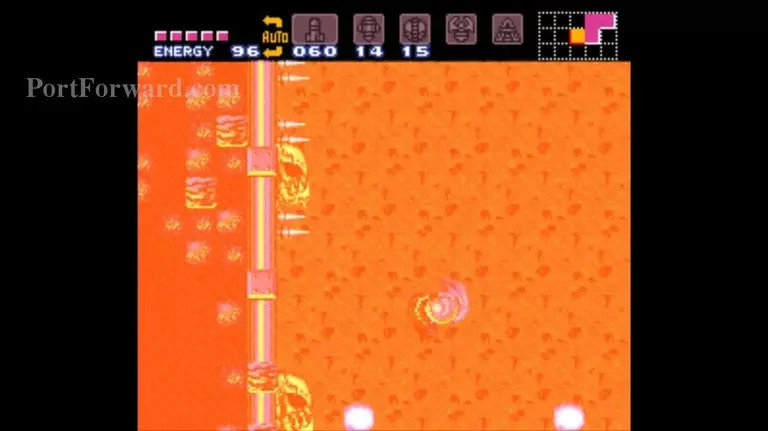
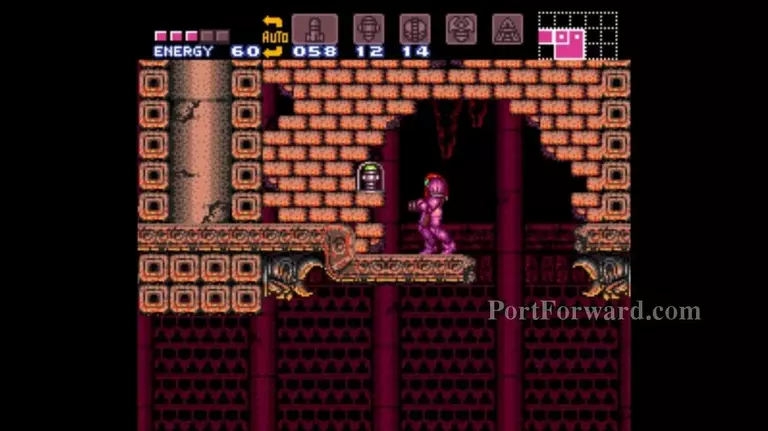
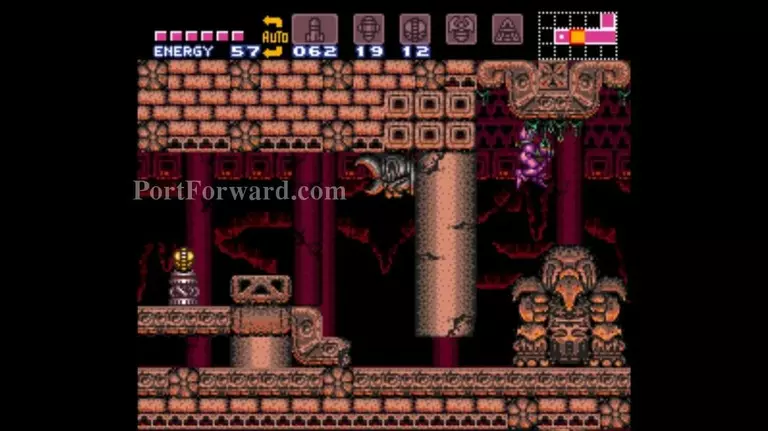
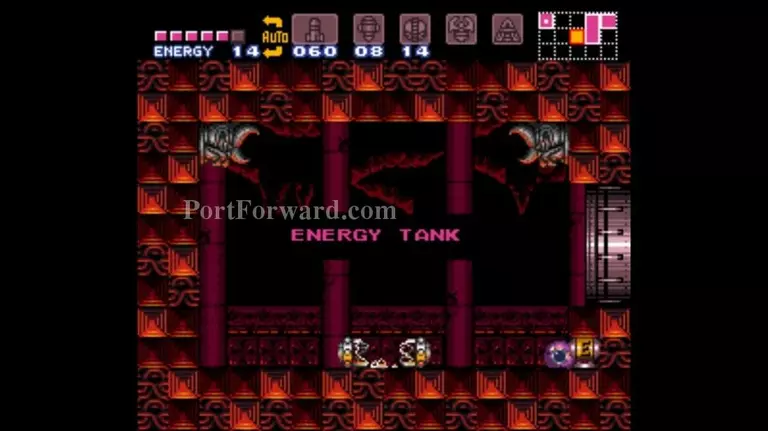
You need to shoot the floor and head downward, but first, let's collect an extra energy tank to the right.
Shoot a super missile at that thing on the wall (Fune) to find a hidden area containing an energy tank. Try not to hit the Fire Fleas since they inexplicably provide light for the entire room. Now you can go down through the previous room.
You definitely want to use the save point on the way down. The way forward is through that little notch on the left side. Lay a power bomb.
Extra power bombs through this wall.
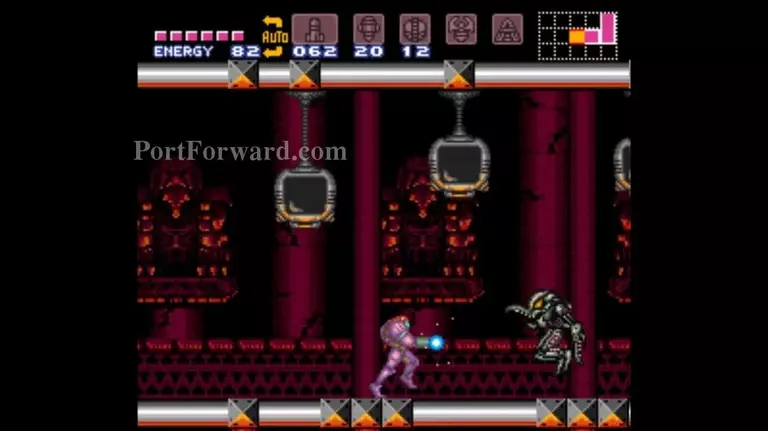
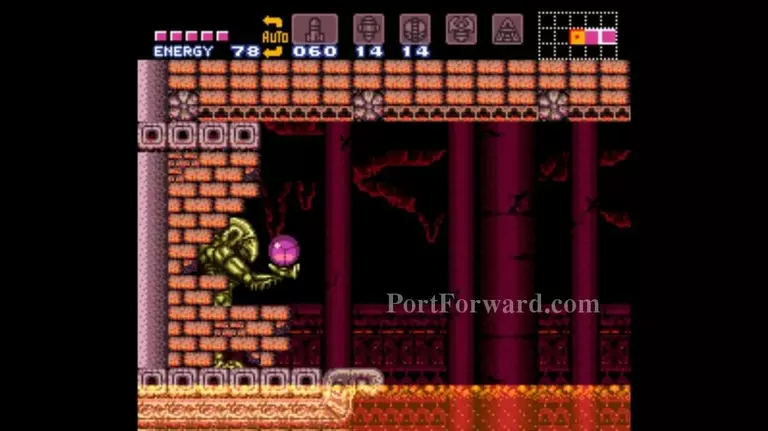
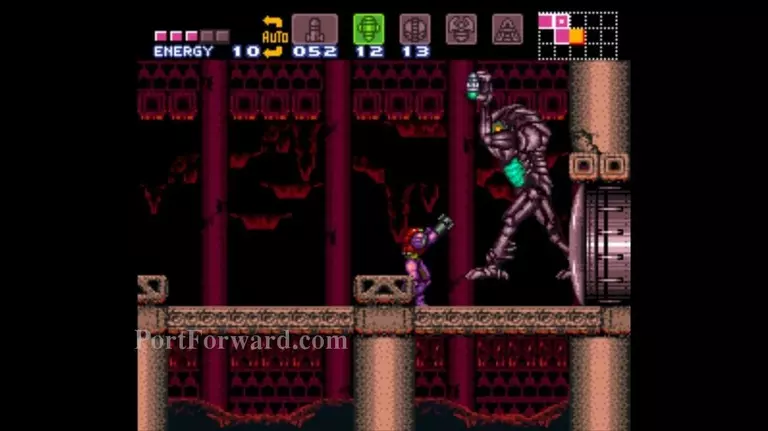
These metal space pirates are completely invulnerable, unless they jump to attack you. Why they would ever decide to do this is beyond me. Stand at about this distance, wait for them to jump, then jump yourself and shoot downward as they run under you.
We meet again, Ridley. This fight is a slugfest: all of your weapons work (even power bombs) and his weak point is his whole body, minus his tail. He's also one of the bosses that takes double damage from super missiles.
The very edge of this platform is a safe spot when Ridley goes into pogo mode, but only on the left side. If he's bouncing around while facing right, you should morph ball underneath and shoot his back, hopefully making him turn around. Screw Attack does no damage but keeps you safe from all his attacks, except for, again, his tail. What is that thing made of?
Once you've drained enough of his HP, he'll try to grab you and explode in a kamikaze attack. It won't work. Enter the room behind him to find an energy tank and be reminded that this game has a storyline. Where is The Baby?
More Super Metroid Walkthroughs
This Super Metroid walkthrough is divided into 14 total pages.


