This System Shock 2 walkthrough is divided into 15 total pages.
You can jump to nearby pages of the game using the links above.
Cargo Bay 1
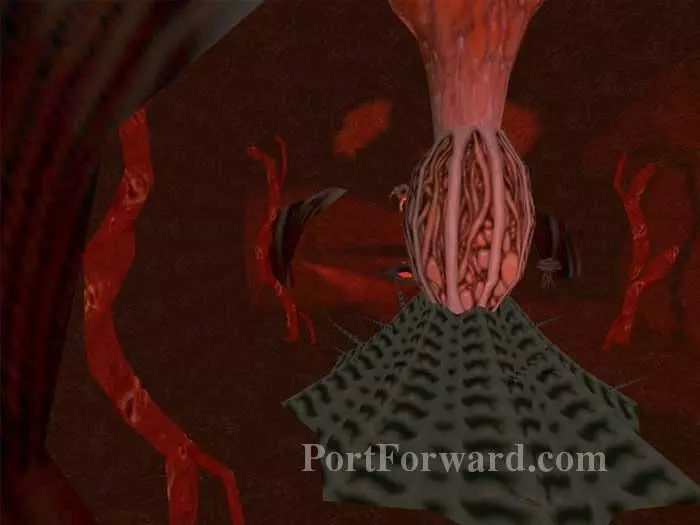
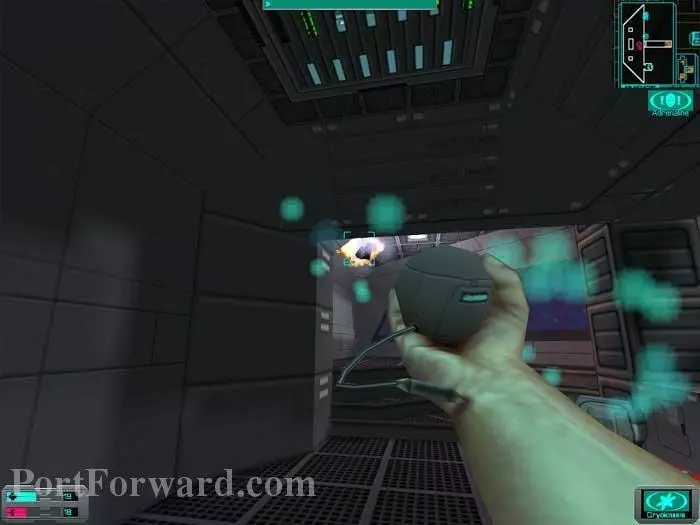
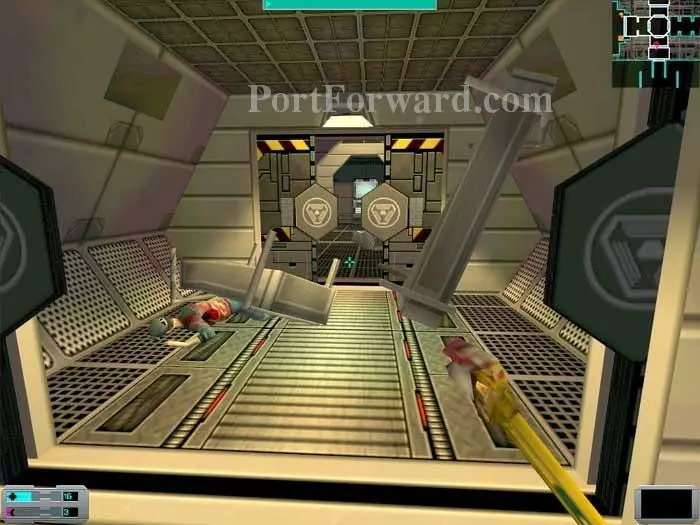
Circle left to avoid a dangerous spark to the right. This creepy cutscene plays. Guts and goo and "the joy of the mass."
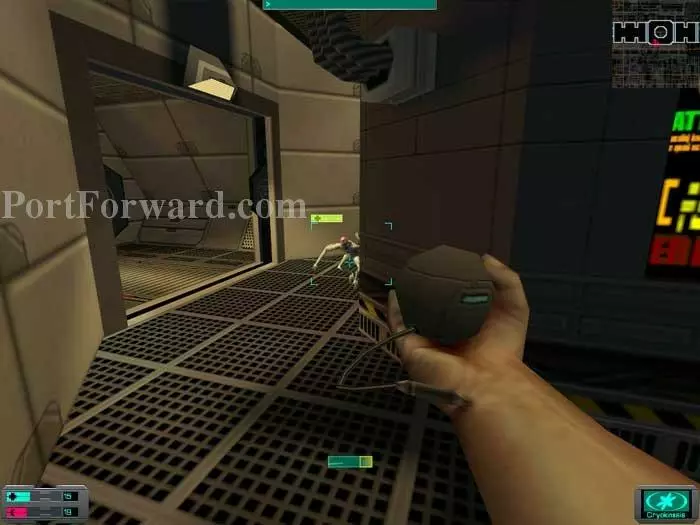
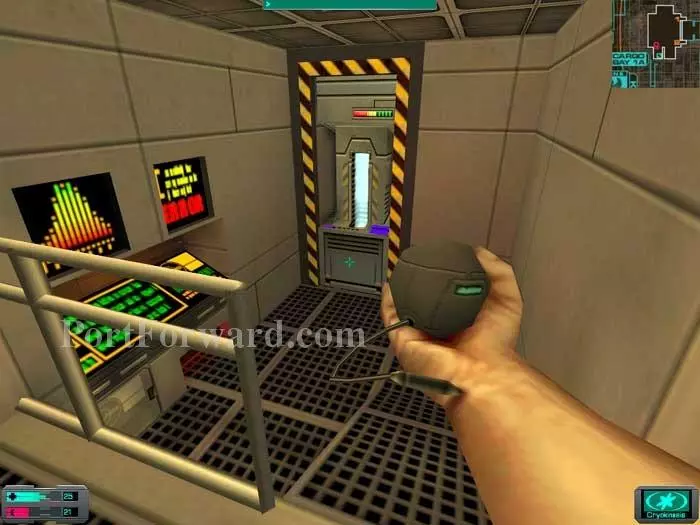
Shock the monkey then continue through the door ahead.
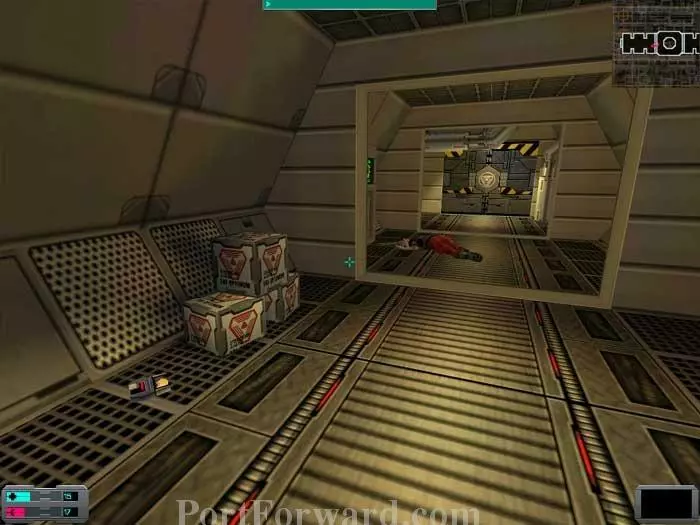
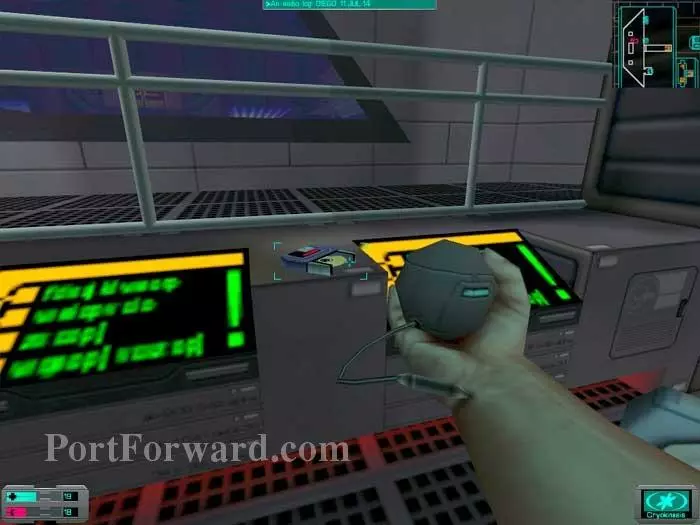
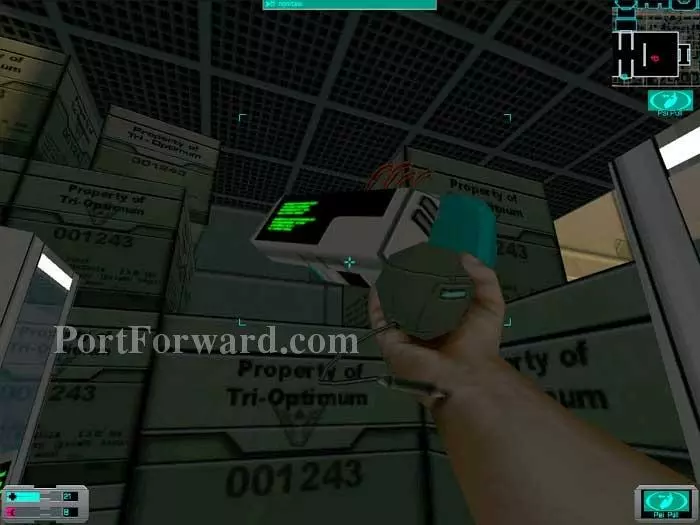
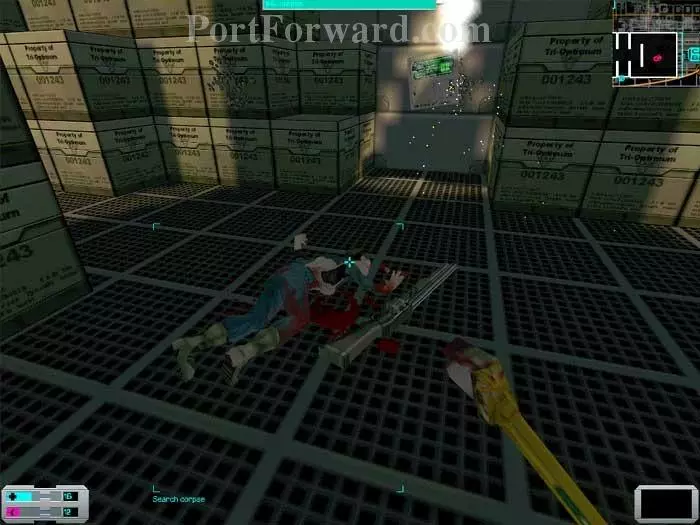
Check your six for spawning hybrids as you listen to Siddons' audio log. Cigarettes and booze are in the crates. Repair software and a game cartridge are on the body ahead. Ready a weapon before opening the door.
Destroy the security camera. Sanger is in Cargo Bay 2, but you need a keycard for access. The keycard is to the left in Cargo Bay 1, but let's start with Command Control, dead ahead.
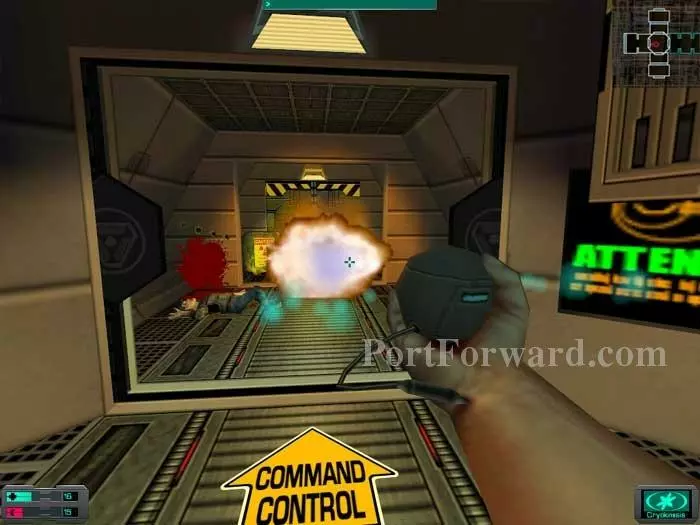
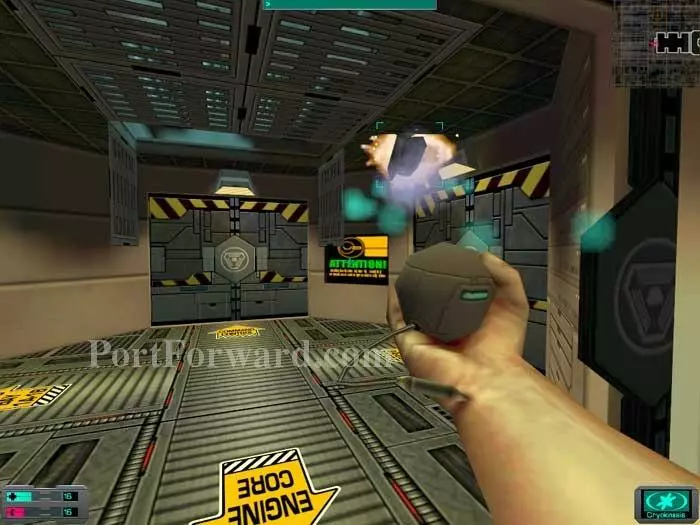
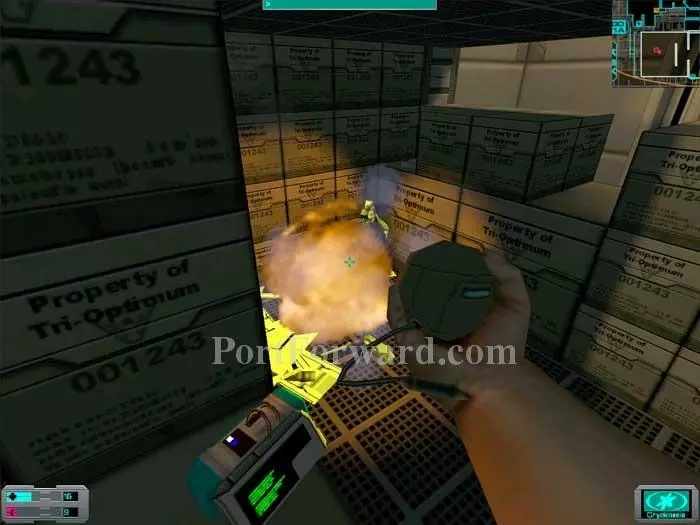
Destroy the flammable barrels. You're about to engage in a firefight and you don't want to be surrounded by potential bombs.
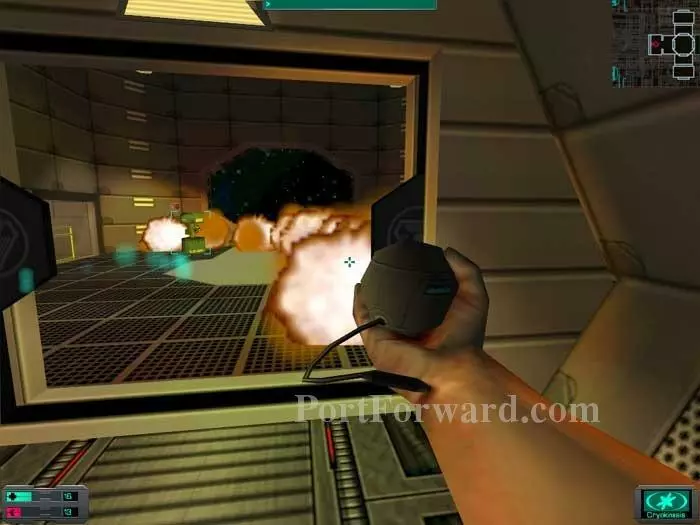
Set off a chain reaction in the next room and it's the fourth of July. Take out the now-weakened laser turret and a shotgun hybrid.
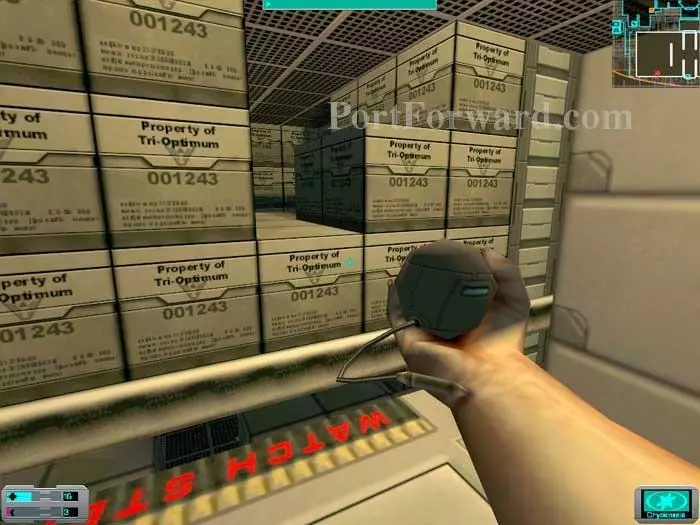
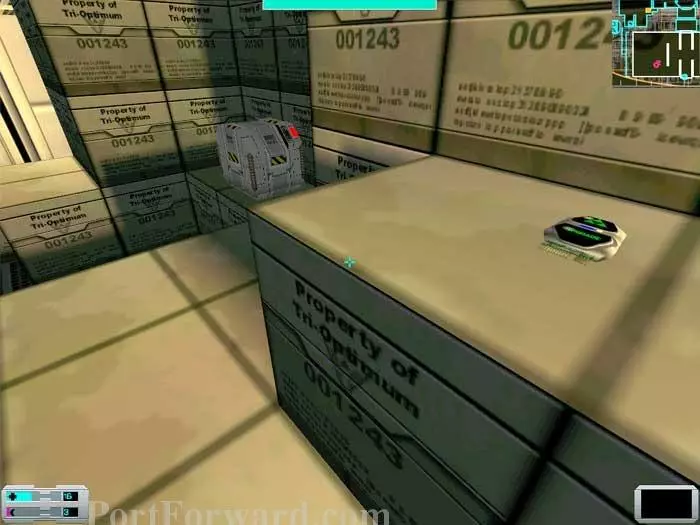
A monkey attacks from these shelves. Ride the lift up to find a maintenance tool, nanites and chips. A Suarez audio log is in a box at the bottom.
You can ignore this hybrid, but if you choose to defeat him you'll find a box with six rifled slugs and six anti-personnel bullets.
Use the charging station to recharge your BrawnBoost implants.
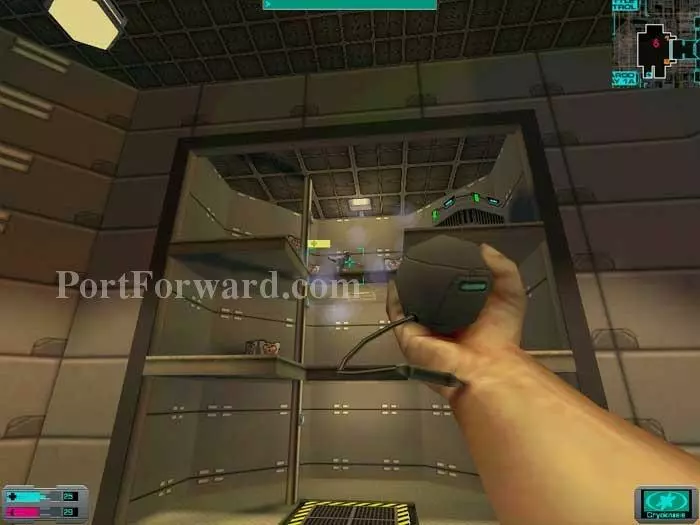
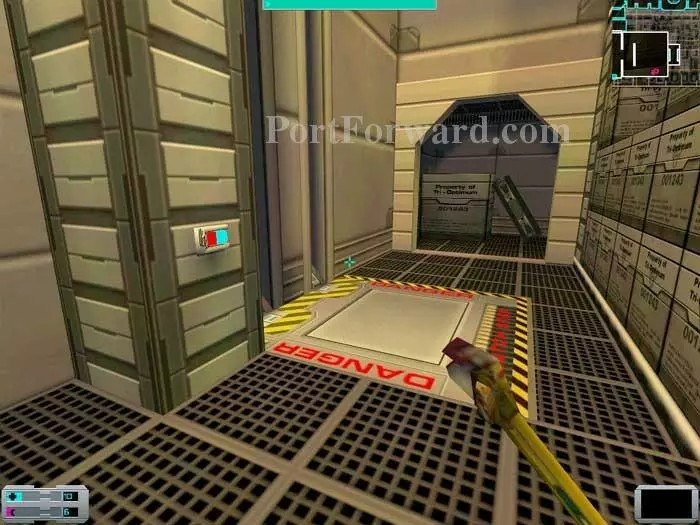
Ride the gravity lift, then a regular lift up to Command Control.
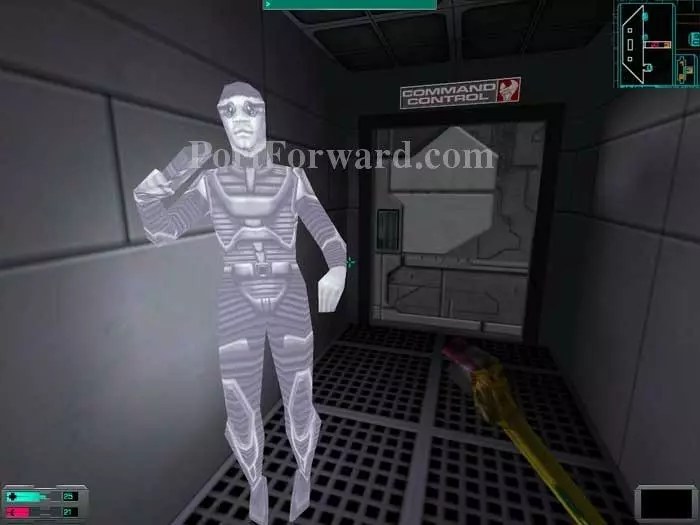
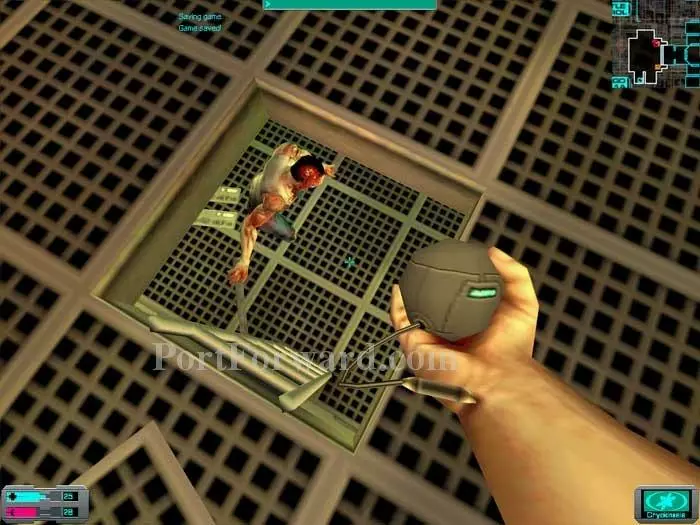
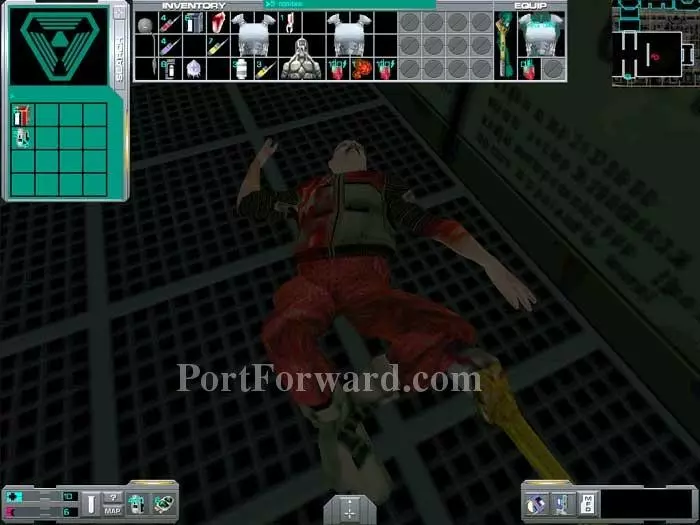
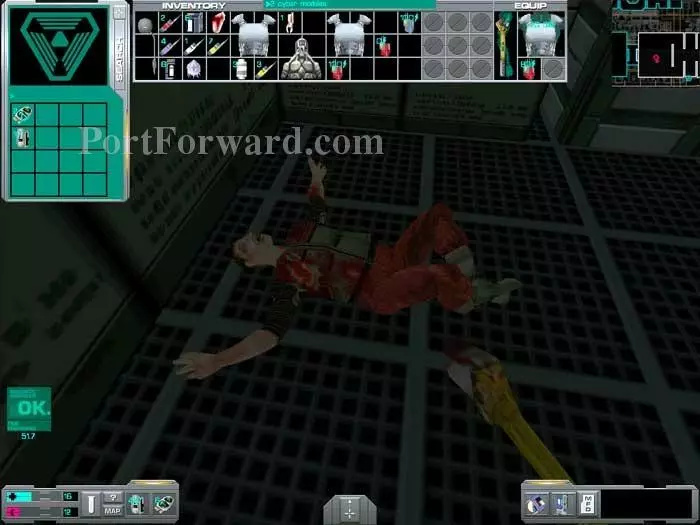
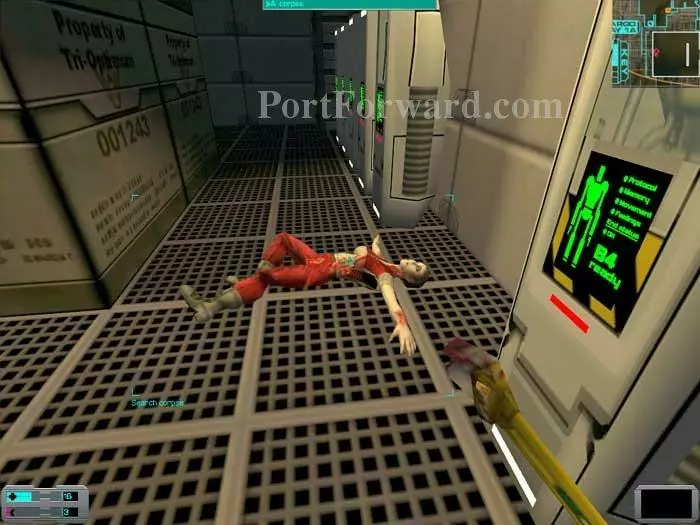
Witness this poor soul's final moments.
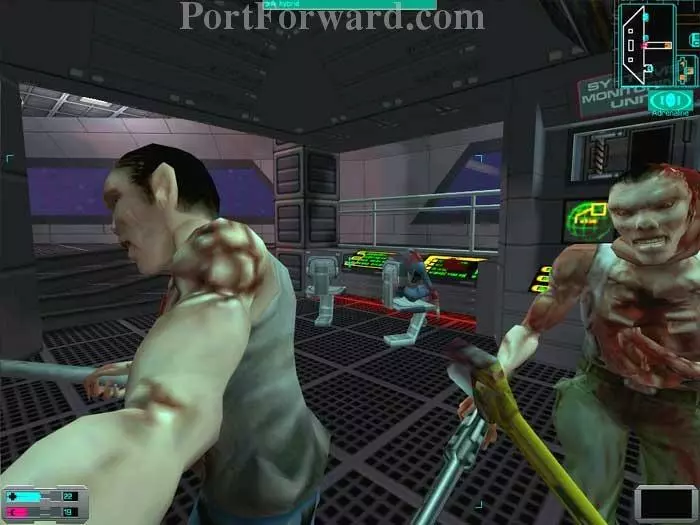
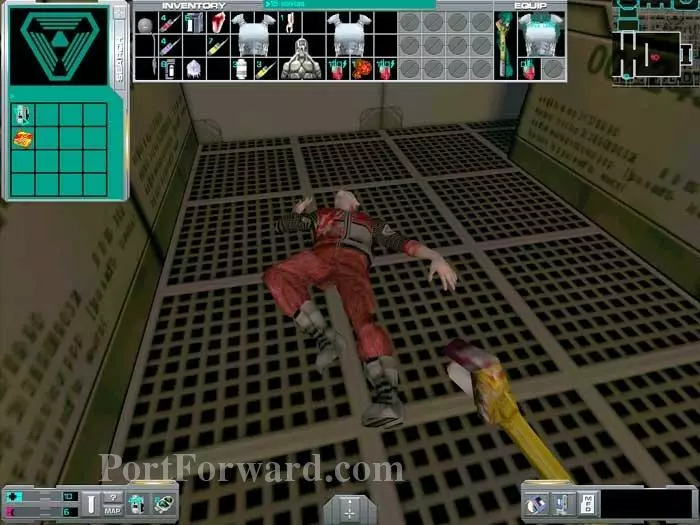
Battle this pair of hybrids, one pipe, one shotgun. Five nanites are on a corpse on the floor, plus another five can be found on the corpse seen in the chair ahead.
Destroy this camera to your left.

This bio-reconstruction unit is just past the camera.
Listen to this Diego log for some background.
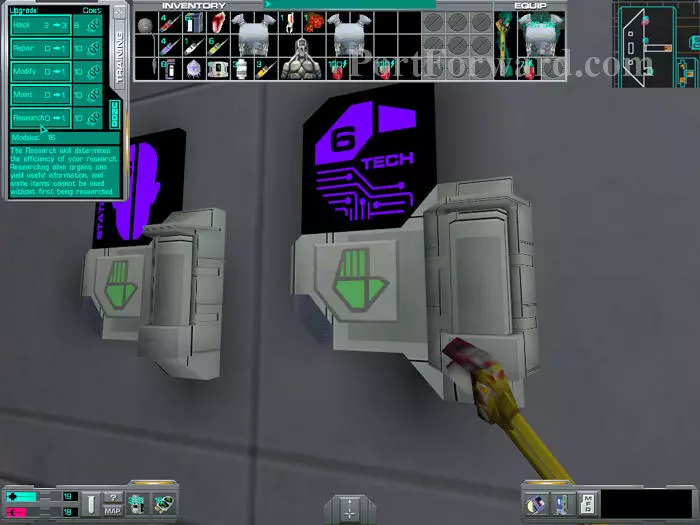
Stats and Tech upgrade stations are found opposite the regeneration chamber. Here I upgrade Research to level 1.
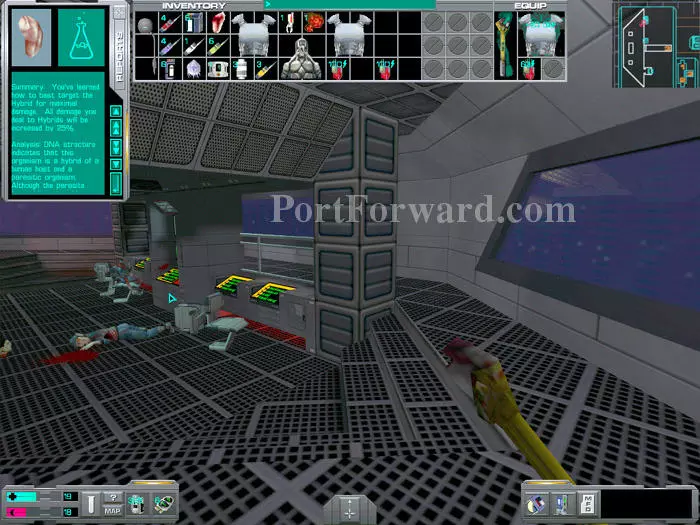
Right click on an unresearched object to begin the research process. Research reports will then be available and you will inflict greater damage or, in the case of the Annelid Healing Gland, you will have an object to use. Return to chemical storage rooms to retrieve chemicals needed for your research. Drag the chemicals onto the research window (upper-left) to resume research.
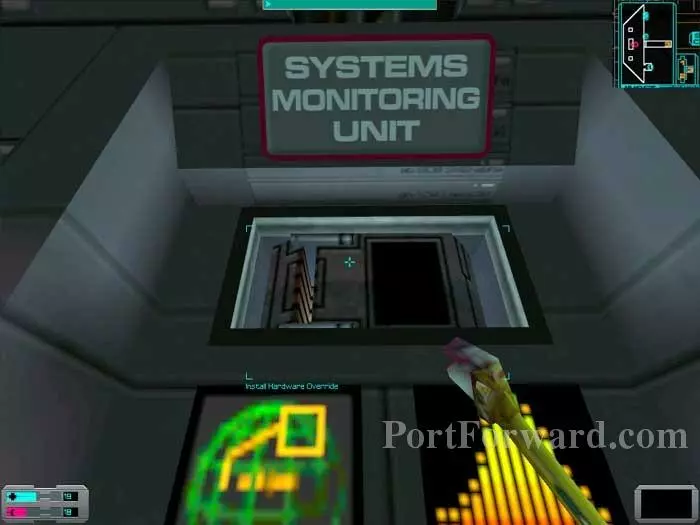
Before you leave, make note of the missing hardware override. We'll be back.
Backtrack out of Command Control and enter Cargo Bay 1.
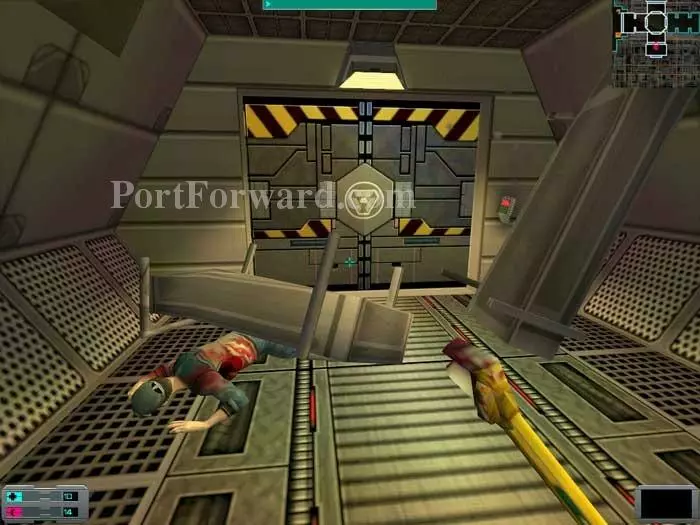
Hop over the debris to reach the unlocked door. There's nothing on the corpse. Recharge your health before entering.
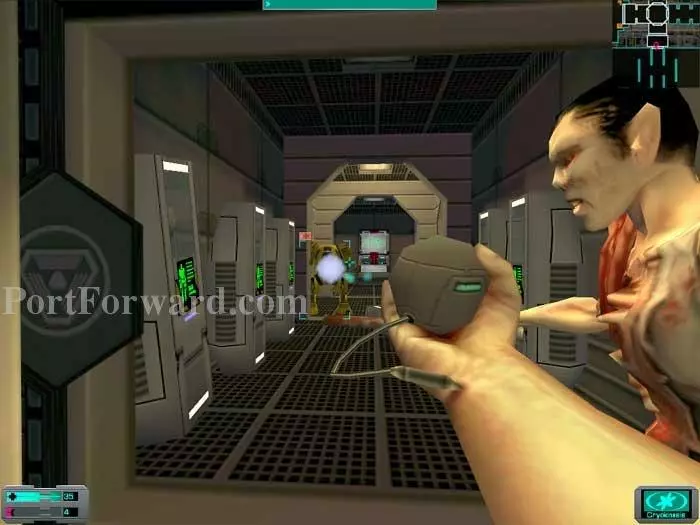
A robot and at least one hybrid are on the other side. The robot patrols left, the hybrid patrols right. Find 20 nanites on the robot's remains and an auto-diagnostic medical kit in a box to the left of the replicator.
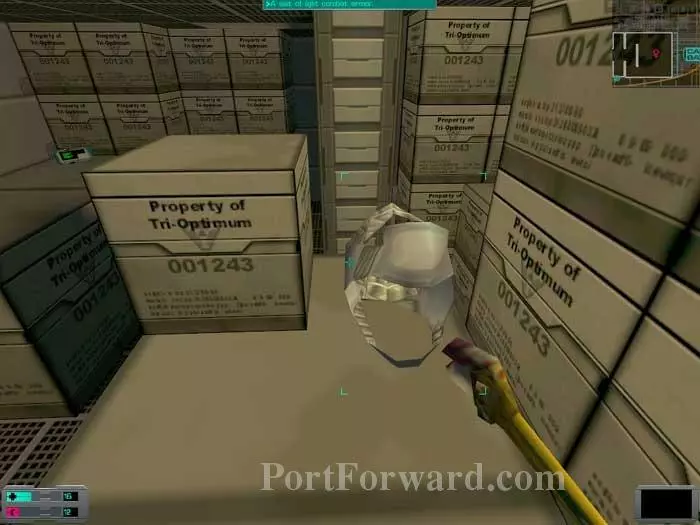
Search left to find five nanites and six armor-piercing bullets. If you climb onto the crate to fetch them, the surrounding protocol droids emerge from their crates -- better to use your Psi-Pull.
Call one of the two lifts and ride it up one level.
Find six anti-personnel shotgun shells and five nanites on this corpse.
Take the lift up one more level to find 15 nanites on this corpse. Ride the lift back down.
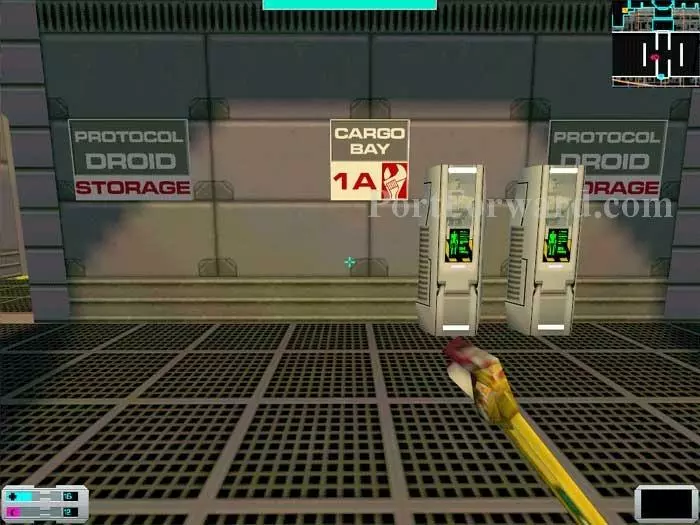
The key card we need is on the other side of Cargo Bay 1A, but an army of robots are unleashed once you grab it -- best to explore elsewhere first. Pass through this door to Cargo Bay 1B.
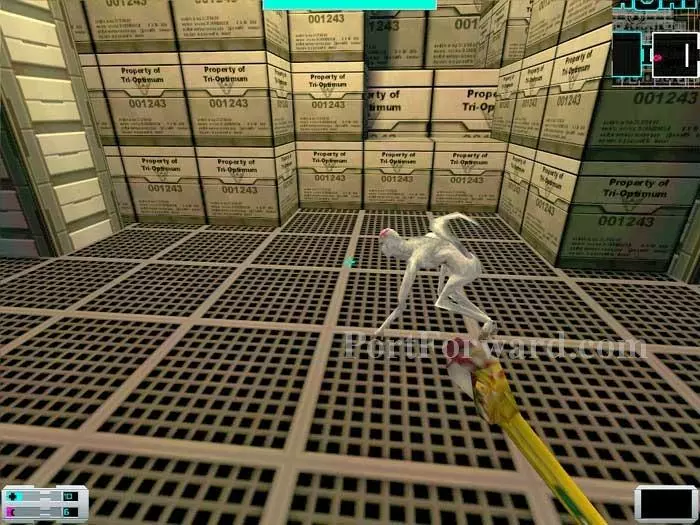
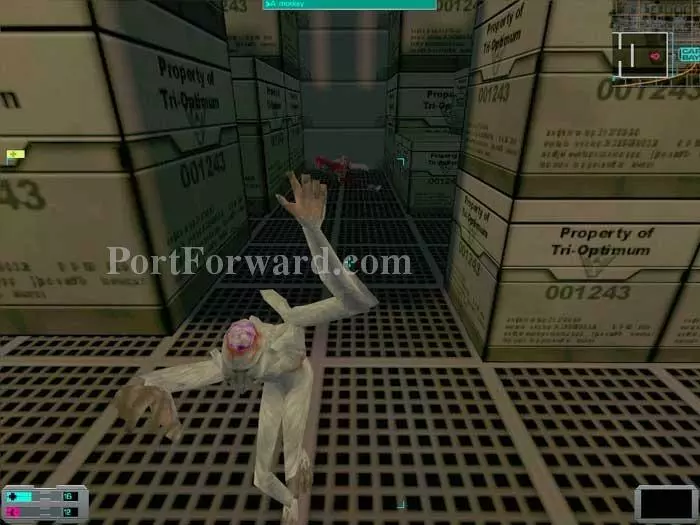
Have a weapon at the ready to take out several monkeys roaming about.
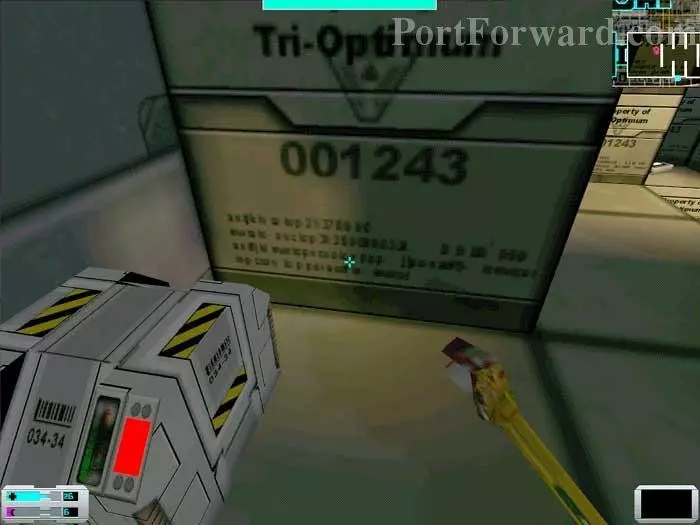
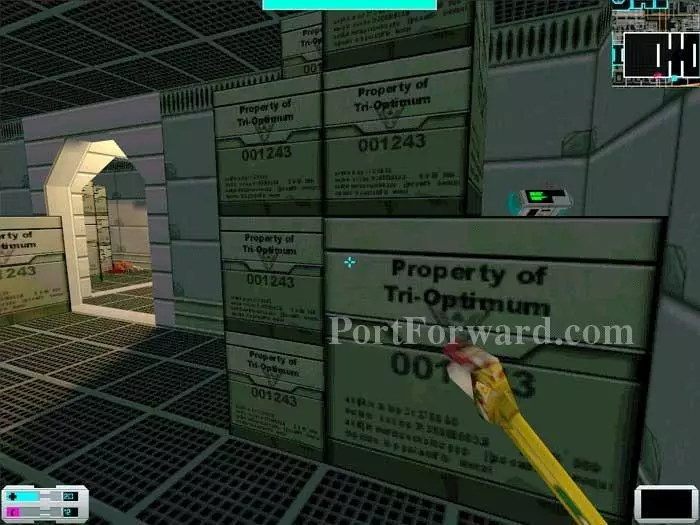
This crate is difficult to hack, and not really worth the effort. Inside are 10 nanites and six standard bullets. Note the six standard bullets in the corner far-right.
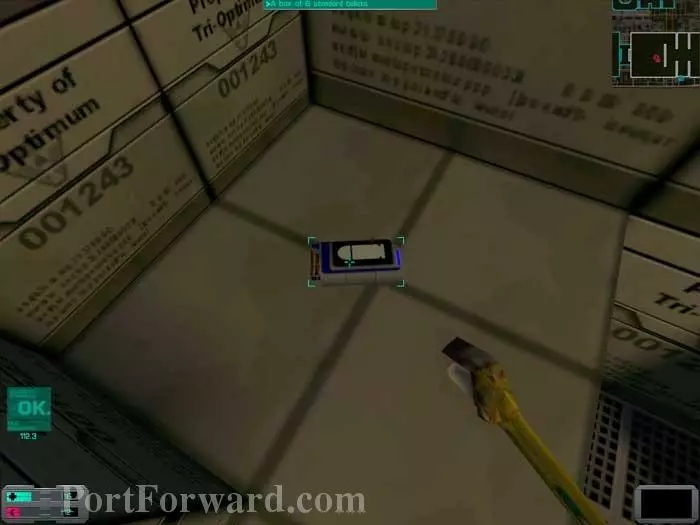
Ride one of the two nearby lifts and defeat a monkey before finding six standard bullets here.
A much better reward is waiting on the third level -- two cyber modules and 10 nanites are on this corpse. Beware, another monkey is up here as well.
Five nanites are safely retrieved from the box on the right and the body far-left holds a Psi Hypo plus a SwiftBoost implant.
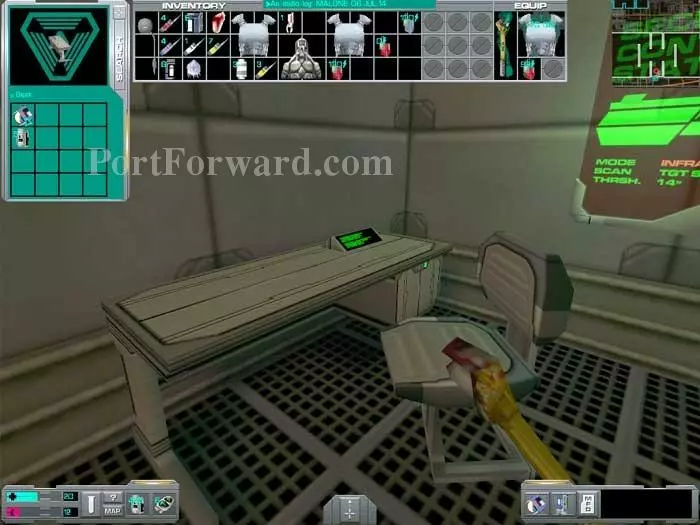
Listen to the Malone audio log to learn about the monkeys. Also in this desk are five nanites. Note the security station on the right.
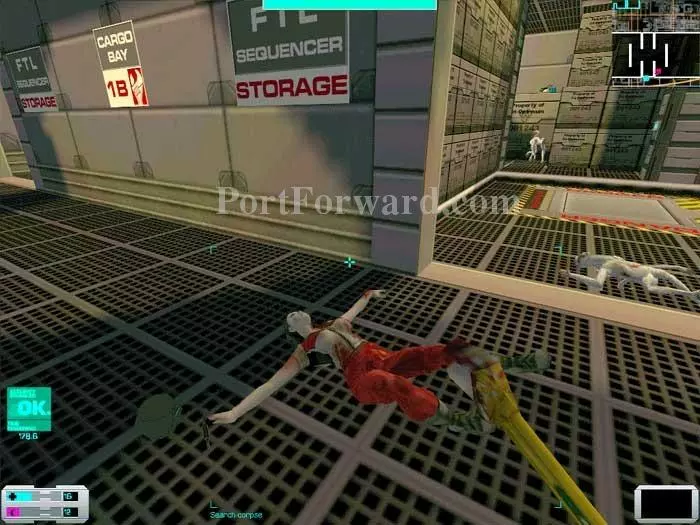
Another audio log from Malone is found on this corpse. My wrench's handiwork is seen on the right. Enter Cargo Bay 1B.
Light combat armor is on the right; five nanites are far-left.
Ride the lift to level two. Whack this monkey then find six standard bullets and 10 nanites on the corpse ahead. A pistol lies next to the body.
On level three you'll find this body with two cyber modules and six rifled slugs.
Backtrack past the replicator then turn right into the unexplored section of Cargo Bay 1A.
Ride the lift up to level two. Climb these crates to grab the ten nanites and three protocol droids emerge from their crates. Annihilate them from the safety of this perch. Six standard bullets are on the ledge behind the droid seen here.
Next, ride the lift up to level three. (Use the lift that does not have debris next to it.) Don't exit the lift or you'll run into a laser turret. Instead, leap to the ledge between the boxes ahead.
Find three cyber modules to the right and another difficult-to-hack security crate. Inside the crate you'll find 22 nanites, a med hypo and six standard bullets. Hop back onto the lift and slip back down unnoticed.
Now it's time to grab the Cargo Bay 2 access card from this corpse (along with five nanites). Grab the loot quickly and then immediately run back past the replicator, as protocol droids soon erupt from their crates.
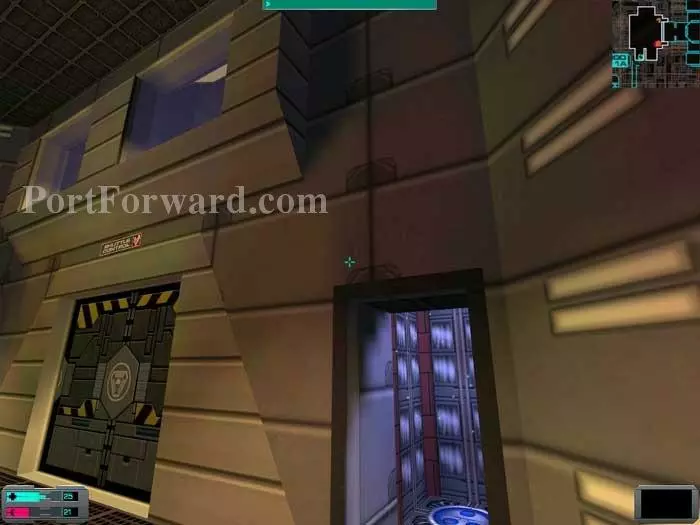
Here's a backwards shot -- use the replicator in the distance as a reference point. Hop over the debris and return to the four-way corridor.
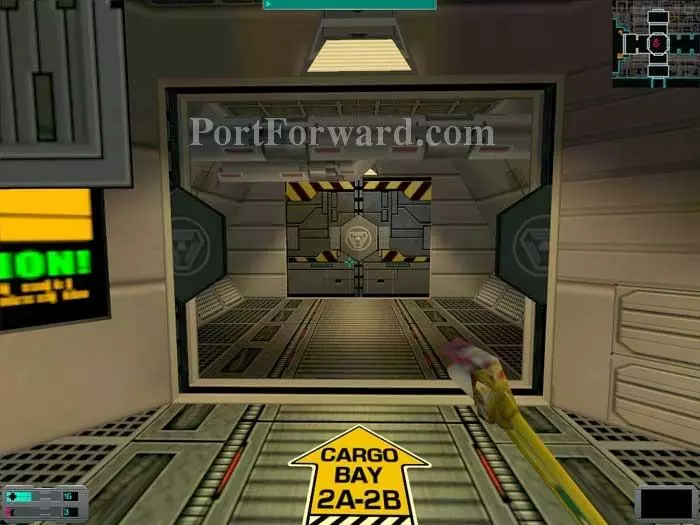
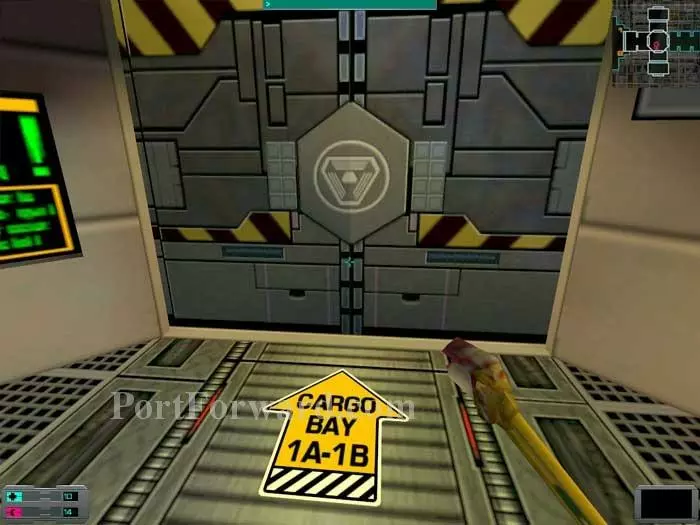
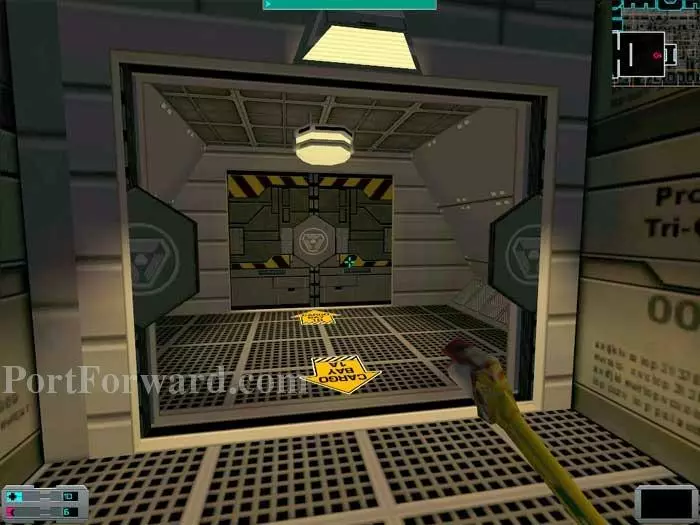
This time, follow the sign to Cargo Bay 2.
More System Shock 2 Walkthroughs
This System Shock 2 walkthrough is divided into 15 total pages.