
This The Bureau: XCOM Declassified walkthrough is divided into 17 total pages.
You can jump to nearby pages of the game using the links above.
Crack in the world
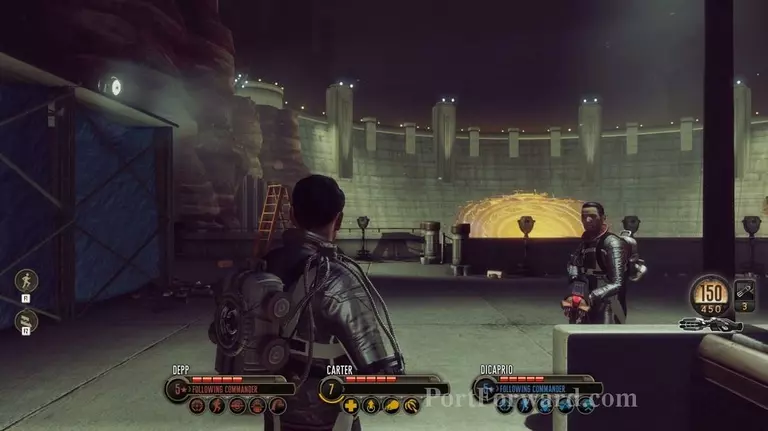
Upon attempting to travel through the Venn gate they find that the Aliens are going from the underside of the dam so they cant cross it as it closes on this side before they can get through.
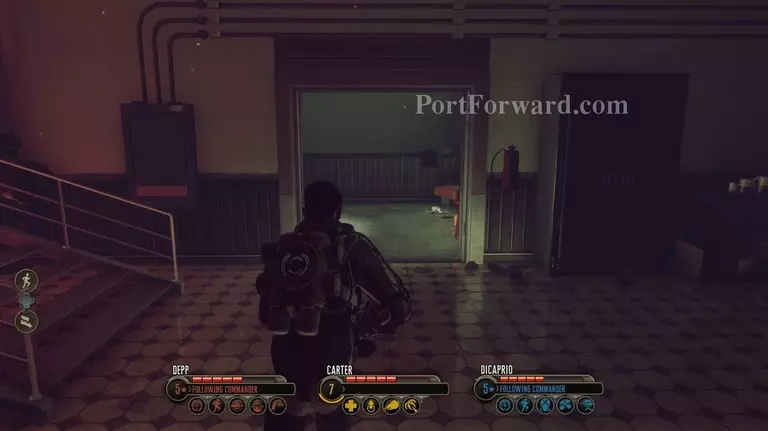
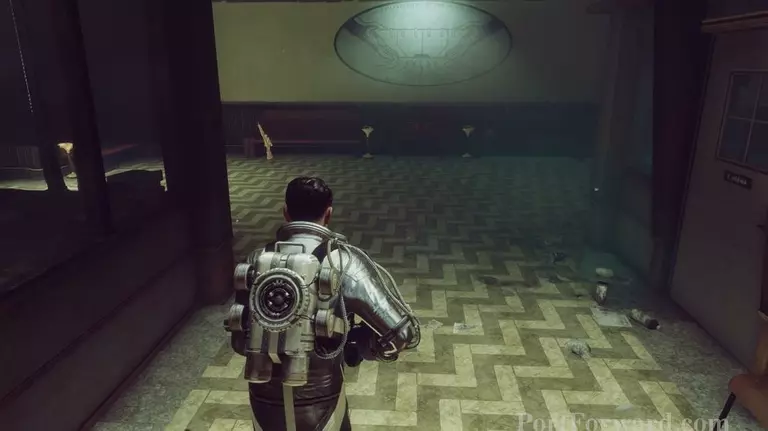
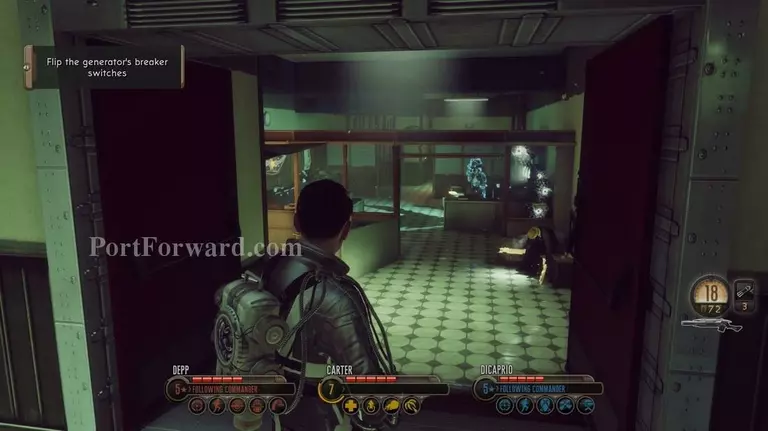
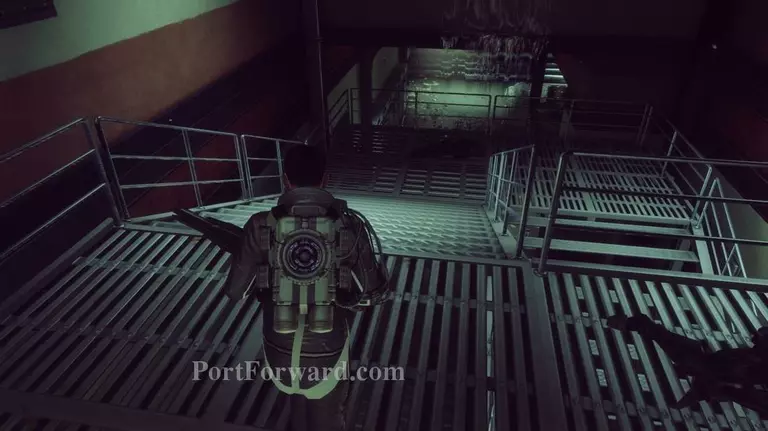
After being dropped in move ahead and go down the stairs that will be on the right.

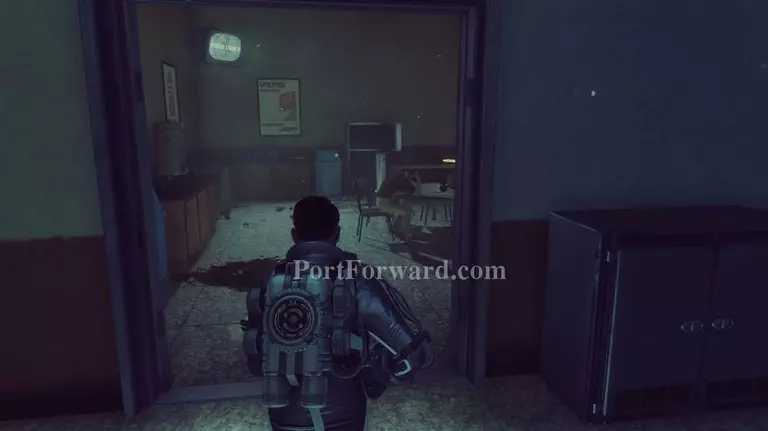
Head further down the stairs and into the door that is on the left side.
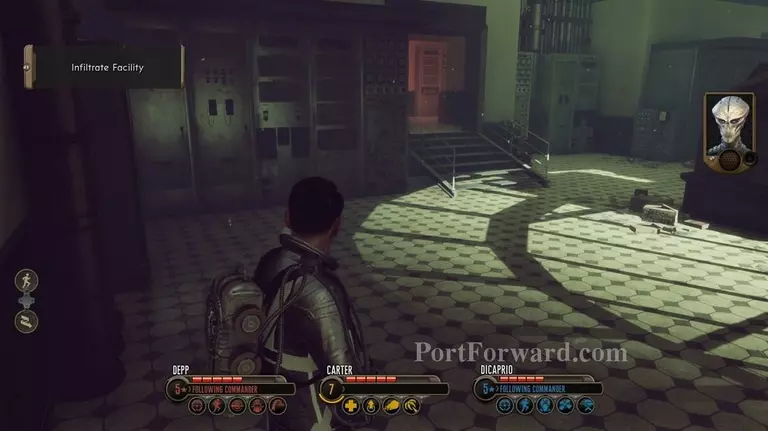
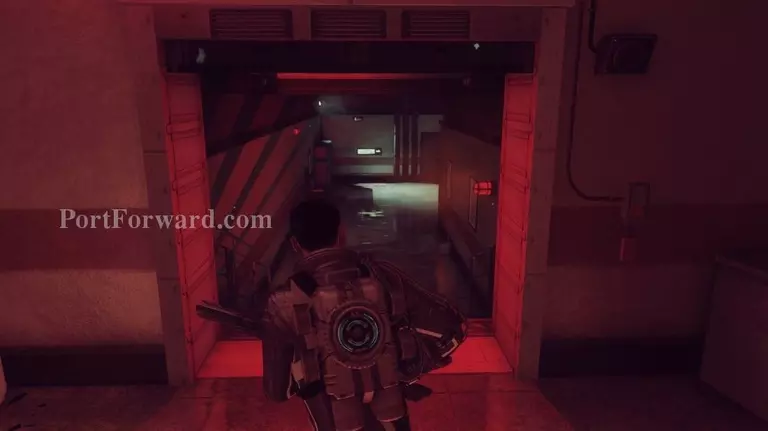
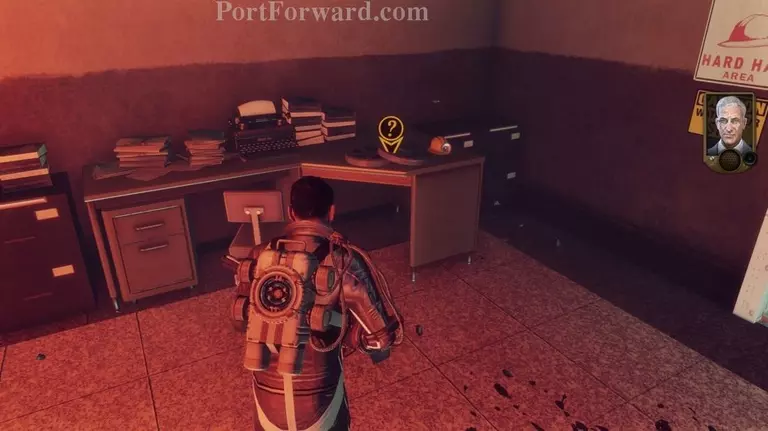
Inside head to the red room on the left.
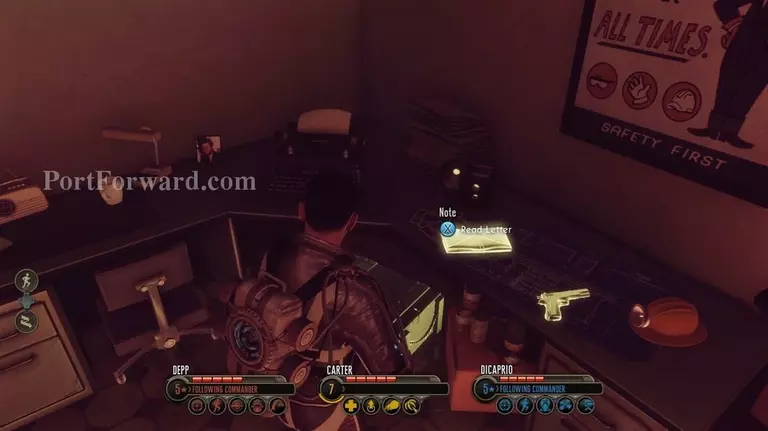
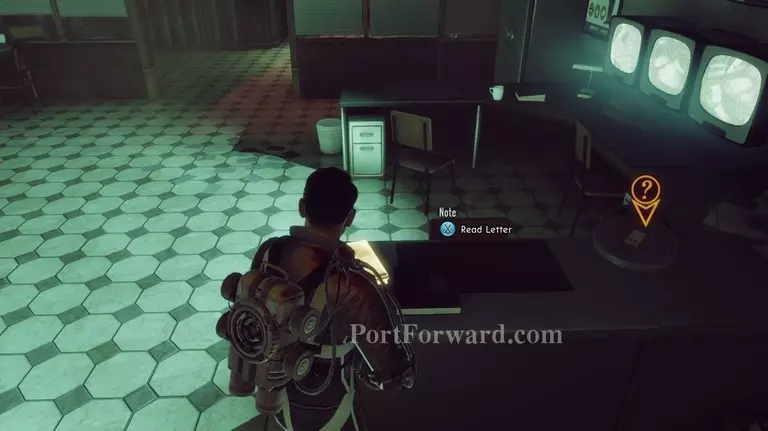
There is a note you can read on the desk inside.
After that head back out and go through the door to the left of the red lit room.
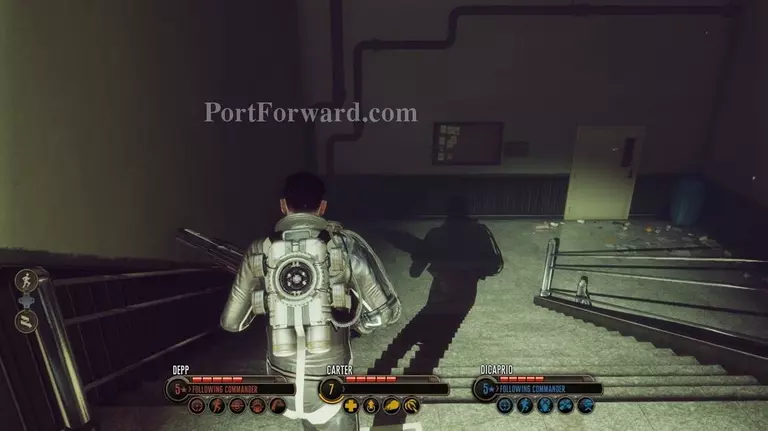
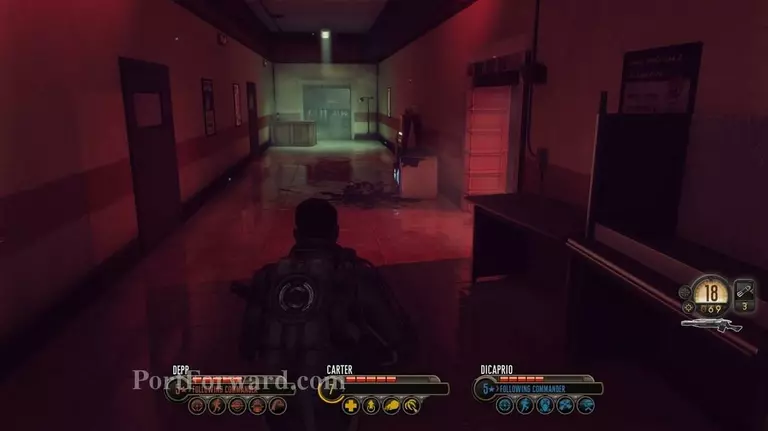
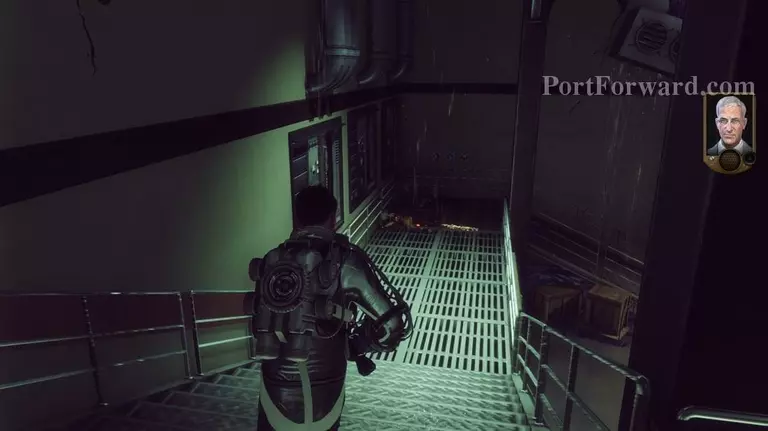
Head left all the way down the stairs.
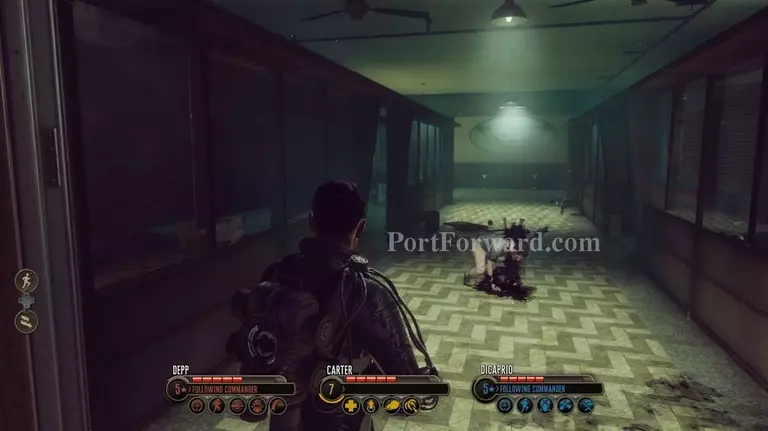
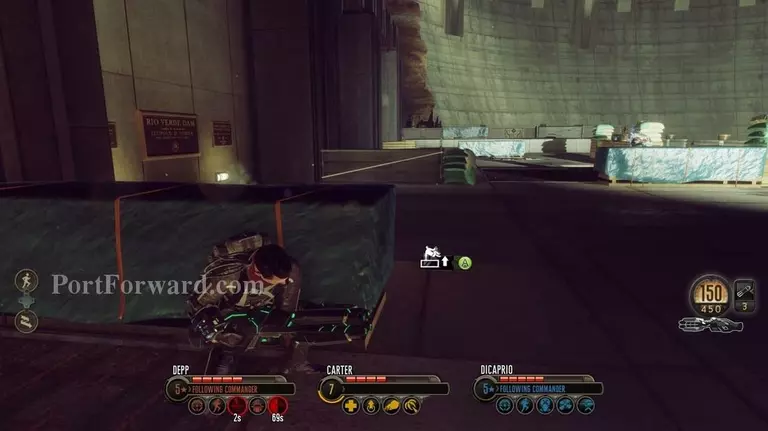
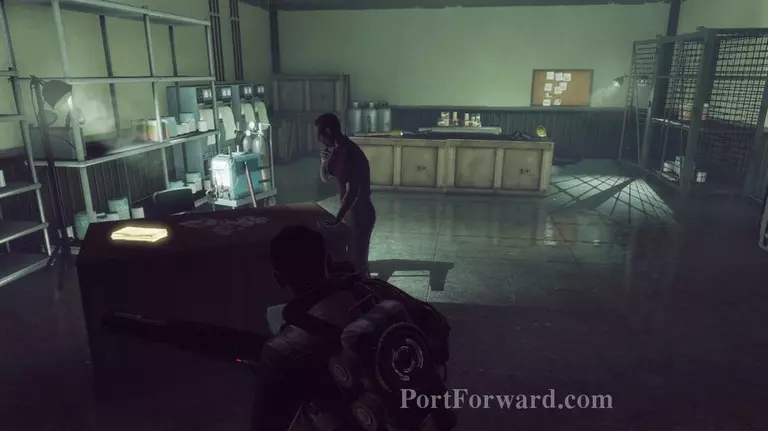
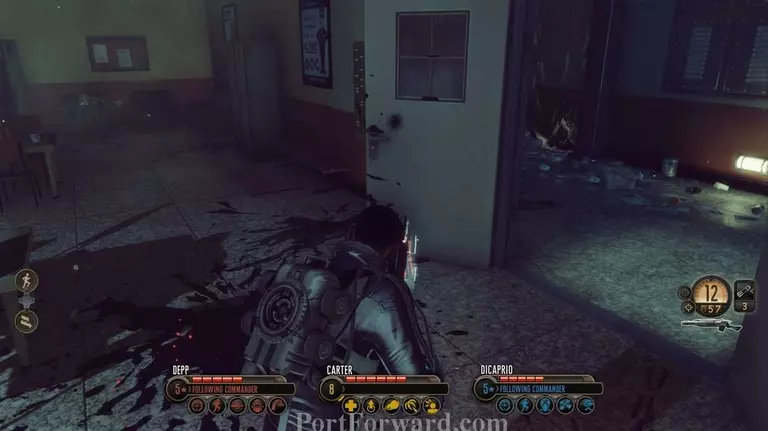
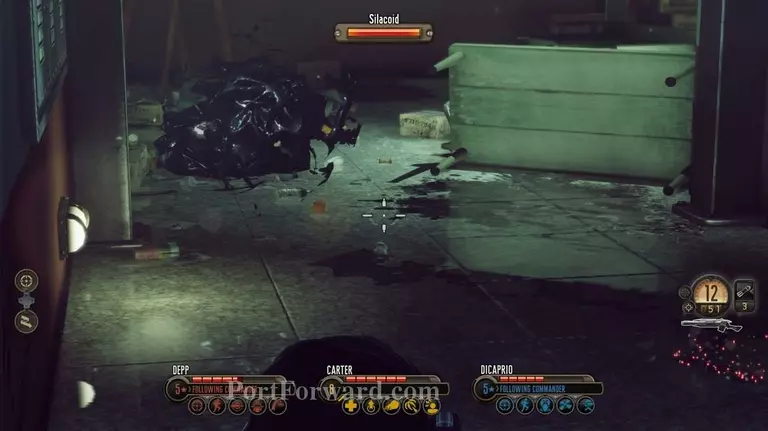
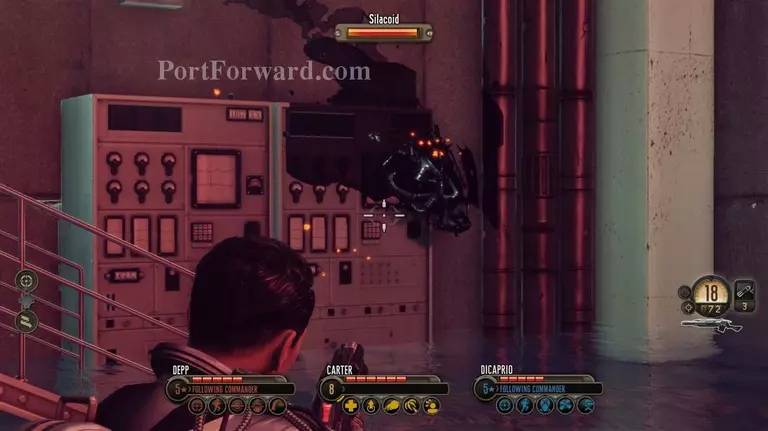
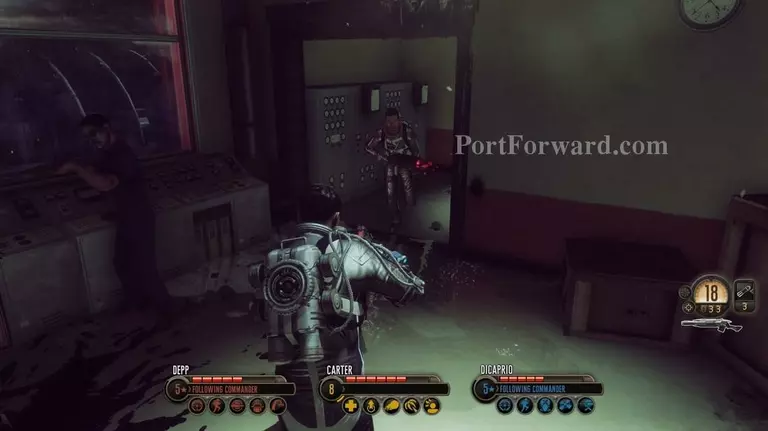
When you come through the door at the bottom a sleepwalker stumbles in and vomits up a Silacoid. There isn't many sleepwalkers barfing these up but watch out for Silacoids in the area none the less.
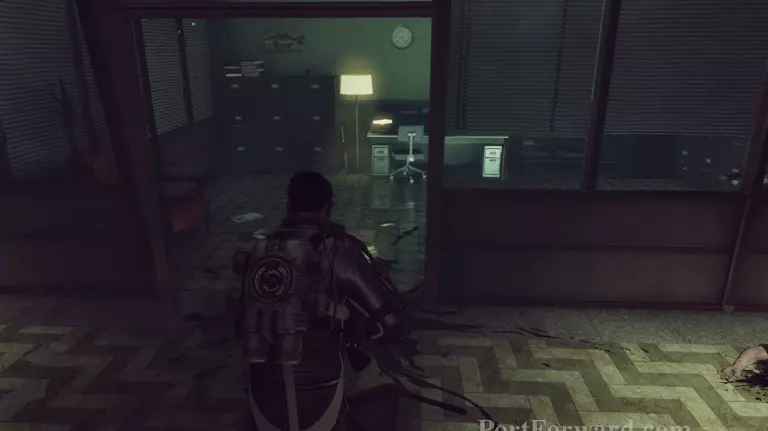
After taking care of that head into the door to the right of the entrance. There is a note on the table just inside you can read.
Then head left back out of the room and to the left around the corner.
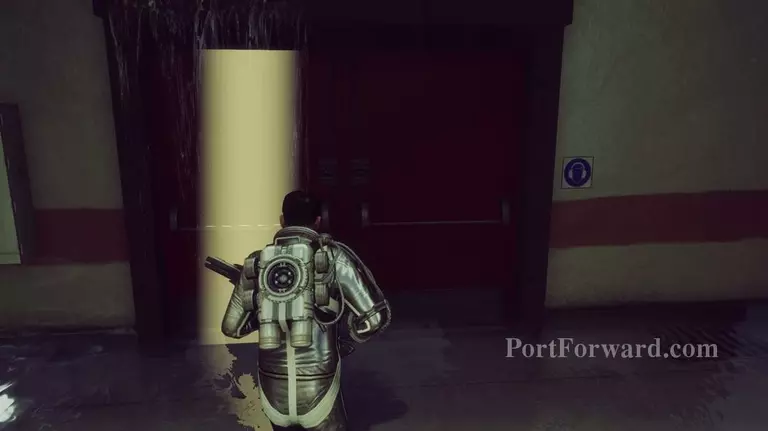
Go through the red door on the other side for another cutscene.
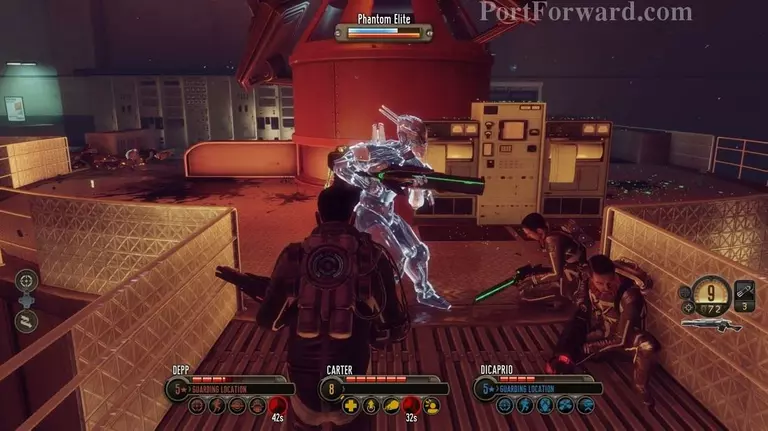
Get behind cover ahead as there will be enemies ready to attack you here.
After you take care of that head forward and around the corner on the left.
Get behind cover again as there will be more enemies ahead.
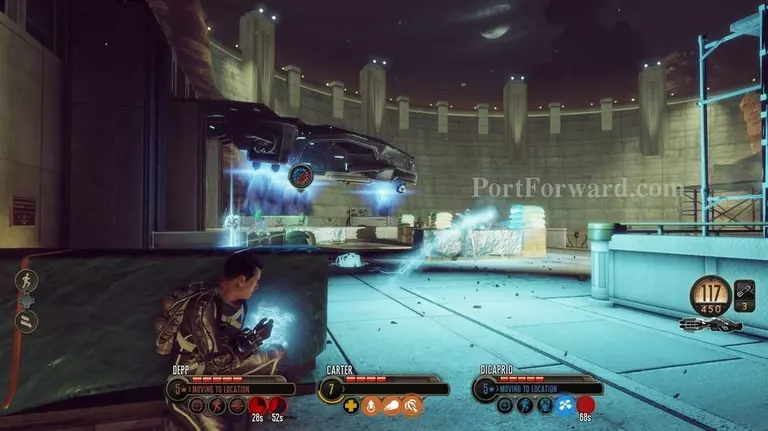
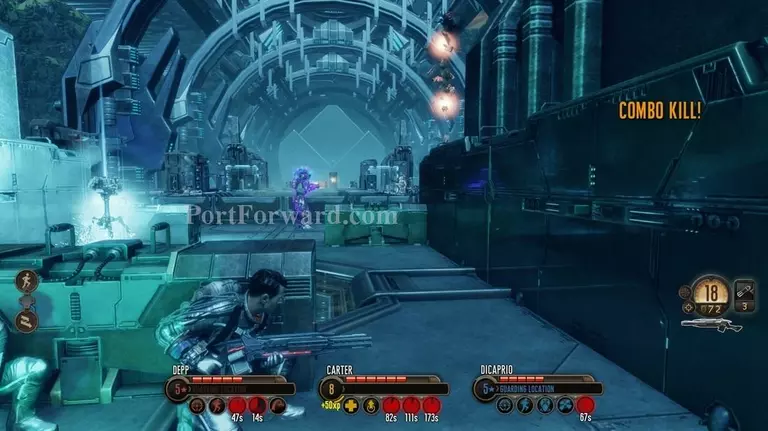
Several more will be dropped in by a gunship so you will also have to take out another gunship here.
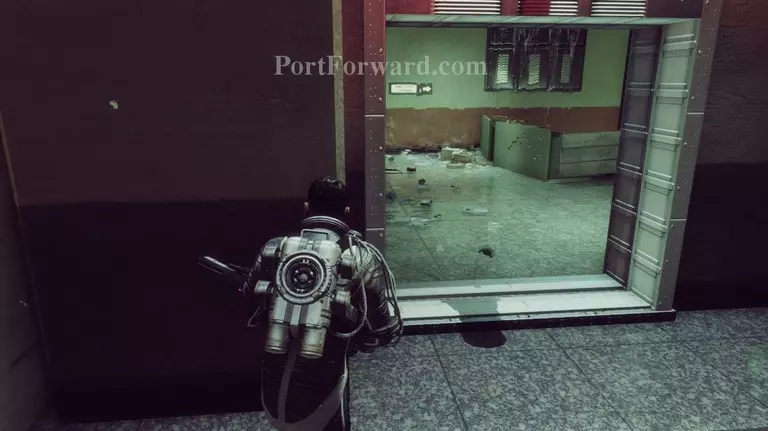
Once that's cleared out head to the far side and through the door on the left.
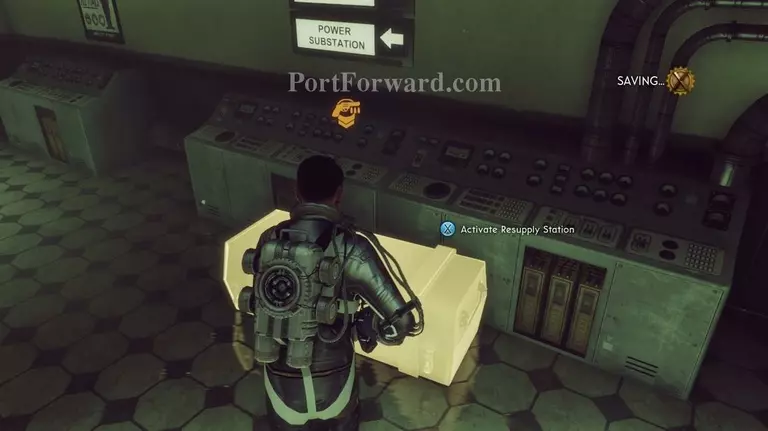
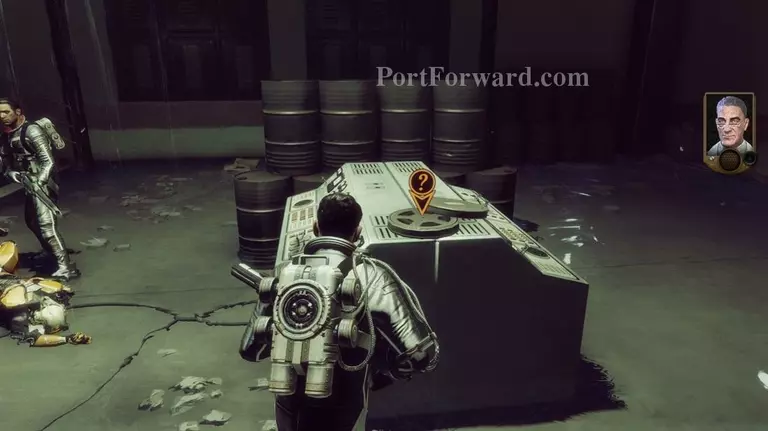
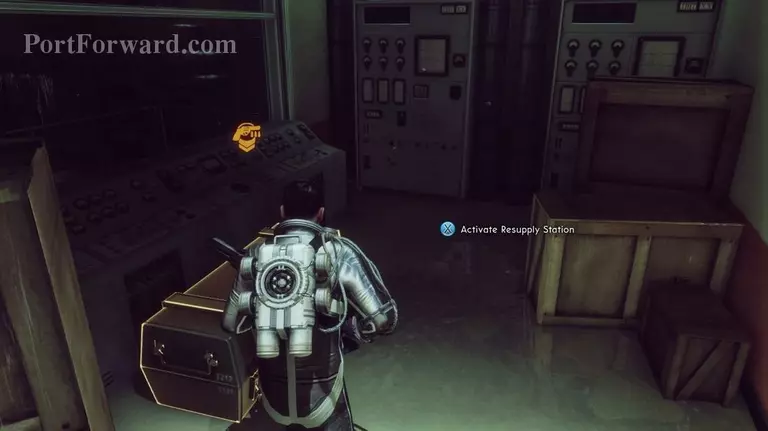
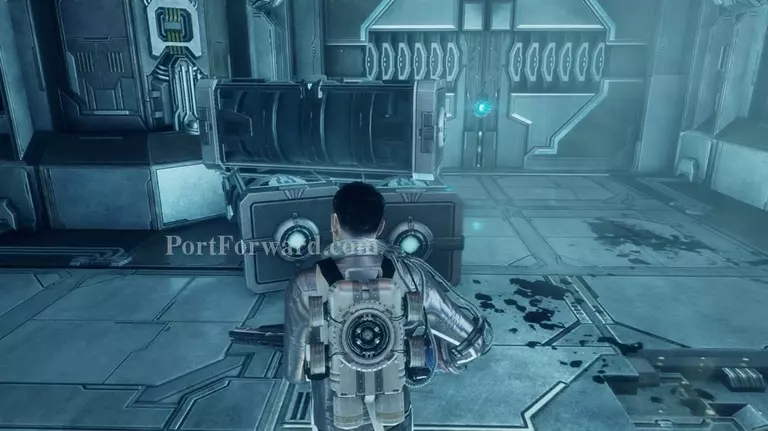
Once inside there is a supply crate you can use if you need ammo, to swap agents or equipment, as well as auto save.
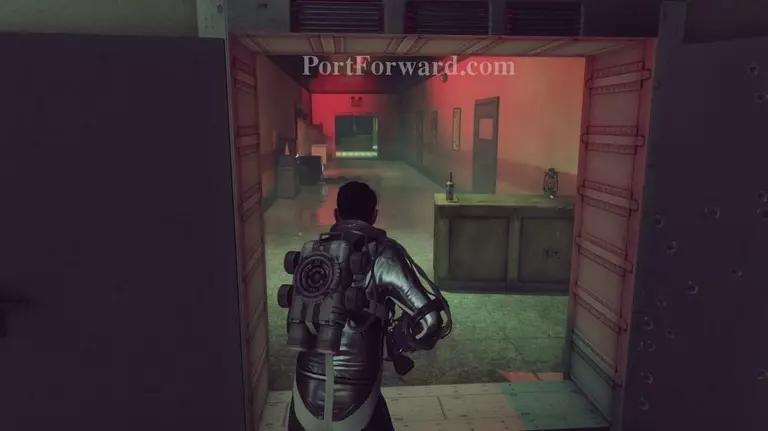
Then head to the left through the double red doors.
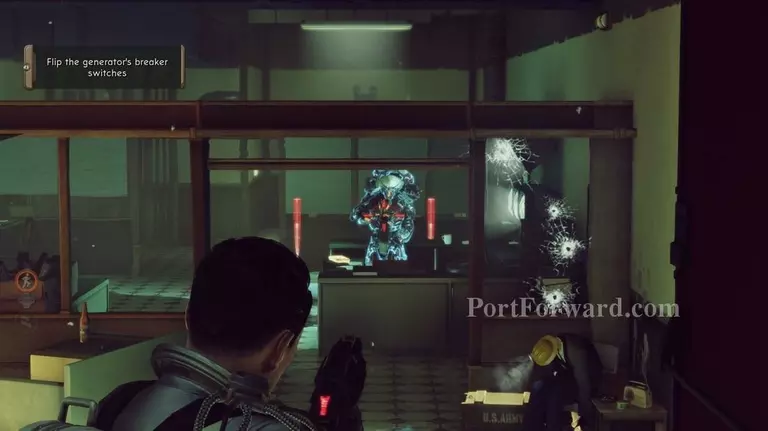
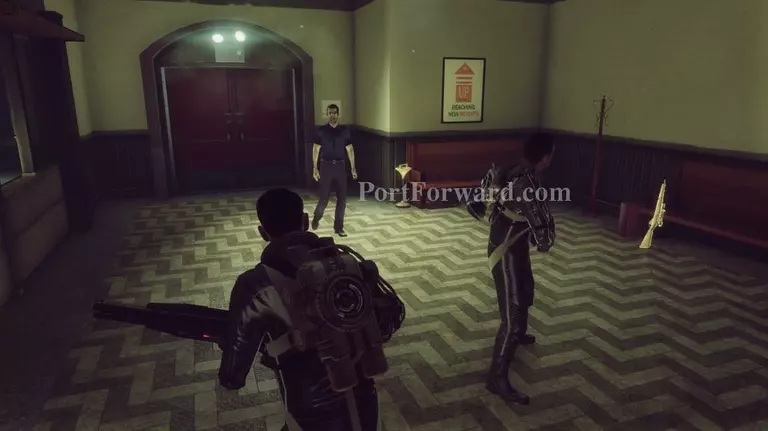
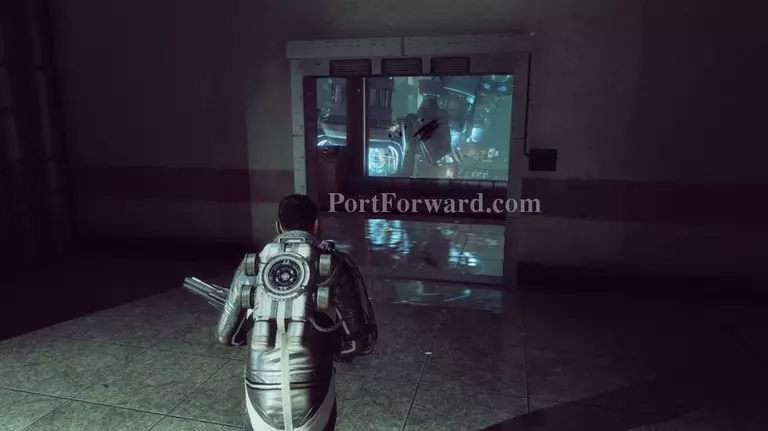
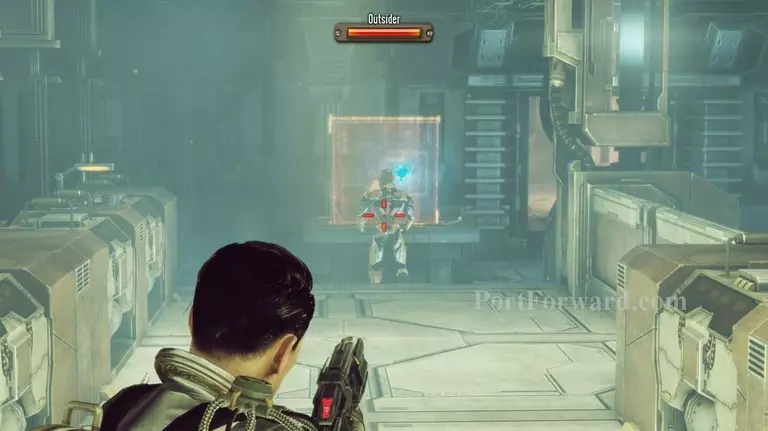
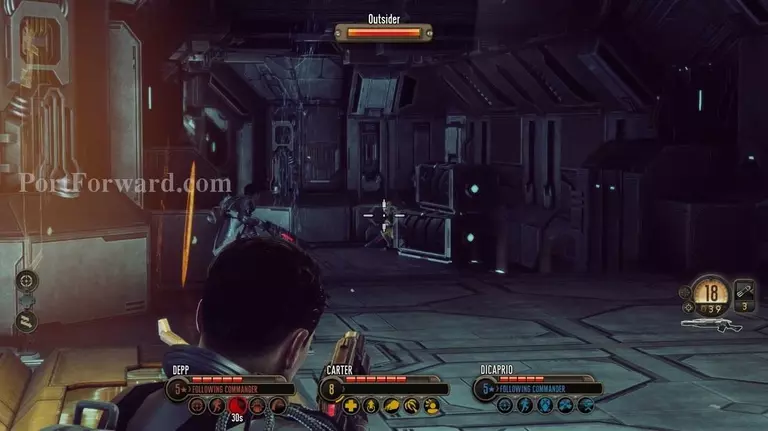
There is a strange Outsider alien ahead. You can try to attack it but it teleports away fairly quickly once you see it.
If you head further into the room where the alien was you can read a note on the desk as well as listen to another reel to reel.

To the left of that, on another desk, you can look at a picture.

Take a right from the picture and head through the door but stay left as the alien that teleported away will attack you from the hallway briefly before teleporting away again.
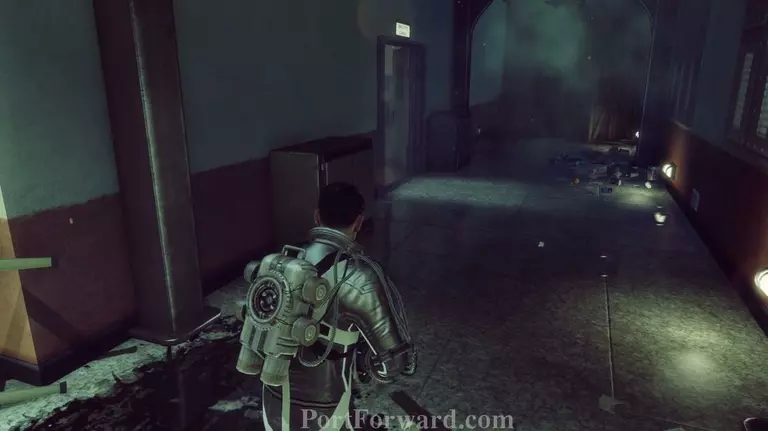
After he's gone head down the hallway.
Eventually we want to go down here, the first door on the right, but before that continue heading down the hallway.
In the room at the end there is another note you can read on a crate in the supply room.
Head back out when you've read that to the door thats now on the left.
Be careful, though, as you will be ambushed by some Outsider aliens.
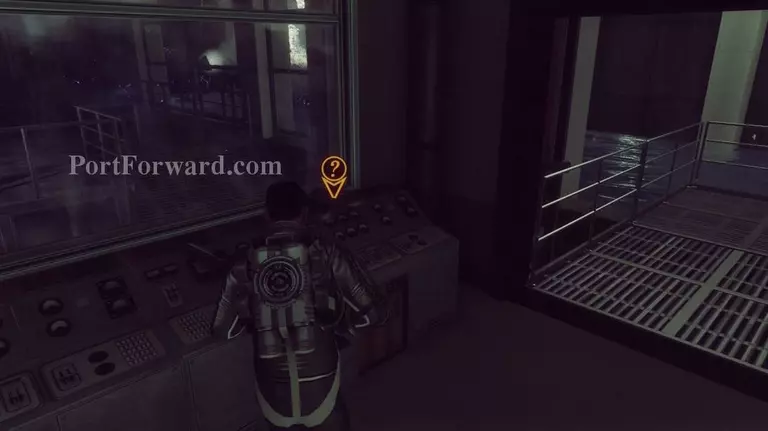
When it's clear head down the stairs and to the right and go through the next doorway.

You'll see some aliens down below from the window inside here.
Head to the left.

Go all the way down the stairs.
Head out the door on the left at the bottom of the stairs at the end of the hall.
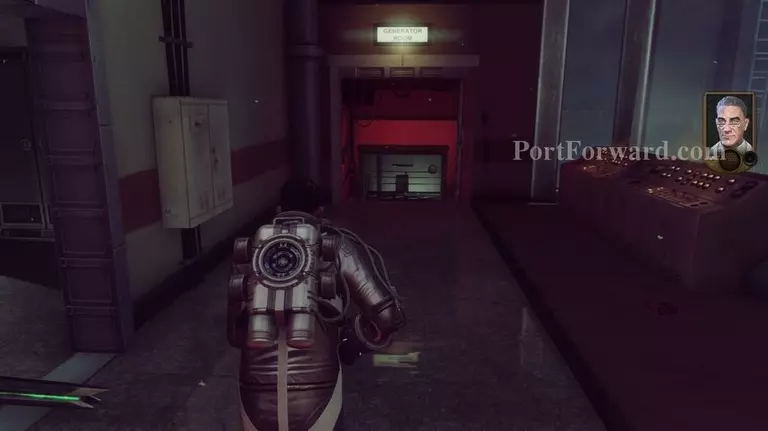
Keep moving forward to the electrical device ahead.
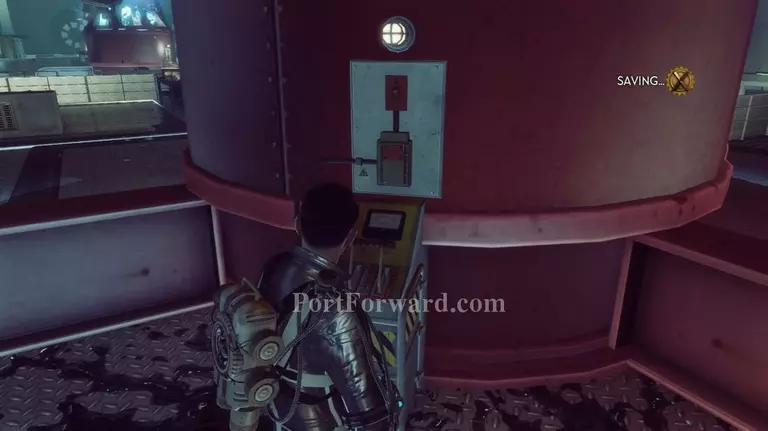
Use the switch to turn it on.
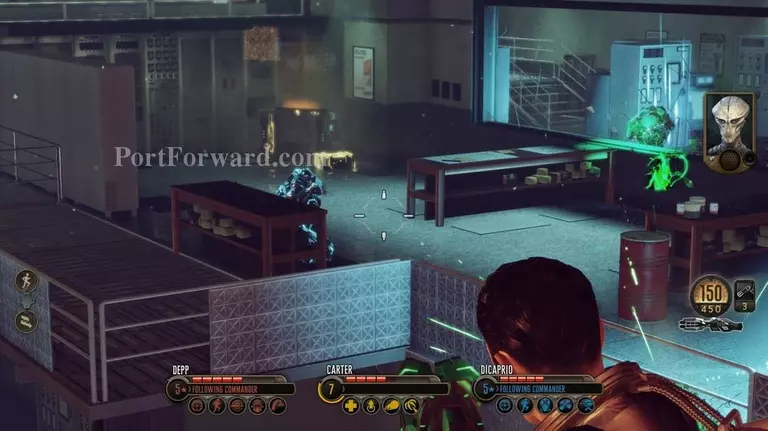
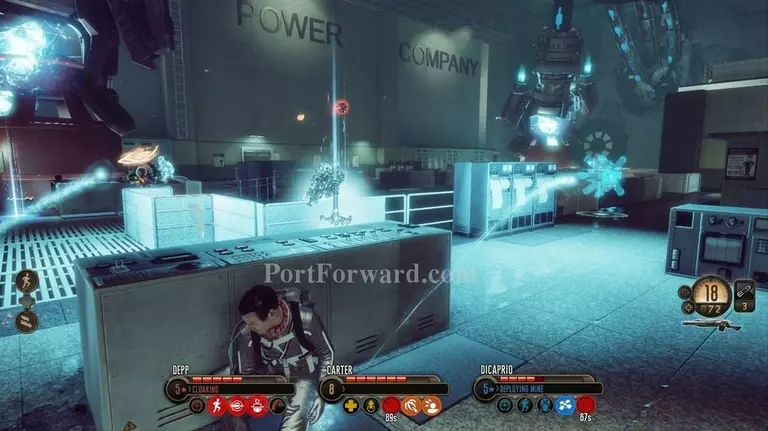
Some enemy aliens will beam in to the room on the right side so take cover and take them out.
You can then head down the stairs.

Go into the room on the right.
Take a left and go all the way down the room.

Go left up the stairs into the red door.
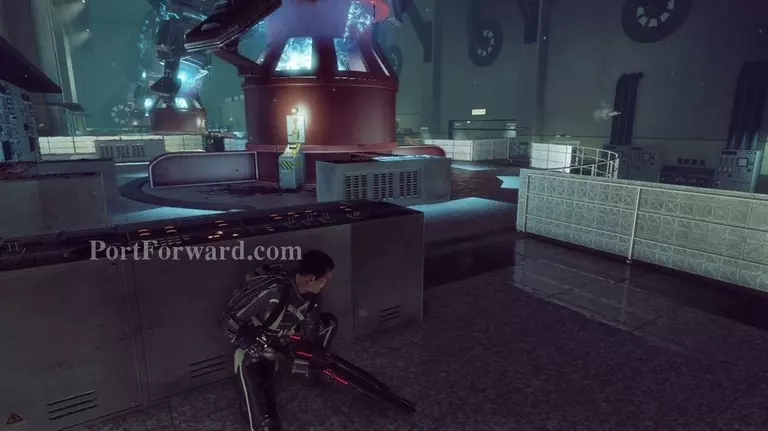
Take cover in here as there will be more enemies.

Once you have cleared this out head around to the electrical device on the far right side first.
Use the switch to turn it on.
Then head back around to the other electrical device.
You will be attacked by some more enemies here.
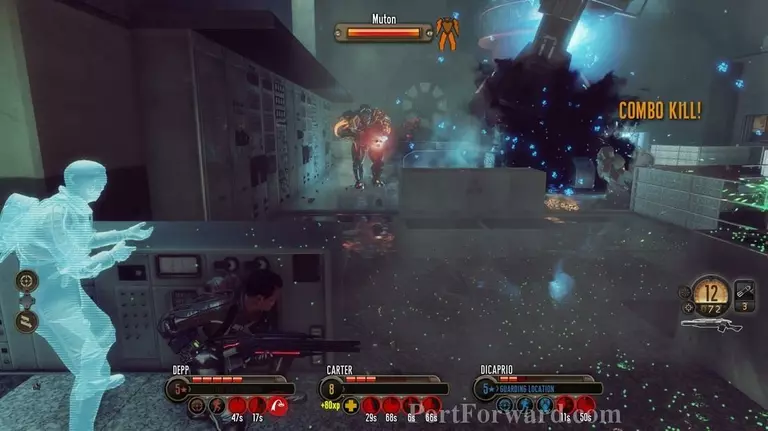
You will also have to contend with a Muton so take it out as quickly as you can.
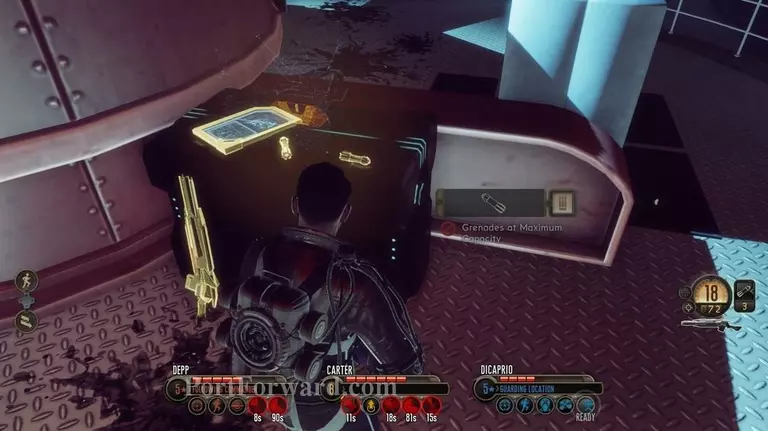
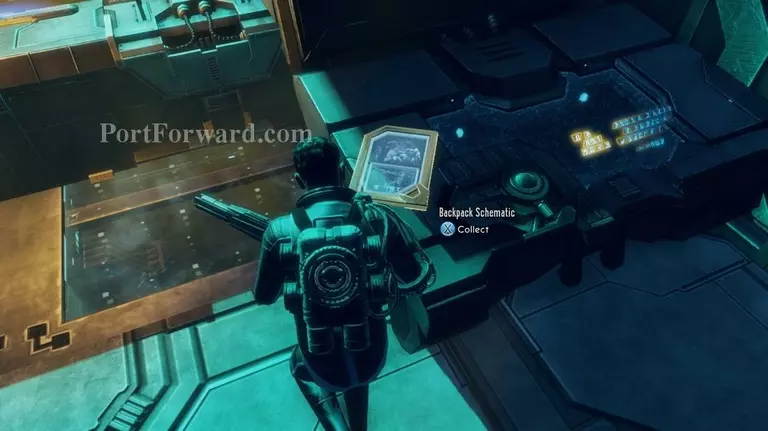
Head to the right of the last switch first and you can pick up another backpack schematic.

You will attain the Laser Efficiency Pack.
Then flip the switch.
You will be attacked from the right so get behind cover. A lot of the enemy fire will come from above.
Several enemies will end up coming down, though, so watch out for that.
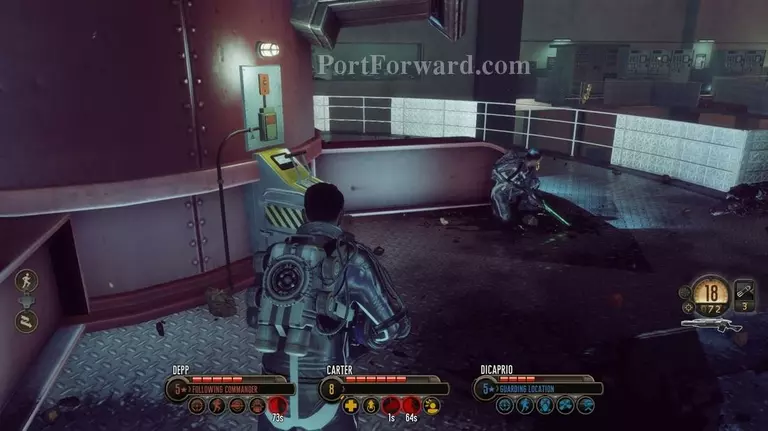
Head up the stairs on the left inside the building when it's clear (or when you're able to).
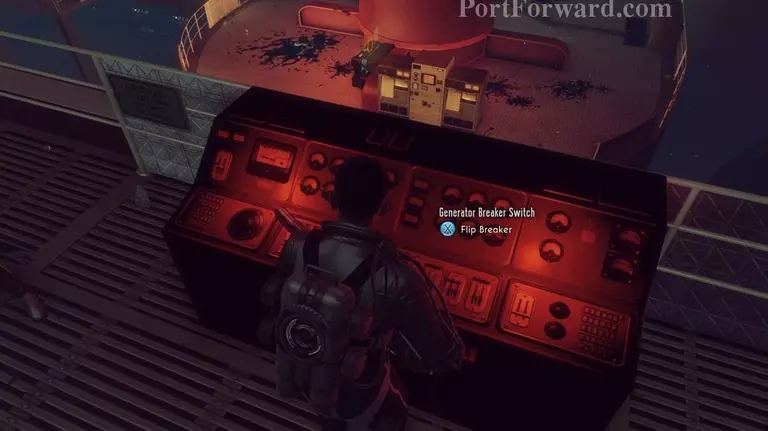
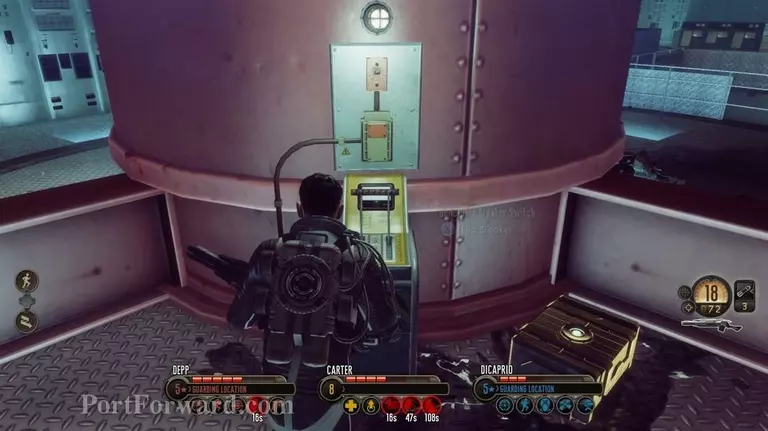
All the way at the end is a breaker switch you will need to flip on.
Then head back down the stairs.
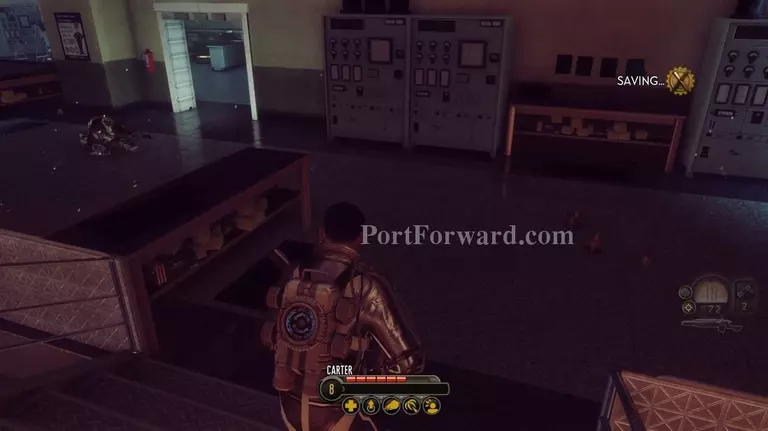
At the bottom if you go forward a little bit into the room there is another reel to reel on the table on the left side.
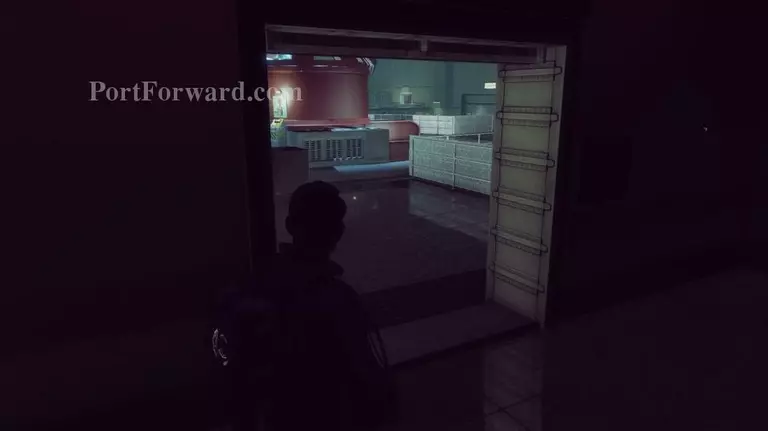
After you listen to that head out of the room (the way you came in) towards the back wall behind the electrical device.
Go through the door on the other side and head to the right.
You'll see some sleepwalker stumble around but it's otherwise harmless. There is several Silacoids around here, though, so watch out for those as you head around to the left.
Go inside the break room at the end of the hall on the left.
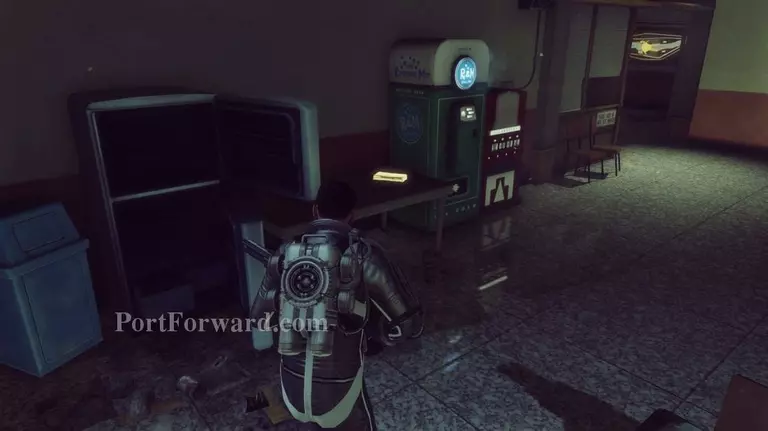
There's a note you can read on a table in the back of the break room next to the empty fridge.
After killing any Silacoids in the way you can head back out.
Watch out for more Silacoids in the hall as well that may try to ambush you.
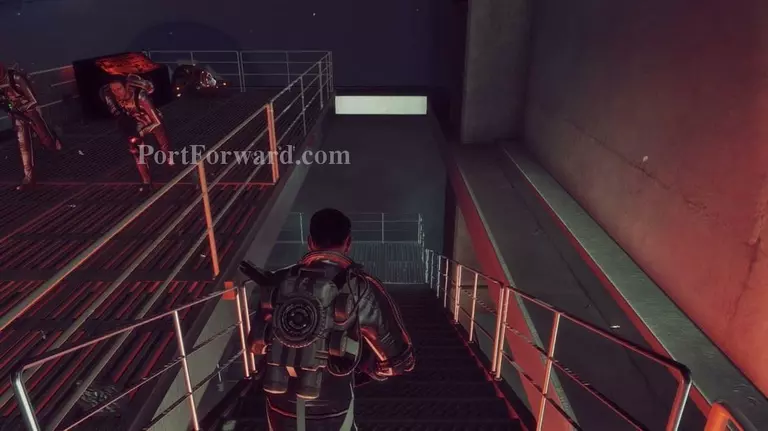
Then head back to the door you came in earlier and this time go down the stairs.

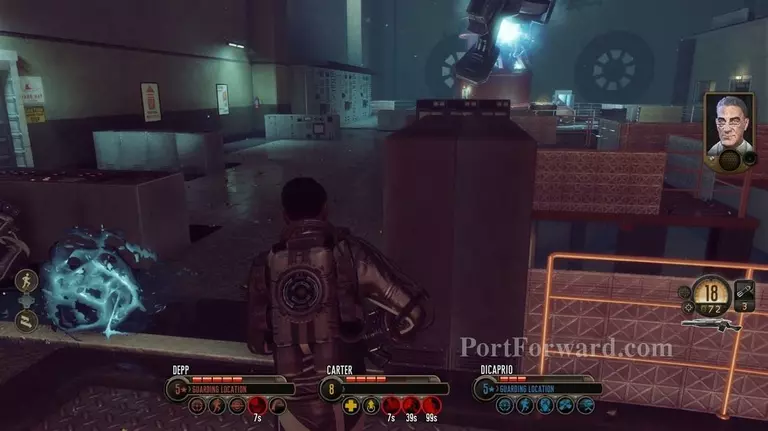
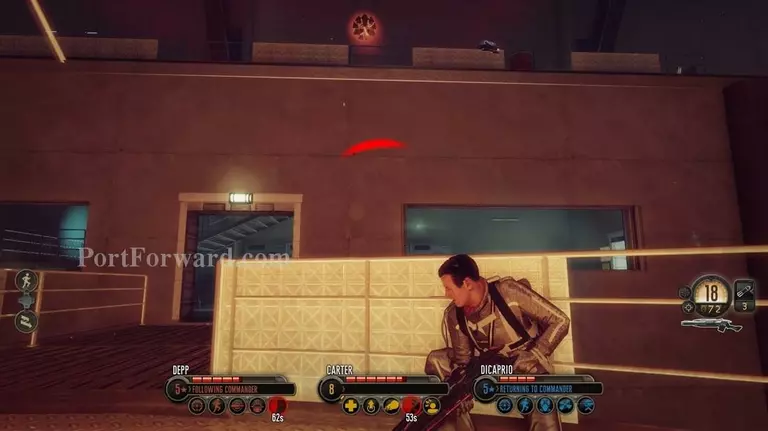
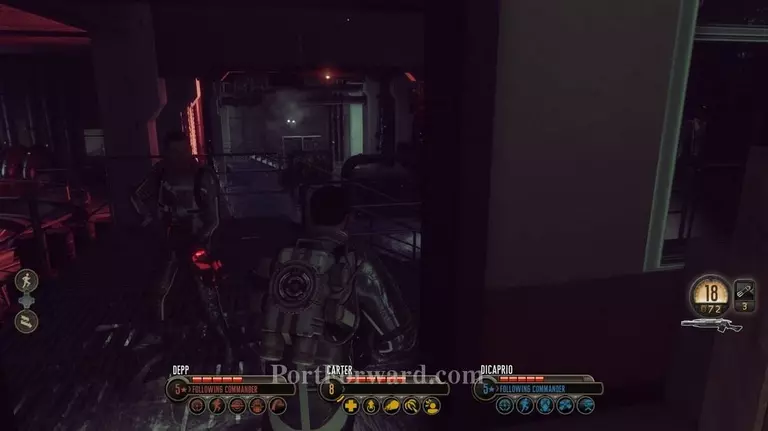
At the bottom take cover behind the railing because there will be 2 enemies down below. There is also one patrolling the staircase.
After taking out the aliens head down the stairs on the left side.
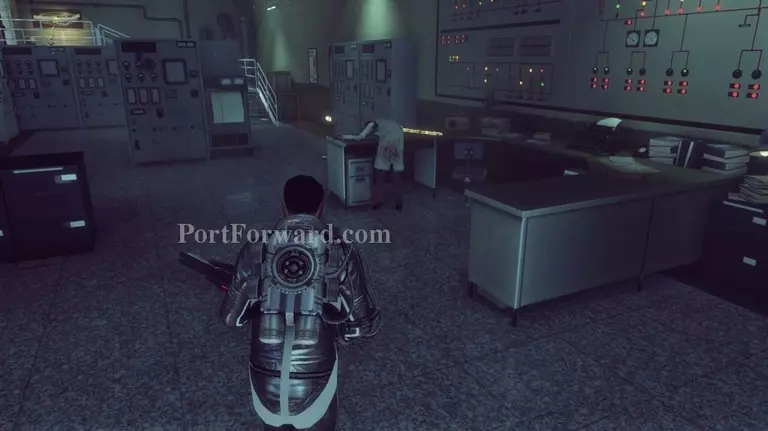
At the bottom you can listen to another reel to reel on top of a computer panel in the center of the room.
Then head through the red door at the back side of the room.
There will be another resupply crate you can use here. I recommend doing so just to autosave if nothing else.
Then head through the door to the left of the resupply.
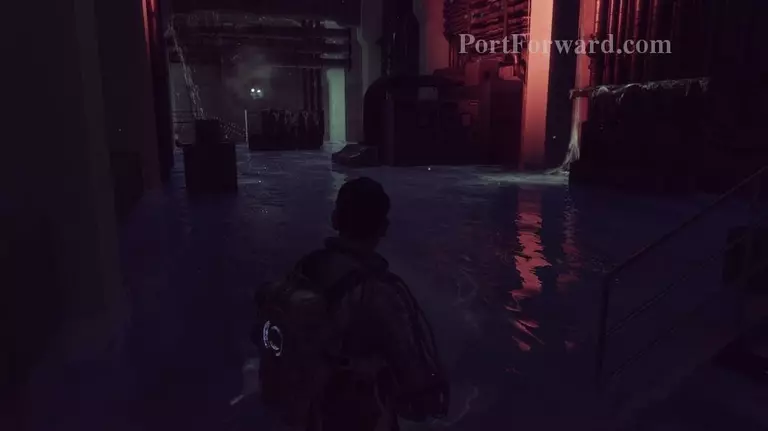
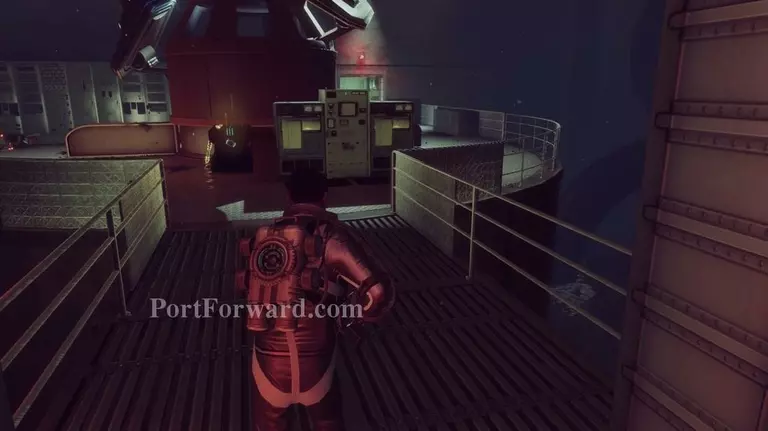
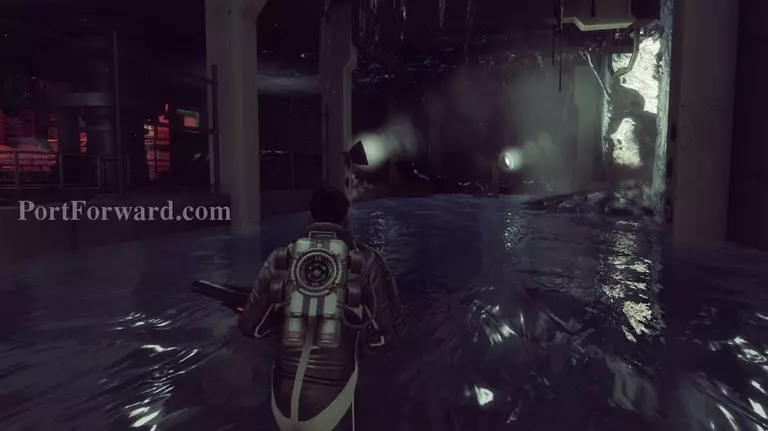
When you head out into here you come into a room full of water. I recommend caution in here as Silacoids will ambush you several times along the way. Head over to the end of the room.
At the other end watch out for more Silacoids as well. Then head up the stairs on the left and go into the room ahead.
Head through the first room.
In the second room there is another reel to reel you can listen to on a computer terminal on the left.
Then head out the other side and jump down into the water.

Head to the left and again beware of Silacoids who will ambush you a few times as you head through the water.
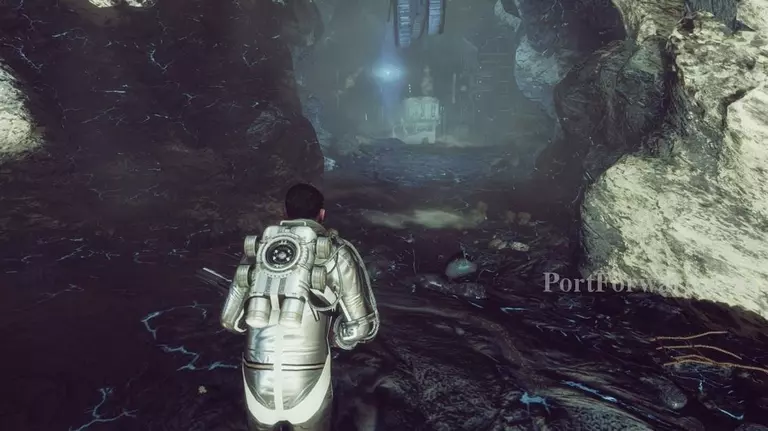
On the other side go through the hole in the wall on the right side.
At the end of the path jump down into another alien facility.
Head through the doorway and around the right side bend.
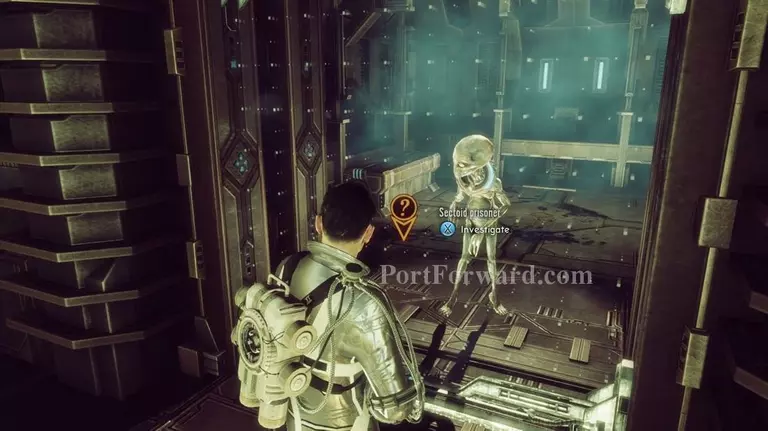
You can examine the first cell you see ahead that has a Sectoid inside it for some interesting dialogue.
Then head up the stairs in the room and around the corner. You'll see an Outsider working on a terminal ahead.
After you take it out and round to the right there will be another Outsider to deal with.

Continue heading down the hallways when it's clear..
Go through the next door at the end of the path.
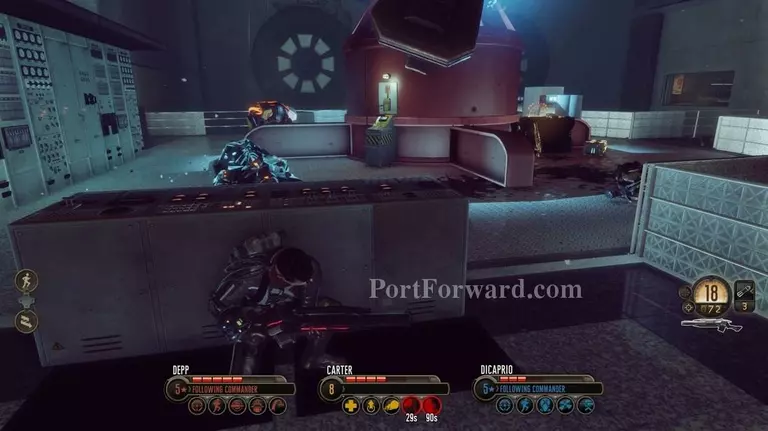
Take cover inside as there are more enemies here.
Then head around (either on the right or the left, it doesn't matter) to the other side.
Hit the button to open the door on the back side of the room.
When you head through you'll now be on the other side of the dam (underneath the water) in another alien facility. Keep going forward.
Go through the hallway and to the right.
Then head to the left and down some stairs.

Go around the corner and to the right.
There is another backpack schematic on an alien table in here.
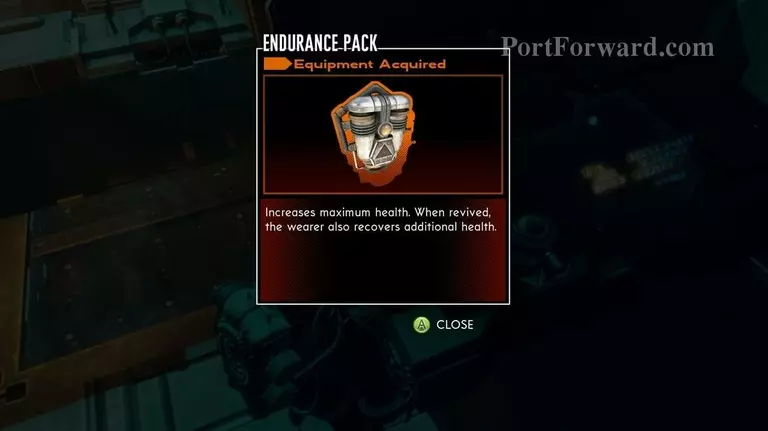
You'll be provided with the Endurance Pack.
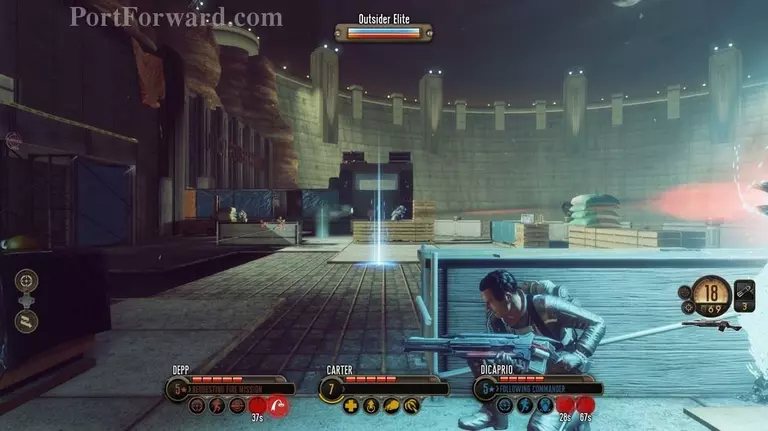
Then turn around and get prepared as there will be enemies to take out ahead. I set a sniper on the right side as there is an alcove he can shoot from effectively there.
If you have an engineer he can be useful here as the turret can hit most anything in this room. There is pretty easy placement to find here.
Anyway, head back down the stairs behind where the backpack schematic was.
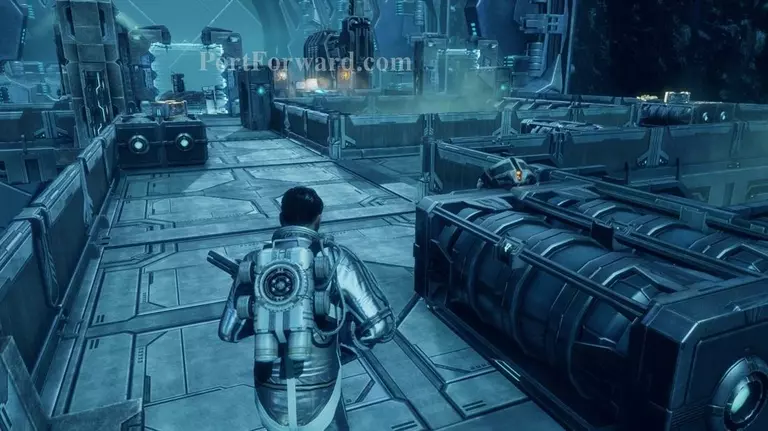
When you're done killing them stick to the left side as you head down all the way to the back.
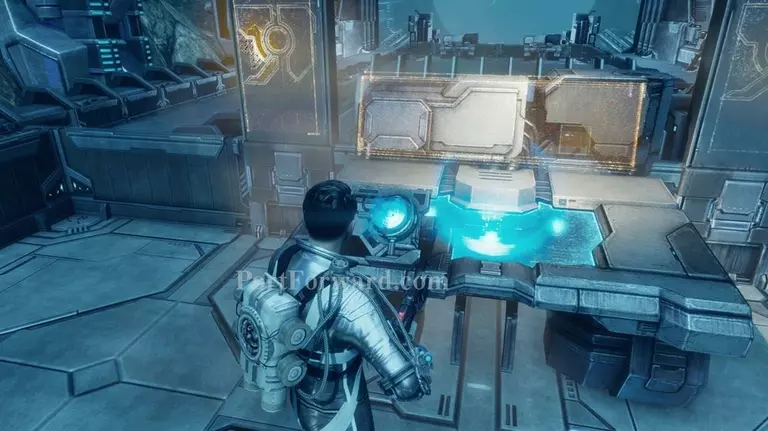
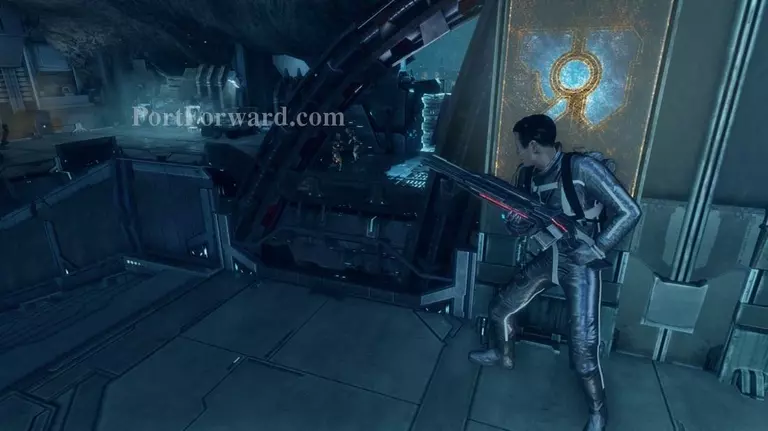
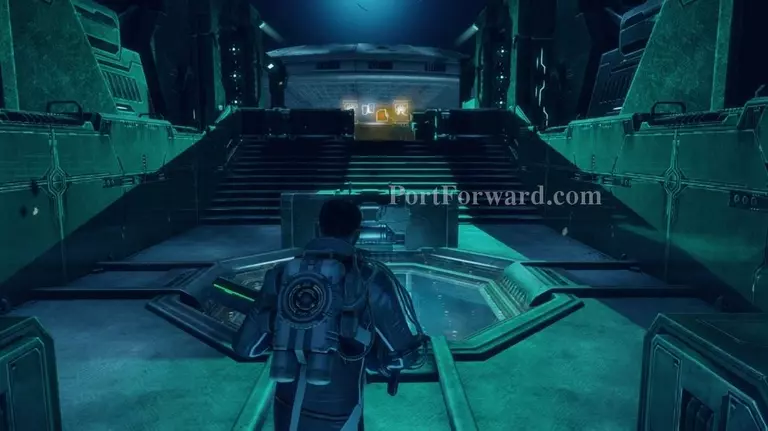
There is a glowing panel here you can use in order to open the Venn Gate and proceed with your mission.
After pressing it, though, you will be attacked by more aliens from the other side. Use everything you got to finish them off.
Then head back towards the stairs- the way you came in.
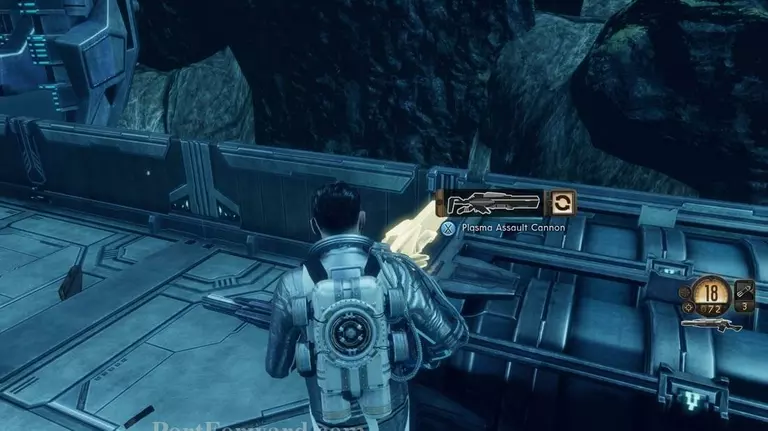
Before going all the way there veer to the left side of the room. There is a new weapon type on a box here you can pick up to add it to your armory. It's another type of alien rifle.
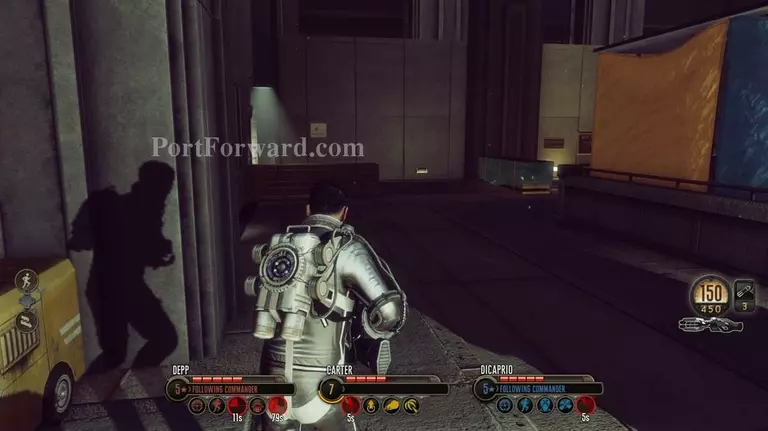
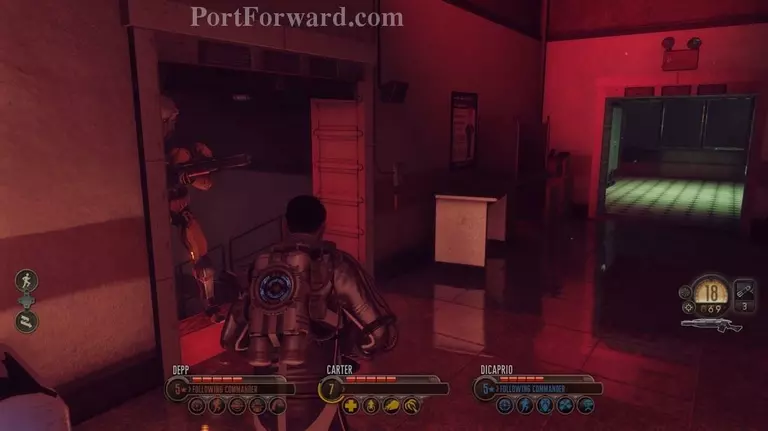
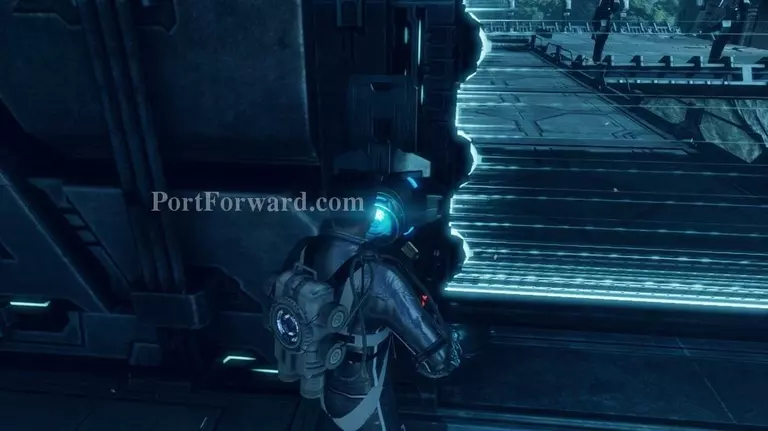
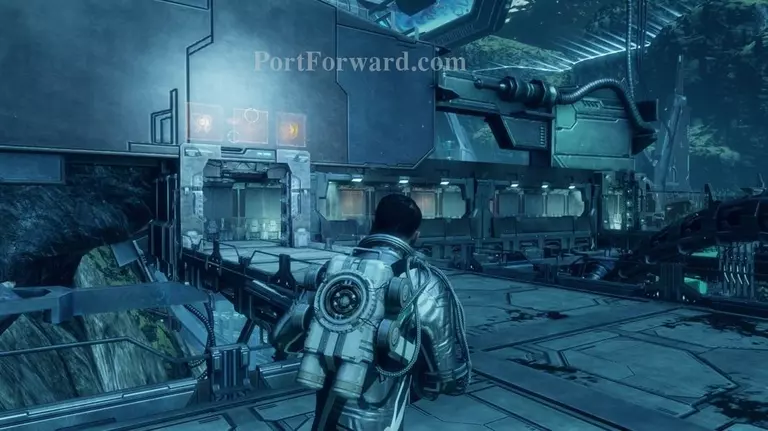
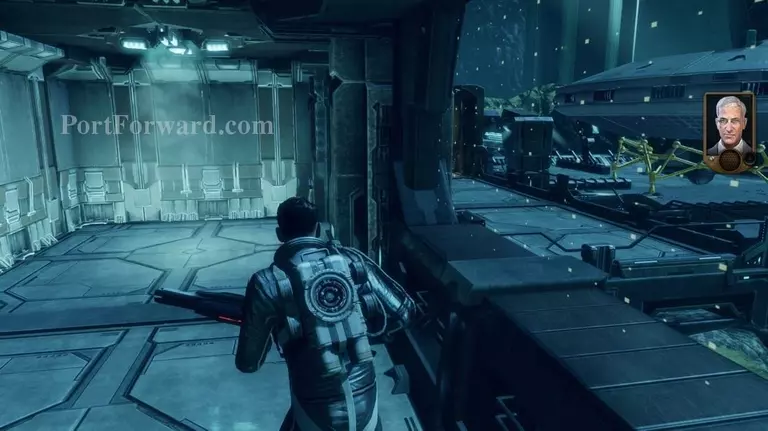
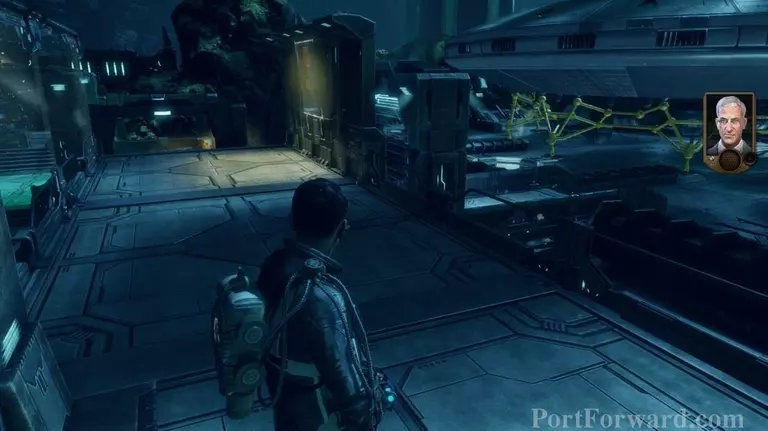
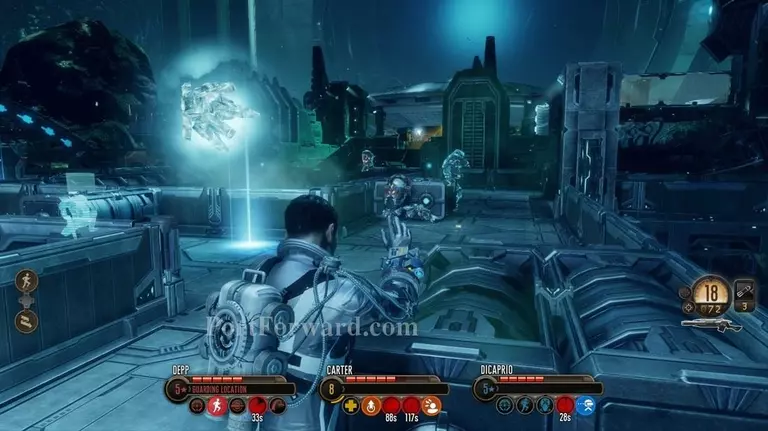
Then head back up the stairs and to the right. img(218855); Head all the way back to the door way that was blocked before. img(218856); From the other side head up the ramp to board the Avenger and trigger the next cutscene. img(218857); After the harrowing cutscene you are dropped off in the alien base. You can use the resupply here if you need to change out your agents but it already saved and you just got here so you should have ammo, so head forward to continue when you're ready. img(218858); On the other side of the door you can take a right or a left in the corridor (it doesn't matter). img(218859); The button you can see on the other side is where you are going. Before you push it, though, so you know this will trigger a large scale battle that will last a while so get prepared for that and then activate the panel. img(218860); There will be a short cutscene and then you will be confronted by an Elite Muton. I recommend planning to take this guy first and quickly with all your heaviest attacks. img(218861); Remember that you can lift Mutons, but also so you know if you have a battle upgraded drone the drone can lift him (if it chooses to, you can't give them orders to do so but it's useful still). img(218862); Also you can mind control them if you have gotten that power by now (you should have). img(218863); Eventually the Muton will be backed up by all sorts of Outsiders that will be brought in by ship. img(218864); The ships don't seem to stick around during this fight so you don't have to worry to much about gunships, but they will drop off enemies periodically on the left and the right sides. img(218865); You should also know that after killing one Muton another will drop down. This will happen twice, so there are three elite Mutons to kill in total. img(218866); After killing all the alien enemies head to the NW of where you entered. img(218867); Before pushing the button there is another backpack schematic that you can pick up behind where you'd be looking at the door- on a wall. img(218868); You will recieve the Kinetic Acceleration Pack. img(218869); After that you can push the button to open the wall panel and continue forward. img(218870); Head up the stairs on the side and through the entryway. img(218871); Once inside head through to the door ahead. img(218872); From the door take a left and go up some more stairs. img(218873); Around the corner go through another doorway. img(218874); Inside here you will be introduced to Origin. He brings up some interesting details about the nature of their invasion. img(218875); When the cutscene is over Carter is on the ground near an alien that Origin refers to as a demon. I did not see any other option here so hit the button you use for "use" and capture Ethereal.
More The Bureau: XCOM Declassified Walkthroughs
This The Bureau: XCOM Declassified walkthrough is divided into 17 total pages.


