
This The Legend of Zelda: The Wind Waker walkthrough is divided into 47 total pages.
You can jump to nearby pages of the game using the links above.
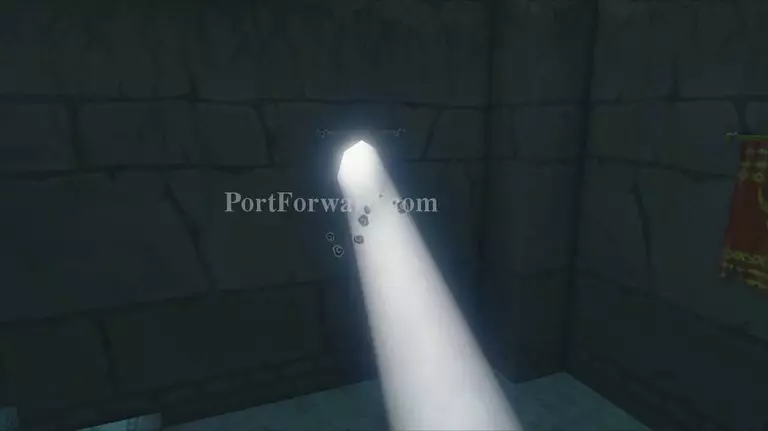
11.6 Earth Temple
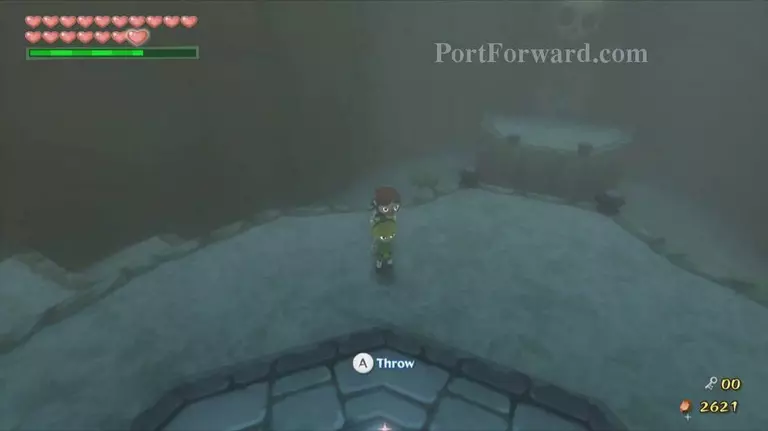
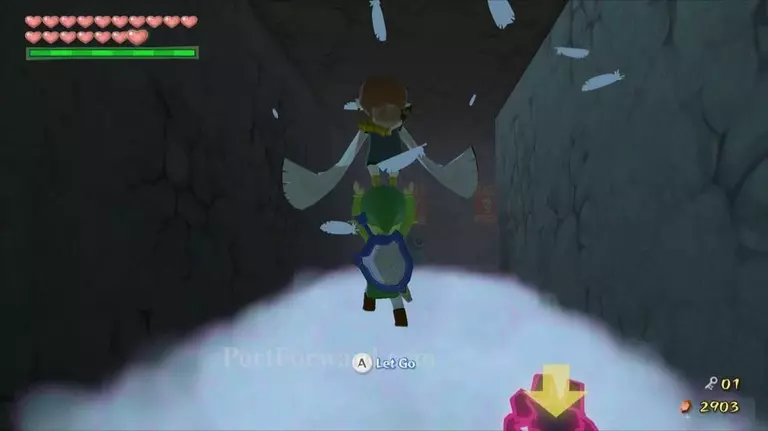
In this first room walk forward and grab Medli. Move to edge of this platform and jump across to the door ahead. Medli will use her wings to float both of you across the gap.
Let go of Medli once you are above the next platform, and then grab her again and head through the doorway.

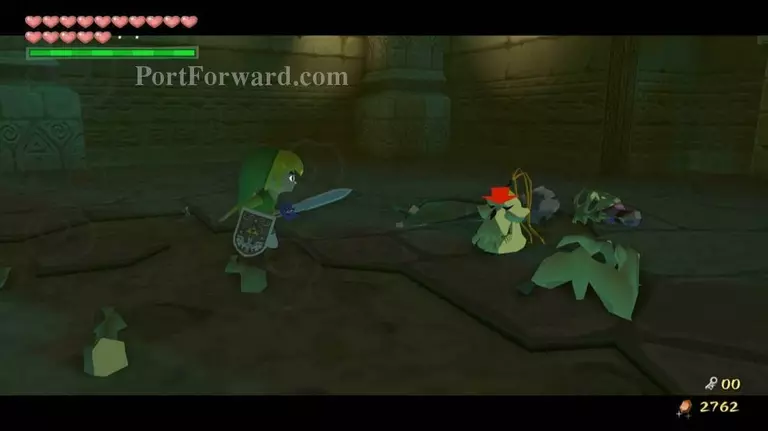
Drop Medli in the next room and walk along the path to the right. Defeat the two Moblins here, and then walk back to the door.
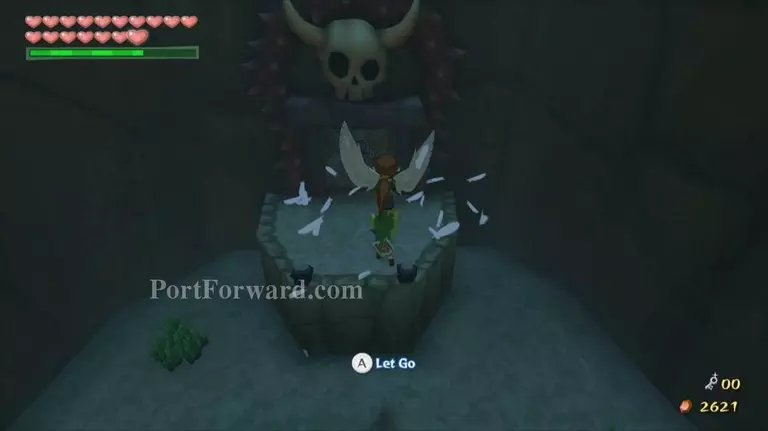
Walk halfway up the stairs along the wall and defeat the last Moblin. Pick up Medli and then run up to the top of the stairs. Jump across the gap to the pillar ahead and step on the switch here.

Set Medli down and play the command melody to take control of Medli. Press A button to make her fly high into the air. Fly over to the other pillar in this room and step on the other switch, opening the door below.
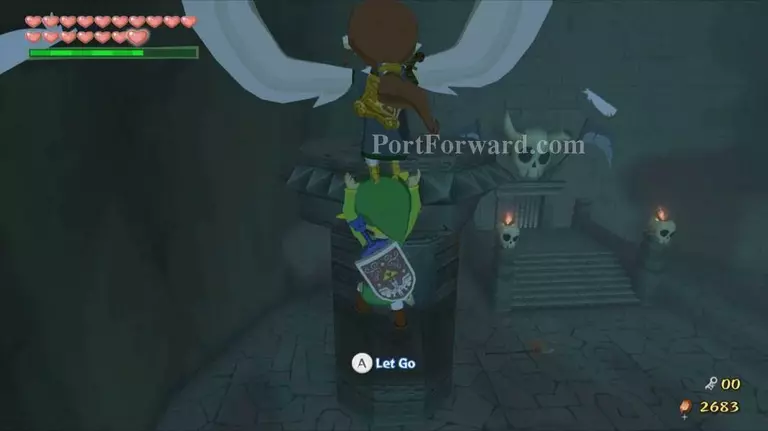
Fly down to the door that just opened while you still have control of Medli. Switch back to Link and head over to this door as well. Pick up Medli and head through the door.
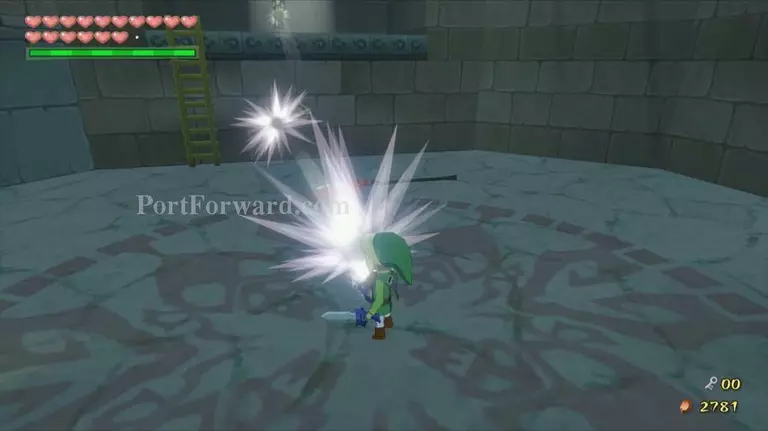
Put Medli on the ground and defeat the red and green ChuChus in this room. You will also encounter a new purple kind of ChuChu that cannot be damaged with the sword. To defeat these enemies you must reflect light off of Medli's instrument at them.
This will cause them to turn to stone, allowing you to pick them up and throw them. To do this, you can either walk around Medli in a circle to spin her around the room, or take control of her and press A to use the instrument like a shield.
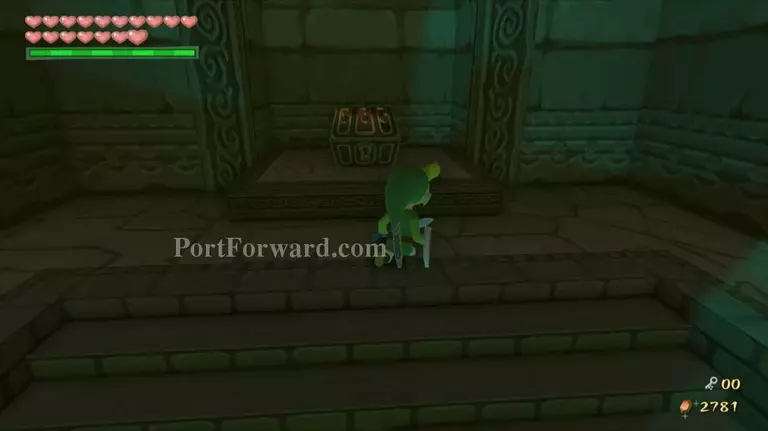
Once every ChuChu is dead open the chest that appears for the Dungeon Map. Use a bomb or a Fire Arrow to burn the wooden board covering the big pot in the corner of the room.
Grab Medli once again and head through the door to the east.
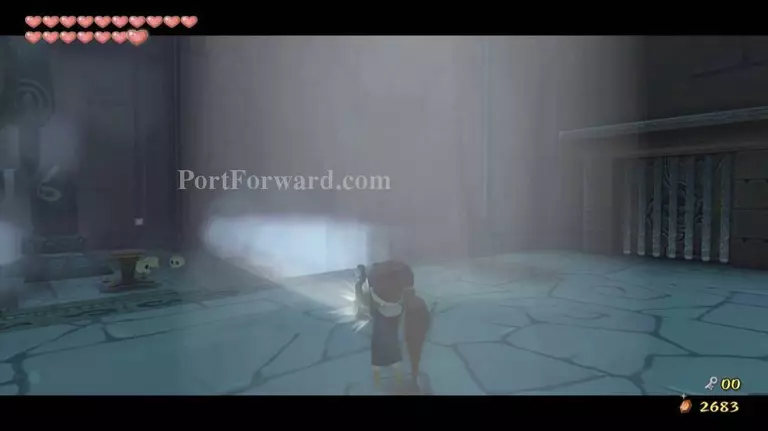
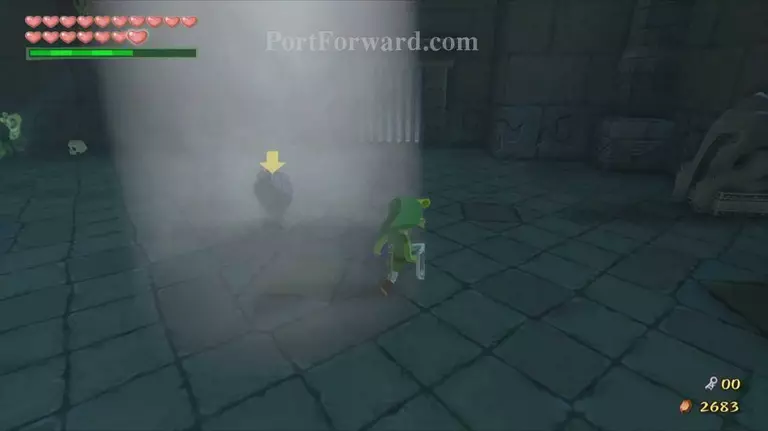
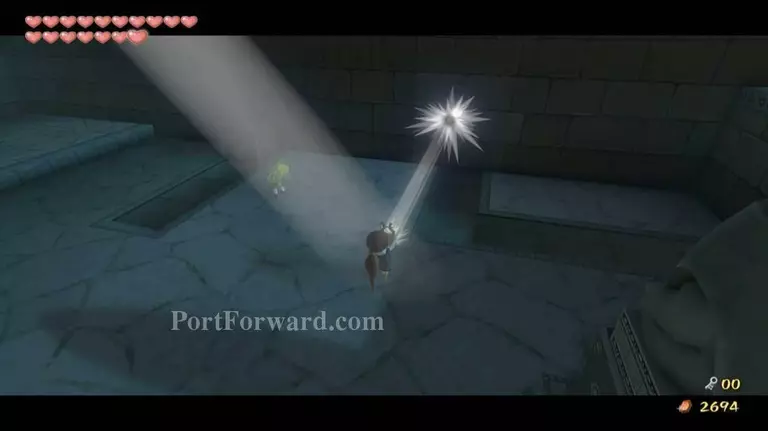
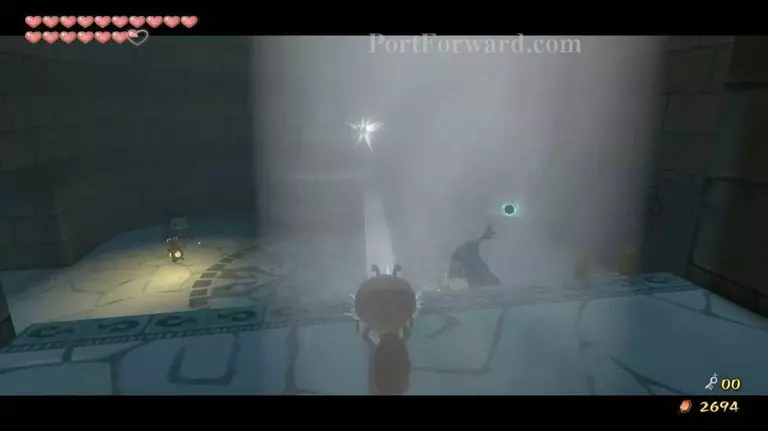
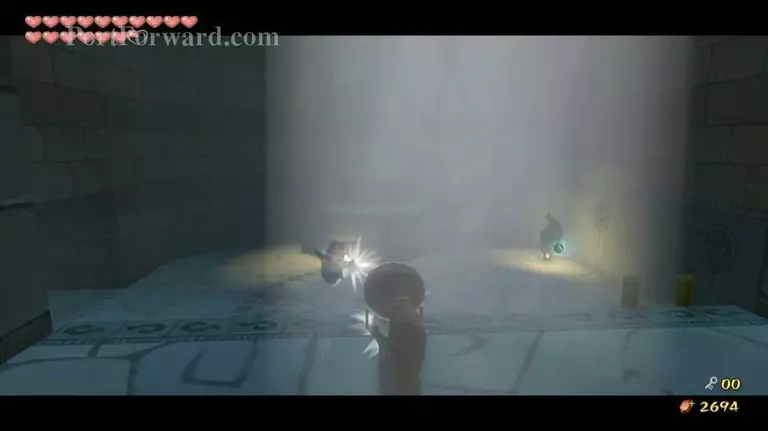
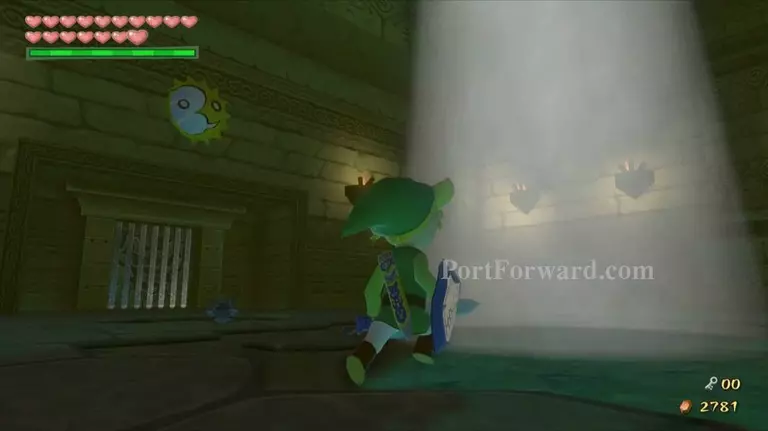
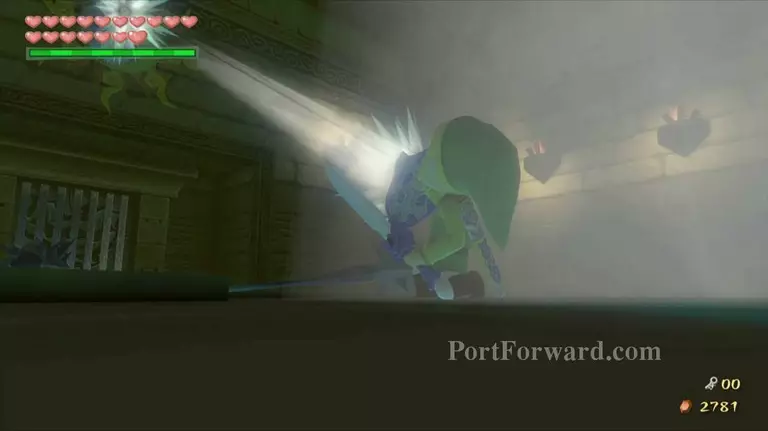
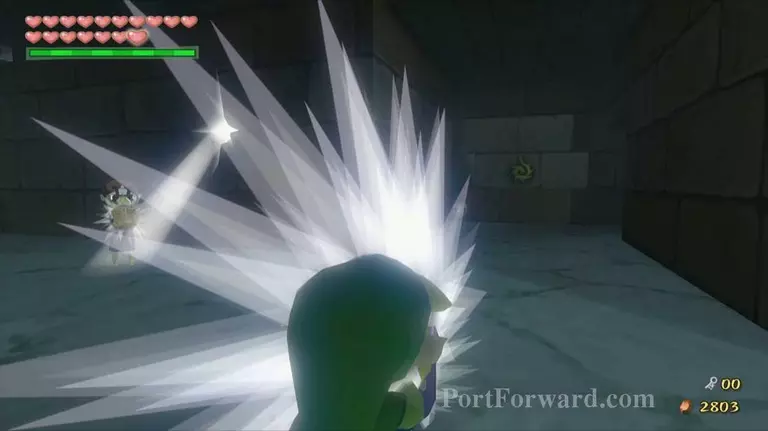
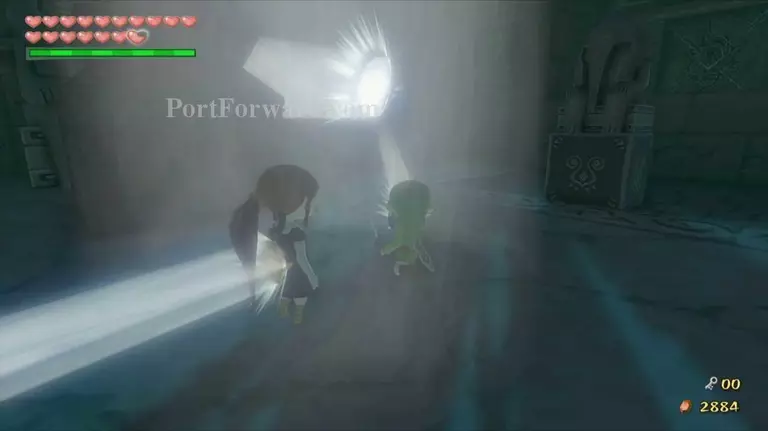
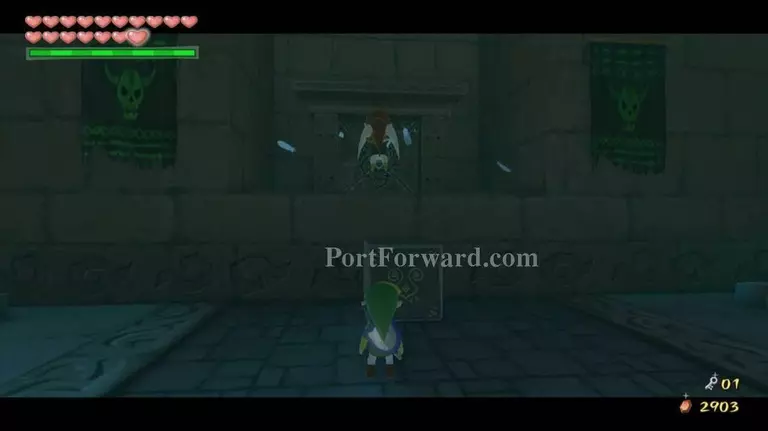
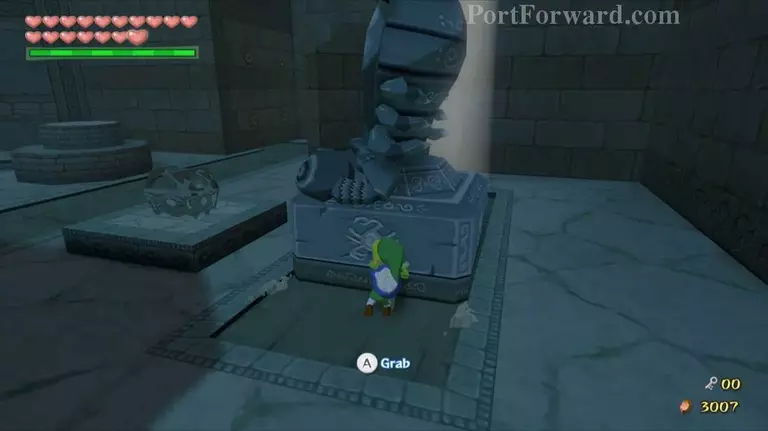
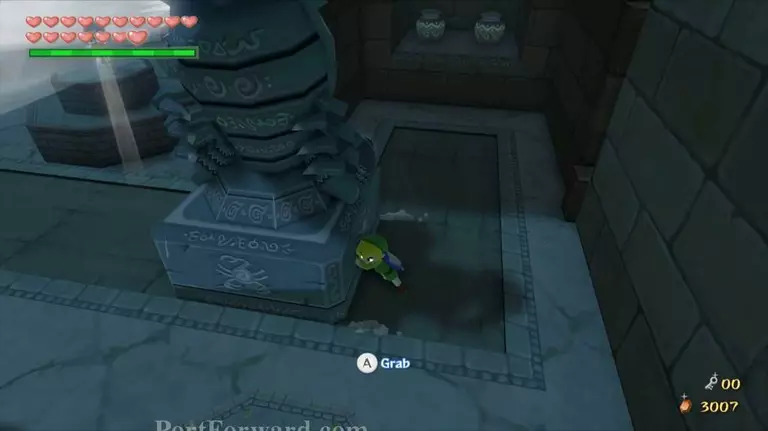
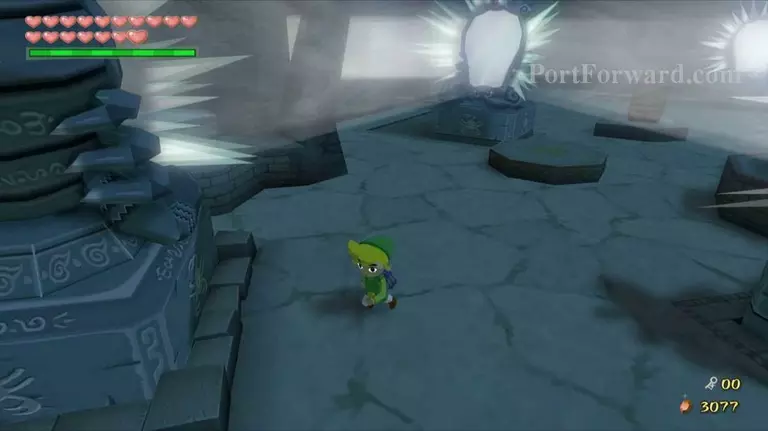
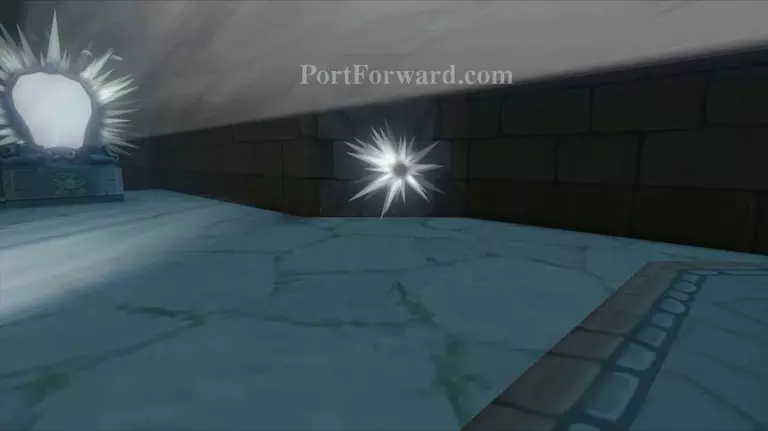
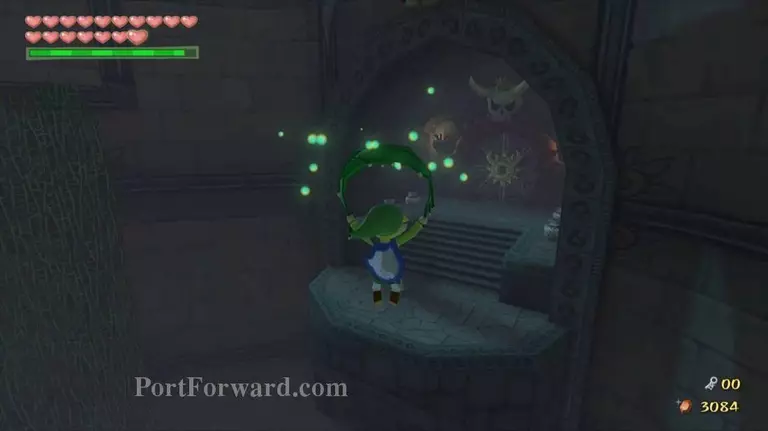
In the next room you will find a tall statue with a large cloud of blue fog covering the ground in front of it. Touching this fog will prevent you from using any of your weapons until you walk out of the fog and wait a couple of seconds for it to disappear. If you happen to touch the fog you can make it instantly disappear by stepping into one of the circles of light in this room.

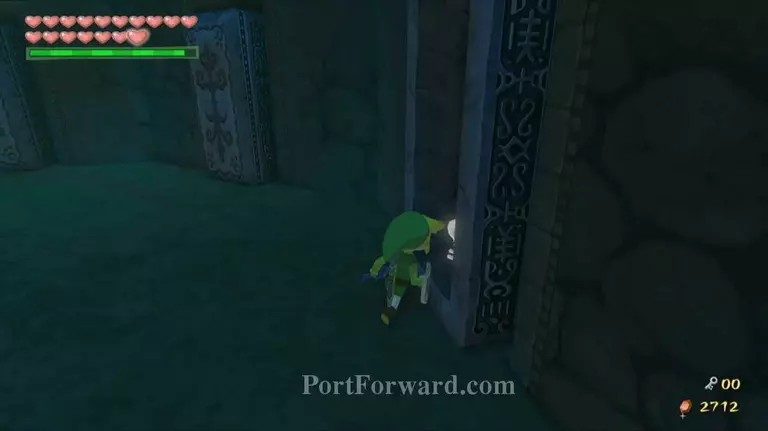
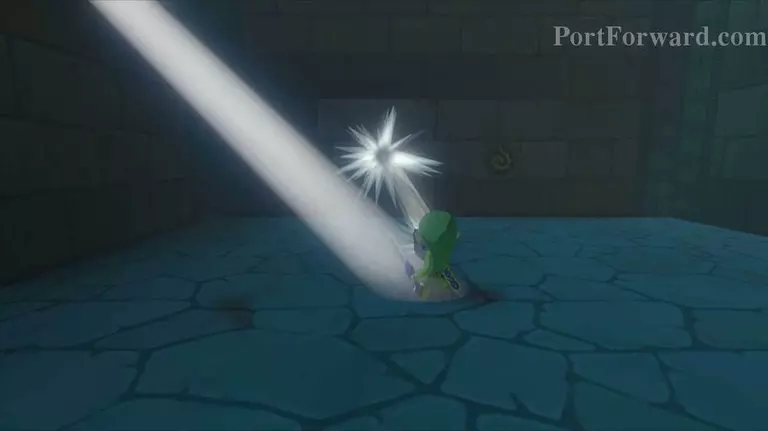
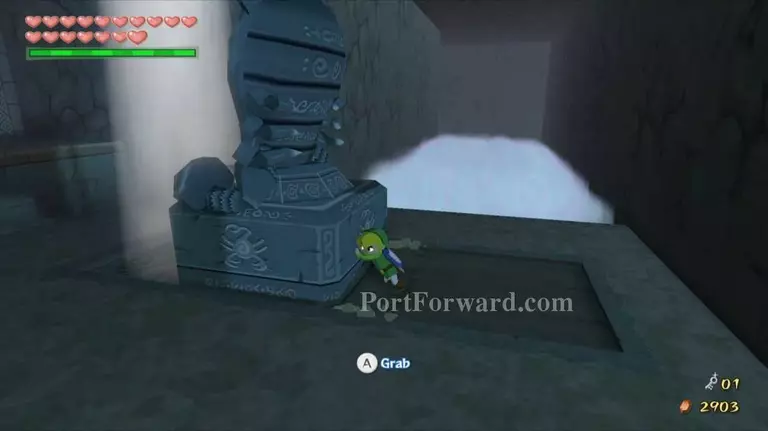
Take control of Medli and stand beneath the light. Shine her instrument towards the fog to make some of it disappear. You can also use your Deku Leaf to clear a path through the fog in front of the right circle of light to find a stake. Clear as much of the path as you can and then quickly run to the stake and pound it with the Skull Hammer. The bars will slide off one of the doors nearby, so grab Medli and head through it.
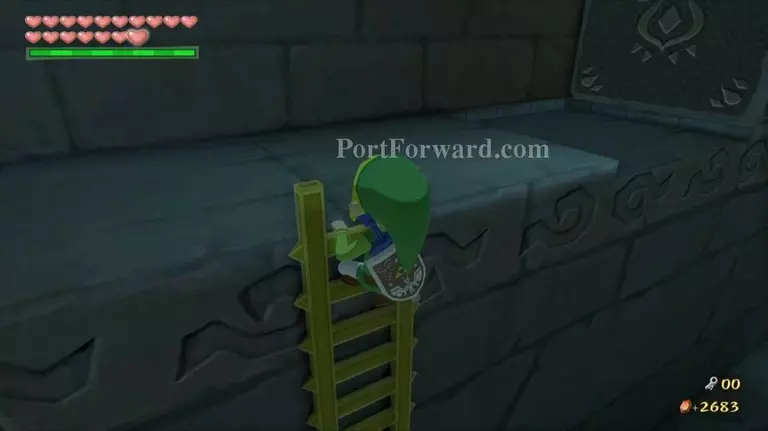
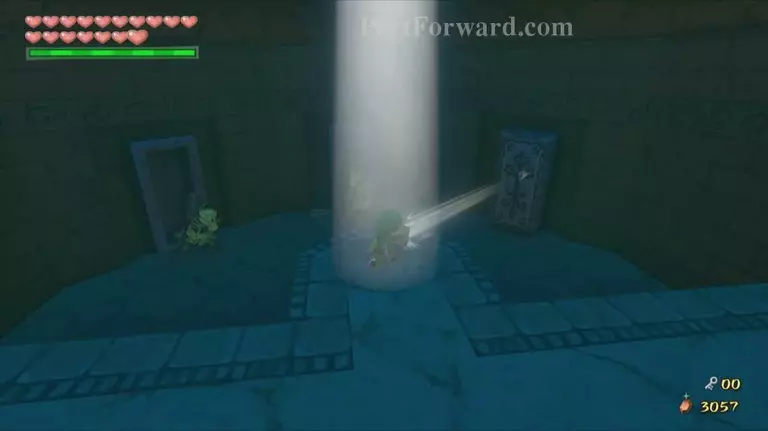
Once you begin walking forward two red bubbles come out of the coffins to the left and right. Defeat them and continue down the hallway. Drop Medli here and to the left to find a ladder on the wall. Climb the ladder and pull the block at the top to allow to some light into the room.
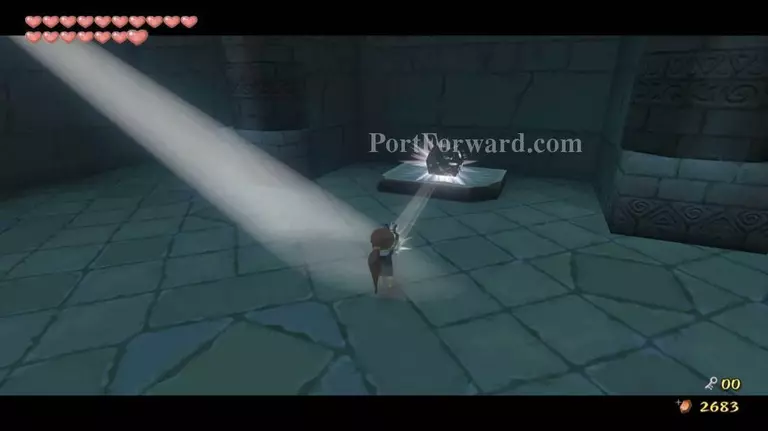
Jump and walk Medli into the light. Use her instrument to shine some light on the invisible chest on the raised platform to make it appear. Return to Link and open the chest for a small key.
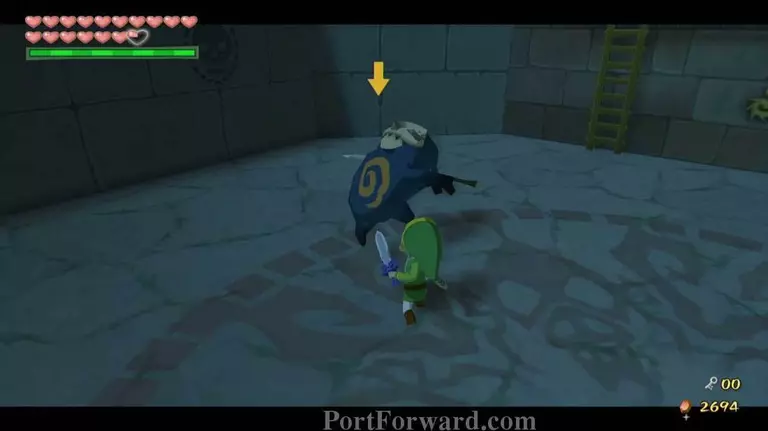
Two Floormasters will appear in the room. Defeat the first one nearby and defeat the second one next to the door we entered the room from. Grab Medli and return to the previous room.
Use your newly acquired key to go through the locked door on the opposite side of the room.
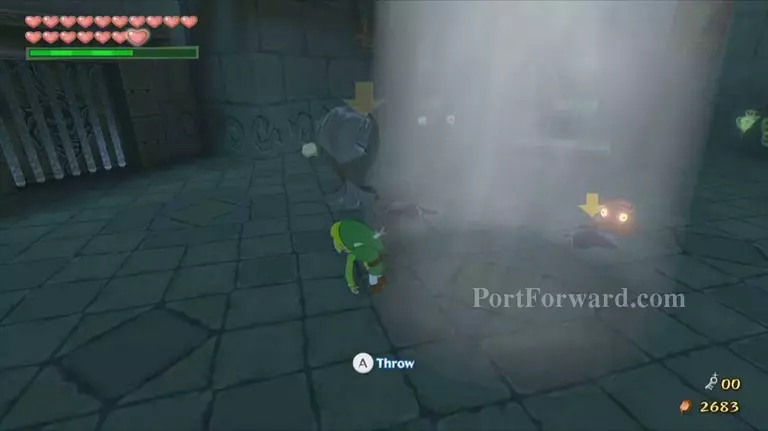
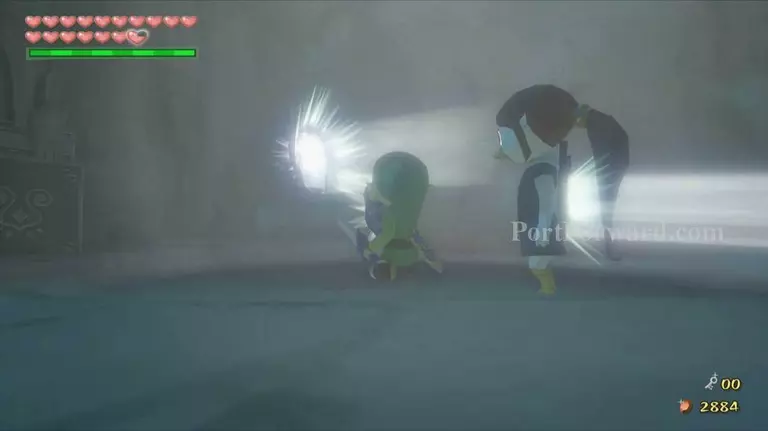
Walk down into the lower level in front of you and use a Fire Arrow to burn the curtain on the wall to the left, allowing light into the room. Then walk around the room and defeat every ChuChu except for the Purple ones. Walk into the center of the light and wait for the Purple ChuChus to jump into it while trying to attack you.
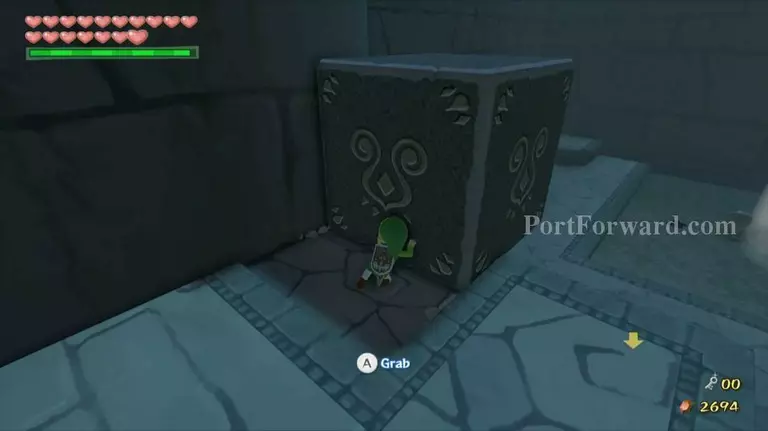
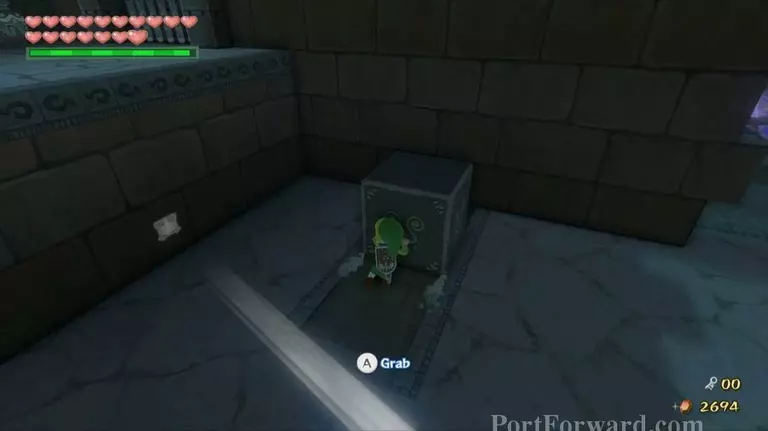
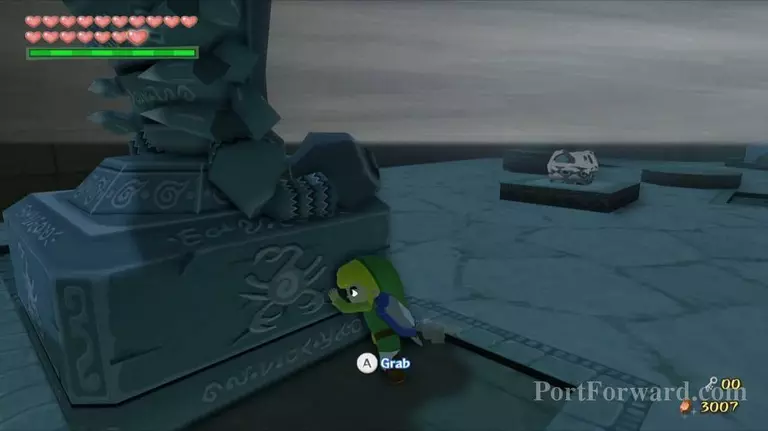
Grab one and put it on one of the switches and then do the same for the second switch. Grab Medli and walk up the lowered stairs, then drop her at the top. Push the large block off the edge and then proceed through the door with Medli.
Kill the floormaster in the lower area and then push the block closest to the door all the way to the wall.
It will fall onto a switch, opening shudders on the ceiling and allowing light into the room.
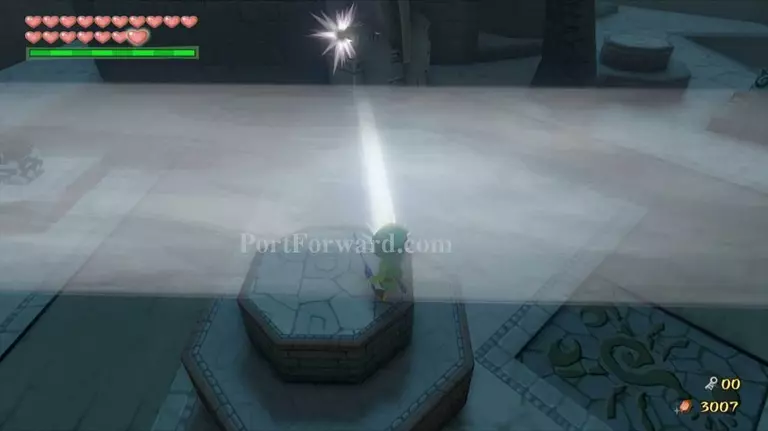
Use Medli to shine light onto a statue sitting on top of the other block in the room.
Continue using Medli to shine light on the yellow symbols on the northern and southern walls to reveal another block and a blue pot.
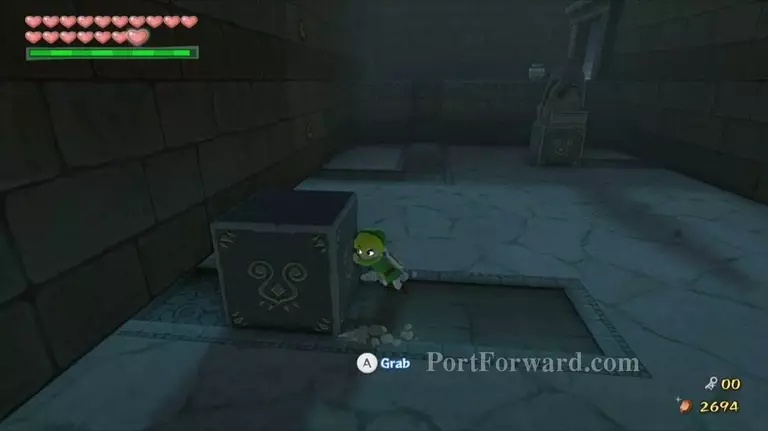
Fly Medli onto the higher platform to the east and return to Link. Push the nearest block onto its switch to reveal a chest.

Push the second block onto the its switch to open the door. Use the block to climb higher and open the chest for the Compass. Grab Medli and walk through the next door.
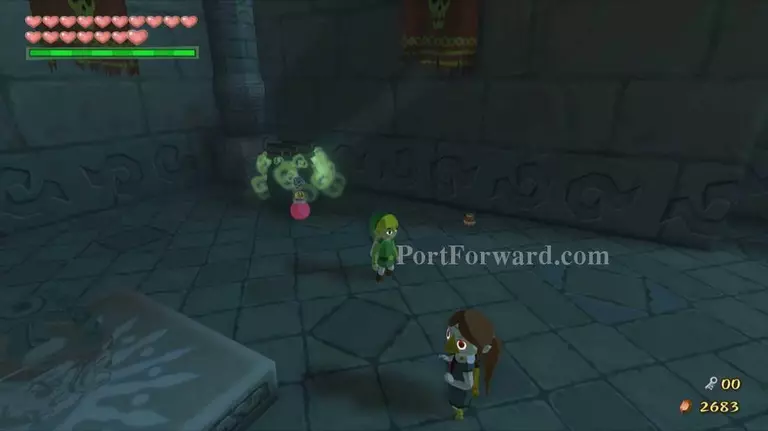
The next room can be somewhat frustrating. You will find two Moblins and two Poes. Try your best to avoid the Poes and defeat the two Moblins. Return to the door you came in from and take control of Medli.
Walk up the stairs and fly onto the platform to the east with the circle of light. Use her instrument to shine light on the statues across the room, and then shine light onto both of the Poes to solidify them.
Return control to Link and kill the Poes with the sword as quickly as possible before they turn into ghosts again
Open the chest in the room for a Joy Pendant and then walk up the stairs in the new area. Walk through the door on the left side first.

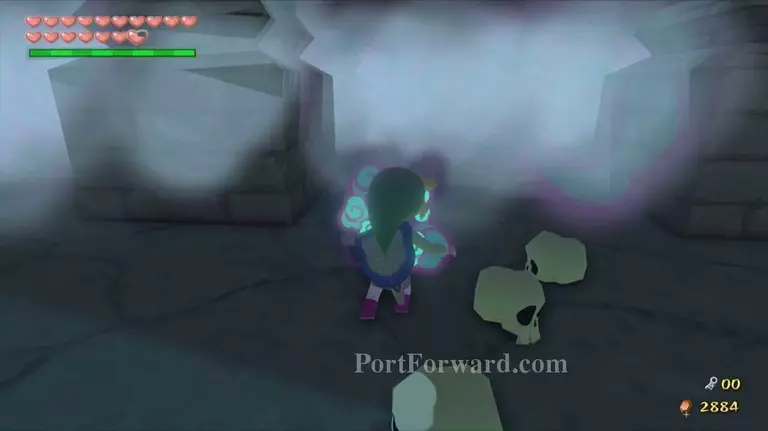
Jump into the pit below and you will find various coffins.
To progress you will need to open the coffins one by one and defeat the ReDeads inside.

These enemies are incredibly annoying to defeat, as when you draw near they will scream and paralyze you momentarily.
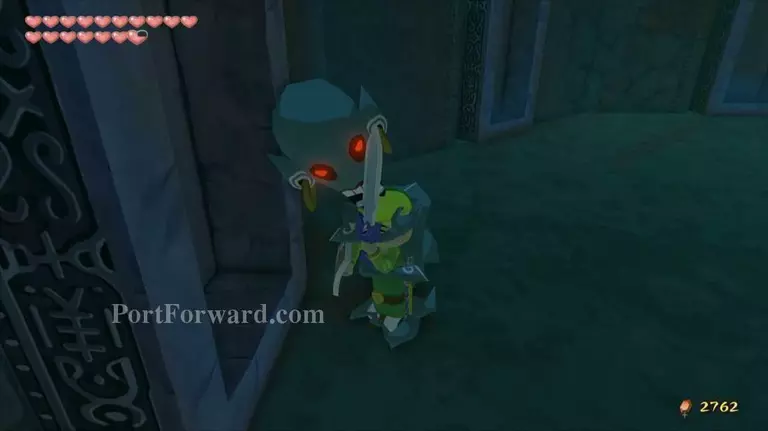
If you are close enough they will then jump on you and slowly damage you. Attack them as quickly as possible with the sword and defeat all of them. From left to right the coffins contain: a ReDead, a yellow rupee, a ReDead, another ReDead, and a small key.
Climb the ladder that dropped down and climb it.
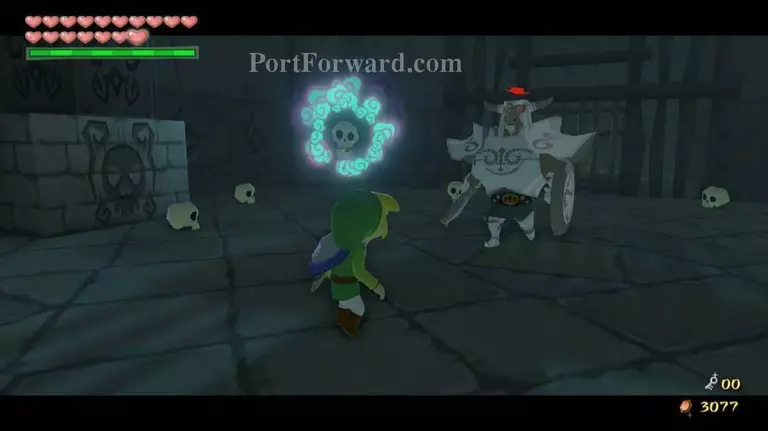
Head back through the door you came through and use the small key to open the door nearby to fight the miniboss.
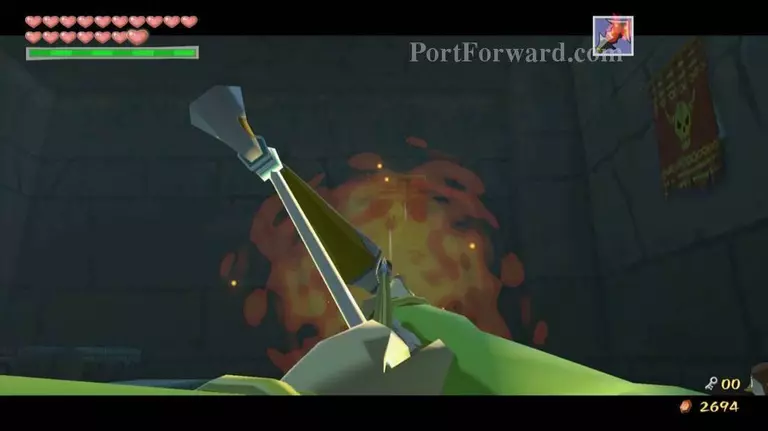
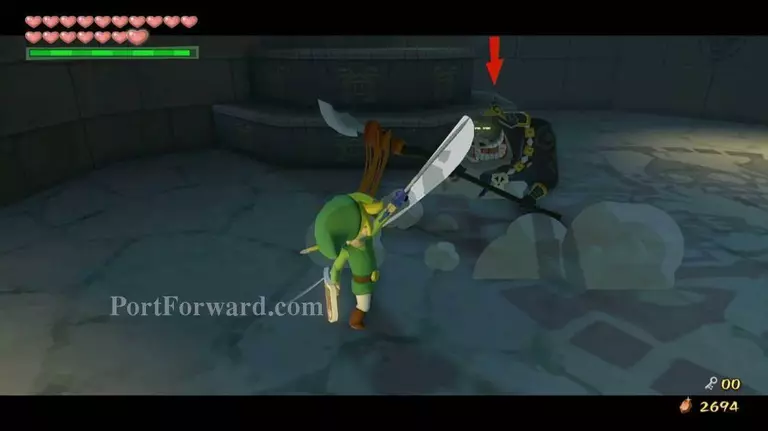
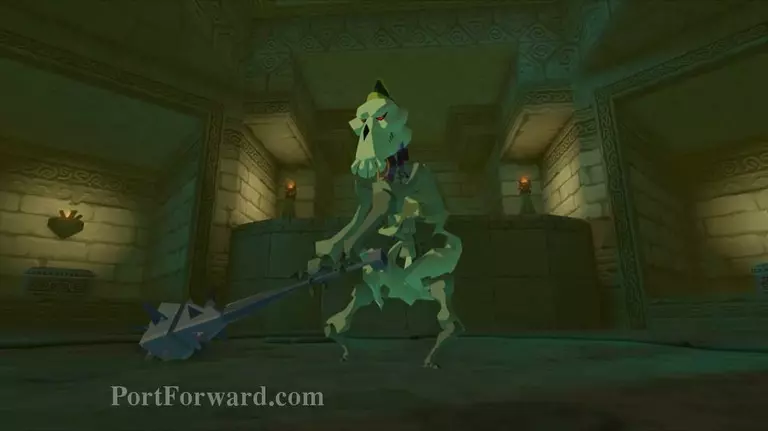
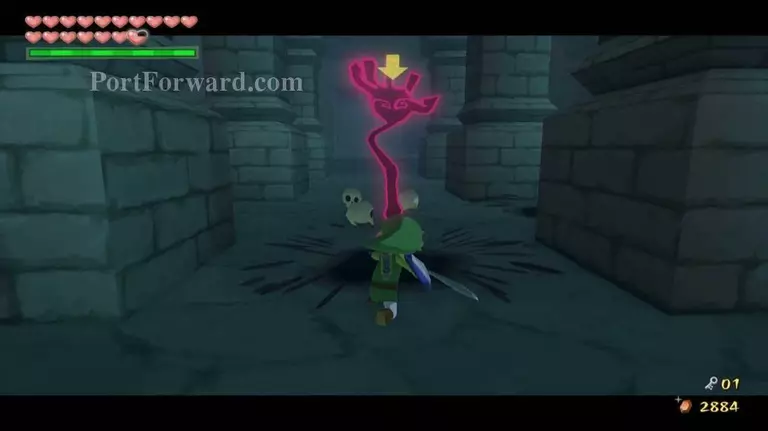
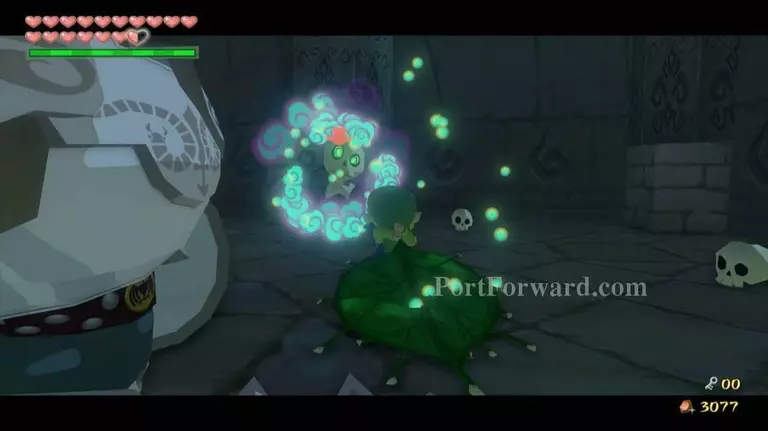
After taking a couple of steps into the room a Stalfos will come up from the ground. The easiest way to defeat these enemies is to place a bomb in front of it. When the bomb explodes it will blow apart the Stalfos.
You can then use the sword to attack the head that is bouncing around, or you can use the Skull Hammer to kill it in one hit if you are accurate enough. If you do not defeat it quickly enough the body will reassemble itself.
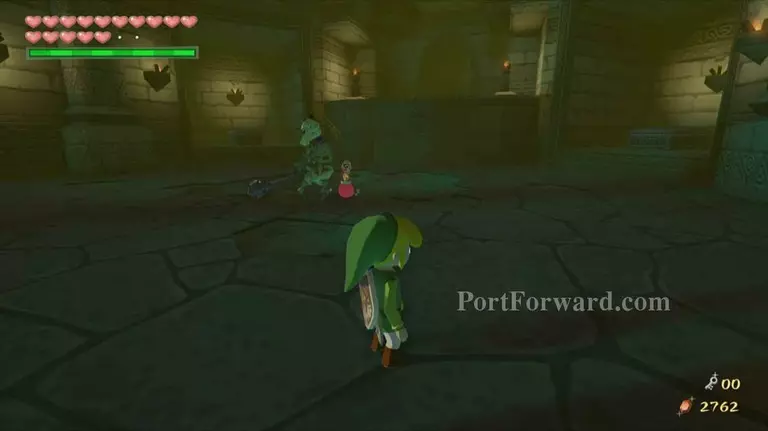
Once you defeat the Stalfos two more will appear out of the coffins in the room. Defeat them as well and open the chest at the top of the room for a Mirror Shield.
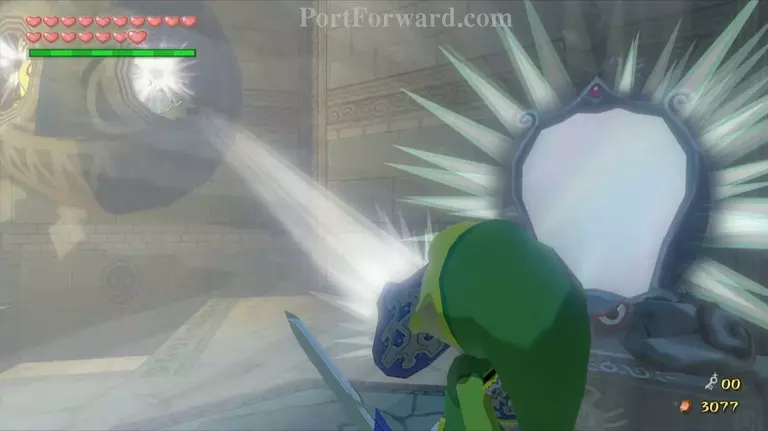
This shield will allow you to reflect light much like Medli's instrument does. Walk back down to the middle of the room and use the Shield to shine light on the symbol of the sun and moon above the door to open it.
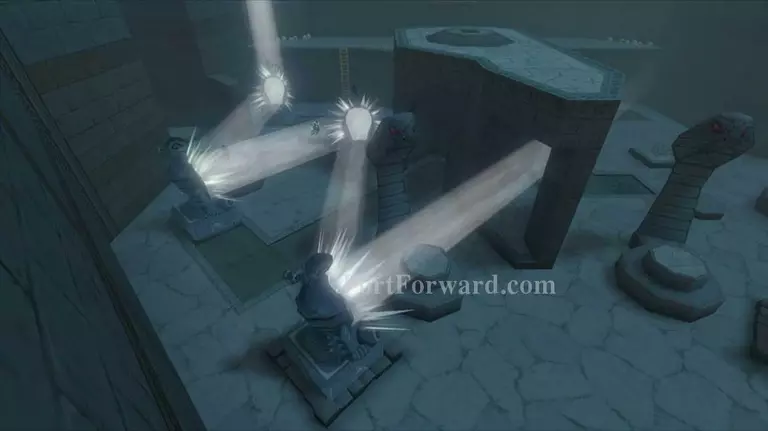
Back in the previous room walk down the stairs and kill the Moblins and Poes once again. Take control of Medli and fly her to the circle of light from before. Use her instrument to shine light on the platform directly below where we destroyed the elephant statues earlier.
While Medli is holding this position return control to Link and use the Mirror Shield to shine Medli's light onto the yellow symbol on the wall below her.

Grab Medli and head through the new opening. Destroy the statue here for five rupees, and then use Medli to shine light where the statue was. Use the Mirror Shield to shine this light onto another yellow symbol to find 80 rupees. Grab them and then pick up Medli and head through the door.
You will now appear in the room from before with the blue fog, except now you are higher up. Use Medli to float over to the other side of the room. There is an optional treasure chest that we can now get containing a Joy Pendant. Make your way through the door to the side where we got the first small key. At the end of this room, place Medli on top of the floor switch and then head through the room that opens up.
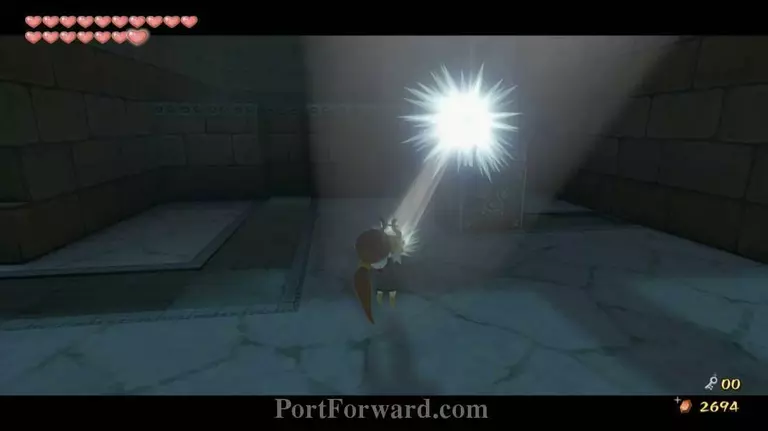
In this room there is light shining down from the wall. Use your Mirror Shield and shine it against the wall to the side to make it disappear. There is a treasure chest just behind the wall containing a Joy Pendant. Return to the previous room and pickup Medli. Now return to the large central room with the fog.

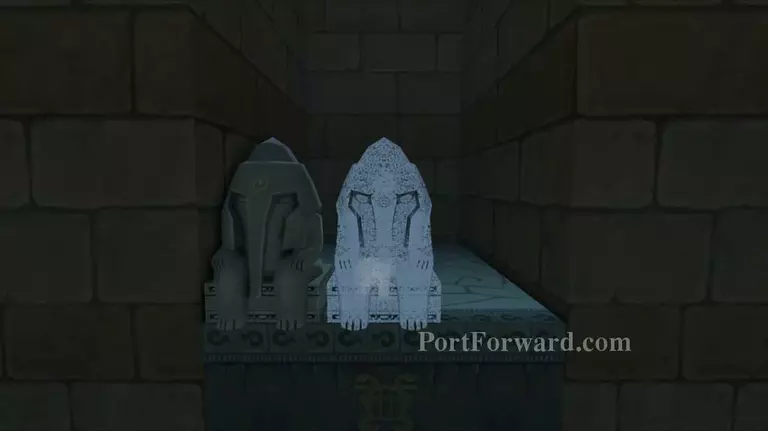
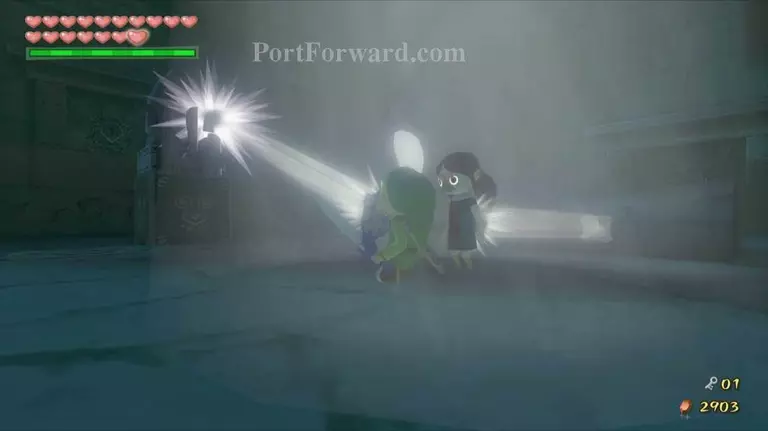
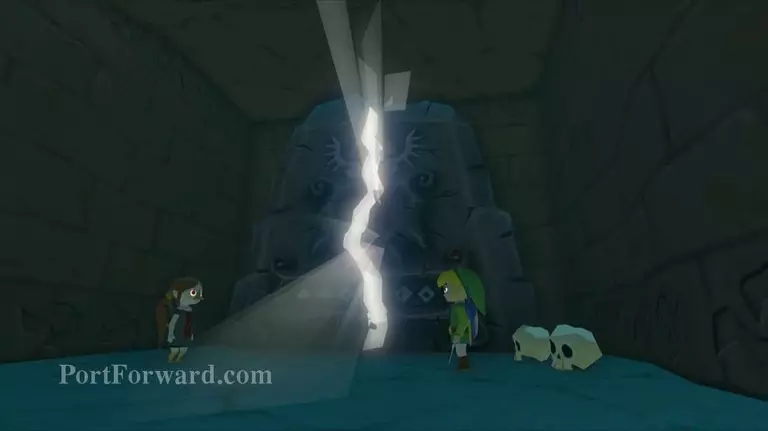
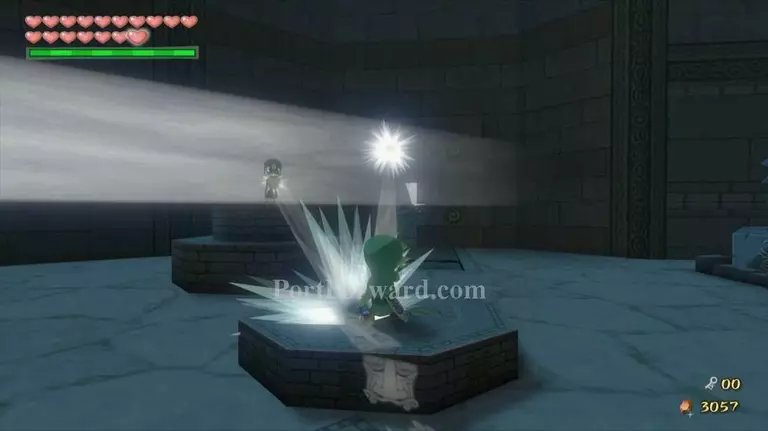
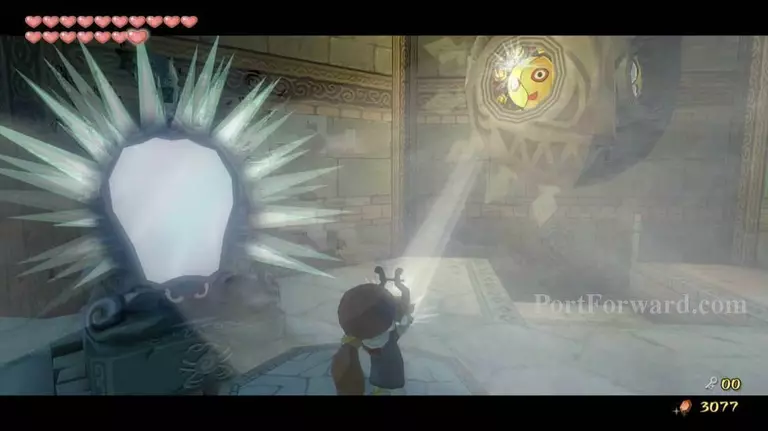
Control Medli and use her instrument to shine light into one of the statue's eyes. Return to Link and use his Shield to shine light into the other eye. The fog will clear and a set of stairs will appear. Grab Medli and go through the door at the bottom of the stairs.
Walk down the spiral stairs in the next room and you'll see two blue bubbles. Use the arrows or the Deku Leaf and the sword to defeat them and walk across the bridge.

With Medli near play the Earth God's Lyric in front of the stone tablet. Medli will play as well, causing the tablet to crumble and reveal another door. Grab Medli once again and head through the door.
Defeat the two ReDeads here and use the Mirror Shield to reflect light onto the statue sitting on top of the block in the middle of the room.
Use the Shield again to shine light at the large statue to the right and head through the doorway.

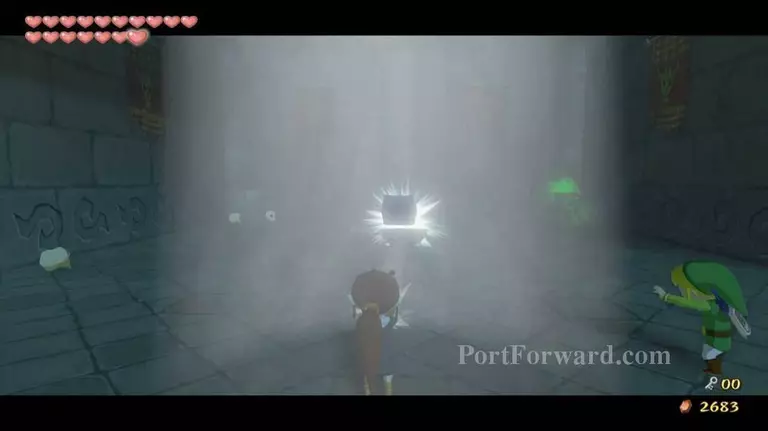
You'll find much more blue fog here, along with a maze filled with Floormasters. You cannot use your sword to destroy these enemies, so you must avoid them and find the correct pathway to the other side of the room. Open the chest for another small key.
Light will flood the room and remove the blue fog, allowing you to use your sword. Defeat the every Floormaster in the room and another chest will appear containing Treasure Chart #20.
Return to the previous room and walk back into the circle of light.
Shine light onto the mirror on the left side of the room to disintegrate another statue. Grab Medli and head through this door as well.

Use Medli to fly across the gap here and watch out for the Floormaster in the middle of the room. Once you make it across pull the statue onto the blue spot. Climb up the ledge nearby and pound the stake with the Skull Hammer.
Grab Medli and fly back across the gap, and then return to the previous room.
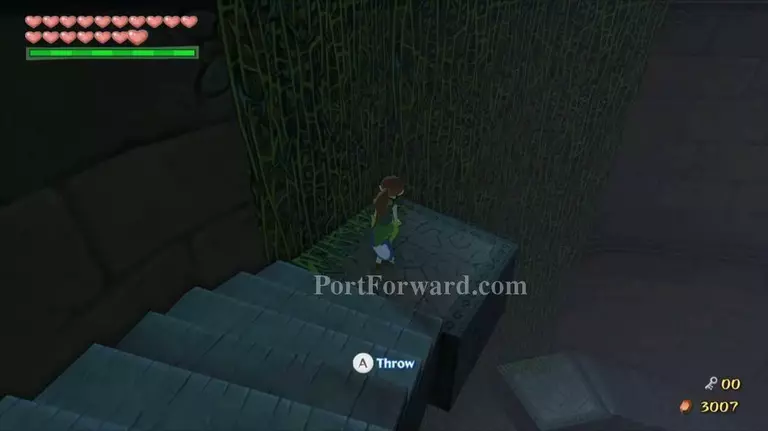
Push the block in the center of the room and then throw Medli onto the ledge. Climb up the block and grab her again, and then head through the door.
In the next room kill all the Red Bubbles and Poes first. Disintegrate the two statues along the south wall for a magic jar and 10 rupees.
To destroy the last statue take control of Medli and stand in the light near the western side of the room. Shine light back the opposite way, and then use Link's shield to shine it at the statue.
Grab Medli and head through the door. Walk straight down this hallway and avoid the falling coffin covers. Kill the ReDeads and open the chest at the end for 20 rupees.
Walk back to where you entered the room and head down the other hallway.
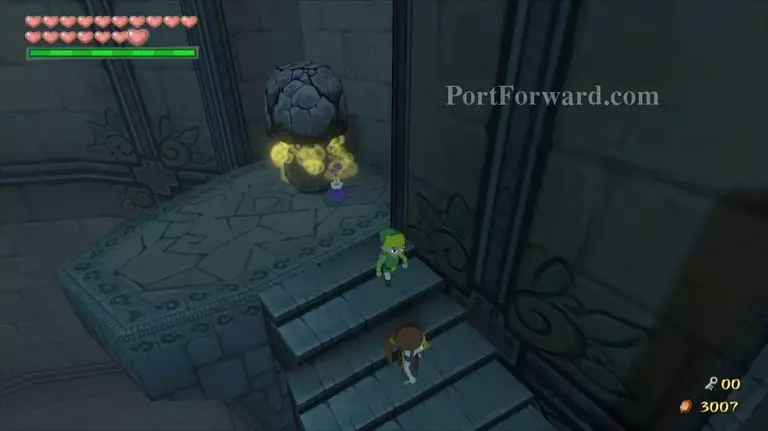
Play the Earth God's Lyric to reveal another door at the end. Run down the stairway and bomb the rock on top of the last pot.
Use Medli to fly over to the northwest side of the room. As you fall down you will land on a set of stairs.
Continue down the stairs with Medli and head through the door here.
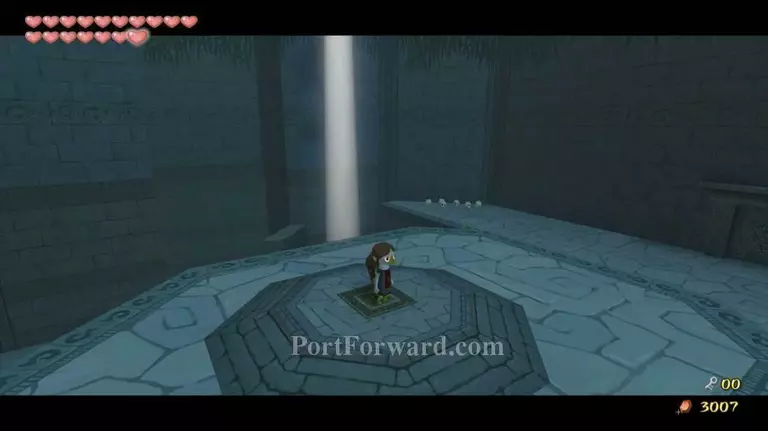
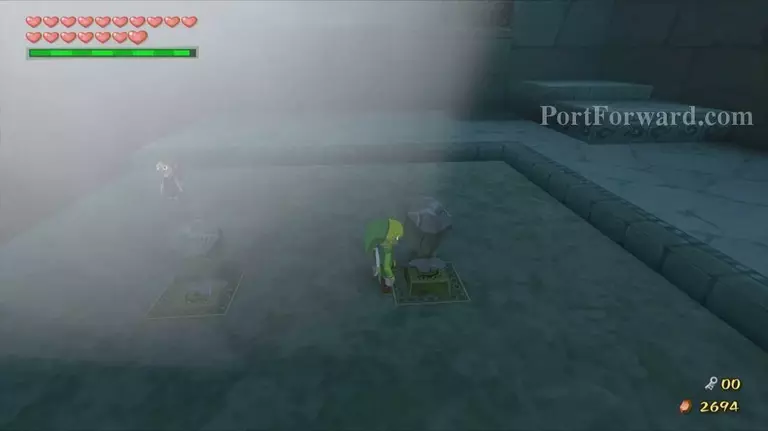
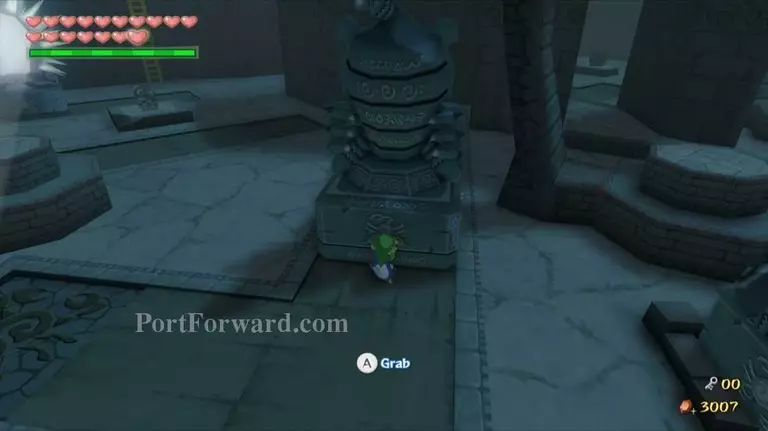
Take control of Medli and have her fly over to the large platform in the middle of the room. Step on the switch here and a small hole of light will open in the ceiling.
Have Medli drop down to the lower level and then return control to Link. Have Link drop down into the pit as well and push the statue to the right onto the blue square where the light is shining.
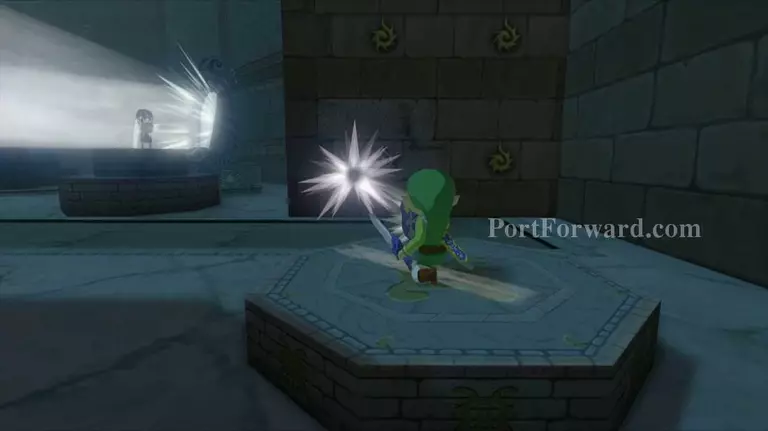
Control Link and have him step on the small circular raised platform where the Light is shining. Use the Mirror Shield and shine thelight towards the statue that is near the center of the room, causing it to disappear. Also, be sure to reflect the light on the treasure chest nearby to cause it to appear properly.
Open it to get some rupees. Behind the statue there is another large mirror that Link can pull. Pull it all the way until it settles on the blue square on the ground, reflecting the light a second time.

Control Medli once again and have her fly onto the same small circular raised platform nearby.
Have her shine some light on the smaller platform to the east, where an image of a harp is shown.
Use Link's Shield to reflect the light and destroy the wall here, and then climb up onto the platform behind the statue for some extra rupees.
Pull the mirror along the path into its respective place.
Follow the beam of light and push another mirror into place. Climb the raised section and shine light onto a nearby statue to destroy it, and then shine light onto another nearby chest.

Open the chest for a Joy Pendant, and then push the mirror into place.
Have Link stand on the smaller circular platform that is nearby and have Medli stand on the large circular platform.
Use Medli's instrument to reflect light onto Link and then use Link's Mirror Shield to reflect light on the wall in the distance. Break the wall and pull the mirror in place.
Stand on the higher circular platform and shine light against the other yellow mark on the wall to make it disappear. Walk down the small tunnel we just created in the wall and head through the door.
Shine light onto the coffins to open them and then defeat the Stalfos that appear. Pull out the block in the wall to get back up and open the chest for Treasure Chart #12.
Back in the room with all the mirrors, use Medli to shine light onto one of the eyes on the large statue's face, and use Link to shine light in the other eye.
Head down the hallway that appears and through the door.
This dark room contains three enemies: a darknut and two Blue Bubbles. The Bubbles are located right next to the gate on the opposite side of the room, so you can use the Bow to shoot the skulls and defeat them before you get close to the Darknut.
Defeat the Darknut as well and open the chest here for the Big Key. Backtrack to the previous room, and then head through the door back into the large circular room.
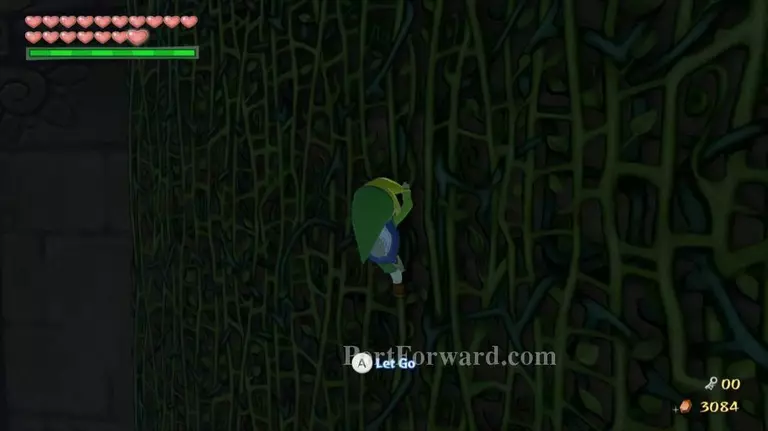
Follow the staircase and climb up vines along the side of the wall. Continue up the pathway and use the Deku Leaf to fly over to the other side of the room where the boss door is located.
Break the pots for some hearts and other goodies, and then enter the boss room when you're ready.
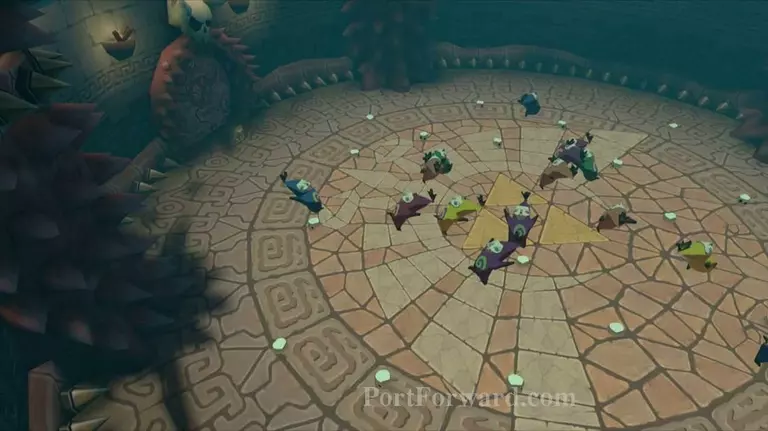
Inside the boss room you will find numerous Poes that will combine to form one large, fat Poe. This is Jalhalla, the dungeon boss.

Jalhalla can be rather tricky defeat, especially if you are rather unlucky with the room's layout.

To stun Jalhalla you will need to use the Mirror Shield to shine light at him. There are three holes in the ceiling that shine light, but only one is activated at a time.
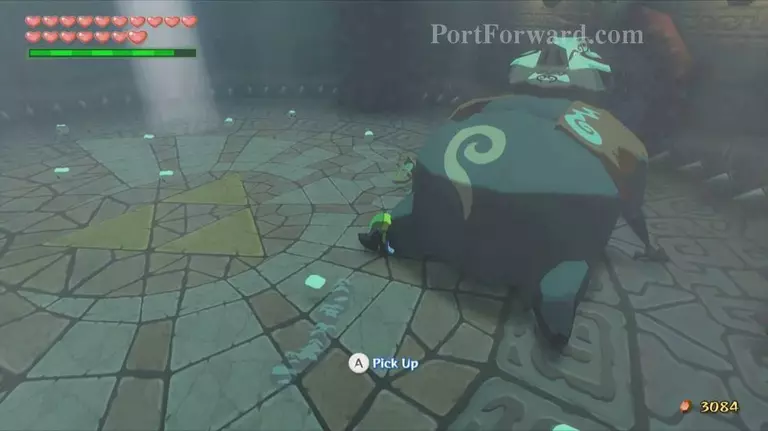
These columns of light will only be activated for a short amount of time before it switches to another area in the room. When possible, use your Mirror Shield to reflect light onto Jalhalla for a few moments to make him solid.
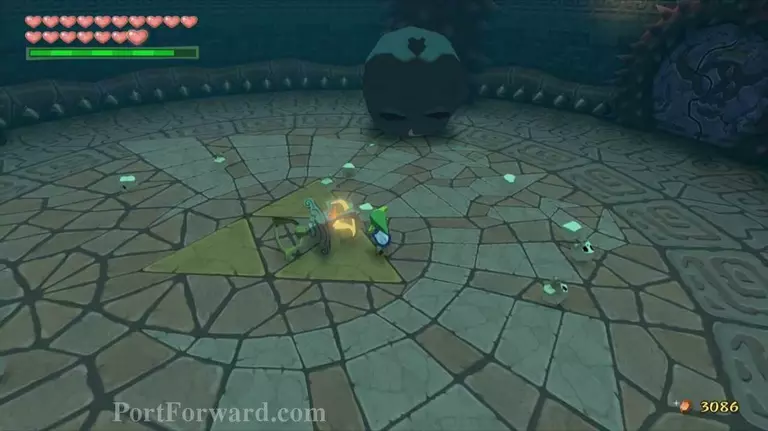
Once he is solid he will fall down and sit on the ground momentarily. Pick him up and throw him into one of the spiked pillars that surround the room. This will cause him to explode back into the group of Poes from before.
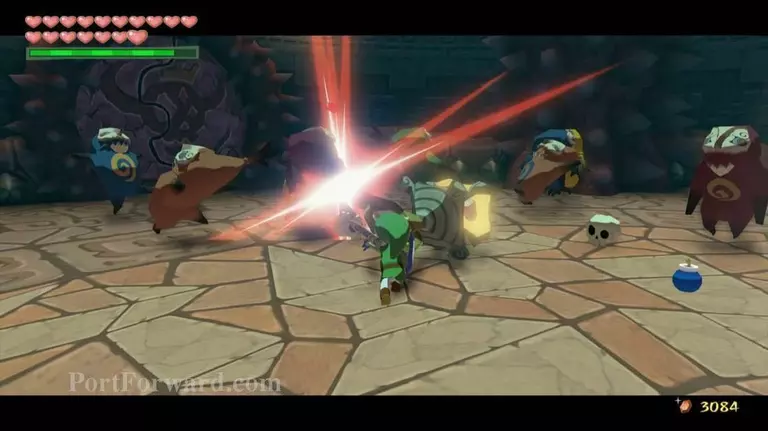
Kill as many of these Poes as you can before Jalhalla reforms to his ghostly self. Keep repeating this process until Jalhalla is defeated.
Jalhalla has a few attacks, most of which are rather annoying. He can try to squish you, which will cause you to momentarily lost correct control of Link. This means that the normal control stick directions will be switched; screwing up the direction you are actually moving in. It is possible to end this attack if you make it into a beam of light, but for the most part you have to wait out the attack. He will also try to blow fire at you, but this can be avoided by simply moving out of the way.

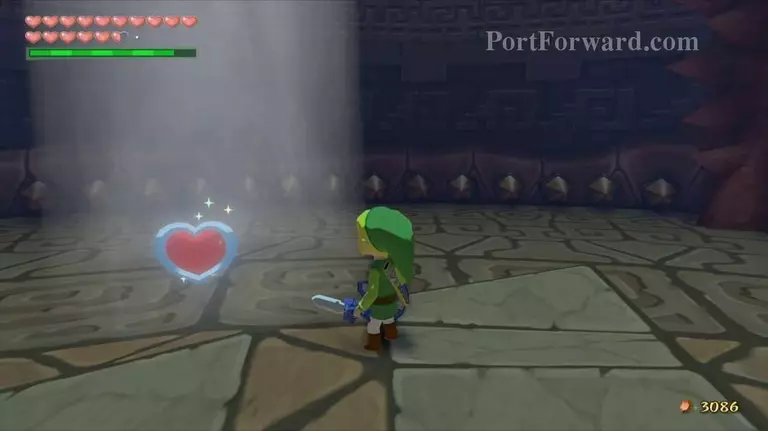
Pick up the Heart Container Jalhalla leaves behind and walk into the glowing tile in the center of the Triforce. Medli will enter the room and Link will conduct her as she plays the Earth God's Lyric. This will restore some power to the Master Sword. Medli will tell you to go to the Wind Temple to complete the Master Sword's transformation, and that she will stay behind and continue praying.
More The Legend of Zelda: The Wind Waker Walkthroughs
This The Legend of Zelda: The Wind Waker walkthrough is divided into 47 total pages.


