This The Legend of Zelda walkthrough is divided into 18 total pages.
17 - Dungeon 8 (Quest 2) and Journey to Dungeon 9.
You can jump to nearby pages of the game using the links above.
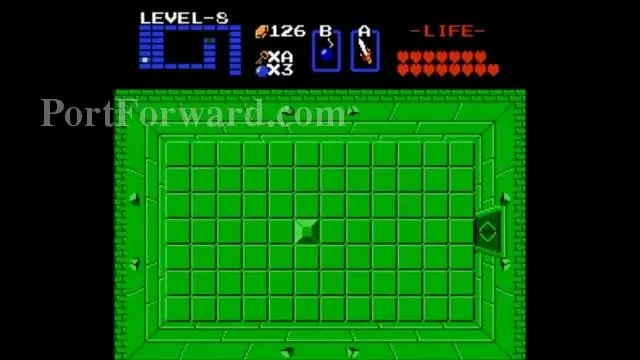
Dungeon 8 (Quest 2) and Journey to Dungeon 9.
 The Legend of Zelda Walkthrough - The Legend-of-Zelda 872
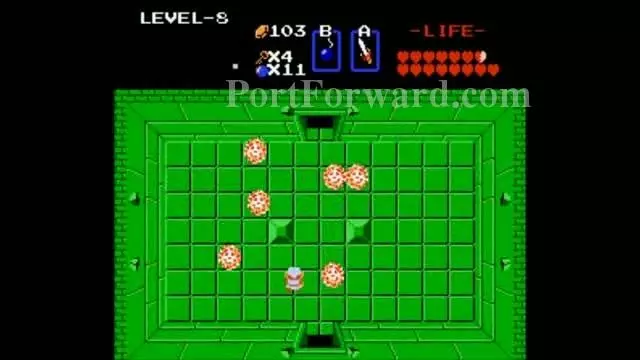
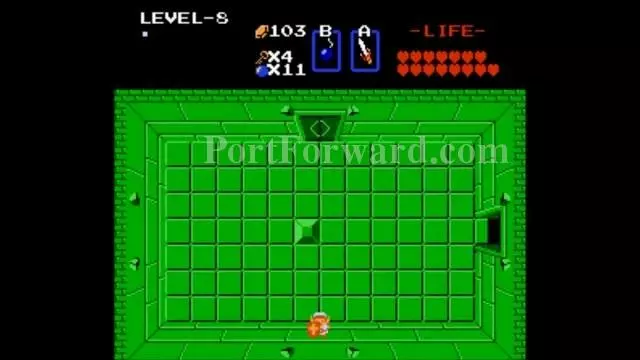
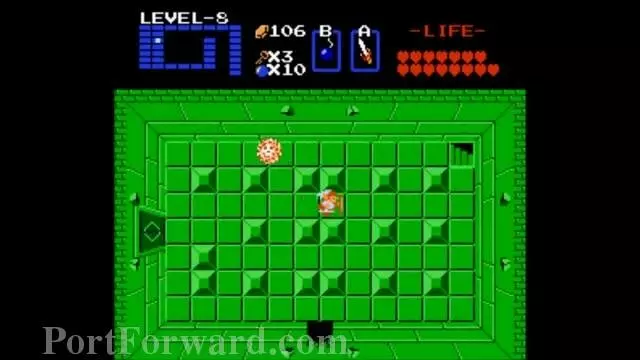
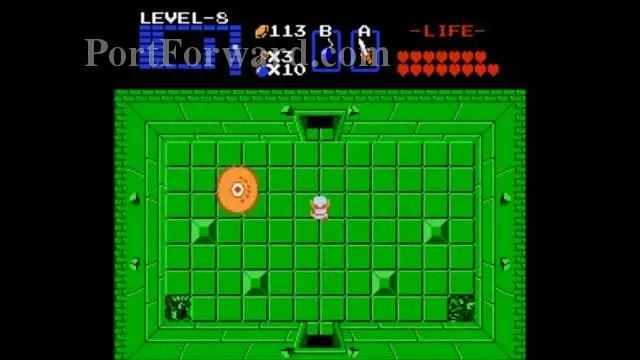
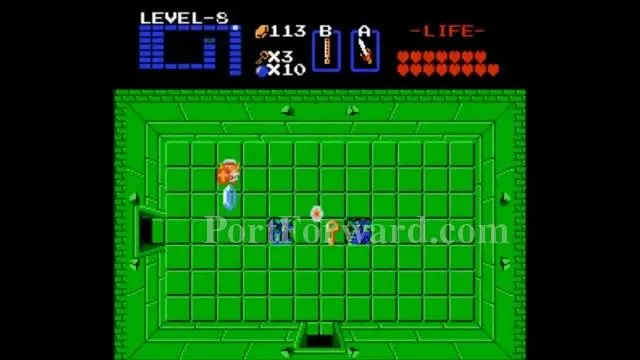
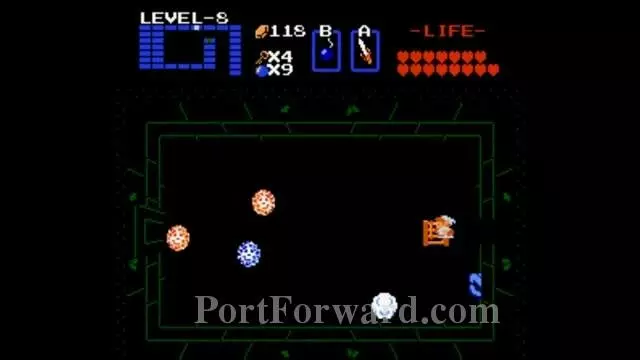
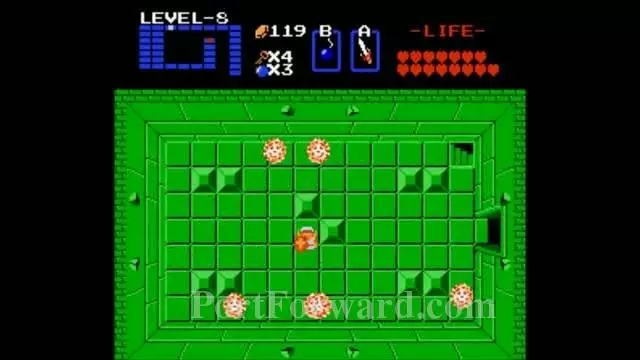
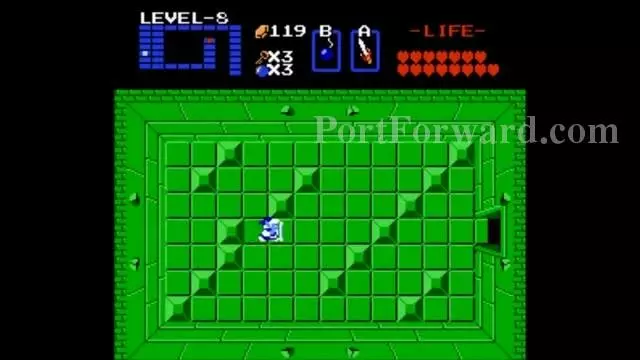
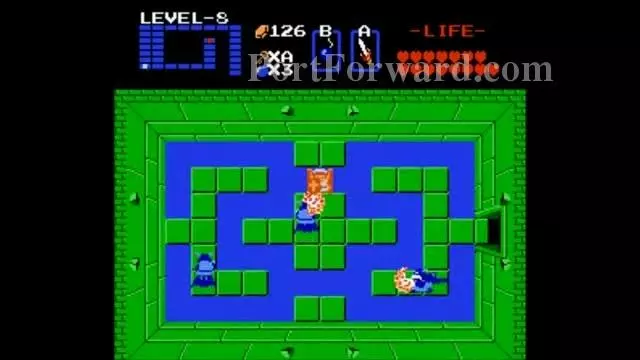
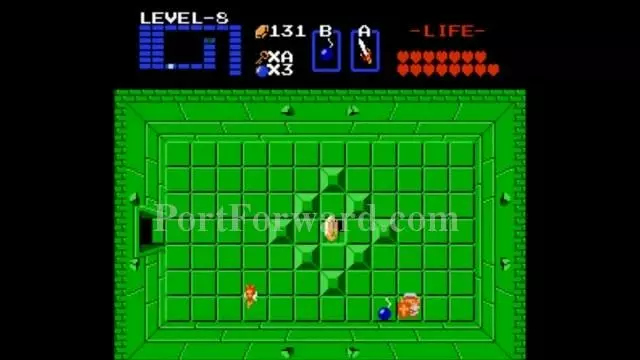
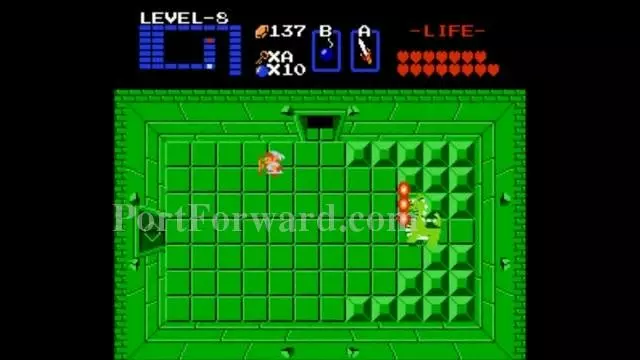
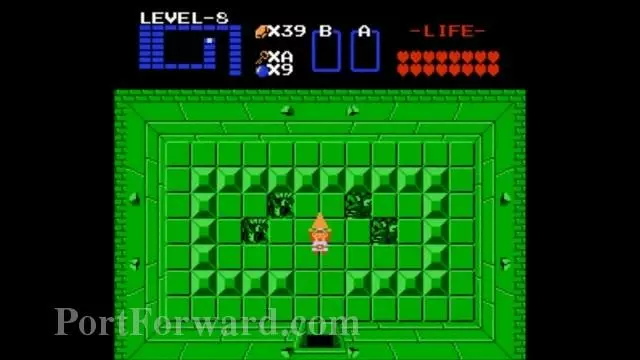
Avoid the red Bubbles.
 The Legend of Zelda Walkthrough - The Legend-of-Zelda 873
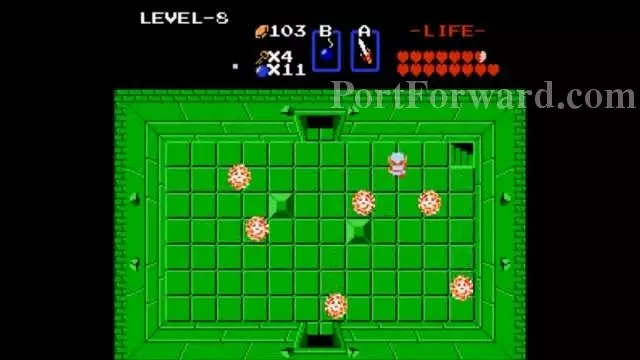
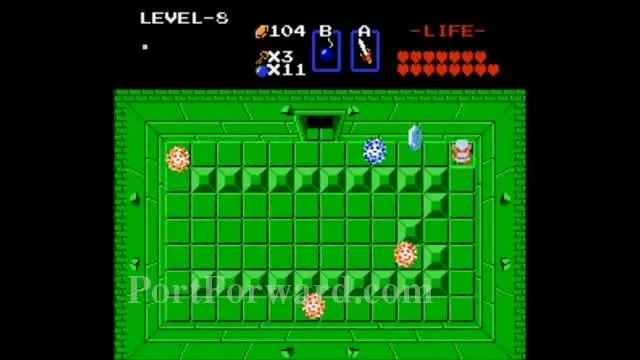
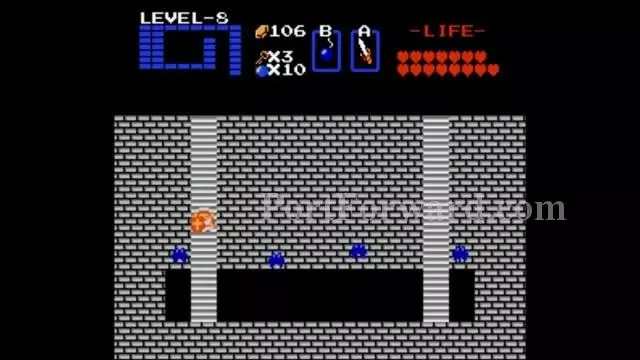
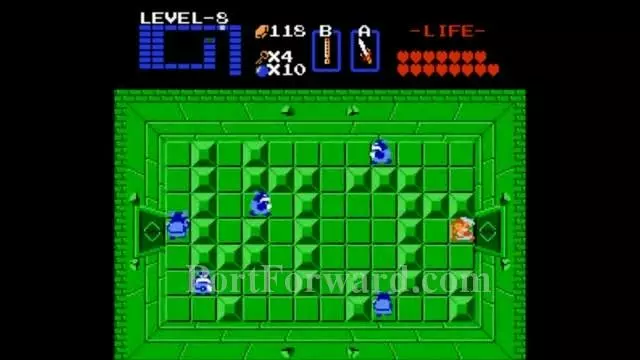
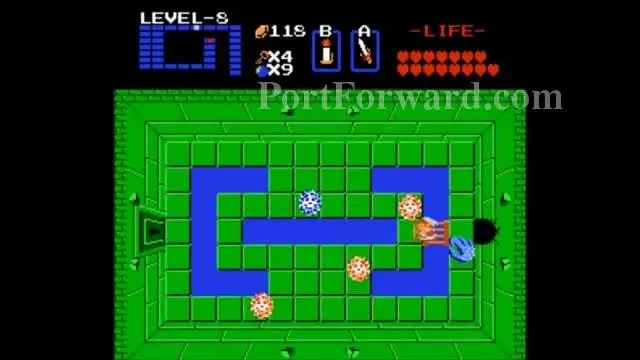
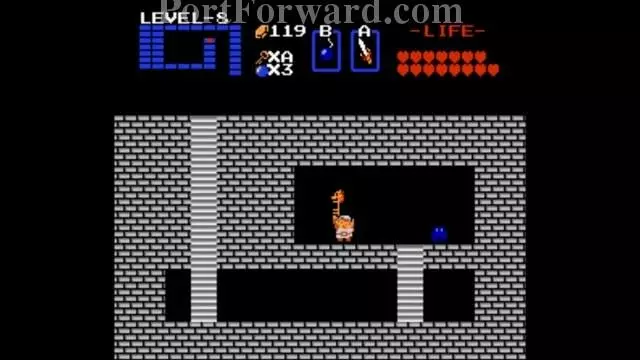
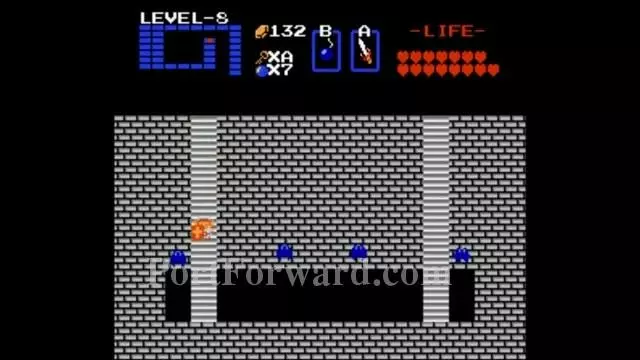
Push the block and enter the staircase.
 The Legend of Zelda Walkthrough - The Legend-of-Zelda 874
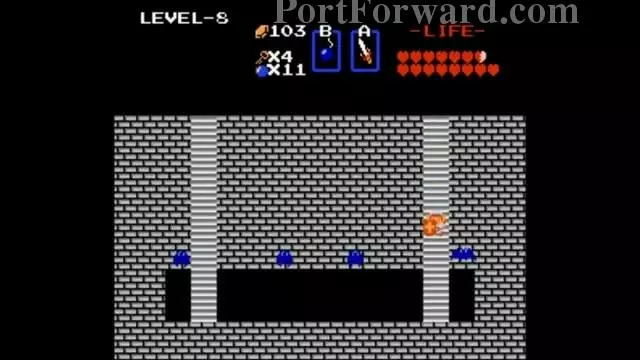
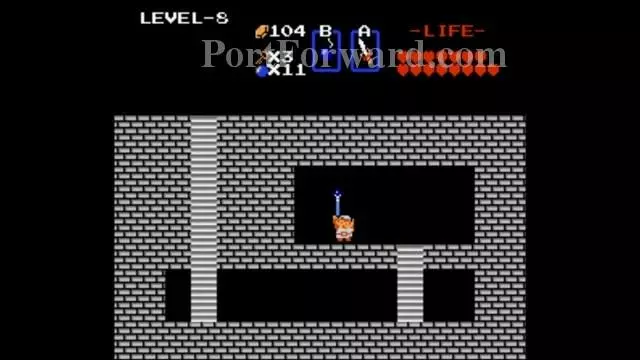
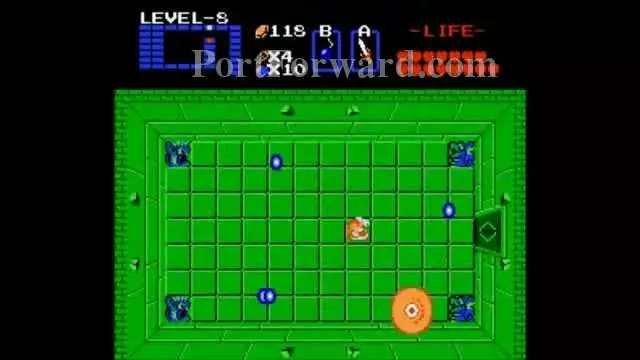
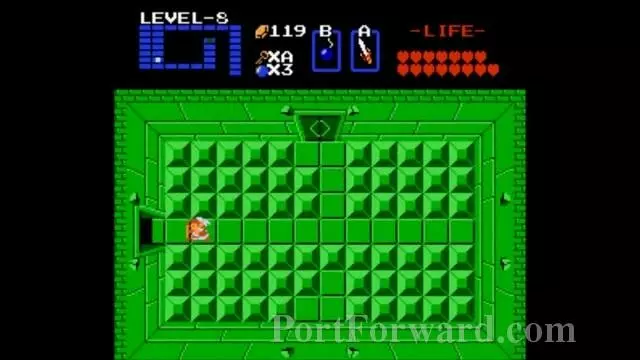
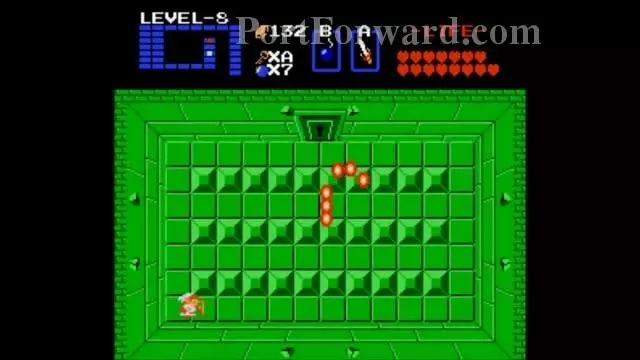
Go through the passageway.
 The Legend of Zelda Walkthrough - The Legend-of-Zelda 875
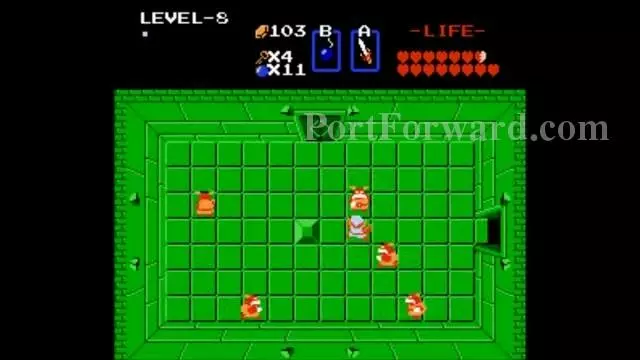
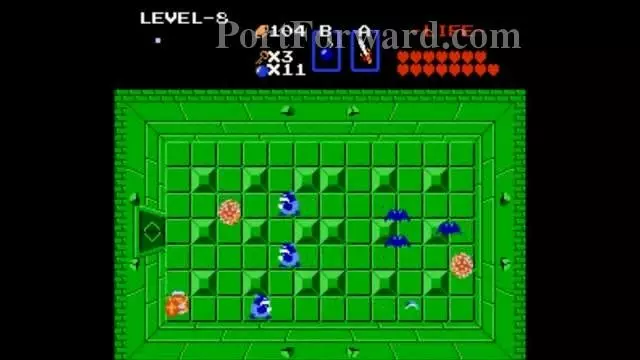
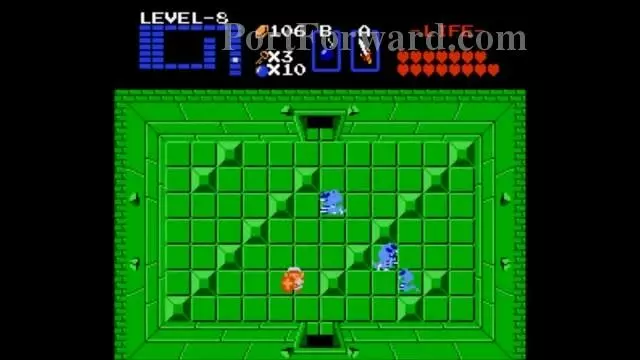
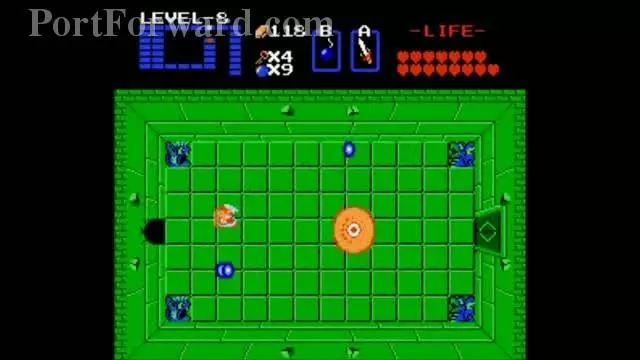
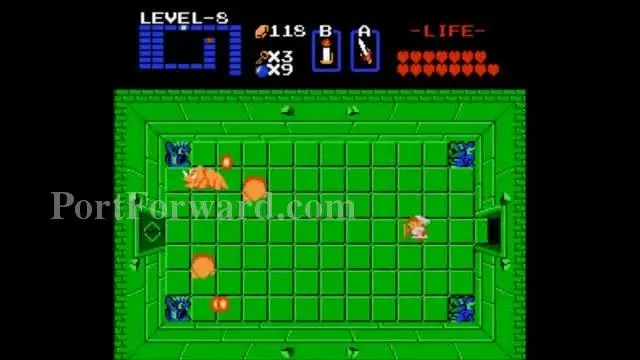
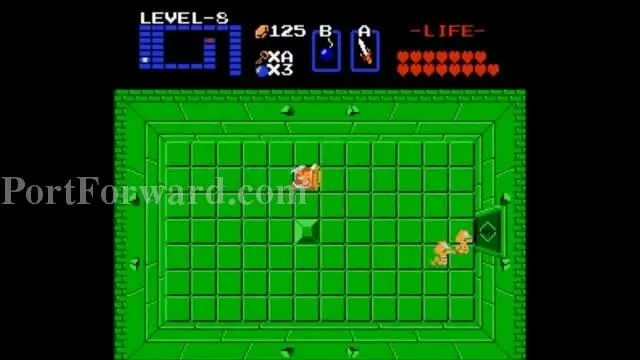
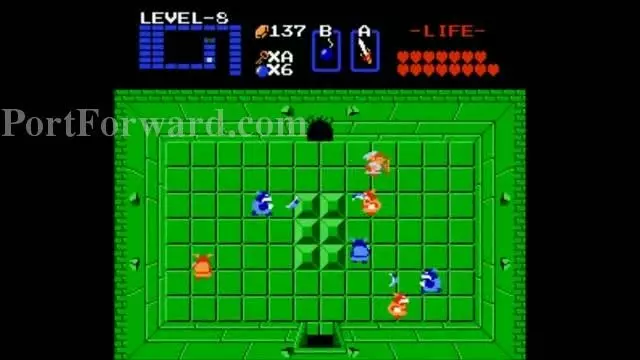
Kill the Goriyas.
 The Legend of Zelda Walkthrough - The Legend-of-Zelda 876
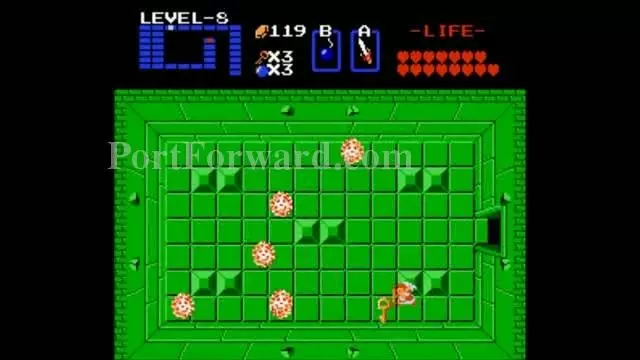
Walk through this wall.
 The Legend of Zelda Walkthrough - The Legend-of-Zelda 877
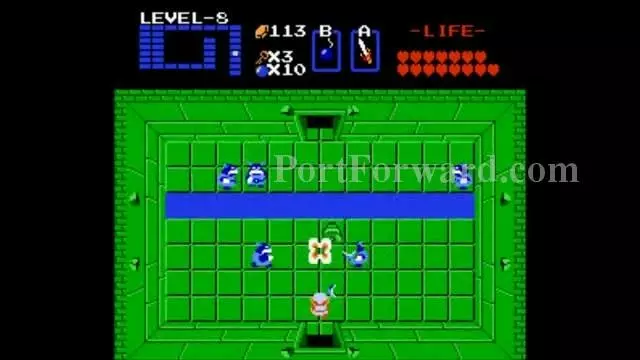
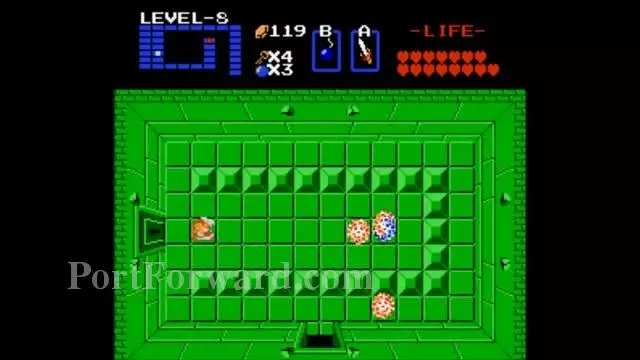
Kill the Dodongos.
 The Legend of Zelda Walkthrough - The Legend-of-Zelda 878
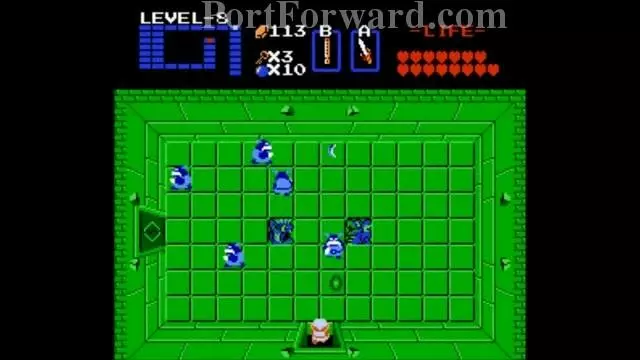
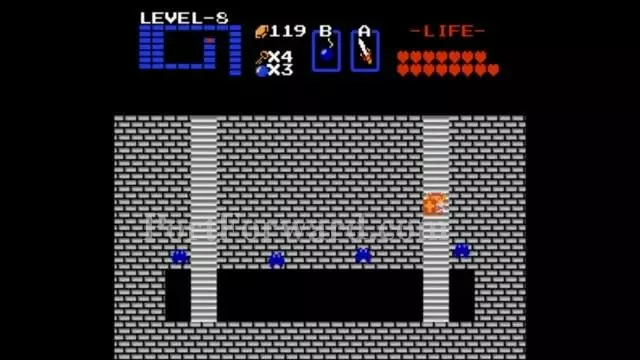
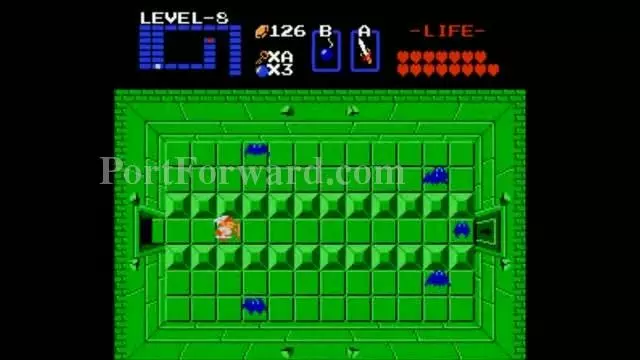
Kill all the Wallmasters.
 The Legend of Zelda Walkthrough - The Legend-of-Zelda 879
Push the block aside and enter the staircase.
 The Legend of Zelda Walkthrough - The Legend-of-Zelda 880
You get the Magic Wand.
 The Legend of Zelda Walkthrough - The Legend-of-Zelda 881
Go back through the magic wall and go right to this room.
 The Legend of Zelda Walkthrough - The Legend-of-Zelda 882
Bomb this wall.
 The Legend of Zelda Walkthrough - The Legend-of-Zelda 883
Get the Map.
 The Legend of Zelda Walkthrough - The Legend-of-Zelda 884
It is shaped like the @ symbol. Go back up through the tunnel and push the left block down.
 The Legend of Zelda Walkthrough - The Legend-of-Zelda 885
Go through the passage.
 The Legend of Zelda Walkthrough - The Legend-of-Zelda 886
Kill the Flashing Rope.
 The Legend of Zelda Walkthrough - The Legend-of-Zelda 887
Kill these Goriyas too.
 The Legend of Zelda Walkthrough - The Legend-of-Zelda 888
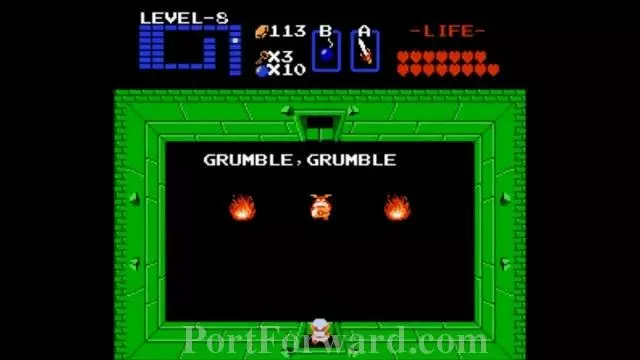
The Digdogger is really no threat so ignore it.
 The Legend of Zelda Walkthrough - The Legend-of-Zelda 889
Use the Meat to get past this guy.
 The Legend of Zelda Walkthrough - The Legend-of-Zelda 890
Kill the Keese.
 The Legend of Zelda Walkthrough - The Legend-of-Zelda 891
Get the Compass.
 The Legend of Zelda Walkthrough - The Legend-of-Zelda 892
Head to the top and kill the Goriyas to go left.
 The Legend of Zelda Walkthrough - The Legend-of-Zelda 893
Get the Key first though.
 The Legend of Zelda Walkthrough - The Legend-of-Zelda 894
Kill more Goriyas.
 The Legend of Zelda Walkthrough - The Legend-of-Zelda 895
On the next screen, don't worry about the DIgdogger.
 The Legend of Zelda Walkthrough - The Legend-of-Zelda 896
Bomb the wall and go through.
 The Legend of Zelda Walkthrough - The Legend-of-Zelda 897
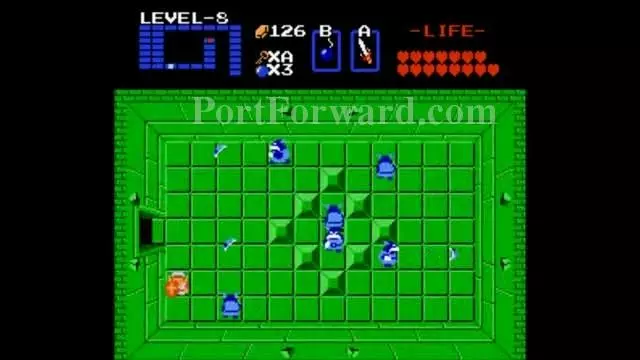
Kill the Wallmasters but watch out for the red Bubbles.
 The Legend of Zelda Walkthrough - The Legend-of-Zelda 898
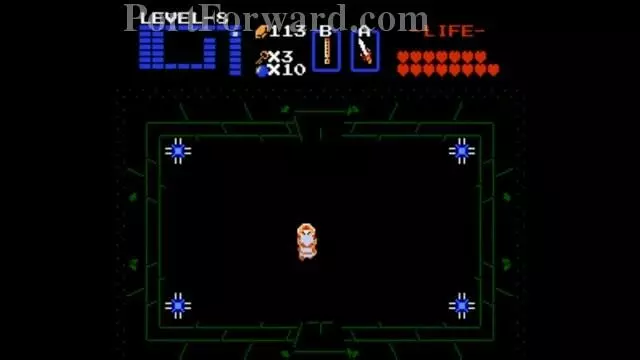
This is the same room lit up.
 The Legend of Zelda Walkthrough - The Legend-of-Zelda 899
In the next room, kill the Dodongos.
 The Legend of Zelda Walkthrough - The Legend-of-Zelda 900
There is a lone key here.
 The Legend of Zelda Walkthrough - The Legend-of-Zelda 901
Avoid the red Bubbles and push this block up.
 The Legend of Zelda Walkthrough - The Legend-of-Zelda 902
Go through the passage.
 The Legend of Zelda Walkthrough - The Legend-of-Zelda 903
Go through the door on the left.
 The Legend of Zelda Walkthrough - The Legend-of-Zelda 904
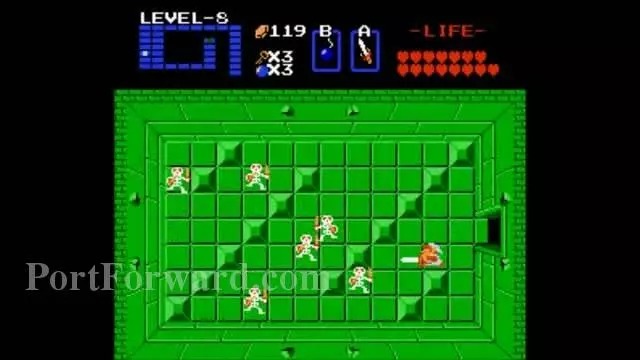
Kill these Stalfoses.
 The Legend of Zelda Walkthrough - The Legend-of-Zelda 905
Push this block.
 The Legend of Zelda Walkthrough - The Legend-of-Zelda 906
Get the Lion's Key.
 The Legend of Zelda Walkthrough - The Legend-of-Zelda 907
Go back to where you went through the locked door and go down into this room. Push this block and go left.
 The Legend of Zelda Walkthrough - The Legend-of-Zelda 908
Kill the Ropes.
 The Legend of Zelda Walkthrough - The Legend-of-Zelda 909
Go through the bottom wall.
 The Legend of Zelda Walkthrough - The Legend-of-Zelda 910
Go into the right door.
 The Legend of Zelda Walkthrough - The Legend-of-Zelda 911
Go through the narrow passage through the locked door.
 The Legend of Zelda Walkthrough - The Legend-of-Zelda 912
Kill these Goriyas to push the block on the left and get into the staircase.
 The Legend of Zelda Walkthrough - The Legend-of-Zelda 913
You also get some bombs too.
 The Legend of Zelda Walkthrough - The Legend-of-Zelda 914
Go through the passageway.
 The Legend of Zelda Walkthrough - The Legend-of-Zelda 915
Defeat the Moldorms. Bomb the bottom wall and go down. We have some loose ends to take of.
 The Legend of Zelda Walkthrough - The Legend-of-Zelda 916
Get through the Goriyas.
 The Legend of Zelda Walkthrough - The Legend-of-Zelda 917
Take out Aquamentus.
 The Legend of Zelda Walkthrough - The Legend-of-Zelda 918
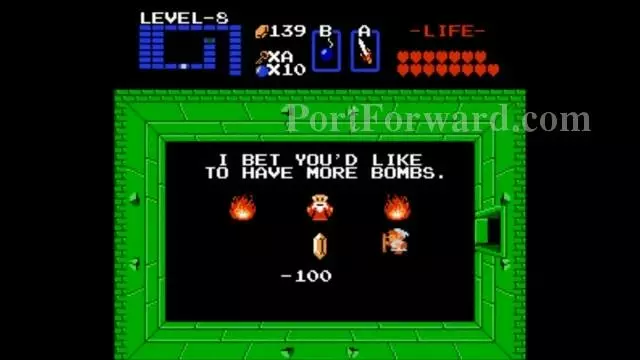
Pay 100 Rupies to carry a maximum of 16 bombs.
 The Legend of Zelda Walkthrough - The Legend-of-Zelda 919
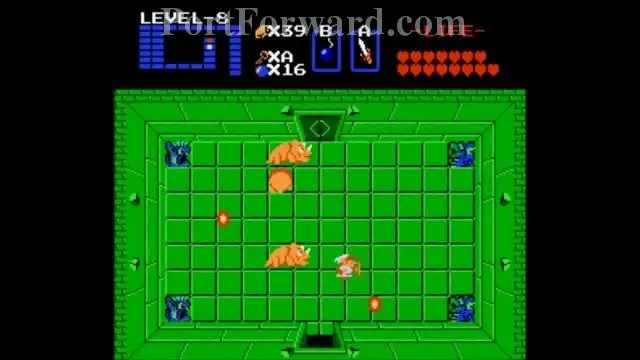
Go back to the room you fought the Moldorms and go through the locked door and kill the Dodongos.
 The Legend of Zelda Walkthrough - The Legend-of-Zelda 920
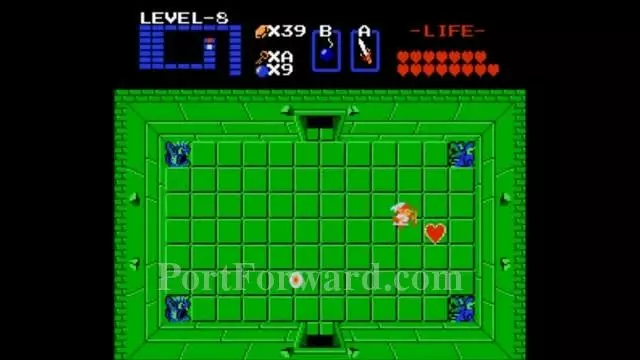
Get the final Heart Container to have all sixteen hearts.
 The Legend of Zelda Walkthrough - The Legend-of-Zelda 921
Dungeon 8 completed.
 The Legend of Zelda Walkthrough - The Legend-of-Zelda 922
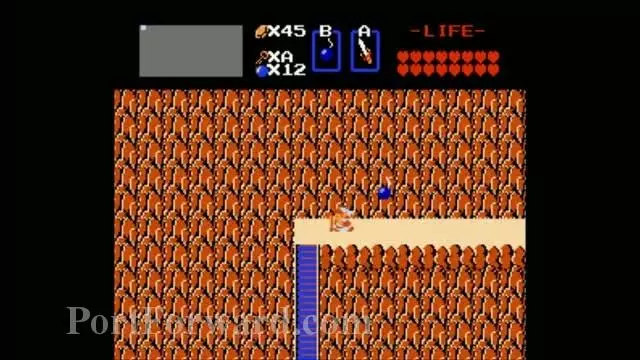
A1: Bomb this wall.
 The Legend of Zelda Walkthrough - The Legend-of-Zelda 923
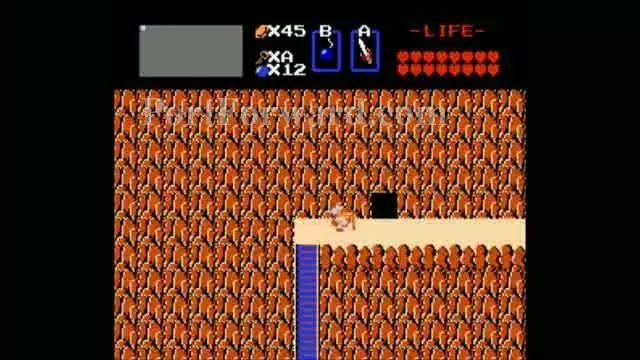
This is the entrance to Dungeon 9.
More The Legend of Zelda Walkthroughs
This The Legend of Zelda walkthrough is divided into 18 total pages.
17 - Dungeon 8 (Quest 2) and Journey to Dungeon 9.


