You can jump to nearby pages of the game using the links above.
Dungeon 3 (Quest 2) and Journey to Dungeon 4.
The Legend of Zelda Walkthrough - The Legend-of-Zelda 687
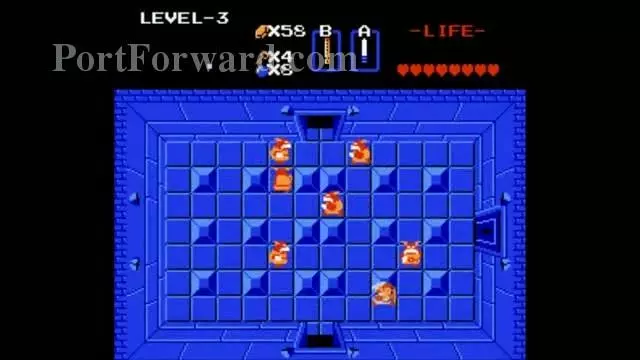
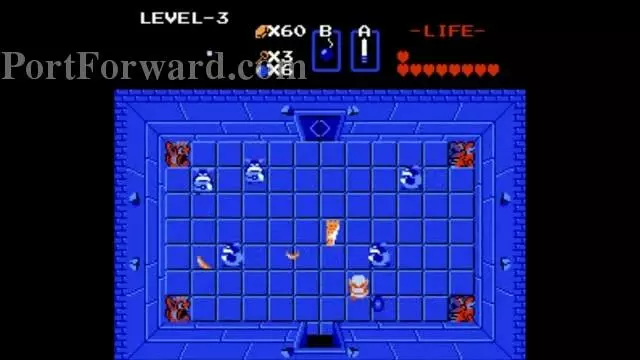
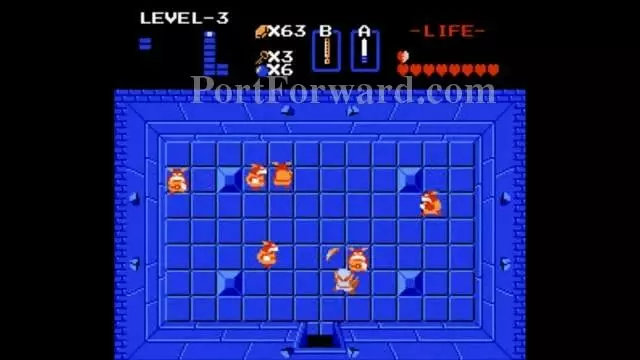
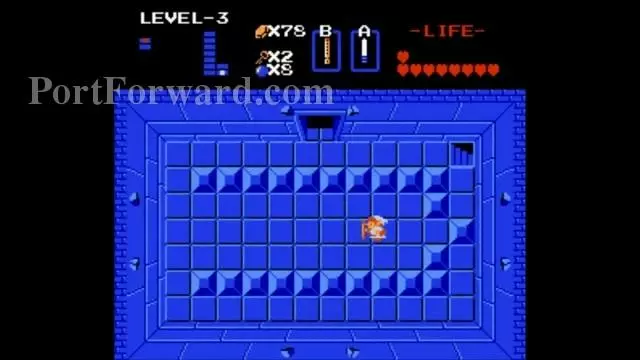
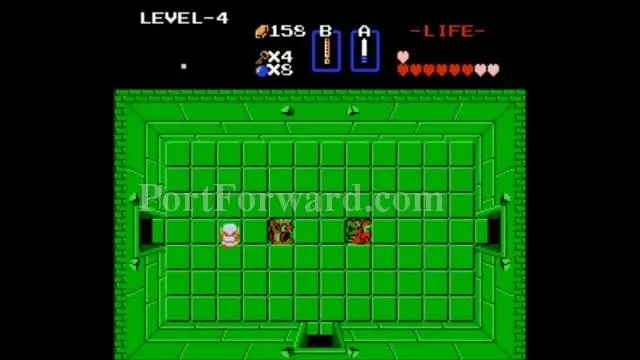
Go up and kill the Goriyas.
The Legend of Zelda Walkthrough - The Legend-of-Zelda 688
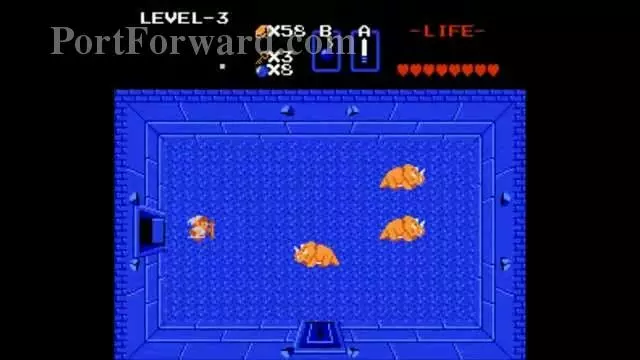
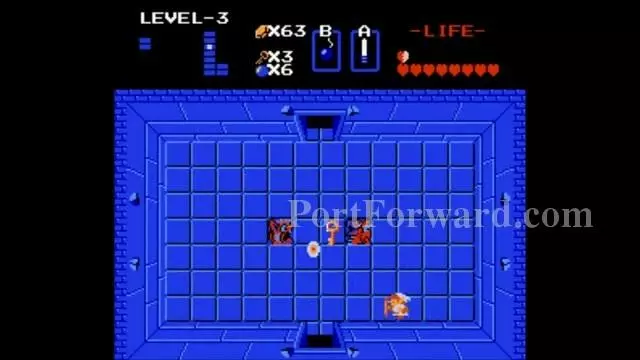
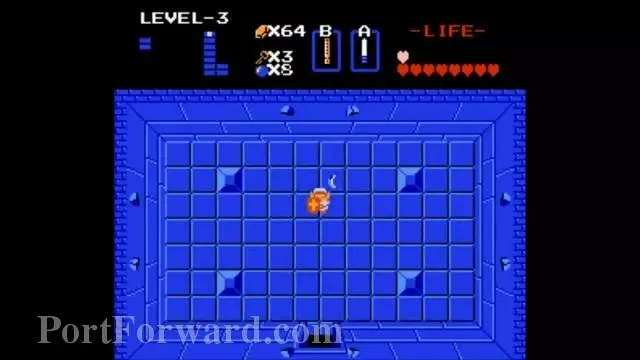
Go right and kill the Dodongos.
The Legend of Zelda Walkthrough - The Legend-of-Zelda 689
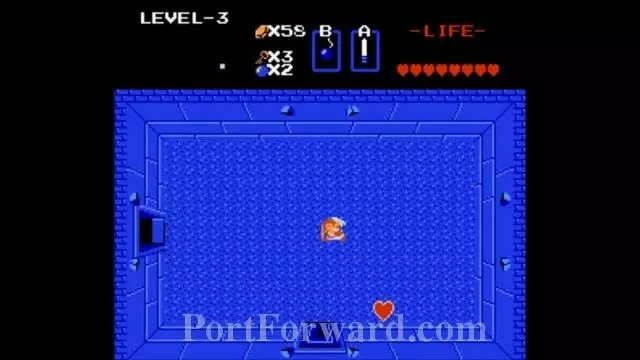
Got a Heart Container already.
The Legend of Zelda Walkthrough - The Legend-of-Zelda 690
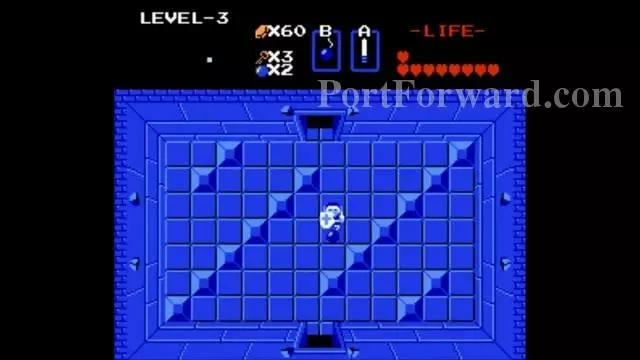
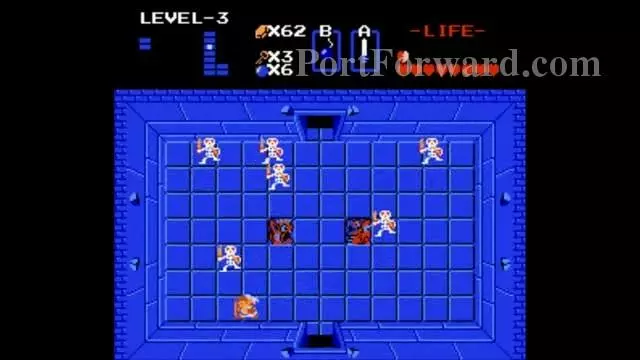
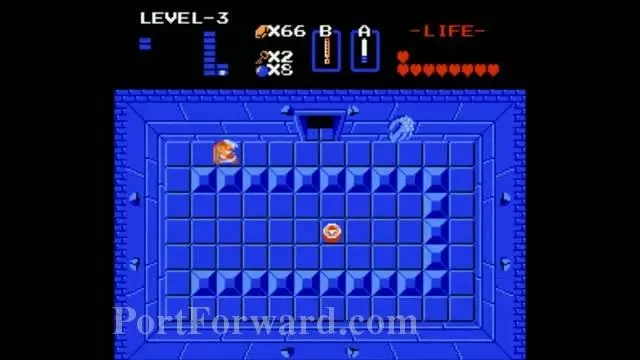
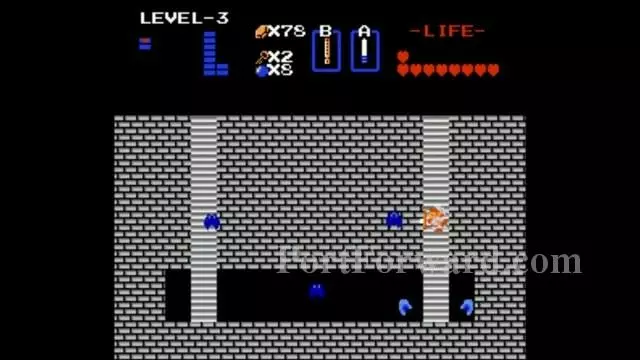
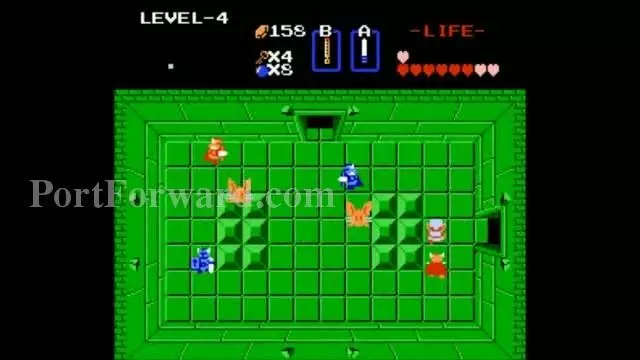
Back track to the second room and go up and kill the Flashing Ropes who move faster than normal Ropes.
The Legend of Zelda Walkthrough - The Legend-of-Zelda 691
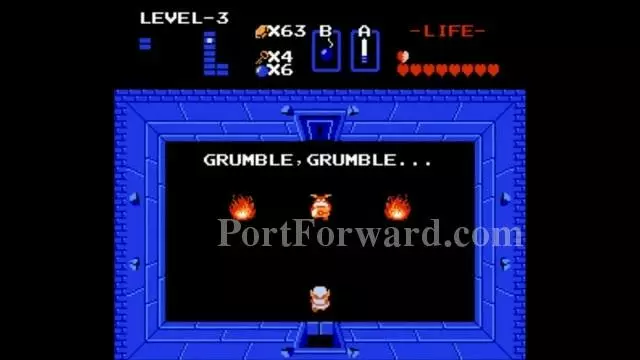
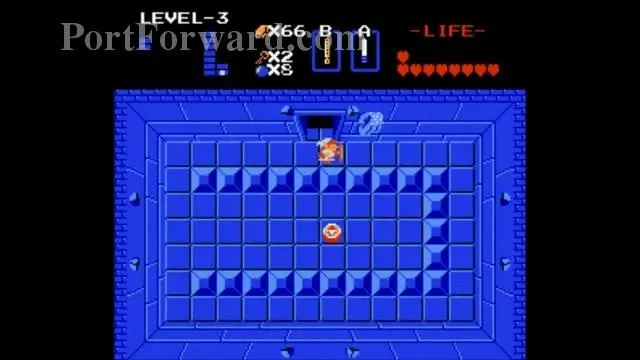
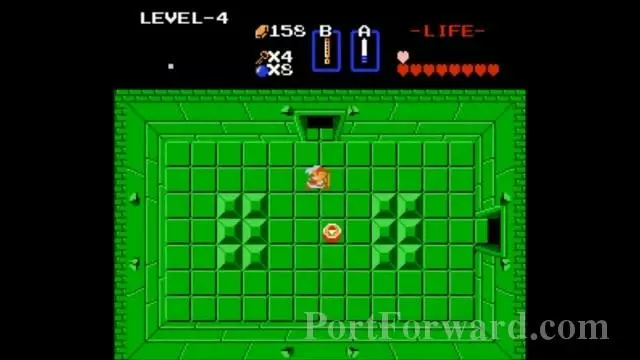
Get the Bombs.
The Legend of Zelda Walkthrough - The Legend-of-Zelda 692
Go up and get the map.
The Legend of Zelda Walkthrough - The Legend-of-Zelda 693
The map is shaped like an L with two extra rooms to the far left.
The Legend of Zelda Walkthrough - The Legend-of-Zelda 694
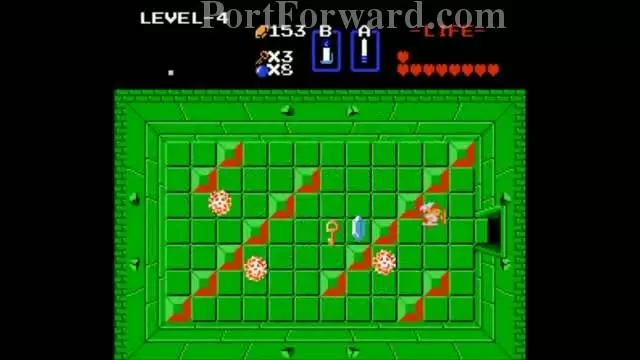
Continue up and get the Key.
The Legend of Zelda Walkthrough - The Legend-of-Zelda 695
Bribe the Goriya with Meat.
The Legend of Zelda Walkthrough - The Legend-of-Zelda 696
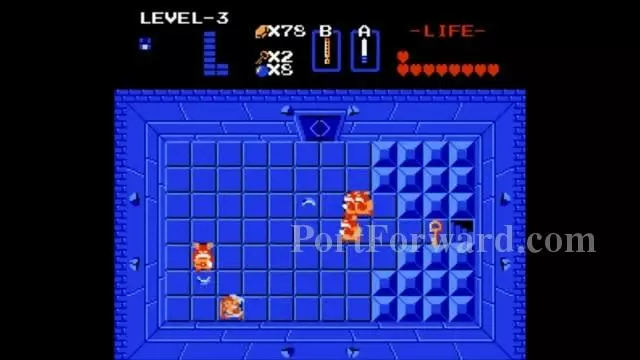
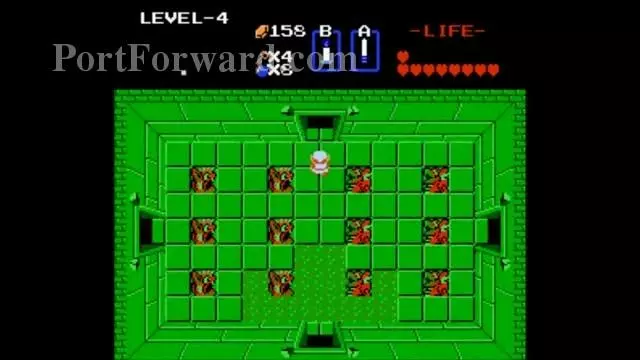
Defeat all the Goriyas in this room.
The Legend of Zelda Walkthrough - The Legend-of-Zelda 697
Get the Magical Boomerang.
The Legend of Zelda Walkthrough - The Legend-of-Zelda 698
Head back to where you killed the Dodongos and go down and get the Compass.
The Legend of Zelda Walkthrough - The Legend-of-Zelda 699
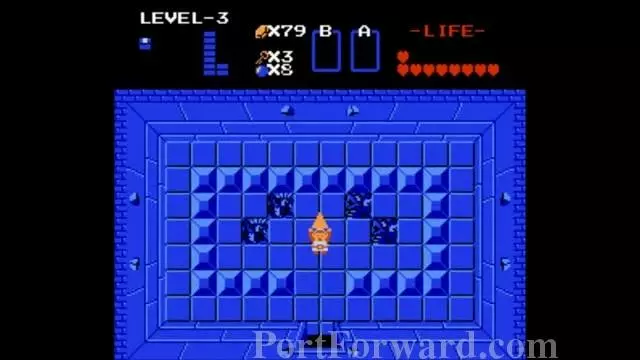
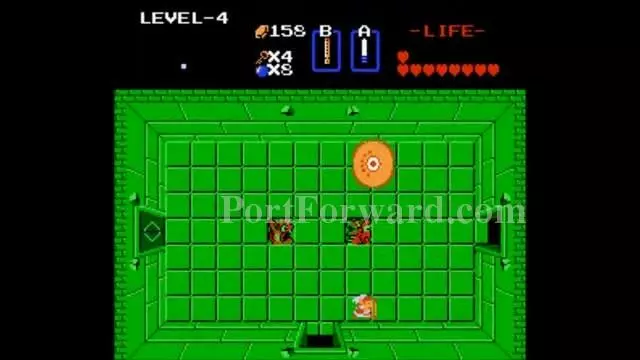
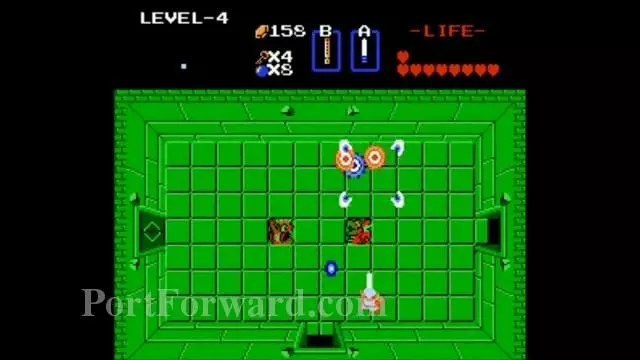
Defeat the Wallmasters.
The Legend of Zelda Walkthrough - The Legend-of-Zelda 700
Push this block to unveal the staircase.
The Legend of Zelda Walkthrough - The Legend-of-Zelda 701
Go through the secret passage.
The Legend of Zelda Walkthrough - The Legend-of-Zelda 702
Get the Key and kill the Goriyas to go up.
The Legend of Zelda Walkthrough - The Legend-of-Zelda 703
Dungeon 3 completed. That was a short one, wasn't it?
The Legend of Zelda Walkthrough - The Legend-of-Zelda 704
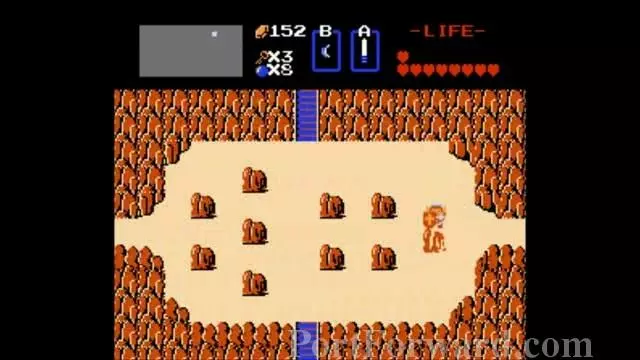
L2: Head here after leaving Dungeon 3. In Quest 1, this was the screen you kept going up before reaching Dungeon 5. By the way, doing that here leads to a Fairy lake.
The Legend of Zelda Walkthrough - The Legend-of-Zelda 705
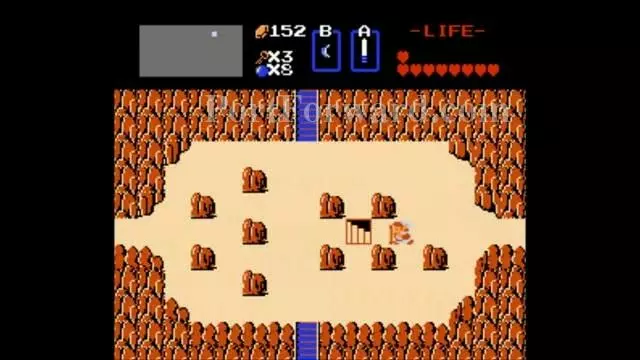
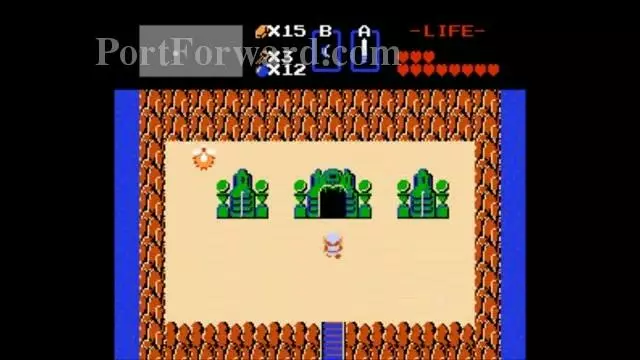
Dungeon 4 entrance revealed.
The Legend of Zelda Walkthrough - The Legend-of-Zelda 706
Dungeon 4 (Quest 2) and Journey to Dungeon 5.
The Legend of Zelda Walkthrough - The Legend-of-Zelda 707
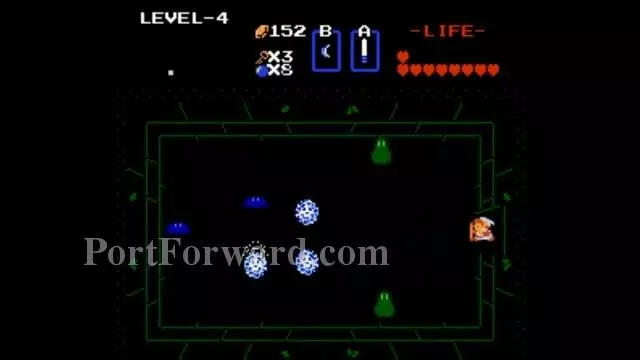
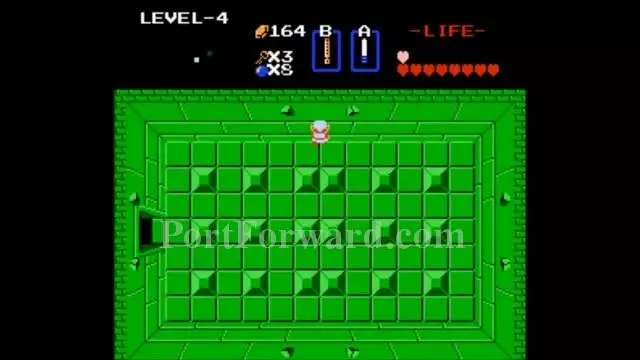
The left room is dark.
The Legend of Zelda Walkthrough - The Legend-of-Zelda 708
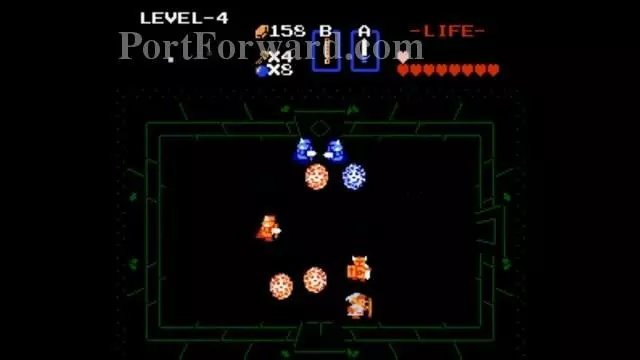
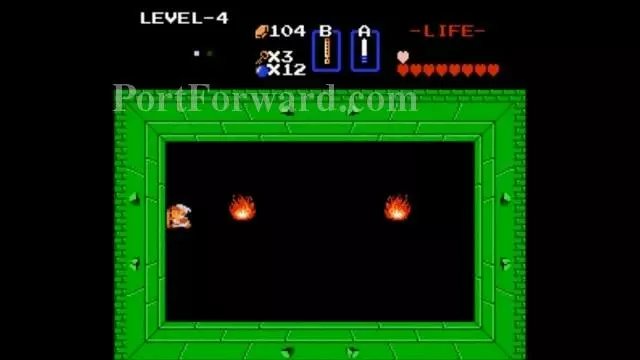
Light it up and kill everyone
The Legend of Zelda Walkthrough - The Legend-of-Zelda 709
Get the key.
The Legend of Zelda Walkthrough - The Legend-of-Zelda 710
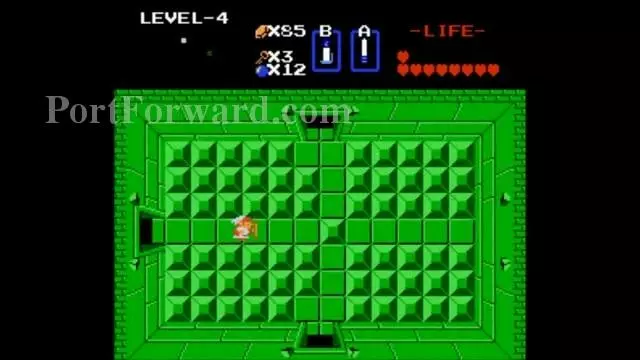
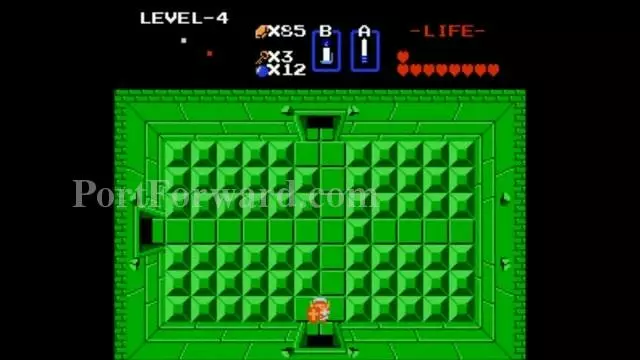
Go back and go up.
The Legend of Zelda Walkthrough - The Legend-of-Zelda 711
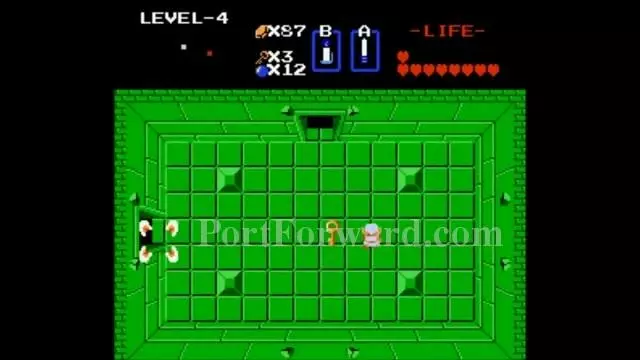
Weaken Digdogger with the Recorder.
The Legend of Zelda Walkthrough - The Legend-of-Zelda 712
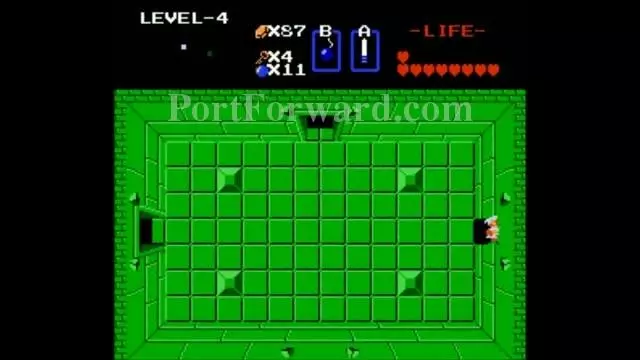
Then kill the Digpuppies.
The Legend of Zelda Walkthrough - The Legend-of-Zelda 713
The left room opens.
The Legend of Zelda Walkthrough - The Legend-of-Zelda 714
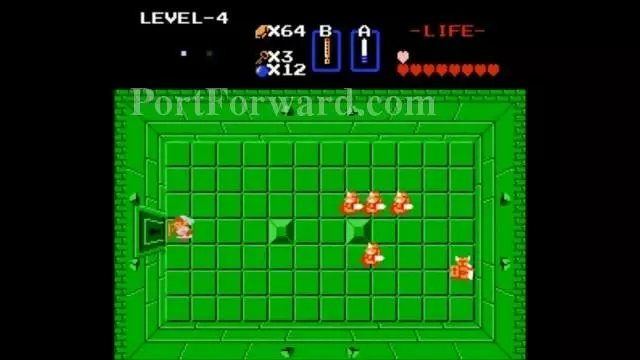
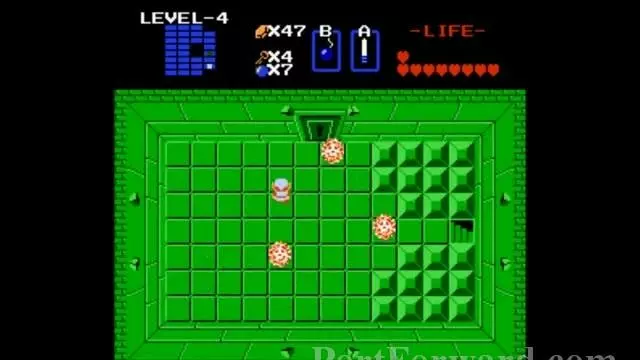
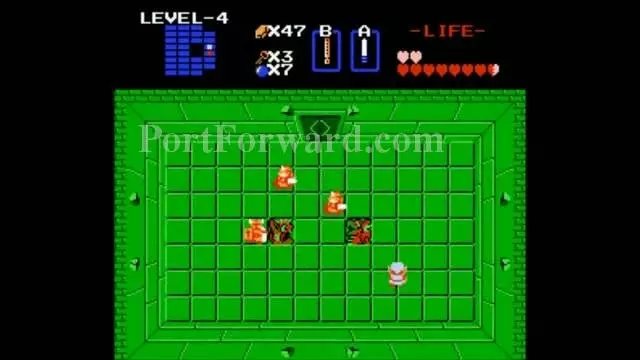
Kill everyone in this room.
The Legend of Zelda Walkthrough - The Legend-of-Zelda 715
You get a Compass.
The Legend of Zelda Walkthrough - The Legend-of-Zelda 716
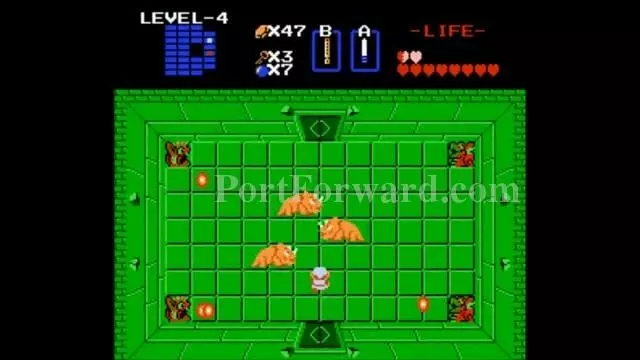
Watch out for the Red Bubbles. Head for the locked door on the right.
The Legend of Zelda Walkthrough - The Legend-of-Zelda 717
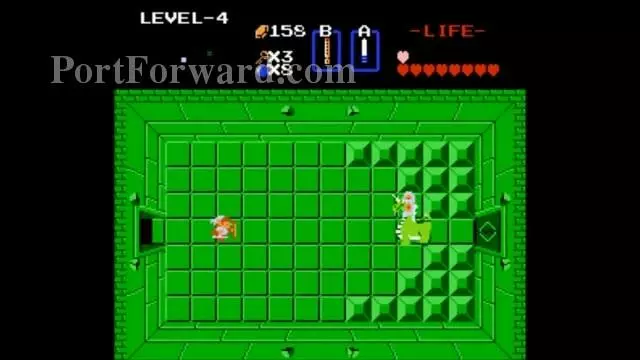
Defeat Aquamentus.
The Legend of Zelda Walkthrough - The Legend-of-Zelda 718
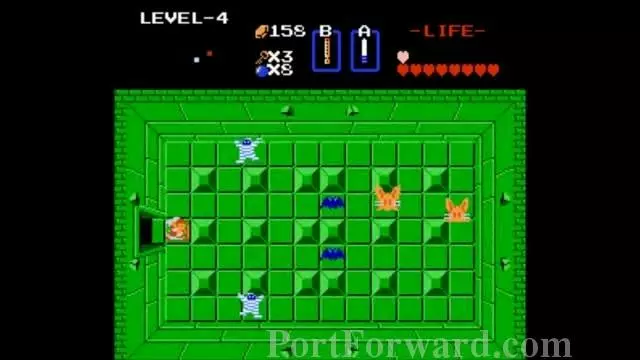
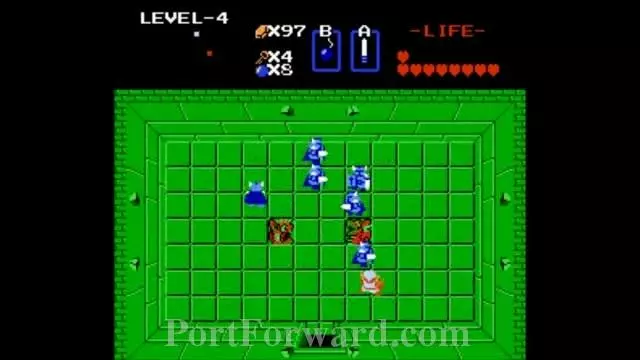
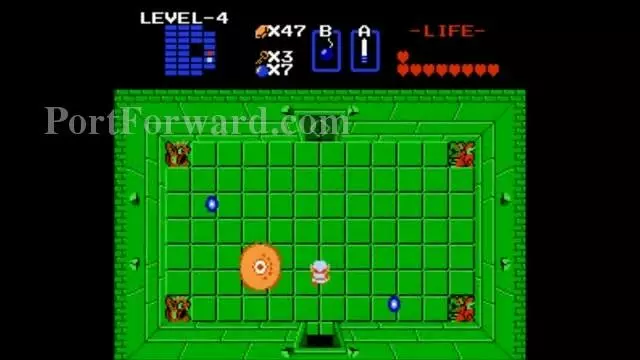
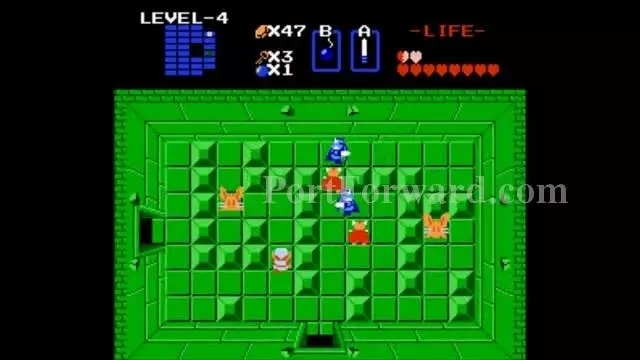
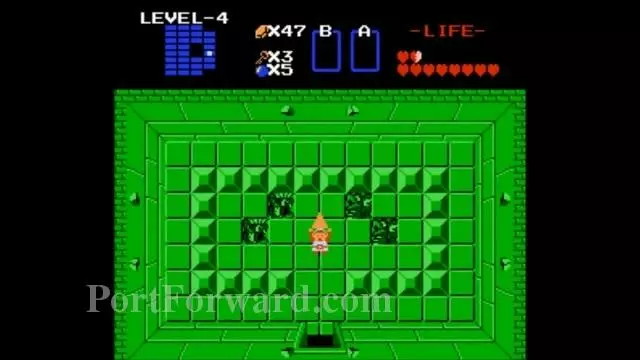
Defeat all enemies here.
The Legend of Zelda Walkthrough - The Legend-of-Zelda 719
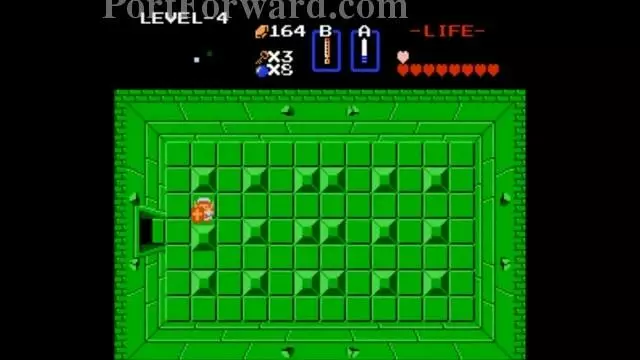
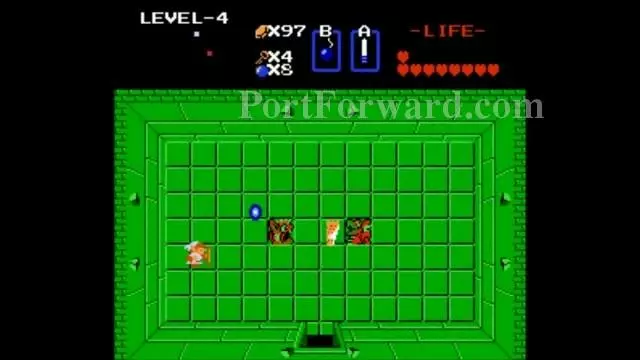
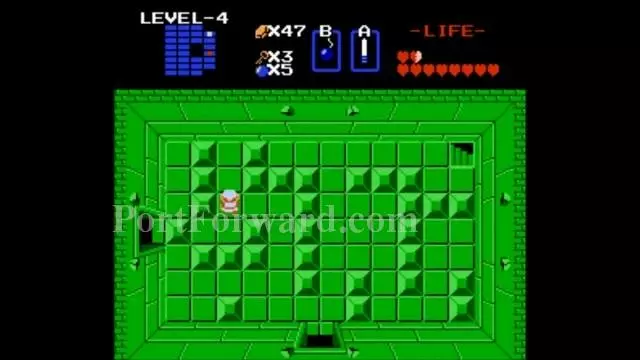
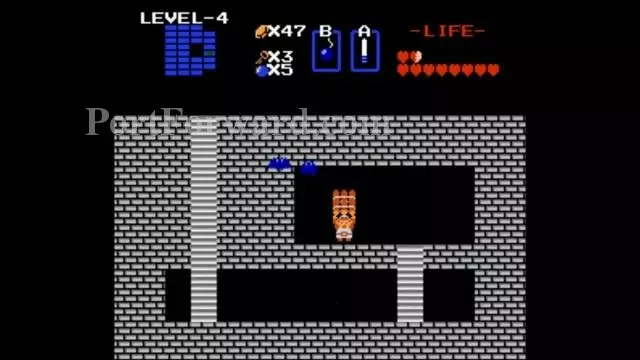
Push this block.
The Legend of Zelda Walkthrough - The Legend-of-Zelda 720
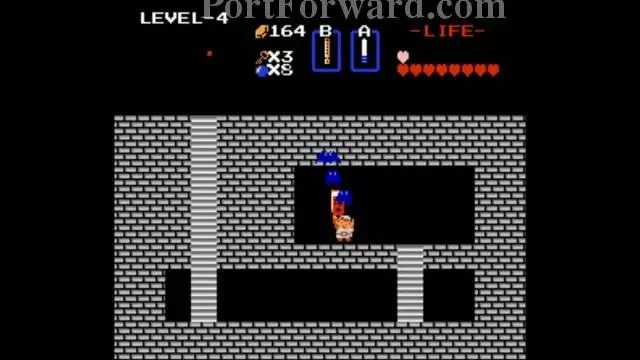
Get the Magic Book. Too bad you don't have the Magic Wand yet.
The Legend of Zelda Walkthrough - The Legend-of-Zelda 721
Once out, go through this wall.
The Legend of Zelda Walkthrough - The Legend-of-Zelda 722
Buy the bombs to carry a maximum of 12 bombs.
The Legend of Zelda Walkthrough - The Legend-of-Zelda 723
Go through the left wall.
The Legend of Zelda Walkthrough - The Legend-of-Zelda 724
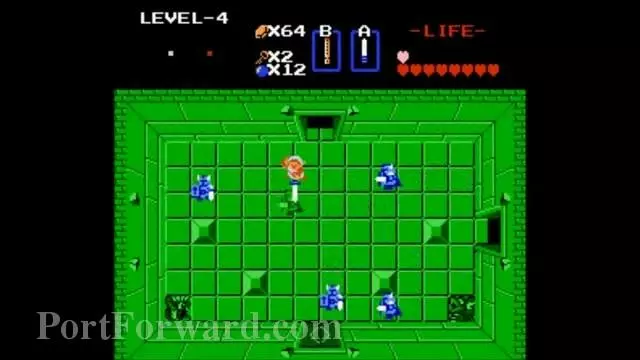
Ignore the Darknuts and go through the door.
The Legend of Zelda Walkthrough - The Legend-of-Zelda 725
Defeat these Darknuts if they get in your way.
The Legend of Zelda Walkthrough - The Legend-of-Zelda 726
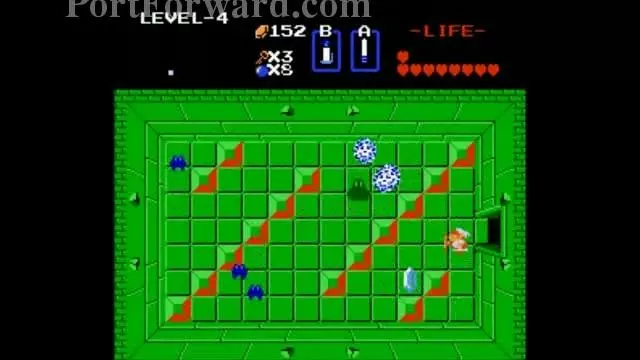
Go up and avoid the traps.
The Legend of Zelda Walkthrough - The Legend-of-Zelda 727
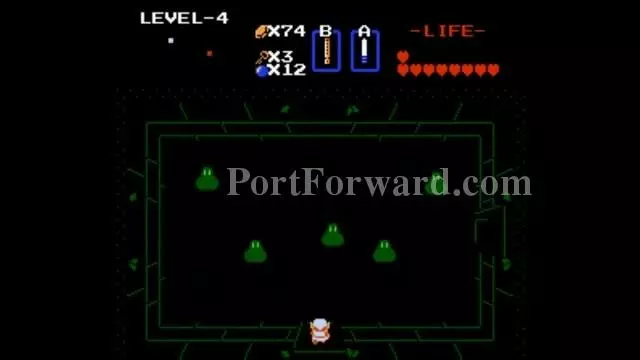
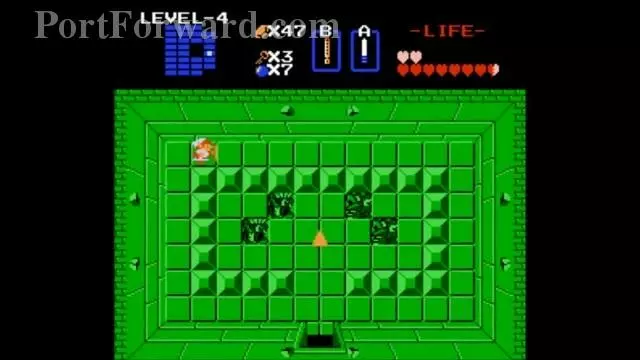
Kill these Zols.
The Legend of Zelda Walkthrough - The Legend-of-Zelda 728
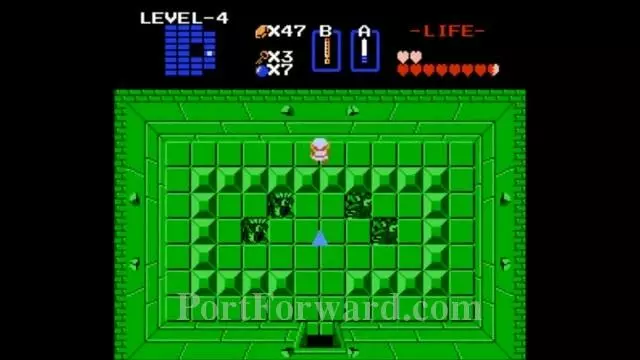
Get a Bomb.
The Legend of Zelda Walkthrough - The Legend-of-Zelda 729
Head back to this room.
The Legend of Zelda Walkthrough - The Legend-of-Zelda 730
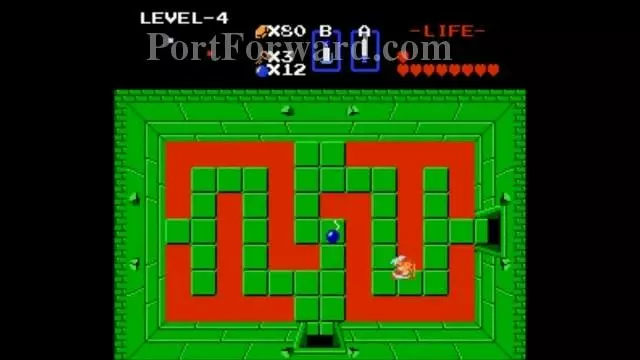
Go right and push the block to the right and go down.
The Legend of Zelda Walkthrough - The Legend-of-Zelda 731
Kill all enemies for a key.
The Legend of Zelda Walkthrough - The Legend-of-Zelda 732
Bomb this wall.
The Legend of Zelda Walkthrough - The Legend-of-Zelda 733
Get some secret Rupies.
The Legend of Zelda Walkthrough - The Legend-of-Zelda 734
Go back up and push up the block and go right.
The Legend of Zelda Walkthrough - The Legend-of-Zelda 735
Bomb this wall.
The Legend of Zelda Walkthrough - The Legend-of-Zelda 736
Kill the Dodongo.
The Legend of Zelda Walkthrough - The Legend-of-Zelda 737
Go up and kill the Darknuts.
The Legend of Zelda Walkthrough - The Legend-of-Zelda 738
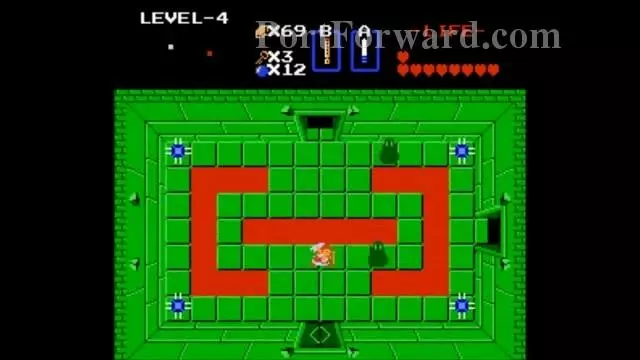
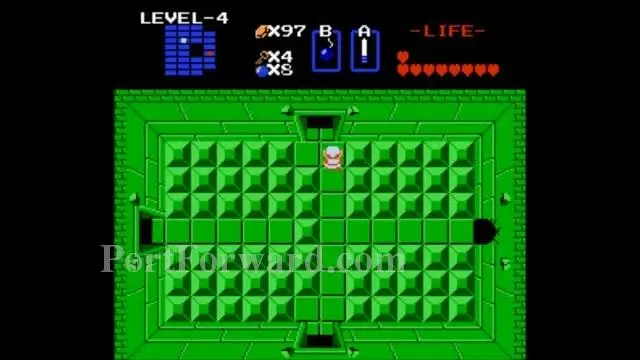
Get the map.
The Legend of Zelda Walkthrough - The Legend-of-Zelda 739
"The map is shaped like the letter D. Hmm, 1 = E, 2 = A, 3 = L, 4 = D. Gee, I wonder what Dungeon 5 map is shaped like.
The Legend of Zelda Walkthrough - The Legend-of-Zelda 740
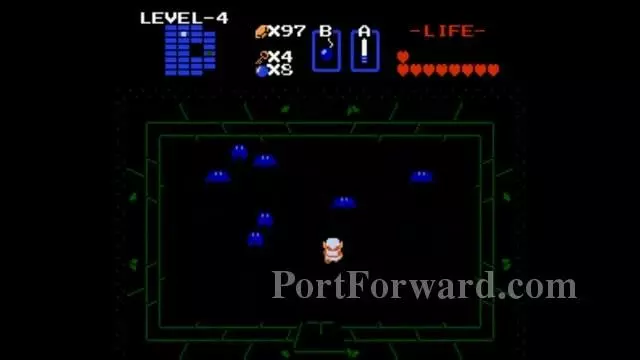
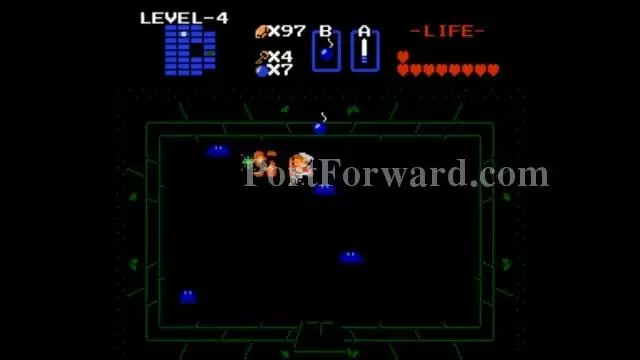
Kill the Keese.
The Legend of Zelda Walkthrough - The Legend-of-Zelda 741
Bomb this wall.
The Legend of Zelda Walkthrough - The Legend-of-Zelda 742
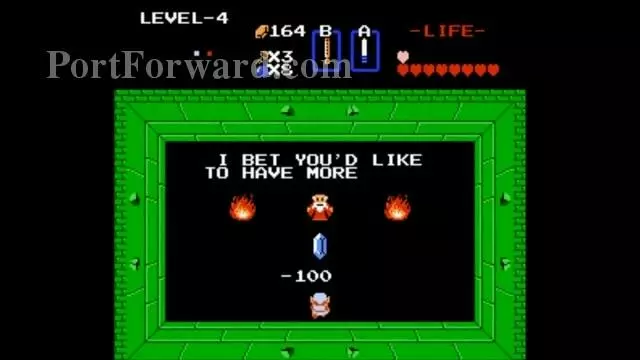
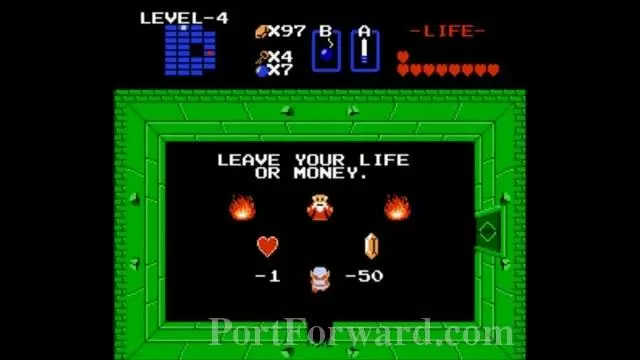
This bastard wants you to pay him to move on. Give him the money.
The Legend of Zelda Walkthrough - The Legend-of-Zelda 743
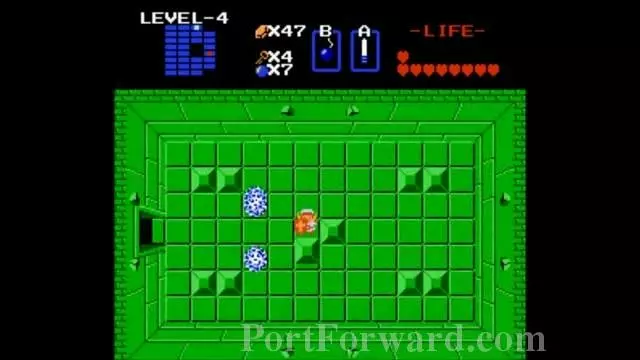
Push this block.
The Legend of Zelda Walkthrough - The Legend-of-Zelda 744
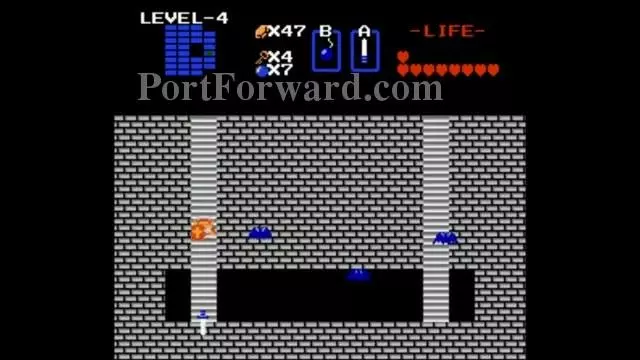
Go through the passage.
The Legend of Zelda Walkthrough - The Legend-of-Zelda 745
Enter the locked door.
The Legend of Zelda Walkthrough - The Legend-of-Zelda 746
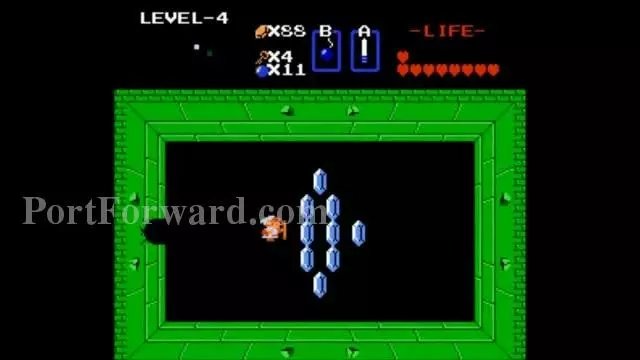
Kill the Digdogger.
The Legend of Zelda Walkthrough - The Legend-of-Zelda 747
There is the Triforce shard but there is a loose end to take care of.
The Legend of Zelda Walkthrough - The Legend-of-Zelda 748
Walk through this wall.
The Legend of Zelda Walkthrough - The Legend-of-Zelda 749
Kill the Darknuts to proceed.
The Legend of Zelda Walkthrough - The Legend-of-Zelda 750
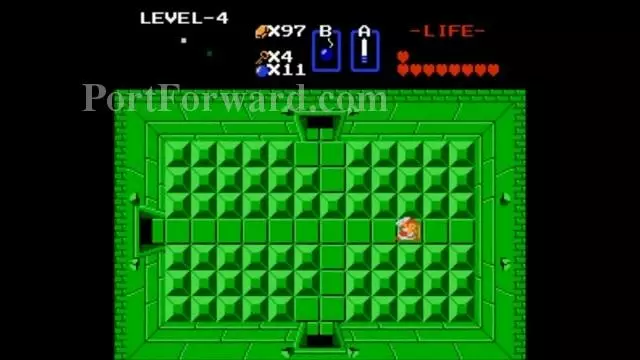
Kill the Dodongos next.
The Legend of Zelda Walkthrough - The Legend-of-Zelda 751
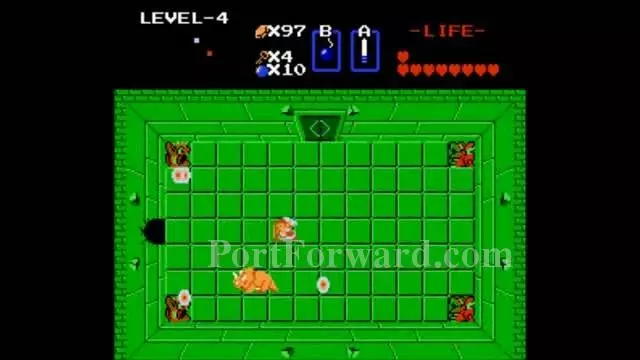
Kill all enemies in this room.
The Legend of Zelda Walkthrough - The Legend-of-Zelda 752
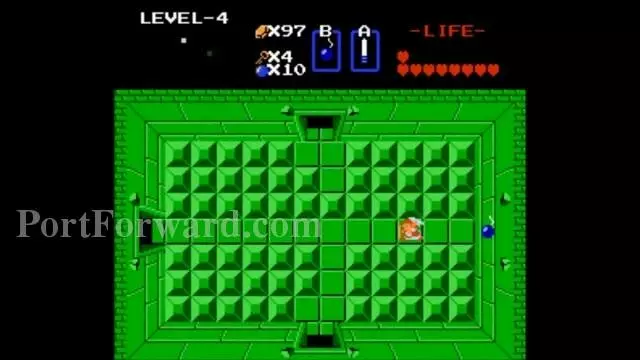
Push this block to the left and make your way to the staircase.
The Legend of Zelda Walkthrough - The Legend-of-Zelda 753
Get the Raft.
The Legend of Zelda Walkthrough - The Legend-of-Zelda 754
Backtrack to the Triforce shard and Dungeon 4 completed.
The Legend of Zelda Walkthrough - The Legend-of-Zelda 755
Use the Recorder to warp to different dungeons you completed. There is still some prep work otherwise I would use the Recorder to cheat my way to Dungeon 5 because the Recorder drops you were you defeated the Dungeon in the first quest and Dungeon 5 is where Dungeon 4 used to be.
The Legend of Zelda Walkthrough - The Legend-of-Zelda 756
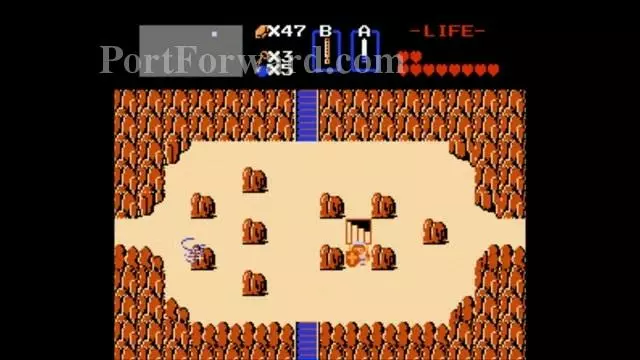
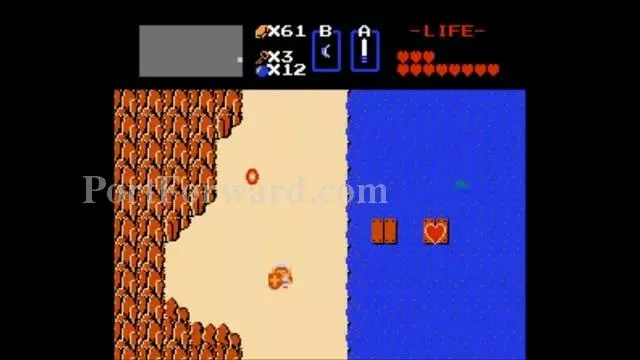
P4: Ride the raft here.
The Legend of Zelda Walkthrough - The Legend-of-Zelda 757
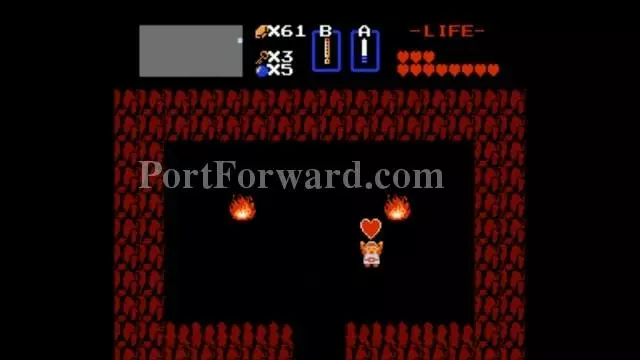
P3: Enter the cave and get the Heart Container.
The Legend of Zelda Walkthrough - The Legend-of-Zelda 758
P6: Dammit, I sure need the Ladder right about now so I could get the Master Sword.
The Legend of Zelda Walkthrough - The Legend-of-Zelda 759
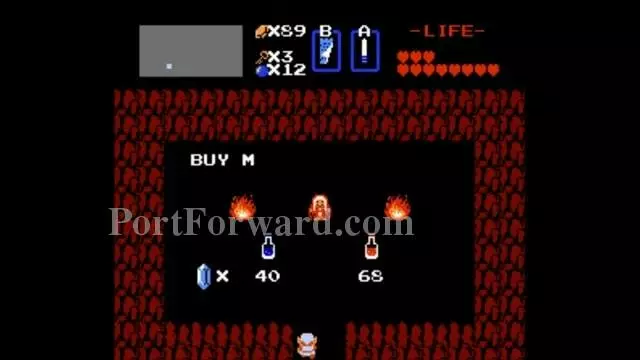
Buy some red medicine.
The Legend of Zelda Walkthrough - The Legend-of-Zelda 760
Go to another shop and buy some arrows.
The Legend of Zelda Walkthrough - The Legend-of-Zelda 761
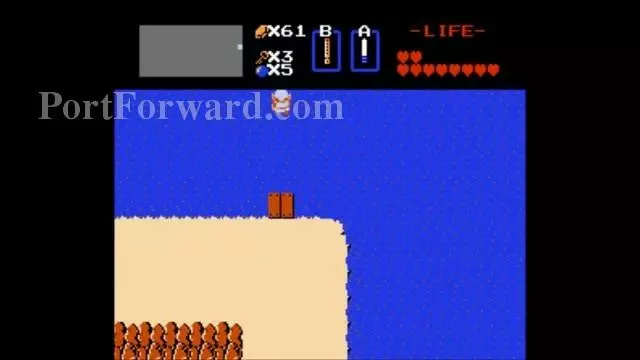
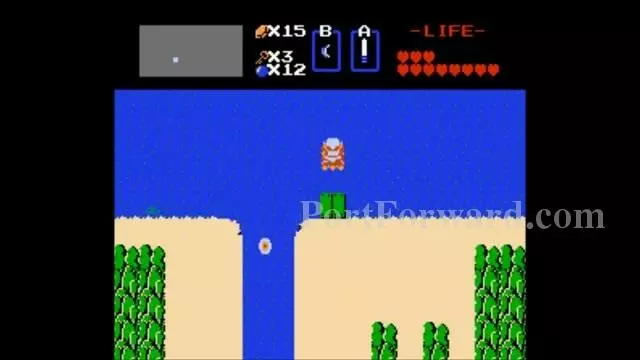
F6: Ride the raft to Dungeon 5.
The Legend of Zelda Walkthrough - The Legend-of-Zelda 762
F5: Enter the dungeon.
More The Legend of Zelda Walkthroughs
This The Legend of Zelda walkthrough is divided into 18 total pages.