This The Legend of Zelda walkthrough is divided into 18 total pages.
16 - Dungeon 7 (Quest 2) and Journey to Dungeon 8.
You can jump to nearby pages of the game using the links above.
Dungeon 7 (Quest 2) and Journey to Dungeon 8.
 The Legend of Zelda Walkthrough - The Legend-of-Zelda 833
Go into the left room and get the Compass.
 The Legend of Zelda Walkthrough - The Legend-of-Zelda 834
Get out and go right and in this room, go through the right door here.
 The Legend of Zelda Walkthrough - The Legend-of-Zelda 835
Make your way through the next door.
 The Legend of Zelda Walkthrough - The Legend-of-Zelda 836
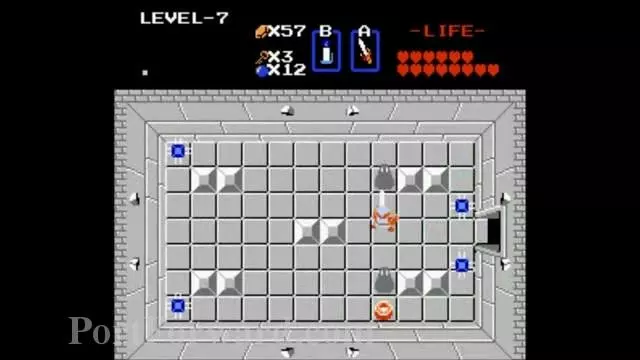
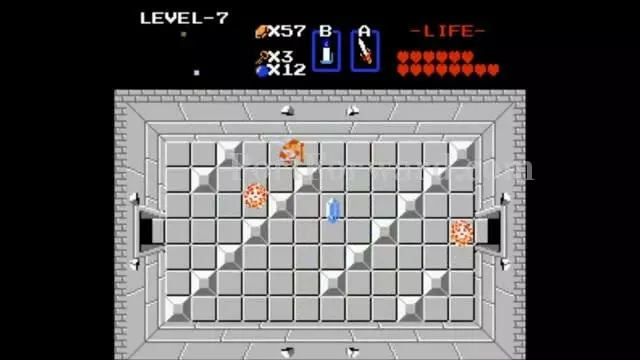
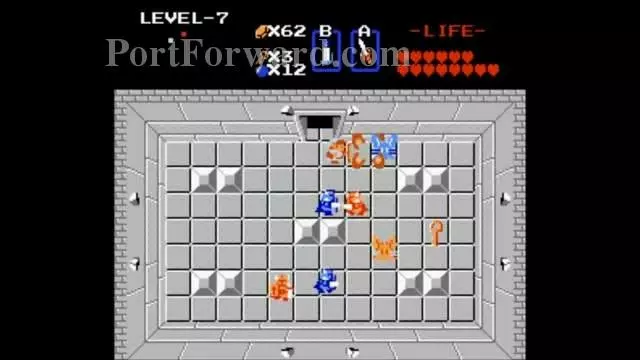
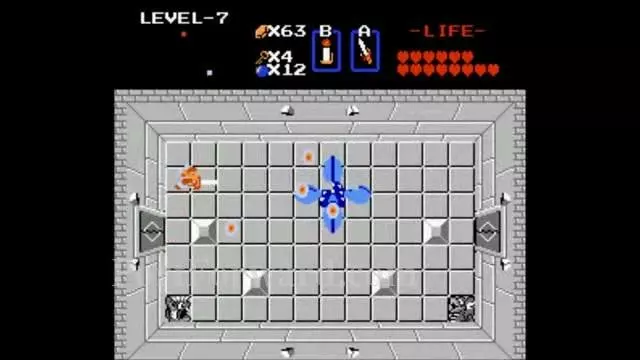
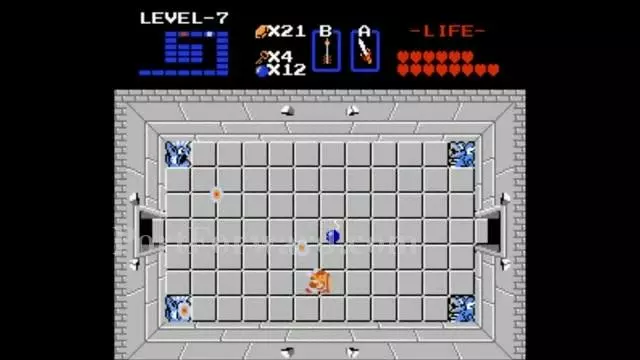
Kill all the enemies in this room.
 The Legend of Zelda Walkthrough - The Legend-of-Zelda 837
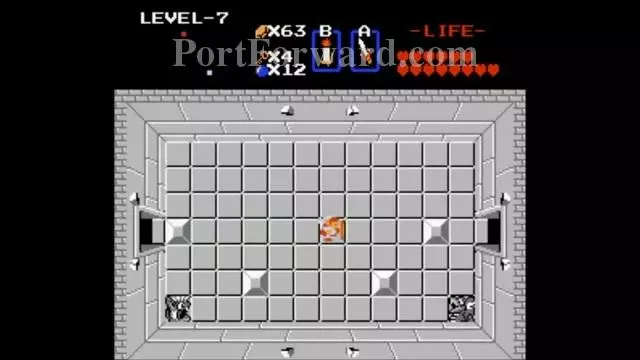
Get five Rupies.
 The Legend of Zelda Walkthrough - The Legend-of-Zelda 838
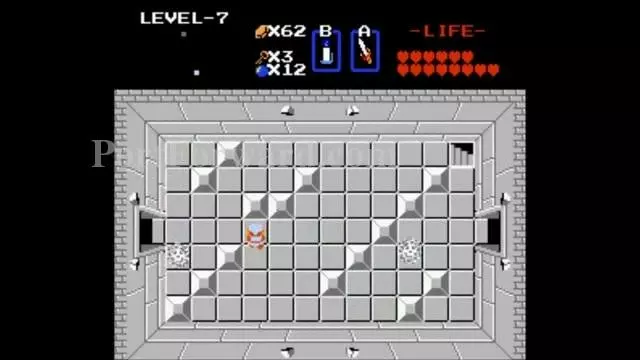
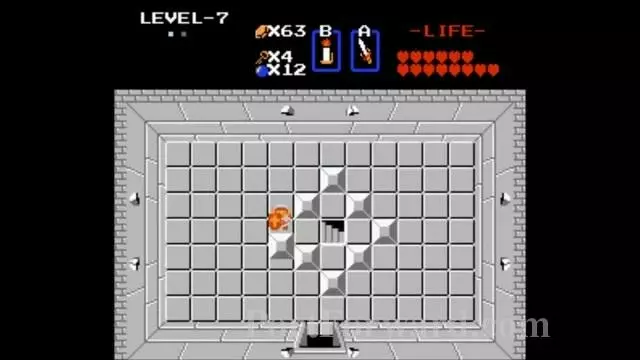
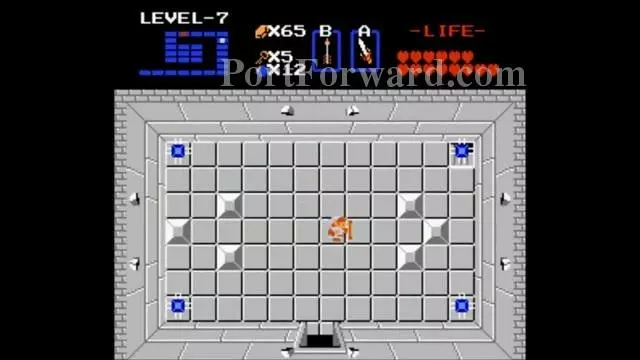
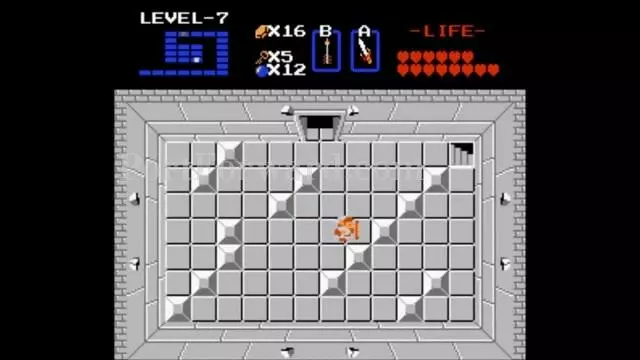
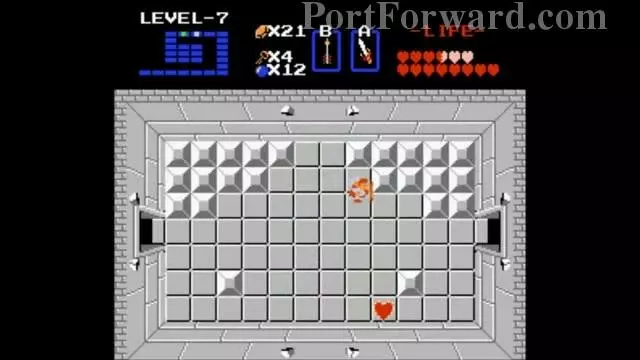
Push this block up.
 The Legend of Zelda Walkthrough - The Legend-of-Zelda 839
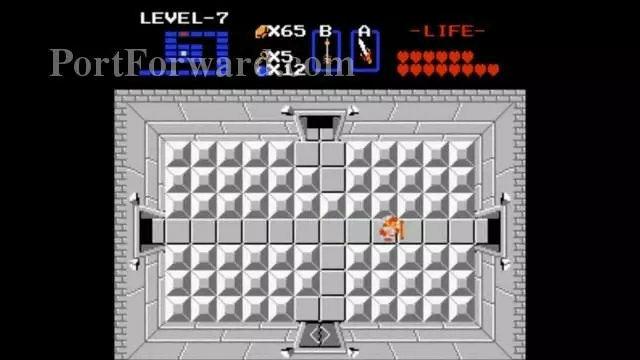
Go through the passage.
 The Legend of Zelda Walkthrough - The Legend-of-Zelda 840
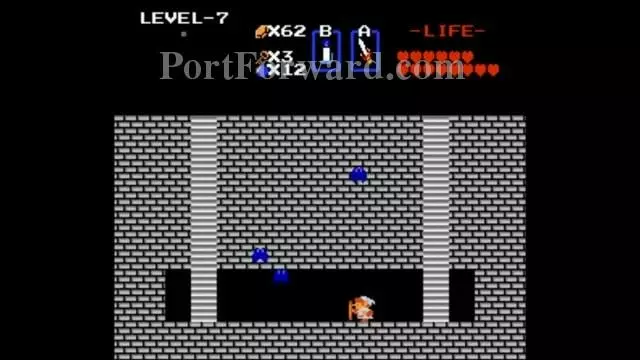
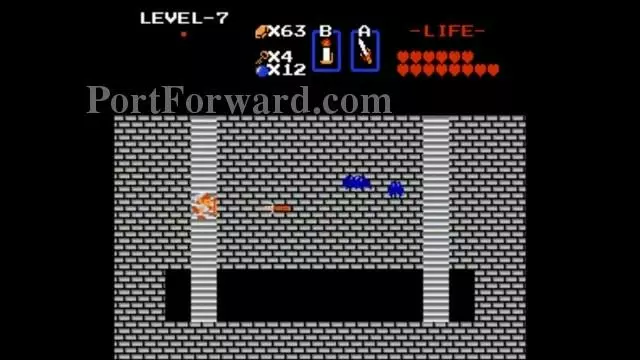
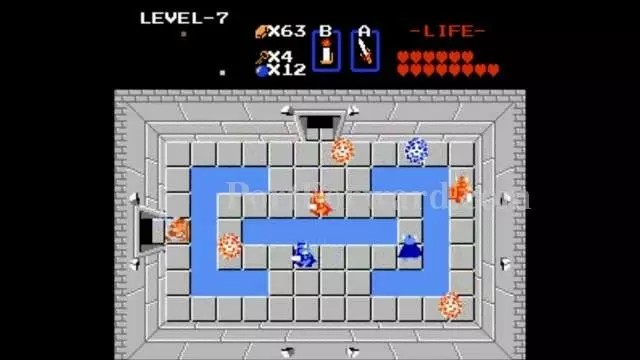
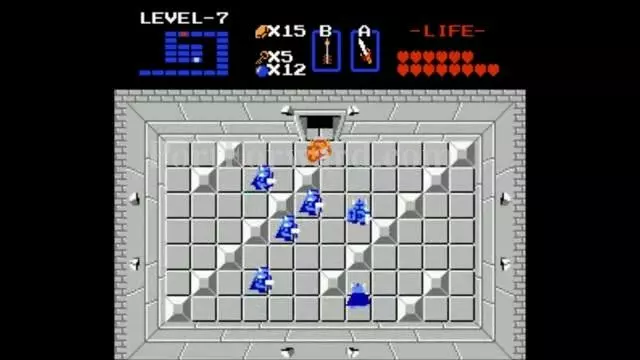
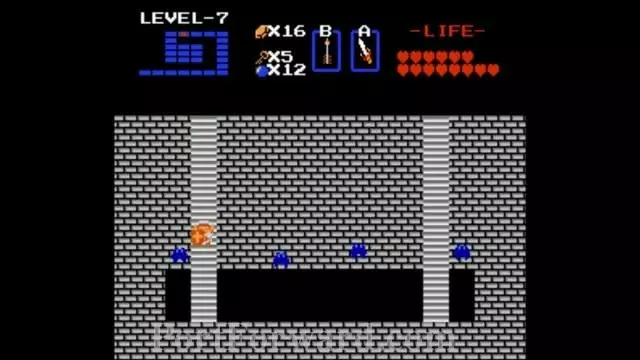
Ignore these Keese and go down.
 The Legend of Zelda Walkthrough - The Legend-of-Zelda 841
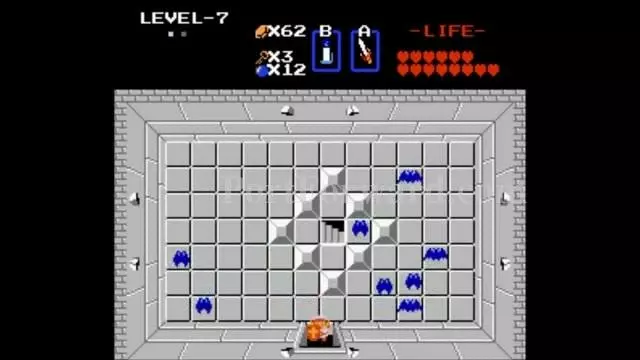
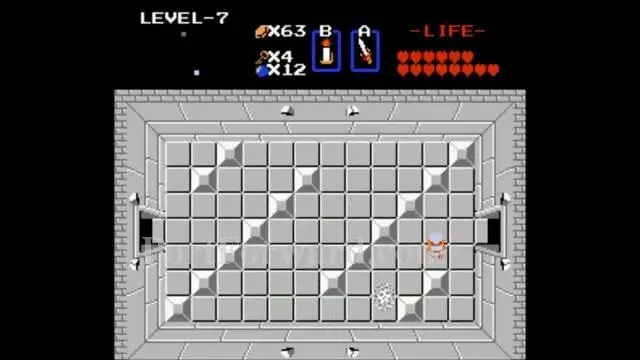
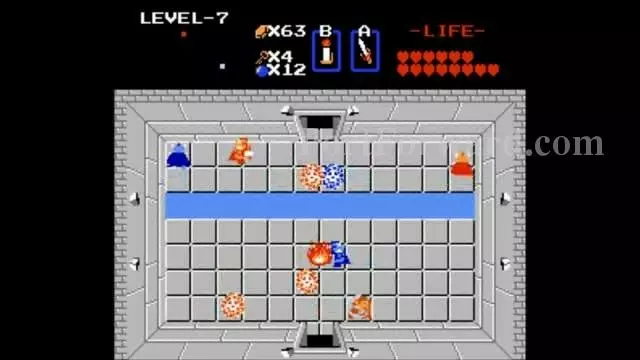
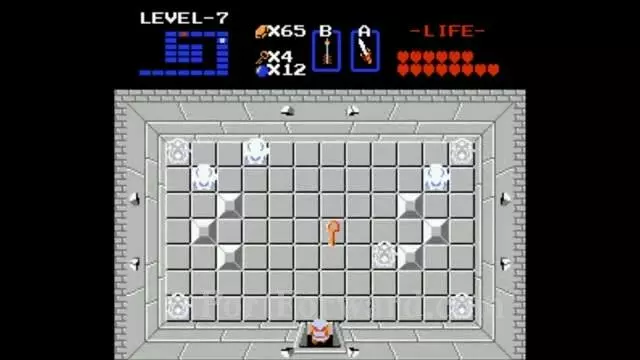
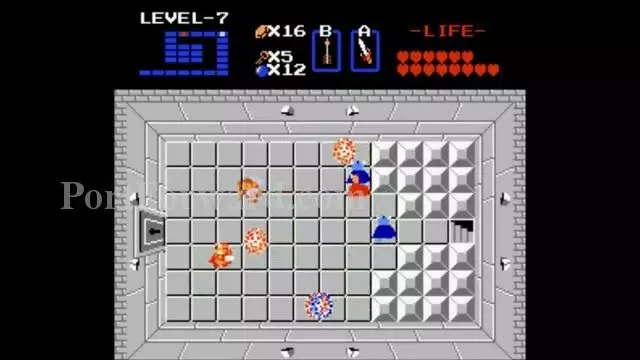
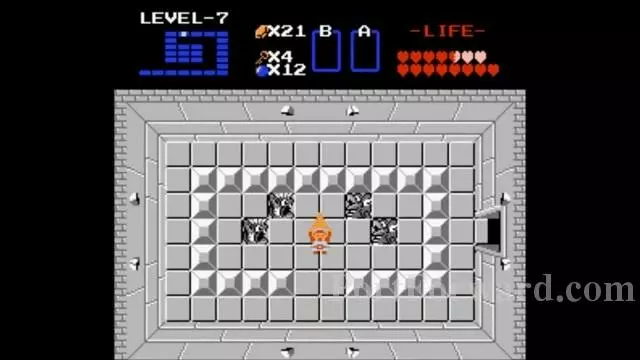
Get the Key and kill everyone in this room.
 The Legend of Zelda Walkthrough - The Legend-of-Zelda 842
Push this block.
 The Legend of Zelda Walkthrough - The Legend-of-Zelda 843
Get the Red Candle.
 The Legend of Zelda Walkthrough - The Legend-of-Zelda 844
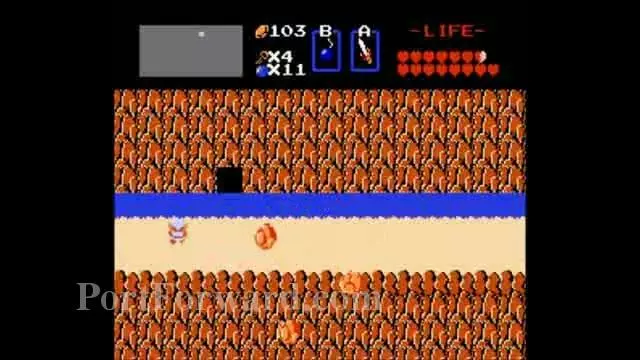
Go back up and enter this staircase.
 The Legend of Zelda Walkthrough - The Legend-of-Zelda 845
Go back through the earlier passage.
 The Legend of Zelda Walkthrough - The Legend-of-Zelda 846
Go through the right door.
 The Legend of Zelda Walkthrough - The Legend-of-Zelda 847
Kill the Manhandla.
 The Legend of Zelda Walkthrough - The Legend-of-Zelda 848
Go through the right door.
 The Legend of Zelda Walkthrough - The Legend-of-Zelda 849
In this room. If you got full power, fire from afar.
 The Legend of Zelda Walkthrough - The Legend-of-Zelda 850
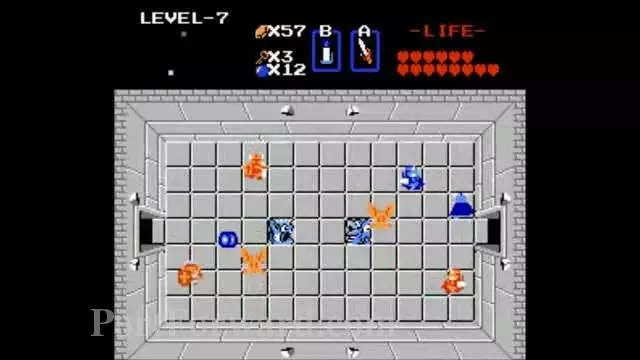
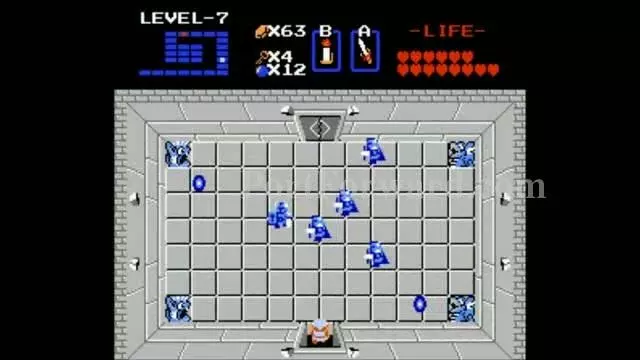
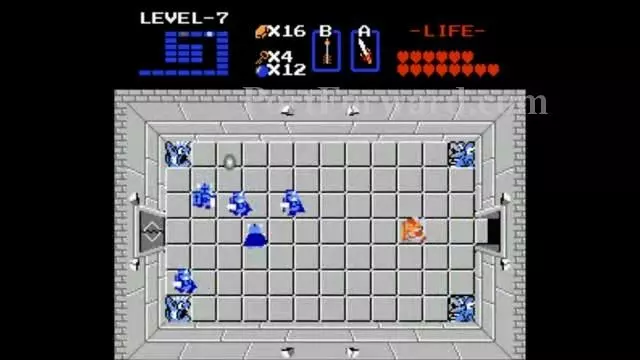
Light up this room and kill all the Darknuts here.
 The Legend of Zelda Walkthrough - The Legend-of-Zelda 851
You get a map.
 The Legend of Zelda Walkthrough - The Legend-of-Zelda 852
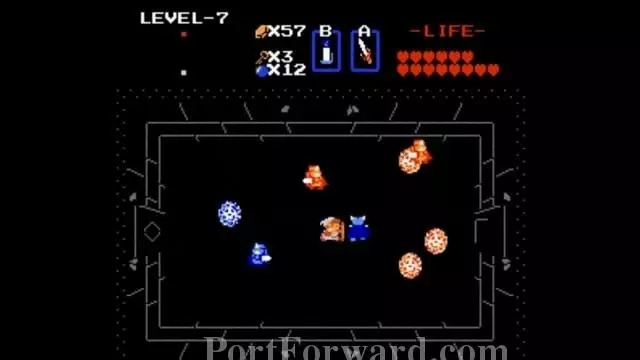
The map is shaped like a swirl. Kill the Darknuts.
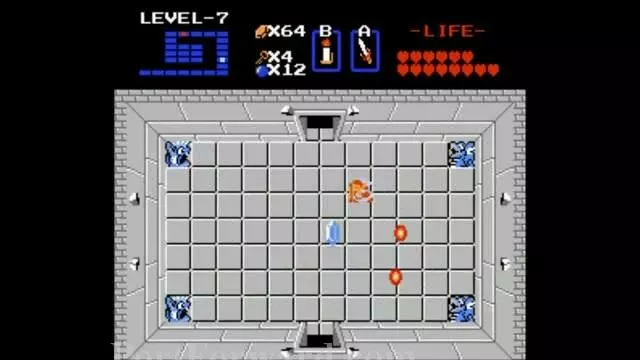 The Legend of Zelda Walkthrough - The Legend-of-Zelda 853
You get five Rupees and the ability to continue forward.
 The Legend of Zelda Walkthrough - The Legend-of-Zelda 854
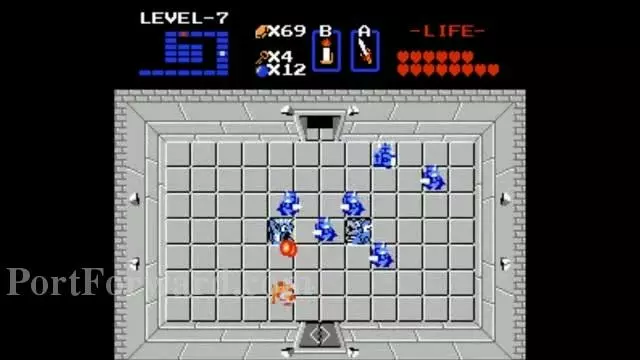
Ignore these guys and continue on.
 The Legend of Zelda Walkthrough - The Legend-of-Zelda 855
Kill the Gohma.
 The Legend of Zelda Walkthrough - The Legend-of-Zelda 856
Get the Key from this room.
 The Legend of Zelda Walkthrough - The Legend-of-Zelda 857
Push this block and carefully get in the staircase.
 The Legend of Zelda Walkthrough - The Legend-of-Zelda 858
Go through the passage.
 The Legend of Zelda Walkthrough - The Legend-of-Zelda 859
Go up from here.
 The Legend of Zelda Walkthrough - The Legend-of-Zelda 860
Push up the block and go right.
 The Legend of Zelda Walkthrough - The Legend-of-Zelda 861
Give up 50 rupees and go down.
 The Legend of Zelda Walkthrough - The Legend-of-Zelda 862
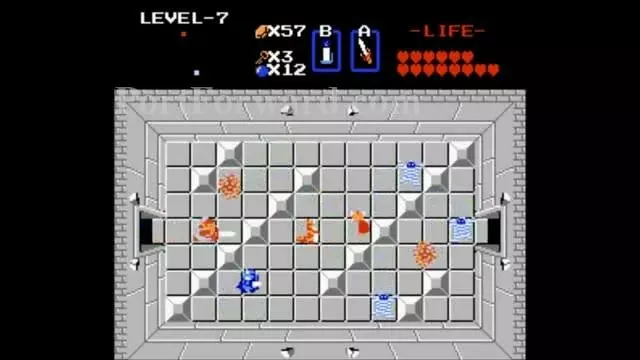
Kill these Darknuts.
 The Legend of Zelda Walkthrough - The Legend-of-Zelda 863
Push the block to the left and enter this staircase.
 The Legend of Zelda Walkthrough - The Legend-of-Zelda 864
Go through the passageway.
 The Legend of Zelda Walkthrough - The Legend-of-Zelda 865
Enter the locked door.
 The Legend of Zelda Walkthrough - The Legend-of-Zelda 866
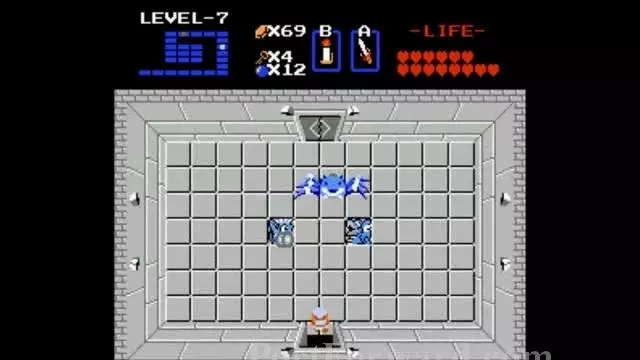
Defeat this Darknuts.
 The Legend of Zelda Walkthrough - The Legend-of-Zelda 867
Get the Bomb left behind.
 The Legend of Zelda Walkthrough - The Legend-of-Zelda 868
Defeat the three headed Gleeok.
 The Legend of Zelda Walkthrough - The Legend-of-Zelda 869
Get the Heart COntainer.
 The Legend of Zelda Walkthrough - The Legend-of-Zelda 870
Dungeon 7 completed.
 The Legend of Zelda Walkthrough - The Legend-of-Zelda 871
J2: Bomb this wall. This is the entrance to Dungeon 8.
More The Legend of Zelda Walkthroughs
This The Legend of Zelda walkthrough is divided into 18 total pages.
16 - Dungeon 7 (Quest 2) and Journey to Dungeon 8.