This The Legend of Zelda walkthrough is divided into 18 total pages.
15 - Dungeon 6 (Quest 2) and Journey to Dungeon 7.
You can jump to nearby pages of the game using the links above.
Dungeon 6 (Quest 2) and Journey to Dungeon 7.
 The Legend of Zelda Walkthrough - The Legend-of-Zelda 800
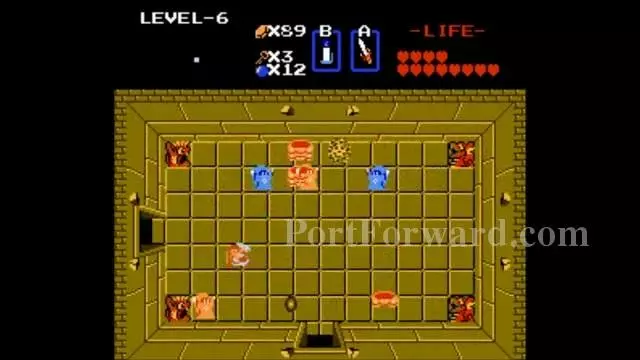
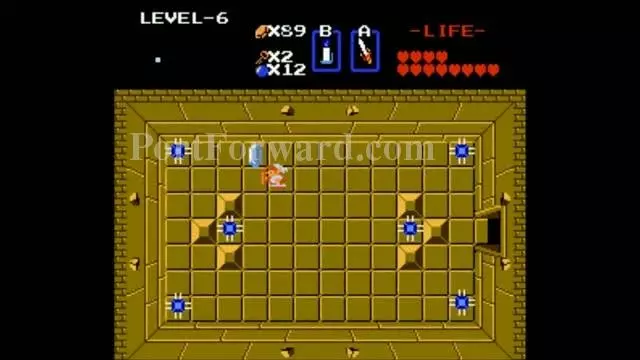
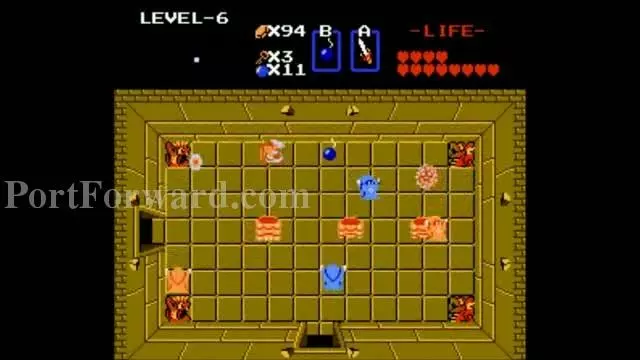
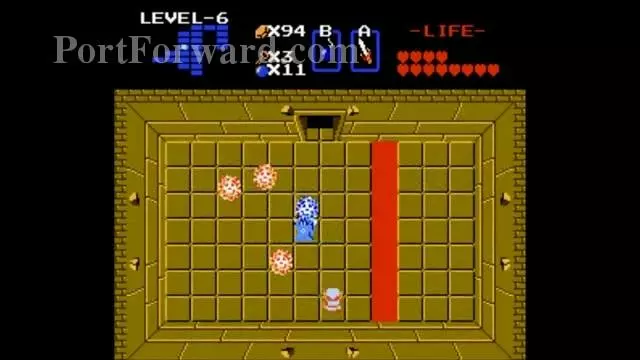
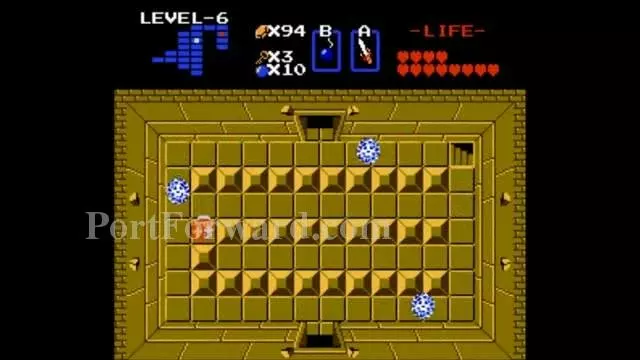
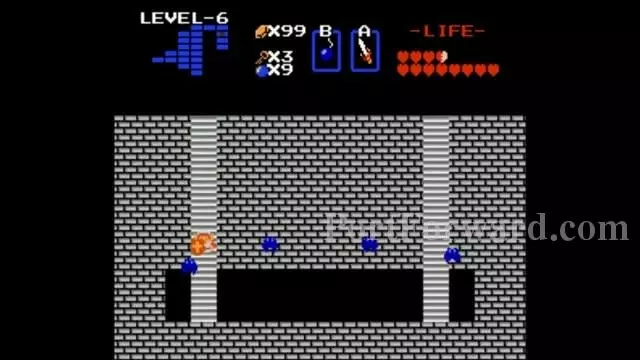
Light up the room to see where you are going.
 The Legend of Zelda Walkthrough - The Legend-of-Zelda 801
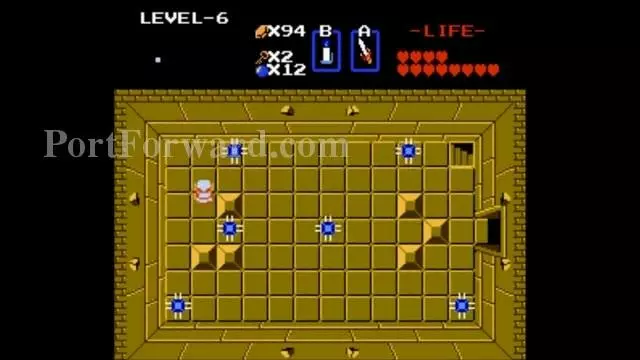
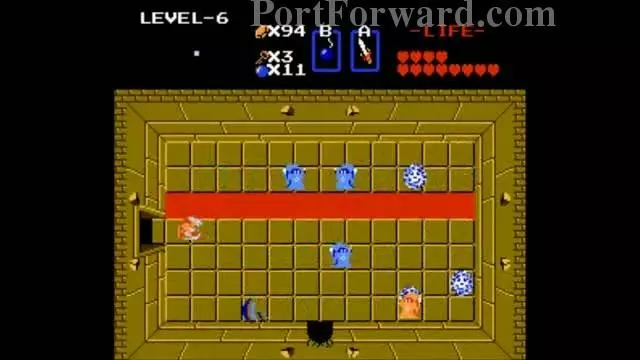
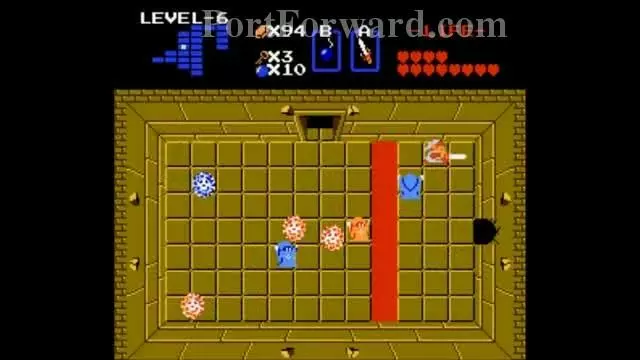
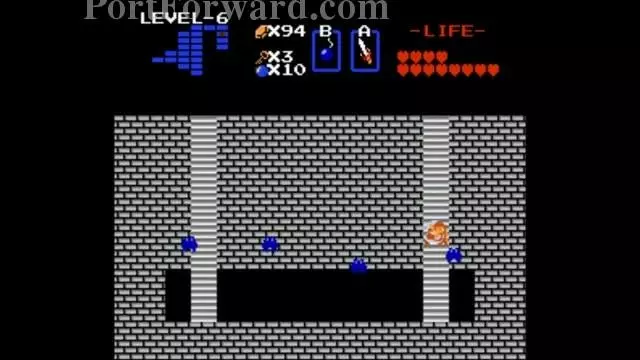
Go in the upper room and head left.
 The Legend of Zelda Walkthrough - The Legend-of-Zelda 802
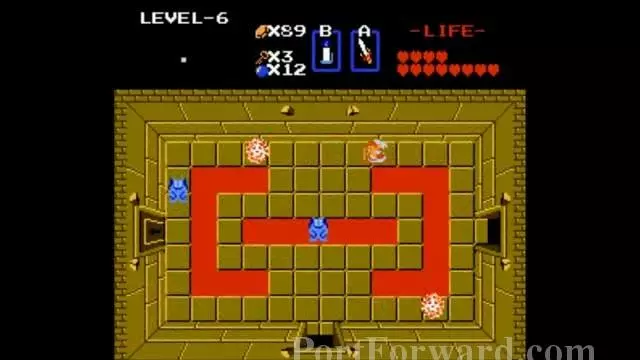
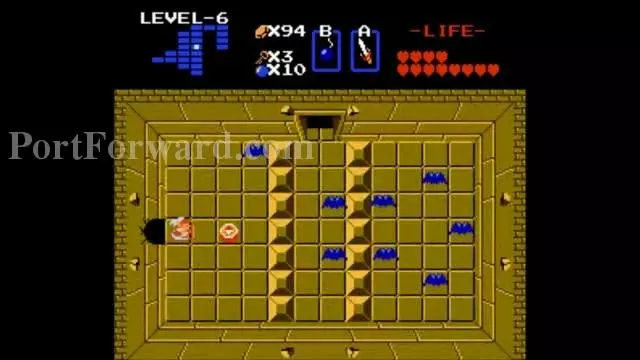
Get through the Bubbles and Vires and enter the left locked door.
 The Legend of Zelda Walkthrough - The Legend-of-Zelda 803
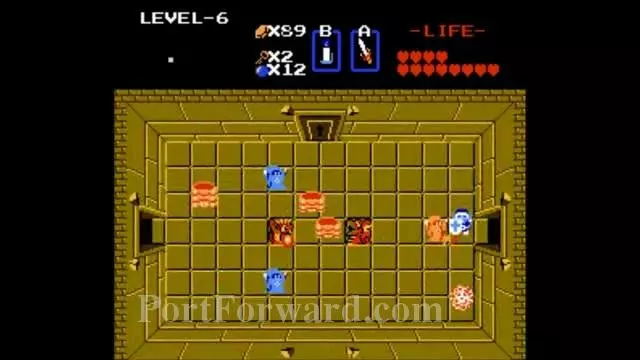
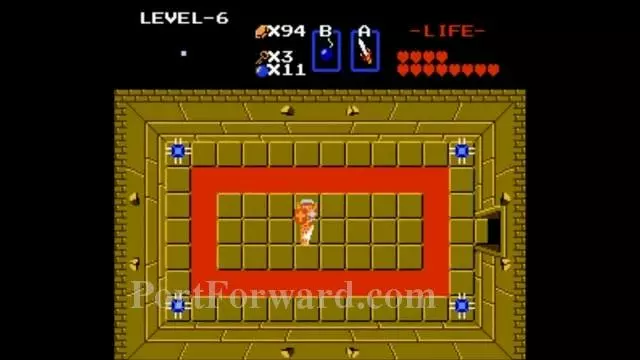
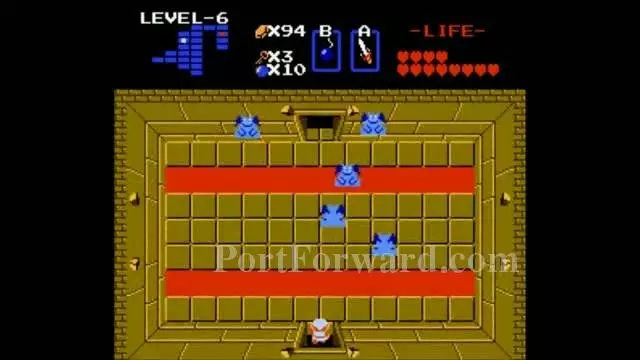
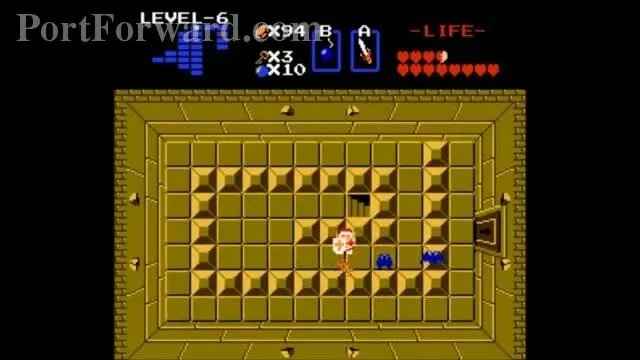
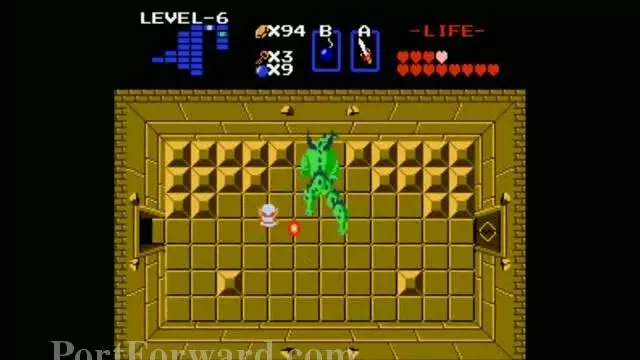
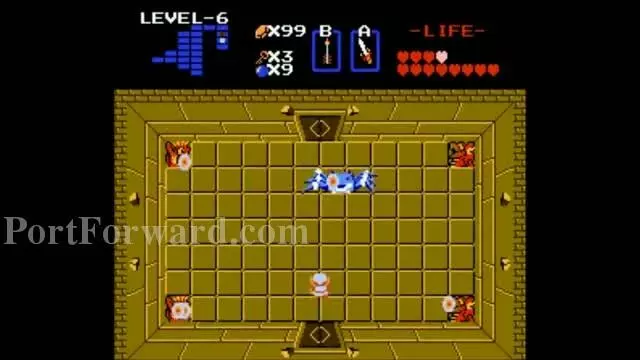
Defeat the enemies here.
 The Legend of Zelda Walkthrough - The Legend-of-Zelda 804
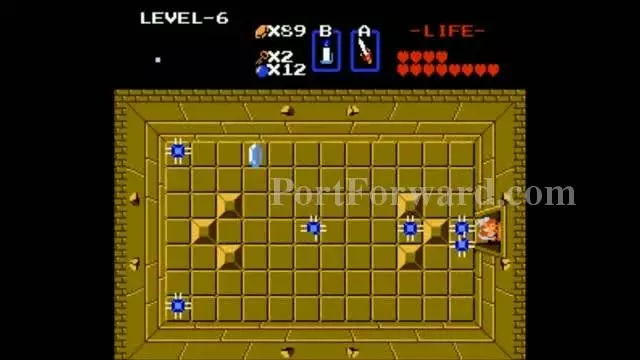
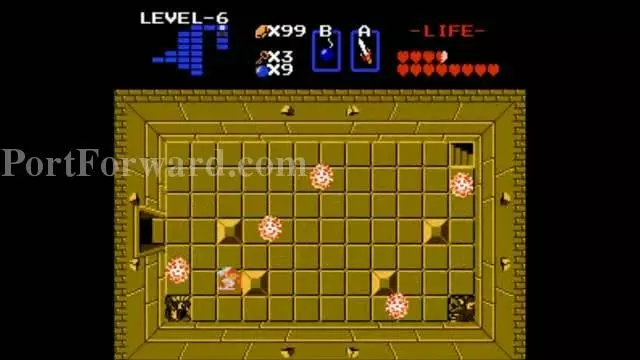
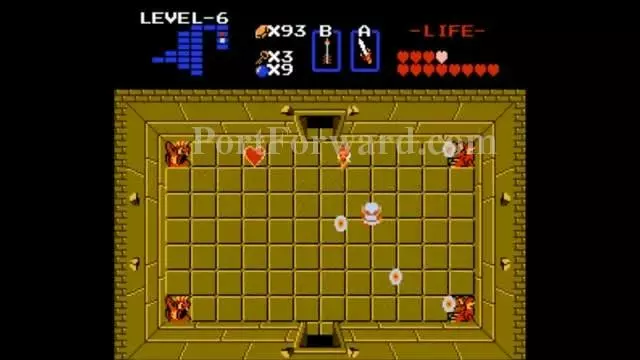
In the next room, the spike traps try to be a little sneaky and pick you off when you get it so wait in the doorway till they retract.
 The Legend of Zelda Walkthrough - The Legend-of-Zelda 805
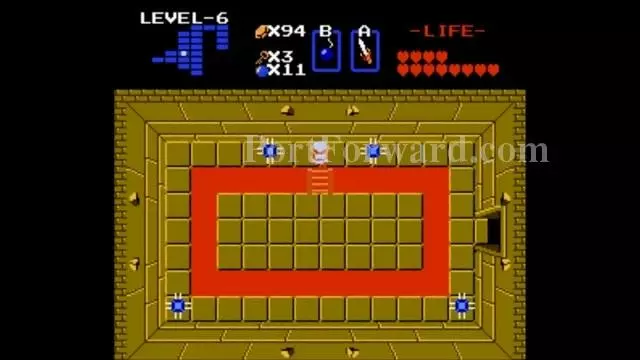
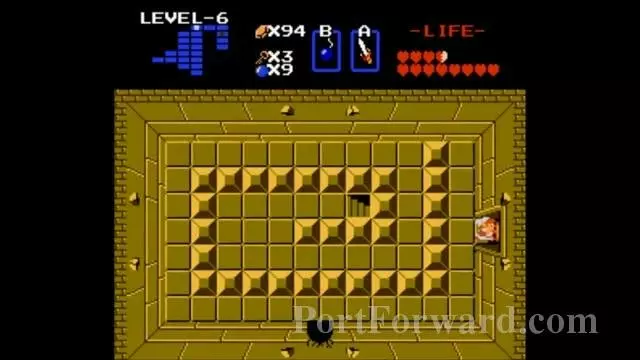
You can go ahead and get the five rupies when you are careful.
 The Legend of Zelda Walkthrough - The Legend-of-Zelda 806
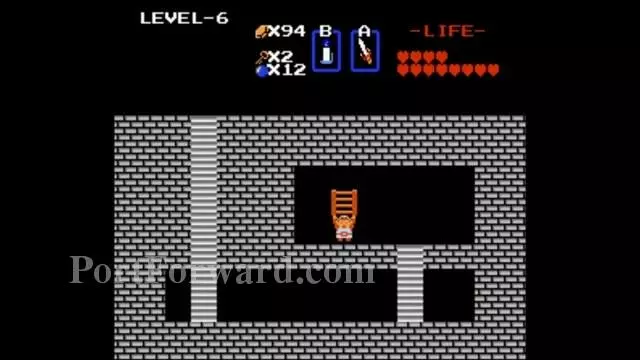
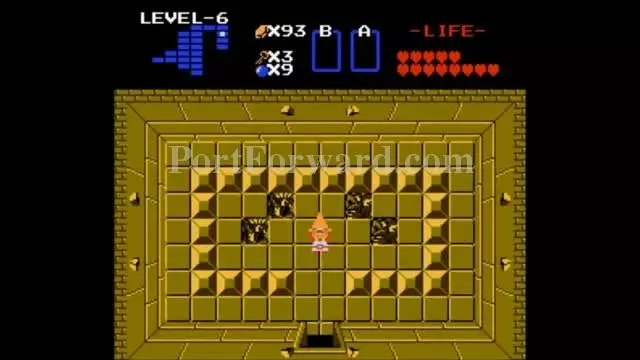
Push this block and go in the staircase carefully.
 The Legend of Zelda Walkthrough - The Legend-of-Zelda 807
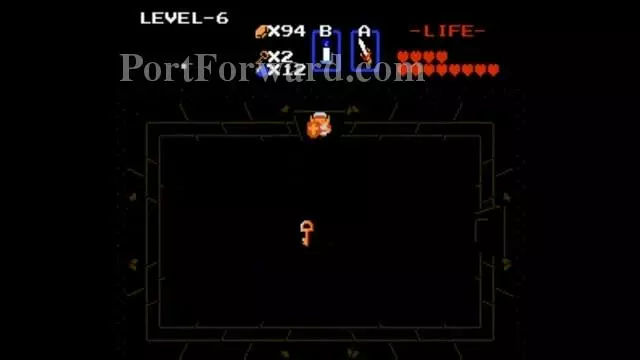
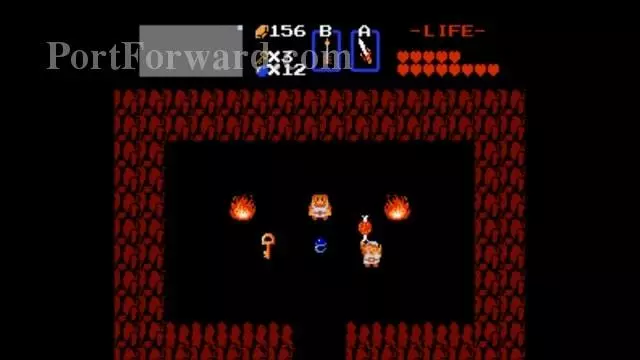
There are you filthy Stepladder. I need you earlier in the game.
 The Legend of Zelda Walkthrough - The Legend-of-Zelda 808
Once out, go down and get the key.
 The Legend of Zelda Walkthrough - The Legend-of-Zelda 809
Go right then up and bomb this wall.
 The Legend of Zelda Walkthrough - The Legend-of-Zelda 810
Go to the left.
 The Legend of Zelda Walkthrough - The Legend-of-Zelda 811
Get the map.
 The Legend of Zelda Walkthrough - The Legend-of-Zelda 812
The map is shaped like Link's Hat. Walk through this wall.
 The Legend of Zelda Walkthrough - The Legend-of-Zelda 813
Use the stepladder on the right gap line and the Bubbles can't touch you.
 The Legend of Zelda Walkthrough - The Legend-of-Zelda 814
Bomb this wall.
 The Legend of Zelda Walkthrough - The Legend-of-Zelda 815
Get the Compass.
 The Legend of Zelda Walkthrough - The Legend-of-Zelda 816
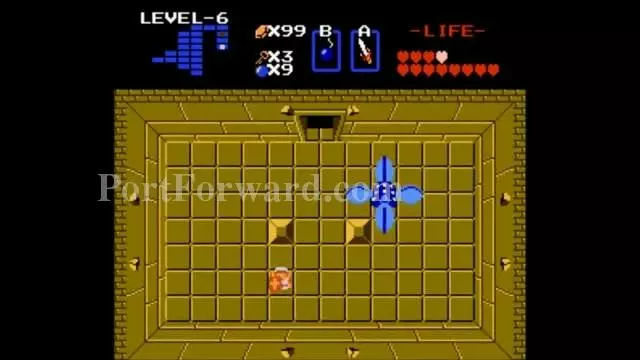
Go out and go up and kill the Vires.
 The Legend of Zelda Walkthrough - The Legend-of-Zelda 817
These Bubbles are safe. Push this block and go in.
 The Legend of Zelda Walkthrough - The Legend-of-Zelda 818
Go through the passage.
 The Legend of Zelda Walkthrough - The Legend-of-Zelda 819
Kill the Keese
 The Legend of Zelda Walkthrough - The Legend-of-Zelda 820
Bomb this wall if you want the key in that room.
 The Legend of Zelda Walkthrough - The Legend-of-Zelda 821
Go through the door on the right instead.
 The Legend of Zelda Walkthrough - The Legend-of-Zelda 822
Kill the Gleeok. This one got two heads.
 The Legend of Zelda Walkthrough - The Legend-of-Zelda 823
Push the top block aside and enter the stairs.
 The Legend of Zelda Walkthrough - The Legend-of-Zelda 824
Go through the passage.
 The Legend of Zelda Walkthrough - The Legend-of-Zelda 825
Defeat Manhandla.
 The Legend of Zelda Walkthrough - The Legend-of-Zelda 826
Then defeat Gohma.
 The Legend of Zelda Walkthrough - The Legend-of-Zelda 827
Get the Heart Container.
 The Legend of Zelda Walkthrough - The Legend-of-Zelda 828
Dungeon 6 completed.
 The Legend of Zelda Walkthrough - The Legend-of-Zelda 829
P1: Back to the secret shop and another thing of Meat to get.
 The Legend of Zelda Walkthrough - The Legend-of-Zelda 830
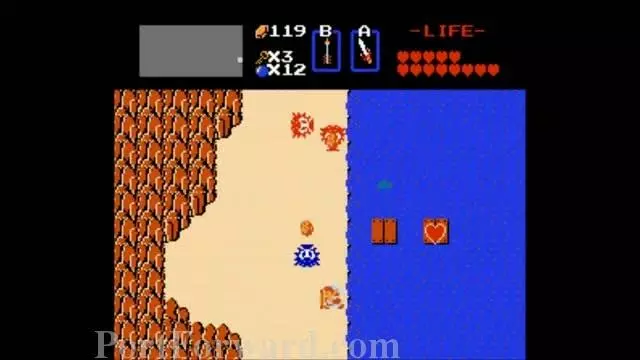
F6: Now I can get that Heart Container using the Stepladder.
 The Legend of Zelda Walkthrough - The Legend-of-Zelda 831
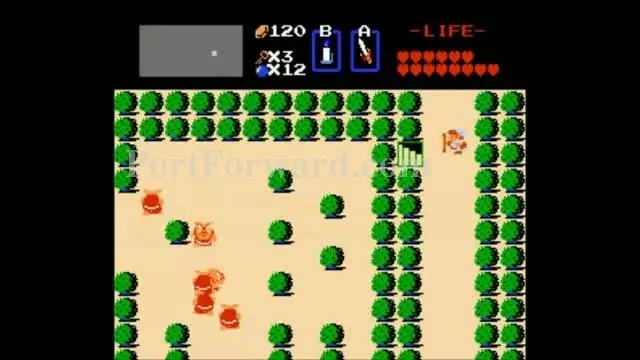
L5: Burn this bush if you need Medicine.
 The Legend of Zelda Walkthrough - The Legend-of-Zelda 832
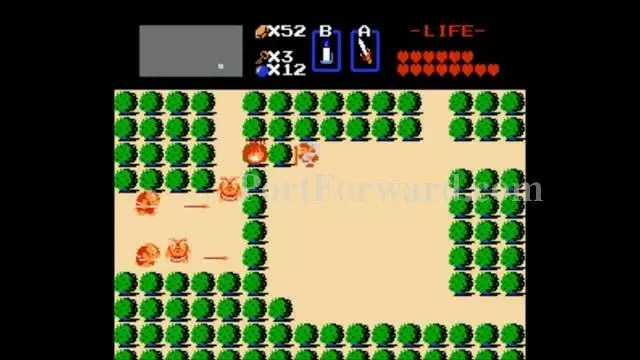
M7: This is the entrance to Dungeon 7 but you got to burn the bush from the other side then go around and enter the dungeon.
More The Legend of Zelda Walkthroughs
This The Legend of Zelda walkthrough is divided into 18 total pages.
15 - Dungeon 6 (Quest 2) and Journey to Dungeon 7.


