
This To the Moon walkthrough is divided into 22 total pages.
You can jump to nearby pages of the game using the links above.
Act 1

You can use either the arrow key plus the enter button or the mouse to play this game. Personally I would recommend the mouse as it makes it easier for you to find clues. Anyways after the dialogue, click on the car and take your equipment.
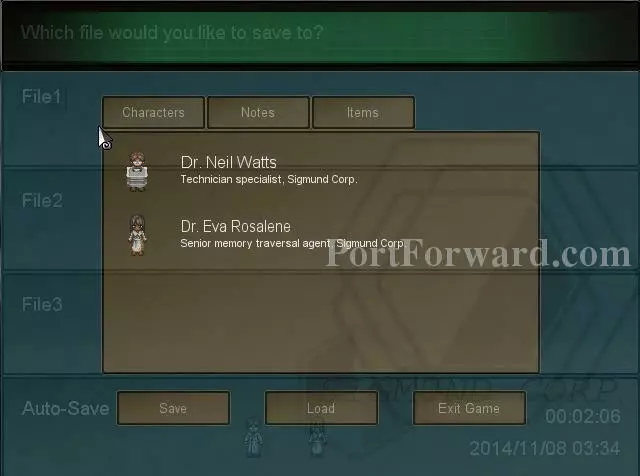
The game does have an automatic save feature, but you can press either the Right Mouse Button or X on the keyboard to bring up the menu. You have to press the same button to exit the window as well (press x to open and x to close).

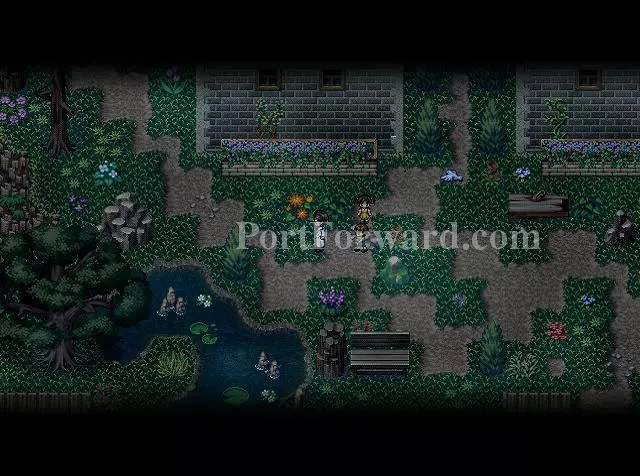
After taking the equipment from the car, head up to the right side of the map and click on the red arrow to proceed further in.
Climb up the stairs and you'll see a boulder in your way. Click on it, then read through the dialogues. A choice will come up afterwards, it doesn't really matter which one you choose.
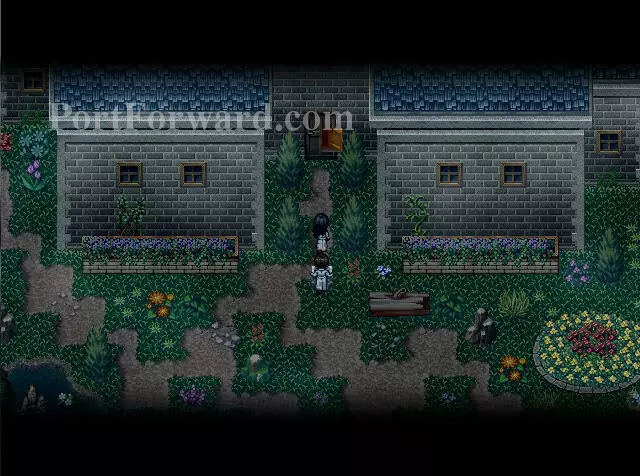
Proceed to the left after getting rid of the boulder and climb up the stairs. Just keep heading north in the next map and enter the house.

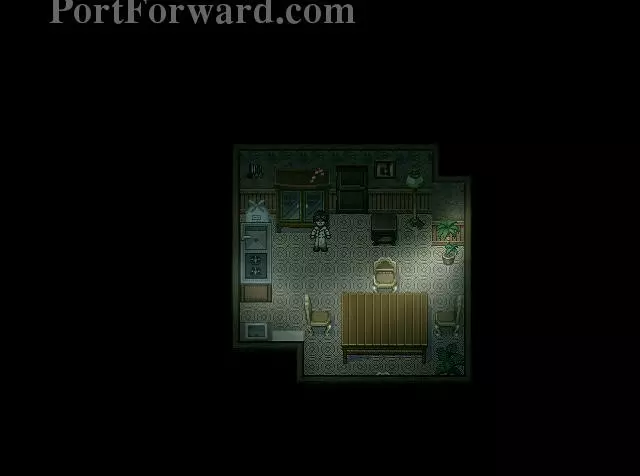
After the dialogue, grab the equipment box and head up the stairs on the right that leads to the second floor.
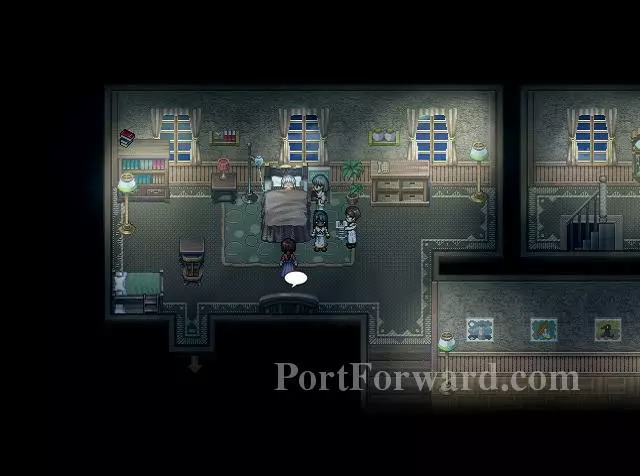
Head into the bedroom once you get to the second floor. Talk to Lily and agree to set up your equipment.
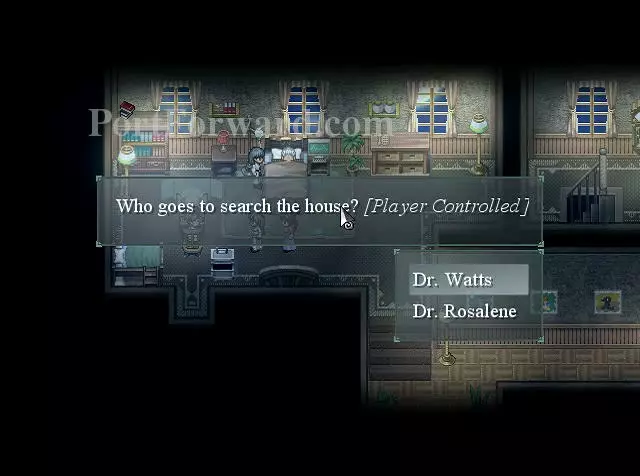
You will then be asked to choose who would explore the house and look for information about the client. You can choose either of them, as you will control this person regardless. I do recommend Dr. Watts though, he's a smart mouth.
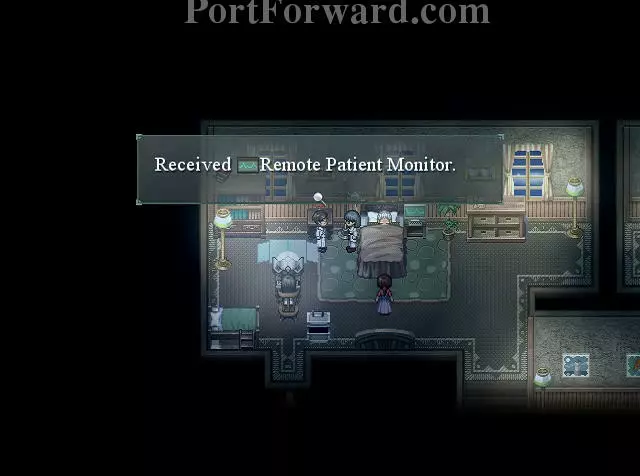
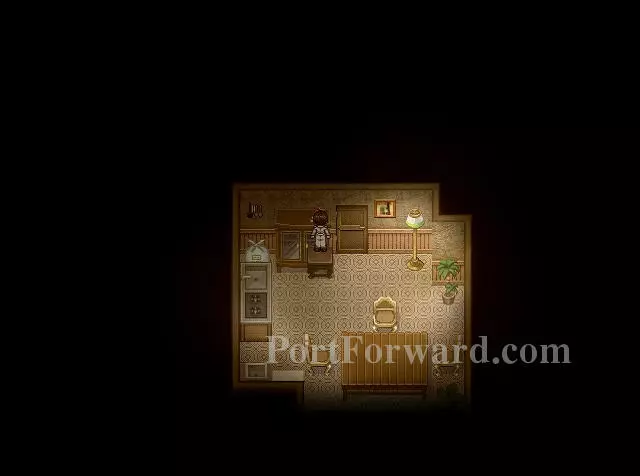
Attempt to exit through the door on the right and the doctor will call for your attention. Speak to her and she'll give you the patient monitor.
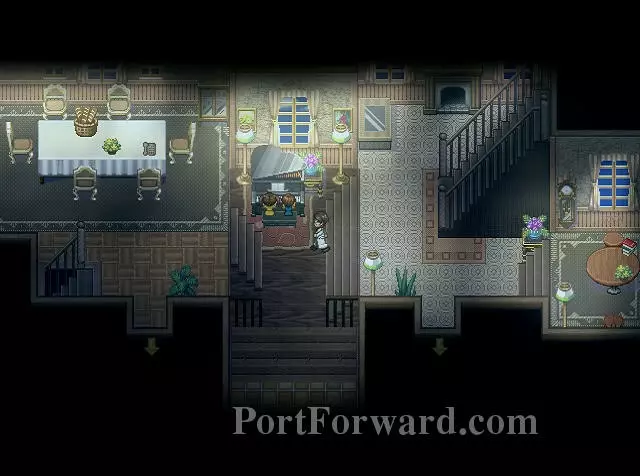
Go downstairs and speak to the children. Ask them to show you around the house. You will then be given a choice to either tell their mom or get them the candy that they want.
Personally, I'd recommend you just get them the candy. Head towards the door on the right side of the house, just below the stairs.
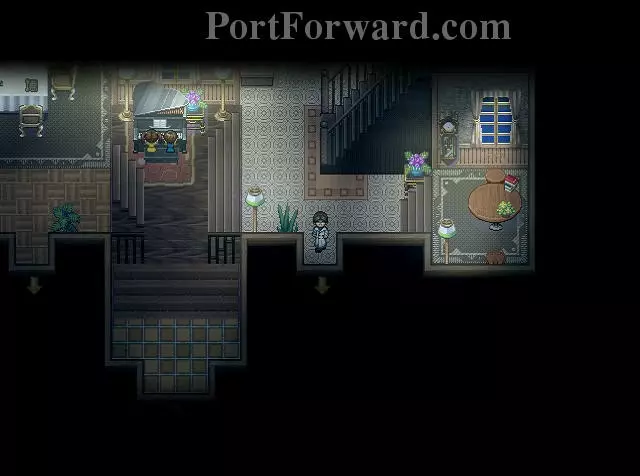
Dr. Watts isn't tall enough to reach the candy, so head over to the lampshade and interact with the small stool beside it.
Step on the stool and head back to the piano. Give it to the kids and they'll tell you about the funny room and the key for it.

The door to the study is the one on the left side, near the door that leads to the basement.

Go over to the back of the room and examine the only bookshelf that's facing you. Choose to read the passage and you'll find the key for the basement room.
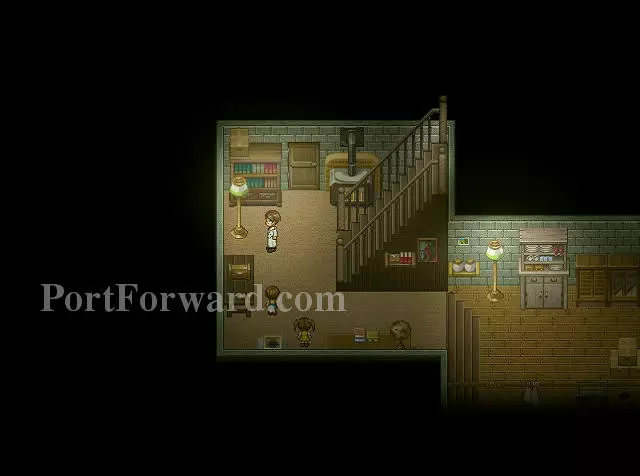
Leave the study and climb down the stairs on the left of you. Move a little to the left once you get to the basement and interact with the lampshade to turn it on. Now open the door beside the bookshelf.
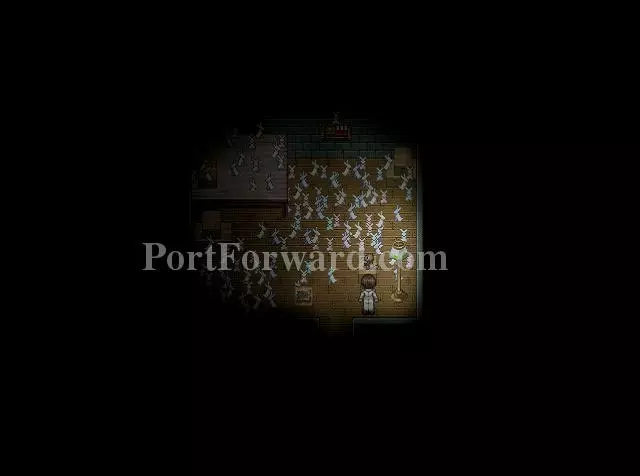
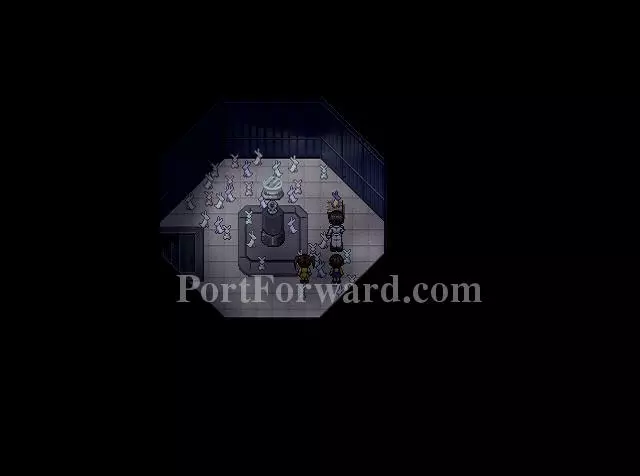
The room will be dark once you get inside. Head over to the glowing thing on the right side and interact with it to get some light. Read through the dialogues, then grab the platypus before leaving the room.
Leave the house and take the path on the left as soon as you get out to the branching path on the front lawn. Then head around the corner and go north.

After the cutscene head back south and towards the path to your car. Depending on what you did with the ball, the scene here will change. It doesn't affect the story, but it is fun to watch.

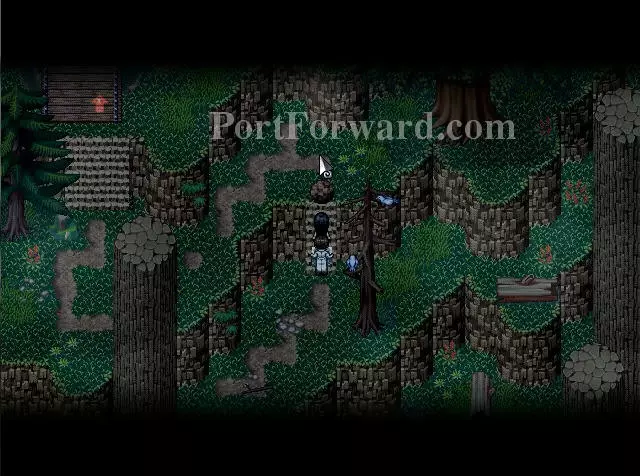
When you get back to your car, keep heading left and head towards the arrow that's pointing north to get to the west side of the cliff.
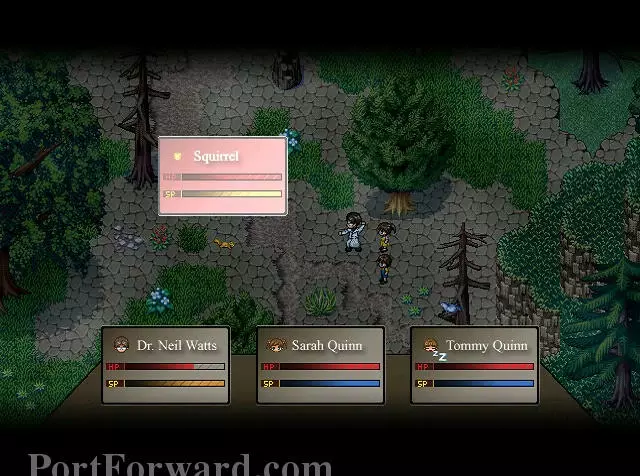
The kids will look at the squirrel. Interact with it to start a small cutscene and do whatever you want as once again this doesn't affect your game.

Keep heading north and you'll soon get to the lighthouse. Once you see the lighthouse, examine the stone grave right beside it, then enter the door.
Climb up the stairs to get to the top and examine the bi-colored origami rabbit that's sitting on top of the table on the right side. You'll soon get a call and get back to the house automatically.
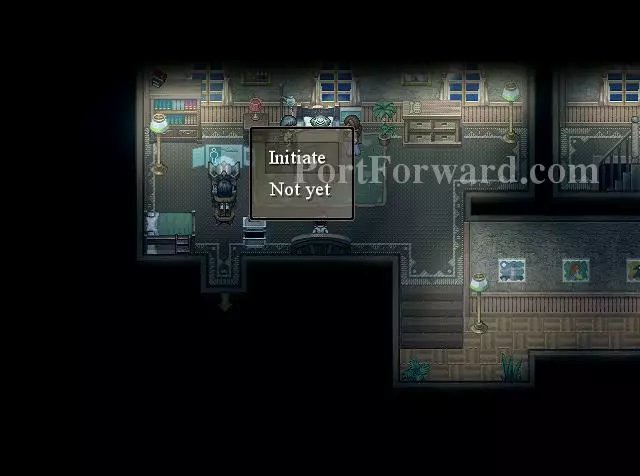
When you get to the room, head for the couch and initiate the program to officially start the game.
More To the Moon Walkthroughs
This To the Moon walkthrough is divided into 22 total pages.


