You can jump to nearby pages of the game using the links above.
Convention
Tom Clancys Rainbow Six: Vegas 2 Walkthrough - Tom Clancys-Rainbow-Six-Vegas-2 253
Act 4 - Scene 1: South Hall
Tom Clancys Rainbow Six: Vegas 2 Walkthrough - Tom Clancys-Rainbow-Six-Vegas-2 254
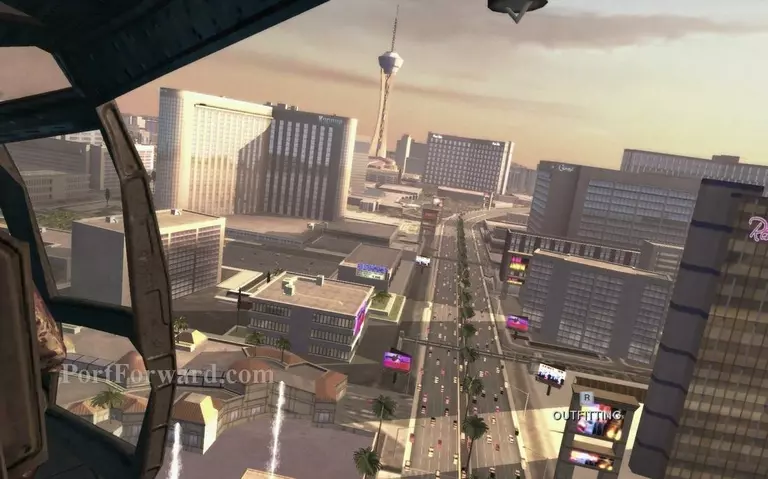
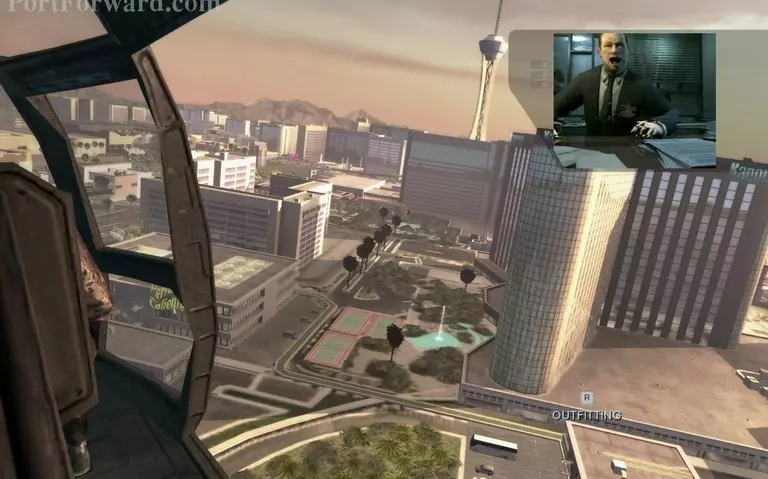
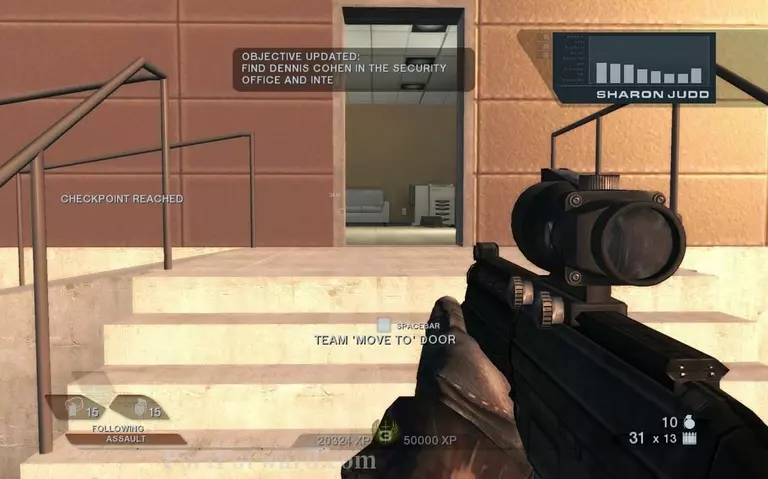
Your boss is angry with you because you couldn't stop the chemical bomb in time in the previous level. He wants you to stop the next bomb.
Tom Clancys Rainbow Six: Vegas 2 Walkthrough - Tom Clancys-Rainbow-Six-Vegas-2 255
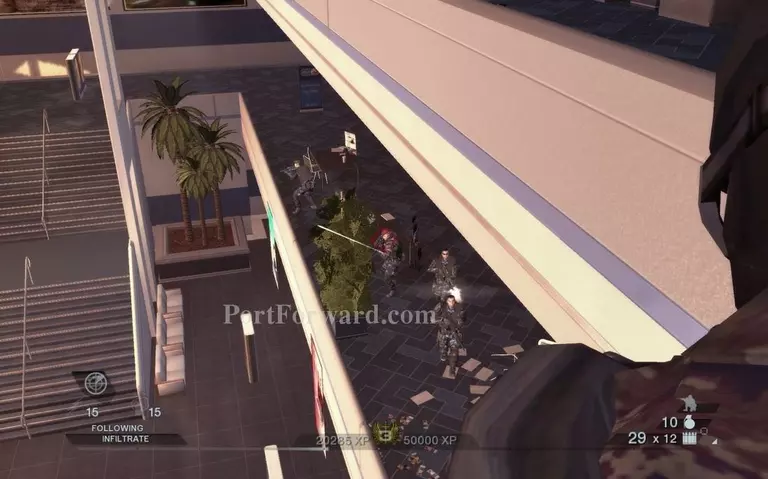
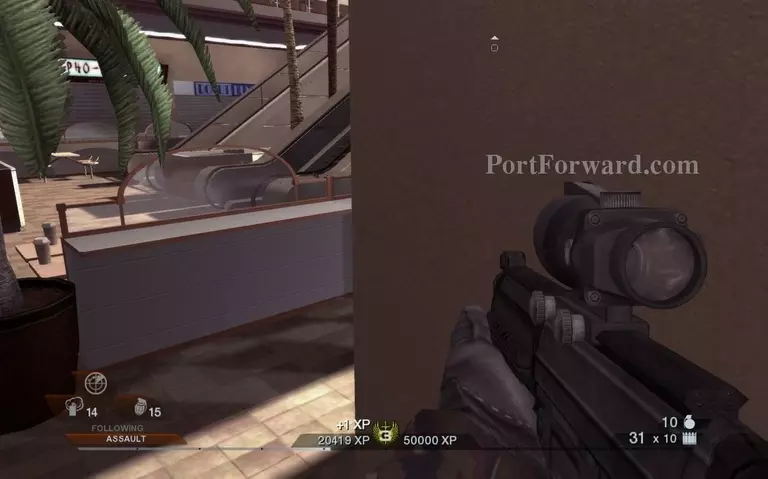
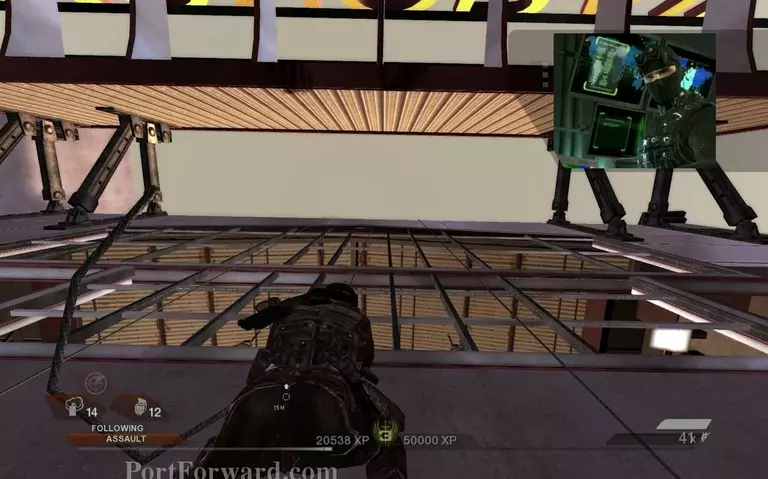
Your team rappels down on a rooftop. You can choose to go down some ropes and bust through the windows or take the stairs. Taking the stairs is better because you will have better cover once inside.
Tom Clancys Rainbow Six: Vegas 2 Walkthrough - Tom Clancys-Rainbow-Six-Vegas-2 256
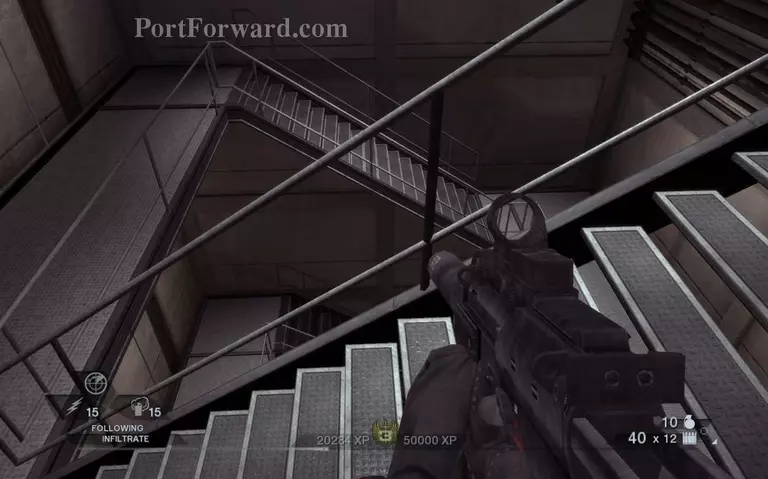
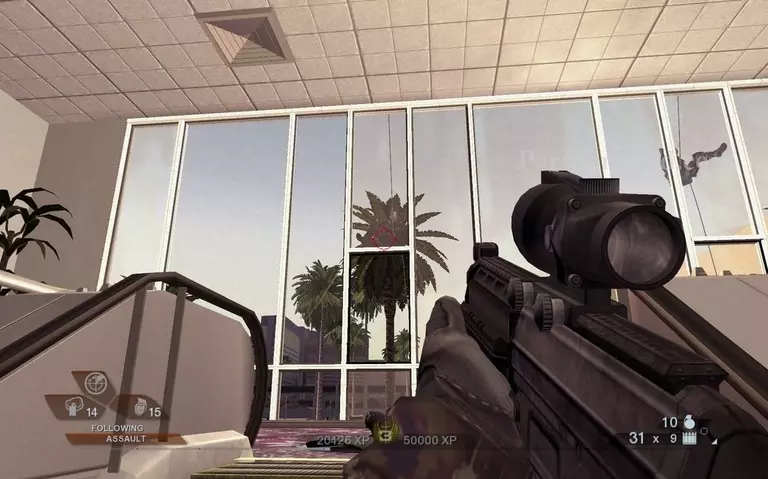
Keep going down.
Tom Clancys Rainbow Six: Vegas 2 Walkthrough - Tom Clancys-Rainbow-Six-Vegas-2 257
Downstairs you will find some enemies to shoot.
Tom Clancys Rainbow Six: Vegas 2 Walkthrough - Tom Clancys-Rainbow-Six-Vegas-2 258
Take cover and pop out over some unsuspecting bad guys.
Tom Clancys Rainbow Six: Vegas 2 Walkthrough - Tom Clancys-Rainbow-Six-Vegas-2 259
Once you thin their numbers go down the stairs on your right.
Tom Clancys Rainbow Six: Vegas 2 Walkthrough - Tom Clancys-Rainbow-Six-Vegas-2 260
Continue right.
Tom Clancys Rainbow Six: Vegas 2 Walkthrough - Tom Clancys-Rainbow-Six-Vegas-2 261
And go down.
Tom Clancys Rainbow Six: Vegas 2 Walkthrough - Tom Clancys-Rainbow-Six-Vegas-2 262
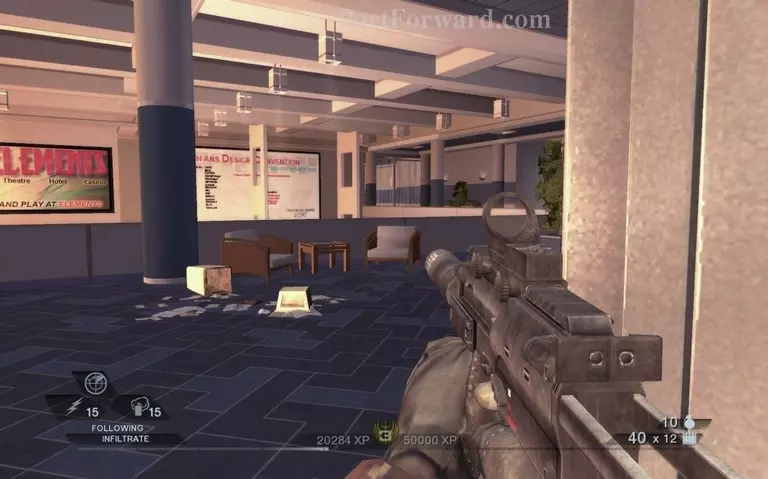
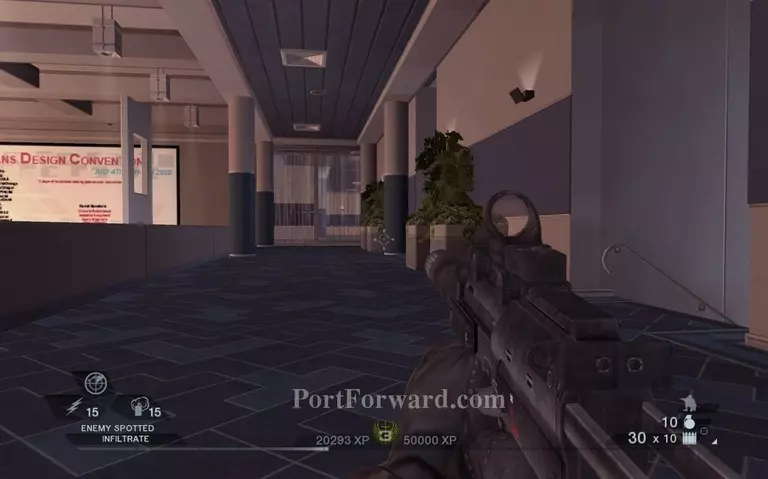
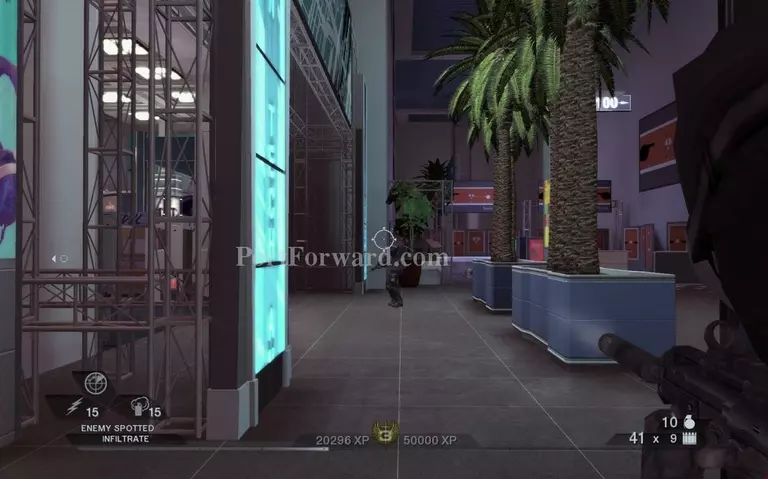
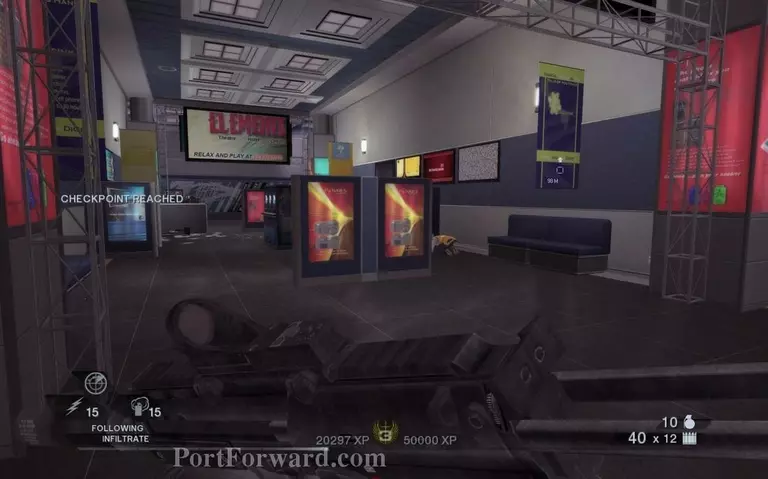
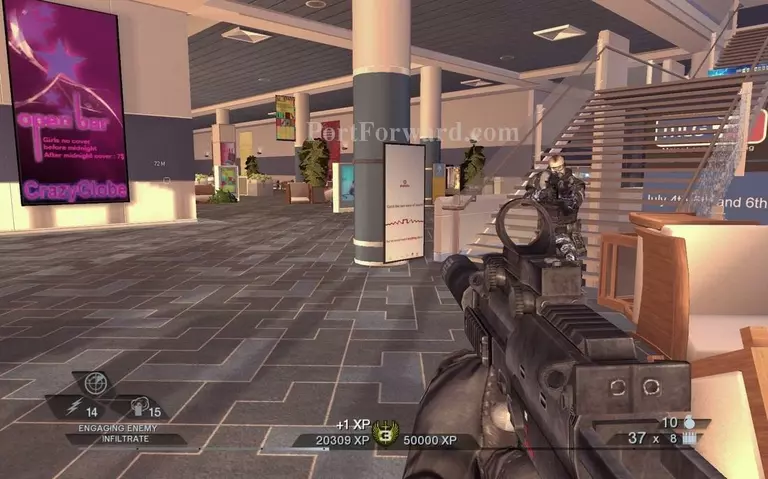
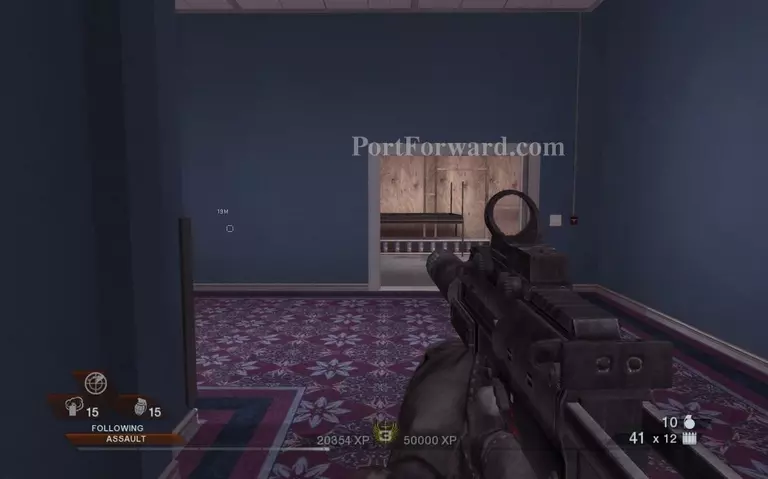
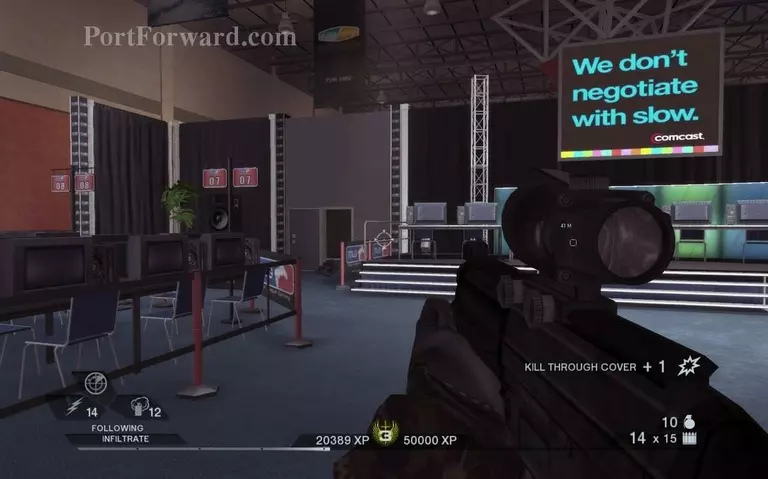
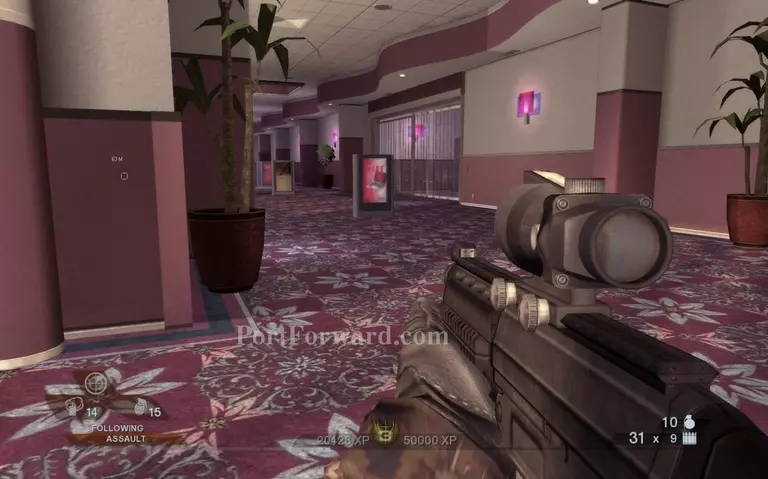
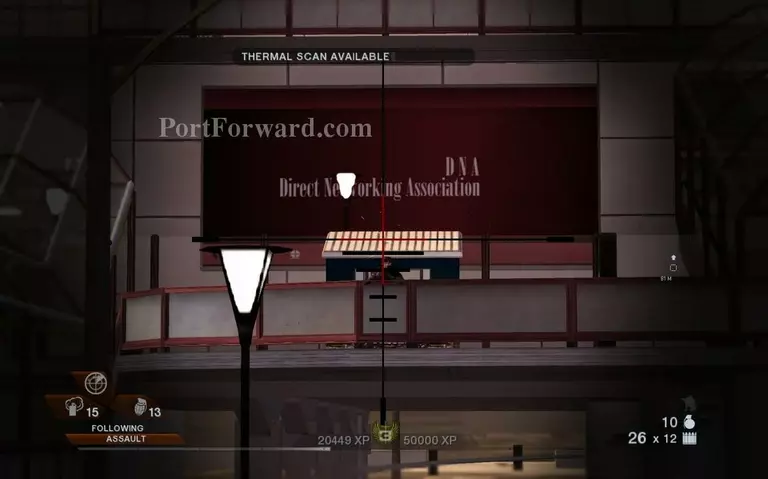
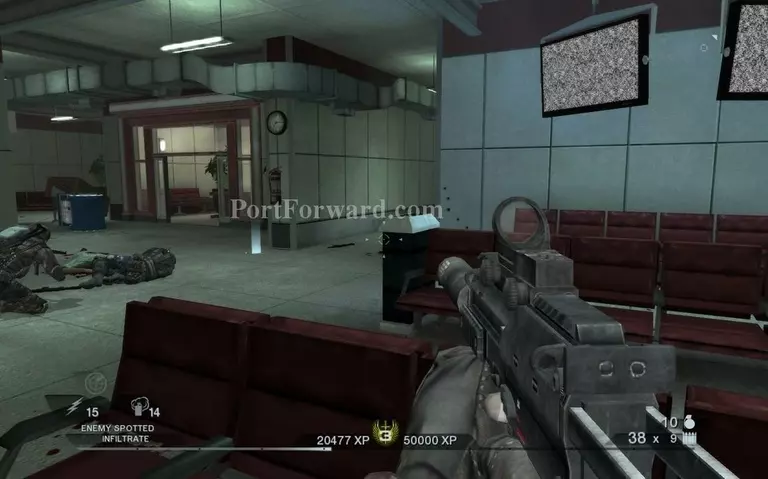
Go to your right from here. You will end up in the main convention center.
Tom Clancys Rainbow Six: Vegas 2 Walkthrough - Tom Clancys-Rainbow-Six-Vegas-2 263
Using silenced weapons can make things easier. Hold the reload button to bring out the silencer and other options.
Tom Clancys Rainbow Six: Vegas 2 Walkthrough - Tom Clancys-Rainbow-Six-Vegas-2 264
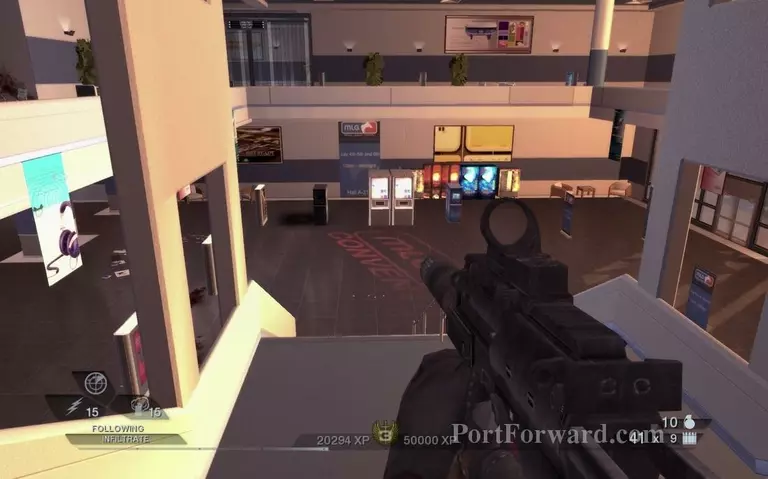
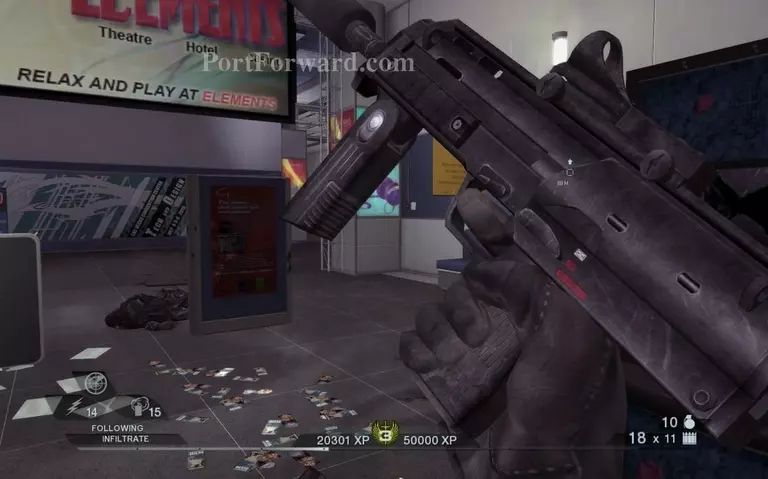
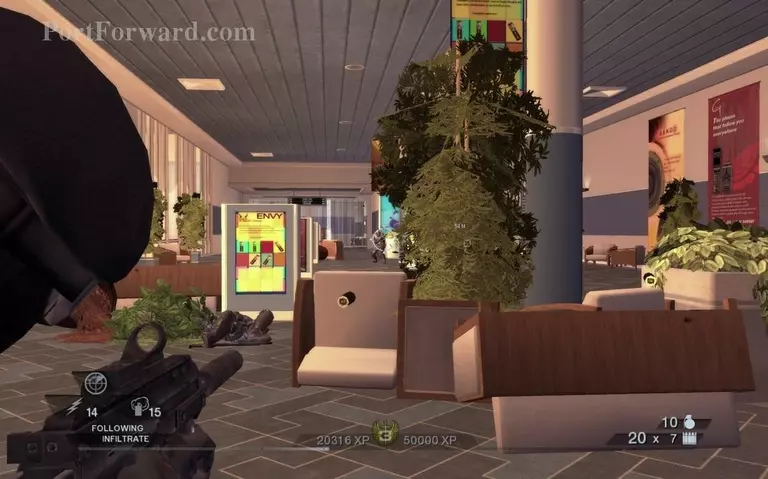
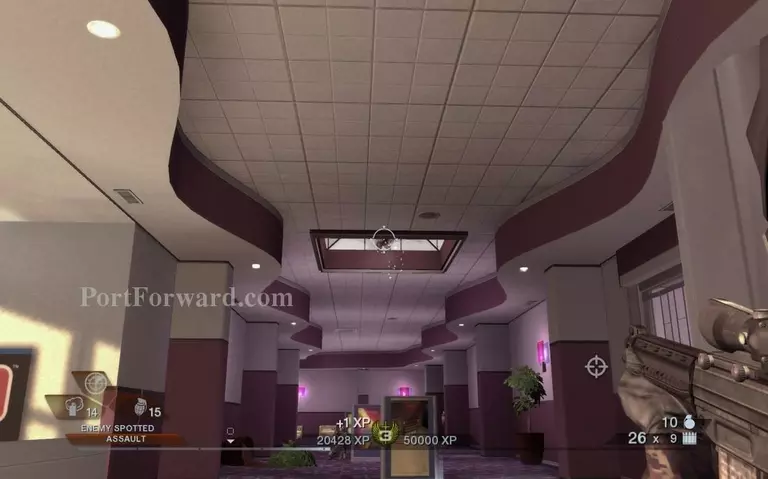
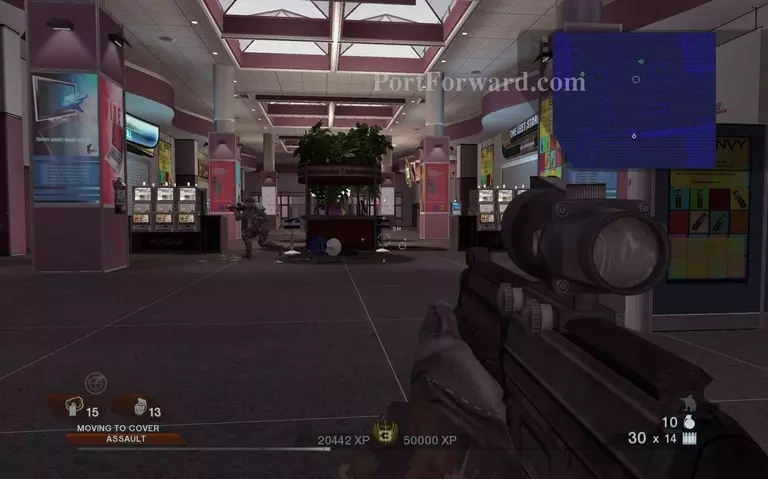
Go forward and keep hugging the wall to your right. Any lurking enemies will be easier to deal with if they can't go behind you.
Tom Clancys Rainbow Six: Vegas 2 Walkthrough - Tom Clancys-Rainbow-Six-Vegas-2 265
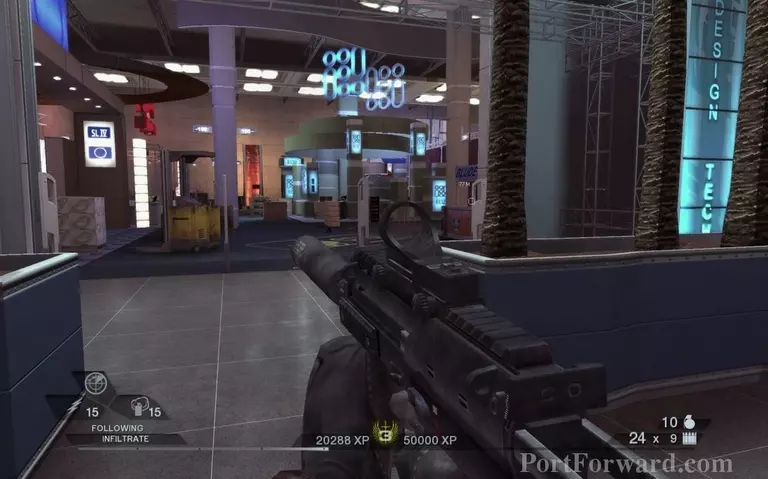
Keep following the wall on your right and you will find your way.
Tom Clancys Rainbow Six: Vegas 2 Walkthrough - Tom Clancys-Rainbow-Six-Vegas-2 266
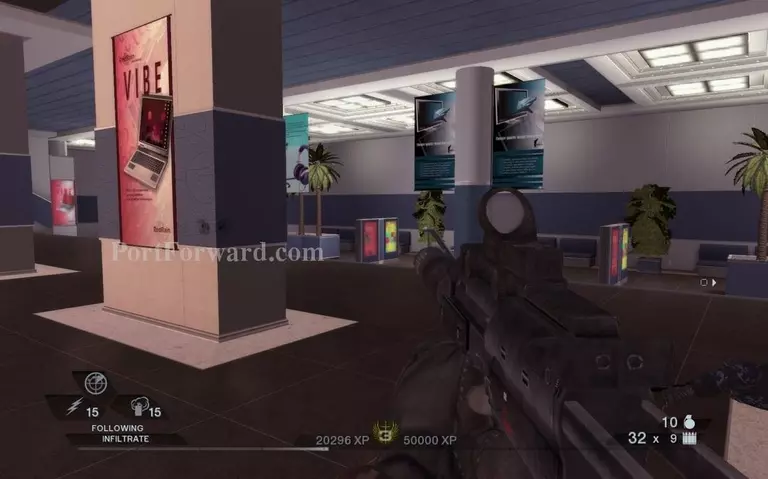
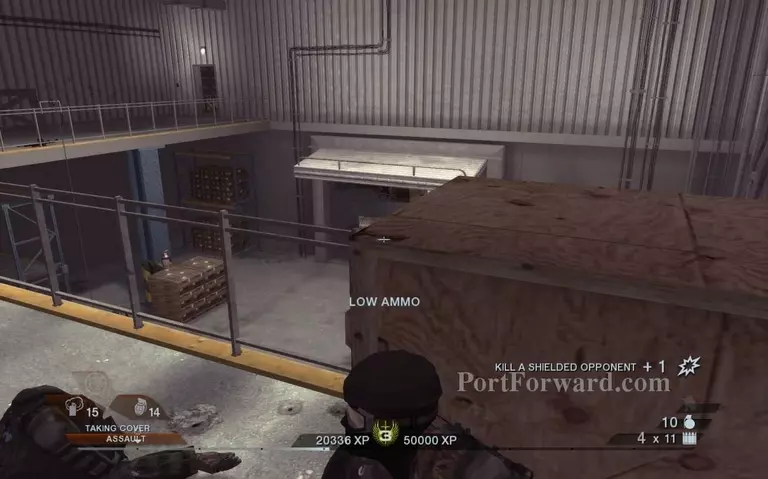
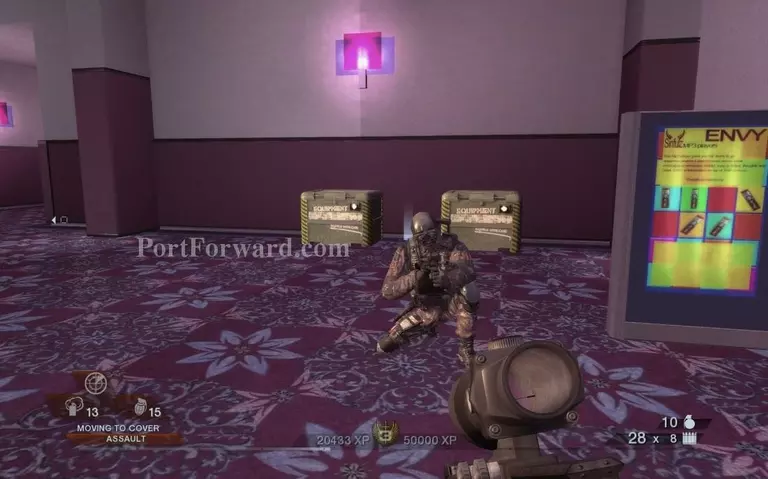
You will see some resupply crates after the metal detectors.
Tom Clancys Rainbow Six: Vegas 2 Walkthrough - Tom Clancys-Rainbow-Six-Vegas-2 267
Use anything appropriate as cover and move up.
Tom Clancys Rainbow Six: Vegas 2 Walkthrough - Tom Clancys-Rainbow-Six-Vegas-2 268
Keep going to the right from here.
Tom Clancys Rainbow Six: Vegas 2 Walkthrough - Tom Clancys-Rainbow-Six-Vegas-2 269
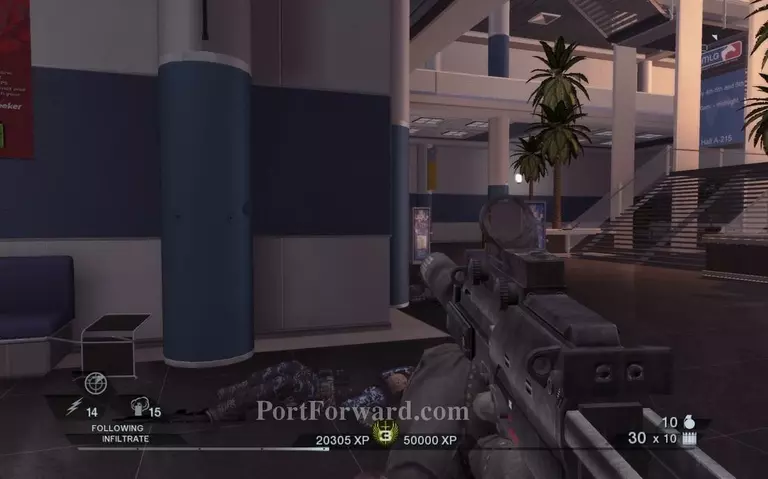
Keep fighting until you see the stairs, then go up.
Tom Clancys Rainbow Six: Vegas 2 Walkthrough - Tom Clancys-Rainbow-Six-Vegas-2 270
Enemy forces are waiting for you up here.
Tom Clancys Rainbow Six: Vegas 2 Walkthrough - Tom Clancys-Rainbow-Six-Vegas-2 271
Go to your left from here and ignore the stairs up.
Tom Clancys Rainbow Six: Vegas 2 Walkthrough - Tom Clancys-Rainbow-Six-Vegas-2 272
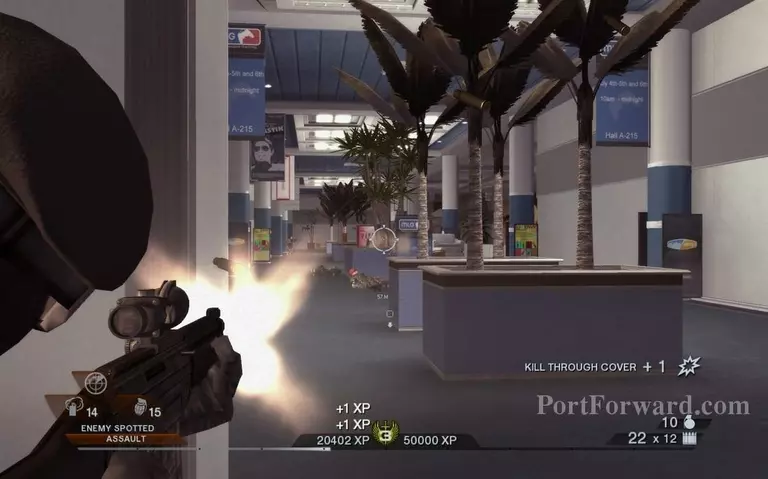
A big shootout at this long corridor. Keep moving as you kill more bad guys.
Tom Clancys Rainbow Six: Vegas 2 Walkthrough - Tom Clancys-Rainbow-Six-Vegas-2 273
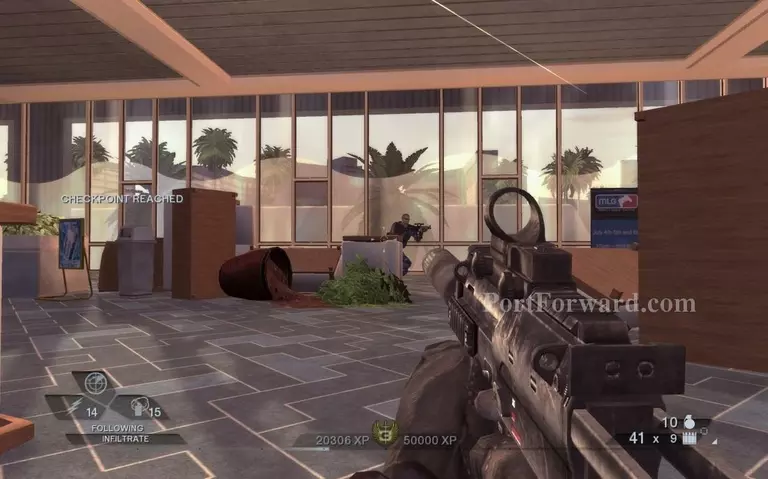
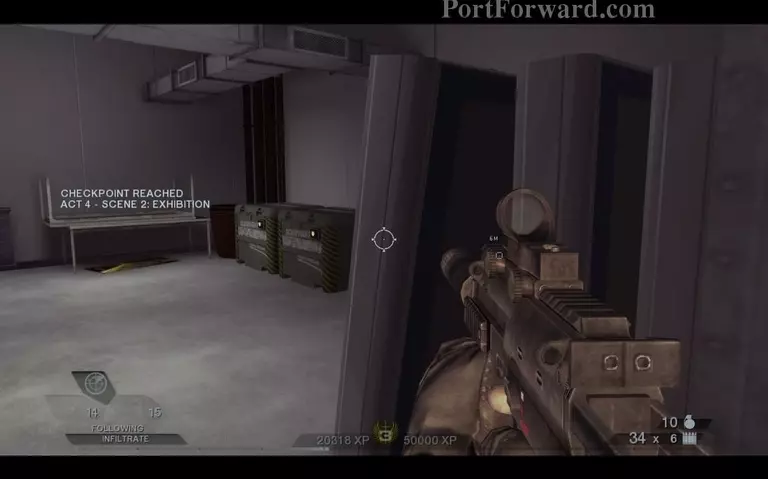
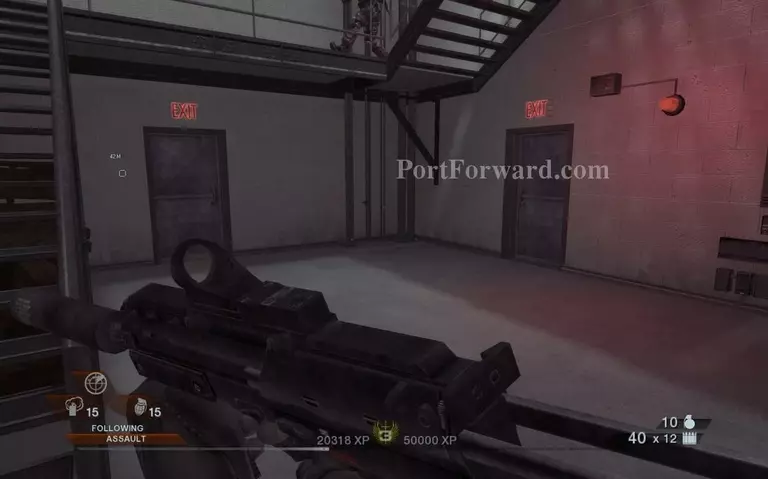
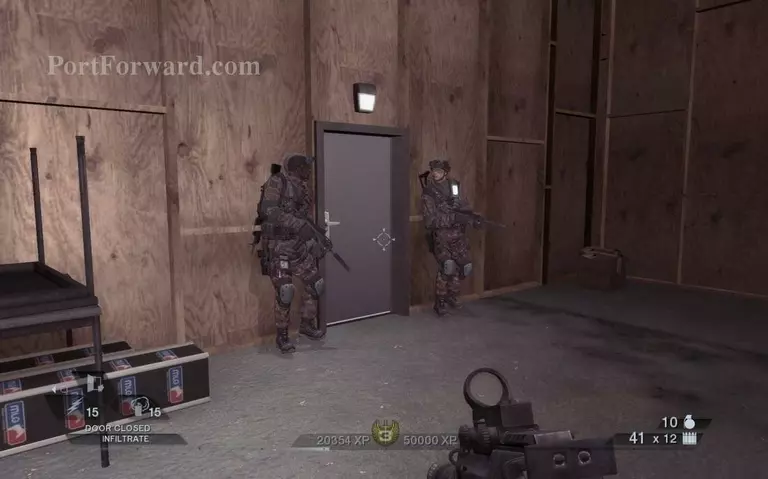
Go through the blue door to a checkpoint.
Tom Clancys Rainbow Six: Vegas 2 Walkthrough - Tom Clancys-Rainbow-Six-Vegas-2 274
Act 4 - Scene 2: Exhibition
Tom Clancys Rainbow Six: Vegas 2 Walkthrough - Tom Clancys-Rainbow-Six-Vegas-2 275
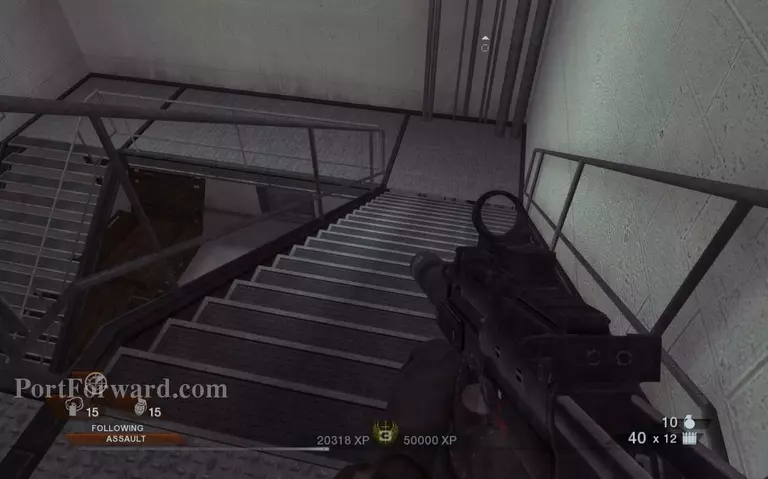
After you have resupplied go down the stairs.
Tom Clancys Rainbow Six: Vegas 2 Walkthrough - Tom Clancys-Rainbow-Six-Vegas-2 276
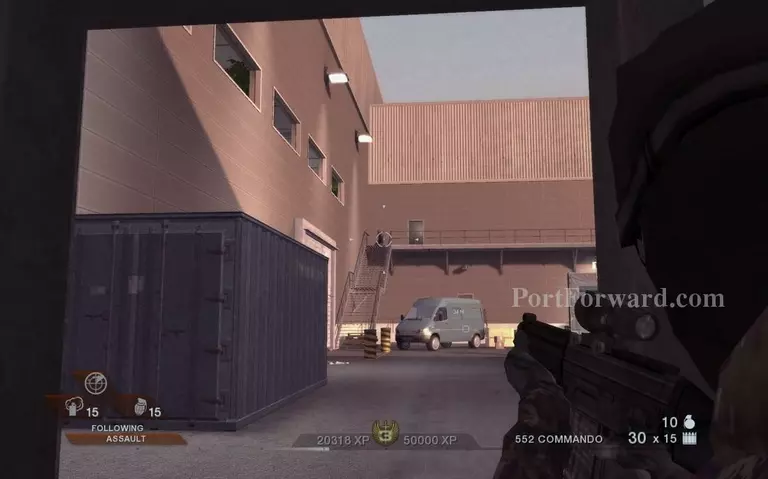
Two exit doors, pick the one on the right.
Tom Clancys Rainbow Six: Vegas 2 Walkthrough - Tom Clancys-Rainbow-Six-Vegas-2 277
A long range shootout ensues. When you defeat your enemies move to the van in front of you.
Tom Clancys Rainbow Six: Vegas 2 Walkthrough - Tom Clancys-Rainbow-Six-Vegas-2 278
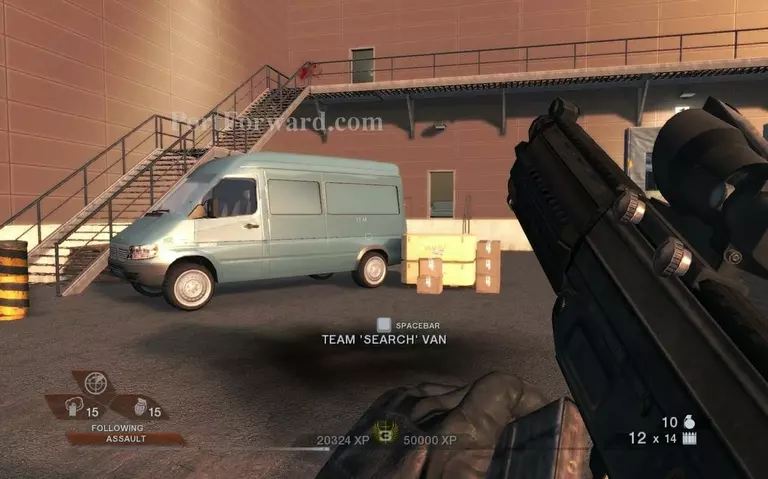
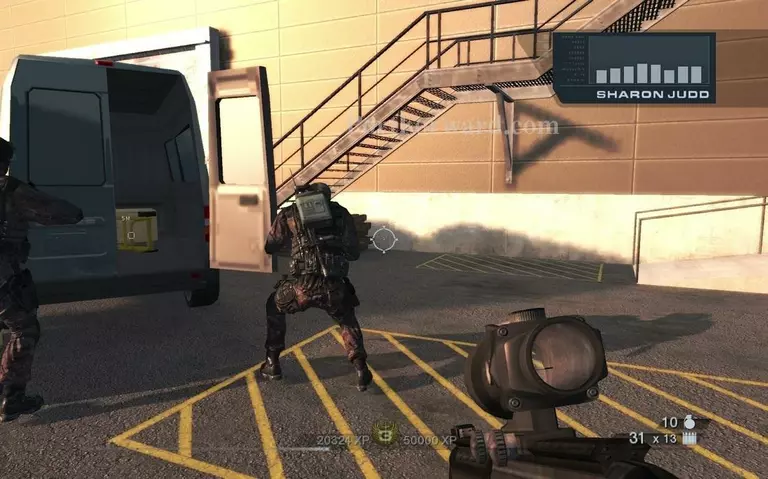
Order your teammates to search the van.
Tom Clancys Rainbow Six: Vegas 2 Walkthrough - Tom Clancys-Rainbow-Six-Vegas-2 279
They find nothing. The bomb must be in another place.
Tom Clancys Rainbow Six: Vegas 2 Walkthrough - Tom Clancys-Rainbow-Six-Vegas-2 280
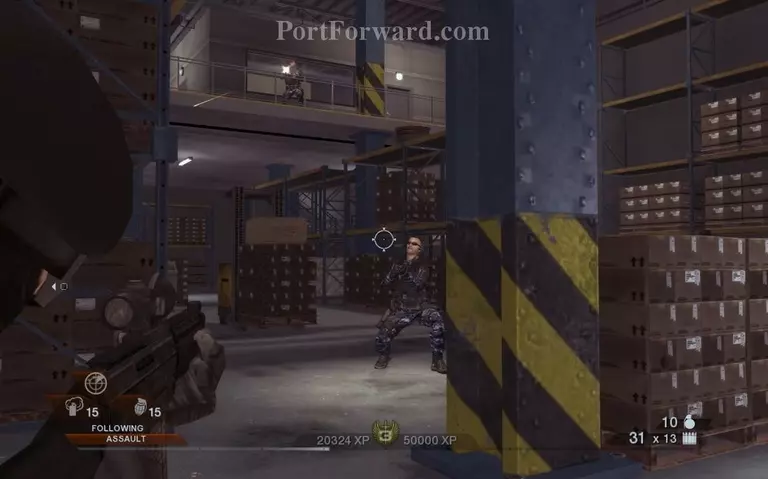
Get inside the storage facility. You can choose to go up the stairs to the second floor or go from the ground floor.
Tom Clancys Rainbow Six: Vegas 2 Walkthrough - Tom Clancys-Rainbow-Six-Vegas-2 281
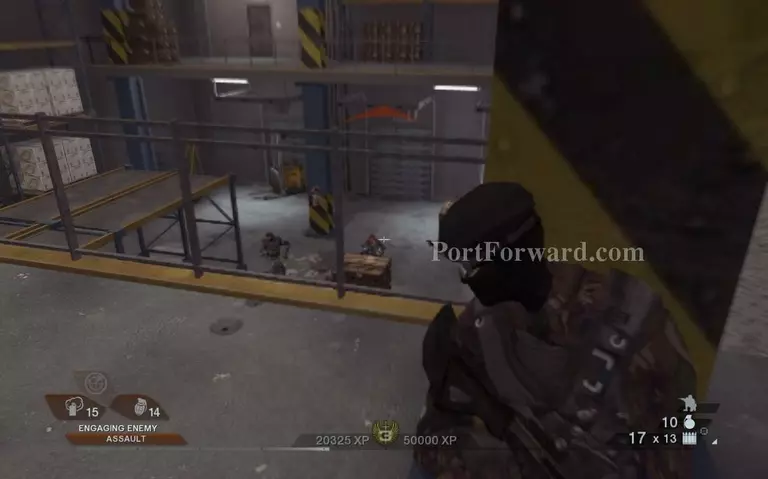
A lot of bad guys inside. Both floors will be occupied.
Tom Clancys Rainbow Six: Vegas 2 Walkthrough - Tom Clancys-Rainbow-Six-Vegas-2 282
A better angle on your enemies can be provided on the second floor.
Tom Clancys Rainbow Six: Vegas 2 Walkthrough - Tom Clancys-Rainbow-Six-Vegas-2 283
Go through this door and then to your right.
Tom Clancys Rainbow Six: Vegas 2 Walkthrough - Tom Clancys-Rainbow-Six-Vegas-2 284
You will find yourself looking over some more terrorists, continue through the door you see after you deal with them.
Tom Clancys Rainbow Six: Vegas 2 Walkthrough - Tom Clancys-Rainbow-Six-Vegas-2 285
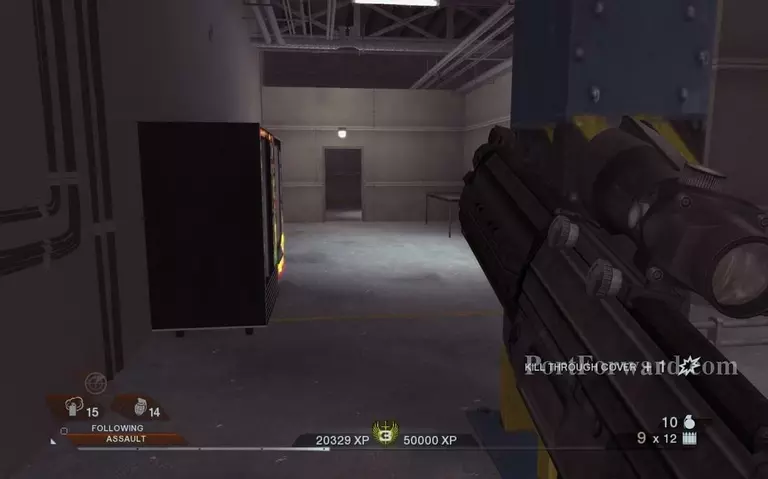
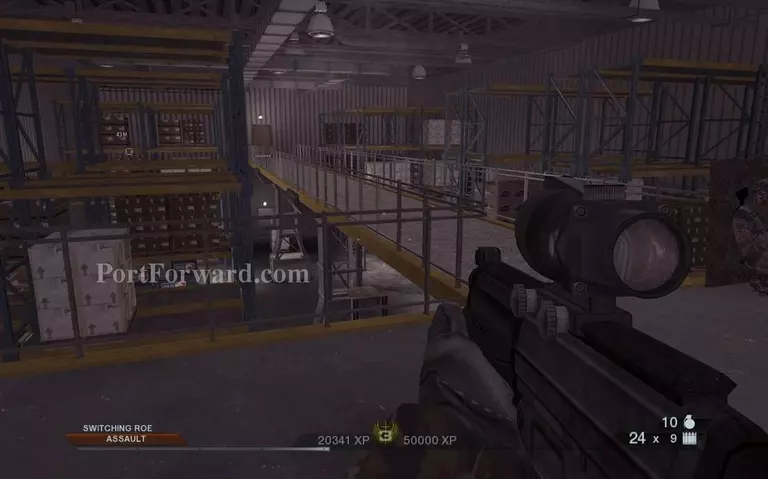
More boxes. Keep going until you reach the door on the other side of the passage.
Tom Clancys Rainbow Six: Vegas 2 Walkthrough - Tom Clancys-Rainbow-Six-Vegas-2 286
Go to the end of this corridor and move through the single door.
Tom Clancys Rainbow Six: Vegas 2 Walkthrough - Tom Clancys-Rainbow-Six-Vegas-2 287
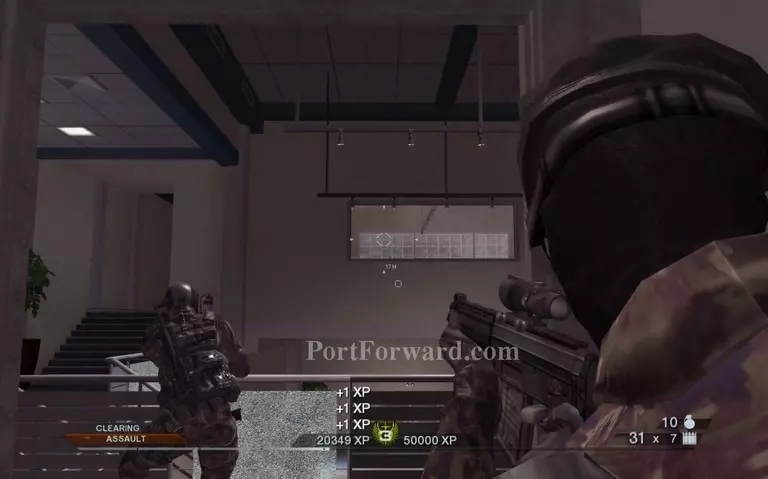
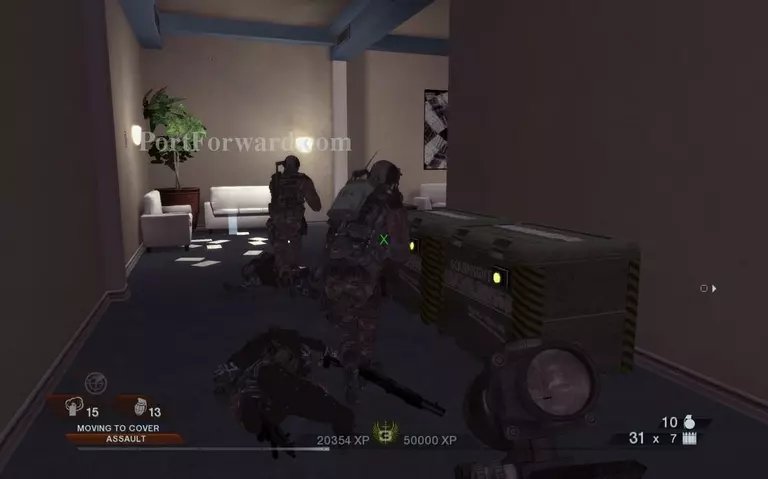
Some terrorists are waiting here. Go in the room with the big window once you clear the place out.
Tom Clancys Rainbow Six: Vegas 2 Walkthrough - Tom Clancys-Rainbow-Six-Vegas-2 288
Resupply crates.
Tom Clancys Rainbow Six: Vegas 2 Walkthrough - Tom Clancys-Rainbow-Six-Vegas-2 289
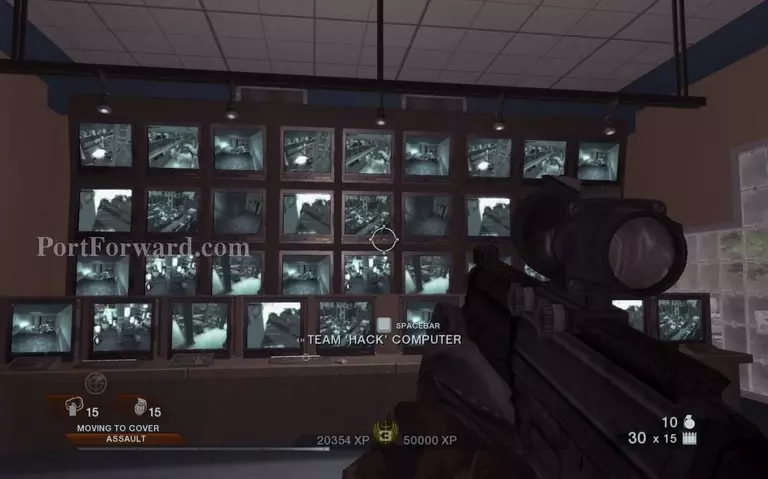
Order your teammate to hack the computer.
Tom Clancys Rainbow Six: Vegas 2 Walkthrough - Tom Clancys-Rainbow-Six-Vegas-2 290
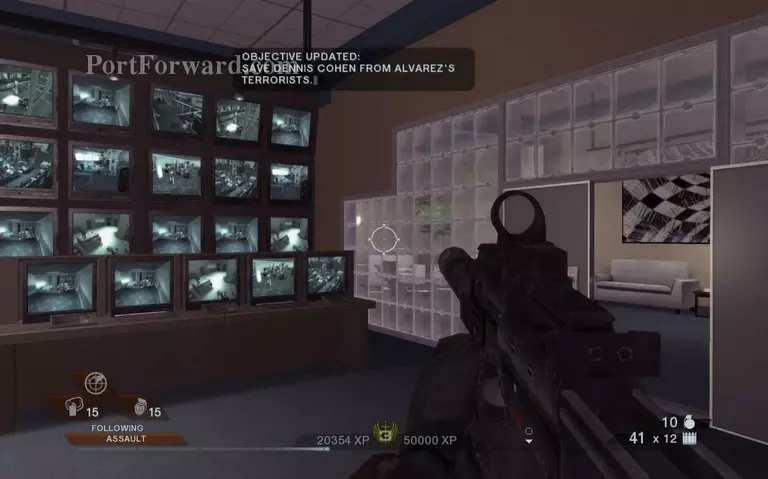
Time to save another hostage. Go down from where you came from.
Tom Clancys Rainbow Six: Vegas 2 Walkthrough - Tom Clancys-Rainbow-Six-Vegas-2 291
Move through the double door.
Tom Clancys Rainbow Six: Vegas 2 Walkthrough - Tom Clancys-Rainbow-Six-Vegas-2 292
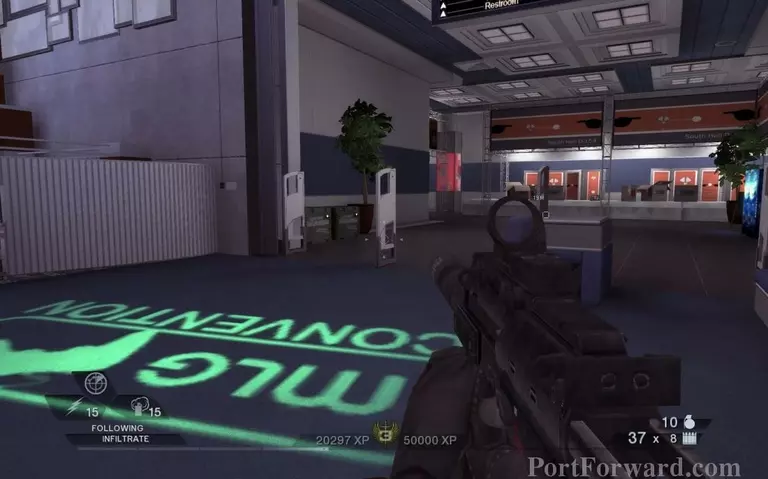
The little square can guide your way.
Tom Clancys Rainbow Six: Vegas 2 Walkthrough - Tom Clancys-Rainbow-Six-Vegas-2 293
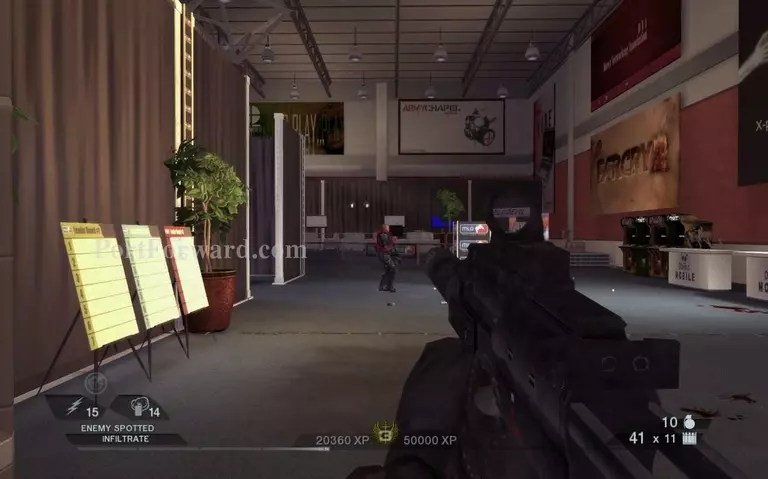
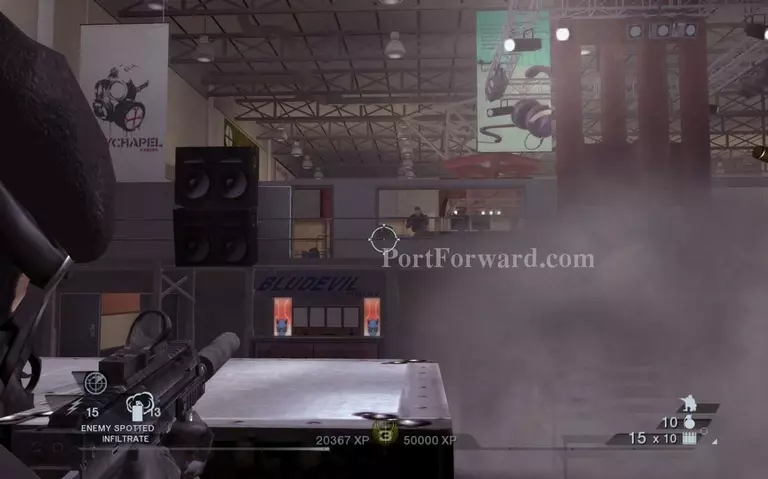
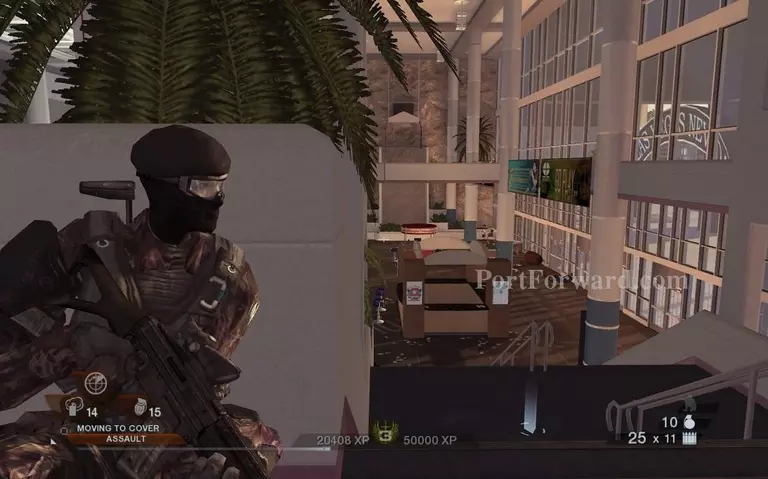
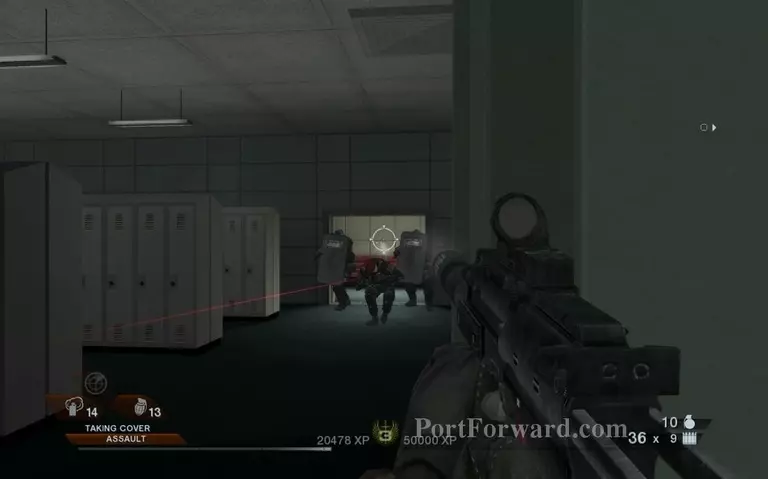
Another section of the convention. Order your teammates to use silenced weapons. You will have to kill every enemy before they can shoot you back to maintain stealth until you find the bomb.
Tom Clancys Rainbow Six: Vegas 2 Walkthrough - Tom Clancys-Rainbow-Six-Vegas-2 294
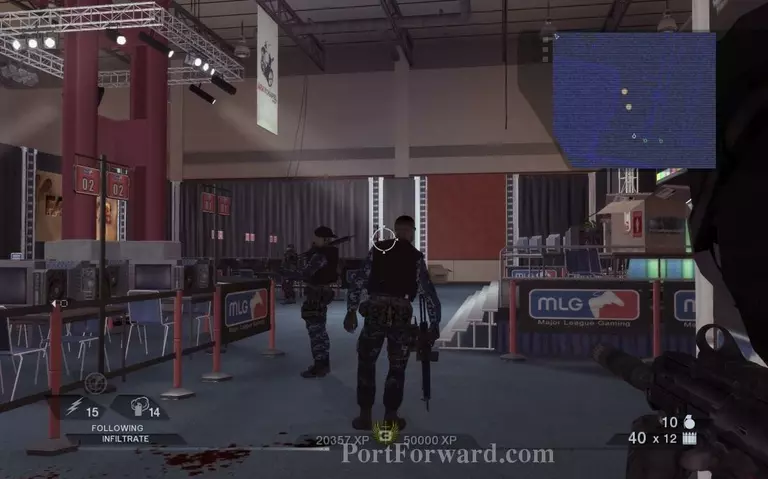
Keep going to the right side of the rooms.
Tom Clancys Rainbow Six: Vegas 2 Walkthrough - Tom Clancys-Rainbow-Six-Vegas-2 295
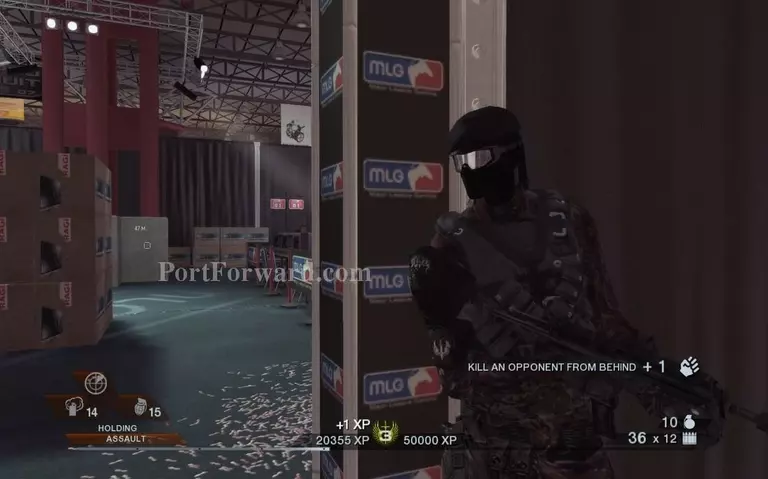
Go for the headshots and don't let them react.
Tom Clancys Rainbow Six: Vegas 2 Walkthrough - Tom Clancys-Rainbow-Six-Vegas-2 296
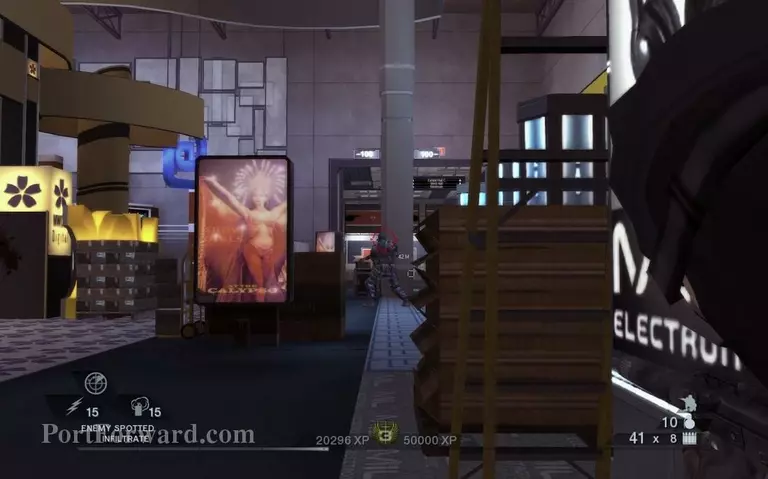
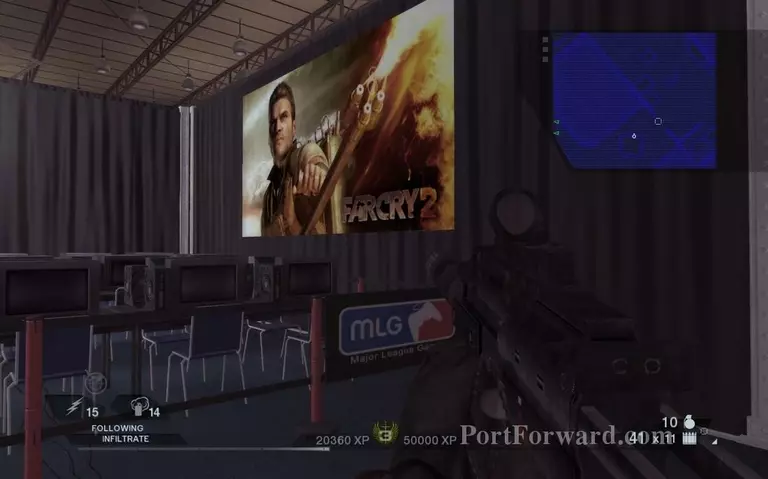
Move past the FarCry 2 ad.
Tom Clancys Rainbow Six: Vegas 2 Walkthrough - Tom Clancys-Rainbow-Six-Vegas-2 297
Some guy will casually walk in front of you. End him quickly.
Tom Clancys Rainbow Six: Vegas 2 Walkthrough - Tom Clancys-Rainbow-Six-Vegas-2 298
To the right from here.
Tom Clancys Rainbow Six: Vegas 2 Walkthrough - Tom Clancys-Rainbow-Six-Vegas-2 299
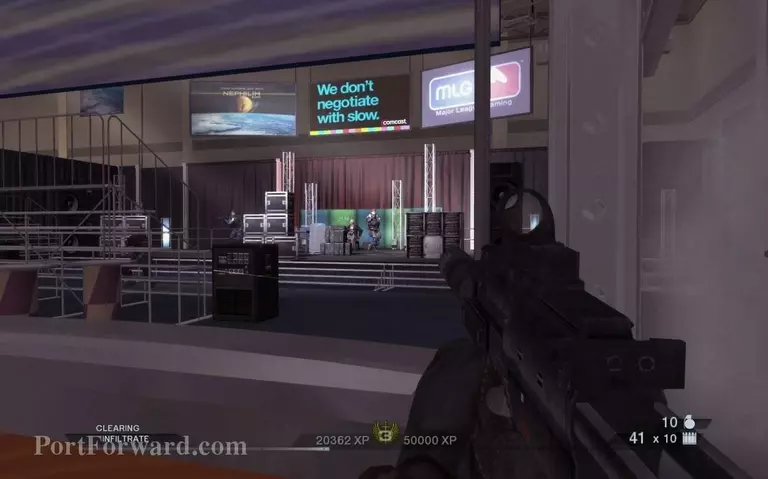
As you reach the checkpoint get ready for some quick shooting. A good idea is to use smoke or flash on this door because you need to deal with several enemies at once.
Tom Clancys Rainbow Six: Vegas 2 Walkthrough - Tom Clancys-Rainbow-Six-Vegas-2 300
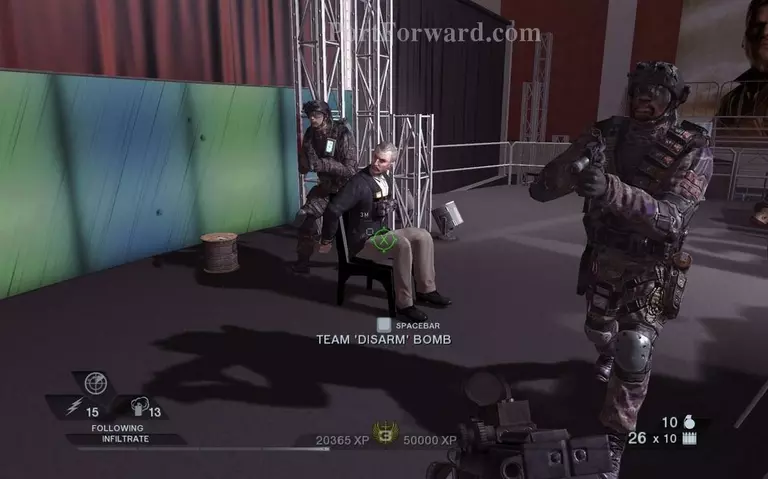
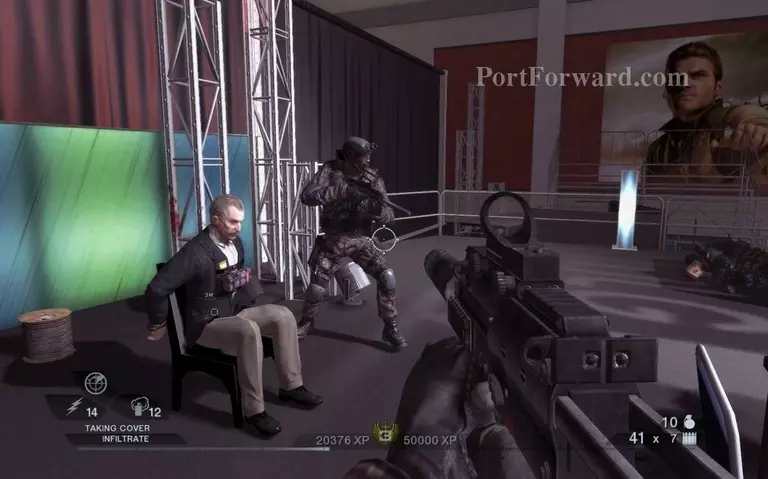
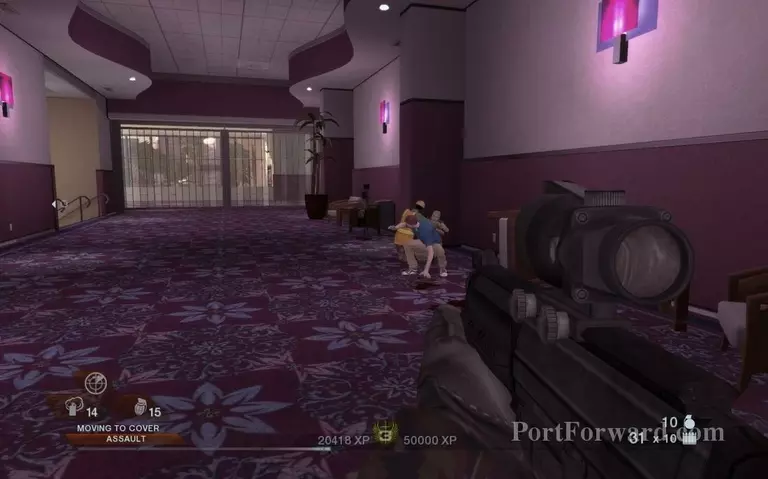
You will find the hostage inside. Time to save him.
Tom Clancys Rainbow Six: Vegas 2 Walkthrough - Tom Clancys-Rainbow-Six-Vegas-2 301
He is strapped to a bomb, but not the one you are looking for. Order your teammate to try to disarm it.
Tom Clancys Rainbow Six: Vegas 2 Walkthrough - Tom Clancys-Rainbow-Six-Vegas-2 302
Get in cover while the disarming process is going on, you will have to fight off some invaders.
Tom Clancys Rainbow Six: Vegas 2 Walkthrough - Tom Clancys-Rainbow-Six-Vegas-2 303
You cannot disarm the bomb so you leave the hostage to the police. You have a bigger bomb to stop.
Tom Clancys Rainbow Six: Vegas 2 Walkthrough - Tom Clancys-Rainbow-Six-Vegas-2 304
Go through the door on the right.
Tom Clancys Rainbow Six: Vegas 2 Walkthrough - Tom Clancys-Rainbow-Six-Vegas-2 305
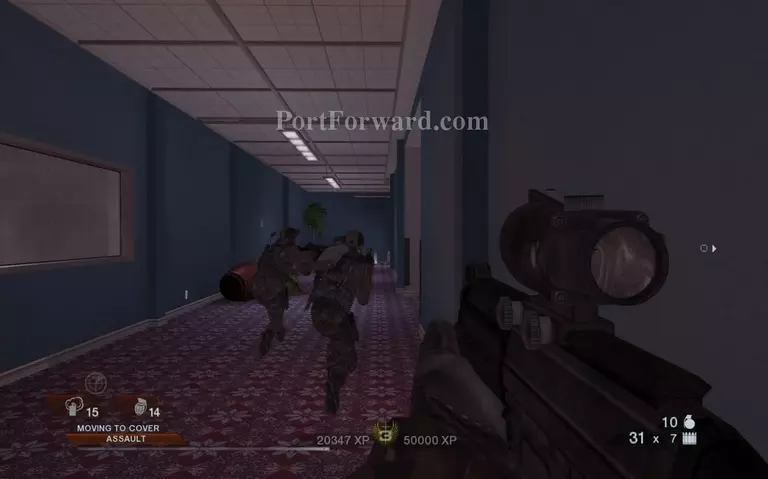
Keep fighting and going to the right.
Tom Clancys Rainbow Six: Vegas 2 Walkthrough - Tom Clancys-Rainbow-Six-Vegas-2 306
Keep clearing each hall as you move out.
Tom Clancys Rainbow Six: Vegas 2 Walkthrough - Tom Clancys-Rainbow-Six-Vegas-2 307
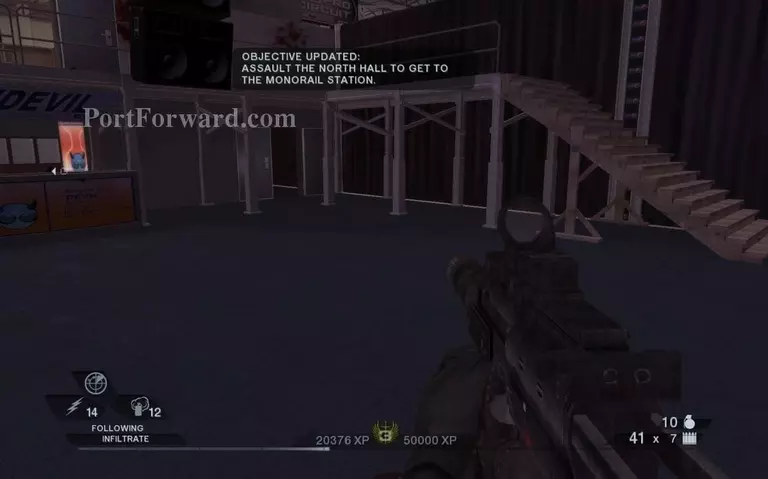
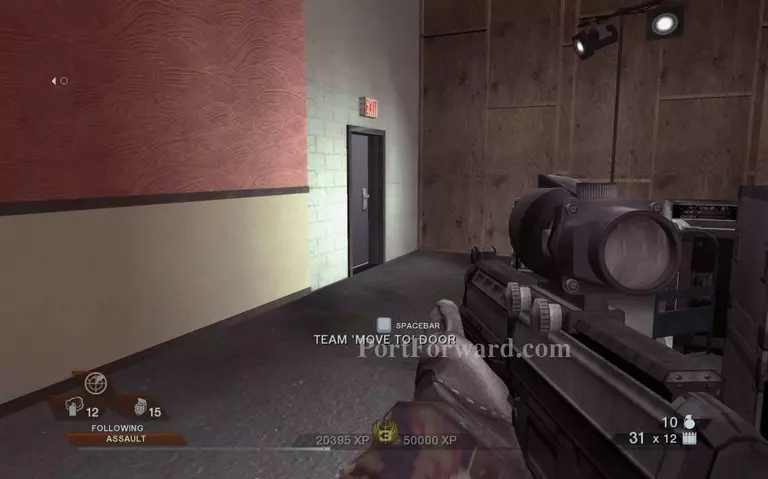
Door with exit will lead to a checkpoint.
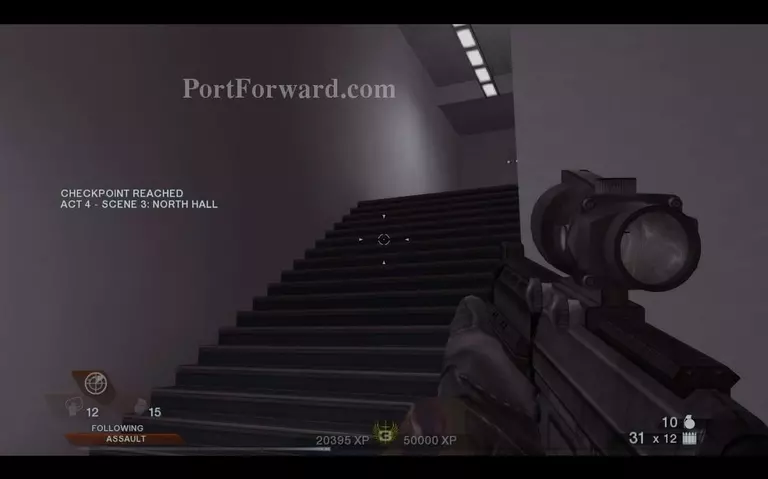
Tom Clancys Rainbow Six: Vegas 2 Walkthrough - Tom Clancys-Rainbow-Six-Vegas-2 308
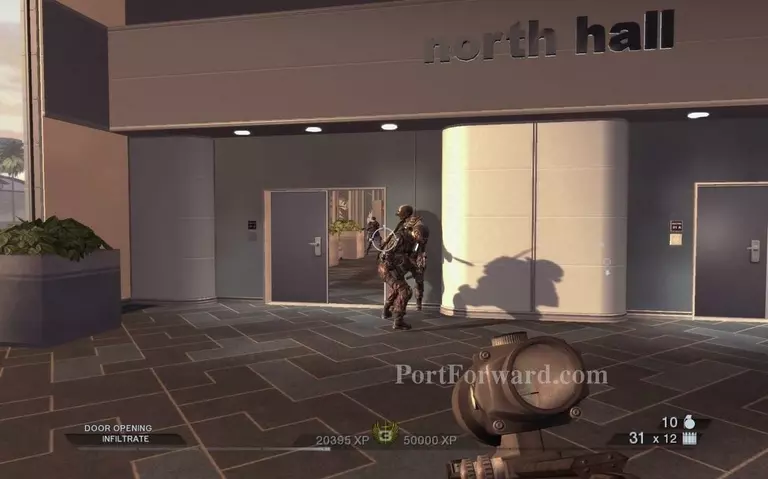
Act 4 - Scene 3: North Hall
Tom Clancys Rainbow Six: Vegas 2 Walkthrough - Tom Clancys-Rainbow-Six-Vegas-2 309
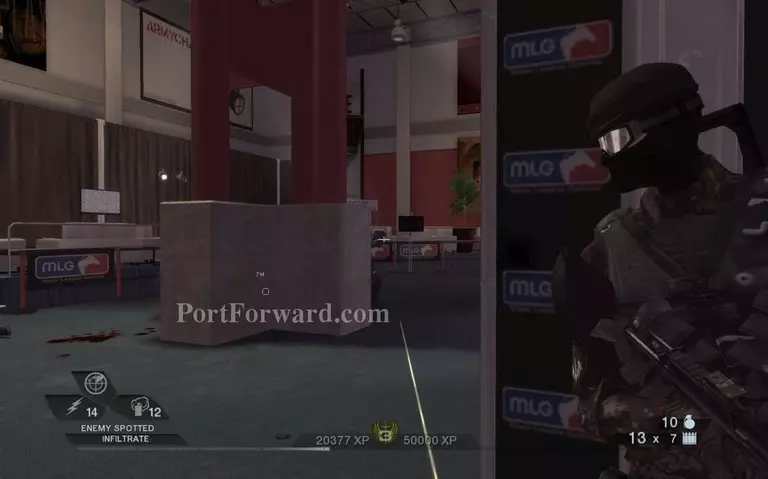
Lots of enemies are in this hall.
Tom Clancys Rainbow Six: Vegas 2 Walkthrough - Tom Clancys-Rainbow-Six-Vegas-2 310
The flow of enemies can guide you to where you have to go.
Tom Clancys Rainbow Six: Vegas 2 Walkthrough - Tom Clancys-Rainbow-Six-Vegas-2 311
Need a long range weapon here. The low cover doesn't provide adequate protection.
Tom Clancys Rainbow Six: Vegas 2 Walkthrough - Tom Clancys-Rainbow-Six-Vegas-2 312
At the end of the corridor you will find stairs to go down.
Tom Clancys Rainbow Six: Vegas 2 Walkthrough - Tom Clancys-Rainbow-Six-Vegas-2 313
Continue through here and up the stairway.
Tom Clancys Rainbow Six: Vegas 2 Walkthrough - Tom Clancys-Rainbow-Six-Vegas-2 314
Don't miss the equipment on your left.
Tom Clancys Rainbow Six: Vegas 2 Walkthrough - Tom Clancys-Rainbow-Six-Vegas-2 315
Upstairs you will see some civilians. Move past them and go down once again.
Tom Clancys Rainbow Six: Vegas 2 Walkthrough - Tom Clancys-Rainbow-Six-Vegas-2 316
A machine gun on the opposite side of the escalator. Make sure no one is there before you go up.
Tom Clancys Rainbow Six: Vegas 2 Walkthrough - Tom Clancys-Rainbow-Six-Vegas-2 317
As you climb up some bad guys will rappel down.
Tom Clancys Rainbow Six: Vegas 2 Walkthrough - Tom Clancys-Rainbow-Six-Vegas-2 318
Proceed down the hall. Cover isn't very good.
Tom Clancys Rainbow Six: Vegas 2 Walkthrough - Tom Clancys-Rainbow-Six-Vegas-2 319
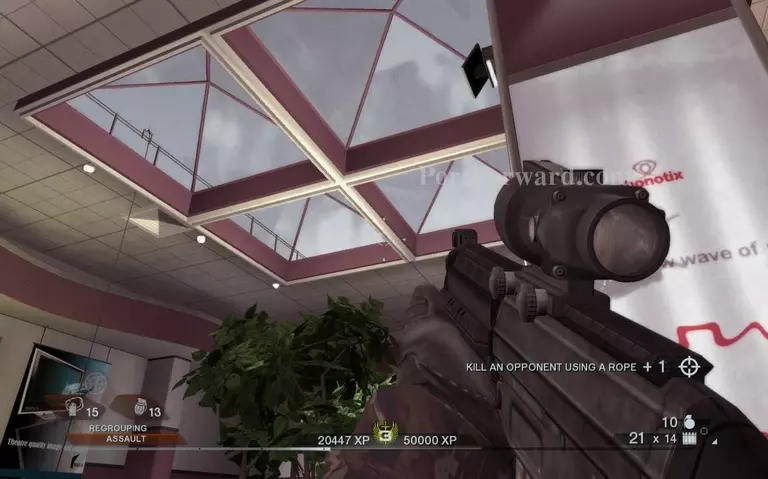
Don't let them get the drop on you. Skylights can be used by the enemy.
Tom Clancys Rainbow Six: Vegas 2 Walkthrough - Tom Clancys-Rainbow-Six-Vegas-2 320
Resupply before you go to the left.
Tom Clancys Rainbow Six: Vegas 2 Walkthrough - Tom Clancys-Rainbow-Six-Vegas-2 321
Can't go anywhere but forward.
Tom Clancys Rainbow Six: Vegas 2 Walkthrough - Tom Clancys-Rainbow-Six-Vegas-2 322
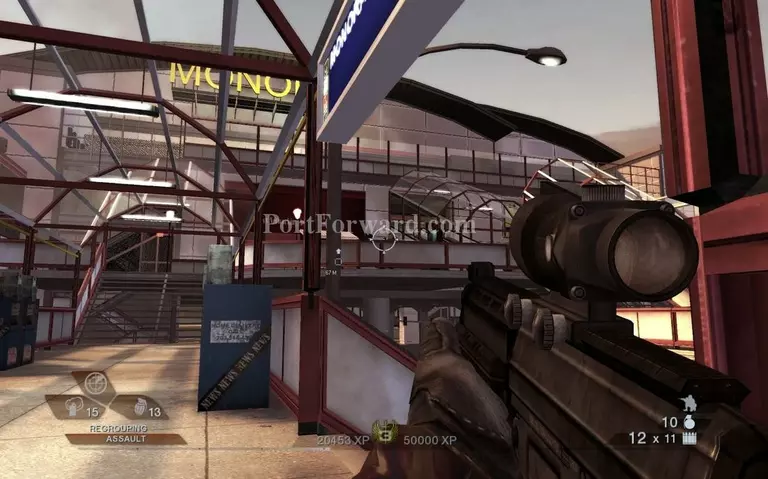
Act 4 - Scene 4: Monorail
Tom Clancys Rainbow Six: Vegas 2 Walkthrough - Tom Clancys-Rainbow-Six-Vegas-2 323
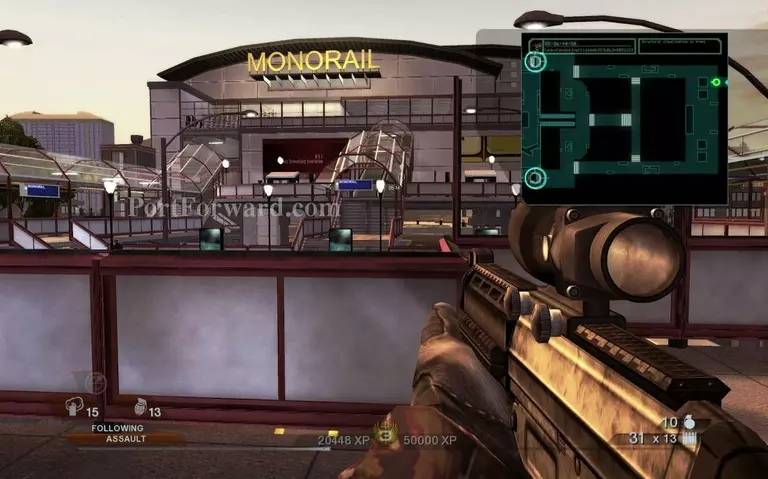
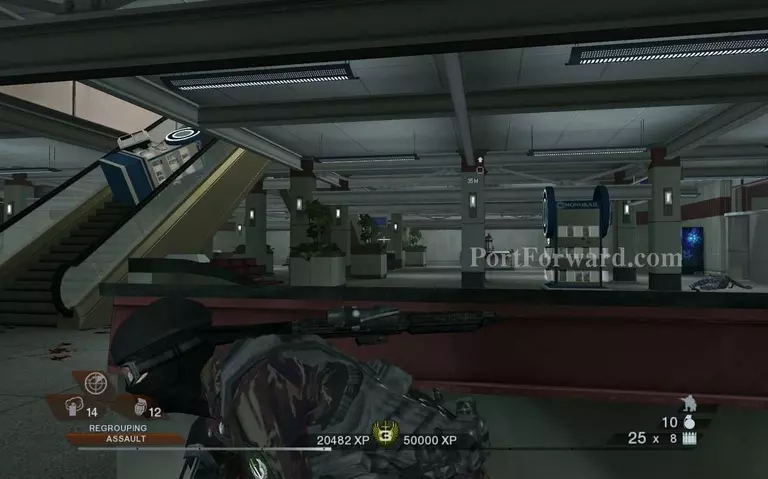
As you make your way to the monorail to find the bomb you will be attacked from both passages. You can cover one and send your team to the other if you wish.
Tom Clancys Rainbow Six: Vegas 2 Walkthrough - Tom Clancys-Rainbow-Six-Vegas-2 324
Machine gunners will be overlooking the area.
Tom Clancys Rainbow Six: Vegas 2 Walkthrough - Tom Clancys-Rainbow-Six-Vegas-2 325
Keep going up the stairs.
Tom Clancys Rainbow Six: Vegas 2 Walkthrough - Tom Clancys-Rainbow-Six-Vegas-2 326
Going from only one way can have it's advantages.
Tom Clancys Rainbow Six: Vegas 2 Walkthrough - Tom Clancys-Rainbow-Six-Vegas-2 327
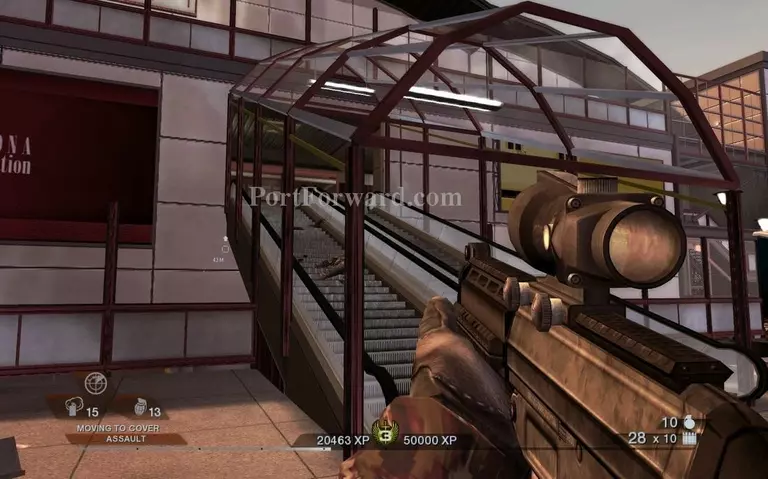
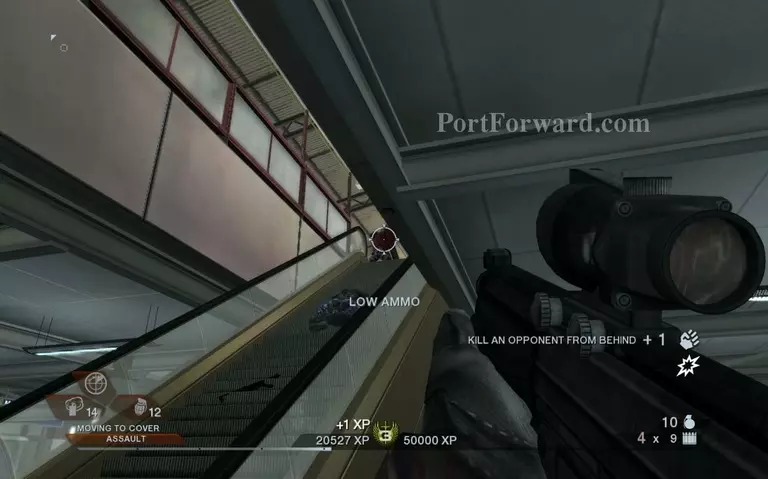
Another set of escalators to go up.
Tom Clancys Rainbow Six: Vegas 2 Walkthrough - Tom Clancys-Rainbow-Six-Vegas-2 328
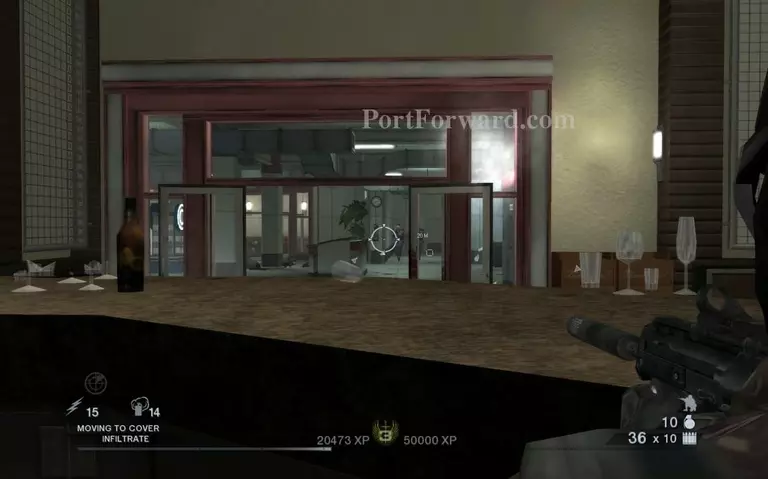
The bar provides very good cover. Take your time as more enemies rush you.
Tom Clancys Rainbow Six: Vegas 2 Walkthrough - Tom Clancys-Rainbow-Six-Vegas-2 329
Go to your right when you go out of the bar.
Tom Clancys Rainbow Six: Vegas 2 Walkthrough - Tom Clancys-Rainbow-Six-Vegas-2 330
Some scary looking dudes will try to stop you in the locker room. Don't let them get too close.
Tom Clancys Rainbow Six: Vegas 2 Walkthrough - Tom Clancys-Rainbow-Six-Vegas-2 331
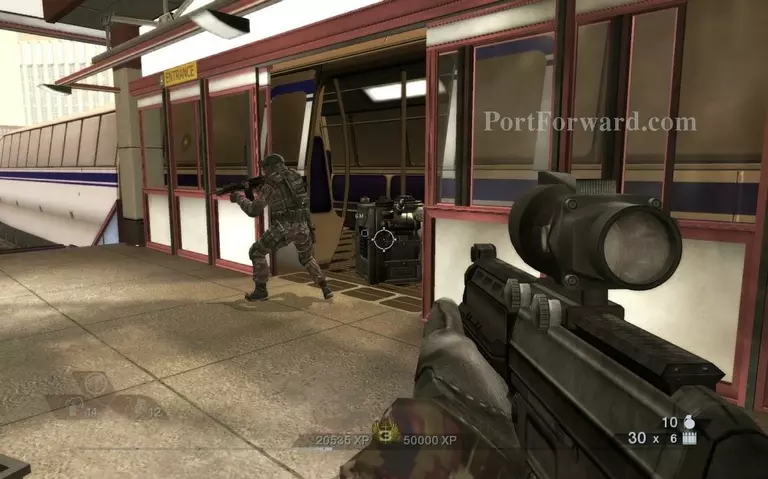
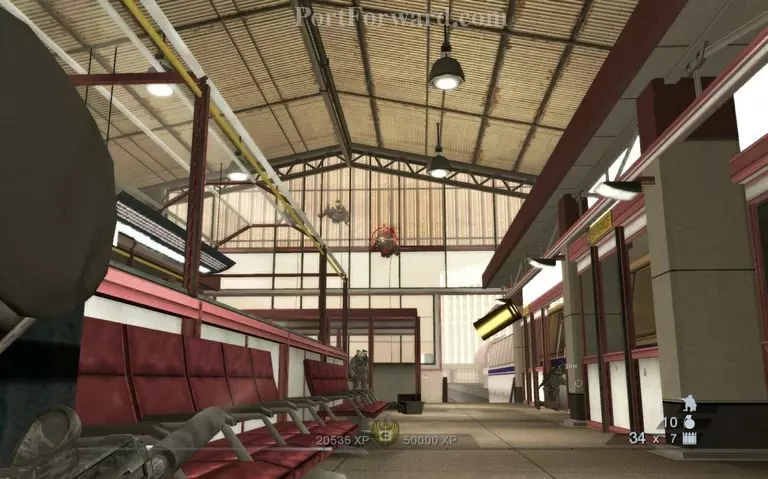
After the locker room you will find yourself at the base of the monorail station. Heavy firefight will ensue here. At the end of the hall you will find the final escalator leading to the monorail.
Tom Clancys Rainbow Six: Vegas 2 Walkthrough - Tom Clancys-Rainbow-Six-Vegas-2 332
Take your time and wait for the bad guys to come to you here. This escalator is a nasty chokepoint that can work both ways.
Tom Clancys Rainbow Six: Vegas 2 Walkthrough - Tom Clancys-Rainbow-Six-Vegas-2 333
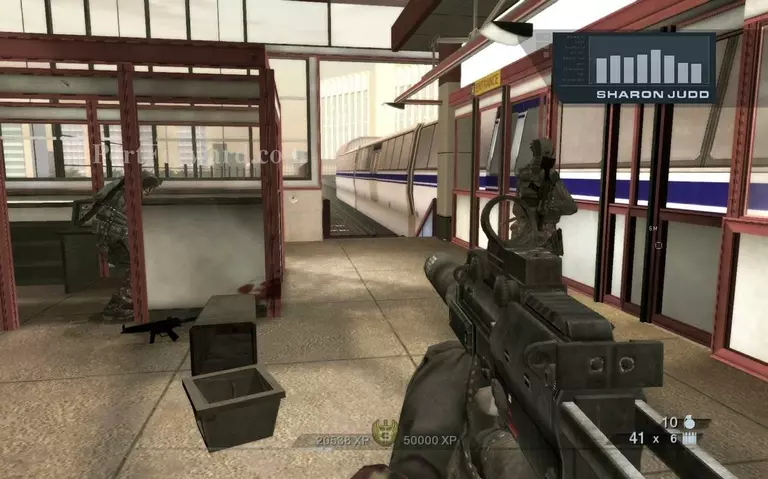
Once you secure the station, order your team to disarm the bomb. Both of your teammates will be busy so you will have to defend them alone.
Tom Clancys Rainbow Six: Vegas 2 Walkthrough - Tom Clancys-Rainbow-Six-Vegas-2 334
Get in cover and kill the last of the terrorists trying to stop you from defusing the bomb.
Tom Clancys Rainbow Six: Vegas 2 Walkthrough - Tom Clancys-Rainbow-Six-Vegas-2 335
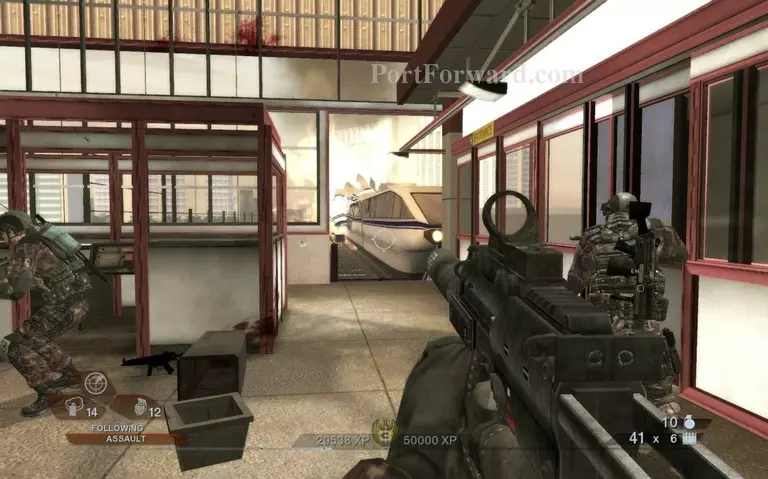
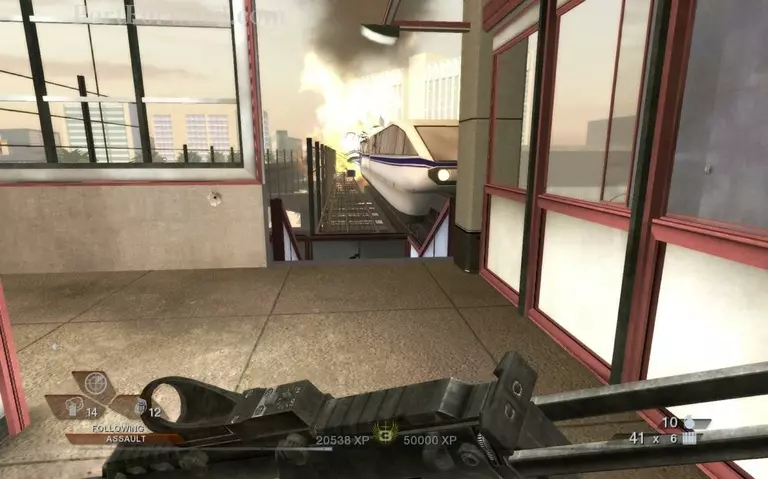
Your team can't disarm the bomb and the terrorists will blow it up manually. The only thing left to do is to send the empty monorail away with the bomb inside.
Tom Clancys Rainbow Six: Vegas 2 Walkthrough - Tom Clancys-Rainbow-Six-Vegas-2 336
The monorail explodes at a 'safe' distance.
Tom Clancys Rainbow Six: Vegas 2 Walkthrough - Tom Clancys-Rainbow-Six-Vegas-2 337
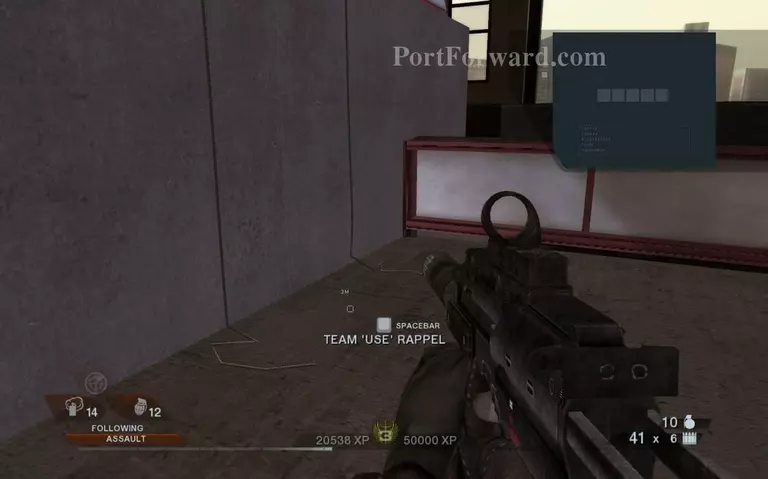
Go forward and get outside.
Tom Clancys Rainbow Six: Vegas 2 Walkthrough - Tom Clancys-Rainbow-Six-Vegas-2 338
You will have to use the ropes to rappel up to your chopper.
Tom Clancys Rainbow Six: Vegas 2 Walkthrough - Tom Clancys-Rainbow-Six-Vegas-2 339
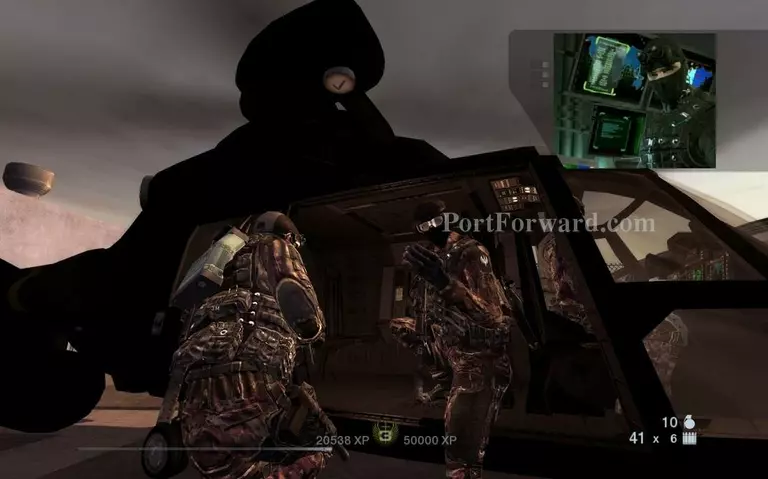
A new character enters the game. He will provide some support in the future.
Tom Clancys Rainbow Six: Vegas 2 Walkthrough - Tom Clancys-Rainbow-Six-Vegas-2 340
This concludes the fourth mission.
More Tom Clancys Rainbow Six: Vegas 2 Walkthroughs
This Tom Clancys Rainbow Six: Vegas 2 walkthrough is divided into 7 total pages.