
This Tom Clancys Rainbow Six: Vegas 2 walkthrough is divided into 7 total pages.
You can jump to nearby pages of the game using the links above.
Estate
Act 7 - Scene 1: Compound
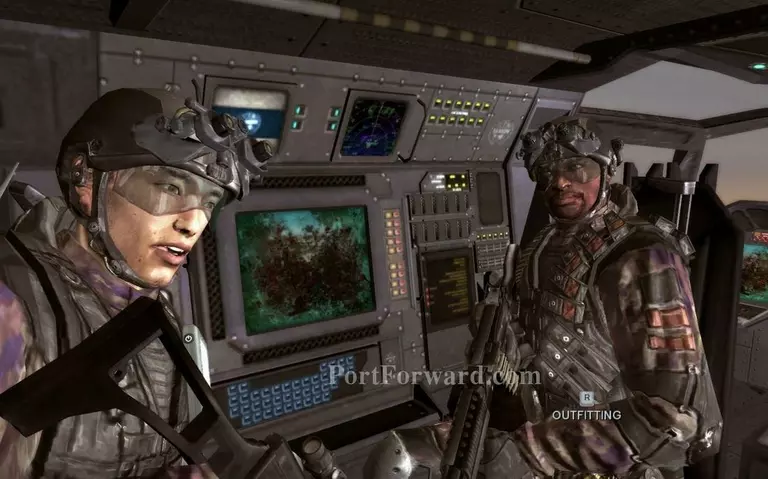
You and your team decide to go on a hunt for the rogue agent. This last mission is short and fun.
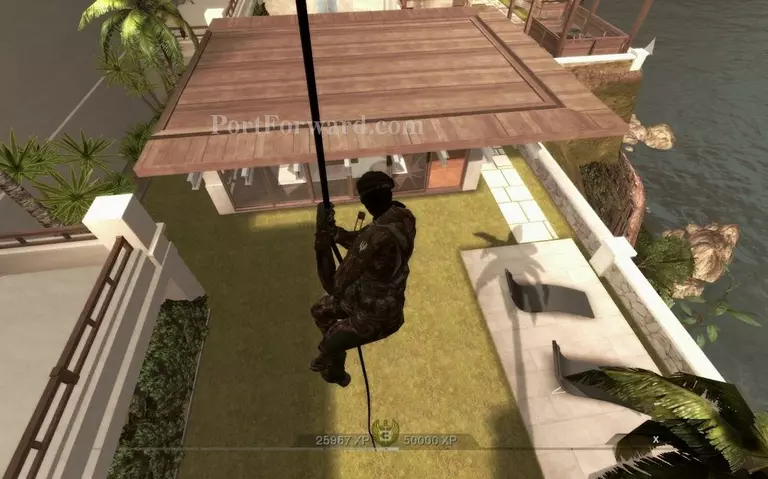
Rappelling down from the chopper for one last time. Lots of close quarters combat in this mission, so get appropriate weapons.
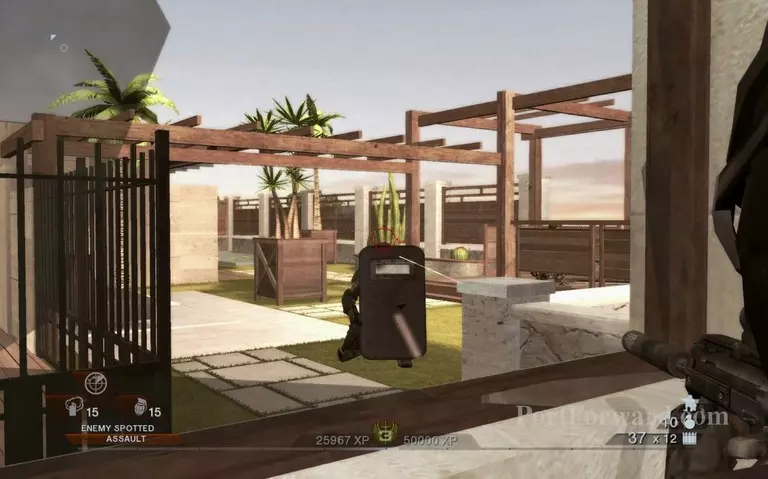
Not long before you encounter first opposition. Only way is forward.
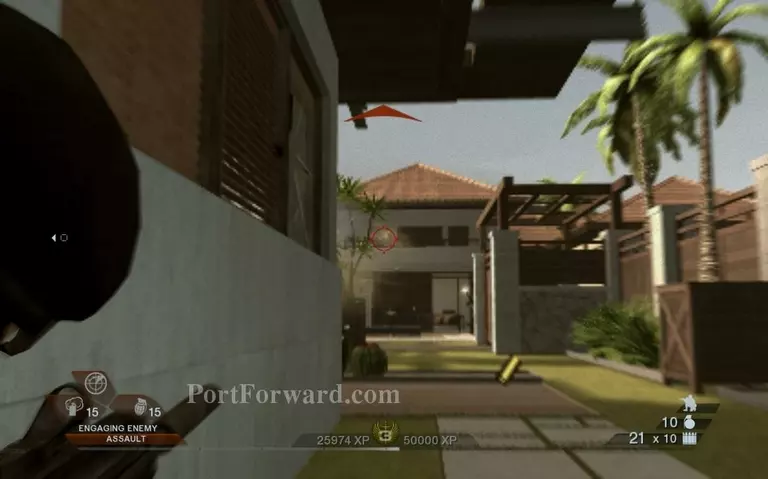
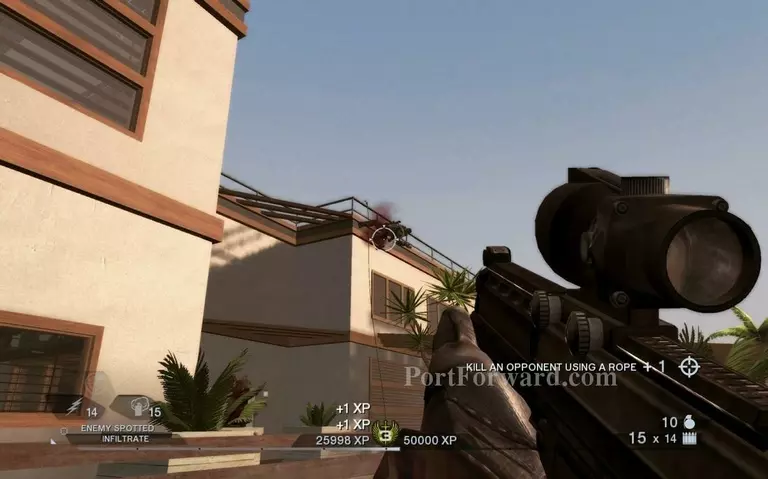
At this corner the balcony might be occupied.
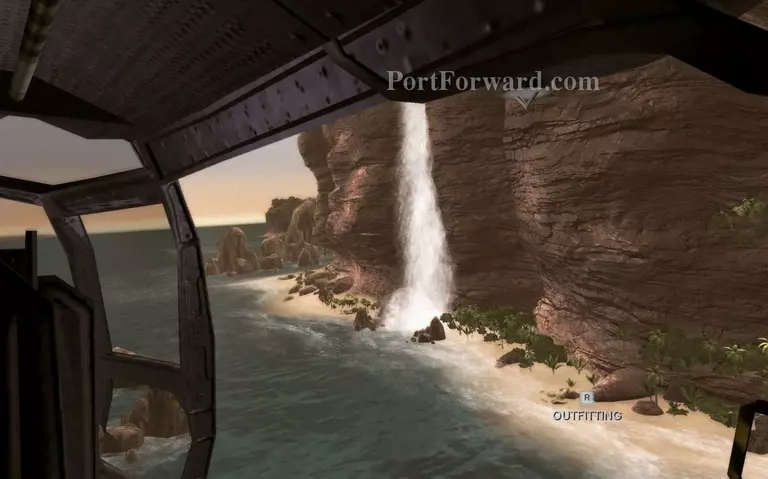
Road leads to some stairs up, next to a decorative waterfall.
You will pass through a gym room.
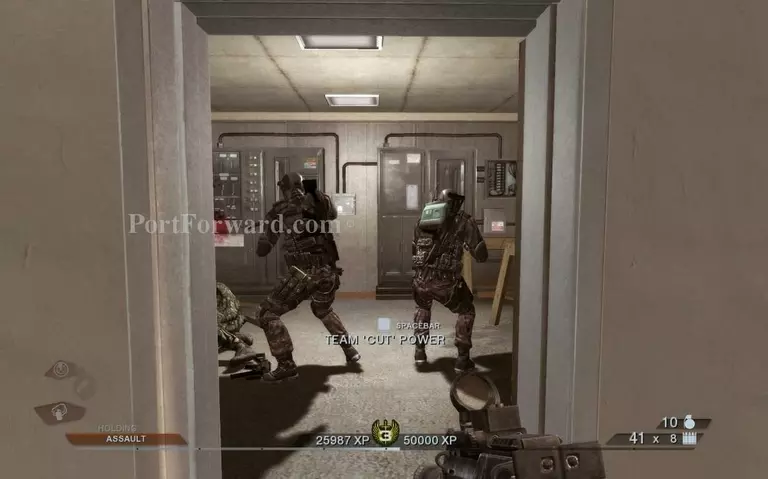
After the gym, your first objective is in the small maintenance room. Order your team to cut the power.
You will have to backtrack through the gym and enter the house on your left.
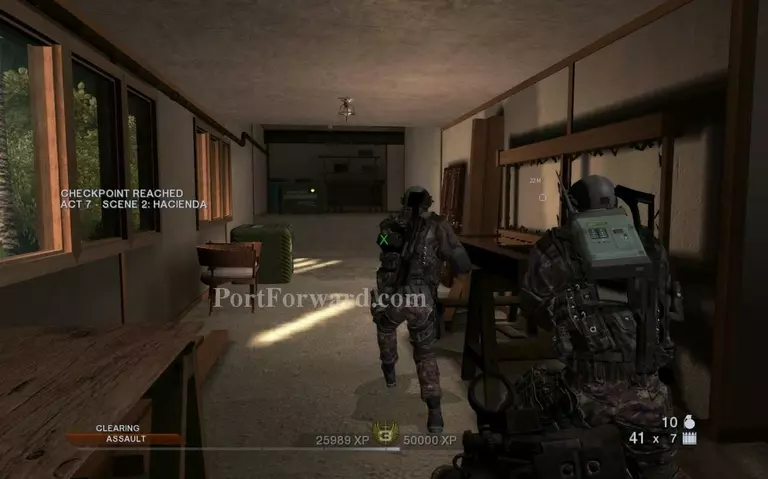
Act 7 - Scene 2: Hacienda
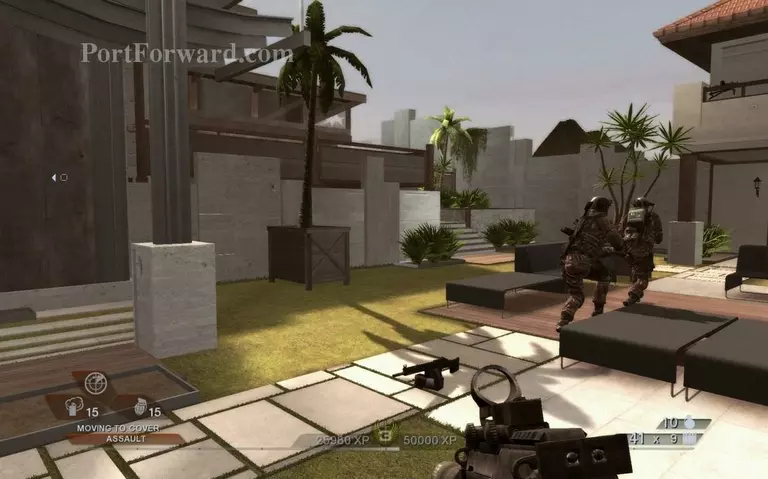
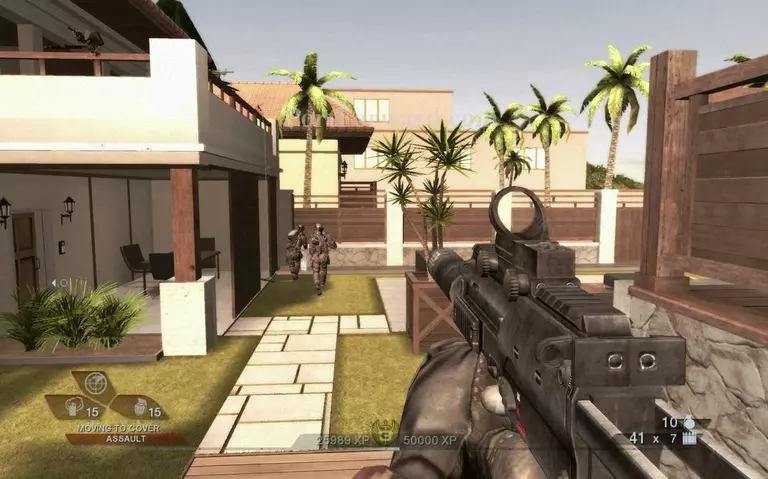
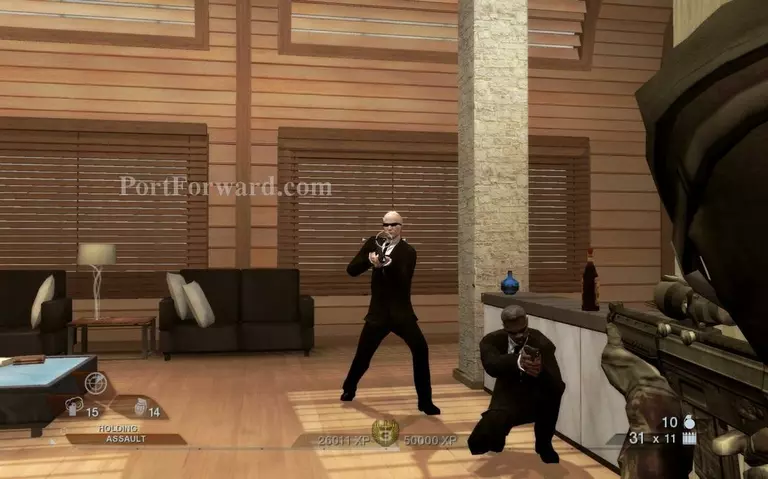
Next is a big, heavily guarded hacienda. Take out the guys in suits while they are distracted.
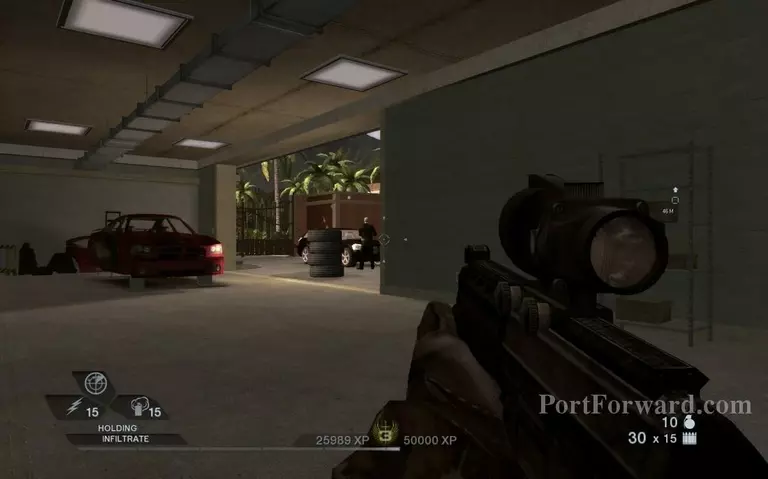
Go through the guarded region beyound the parked black car.

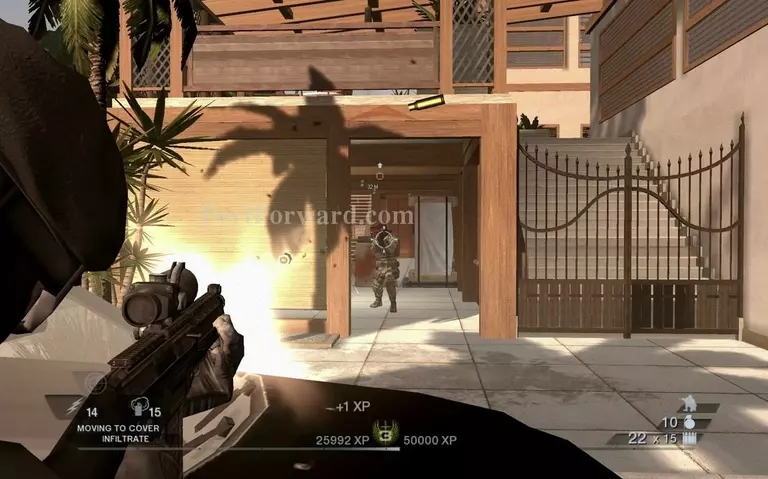
You need to go up the stairs here, but beware of any campers on the left.
As you go up the stairs, someone will try to go down.
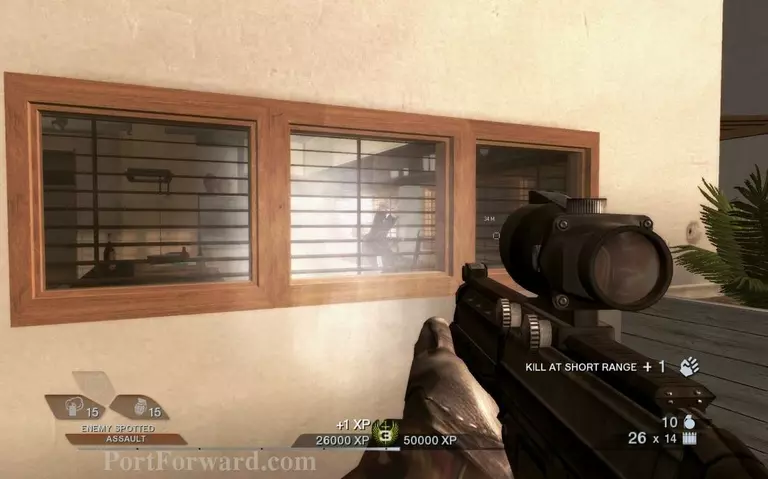
Watch any windows for easy picks on the enemy.
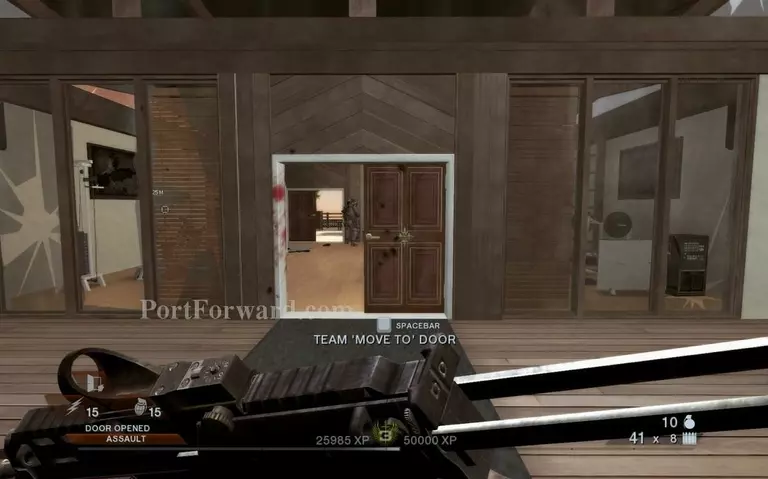
Time to enter the hacienda. As with every level designed in this game, you need to keep going to the right as you move in deeper.
Stacking up a door and throwing a grenade before you go in is a winning choice.
Next room is guarded by two suits.
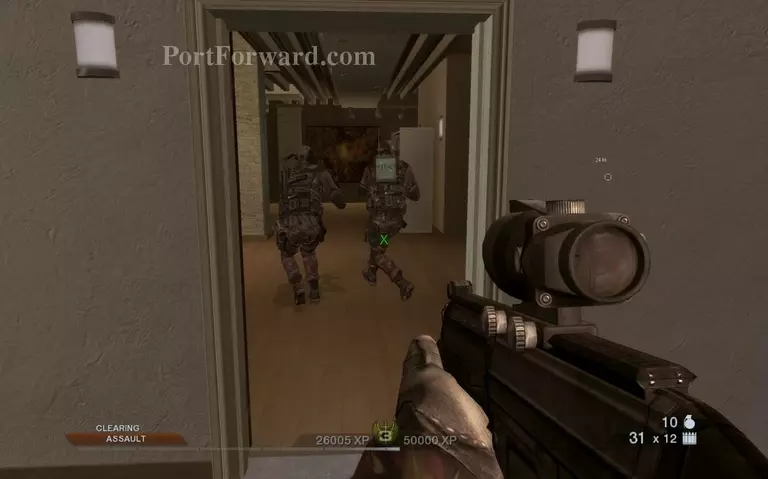
More friends come to help you bring the rogue agent down. Strangely you never see them again.
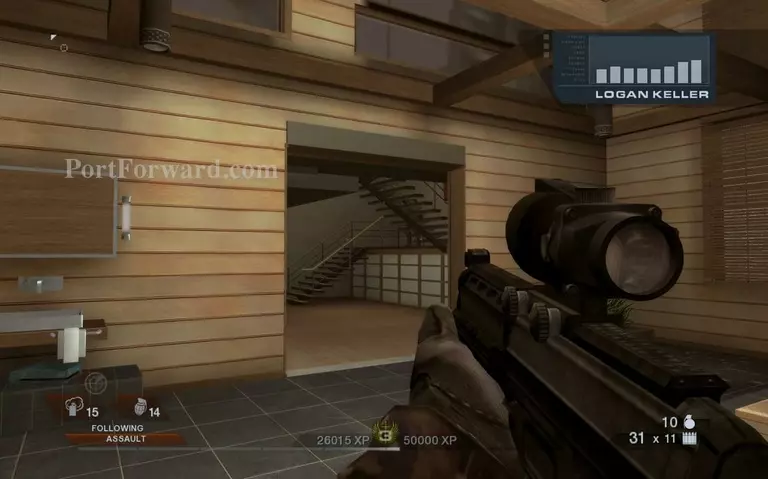
After you pass the jacuzzi room go up these stairs.
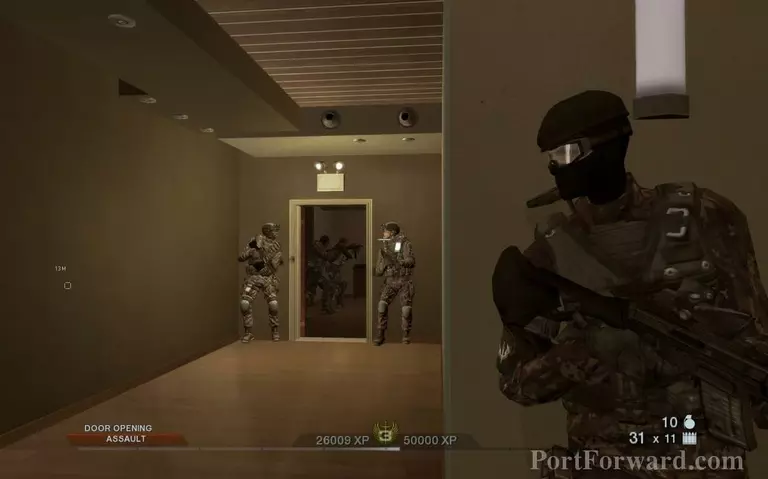
Upstairs you will find some rooms that are a bit out of the way. Go through the room on the right and clean the place then proceed forward so no one surprises you.
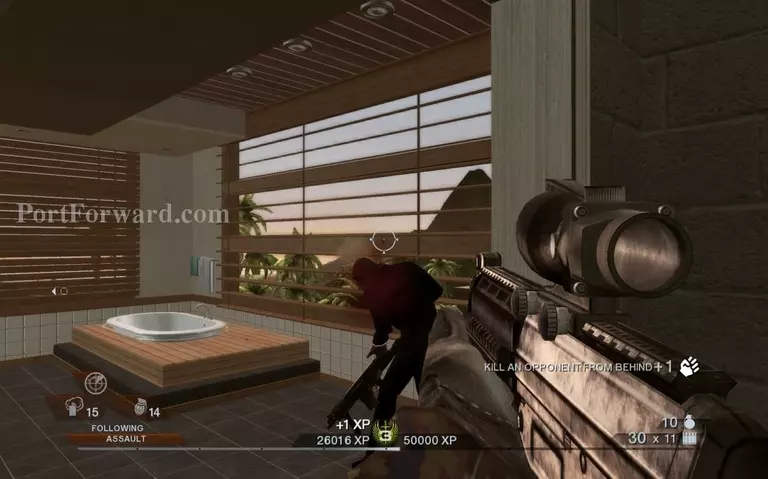
Two suits are taking a bathroom break together.
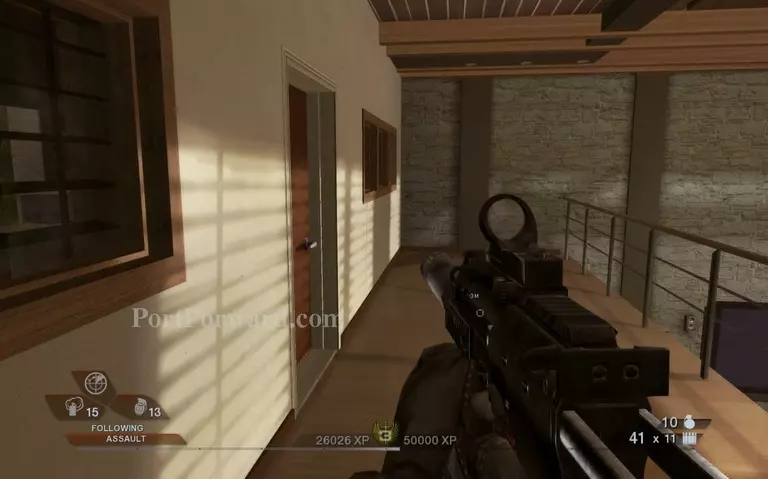
Get in the room next to the railings.
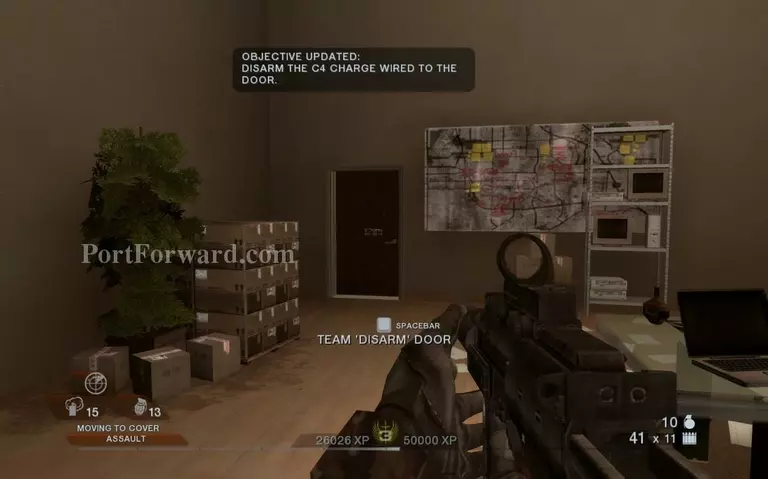
There's C4 on the next door. Order your team to disarm it.
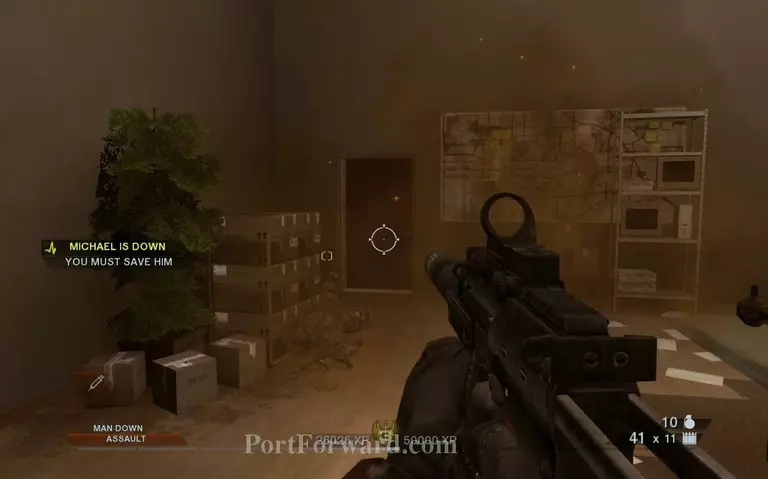
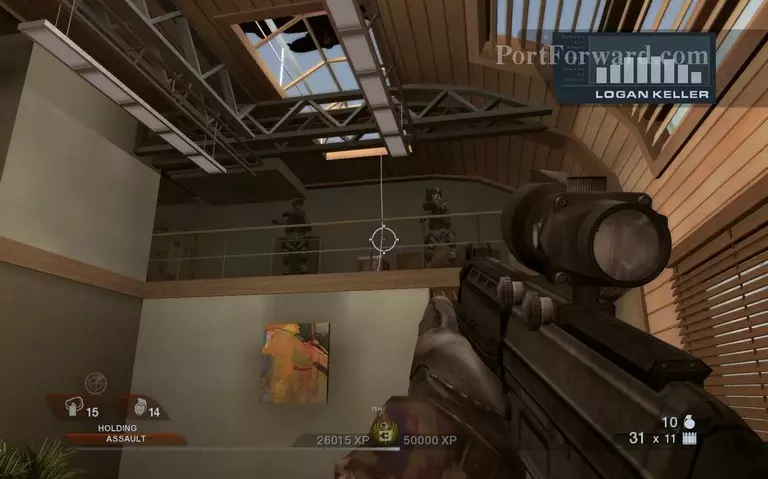
The C4 explodes and knocks your teammate to the ground, while you are being attacked from the skylight.
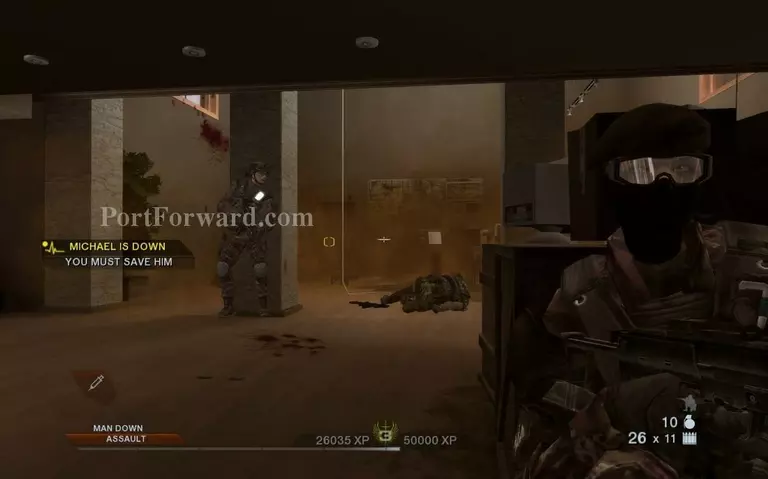
Get behind some good cover and repel the enemy forces. Once that is done you can help your teammate safely.
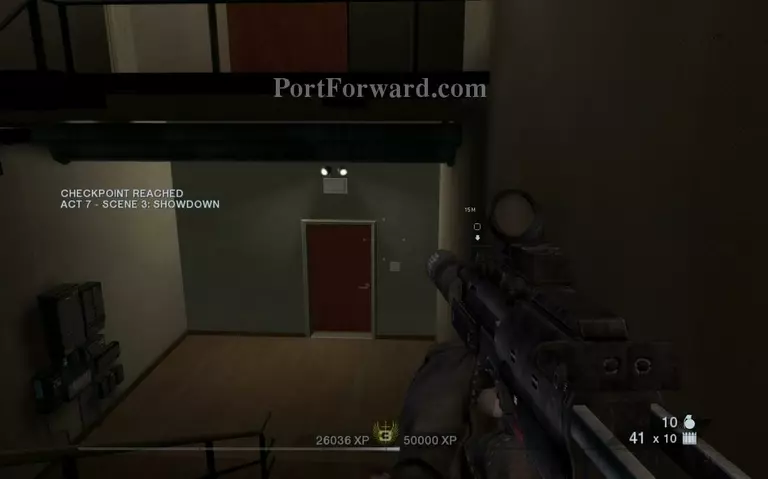
Act 7 - Scene 3: Showdown
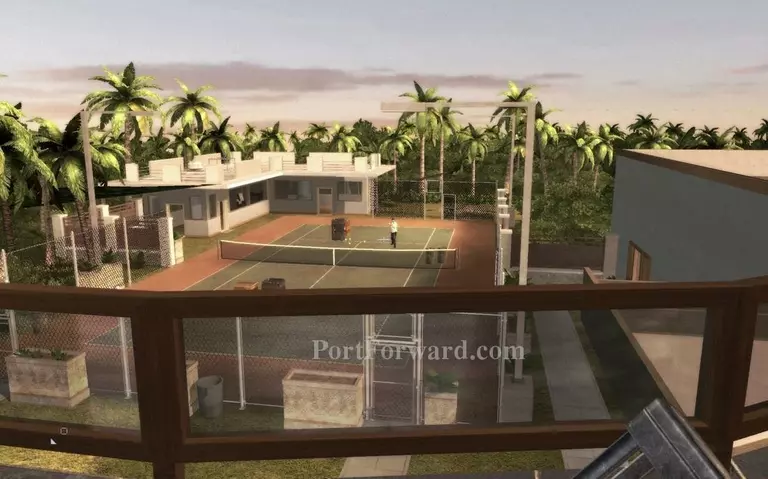
You spot the agent on the run, after a brief exchange of words the balcony explodes.

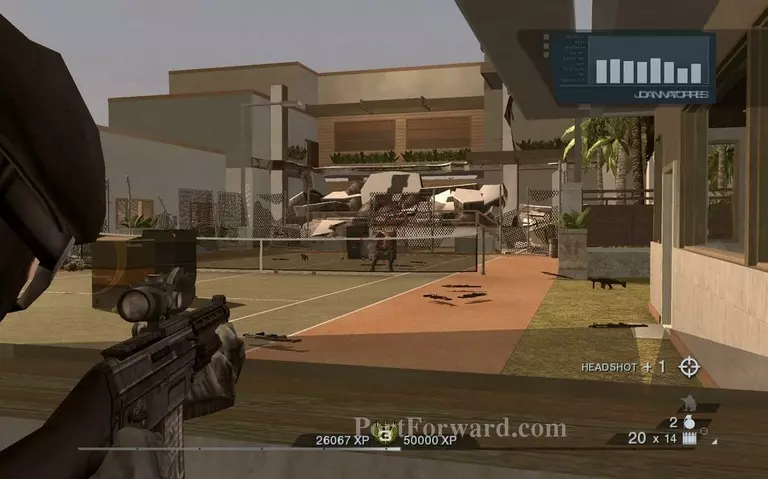
Once you get up from the explosion a chopper will attack you while some enemies will start coming out of the building on the left. This is the final battle.
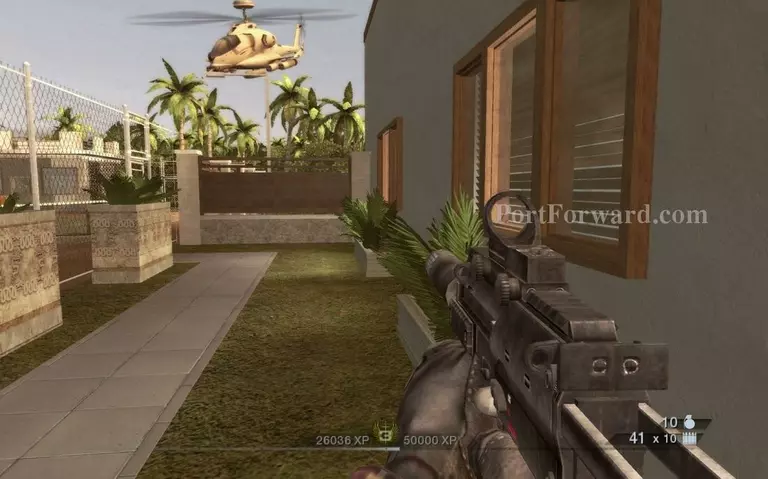
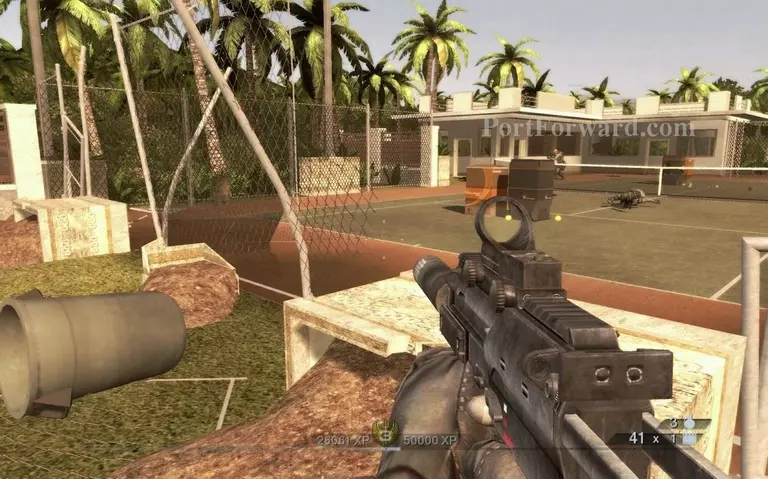
Hide behind anything solid and keep killing the soldiers coming from the building on the left. You can't fight the chopper yourself. Bullets will penetrate the wooden fence so don't hide behind it.

This can be a good spot to deal with the enemies in the first phase of the battle.
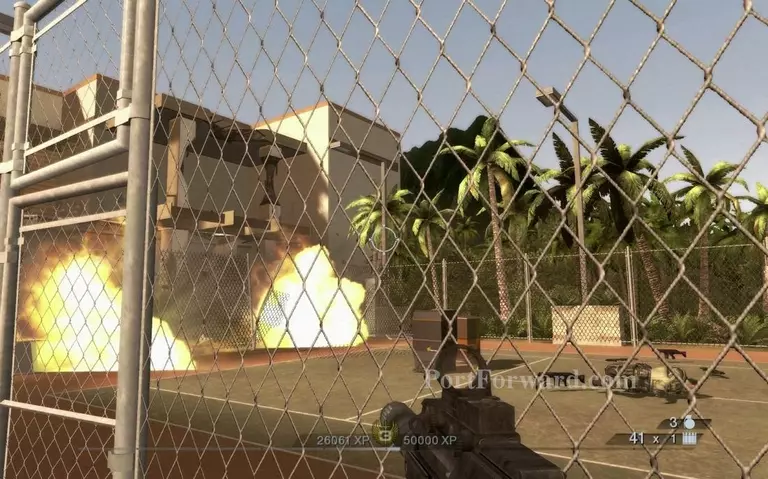
After you kill enough people the chopper will fire two rockets at the front side of the chain-link fence. This will start phase two of the battle.
All cover on this side is destroyed. You need to kill a bit more enemies to start the final phase.
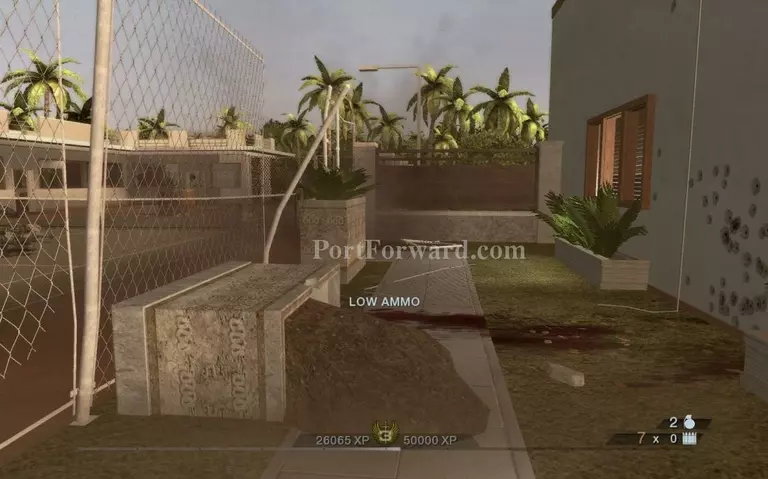
The chopper will fire rockets at the right side of the fence, now you can move in through there and enter the place on the left.
In the final phase you need to find cover in the small building and hold out until your allies can target the enemy chopper.
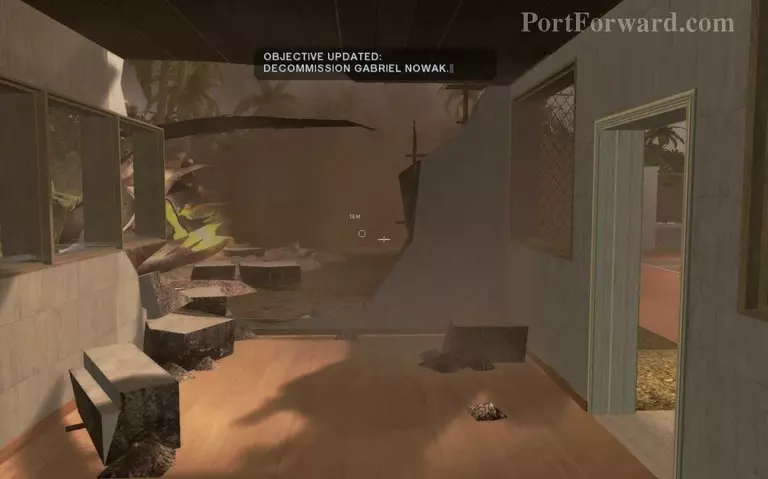
Once the chopper gets shot down it blows a hole in the building you are in. Proceed through the newly created passage.
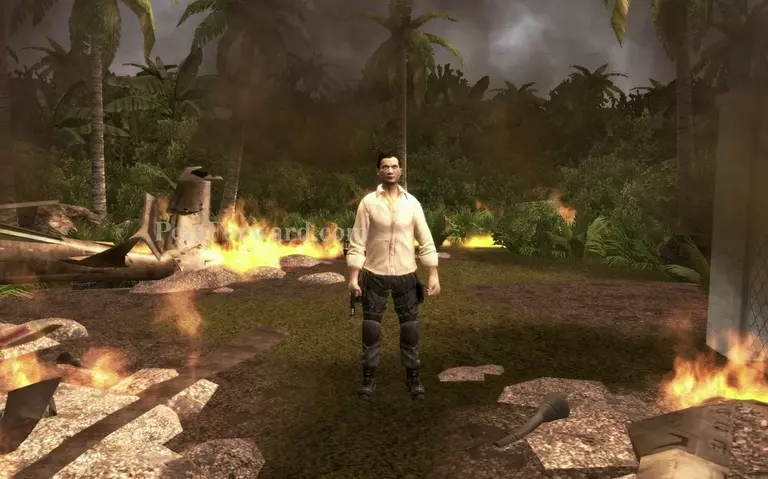
You need to listen to the ravings of the rogue agent for some time.
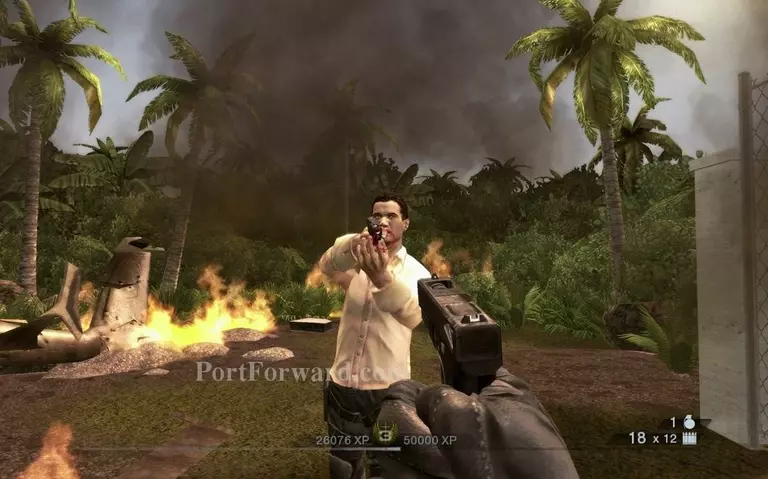
Once he is finally done talking you have to put him down. Not very different from the way you dealt with the terrorist leader from the third mission.
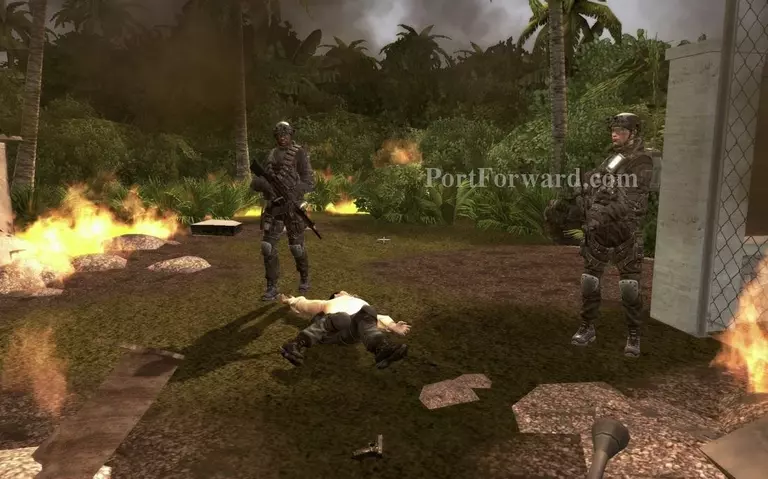
Your teammates join you in your moment of victory.
This concludes the seventh and final mission. Congratulations on beating Rainbow Six: Vegas 2.
More Tom Clancys Rainbow Six: Vegas 2 Walkthroughs
This Tom Clancys Rainbow Six: Vegas 2 walkthrough is divided into 7 total pages.


