
This World Of Goo walkthrough is divided into 43 total pages.
You can jump to nearby pages of the game using the links above.
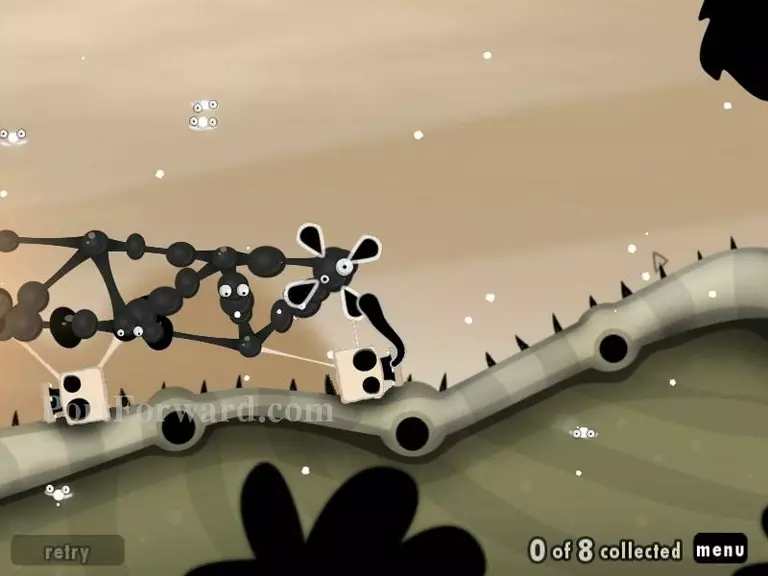
Misty's Long Bony Road
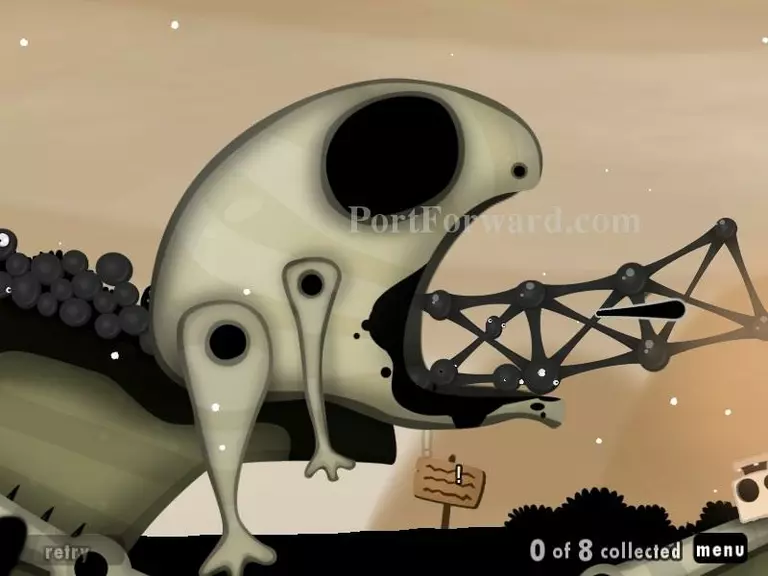
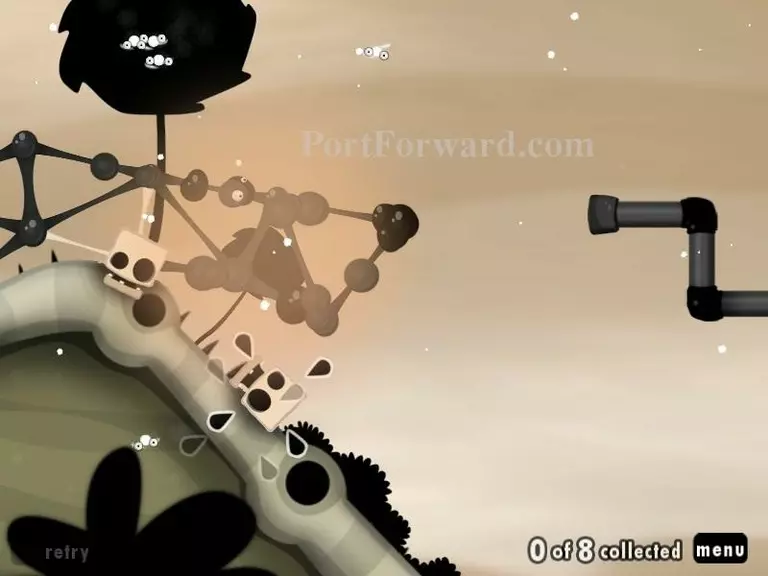
A rather copy-pasted map with a new kink; Player-placed floor support pillars featuring the new "goo" type, Skulls. They can touch and press up against hazardous material and be re-used. We must use this to elapse a very long and deadly valley to the vertical pipe at the end.
Start out by putting some support-pillars in the mouth, the upper muzzle counts as roof and gives stability to your construct. Then use one of the skulls where the first hill-bend is

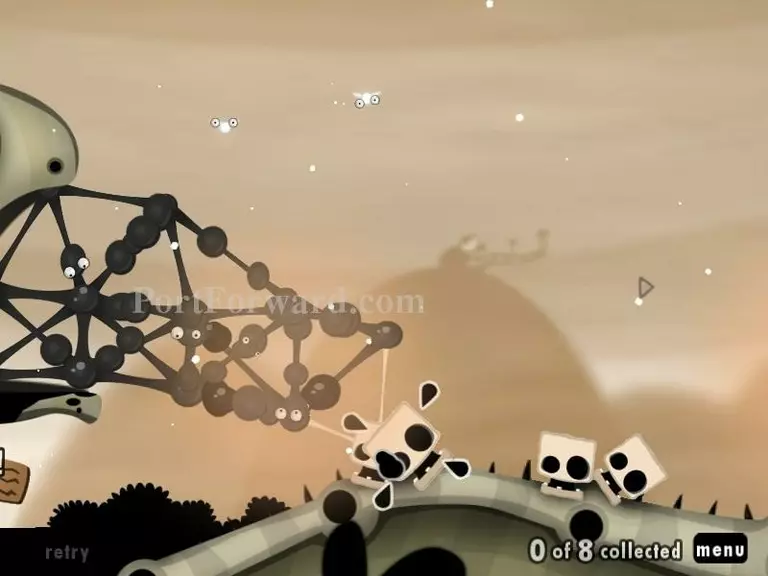
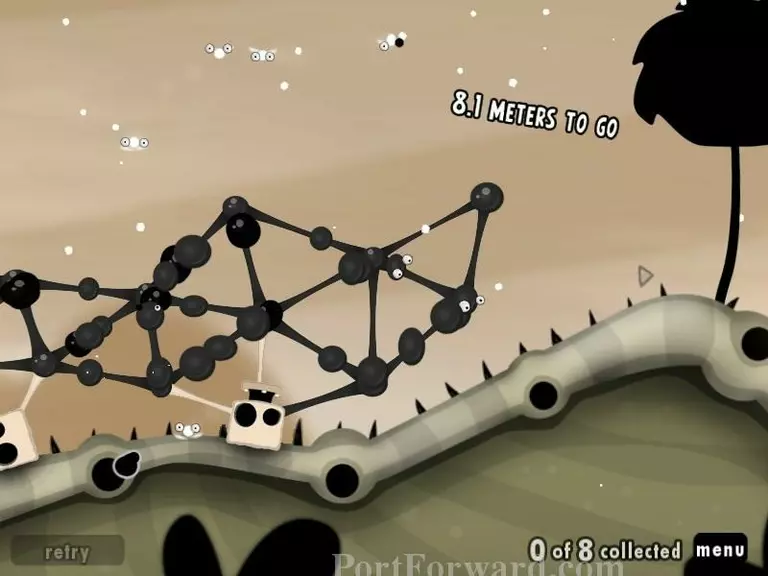
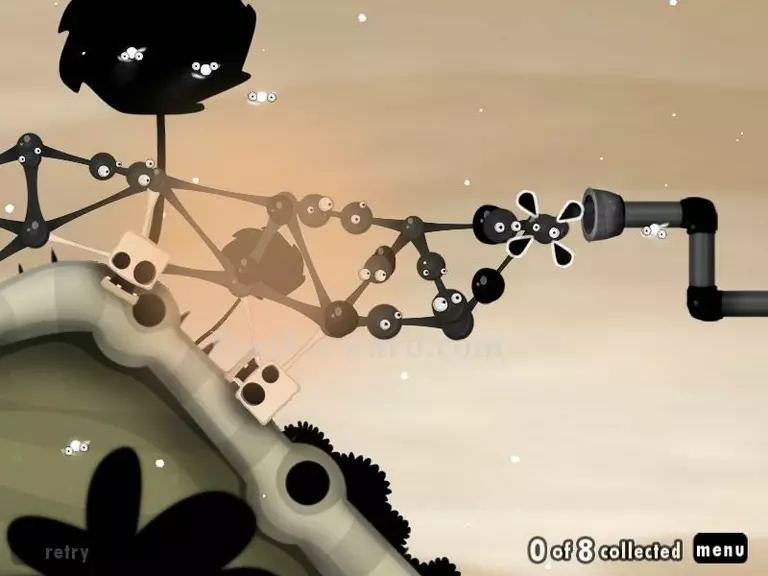
After that, continue building a box-shaped bridge
Make sure to place the skulls at safe spots before your bridge starts to bend like crazy.
Usually it supports 3-4 more goo's before bulging.
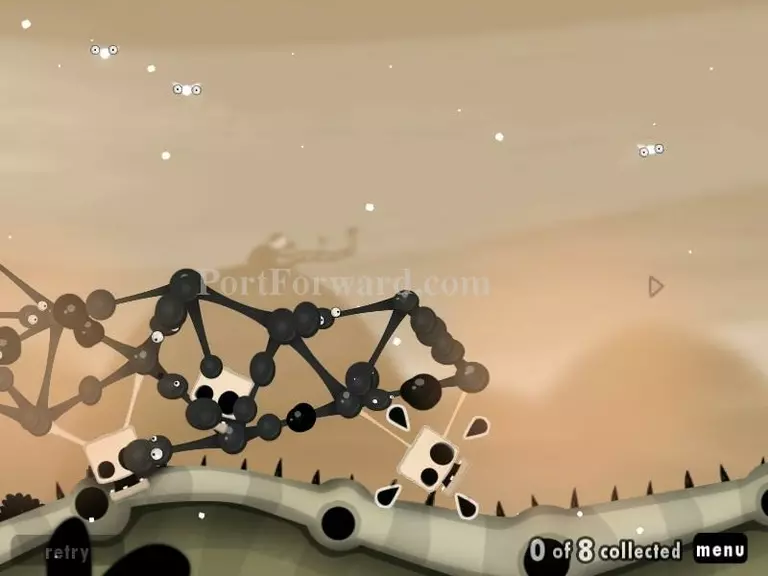
Don't be afraid to try some support pillars, just make sure they're directly over the skulls
At this point, you should be out of skulls. Build a support-blob at this spot and go back to your frog

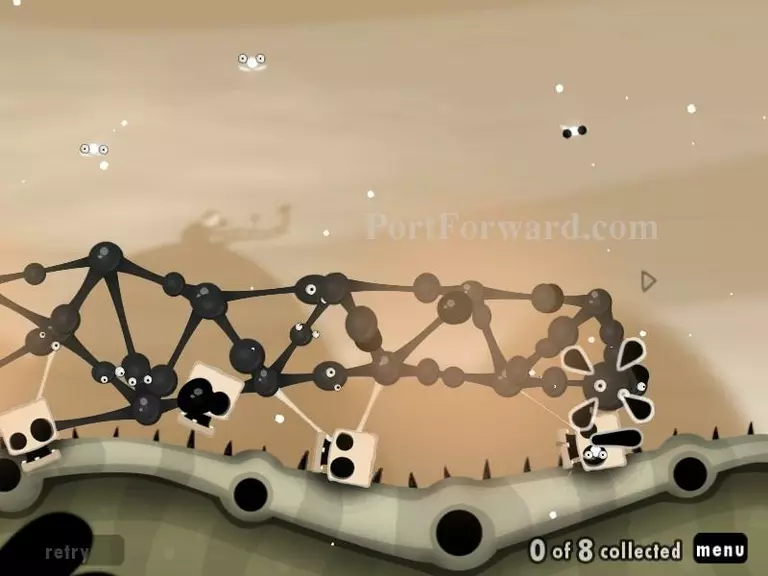
Grab the first skull and re-use it. They're recycle-able without limit.
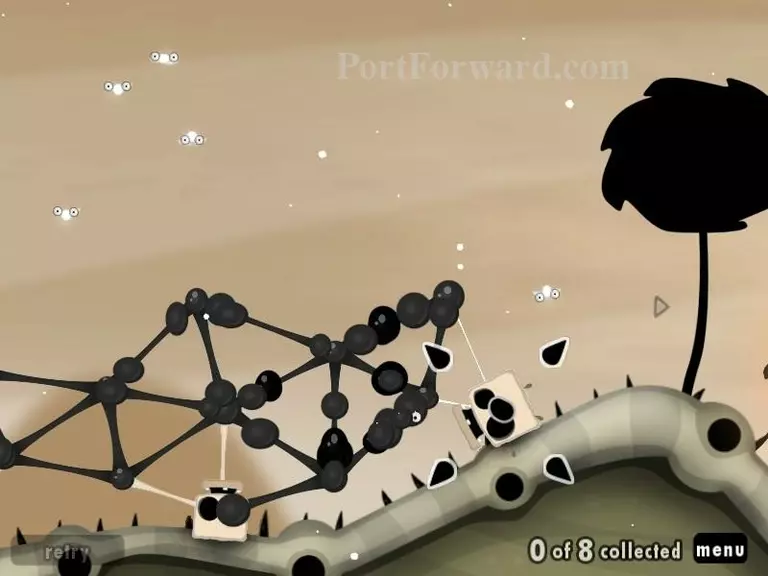
Place it against the hill where you will have nice leverage for height. You're gonna need it over this hill
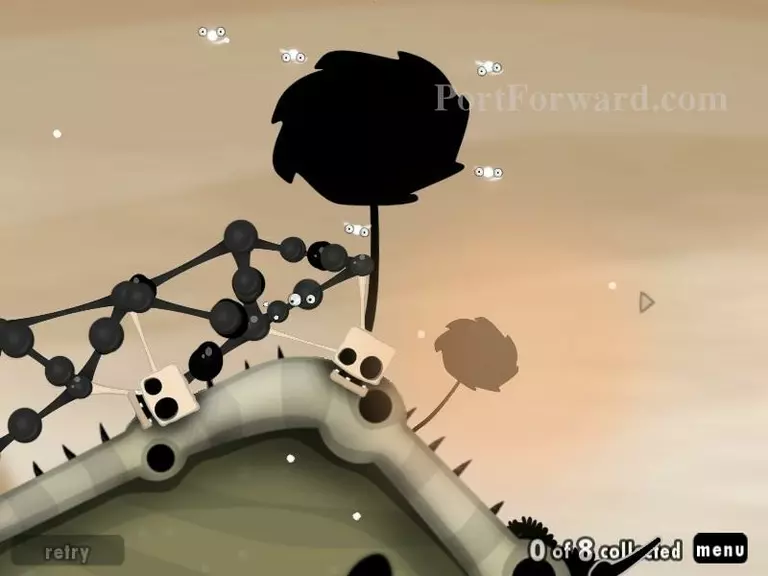
Place another skull as you cross the hill, preferrably sloping a bit downwards
Add another skull for safety..
Extend the bridge one more blob and the level is complete.
More World Of Goo Walkthroughs
This World Of Goo walkthrough is divided into 43 total pages.


