
This Castlevania: Lords of Shadow 2 walkthrough is divided into 39 total pages.
You can jump to nearby pages of the game using the links above.
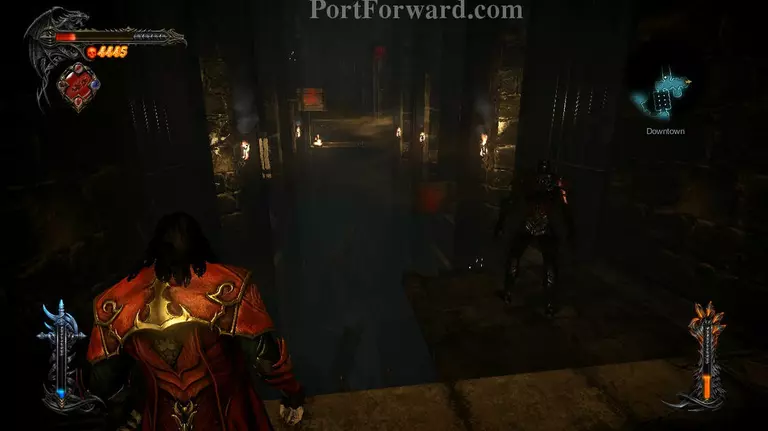
Downtown
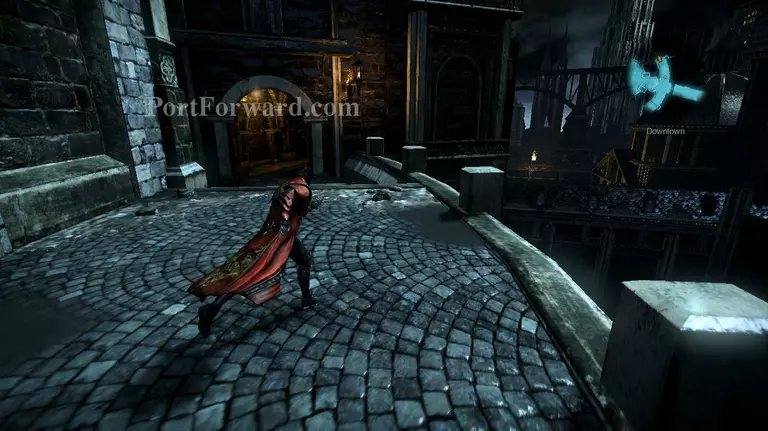
Once again you'll head down the parking lot and use the elevator to get back to the city. Last time you went to the right side, this time you'll need to pass through the left side of the bridge.
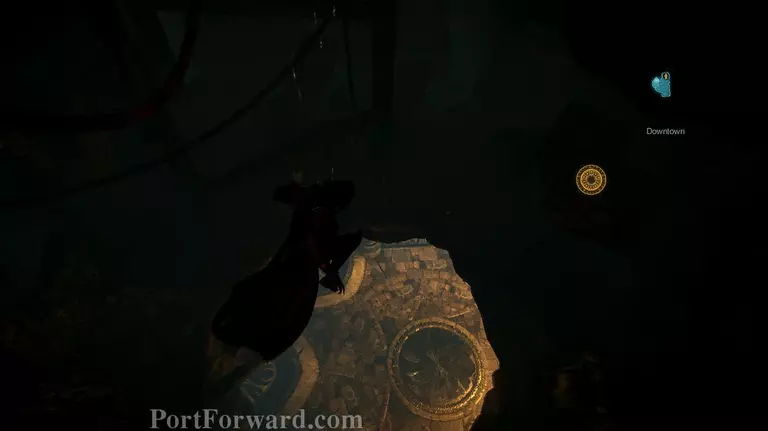
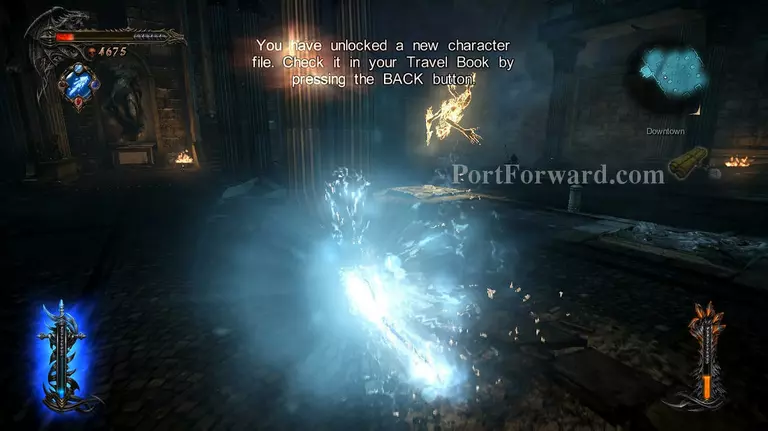
Drop down on the hole and continue making your way down into the lowest part of the sewers where you'll find a glowing circle on the floor.
Interact with it and Dracula will take out the Mirror of Fate.
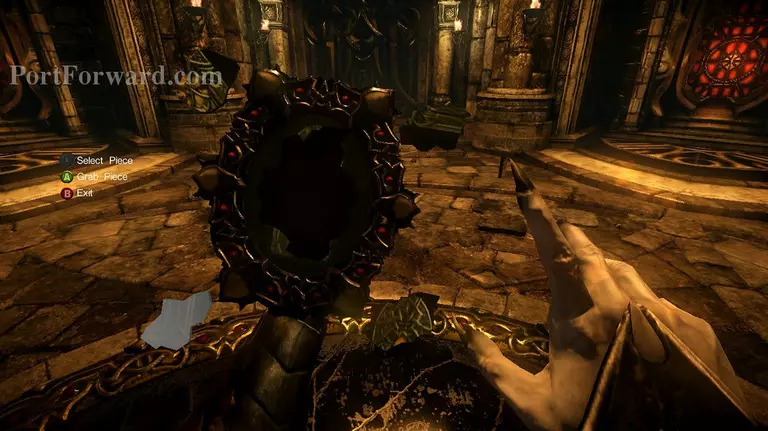
The solution is:
Lower left piece, as it is and put it on top of the lower right side of the mirror.
Lower right piece, as it is and put it on the top most part of the mirror.
Upper left piece, rotate clockwise once and place it on the right side of the mirror.
Upper right piece, clockwise twice and into the final hole in the mirror.
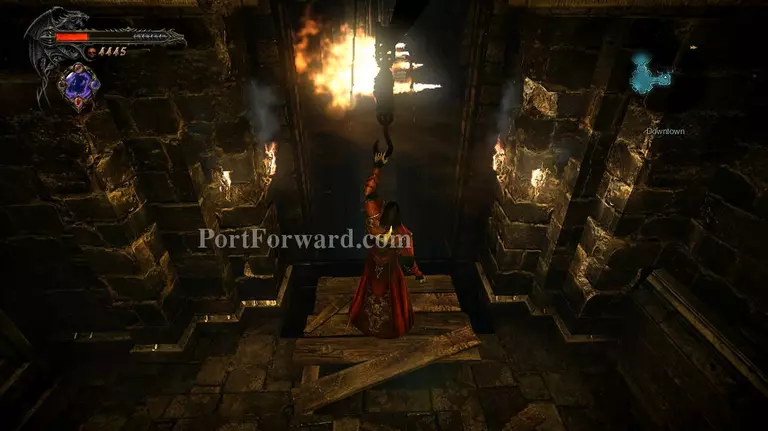
Head into the door and jump on the hook. Move forward but be careful not to burn yourself while moving.
When you get to the other side drop down from the hook and proceed to the right. The lieutenant will tell you that you have to make a path across. Equip your dagger and start throwing it at the wooden squares.
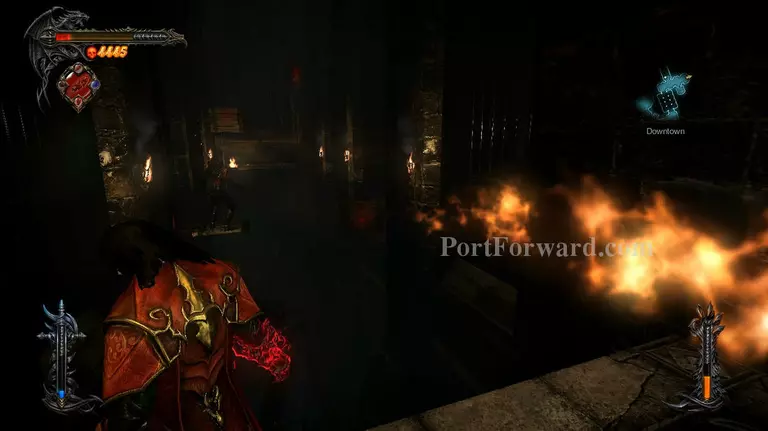
The tricky part here is that those flames will knock him off the platform when it hits him. What you need to do is stand on the side that isn't the same as the lieutenant is standing on.
For example he's standing on the left side, then you need to stand on the right side in order to make the fire appear on your side so it can't knock him down.
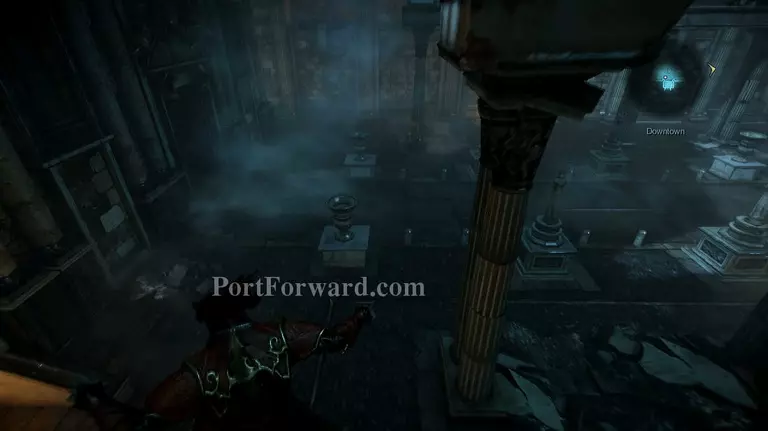
Once he gets to the lieutenant gets to the other side he'll flip the switch and open the door for you. Drop down on the floor below to start the cutscene.
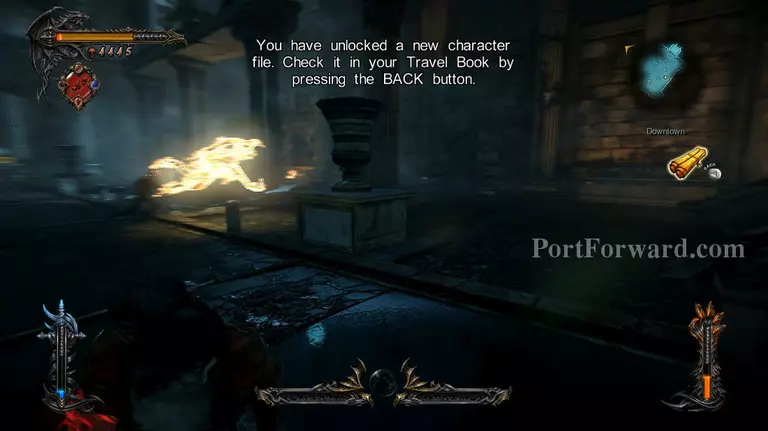
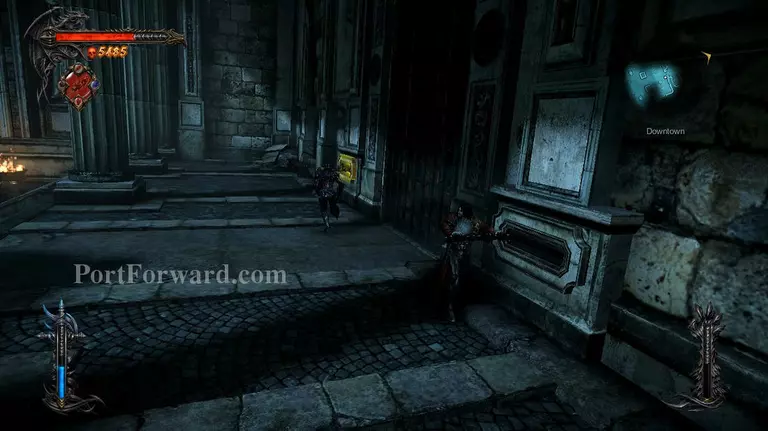
The enemies that will appear in this area are special, but not hard to deal with. Just keep attacking them and they'll eventually merge into a sort of fire spirit.
When they do merge, take out your Void Sword and throw a projectile at them. The freezing effect will cancel out the flames and force them to split up again.
Kill off the rest of the enemies, then head for the door at the far end of the area. Interact with one of the switches, then press Y to call the lieutenant to pull the other one.
More Castlevania: Lords of Shadow 2 Walkthroughs
This Castlevania: Lords of Shadow 2 walkthrough is divided into 39 total pages.


