
This Dead Space 3 walkthrough is divided into 20 total pages.
You can jump to nearby pages of the game using the links above.
Chapter 13 Reach for the Sky
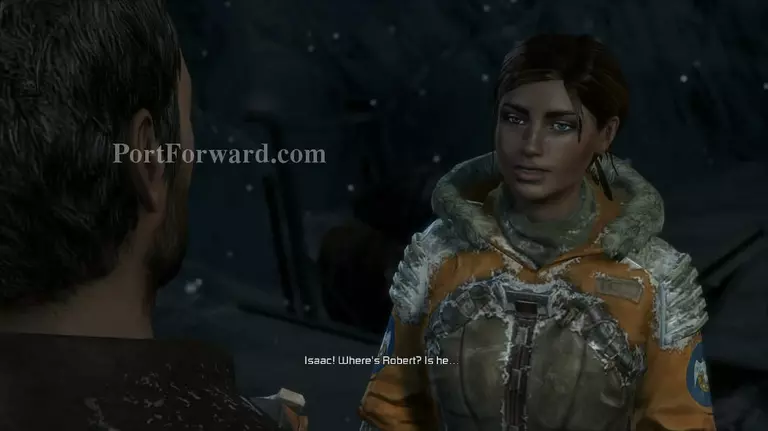
"The expression change Ellie does when you realises Norton isn't with you... priceless. Isaac makes the simple task of explaining how Norton backstabbed everyone and tried to kill you seem like it was his fault.
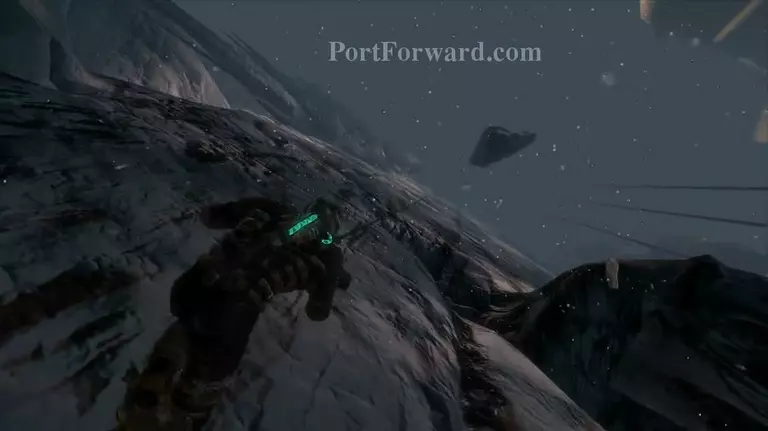
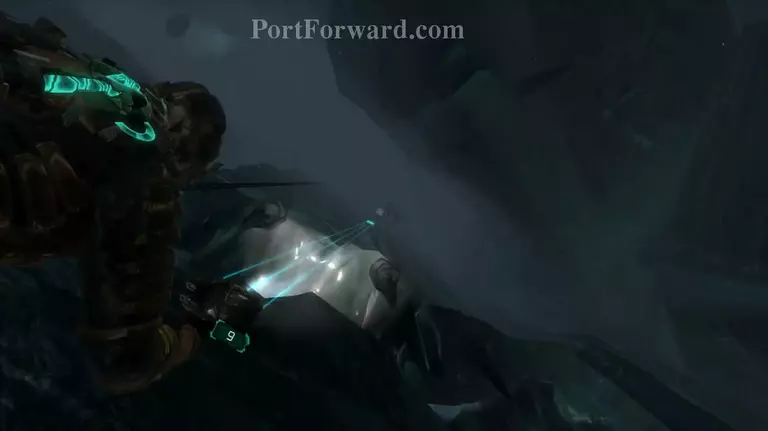
"Interact with the console to hookshot onto the wall and start scaling up the cliff face.
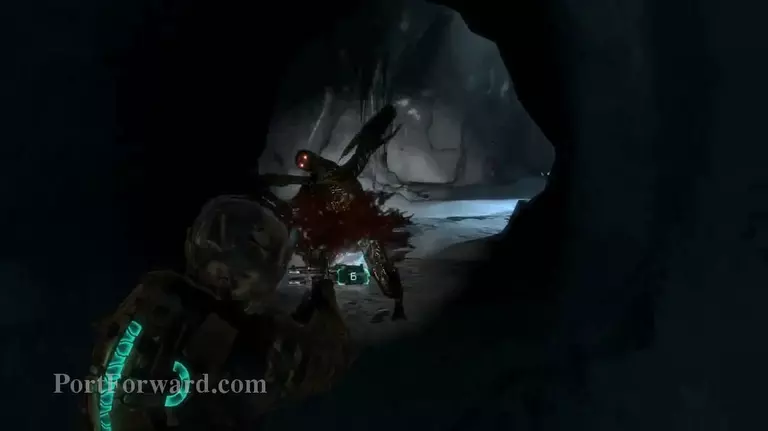
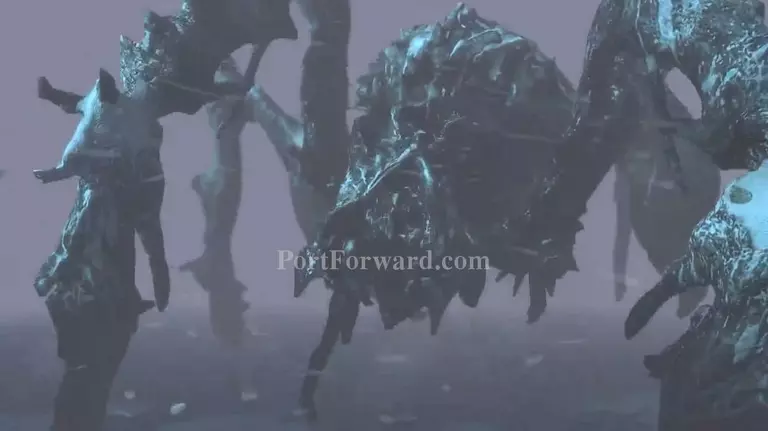
"Once you've made it up both cliff faces and into the caves, you're jumped by another Enhanced Necro. This time it's the Slasher! Their limbs are more durable and harder to hack off, and they probably hit harder too. Keep an eye out behind you too, these buggers have a nasty habit of approaching from behind while you're preoccupied with other enemies.
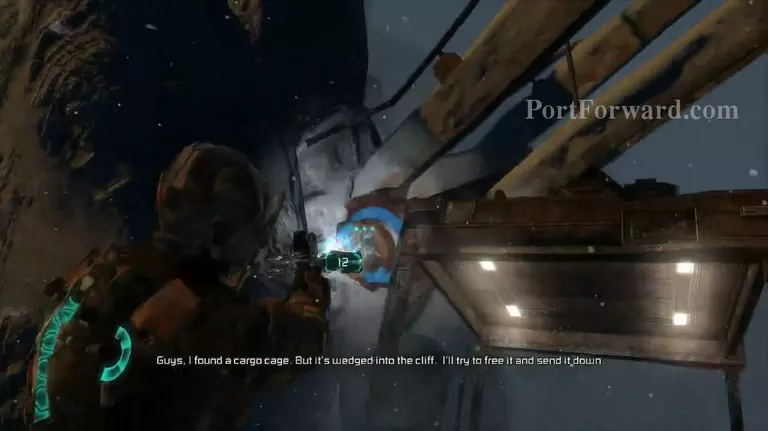
"Outside of the caves you'll find a cargo lift for your crew to get up. Free it by using Kinesis on the crank in the picture.
"Inside the next cave you'll be graced with more conveniently placed consoles to climb up another cliff, but this time with combat!
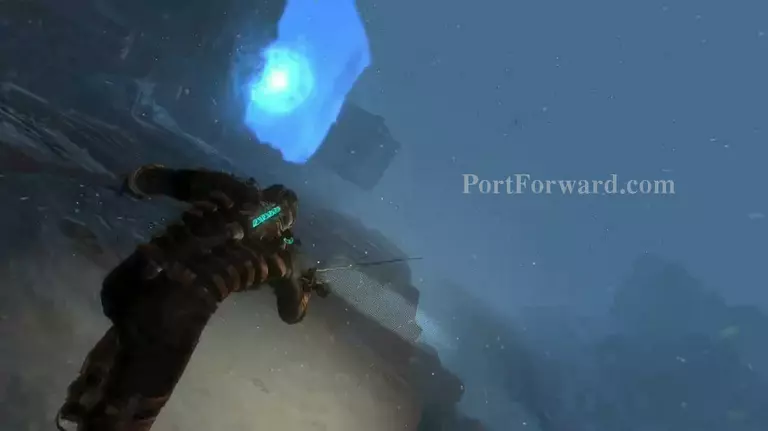
"Oh look, more cliff climbing! I bet you're loving these... This time you get to use Stasis to slow down massive falling chucks of rock!
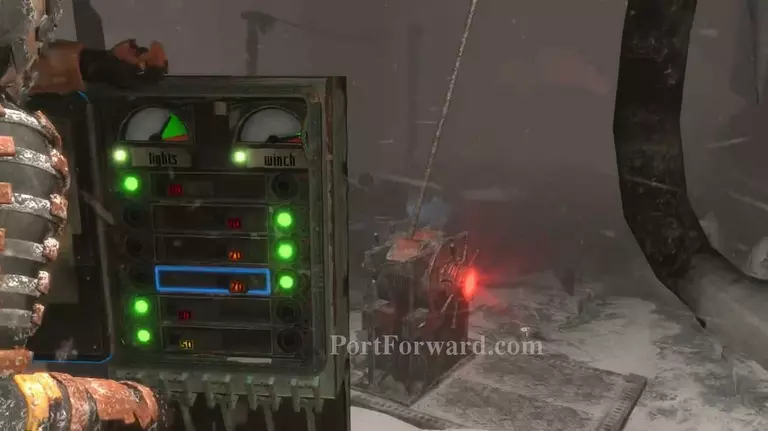
"After finding a winch, power up the engine and wait for the fuse to blow. The redirect the power from the lights with the fuse box. If you can't figure it out, the screenshot has the solution I had. Then make your way down to the manual crank.
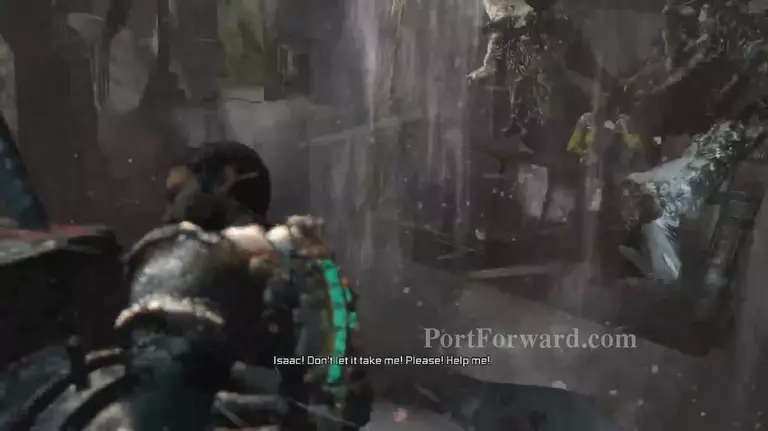
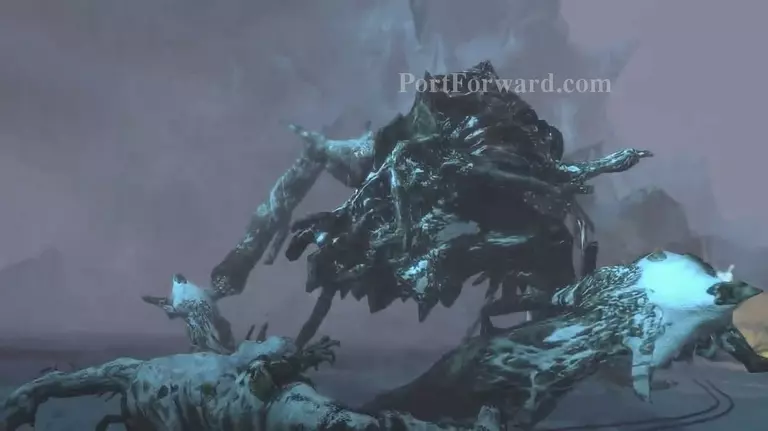
"Before Santos can get off the cargo lift, it gets attacked by the giant Crab! He's followed us the whole way here. Isaac tries to save her, but Muscle Brain cuts the lift. I told you that you wouldn't care about these filler characters, but now that they're all dead, there is only main characters that matter now. What a nice crab!
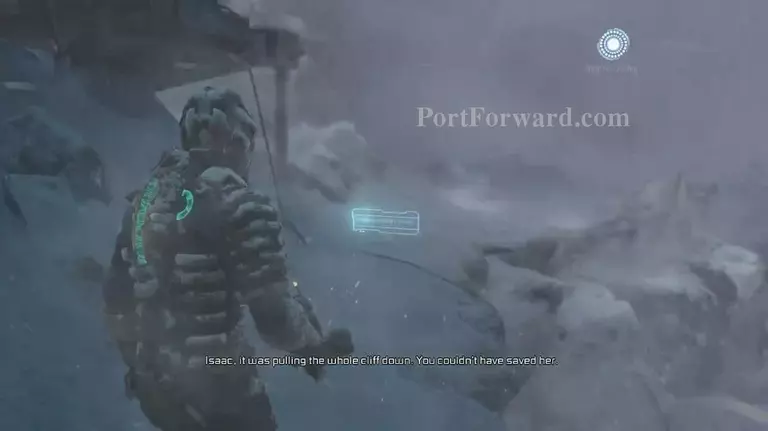
"Also Isaac falls down.
"Oh look, our Crab friend is back for another match of Fisticuffs! Except he has claws, and you're cheating by using guns. (I'm kidding by the way, keep using guns).
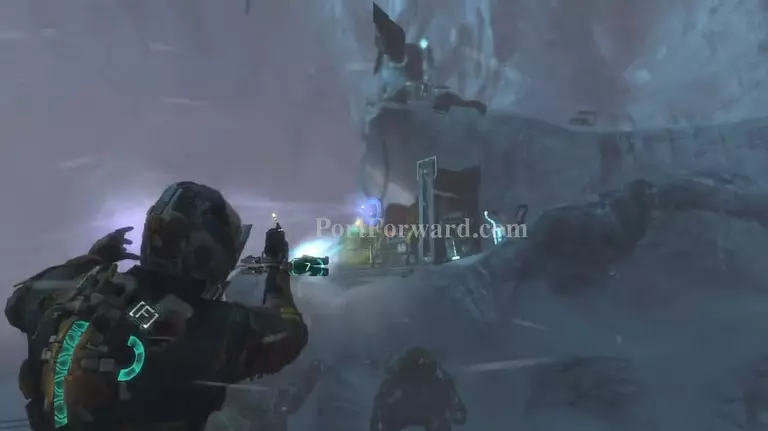
"This time, the fight it a bit different, and spells disaster for one of you two. Power up the generator for the harpoons.
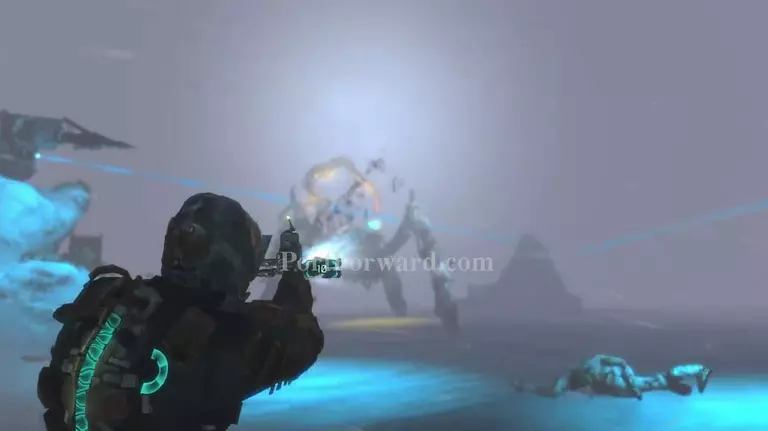
"Now get behind the tracking lasers and shoot out the crab's tentacles so that he will charge at you.

"After the harpoons trap the crab in place, run around him to the control panel and spam [F] to rip him into pieces!
"After all he's done to help you, and it ends in pieces and blood... He was a nice Crab.
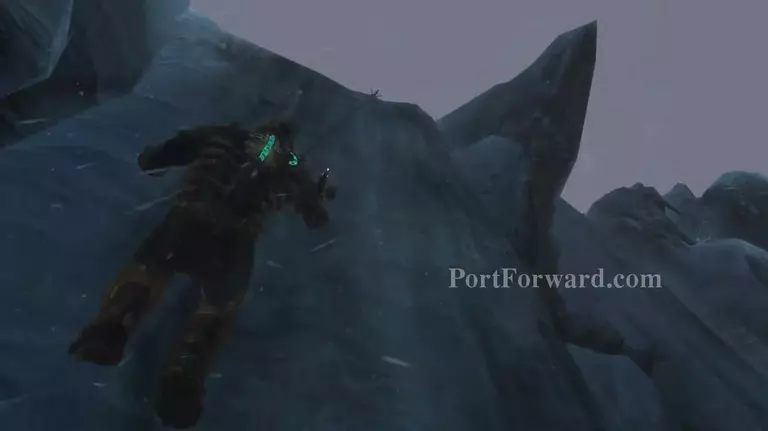
"Now that you've murdered the crab, you can climb up the cliff face to the next area.
More Dead Space 3 Walkthroughs
This Dead Space 3 walkthrough is divided into 20 total pages.


