
This Dead Space 3 walkthrough is divided into 20 total pages.
You can jump to nearby pages of the game using the links above.
Chapter 9 Onward
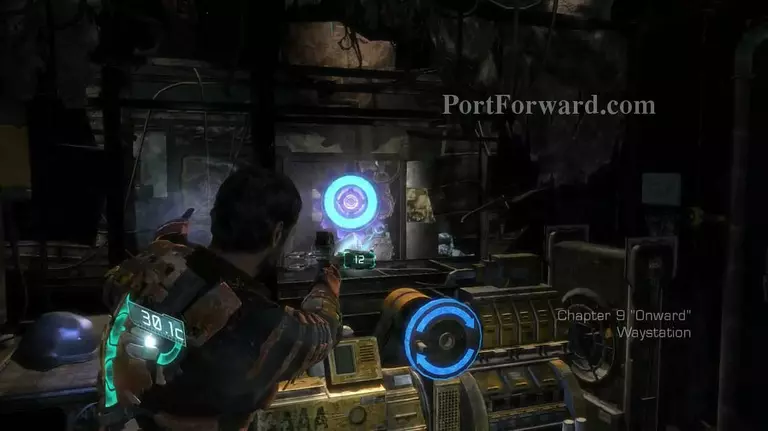
"After he dies, make your way around the shelter to a bench. From here power up the engine, kinesis up a gear, and fire it over to the elevator.
"While making your way back around, you'll find out that the crab is following you. Either way, put the gear into the elevator and take it down in search of a Snow Suit.
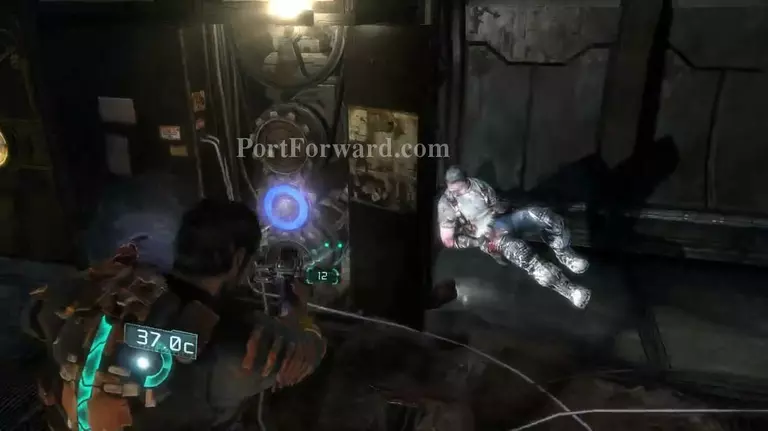
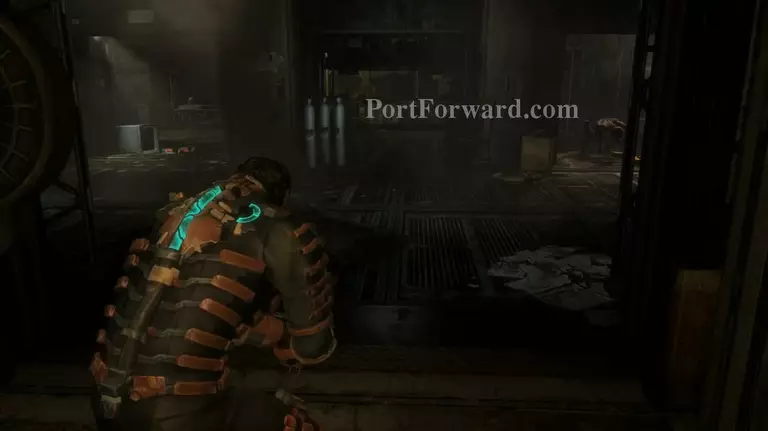
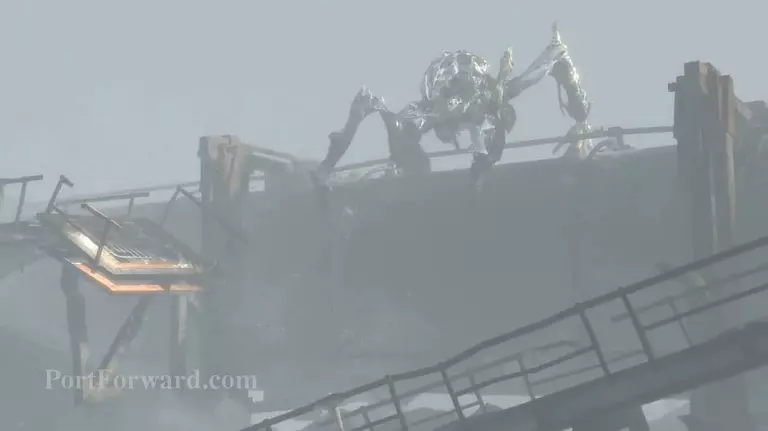
"As soon as you get down to the underground area, you find that you won't be alone. A Skeleton thing is seen running away as soon as it crosses eyes with you, hope you don't run into these things again.
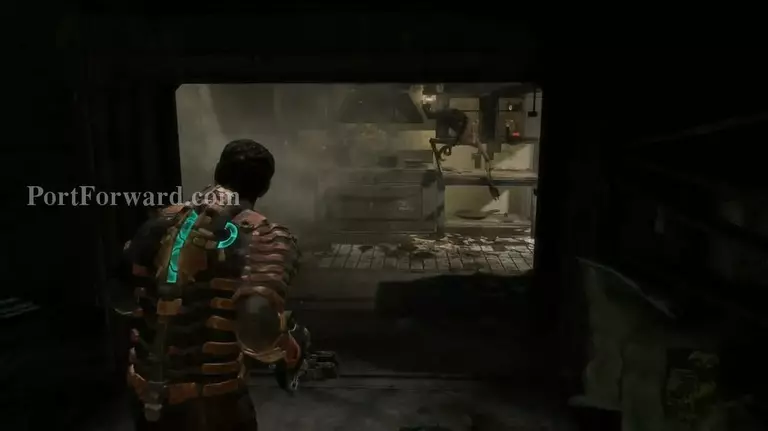
"I jinxed you with seeing the Skeleton things again, sorry about that one. These things are a bitch to kill too, if you piss them off with noise or lights, they'll scream and charge you in a swarm! They're pretty weak by themselves, but piss one off, and a ton of them flood out of the air ducts. You can try and sneak around them though, either way, Good luck!
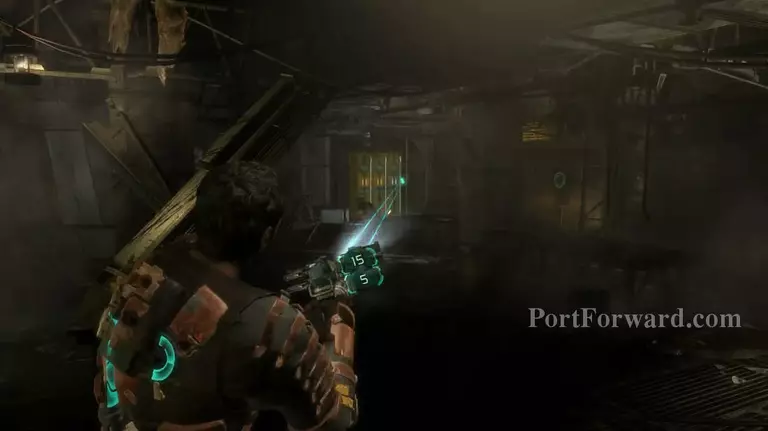
"Here's another room full of the skeletons, and once again it's sneakable. There is some great loot in some awkward positions, so either patiently wait to stealth it, or rush in Gun-strong.
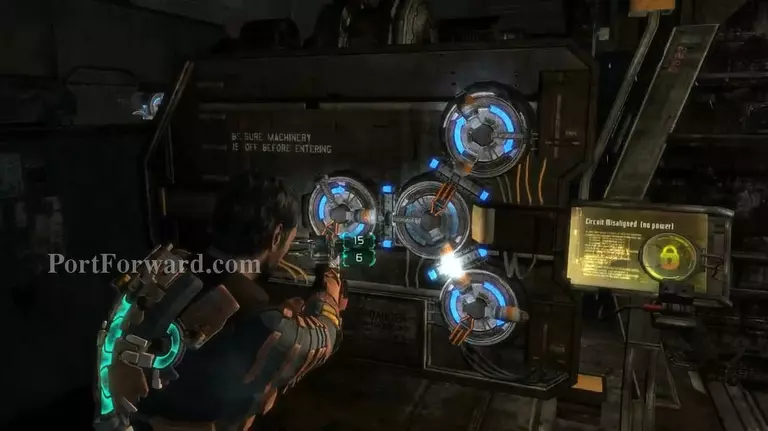
"Climb down a ladder into a room with some puzzles. First is the easy one teaching you how to play. Simply use Kinesis to rotate the nodes on the wall so that matching ends touch on all connecting sides.
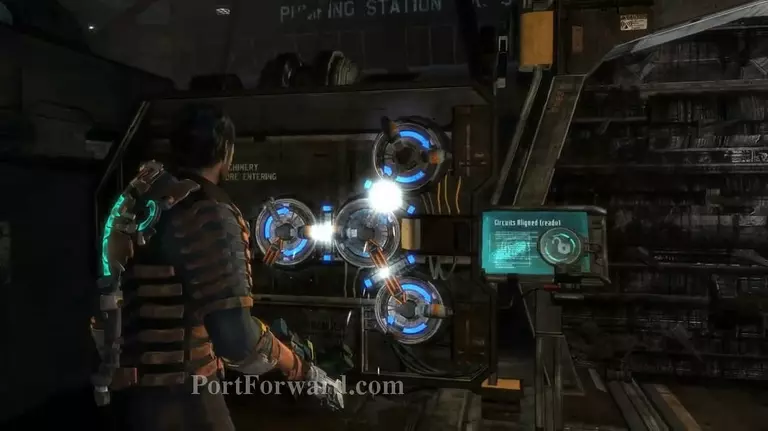
"Here's the finished puzzle if you really need to help solving it.
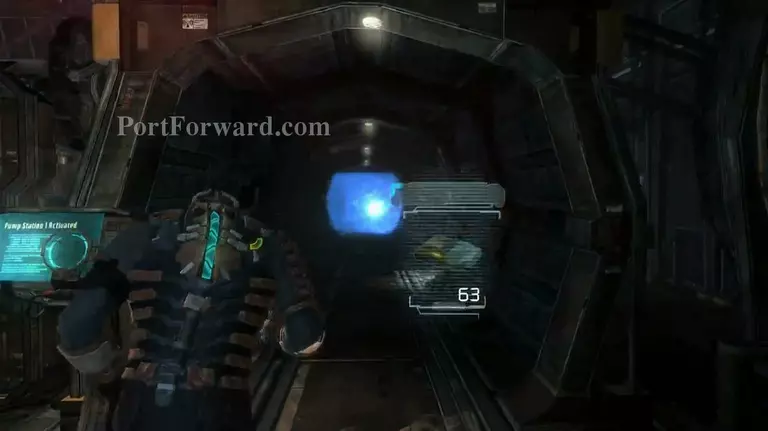
"Now start the crusher and wait for it to get to full speed. When it's as far back as it goes, stasis it and run down the tunnel and out the hatch on the side before it destroys you.

"Now it's time for the advanced puzzle! The Same deal as before, but there's more nodes now.
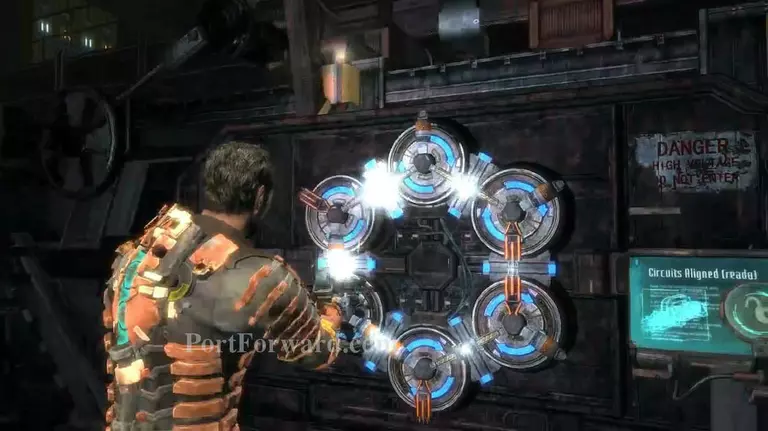
"Here's the solution once again if you couldn't crack it. Watch out though, you'll get attacked after finishing this one.
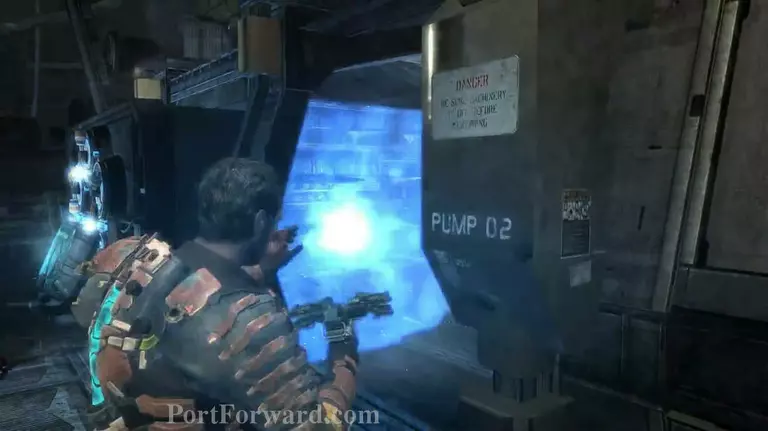
"After all that's done, stasis the next crusher and run down the tunnel and again.
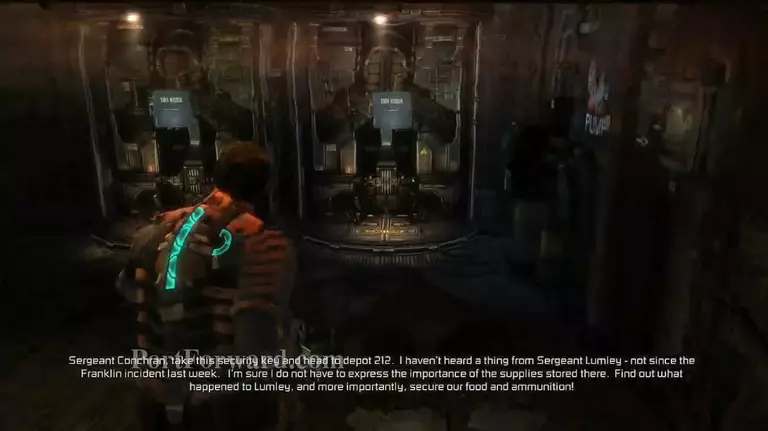
"You finally found a suit kiosk with unlimited snow suits! If only the old man was alive to see this, they were literally 2 steps out of the elevator (Behind a chain link gate though...). Another Automatic door will prevent you from leaving without putting on a new suit, so check out the kiosk for some brand-spanking new duds. You don't need to wear the snow suit though, if you want the EVA suit or a promo suit, just re-equip it from the kiosk and it's all good.
"Now that you've got yourself a new suit, the automated door back outside will let you into the snow storm! Yay? Onwards, follow the flares!
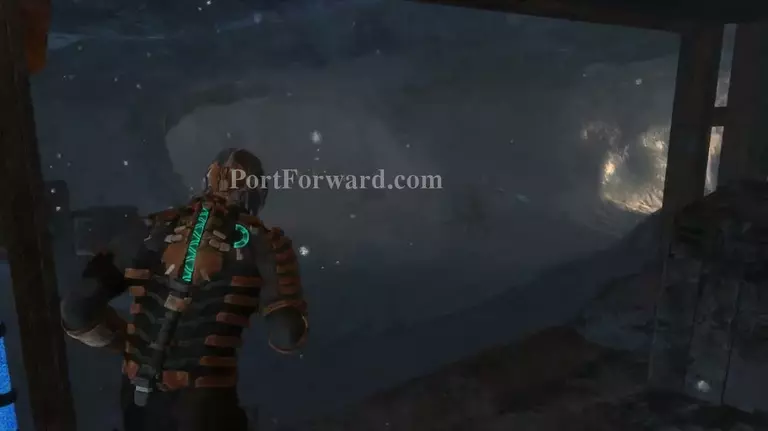
"Loot the shit outta this cave, see if you can't spot the super rare Black Bellied Budapest*, then make your way up the ladder. *Black Bellied Budapests may or may not be a real bird to find in the crystal caves.
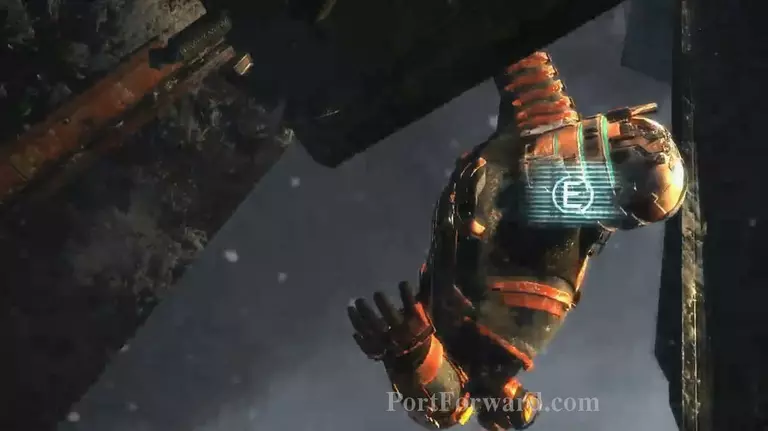
"OH SHIT IT'S A Q T EEEEEEEEEEEE
"Make it out of the cave and into this clearing and you'll find Moon dust Junkie! (I don't know what happens in this scene in co-op). Go into the shed and power up the elevator, but use the bench while you're in there, you'll want to be stocked up before you leave.
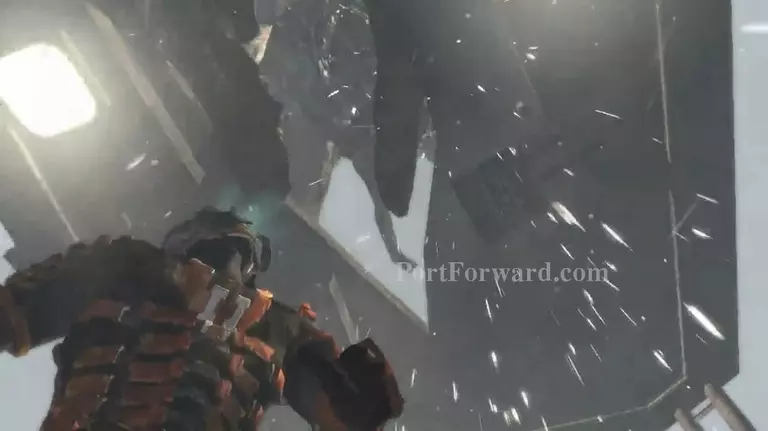
"Take the Elevator up the meet with your crew and- OH MY GOD, IT'S A DINOSUAR!
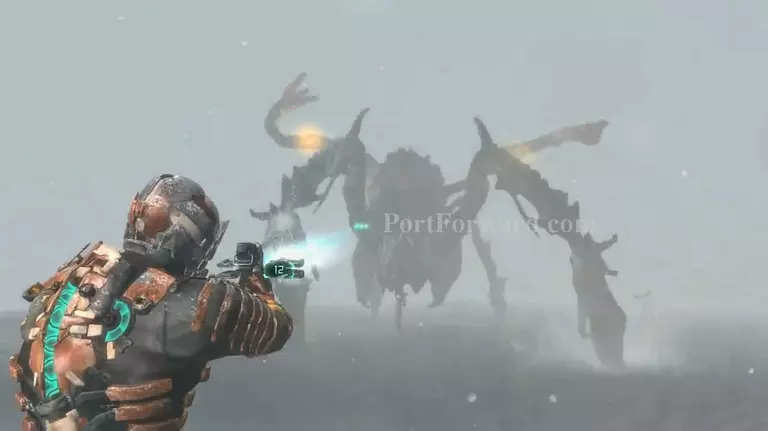
"This thing is kinda easy to kill, dodging it's the worst part. When it's tentacles come out it's back, take them all out. It'll the charge you, then some yellow balls appear out of its mouth. Shoot one out, rinse and repeat. If you use Kinesis you can take out more than one at a time though.
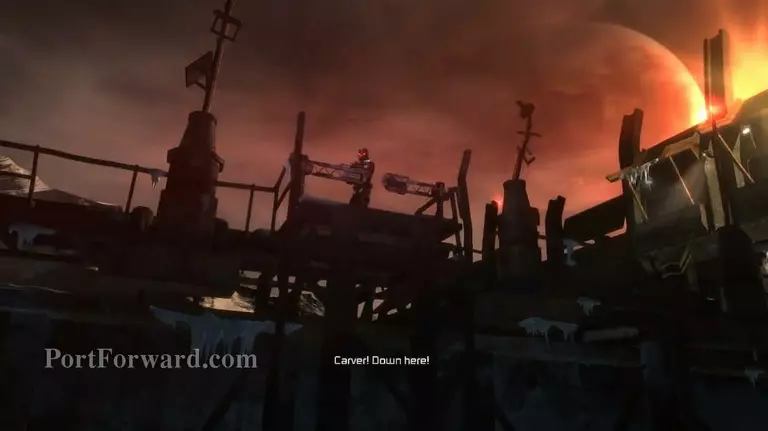
"Once you blow the balls out of its mouth, the pussy thing runs away. At least the friendly crab knocks the runway down, now you can make your way up to your crew! What a nice crab.
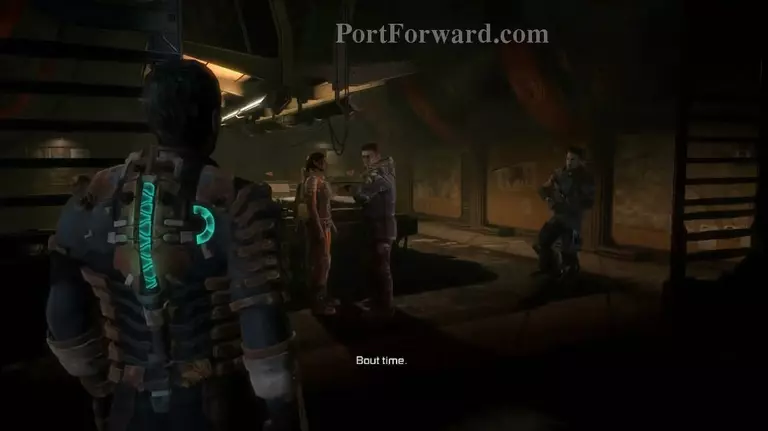
"Yo whassup mah crew!
More Dead Space 3 Walkthroughs
This Dead Space 3 walkthrough is divided into 20 total pages.


