
This Dead Space 3 walkthrough is divided into 20 total pages.
You can jump to nearby pages of the game using the links above.
Chapter 18 Kill or Be Killed
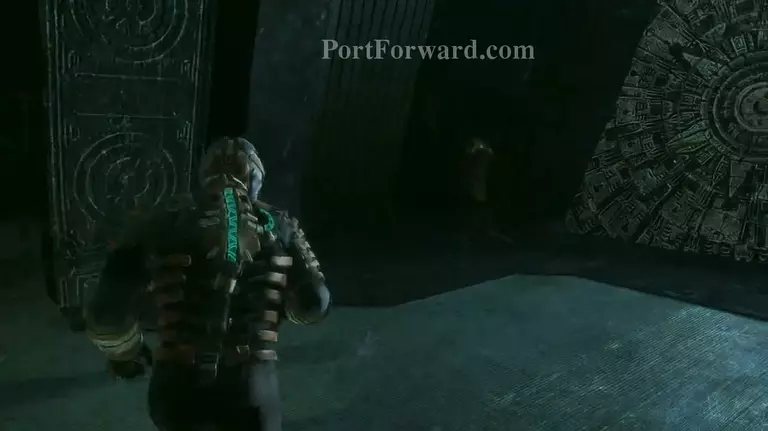
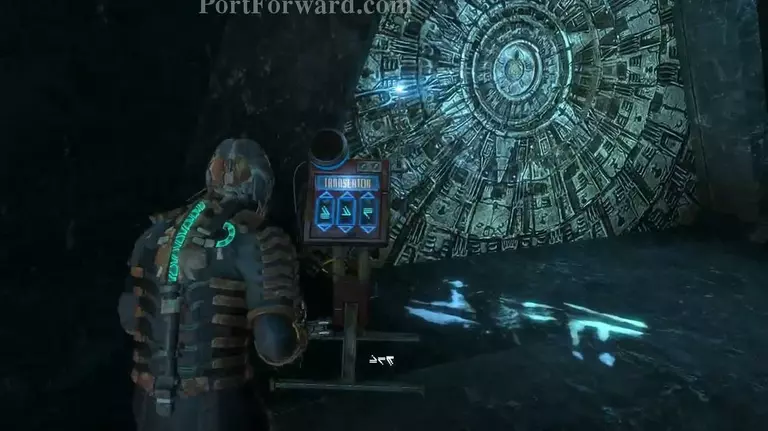
"The Translator by the door to your left is busted, so we'll need to come back after a bit. Head right instead.
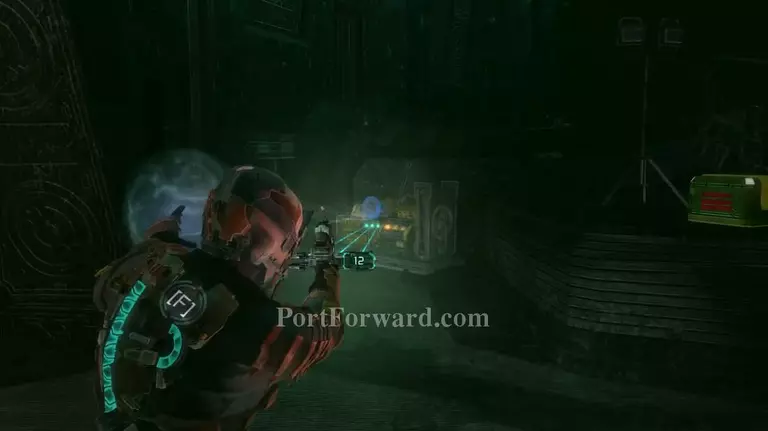
"On the right side is the power generator, so power it up and use the bench if you need it, then head back to the translator.
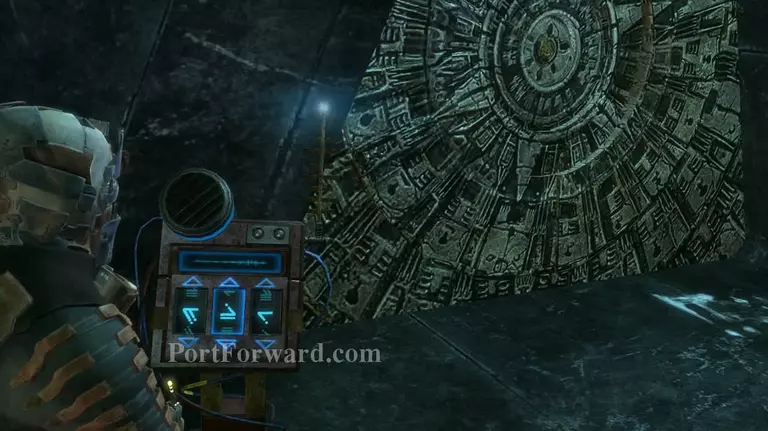
"Once again, the solution is scribbled and heard all around the console.
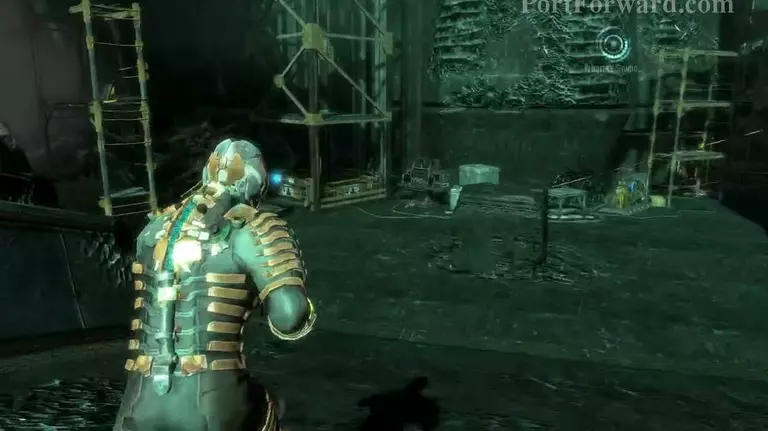
"You've now made your way into a hellish arena. There is quite a fight with a lot of Enhanced Dogs and other generic Necros, so take it slow.
"Once you finish of the survival arena, you're greeted with yet another translator doors.
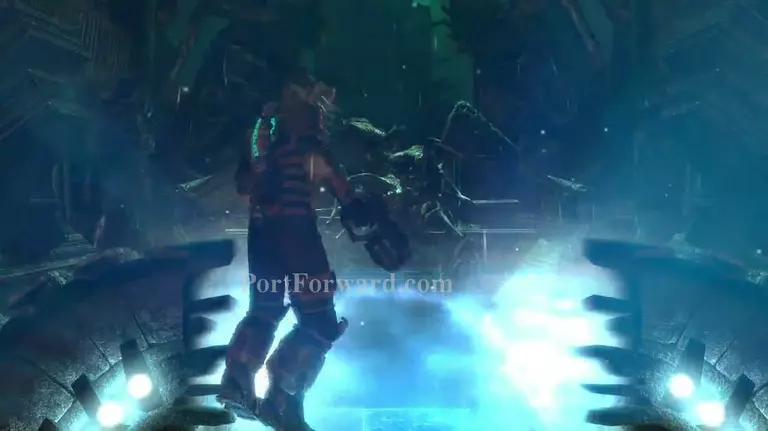
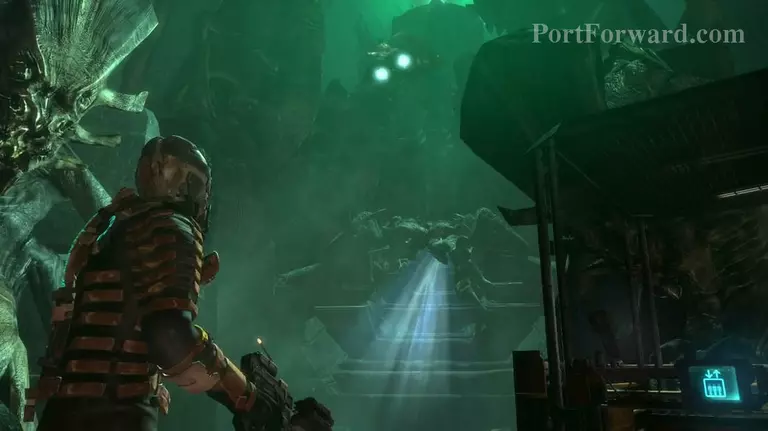
"Right through that door is another light tunnel launching into a flying thing again. There's a bit more stuff to dodge this time, so be careful.
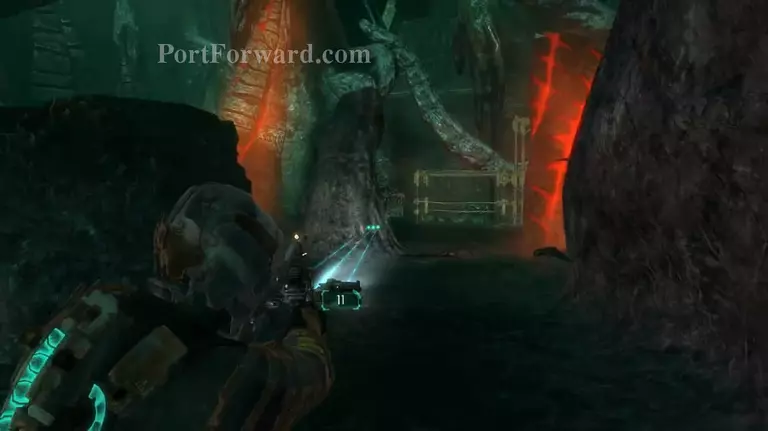
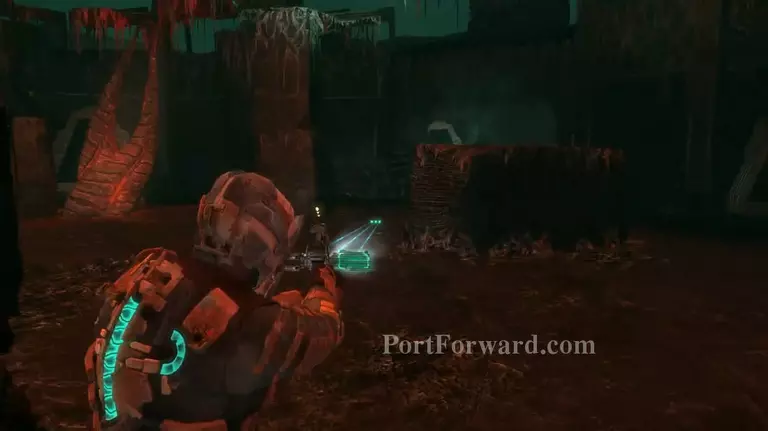
"This next area has some more enhanced dogs and such, but also some more of those cysts that shoot the explosive pieces of flesh. Watch out, some of the dogs WILL spawn behind you, keep an eye on all directions.
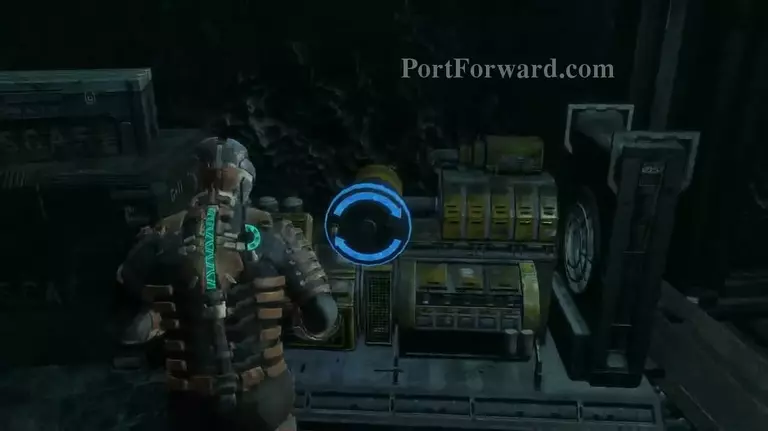
"Around the back of the room is a generator, turn it on and take the elevator right next to it.

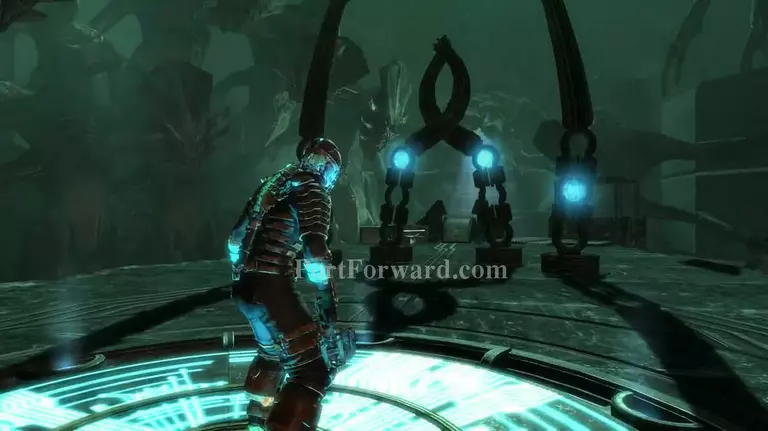
"PUZZLE TIME! Remember that puzzle were you needed to rotate the modes so that the ends all matched and joined? This is like a big version of that!
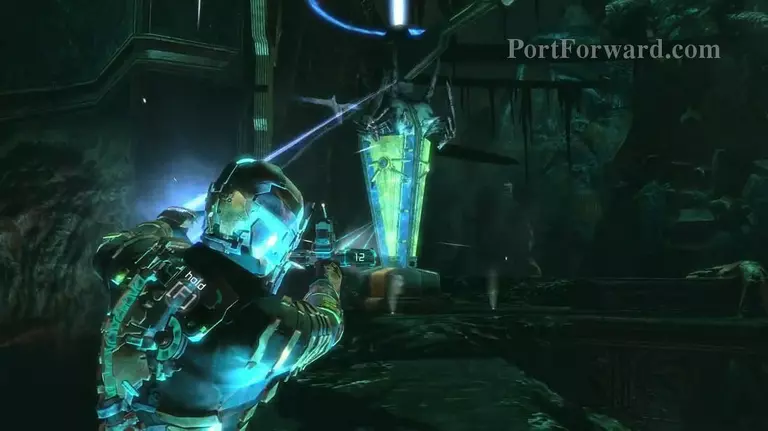
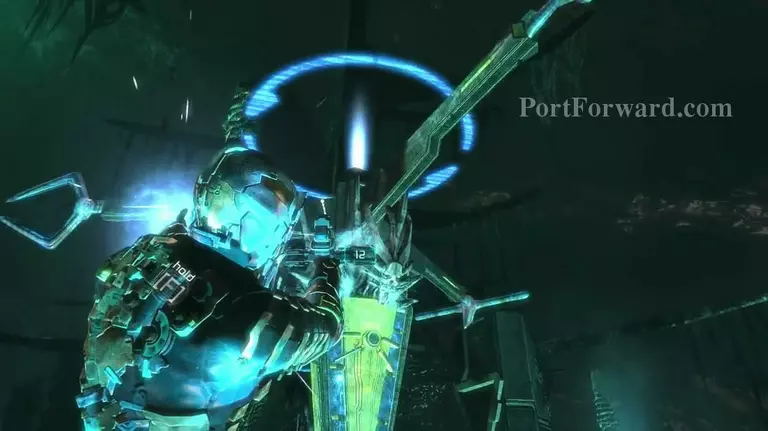
"To rotate the pillars, stand on one of the disks and Kinesis them.
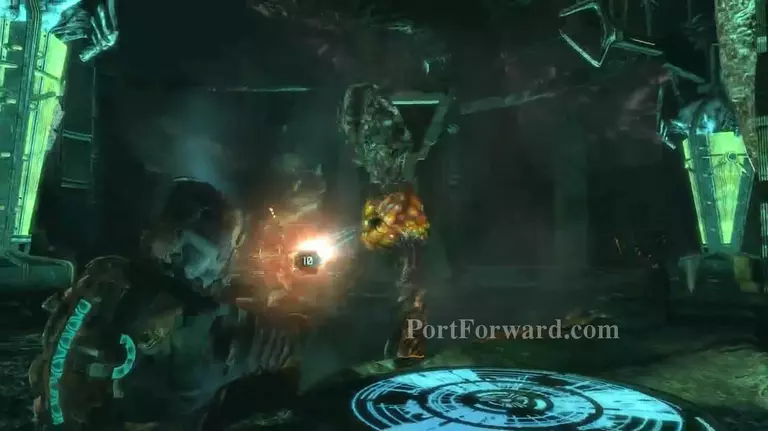
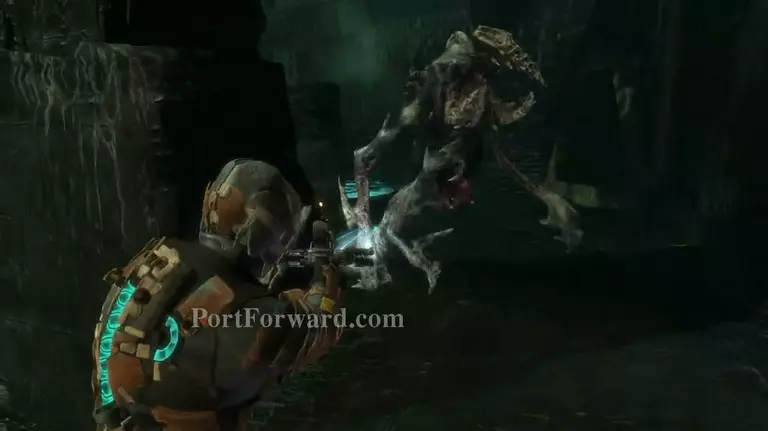
"As you play around with the pillars, stuff will start to spawn. If you stay on the disk, you can easily rip off the blades from the Enhanced Slashers, and just shoot the Japanese tentacle monster like normal. Just don't get forced off the disk and you'll be cool.
"I'd highly recommend you try solving this yourself, but i'll post the solution bellow.
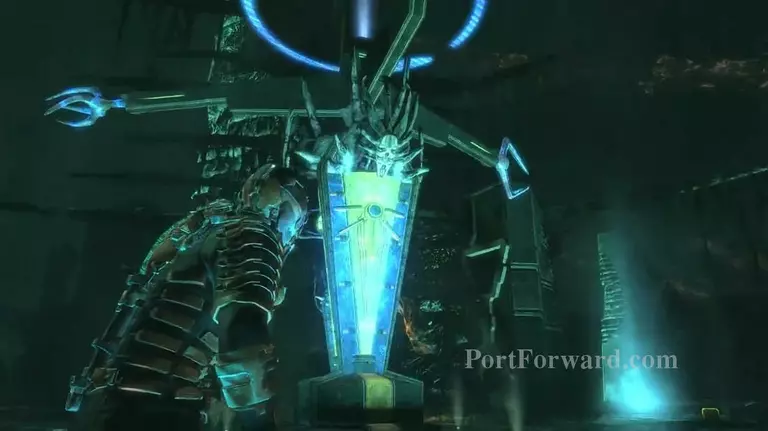
"If I say the Elevator represents North, then you need to rotate the middle pillar so the Two claw end is facing South. That means the Bullhead one faces West and the 4 Claw one faces East. Simply rotate the side pillars until they all match.
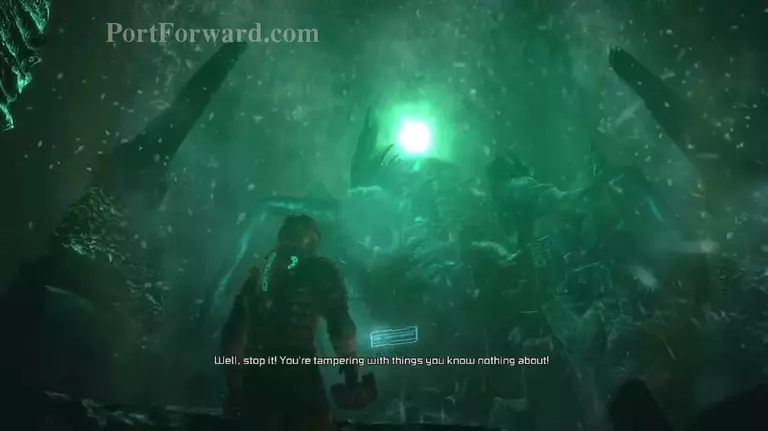
"Run behind the Elevator and put in the Codex. Tell Danik to shut his face, take the elevator down, and start making your way back.
"Your walk back to the first Light tunnel is completely uneventful, but with the city crumbling around you, the flying sequence will start to get hard!
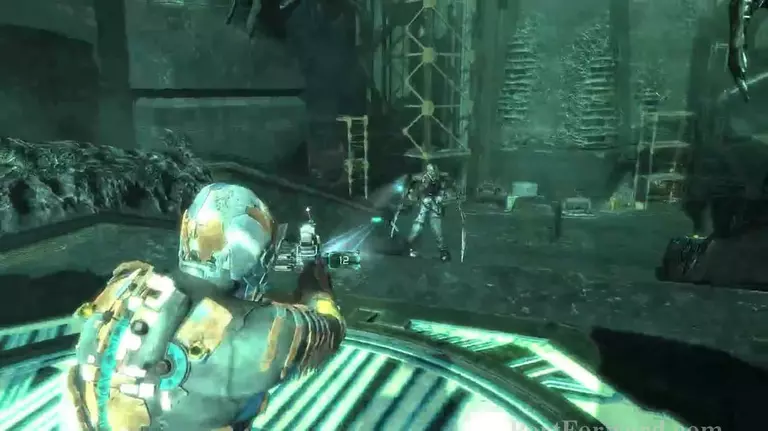
"Everything remains pretty quiet until you enter the Blue-ish arena after the light tunnel. I hope you're good at taking down the Alien Necros now, because you're going to face quite a few of them here with some other enemies. Once again, I can't stress how helpful the disks are, be sure to make use of them!
"After that hell hole, you've got another light tunnel flight. This one is as plain as the first one though.
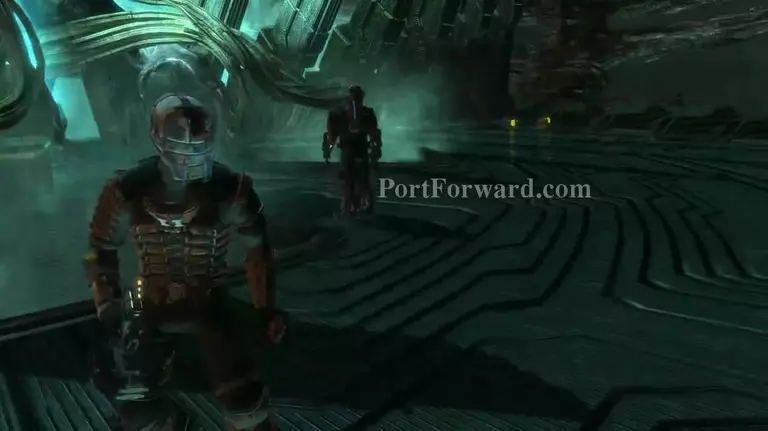
"Once you land, you can see some of Danik's men fighting some Alien Necros. If I were you, I'd bolt straight for the Elevator, but if you really need to use the bench, you might need to take everything out first (or be REALLY quick).
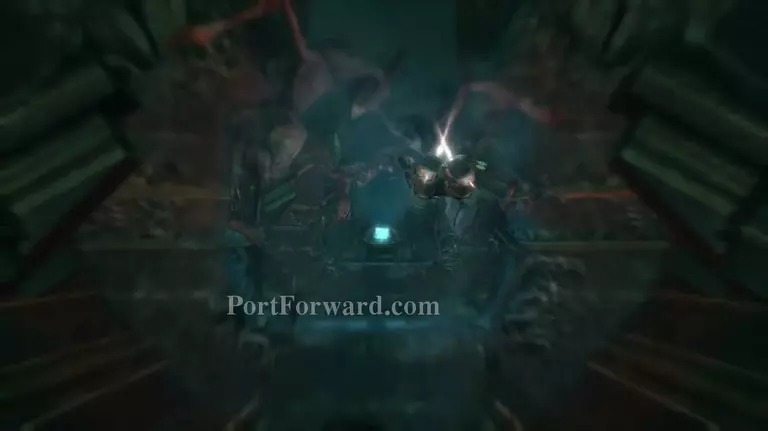
"Back at the Tentacle machine, time to move them into figure two. Then go and put the codes into the console to advance plot.
"Something changes at the heart of the machine, and Danik is rushing off to do something. Looks like we need to heard back once again.
"As soon as you get off the elevator, bolt for the light launcher again. There are nasties on the ground, and you can escape before needing to fight them.

"You'll have to fight through one last arena, but there will be a new direction available afterwards. Don't forget about the pads, or that you can Kinesis rockets and shoot them back.
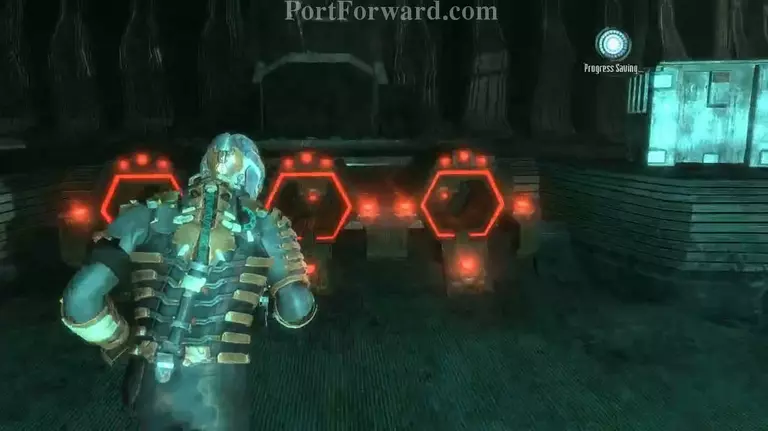
"In the next room, you're forced to see three receptacles light up. We need to find the things to put in them, but they're all in this room.
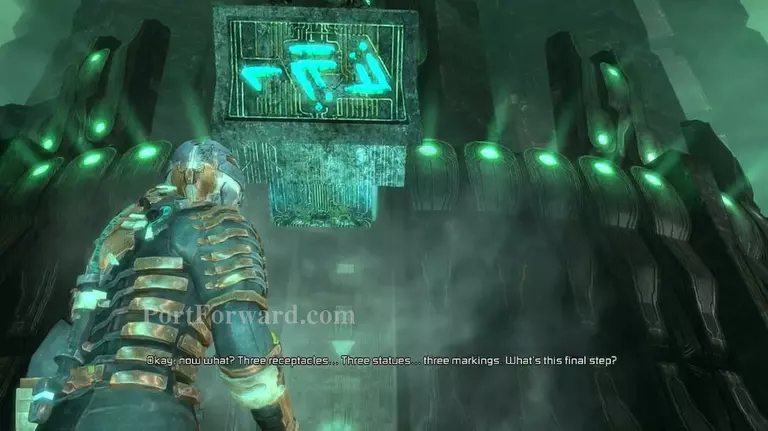
"You'll see this statue start to rise up, showing a password. A statue on each side also opened up, but remember this code.
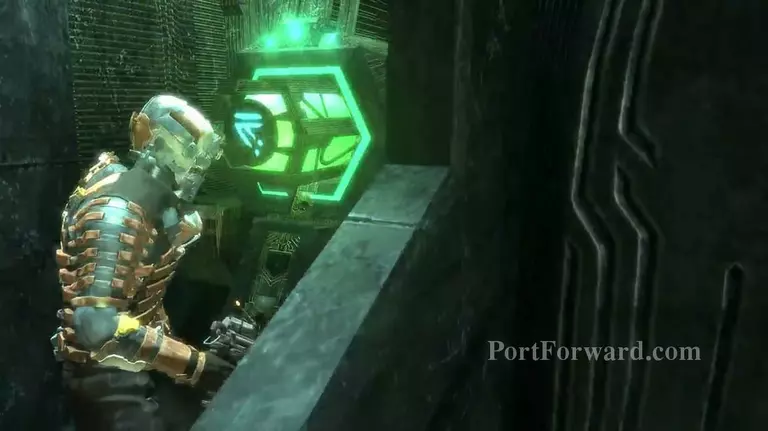
"Behind each Statue is one of three battery things. Bring them to the receptacles.
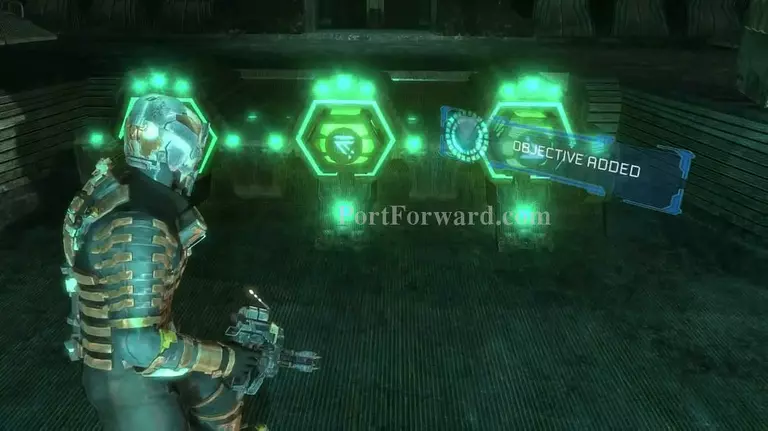
"When you have all 3, put them in the correct order.
"Take the new pathway and shoot yourself onto the wall. Climb upwards, but beware of the fire things. They are on an obvious timer, so time your movements upwards so you avoid them when they light up.
"Climb up to the top ledge, and ready yourself for what comes next.
More Dead Space 3 Walkthroughs
This Dead Space 3 walkthrough is divided into 20 total pages.


