
This Deus Ex walkthrough is divided into 20 total pages.
You can jump to nearby pages of the game using the links above.
New Dark Age

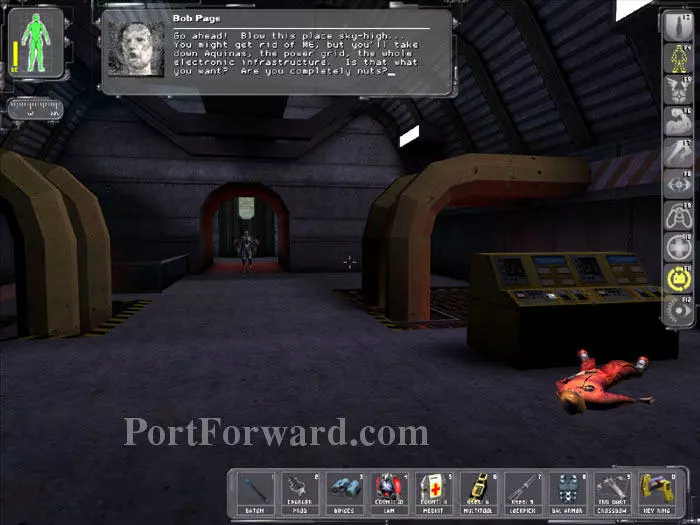
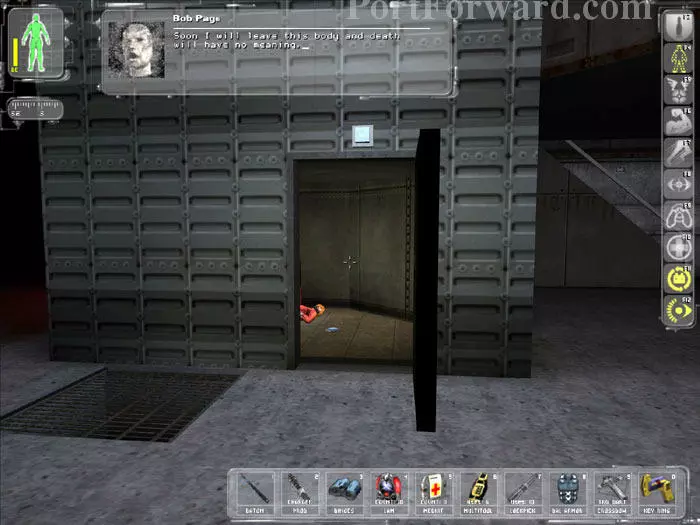
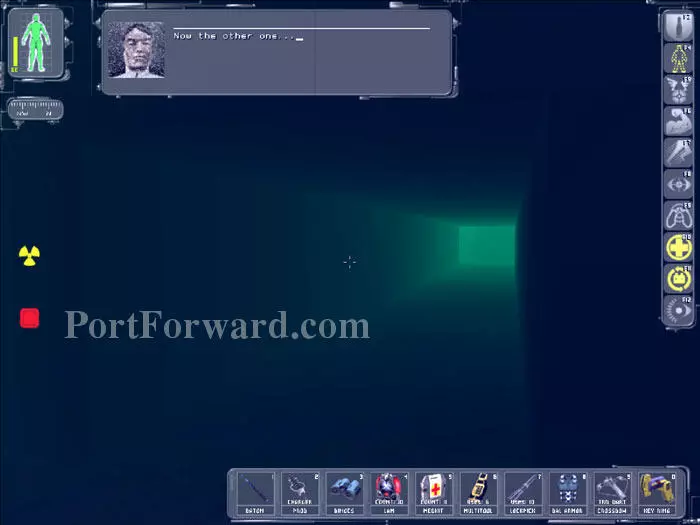
You decide to place your faith in Tracer Tong and usher in a return to the era of no global communications and limited government. Activate your Speed Enhancement and dart past Bob Page and his automated turrets to the opposite corridor.
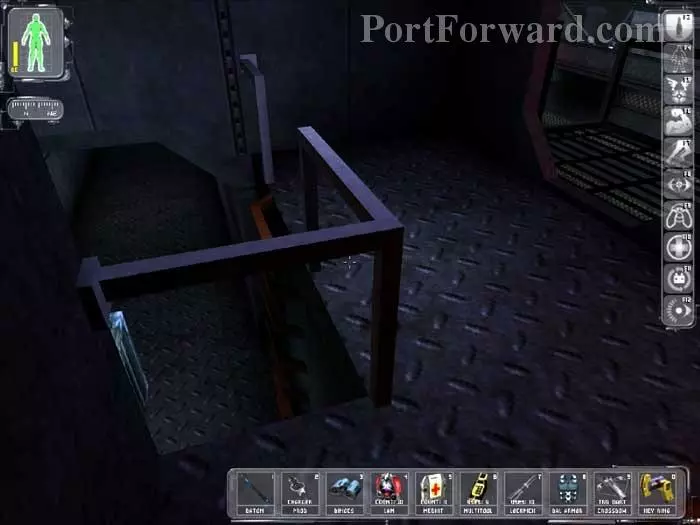
Ascend this short ladder.

Open this grate and descend the long ladder below.
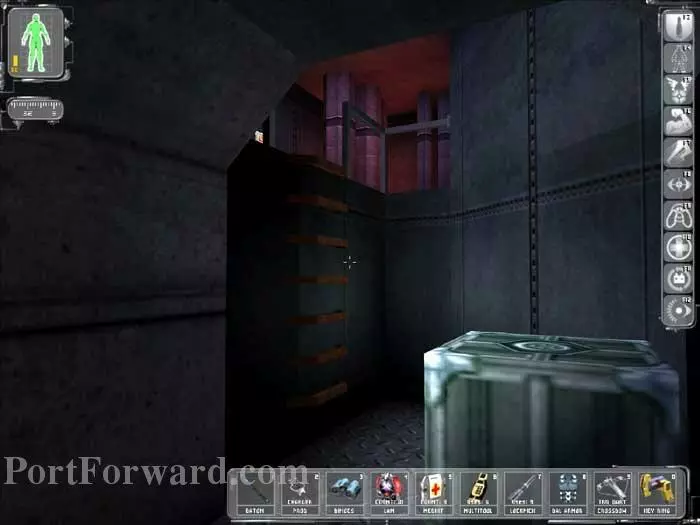
Pass through another grate to this room. Crates hold 30.06 and 10mm Ammo. The DataCube holds the Aquinas Router code 6765, used in the Helios ending. Cloak before proceeding through the door.
Ascend these stairs.
Midway up the stairs is this area. Recharge at the Repair Bot. The cabinet on the left holds a DataCube with a Sector 4 map, a Medkit, a Rebreather, 7.62x51mm and 10mm Ammo. Brave the radiation on the right to find a cabinet with a DataCube revealing the coolant system code 2242, plus a Bioelectric Cell. A chest holds a Plasma Clip, Napalm, and a Recoil Weapon Mod.
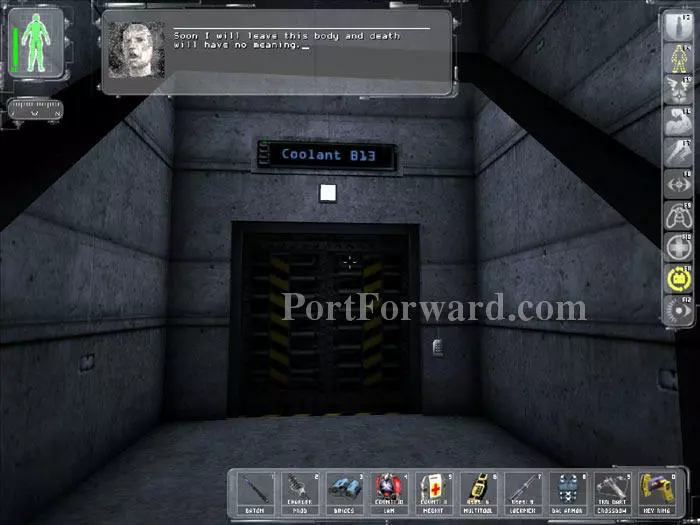
Re-cloak and return downstairs. Enter the code 2242 in the keypad next to these Coolant B13 doors in the northwest corner.
Tracer Tong instructs you to cut the coolant flow then return to the reactor lab to initiate a meltdown. Bob Page rants that you are insane if you want to blow the place up. Remain cloaked and proceed past the MJ12 Commando ahead.
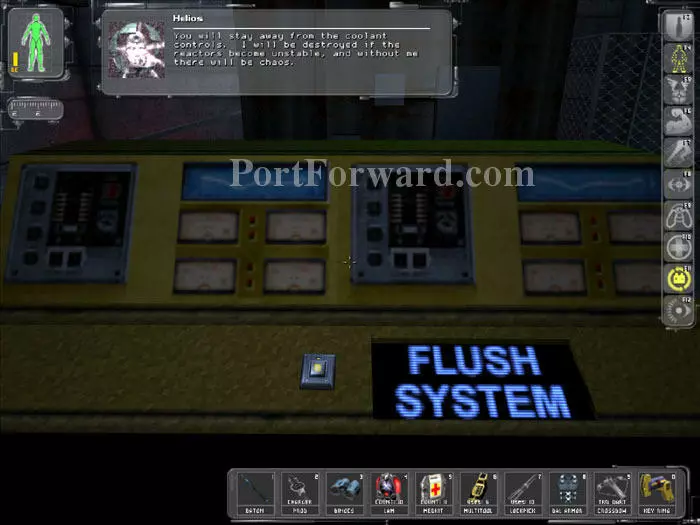
Helios protests that you must stay away from the coolant controls. Defy him and press the Flush System switch seen here.
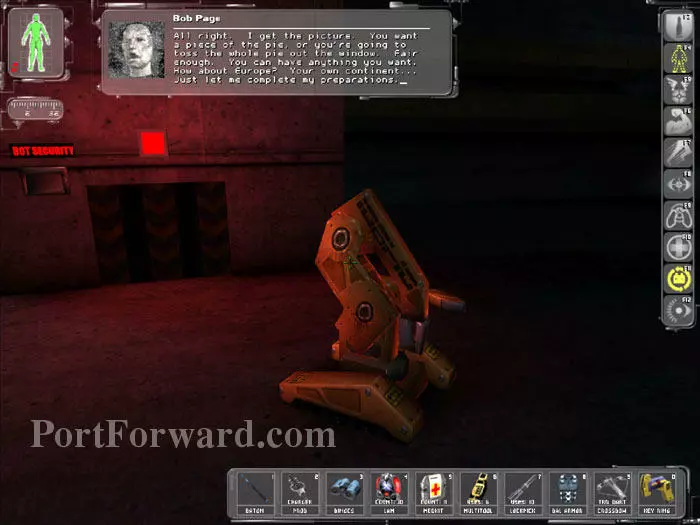
Return back to the main area and recharge at this Repair Bot.
Retrace your steps back through this door and up the long ladder.
Descend back down this short ladder.
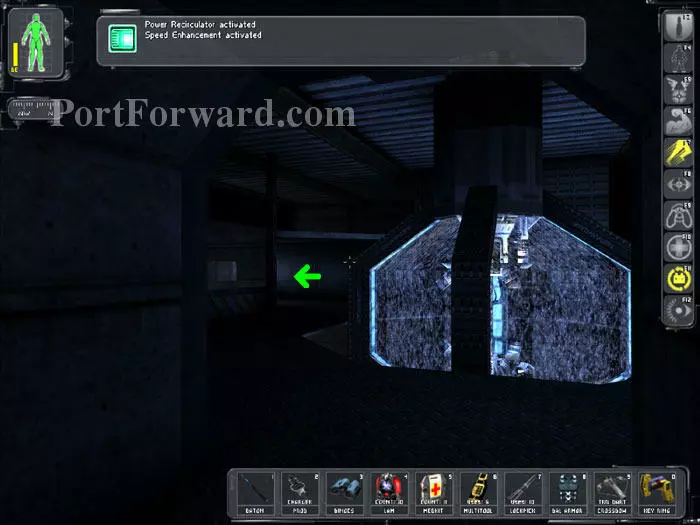
Once again, activate your Speed Enhancement to rush past Bob Page's automatic turrets. This time head down the left corridor as indicated.
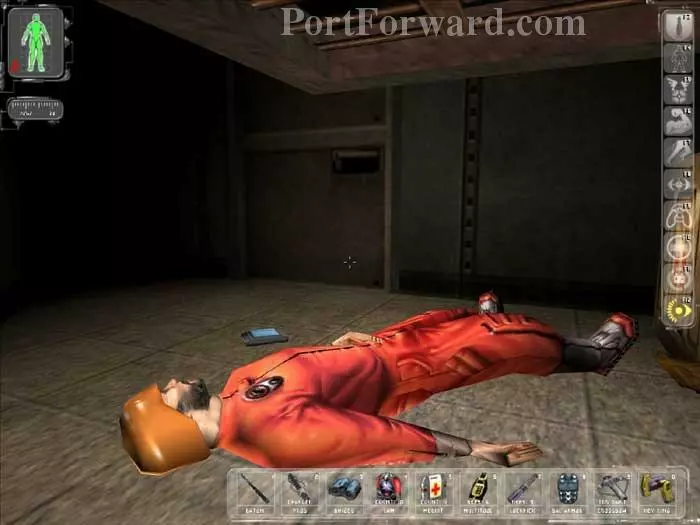
If you have a Hazmat Suit, now would be a good time to use it. (I don't.) Cloak to avoid detection by the Grays and head through the exit in the northwest corner.
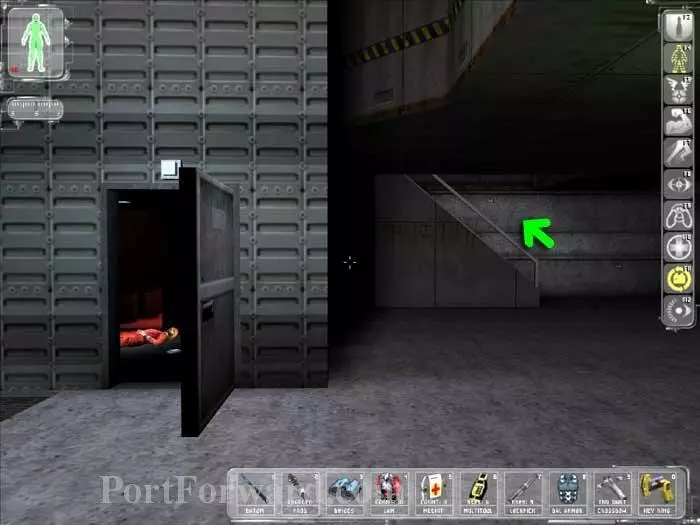
Pass through the cloning lab, heal at the Medical Bot and exit out this door.
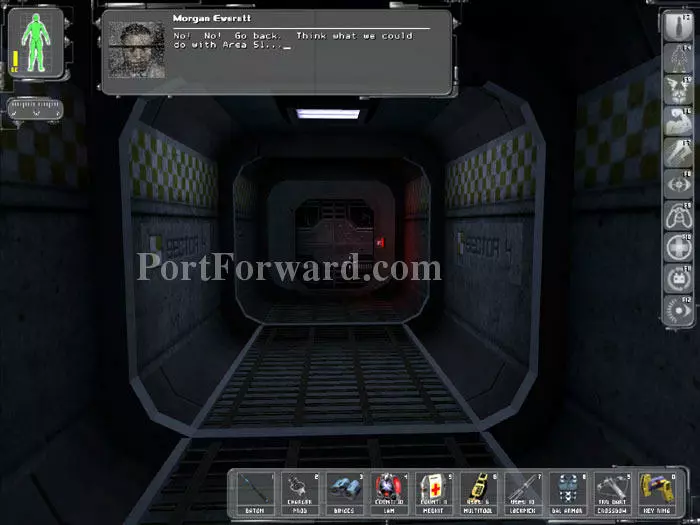
Morgan Everett implores you to go back as you exit Sector 4.
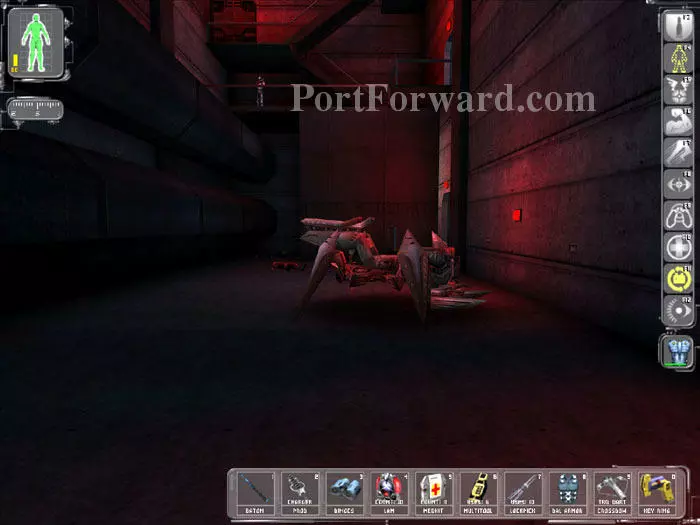
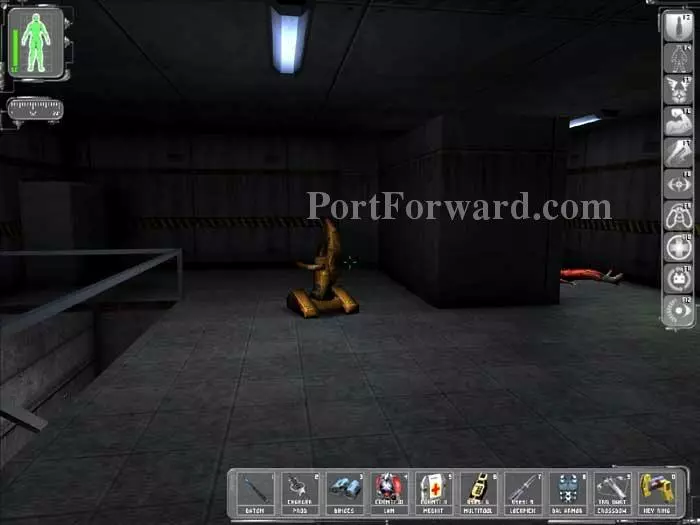
Don Thermoptic Cammo to avoid detection by the spider. Cloak to avoid detection by the MJ12. Pass through the door on the far-right.
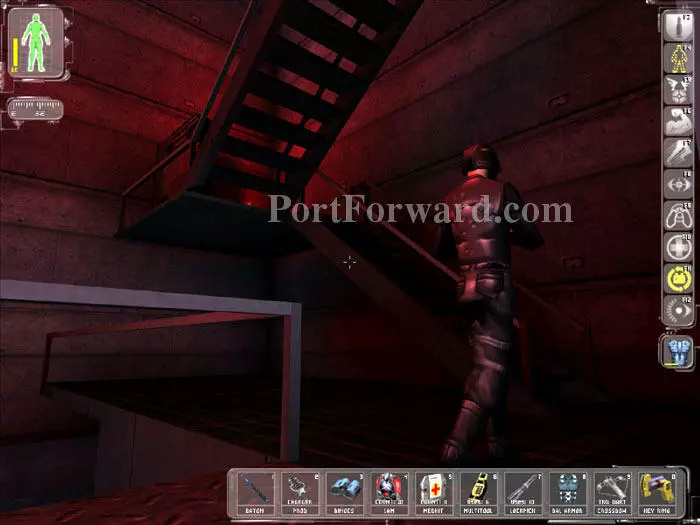
Crouch to remain silent as you climb the stairs. Your Speed Enhancement helps you ascend faster even while crouched.
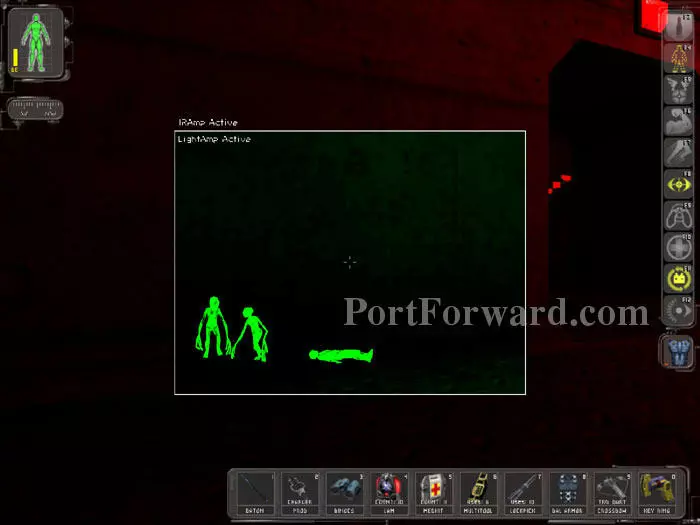
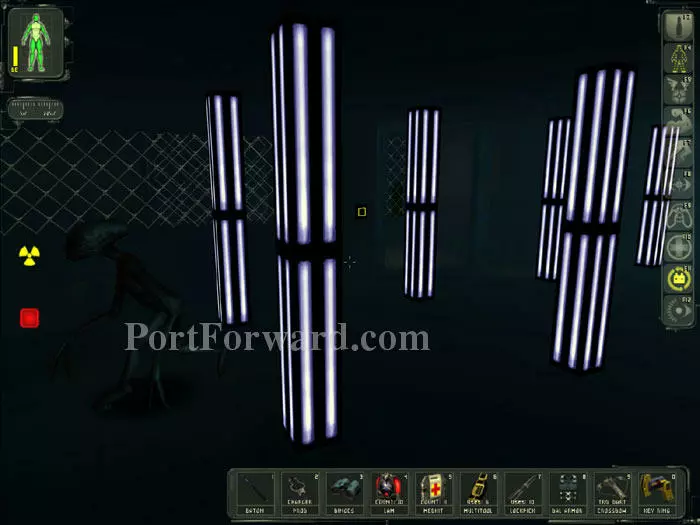
Use your Vision Enhancement to spy the Grays milling about inside this doorway. Proceed when it's safe -- their radioactivity will kill you even if they don't see you.
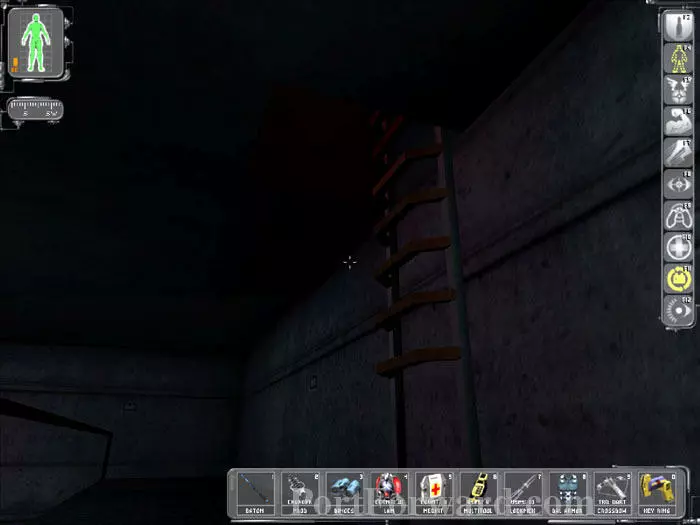
Ascend this ladder.
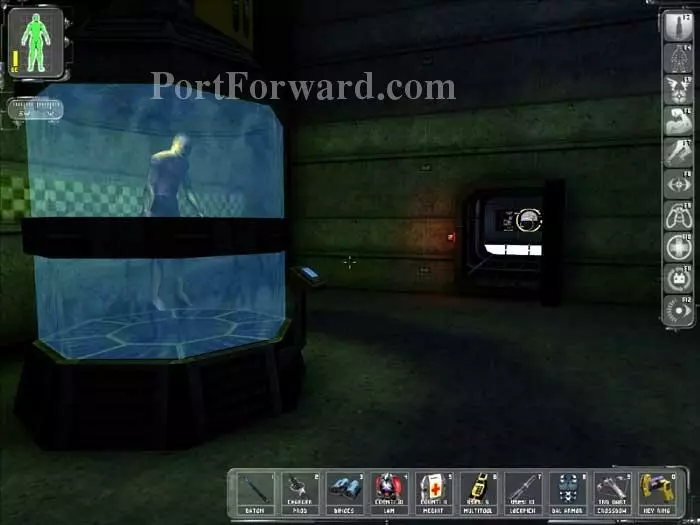
It's the room where you smashed the glass earlier. Proceed through here.
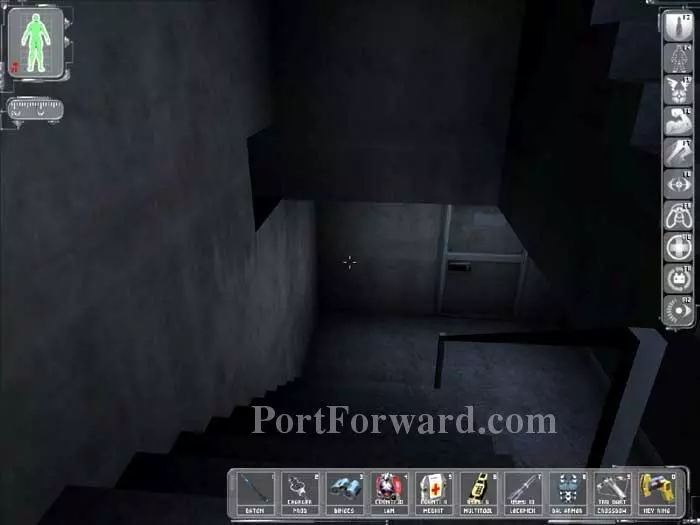
Descend the stairs and proceed through the door.
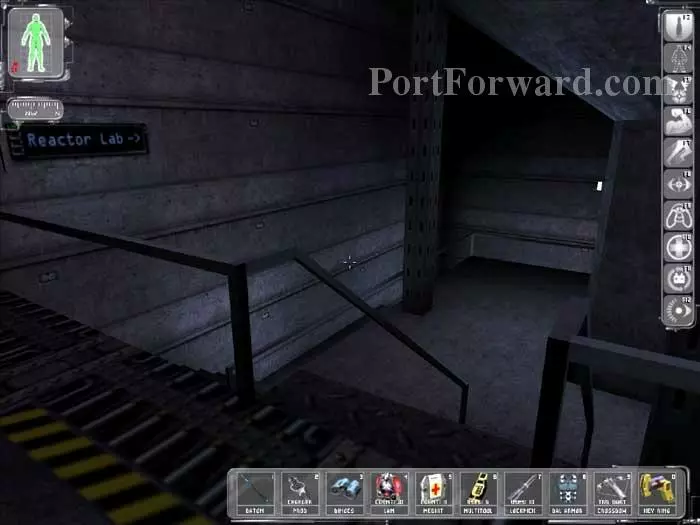
Follow the signs to the Reactor Lab.
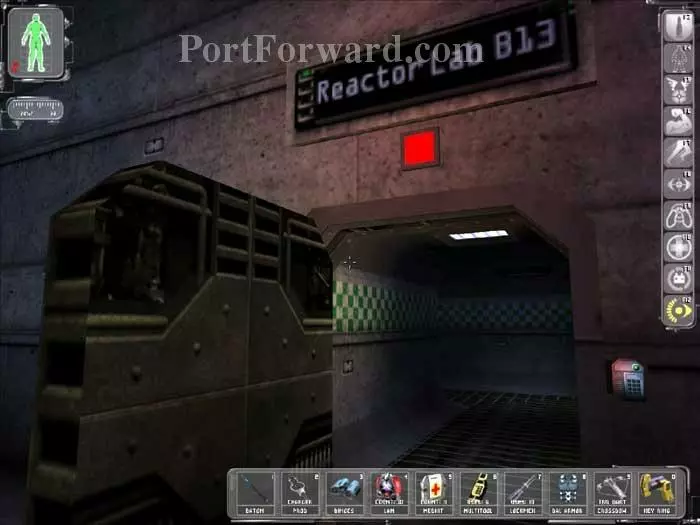
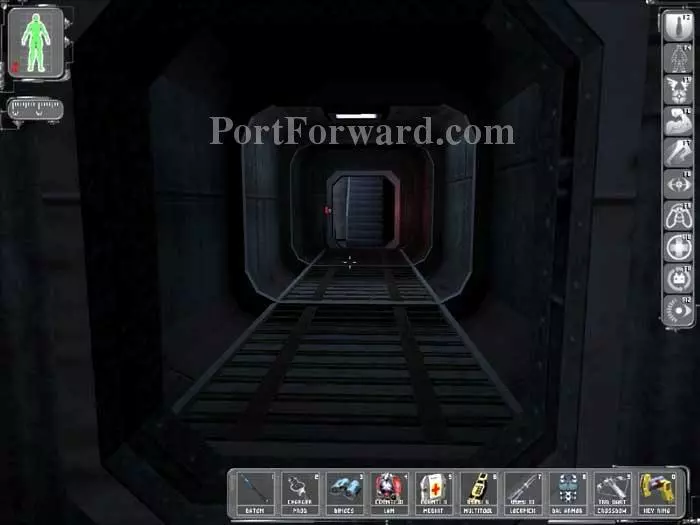
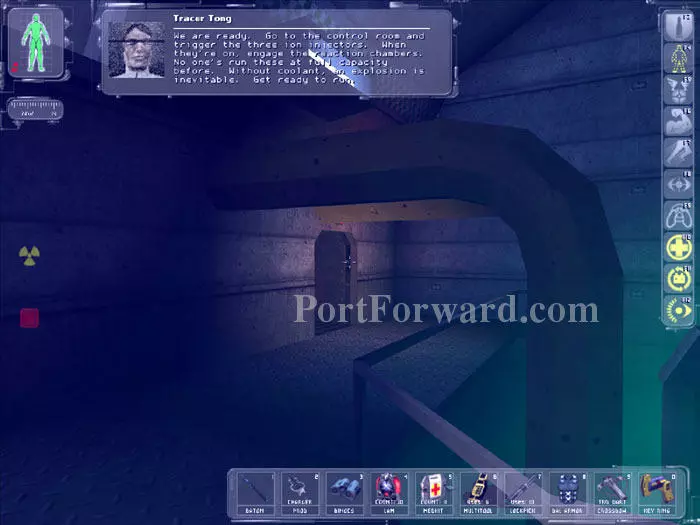
Continue through this door.
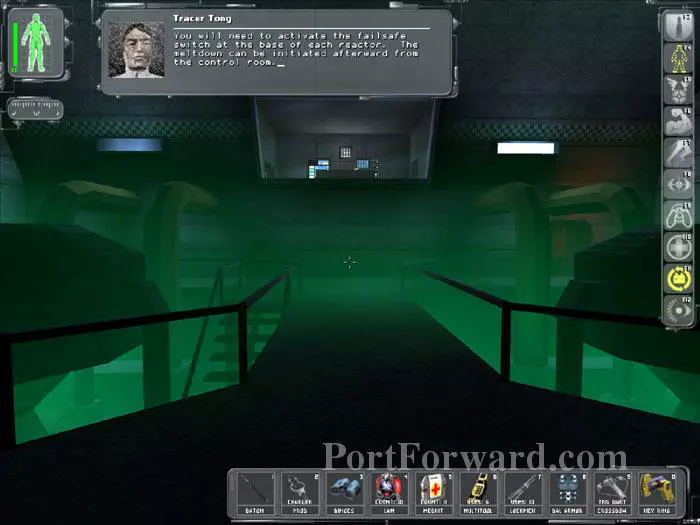
Tong instructs you to activate the failsafe switch at the bottom of each reactor. The areas below are patrolled by Grays. Activate your Cloak then descend the stairs.
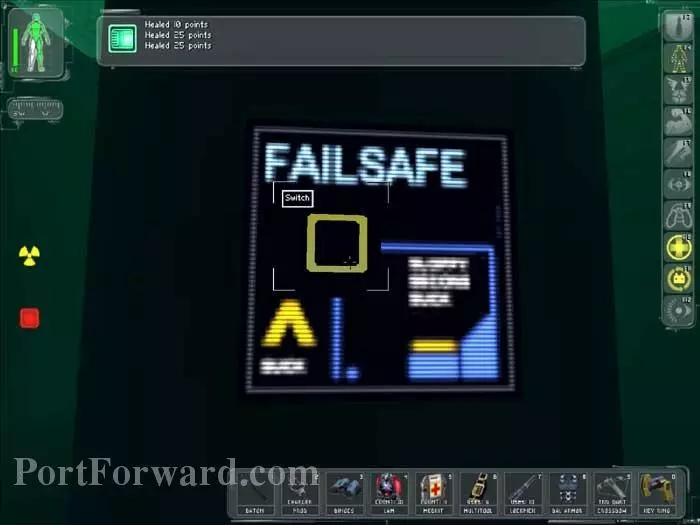
Activate your Regeneration or don a Hazmat suit to withstand the radiation. Activate the failsafe switch at the bottom of each reactor.
This tunnel facilitates travel between the two reactors.
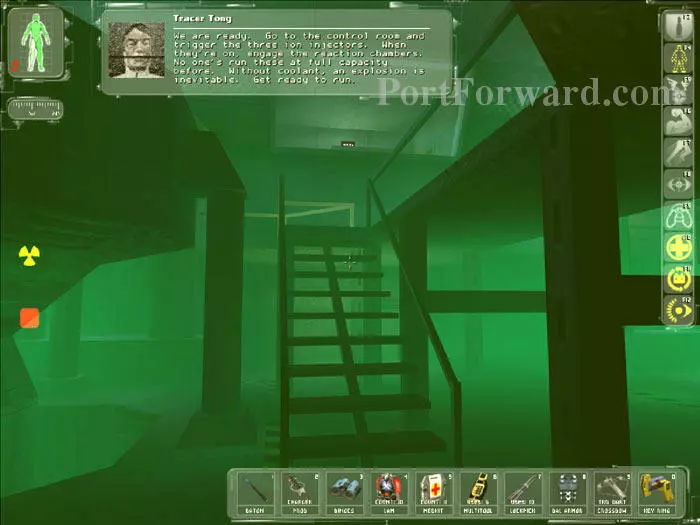
Tong sends you to the control room. Ascend these stairs.
Pass through this door and ascend the ladder to the control room.

Bob Page and this mechanic both warn you that going to full power will destroy the facility.
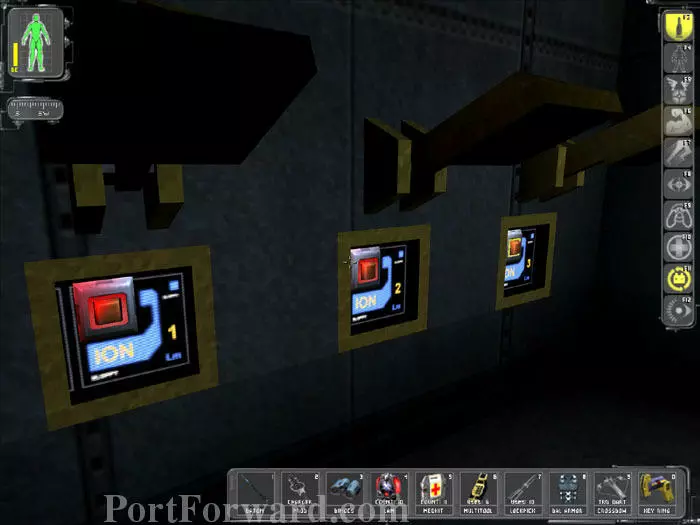
Press buttons 1 and 2, but before pressing button 3 activate your Ballistic Protection.
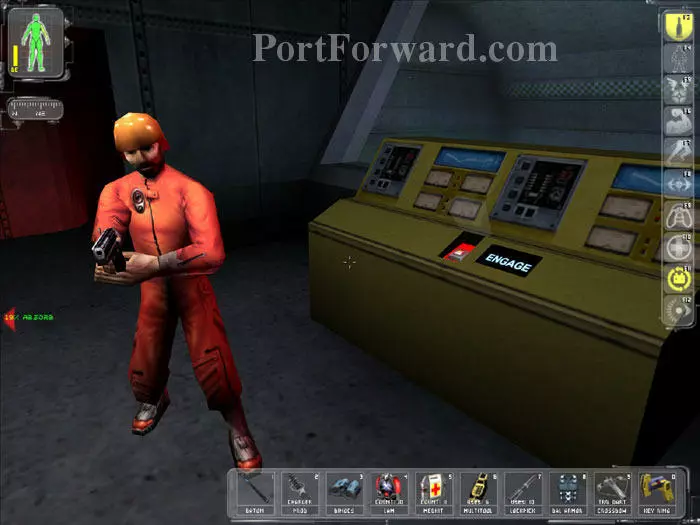
The mechanic opens fire to prevent you from carrying out the destruction of the facility. You don't want to knock the mechanic unconscious because, like the sailors on the Wall Cloud, he must be able to escape the impending disaster. Press the Engage button to trigger the end game.
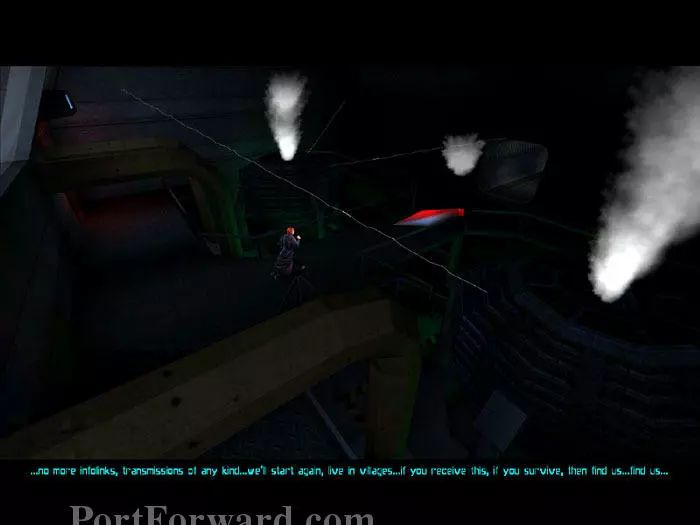
A cutscene plays of chaos in the facility while JC runs to escape the devastation.
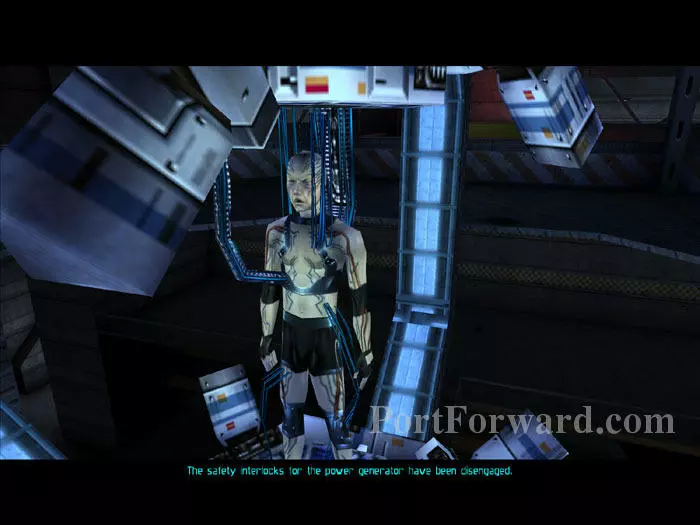
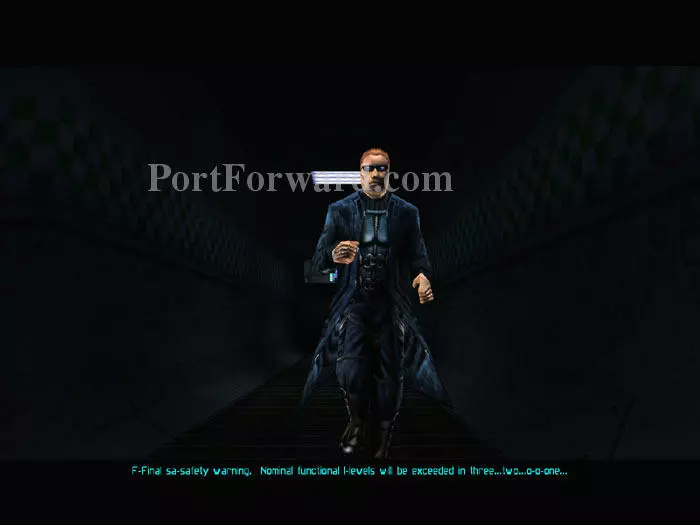
Helios gives Bob Page the bad news -- it's about to hit the fan, and Helios' systems are no longer connected to the fan. Nice shorts, Bob -- you're going to die in them, much like in the Illuminati ending, although he survives in the Helios ending.
When the countdown reaches zero, JC is safely outside the facility.

The cutscene closes with the invisible hand sculpture and this quote from Kahlil Gibran.
Lastly, the end credits. I hope you enjoyed this game! And of course, I hope this walkthrough helped you! Game on!
More Deus Ex Walkthroughs
This Deus Ex walkthrough is divided into 20 total pages.


