
This Dungeon Defenders walkthrough is divided into 13 total pages.
You can jump to nearby pages of the game using the links above.
5. Servants Quarters
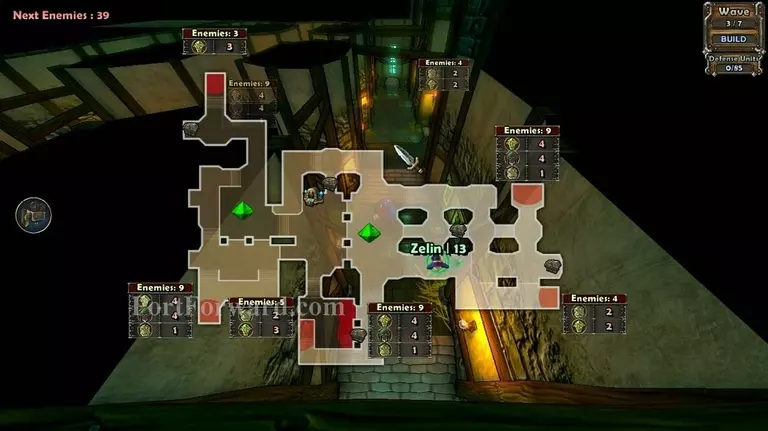
As you can see, this level has 2 crystals you have to defend, it should be too hard though.
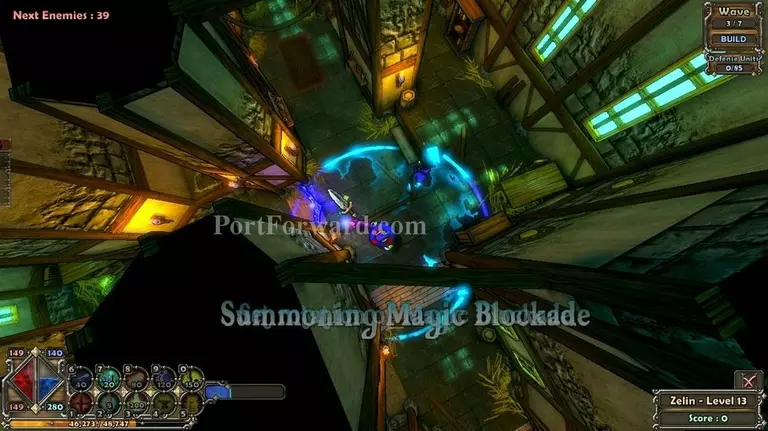
Start off by putting a blockade over here
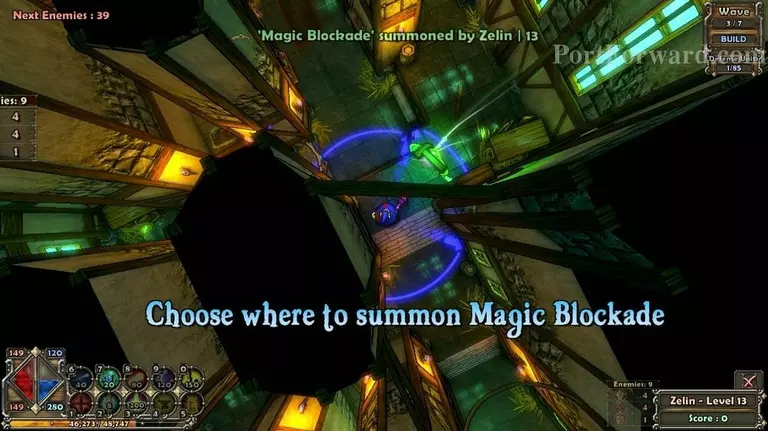
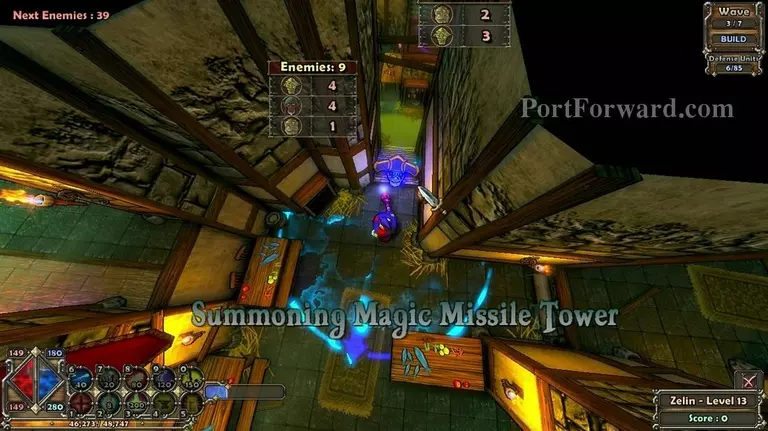
One over here and an MMT behind them.
Like so.
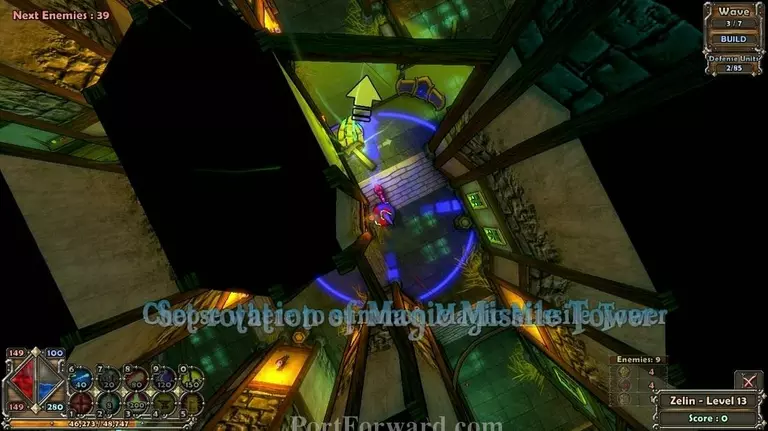
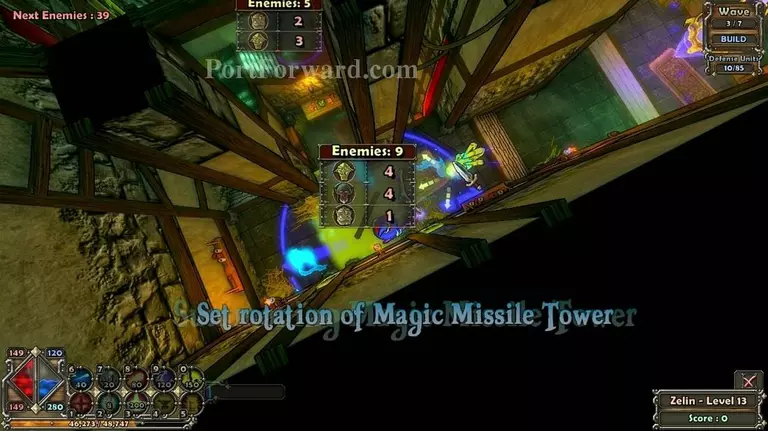
Next place you want to block off and put an MMT is at the end of the small chokepoint close to one of the crystals.
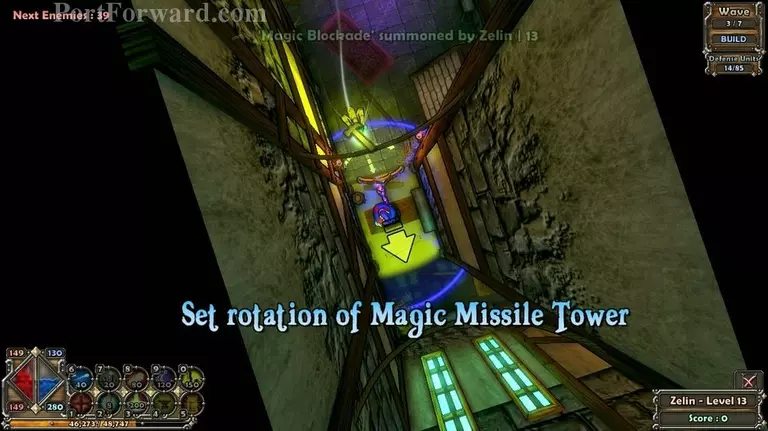
The next place is over here, close to the crystal again. A blockade and an MMT.
The next place is close to the other crystal.
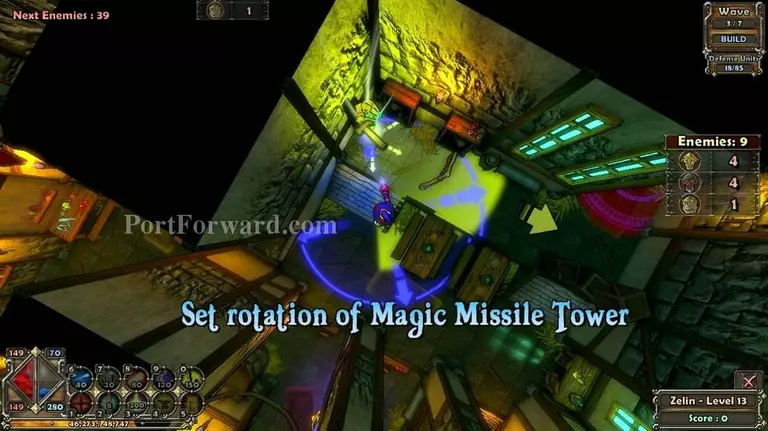
And the last place is next to the spawn area.
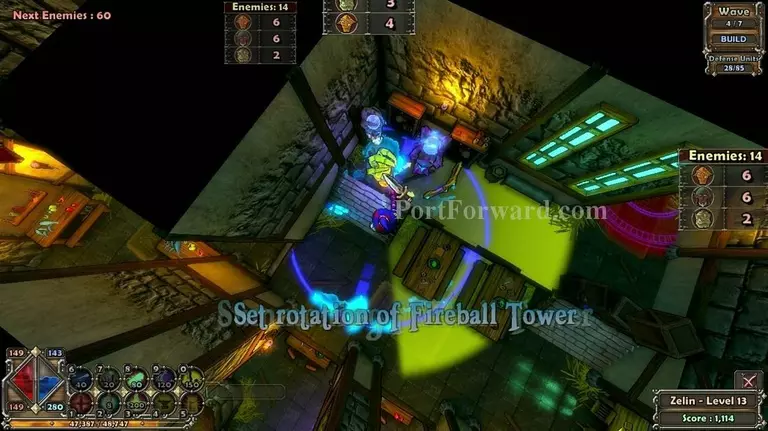
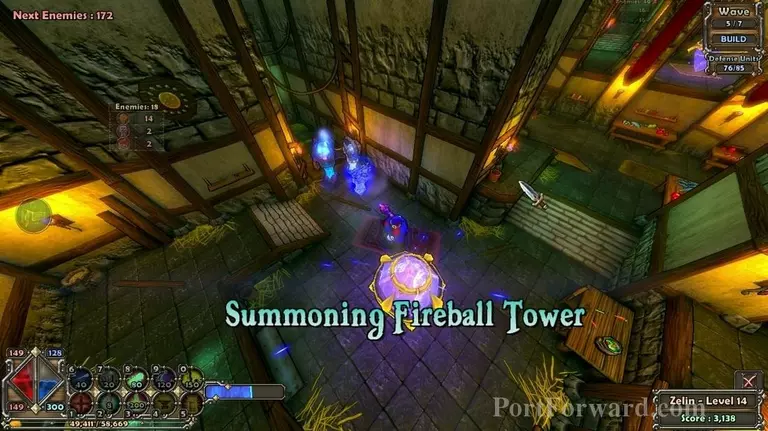
First wave should be really easy. After getting all the mana you can, build a lightning and a fireball tower over here.
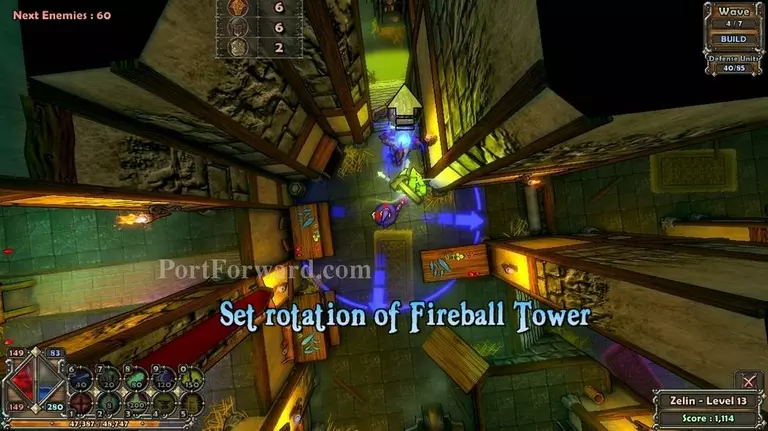
Next you want to build another fireball and lightning tower set on the choke point.
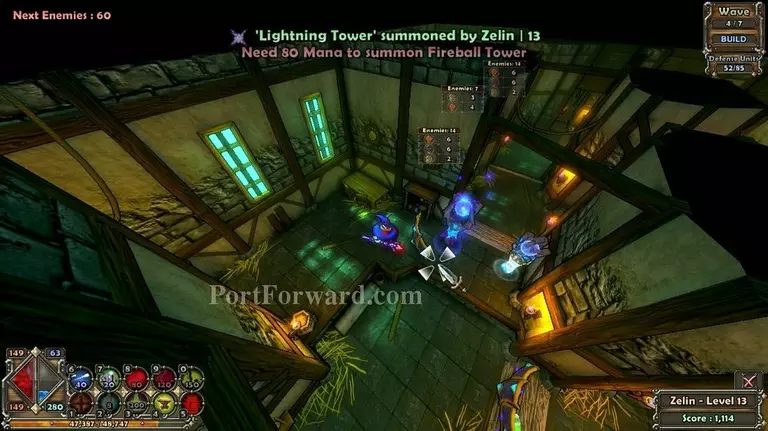
And the last set for this wave should be over here.
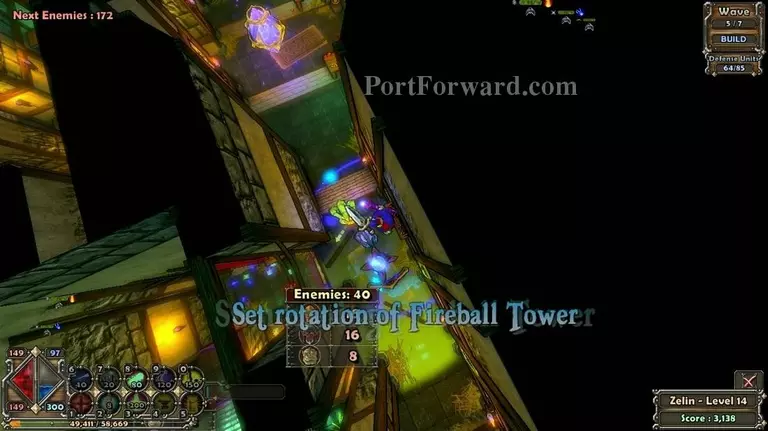
After the next wave you should build another set of towers at this location.
A set over here...
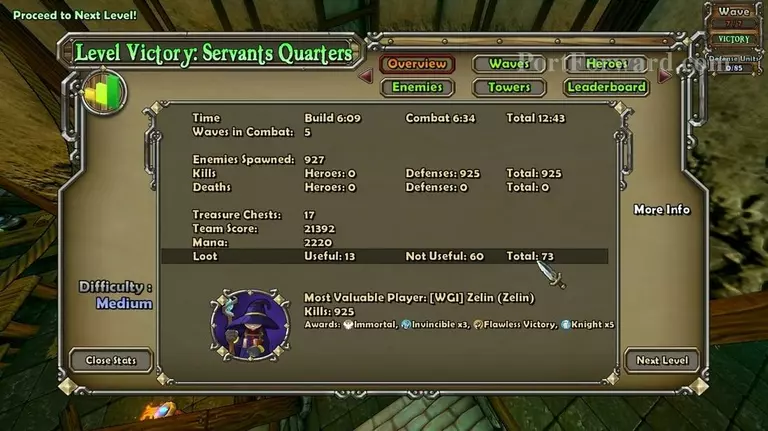
...and you're actually done for the whole level. Just make sure to repair your towers.
More Dungeon Defenders Walkthroughs
This Dungeon Defenders walkthrough is divided into 13 total pages.


