
This Dungeon Defenders walkthrough is divided into 13 total pages.
You can jump to nearby pages of the game using the links above.
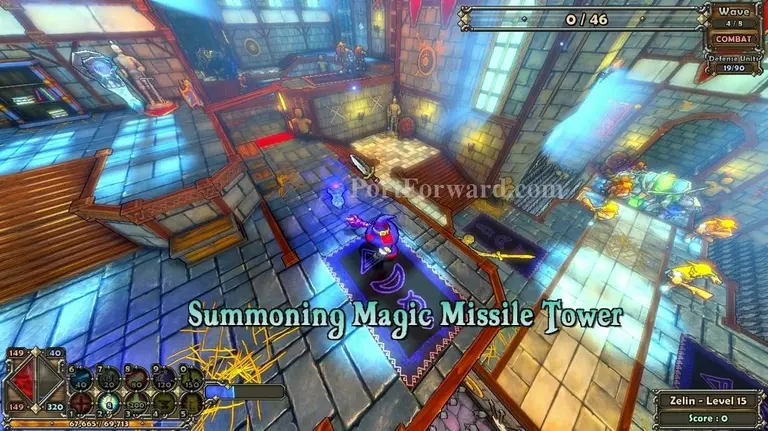
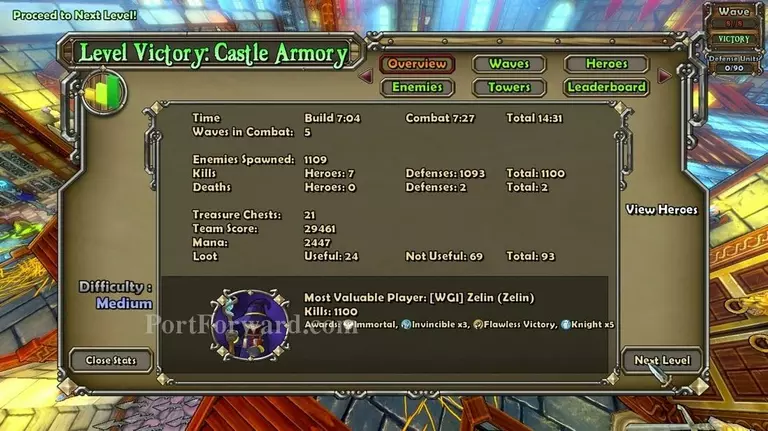
6. Castle Armory
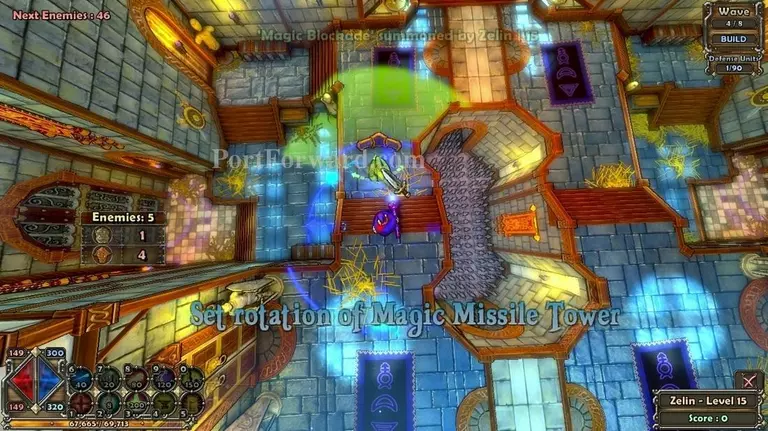
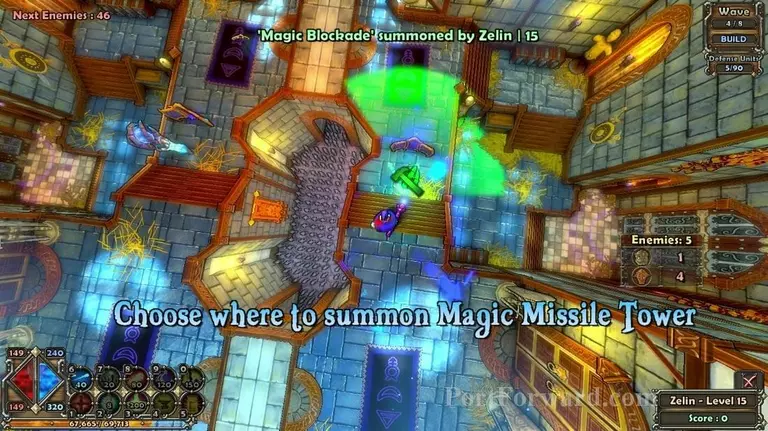
Start off by putting a blockade and an MMT over here.
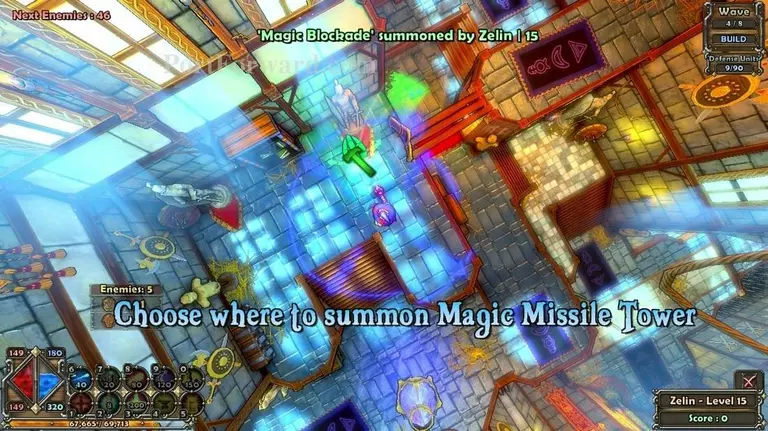
And the same on the other side.
Next put up a set over here.
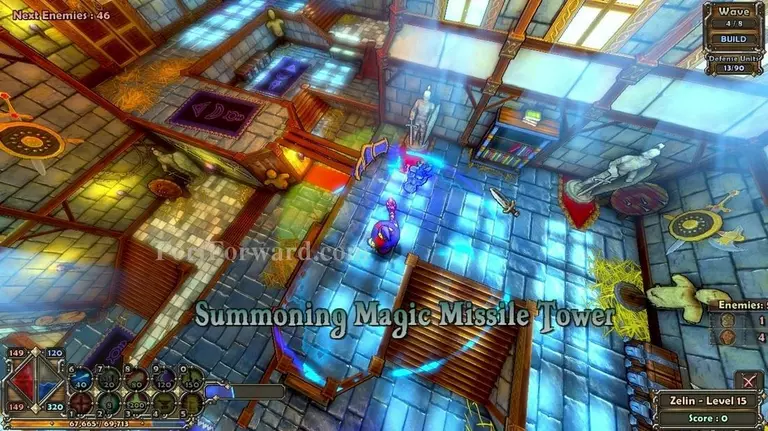
And another one ath the opposite side.

Put up a single MMT close to the crystal over here.
And lastly, you want to put your final MMT over here.
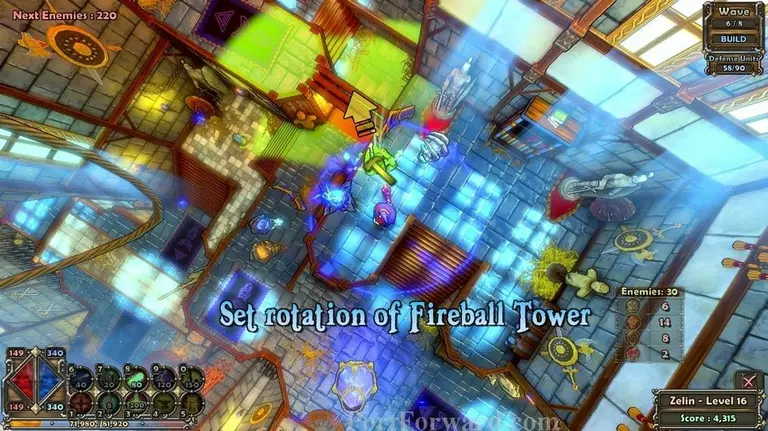
I recommend helping your towers a bit in the beggining, if you want to go the lazy route though, don't make blockades first wave and instead of putting the last 2 MMTs, put 2 fireball towers.
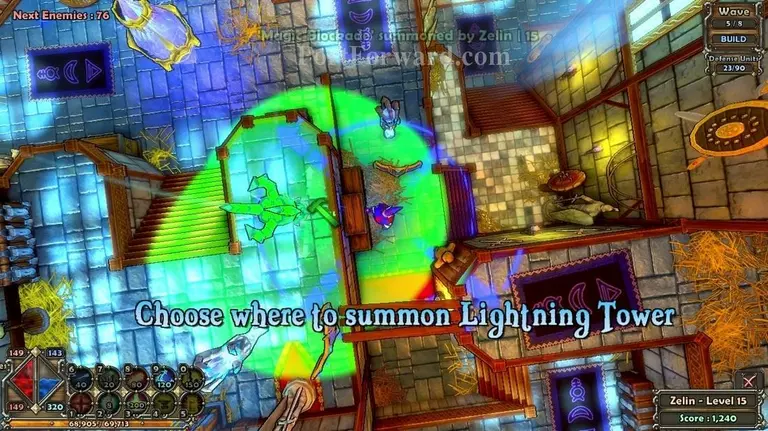
After you're done with the first one, put a blockade and a lightning tower above it in the possition shown.
Do the save for the opposite side of the map.
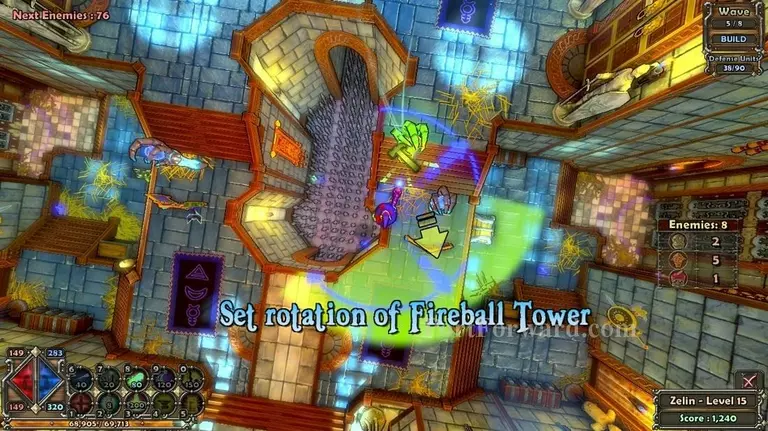
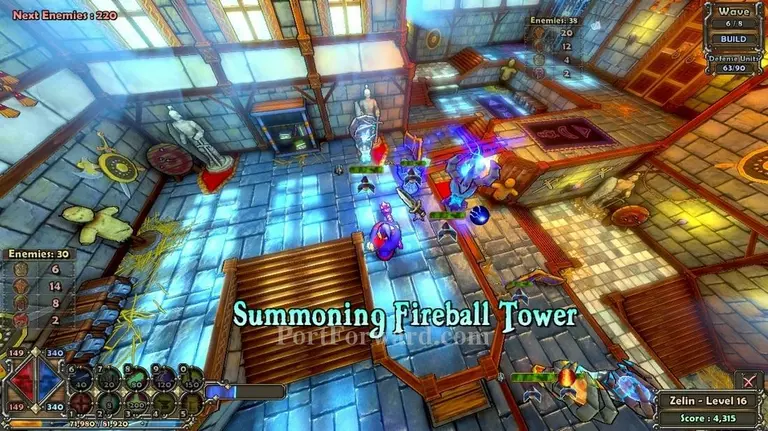
Build 2 fireballs turrets on...
...these locations.
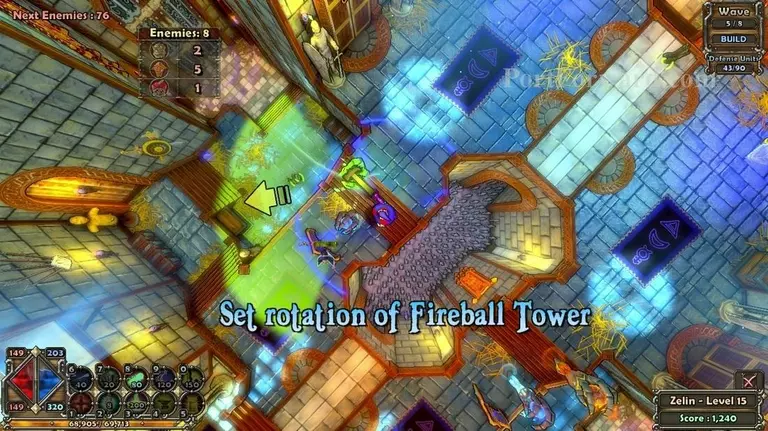
Make one over here.
And one over here.
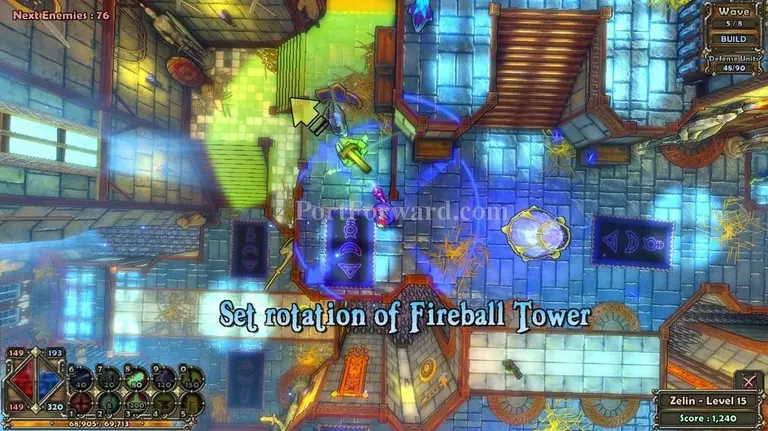
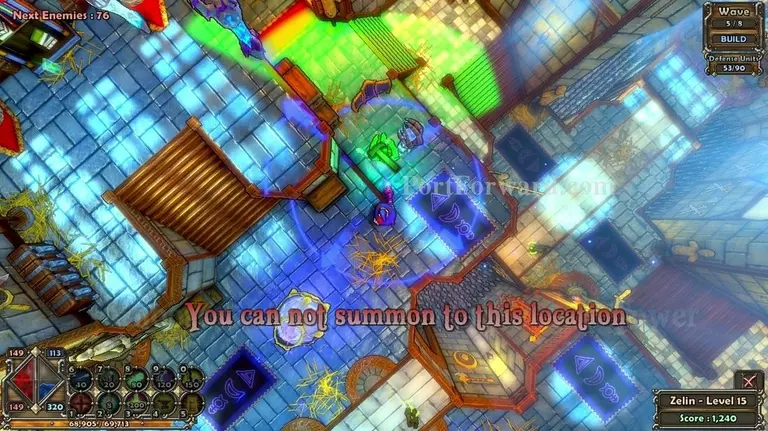
After you're done with the next wave, put a fireball tower over here.
And of course, one on the opposite side.

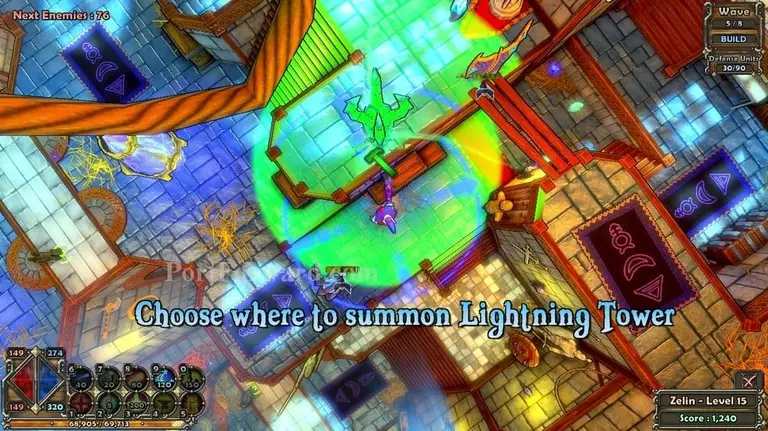
Make a lightning tower over here.
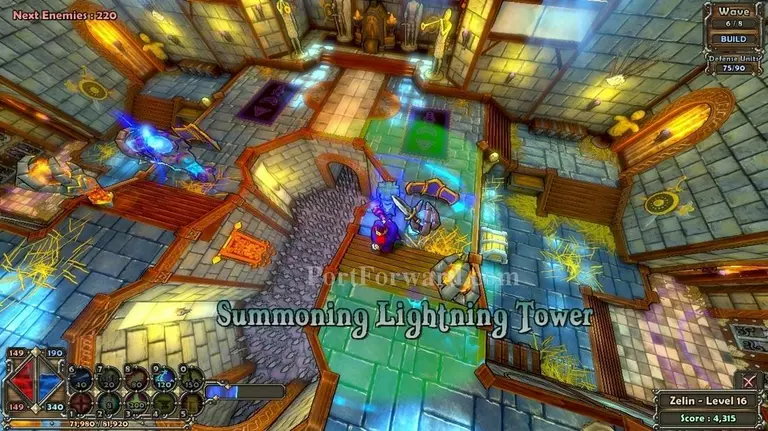
And one on the other side.
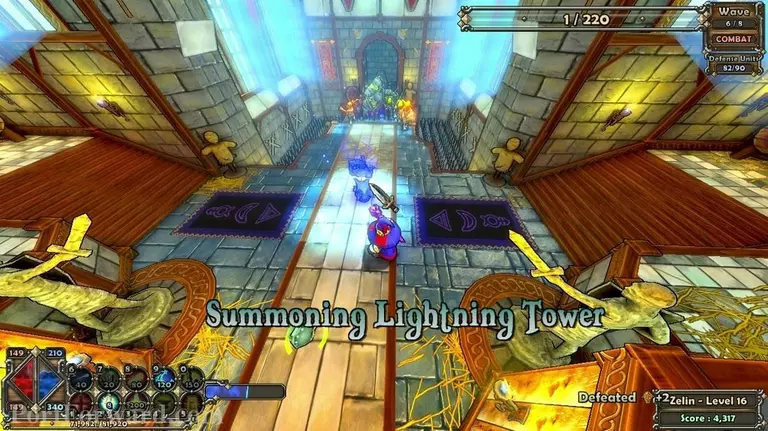
Just to goof around and make things faster, i put a single lightning tower right in front of the gates.

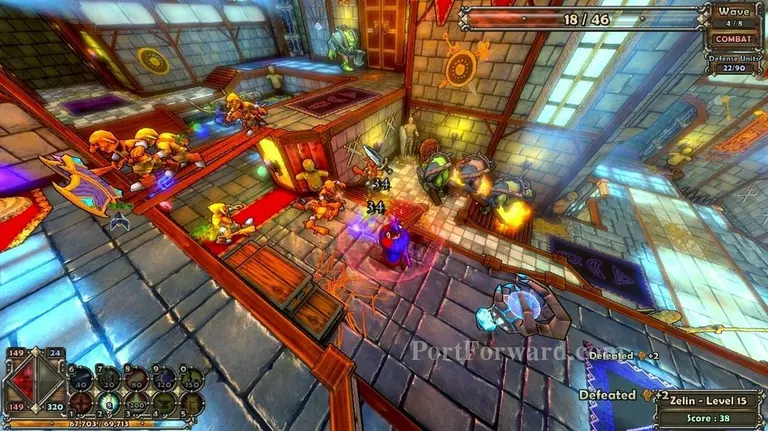
Can you see these guys? The big guy that jumped right at me. He's called a dark elf warrior. They will try to ignore towers and attack you if they can.

The final wave has an ogre.

Make sure you're ready to repair your towers, as he can be quite tough.
After you defeat the ogre, it should be easy enough.
More Dungeon Defenders Walkthroughs
This Dungeon Defenders walkthrough is divided into 13 total pages.


