
This Fallout: New Vegas Dead Money walkthrough is divided into 13 total pages.
You can jump to nearby pages of the game using the links above.
Heist of the Centuries
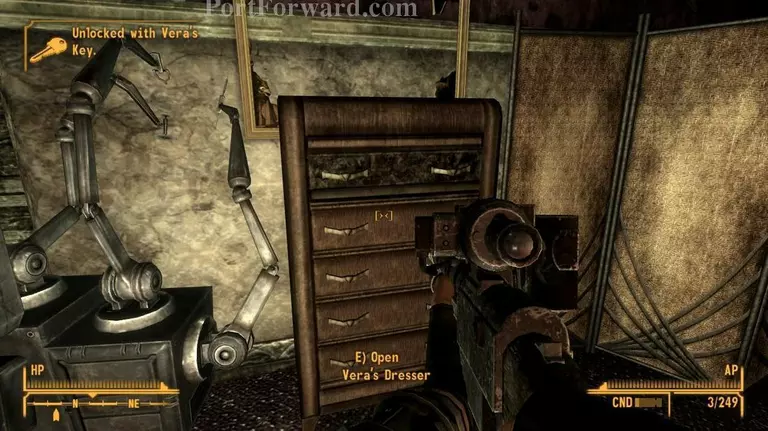
After talking to Christine, use the key she gave you to open Vera's Dresser and grab Vera's Audition holotape.
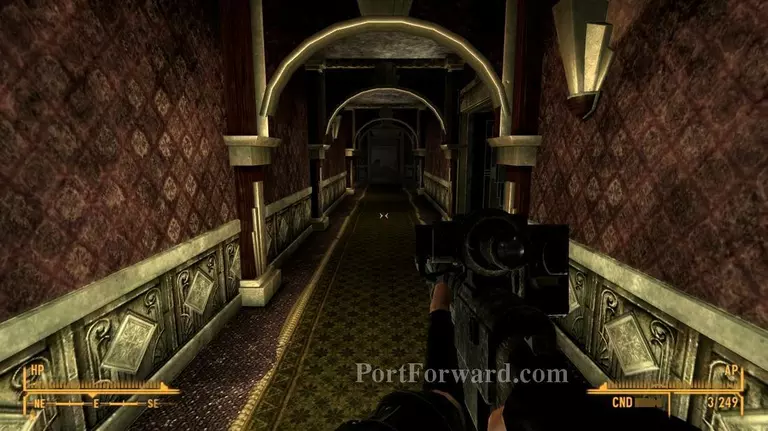
Once you've got the holotape, head back to the elevator and go back down at the lobby.

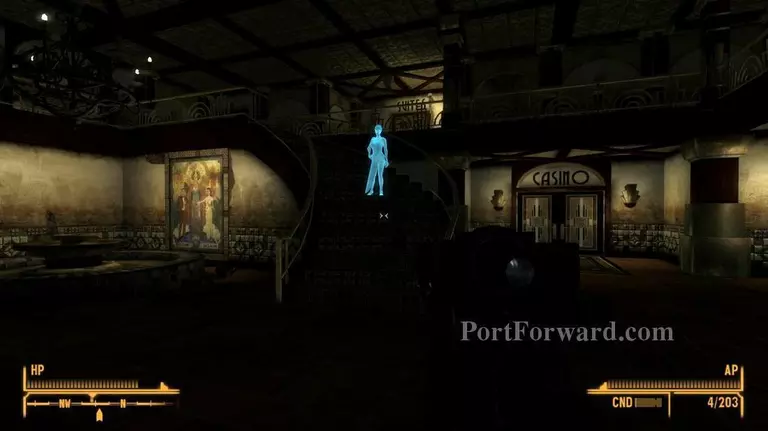
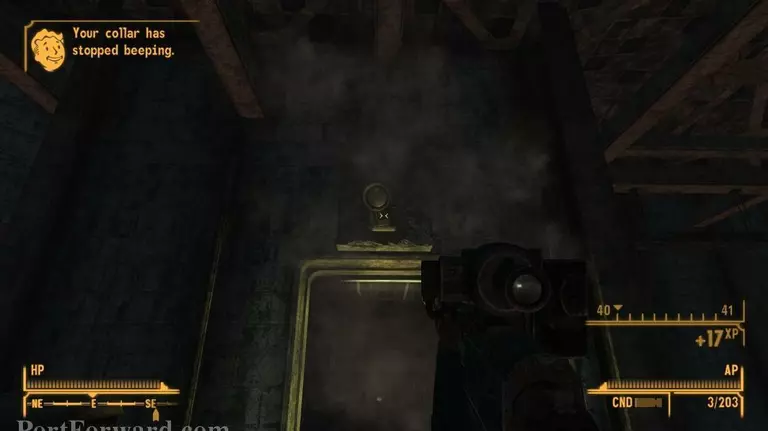
Right after leaving the Executive Suites, you will come across some Ghost People that managed to enter the Lobby. Take them out as fast as possible and don't let them get too close to you.
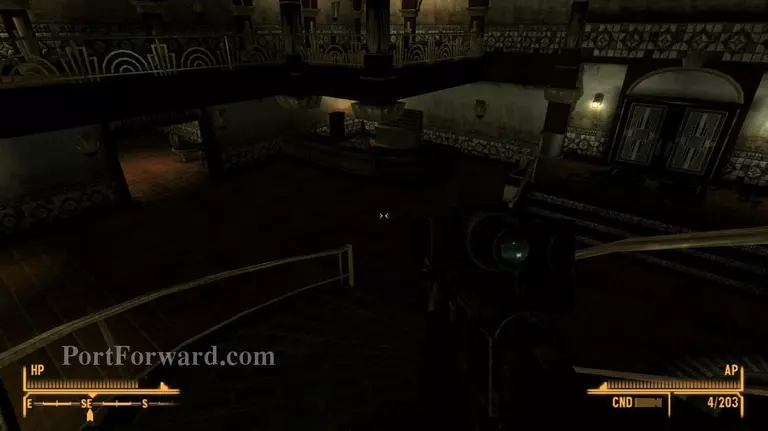
After dealing with all the Ghost People, head downstairs and get to the Receptionist Terminal.
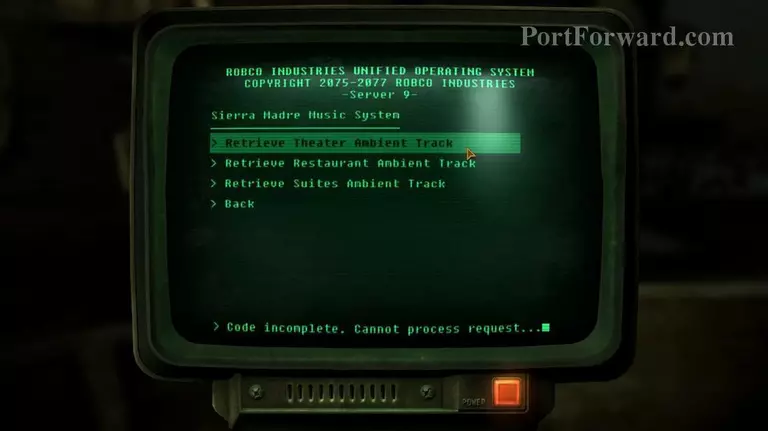
Use the terminal to retrieve the missing audio tracks and enable security holograms that will keep the Ghost People away.
Now that you've got all the audio together, take the elevator back to the Executive Suites.
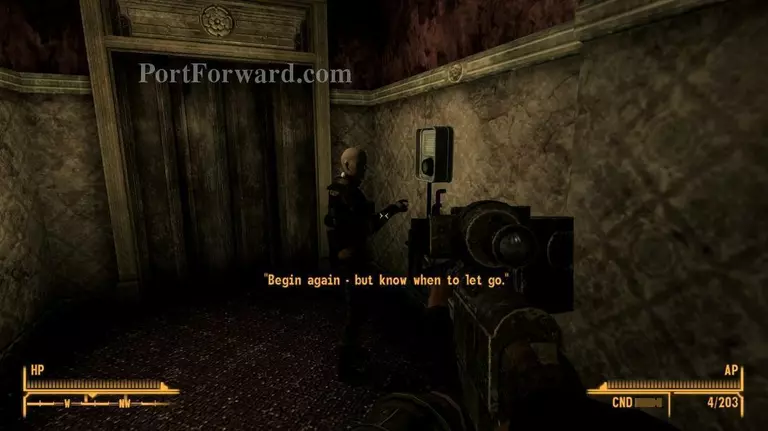
Ask Christine to say the phrase to the elevator's audio log in order to unlock it.
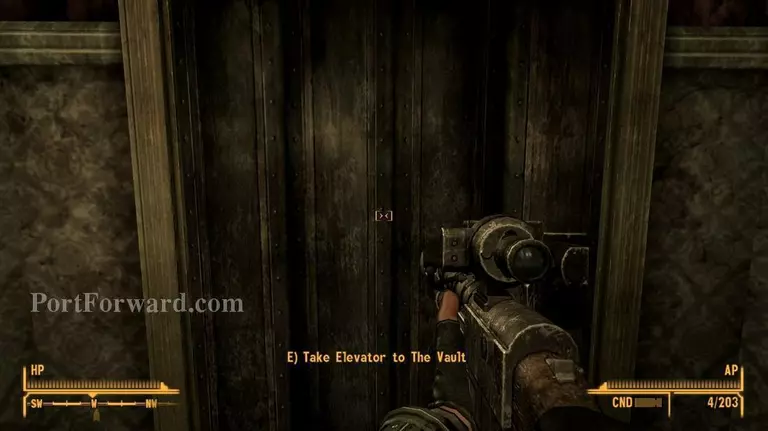
Once Christine has managed to unlock the elevator, use it to make your way down into the Sierra Madre Vault.
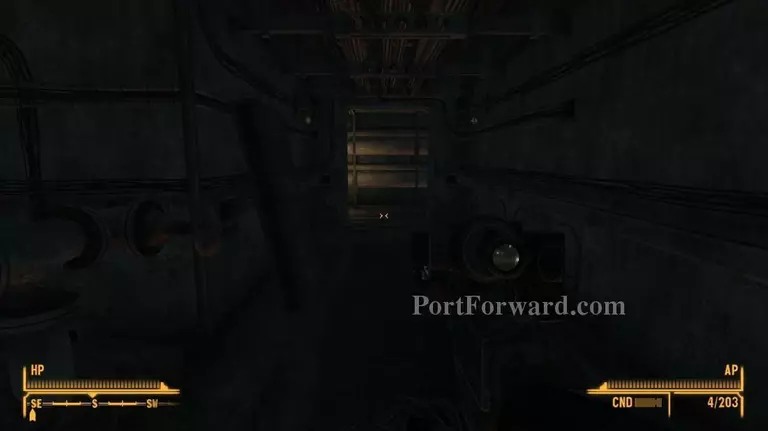
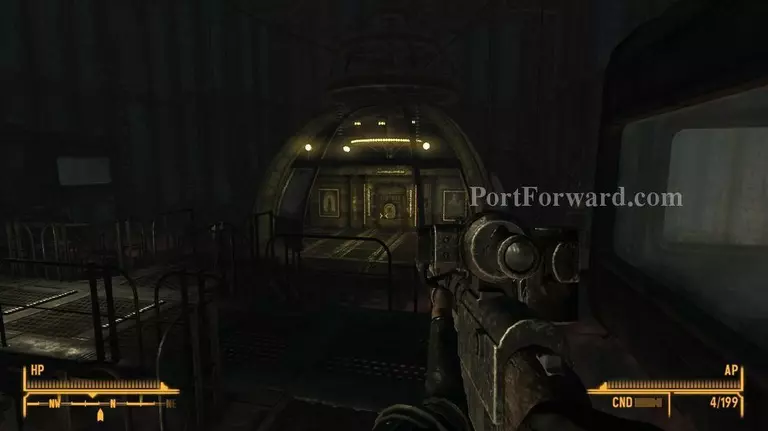
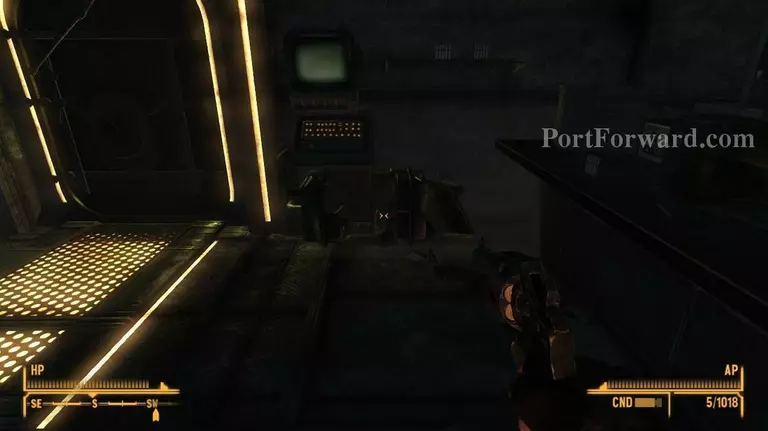
Make your way through the hugely sized vault and get to the Vault's central chamber.
On your way there you will come across some shielded and un-shielded speakers. Destroy the un-shielded ones and try to get away as fast as possible from the shielded ones before they blow you up.

You will also come across some hostile security holograms, sneak past them and get all the three hologram emitters destroyed or disabled.
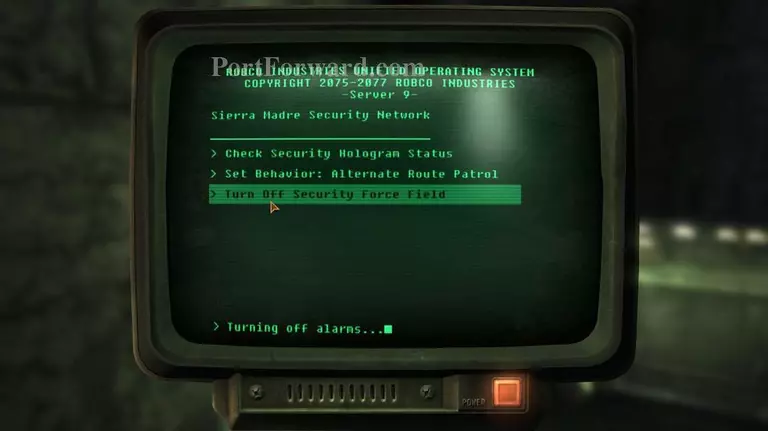
After disabling the security holograms, use the terminal located inside one of the workers' hut to turn off the security force field so you can keep making progress through the Vault.
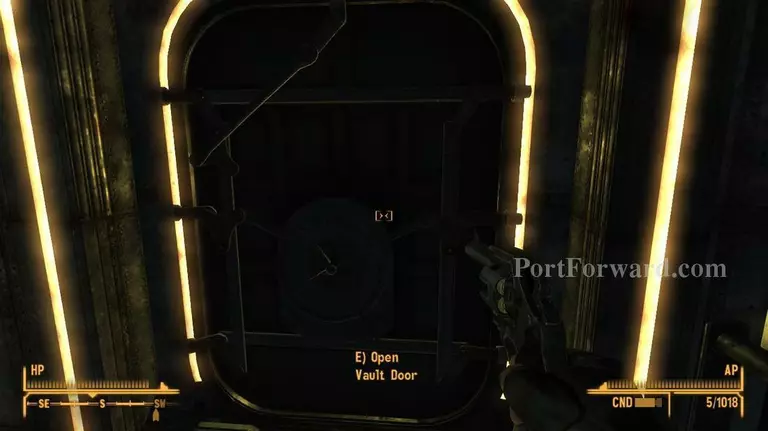
Once you've finally made it to the Vault's Central Chamber, it's time to see what's inside of it.
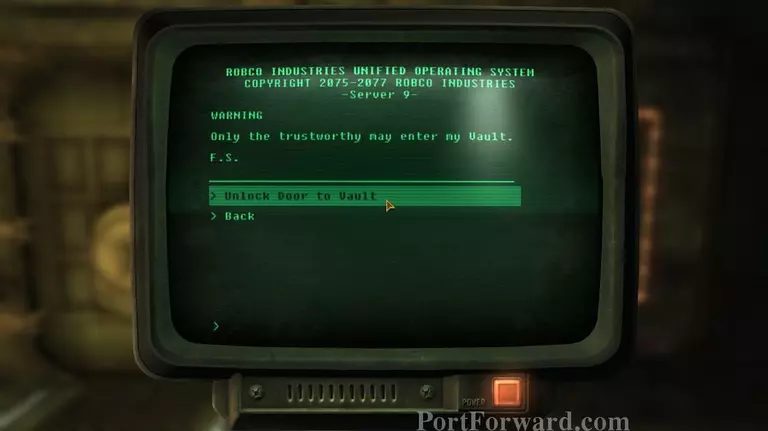
Go downstairs and use the terminal located right next to the Vault door to unlock it.
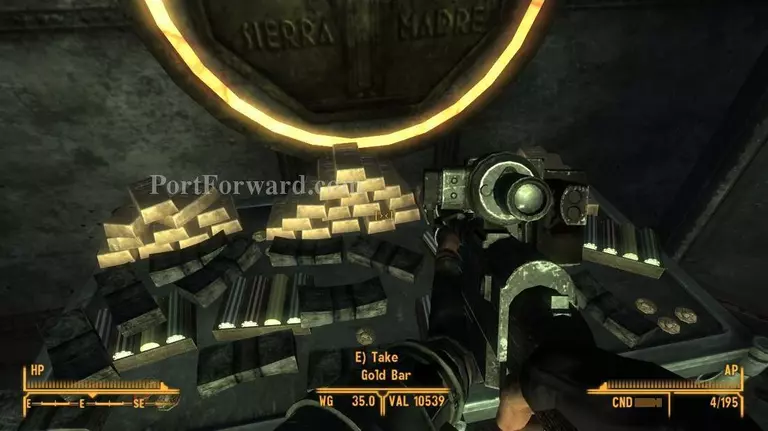
Inside the room, you'll find 37 Gold Bars; each worth over 10,000 bottle caps.
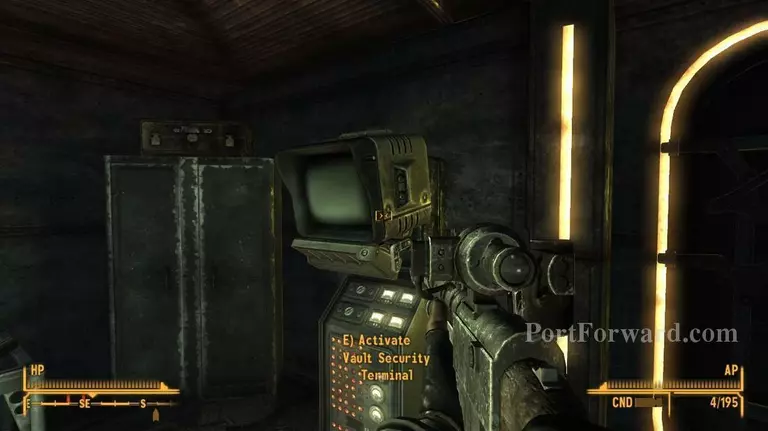
After exploring the room and what's inside of it, use the security terminal to disengage the security protocols.
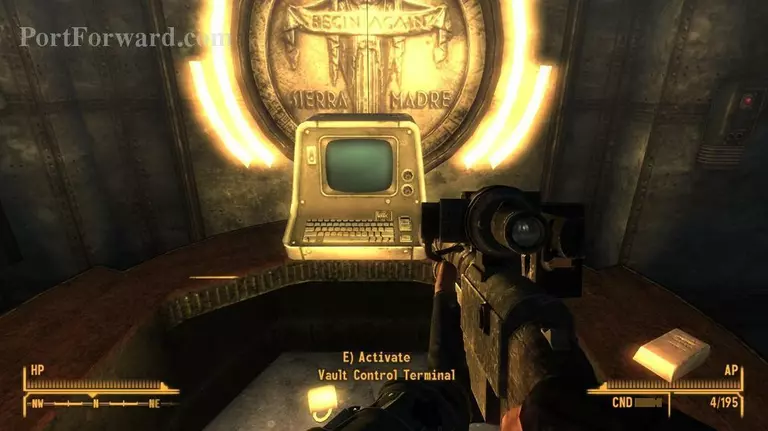
Open the Vault Control Terminal and read Sinclair's note for Vera to discover the secrets of the Sierra Madre.
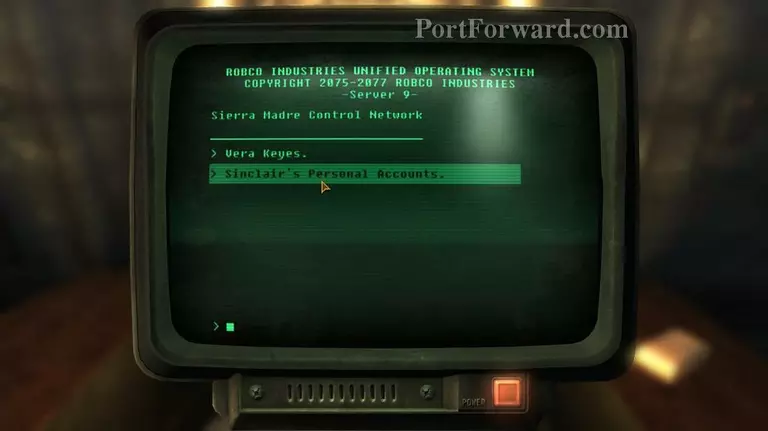
However, do NOT open Sinclair's Personal Accounts, it is a trap set up for Dean that will get you stuck inside the Vault's Central Chamber and a premature ending.

If you haven't accessed Sinclair's Personal Accounts, Elijah will contact you right after turning off the Control Terminal.

However, the conversation isn't going to last very long until Elijah decides to come down into the Vault.
Before leaving the vault, destroy the Turret electric generator.
After destroying the electric generator, leave the vault and be ready to face Elijah.
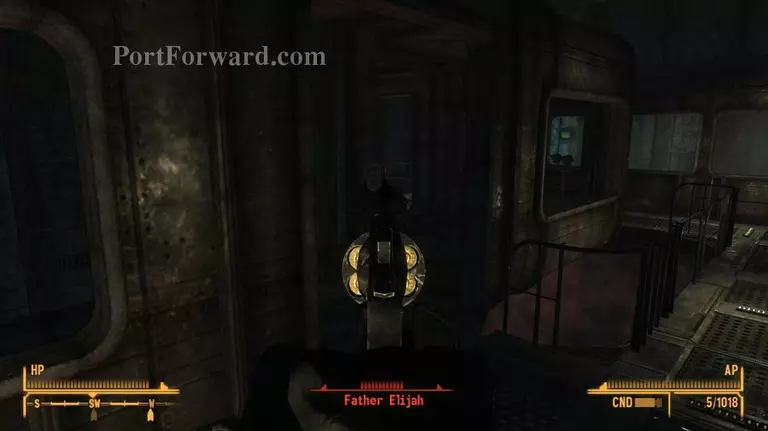
Don't worry about fighting him, Elijah isn't such a strong enemy as it seems, a few good hits and he will be dead.
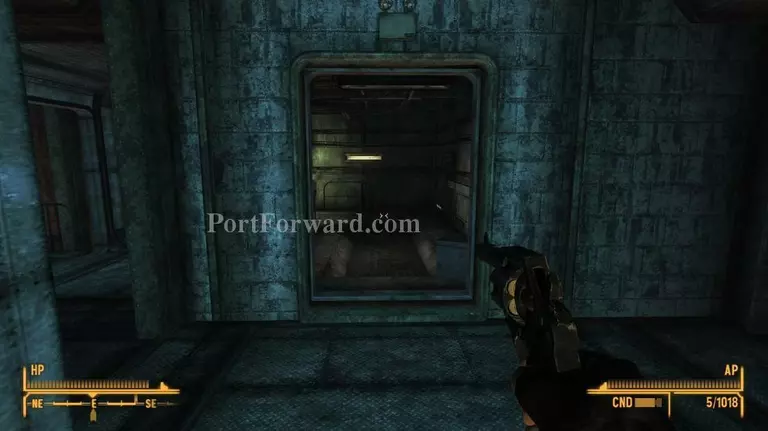
Once you've defeat him, the entire vault begins to fall apart. Escape the Sierra Madre Vault before your collar explodes; you will have a minute to reach the elevator.
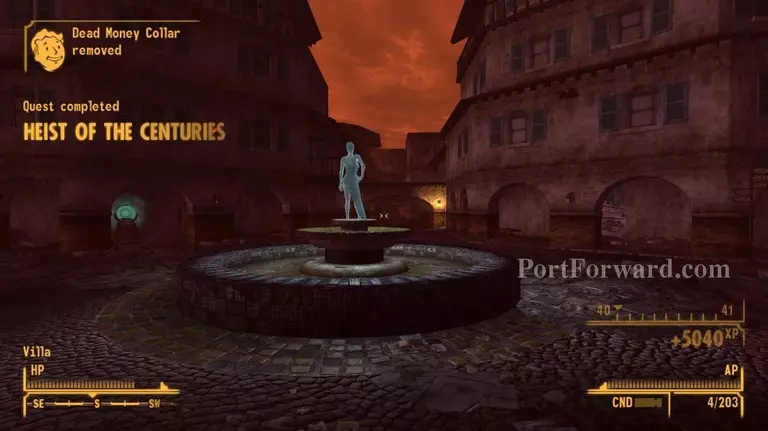
If you've reached the elevator in time, you will appear at the fountain in the Villa and the quest will come to an end.
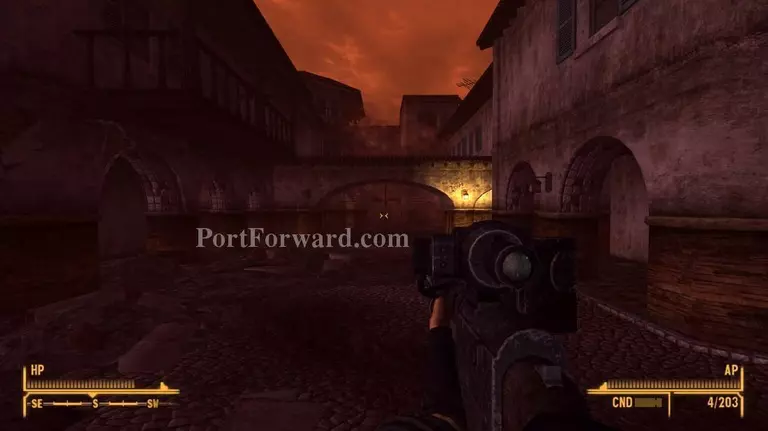
In order to travel back to the Mojave Wasteland, you will have to get to the front gates of the Villa; located behind the fountain.

A slide-show of images will begin playing; showing the fates of the three team members.

Once the slide-show is over, you will find yourself back at the abandoned Brotherhood of Steel Bunker and the story will finally come to an end.

That was my Fallout: New Vegas Dead Money walkthrough guide, I hope you found it helpful.
More Fallout: New Vegas Dead Money Walkthroughs
This Fallout: New Vegas Dead Money walkthrough is divided into 13 total pages.


