Fallout: New Vegas Dead Money Walkthrough Last Luxuries

September 12, 2016 (Last Updated: ) | Reading Time: 2 minutes

This Fallout: New Vegas Dead Money walkthrough is divided into 13 total pages.

You can jump to nearby pages of the game using the links above.

Last Luxuries

Fallout: New Vegas Dead Money Walkthrough - Fallout New-Vegas-Dead-Money 116

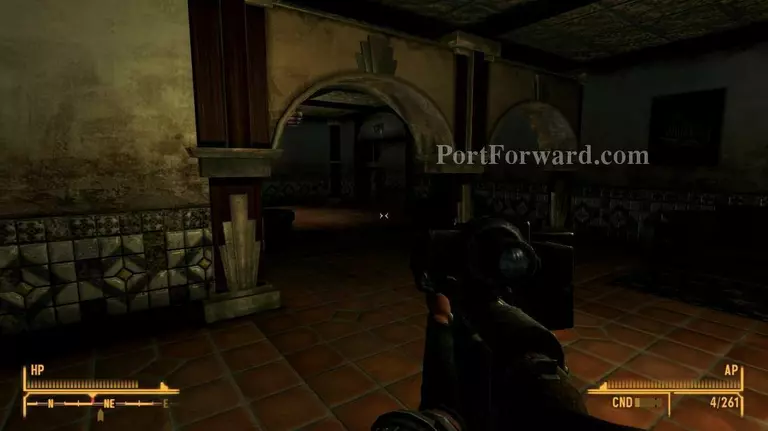
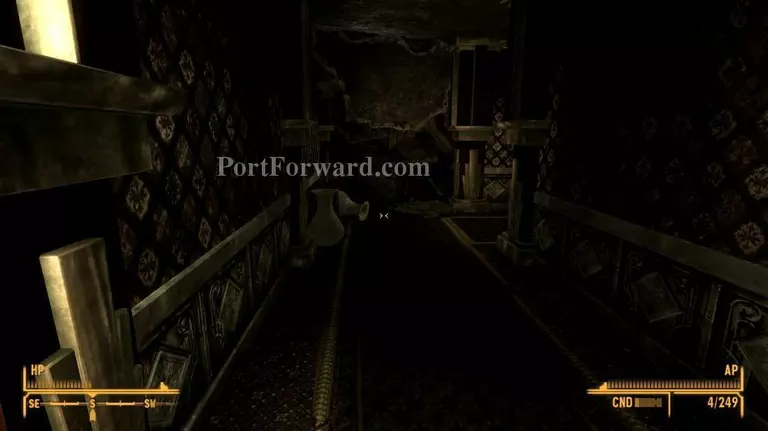
After dealing with Dean, it's time to make your way to the Executive suites.

Fallout: New Vegas Dead Money Walkthrough - Fallout New-Vegas-Dead-Money 117

You may come across a few Ghost People in the lobby, on your way to the Executive suites. Take them out and keep going.

Fallout: New Vegas Dead Money Walkthrough - Fallout New-Vegas-Dead-Money 118

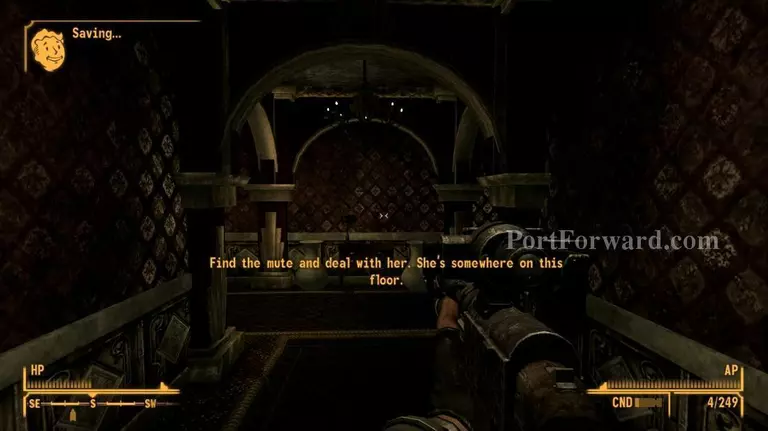
Once you've made it to the Executive suites floor, you will have to start searching for Christine. Keep in mind that you may come across some traps set-up by her if you chose to trap her into the elevator during the 'Mixed Signals' quest.

Fallout: New Vegas Dead Money Walkthrough - Fallout New-Vegas-Dead-Money 119

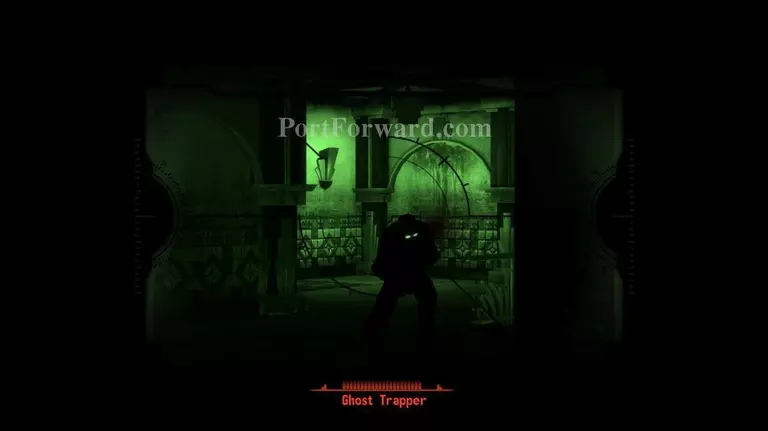
As you make your way through the Executive suites' corridors, you will come across some security holograms patrolling the rooms.

Fallout: New Vegas Dead Money Walkthrough - Fallout New-Vegas-Dead-Money 120

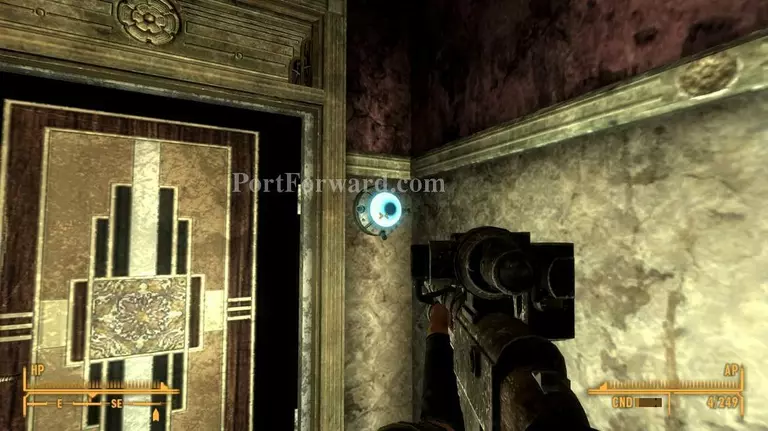
In order to make further progress through the Executive suites, without being shot and killed by the security holograms, you will have to find the hologram emitter and destroy it by shooting it down.

Fallout: New Vegas Dead Money Walkthrough - Fallout New-Vegas-Dead-Money 121

After disabling the holograms, go ahead and get to the Maintenance Network Terminal.

Fallout: New Vegas Dead Money Walkthrough - Fallout New-Vegas-Dead-Money 122

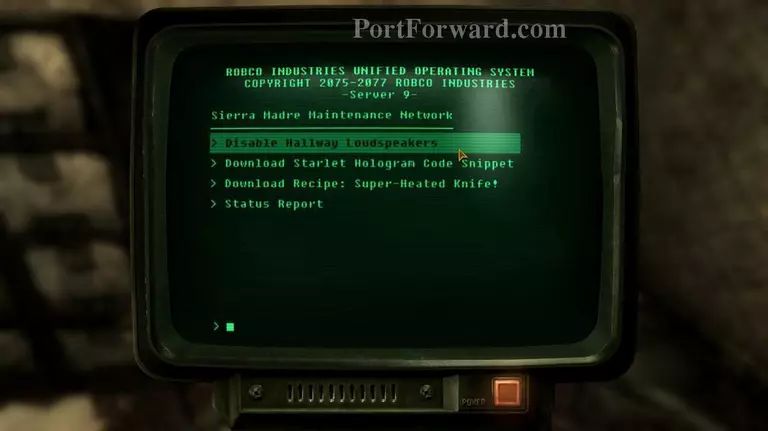
Use the Maintenance Network Terminal to disable the hallway loudspeakers that will make the collar go off and kill you.

Fallout: New Vegas Dead Money Walkthrough - Fallout New-Vegas-Dead-Money 123

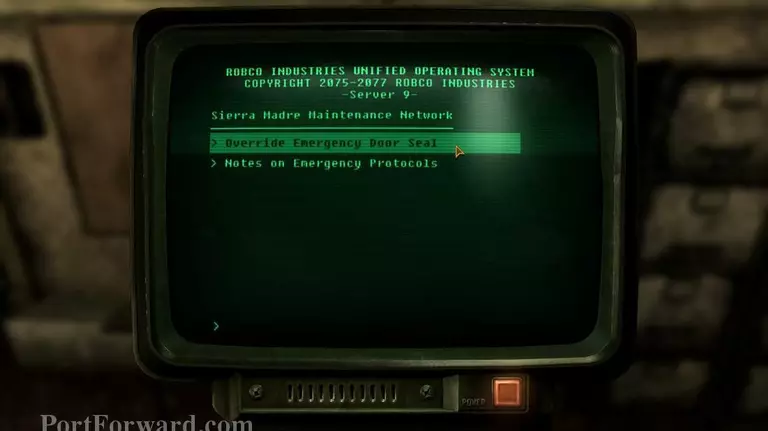
Once the hallway loudspeakers are disabled, use the Emergency Network Terminal located right next to the Maintenance terminal and use it to override the emergency door seal.

Fallout: New Vegas Dead Money Walkthrough - Fallout New-Vegas-Dead-Money 124

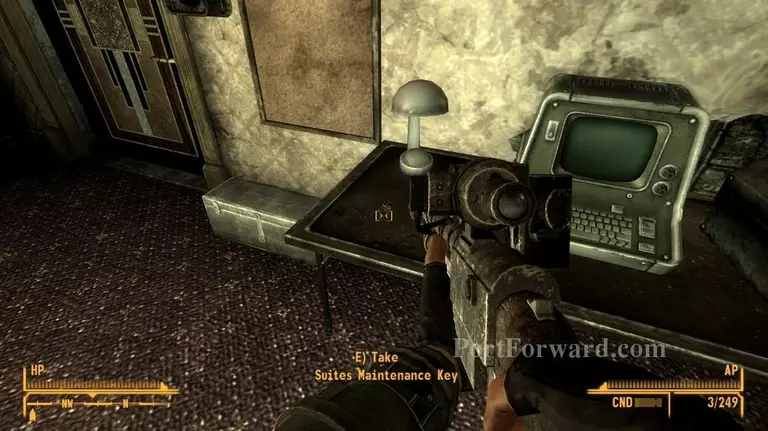
After operating the terminals, grab the suites maintenance key found on the table and use it to unlock the door on the left.

Fallout: New Vegas Dead Money Walkthrough - Fallout New-Vegas-Dead-Money 125

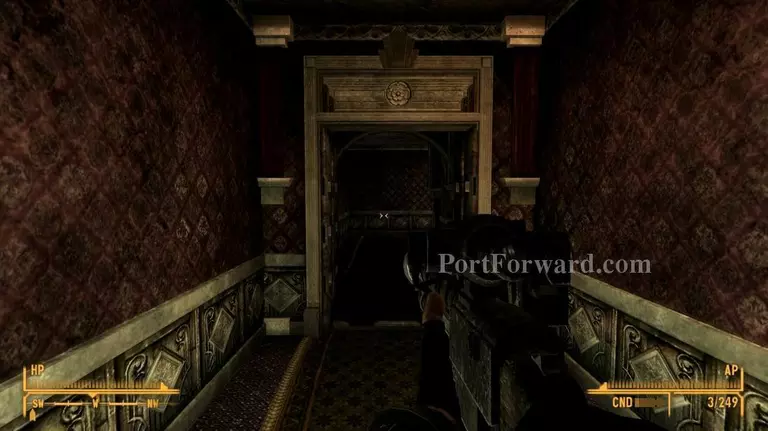
Now that you've got the maintenance door open, make your way to Vera's suite.

Fallout: New Vegas Dead Money Walkthrough - Fallout New-Vegas-Dead-Money 126

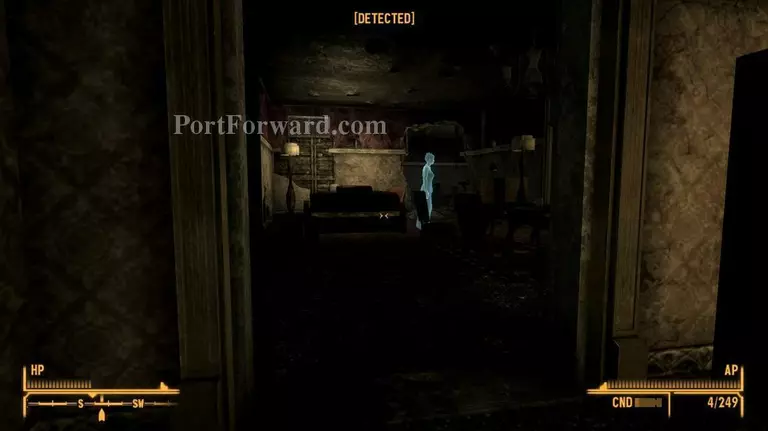
Upon entering Vera's suite, you are going to find Christine inside. At this point, Christine will be able to tell you her story.

Fallout: New Vegas Dead Money Walkthrough - Fallout New-Vegas-Dead-Money 127

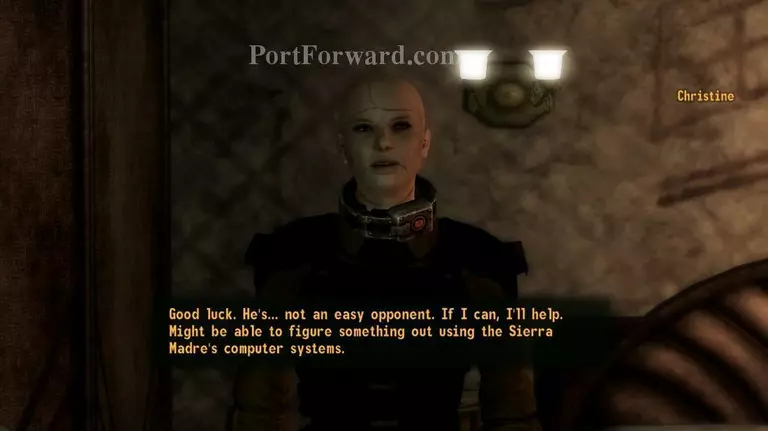
Christine will start talking about her order to kill Father Elijah, and she is going to give you Vera's key once the conversation is over. The quest will come to an end afterwards.

More Fallout: New Vegas Dead Money Walkthroughs

This Fallout: New Vegas Dead Money walkthrough is divided into 13 total pages.

More From Portforward