
This Ghost Master walkthrough is divided into 14 total pages.
You can jump to nearby pages of the game using the links above.
What Lies over the Cuckoos Nest?
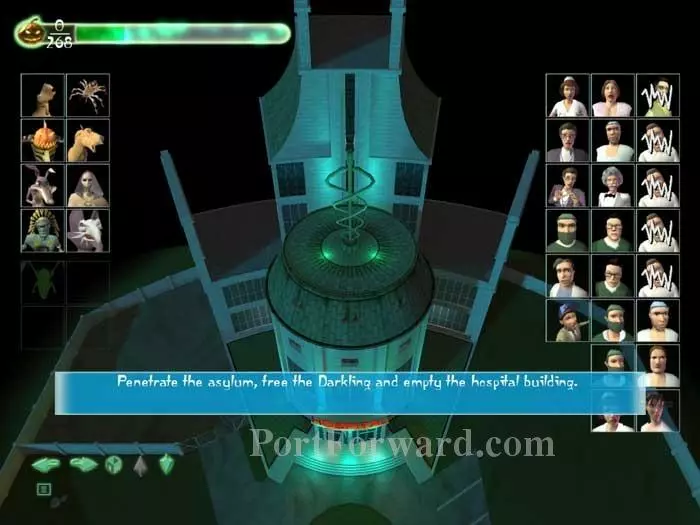
You find yourself back at the hospital from Phantom of the Operating Room. The level objectives: free the Darkling and frighten everyone into fleeing or drive them mad.
The Darkling is the only trapped spirit (except for Daydreamer on revisits, found as in Phantom of the Operating Room).
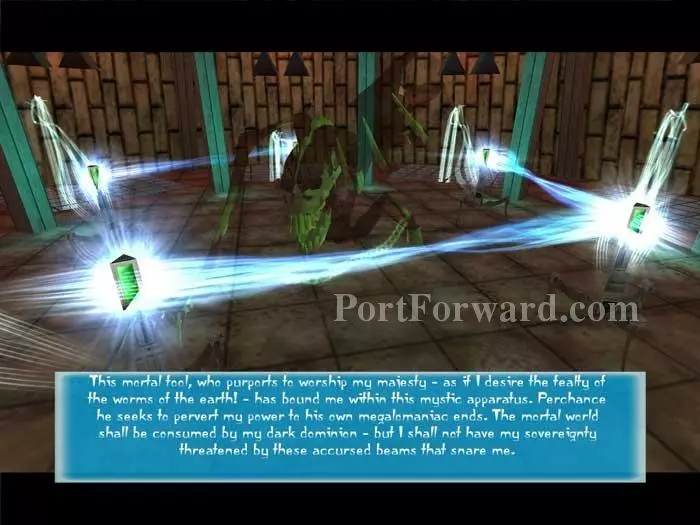
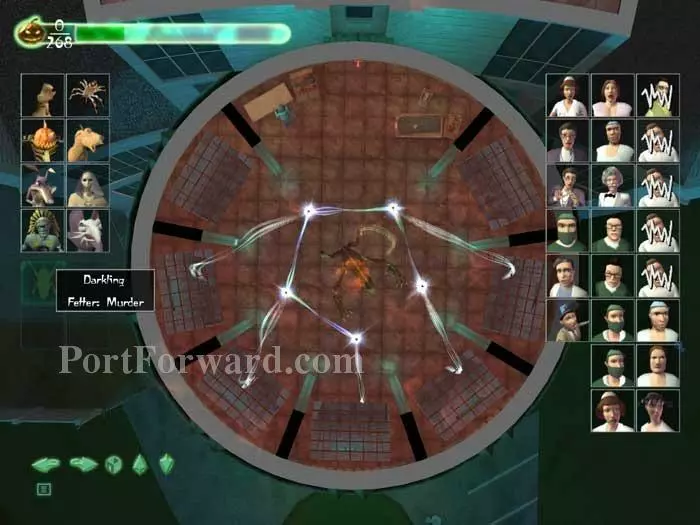
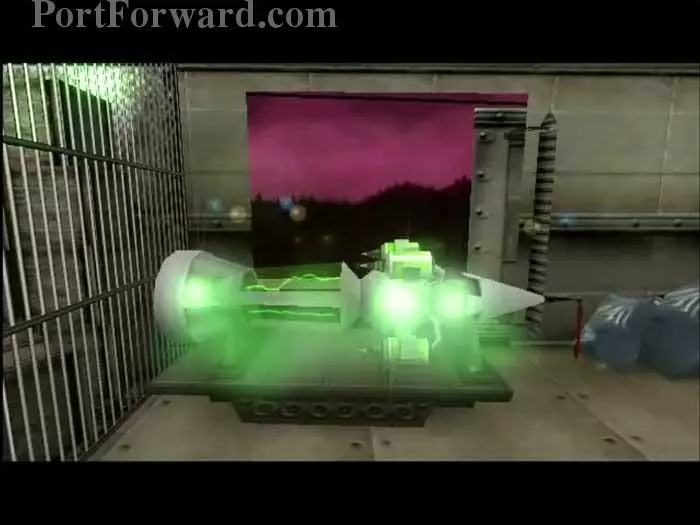
The demented Professor has the Darkling trapped within this mystic apparatus. And the Darkling is none too happy about it.
The apparatus is powered by these five sleeping mental patients. Free the patients, shut down the apparatus, free the Darkling. Simple, right?
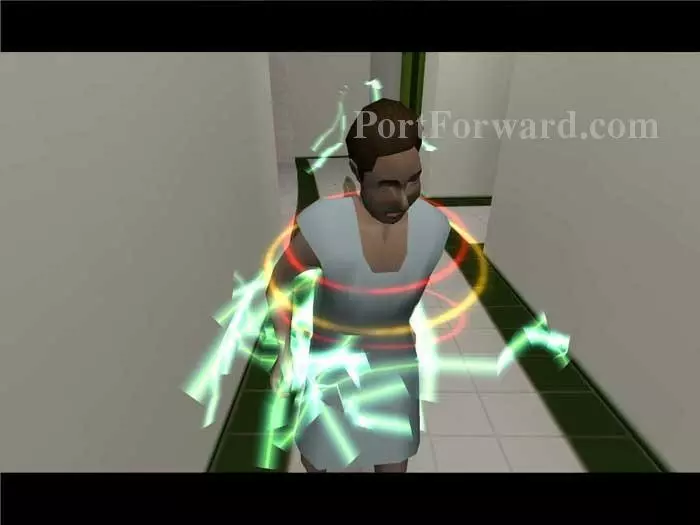
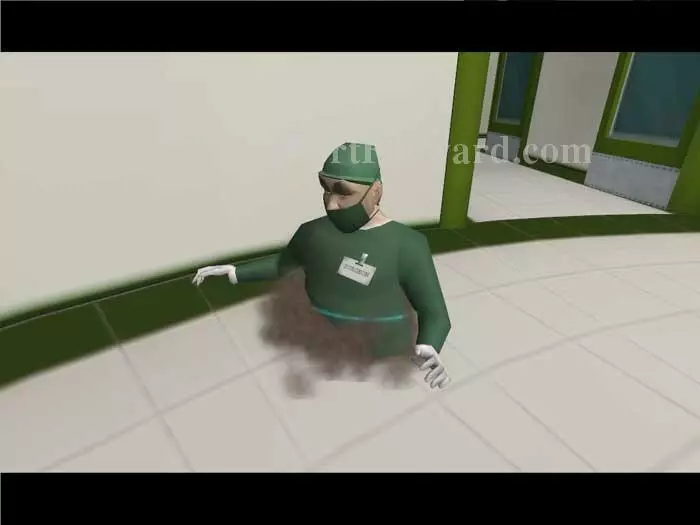
The problem is that the patients are protected behind a red ward. Let's start by scaring folks like this chap and build some plasm.
Scarecrow is quite effective at building plasm when fettered out front.

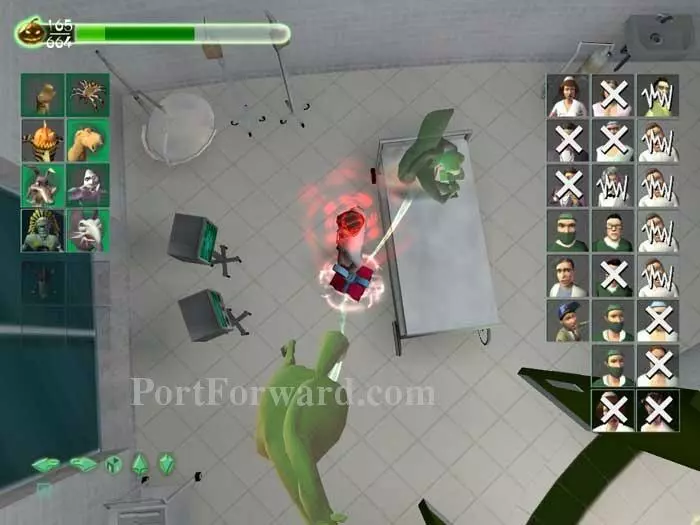
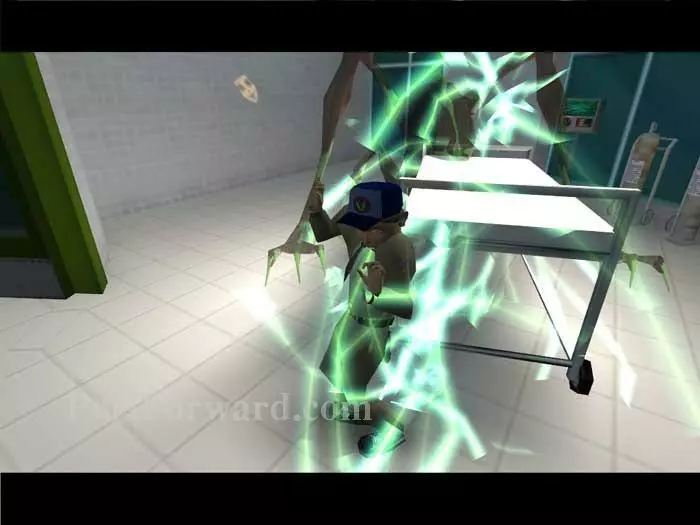
Once you have enough plasm, bind Wisakejak to Kevin Caulkin and cast Trojan Gift.
Bind Stormtalon and Hypnos to the gift. You want one of the hospital employees who regularly frequent the red ward to pick up the gift. The orderlies are my preference.
This takes a fun-zapping amount of patience (or luck), but eventually someone will take the gift up to the red ward. You can use Stormtalon's Rain to force an unhelpful mortal to drop the gift.
Using the Darkling's Obsession doesn't help if the mortal is not already somewhat close. As seen here, most mortals will simply stand still rather than be lured up to the red ward.
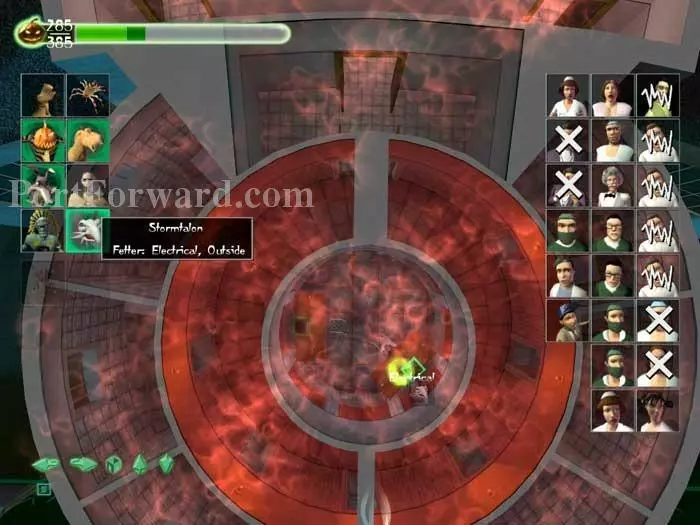
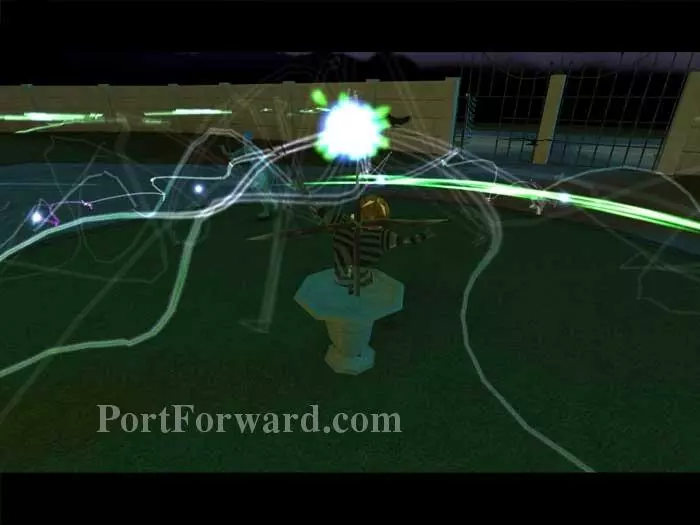
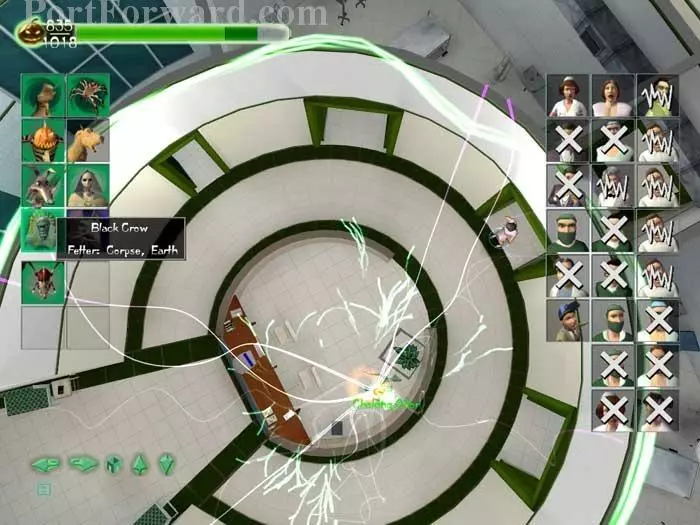
Once the gift is finally in the red ward, bind Stormtalon as seen here.
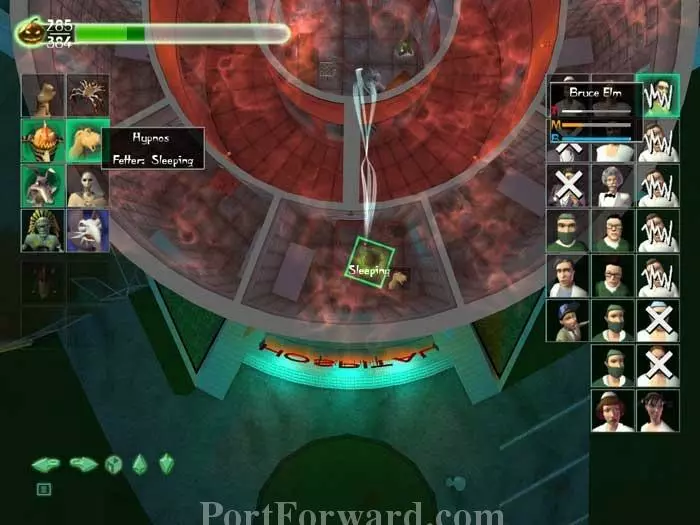
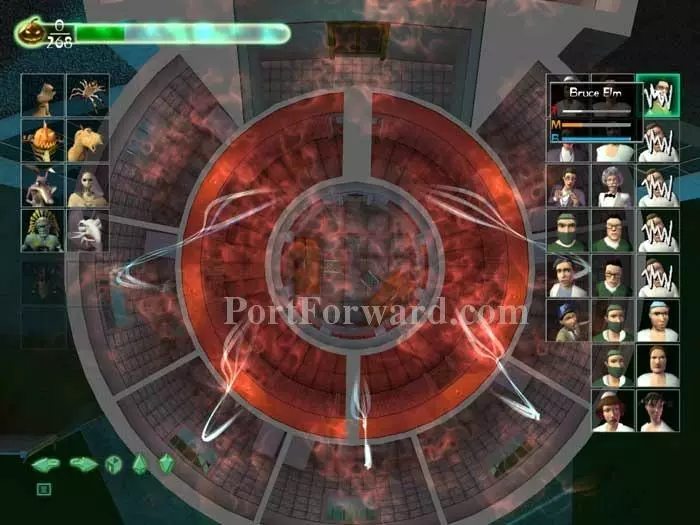
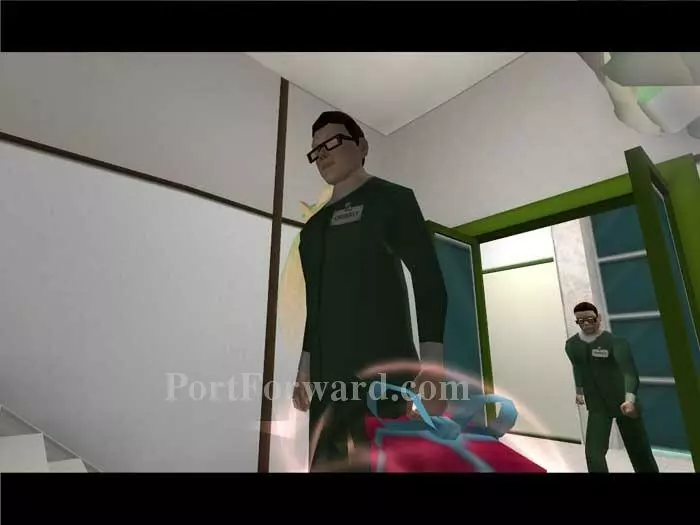
Bind Hypnos to Bruce Elm as seen here.
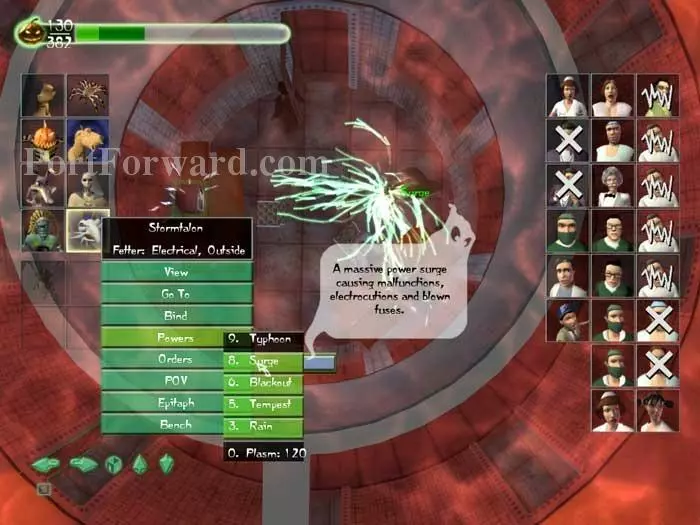
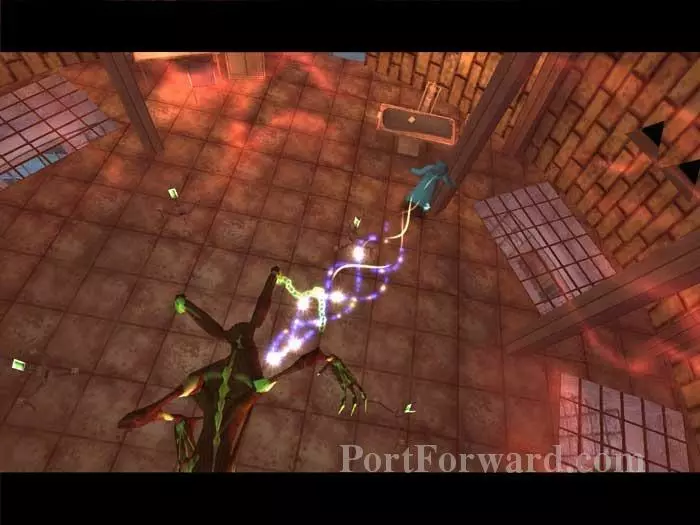
Have Stormtalon cast Surge to short out the locked doors.
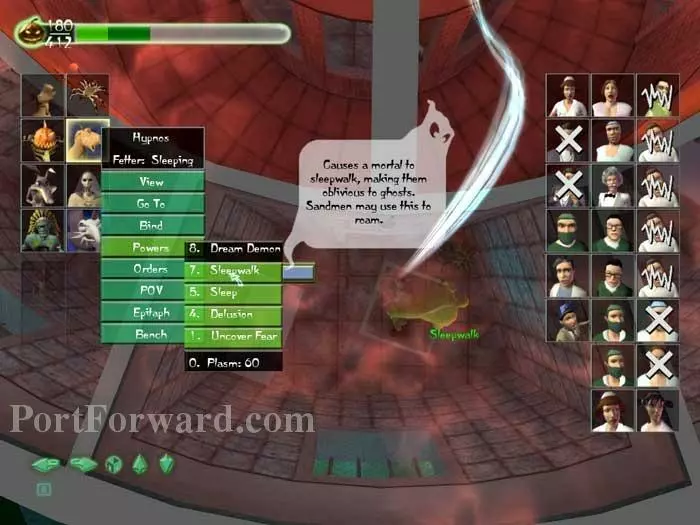
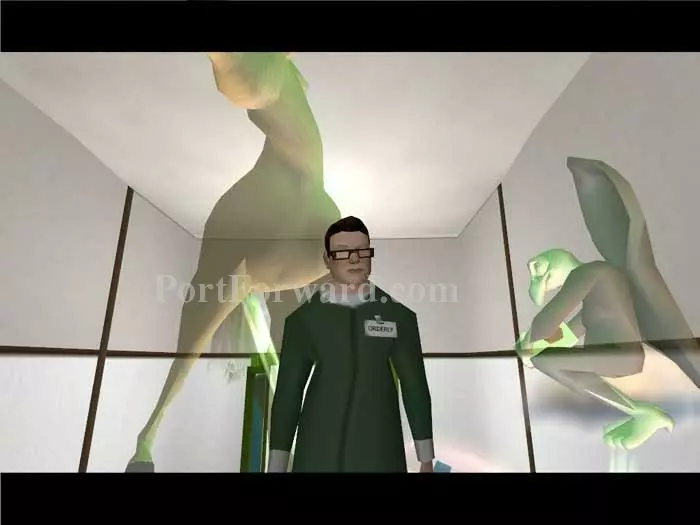
Have Hypnos cast Sleepwalk. This will move Bruce Elm out of his cell and break the power band to the apparatus trapping the Darkling.
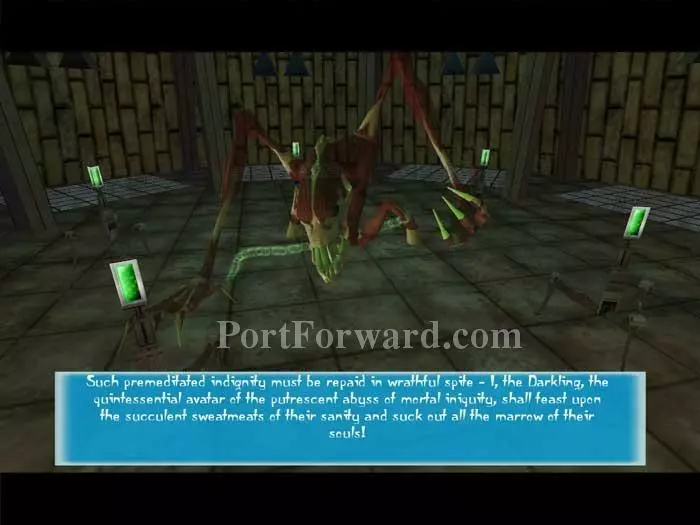
The Darkling, now free, consumes the soul of his captor, the demented Professor.
Your objective is completed, and the Darkling is free.
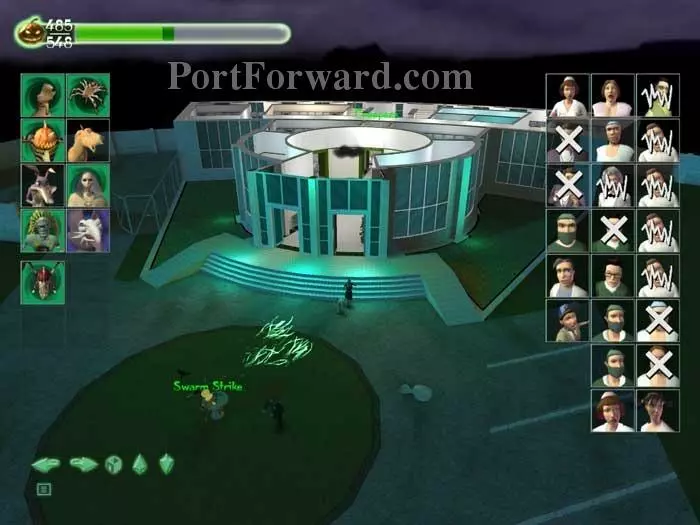
Now for the fun part -- wreaking havoc and scaring everyone out of their wits!
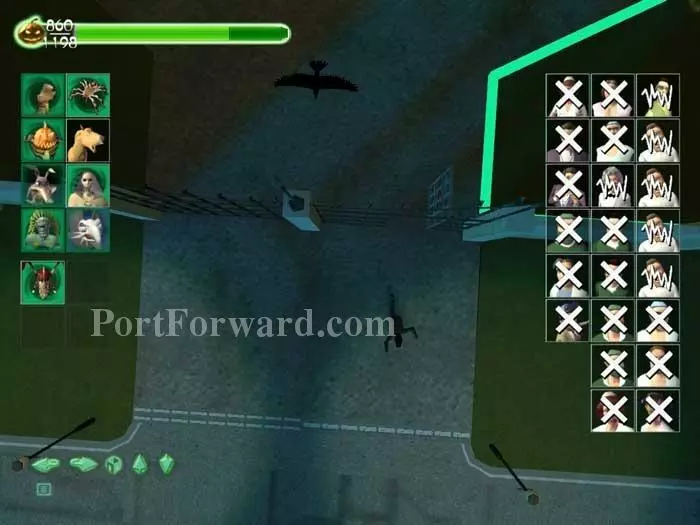
The Darkling is now yours to command. He can be fettered to this bed, and there are two fetters in the basement that he can use as well.
Bind Black Crow to this plant and let him have some indoor scares for a change.
Black Crow's Buried Alive works just great on ceramic tile!
Send them all fleeing to complete the level and the game!
But what's this? An ether bomb aboard the Gravenville Express!

A final cutscene shows that the Ghostbreakers plan to detonate the bomb and rid Gravenville of its spooky specters!

We'll have to wait and see if we can detonate the bomb before it's too late. And that's it for Ghost Master. I hope you like the game and I also hope that this walkthrough helped you. Game on!
More Ghost Master Walkthroughs
This Ghost Master walkthrough is divided into 14 total pages.


