
This Ghost Master walkthrough is divided into 14 total pages.
You can jump to nearby pages of the game using the links above.
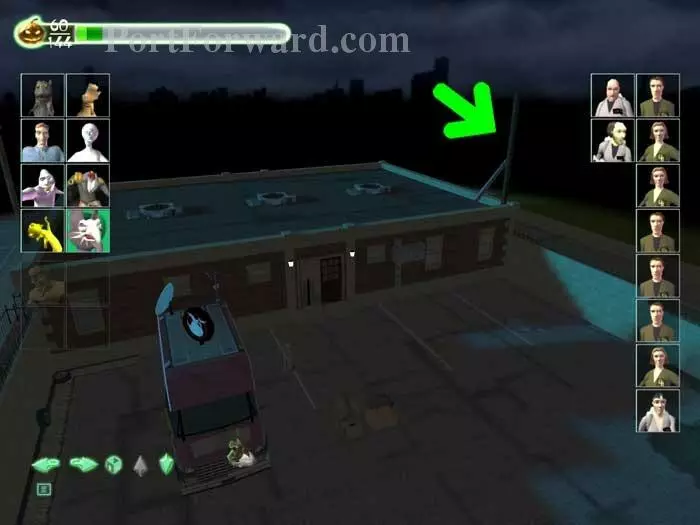
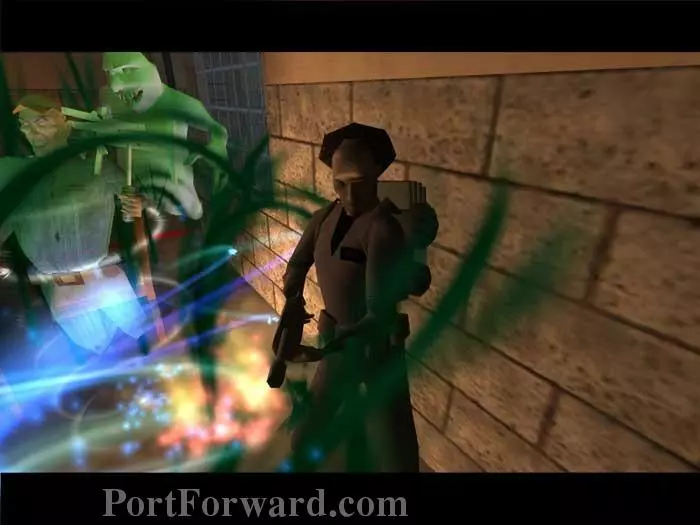
Ghostbreakers
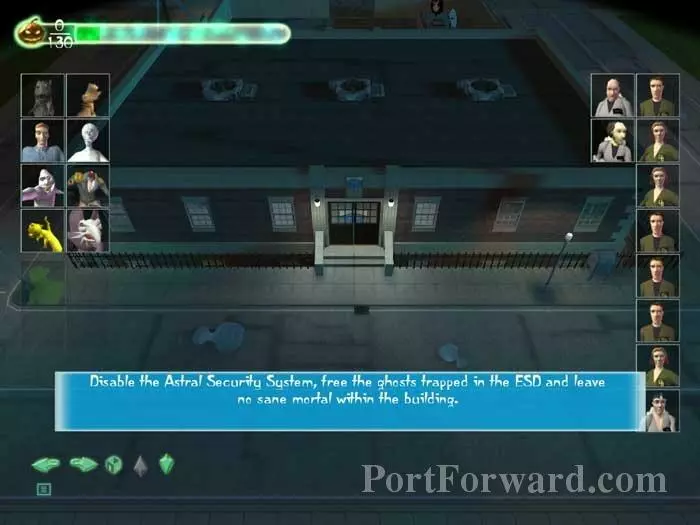
The Ghostbreakers are besieged inside the police precinct from The Unusual Suspects.

There is only one trapped spirit, Windwalker, in this level (or the original three from The Unusual Suspects on revisits).
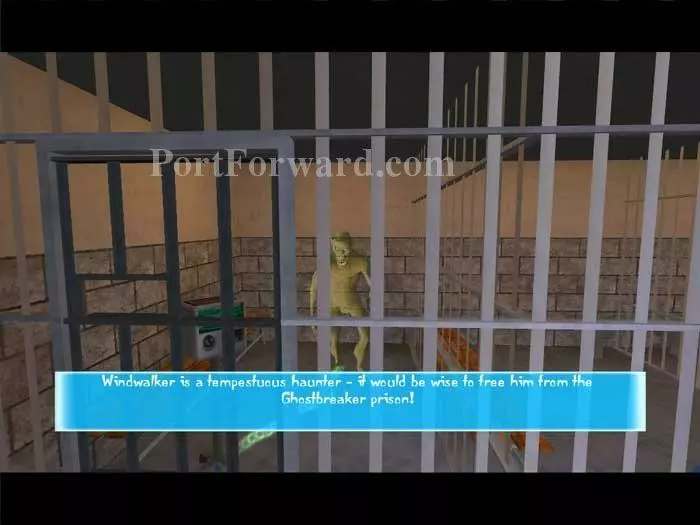
The mortals have imprisoned Windwalker within the red astral ward.
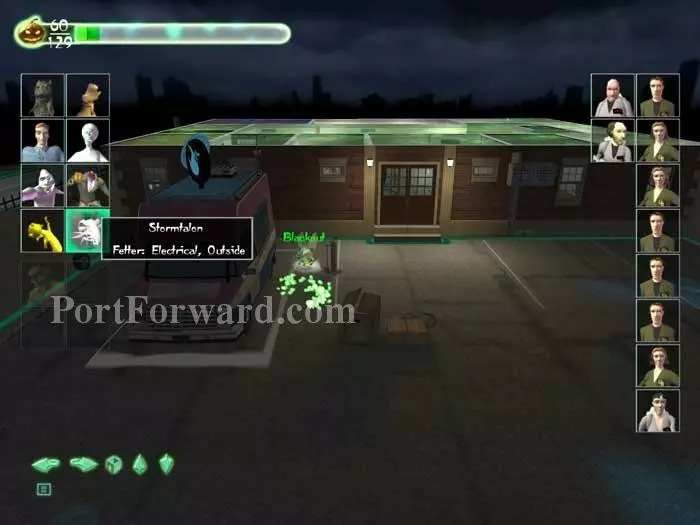
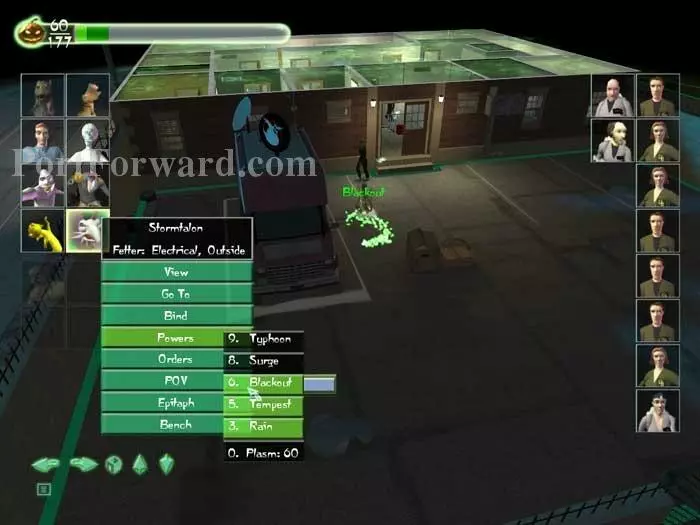
Start by binding Stormtalon to the van out front. Cast Blackout to disrupt the flow of power.
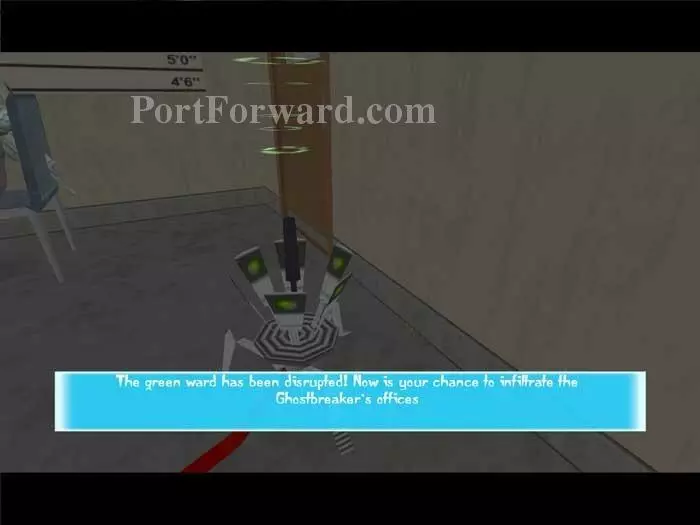
You are alerted that the green ward has been disrupted.
Note that a lightning strike to the indicated radio tower will also allow entry to the precinct.

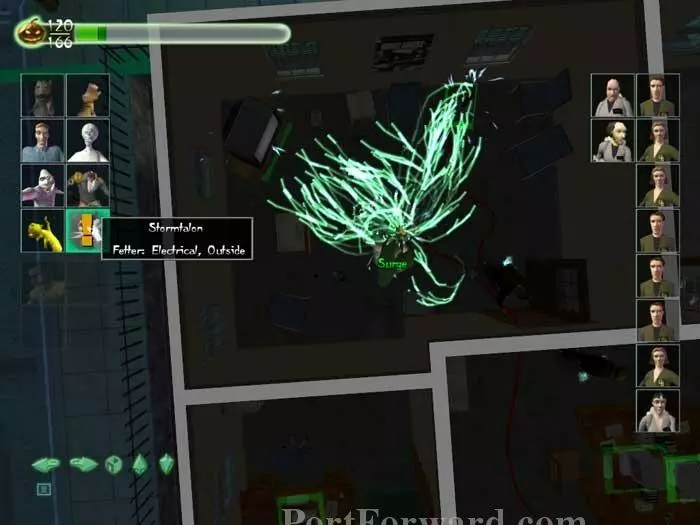
You have limited time so move quickly. Bind Hogwash to this lower-level room and use Surge against this generator.
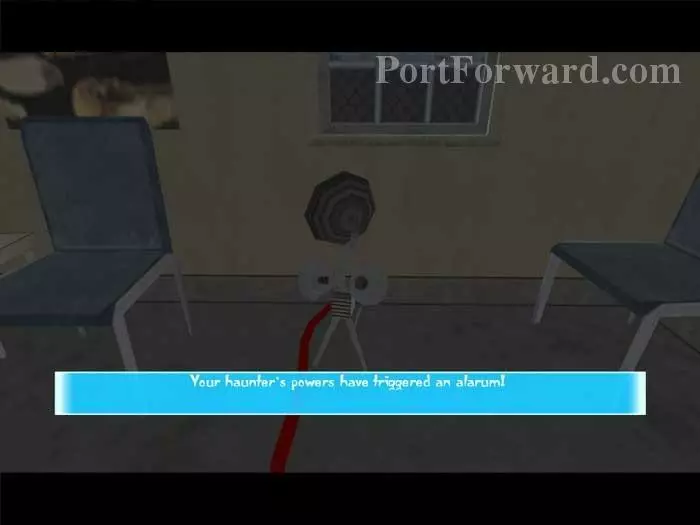
You are alerted that an alarum as been sounded.
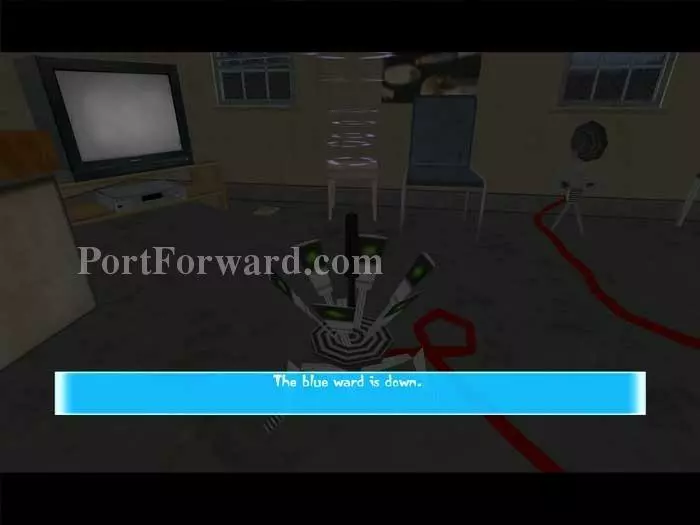
But more importantly, you have taken the blue ward offline. Now we just have the green and red wards to sabotage.
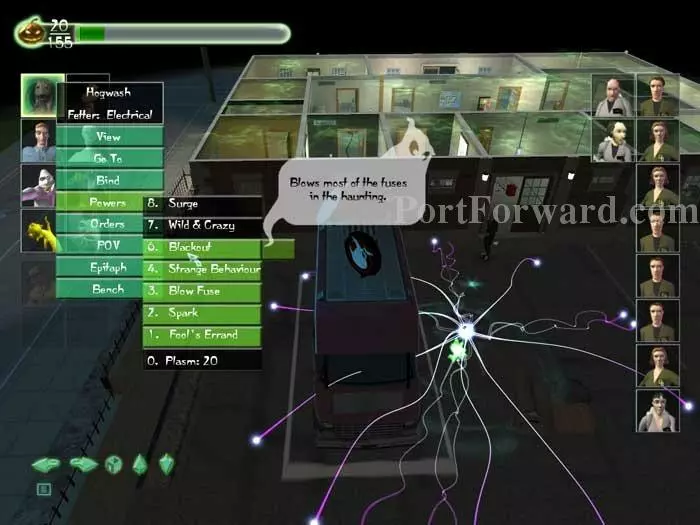
Bench Stormtalon and replace him with Hogwash. Hogwash's Blackout power band is fresh, giving you more time to work.
Bench Hogwash to keep him safe. Bind Stormtalon to this device on the upper floor and cast Surge.
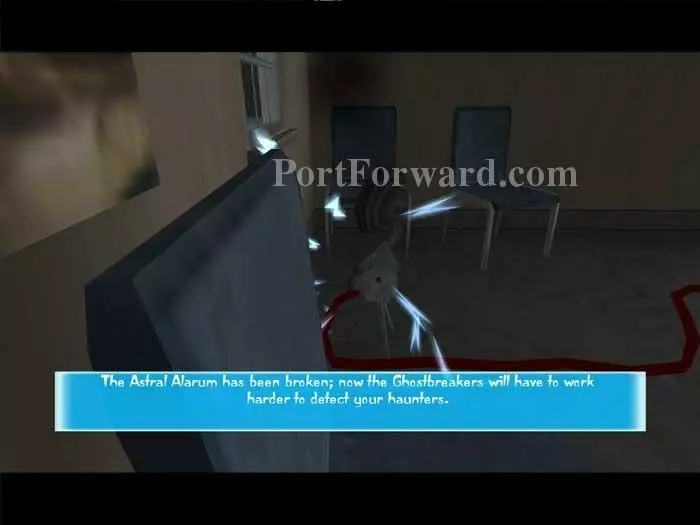
Congratulations, you've just taken that pesky alarum offline!
Once again, exchange Hogwash and Stormtalon and have Stormtalon cast his now-fresh Blackout from the van.
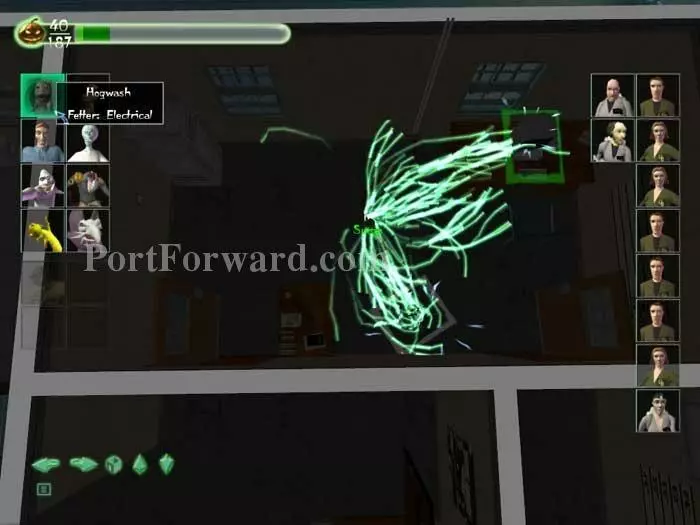
Bind Hogwash to this device in this upper-level office and have him cast Surge.
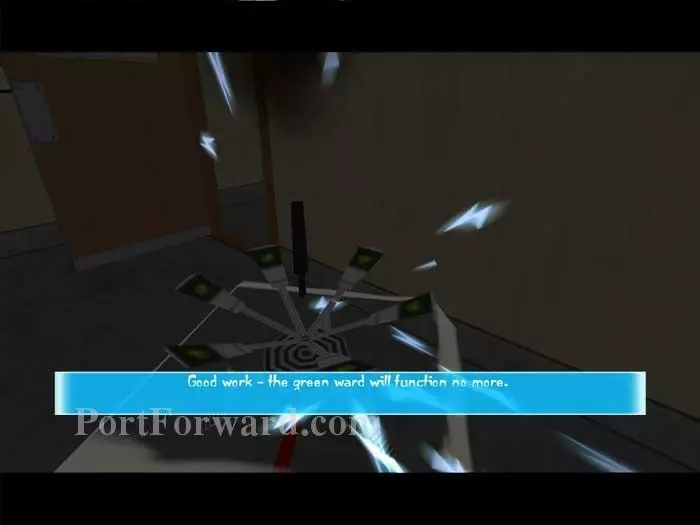
Voila - you've just taken the green ward down - permanently!
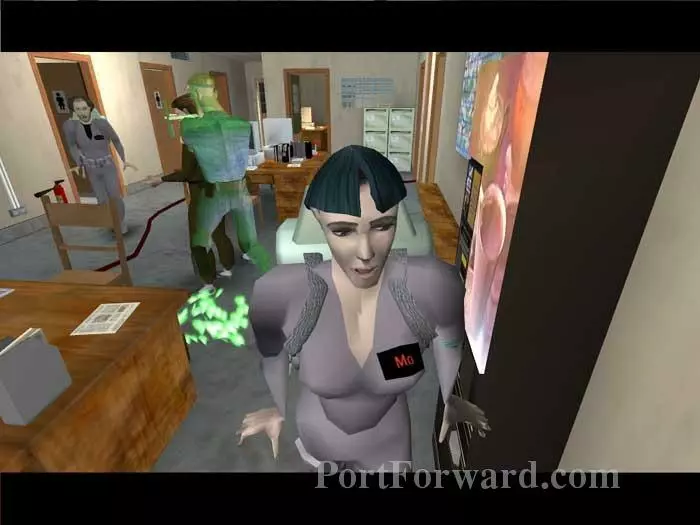
Good. Now let's scare the dickens out of the Ghostbreakers.
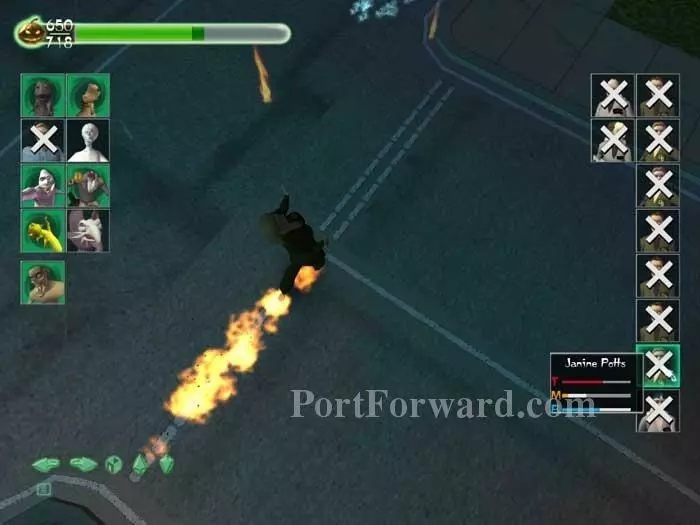
We'll eventually need to scare everyone away, so go ahead and scare as much as you can.
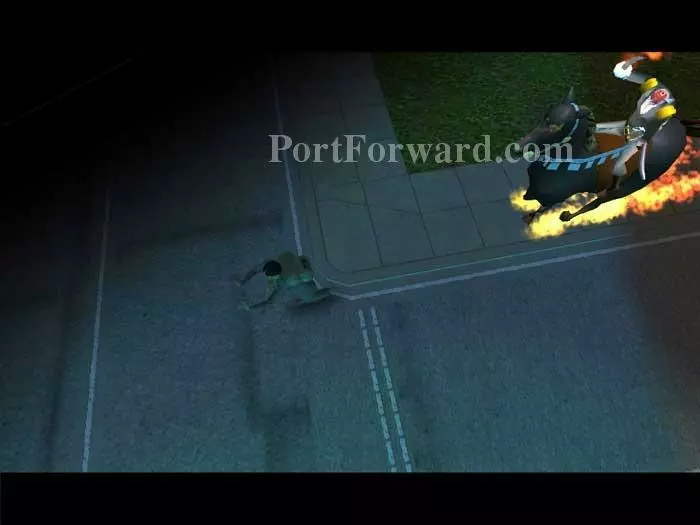
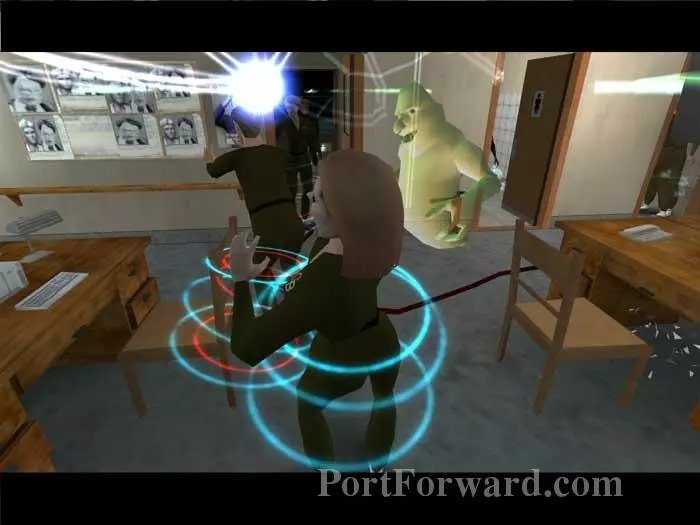
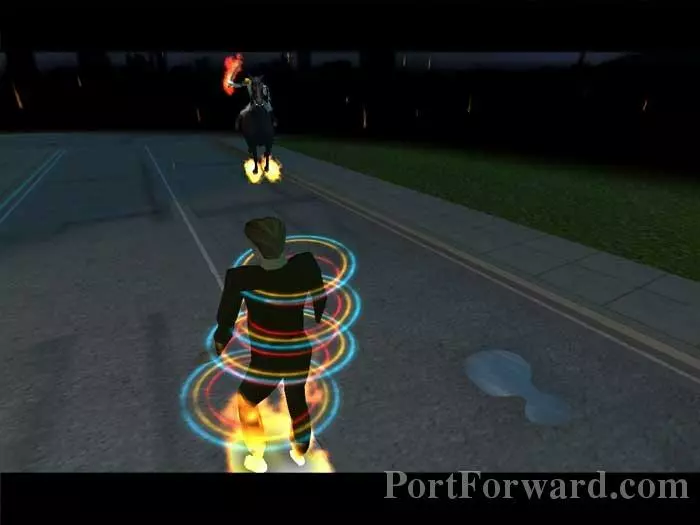
Dragoon makes a great addition to your party on this one. Fetter him outside and he'll chase anyone who leaves the building.
When one of your ghosts is hopelessly under attack, use the opportunity to gang up on the attacking Ghostbreaker, who is vulnerable while focusing on a single ghost.
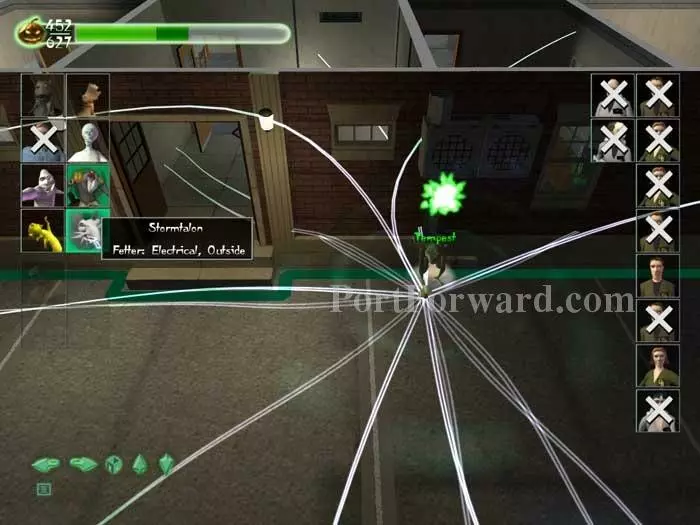
Once all three Ghostbreakers have fled, we can focus on the final ward, the red ward. Bind Stormtalon by this air conditioning unit and cast Tempest.
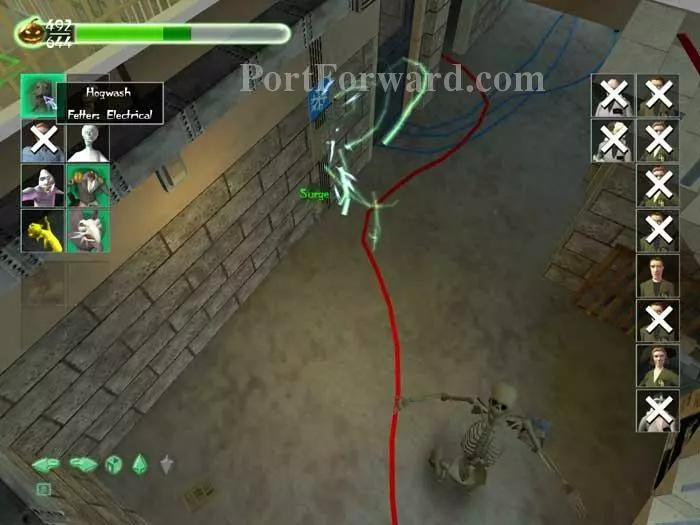
Next, have Hogwash cast Surge on this air conditioning control unit (the one with the snowflake on it). The unit reverses direction.
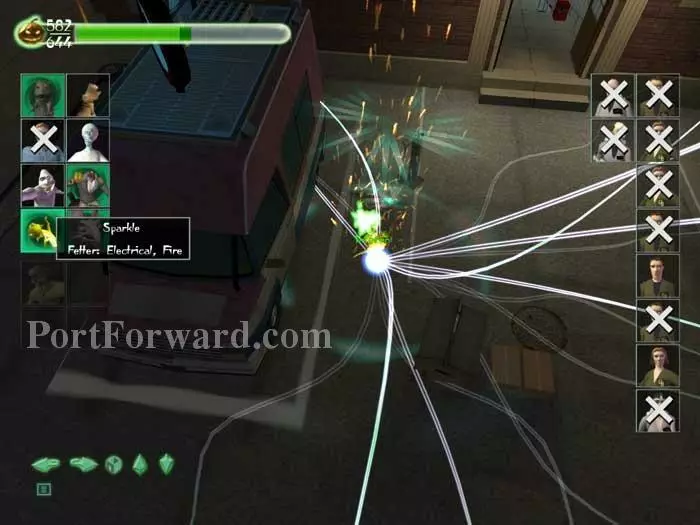
Lastly, bind Sparkle to the van and cast Inferno.
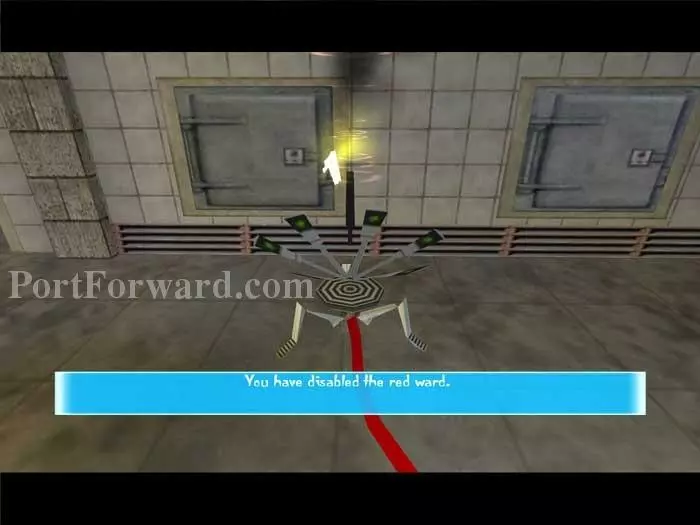
The equipment overheats and the red ward is now disabled!

Now you can bind Hogwash to the ESD and cast Surge.

The ESD is now disabled!
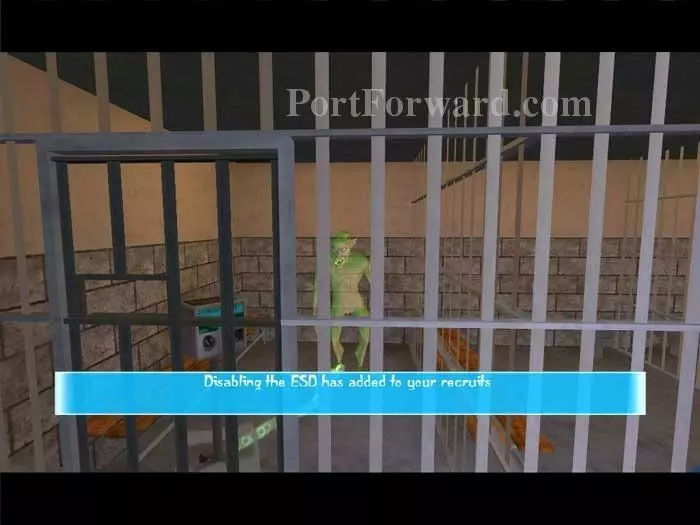
With the ESD offline, Windwalker is set free!
Now you just have to scare off (or drive mad) any remaining mortals.
Scare off the final mortal to complete the level.
More Ghost Master Walkthroughs
This Ghost Master walkthrough is divided into 14 total pages.


