This Little Big Planet walkthrough is divided into 26 total pages.
You can jump to nearby pages of the game using the links above.
The Temples - Elephant Temple
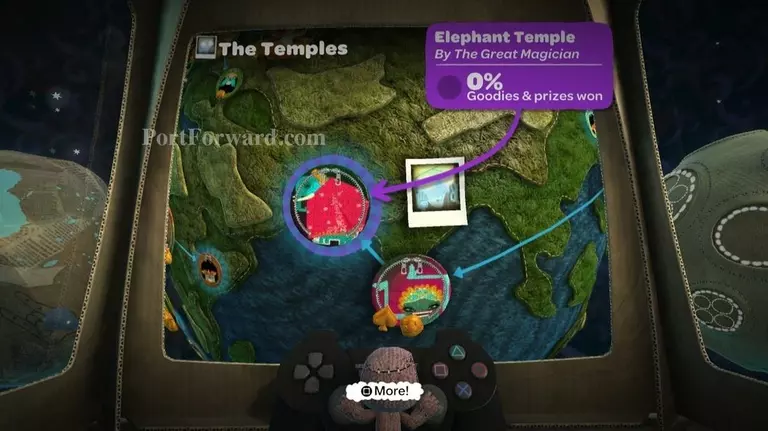
This is the second level of The Temples, "Elephant Temple".
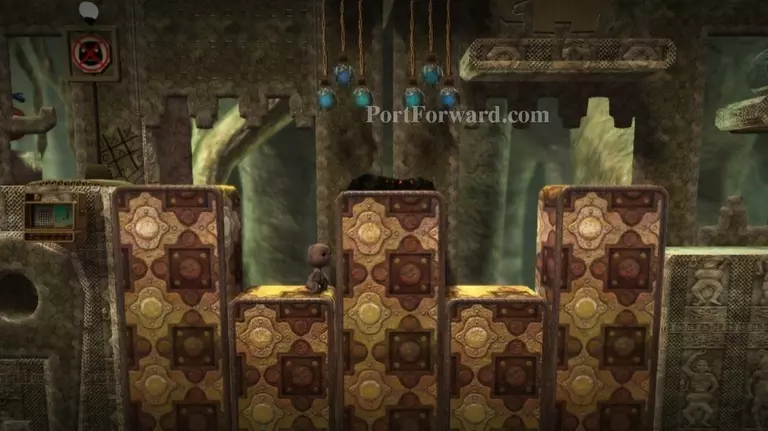
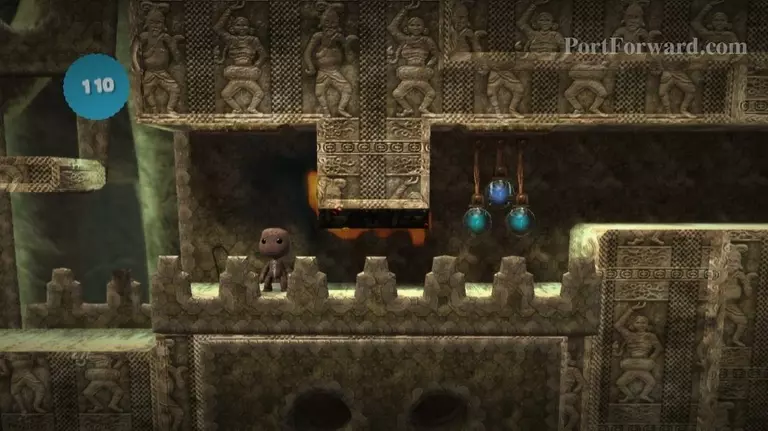
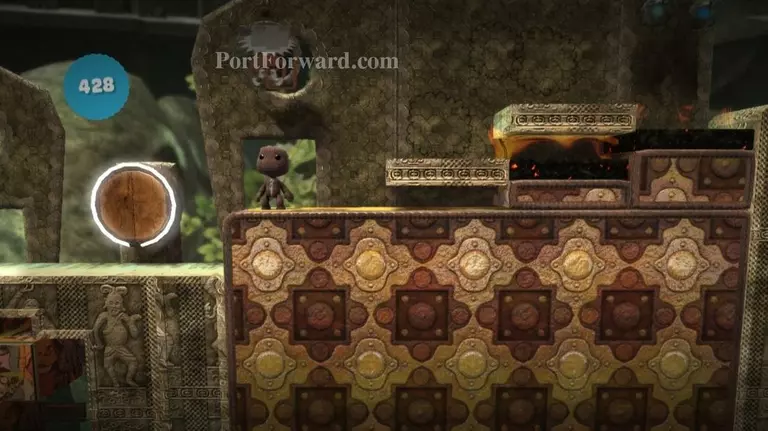
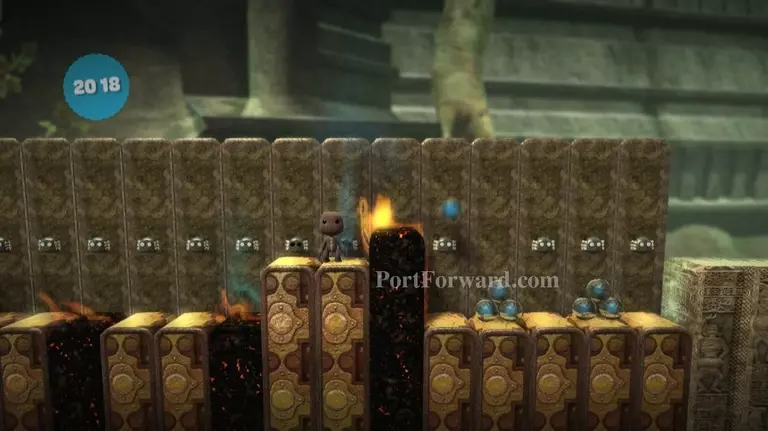
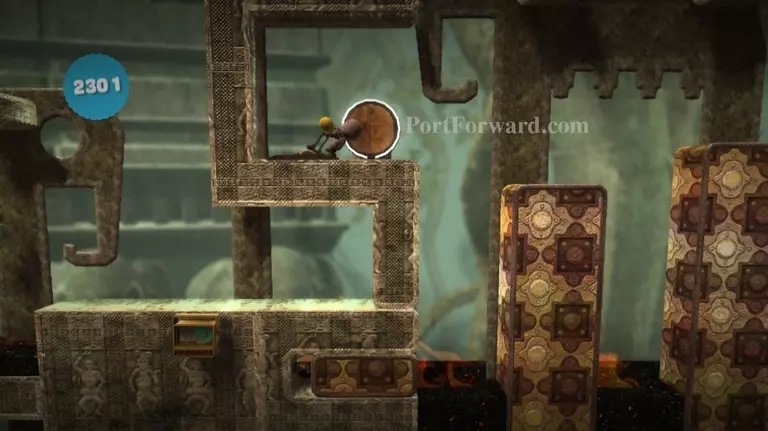
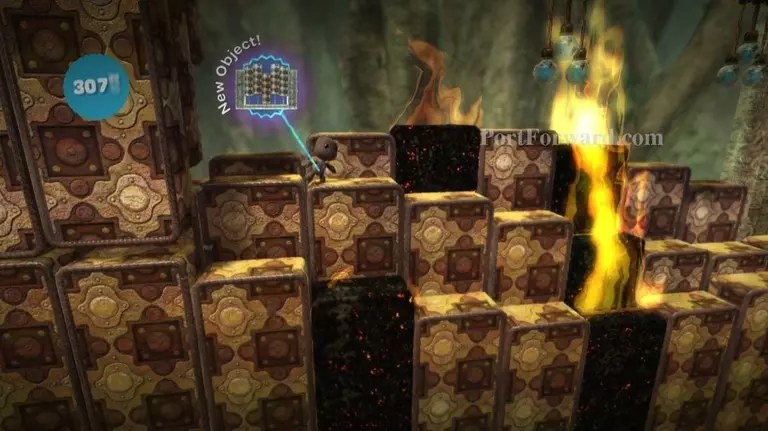
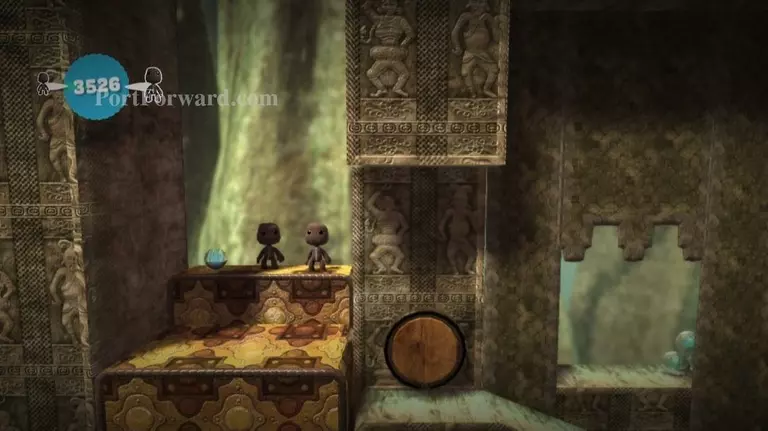
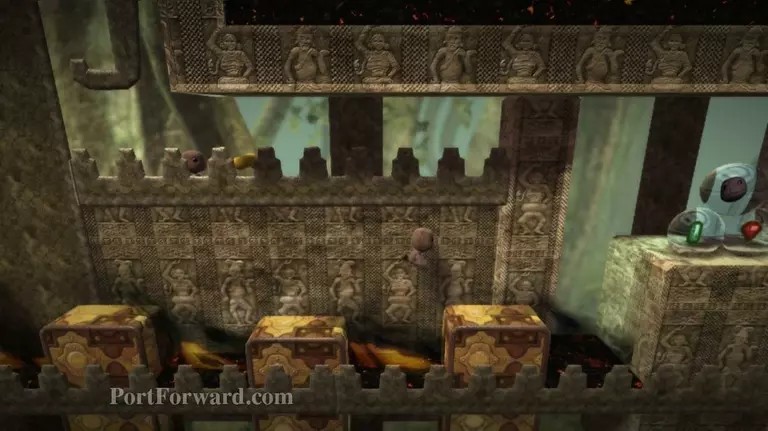
Go rightward onto some blocks moving up and down. Jump over the one that has fire on top.
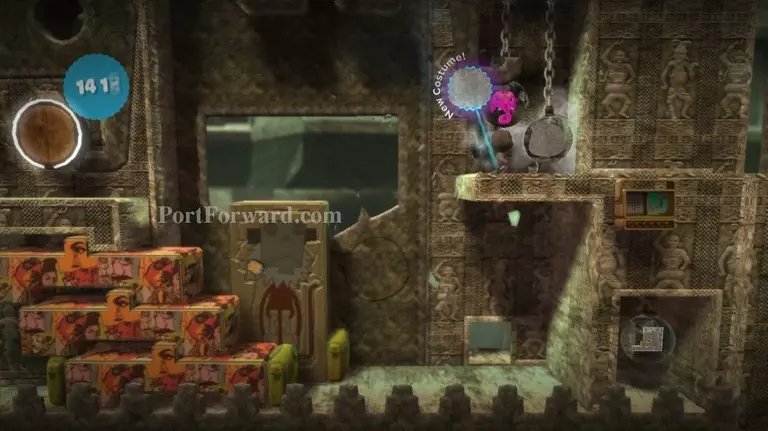
When the last block is up, jump to the small platform to the right. You'll get the STONE ELEPHANT.
You'll see a sticker board to the upper-left. You'll have to wait until after the next level to use that.
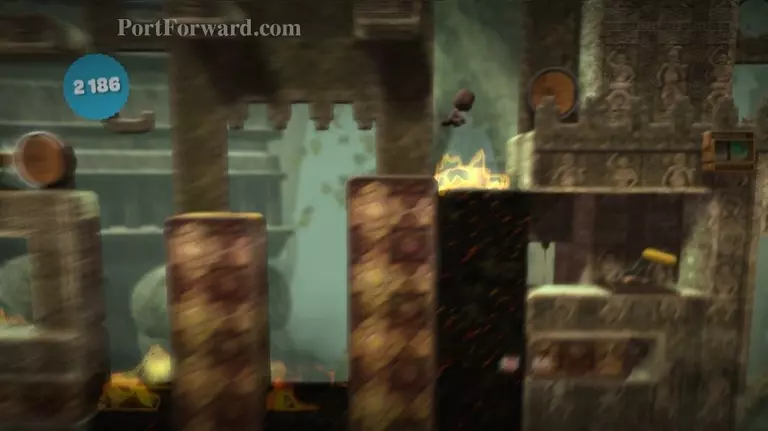
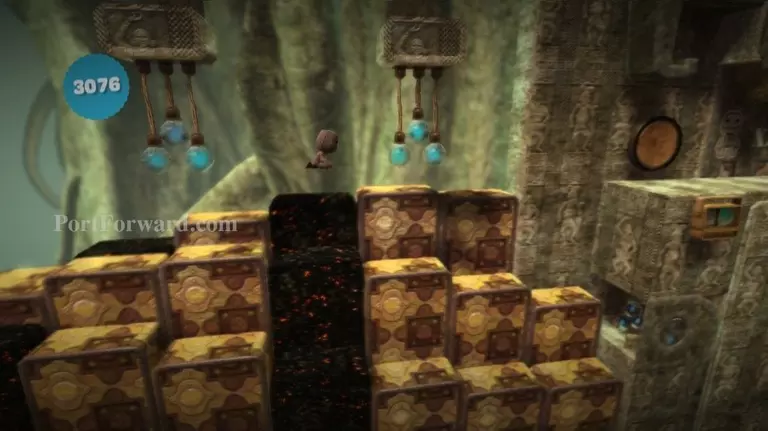
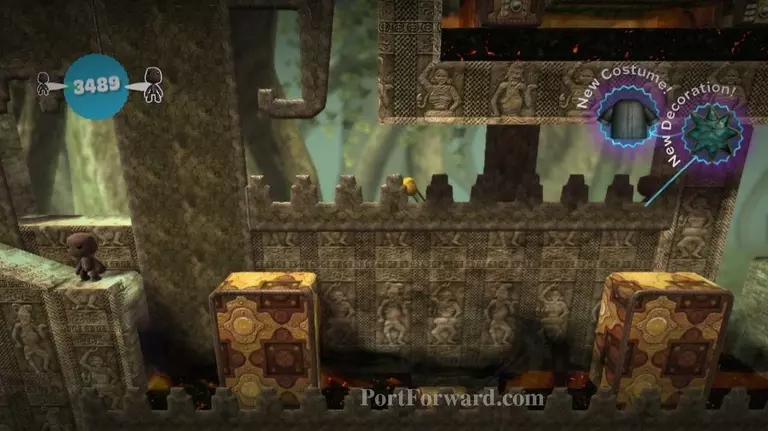
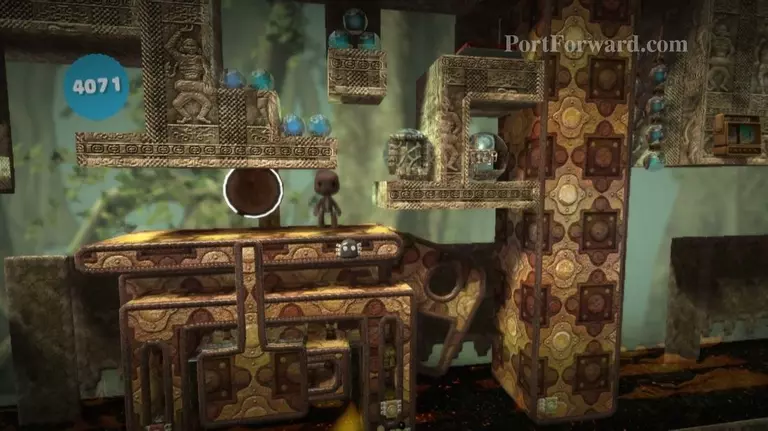
Continue rightward. Run under the fire when the platform is low.
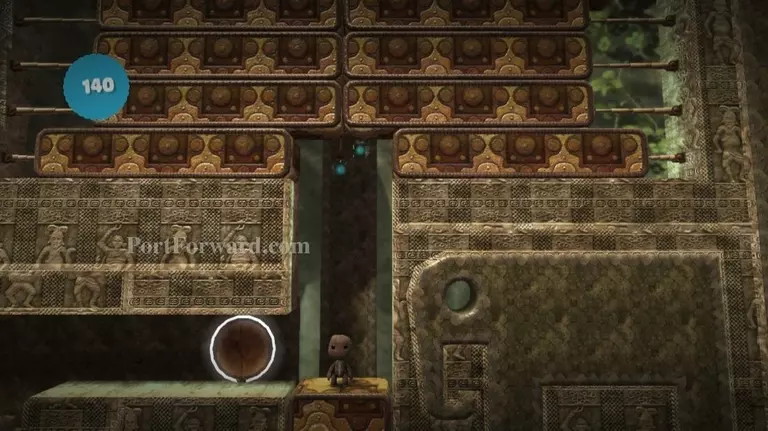
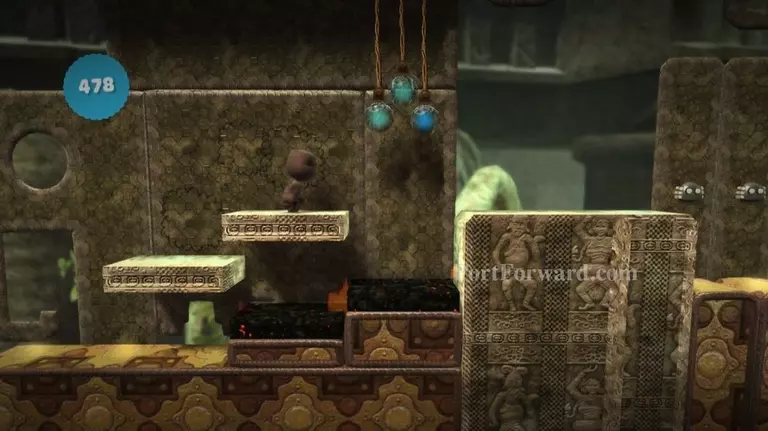
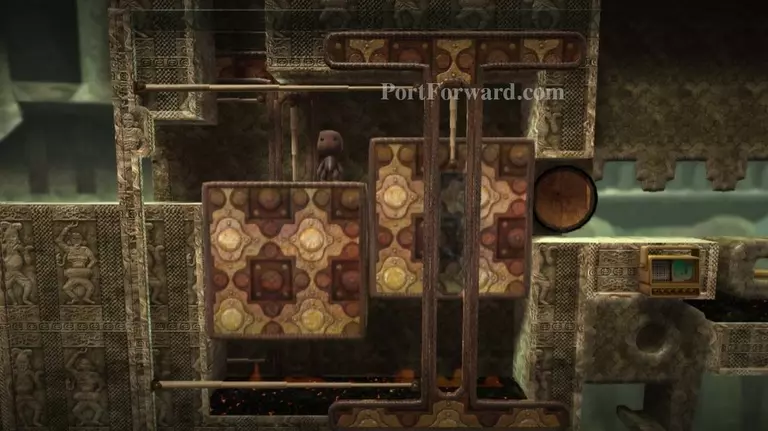
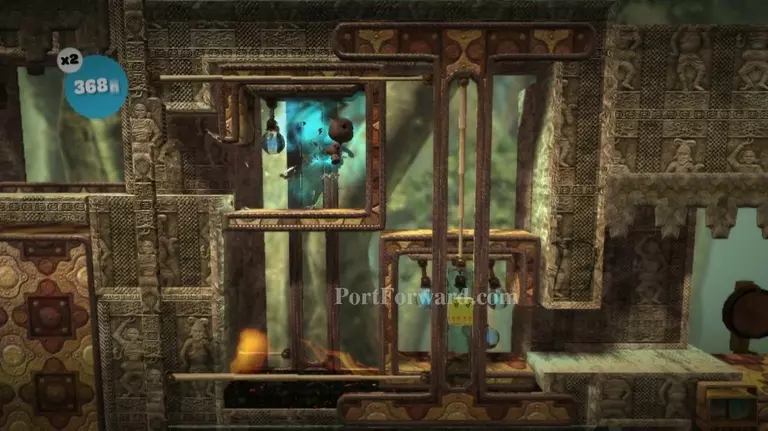
After the next gong, get on the platform that moves up and down.
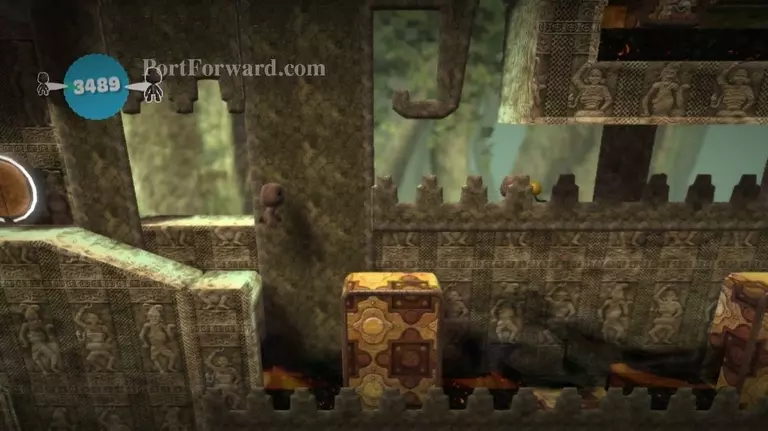
Continually jump before blocks smash you, slowly climbing upward. At the top, jump right.
Pull the fabric to make some steps.
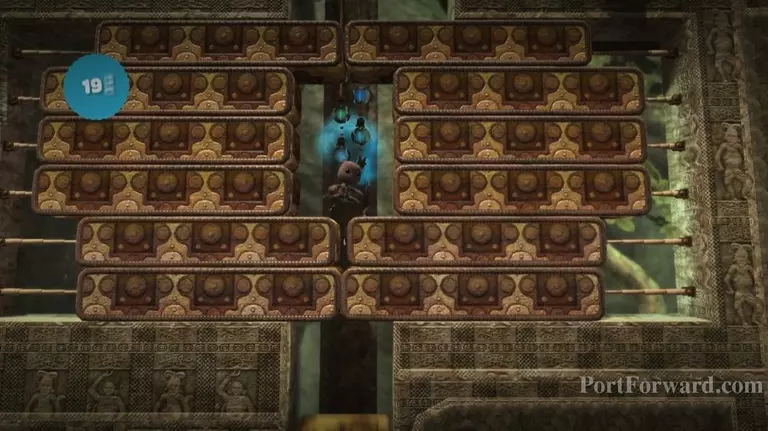
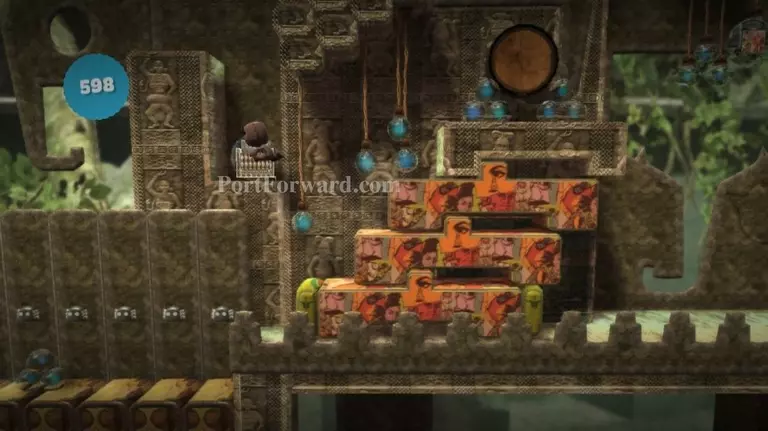
Get on the platform moving up and down. Jump to get the MONKEY sticker.
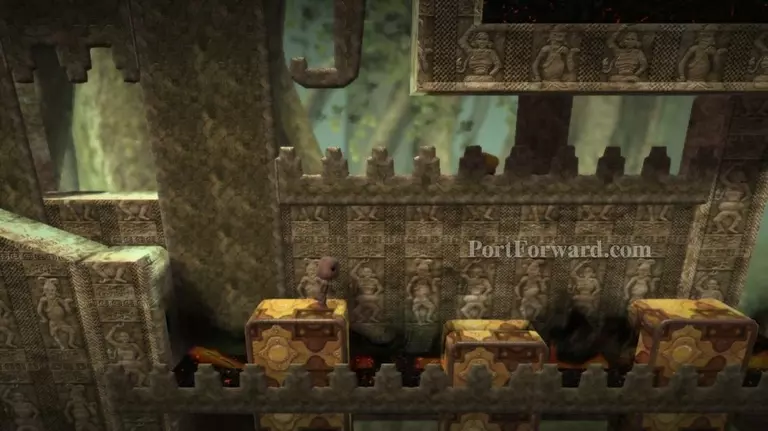
Jump across the platforms to the right, avoiding the fire.
You'll come to some blocks that move up as you walk across them.
Next pull on another fabric piece to make more steps.
Jump from the second step leftward, to get SWITCH ACTIVATED BRIDGE bubble.

Continue over the steps, then pull them rightward.
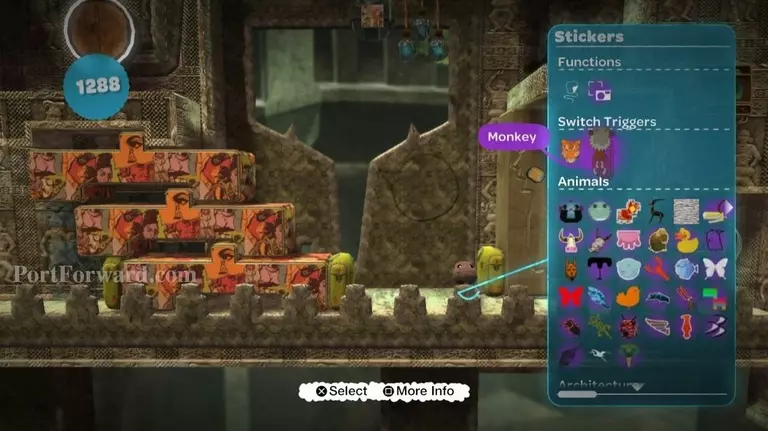
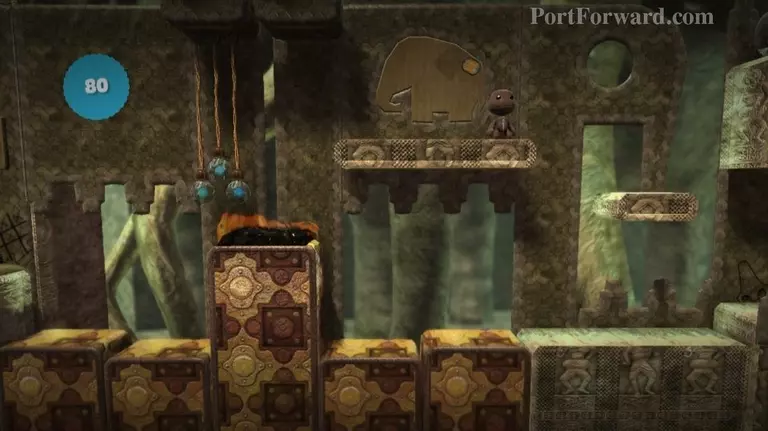
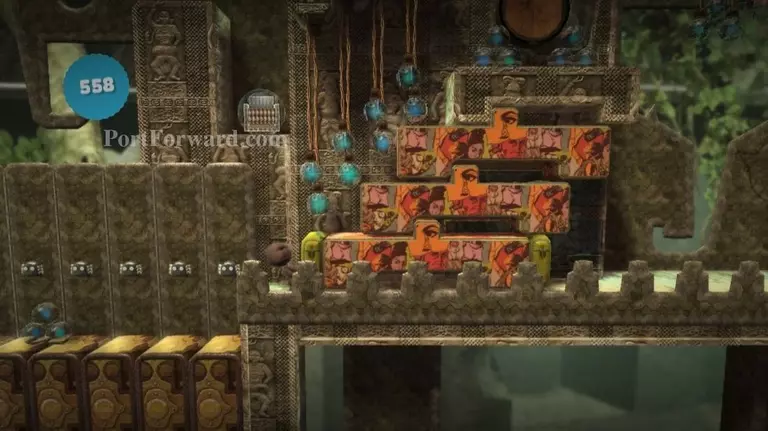
You'll see a sticker board here. Select the Monkey from the sticker menu.

Place it on the board. You'll see some prize bubbles appear above.

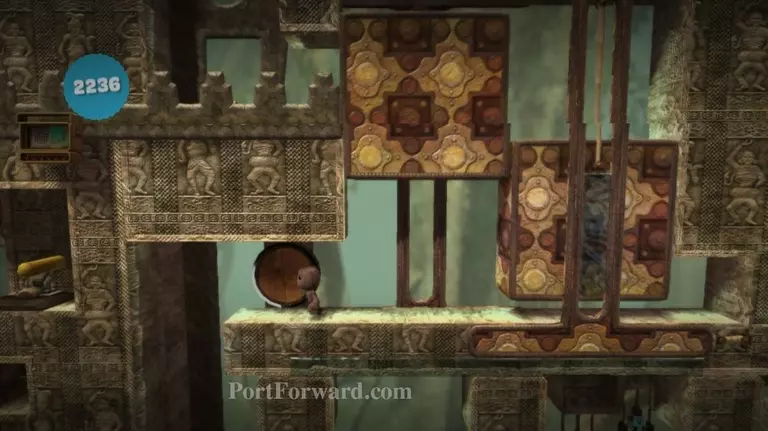
Pull the block with the monkey on it leftward.
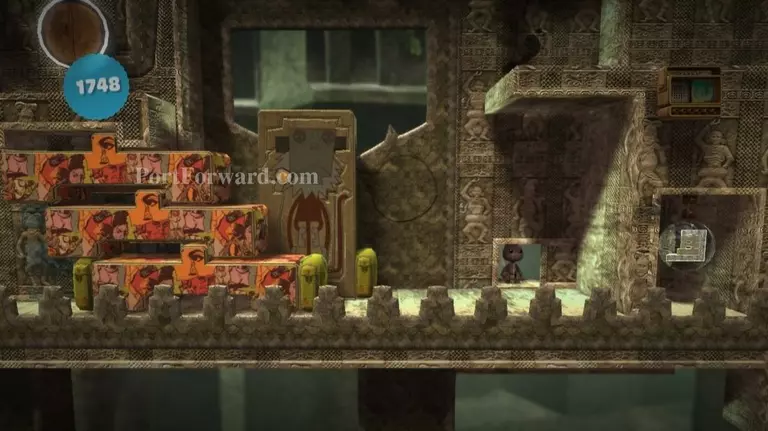
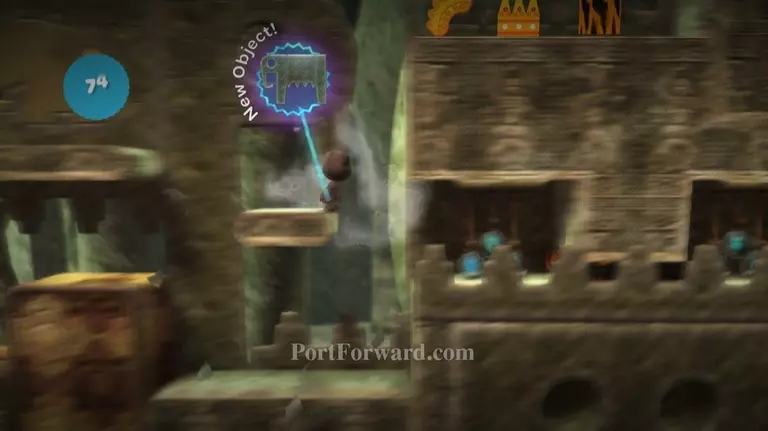
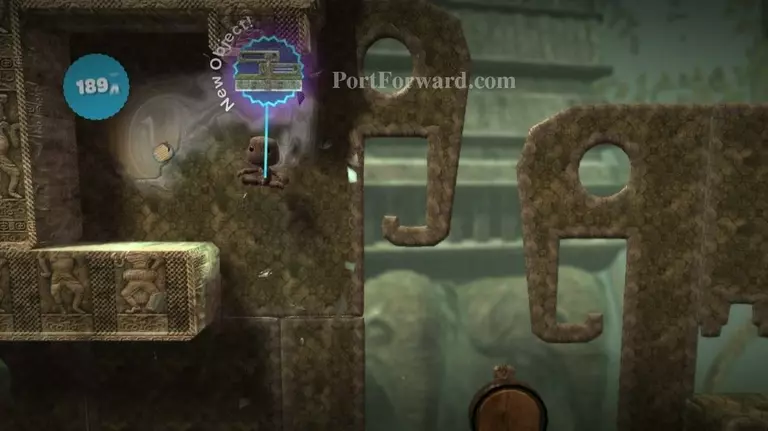
Behind where the monkey ball was, you'll see a hidden passage. Walk into the background, then go right and collect the EXTENDABLE STAIRS.
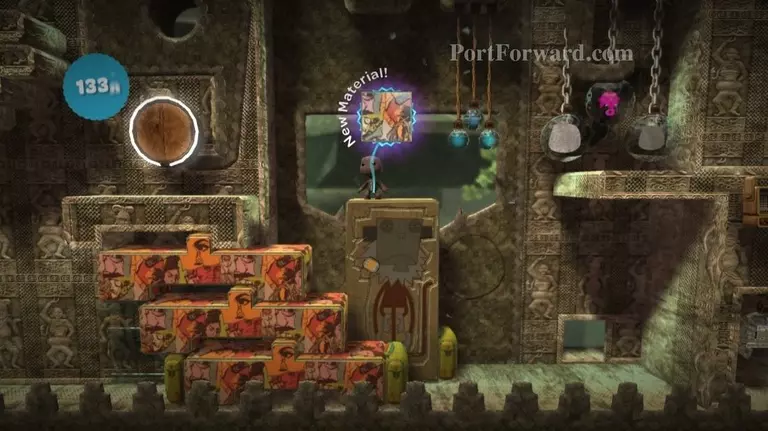
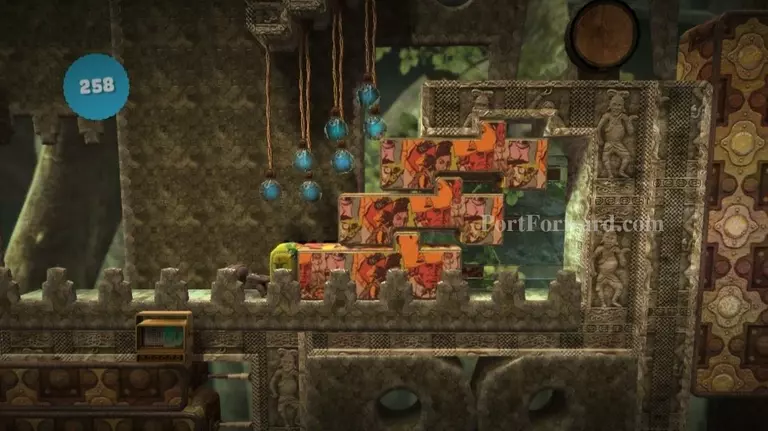
Jump from the stairs to the top of the monkey block. Jump to get the BOLLYWOOD COLLAGE.
Then jump rightward and collect the BROWN BURLAP, PINK ELEPHANT, and BROWN CARPET prizes you revealed earlier.
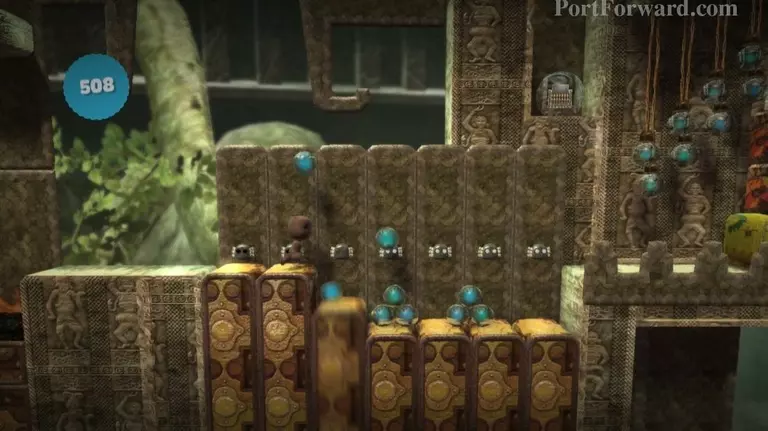
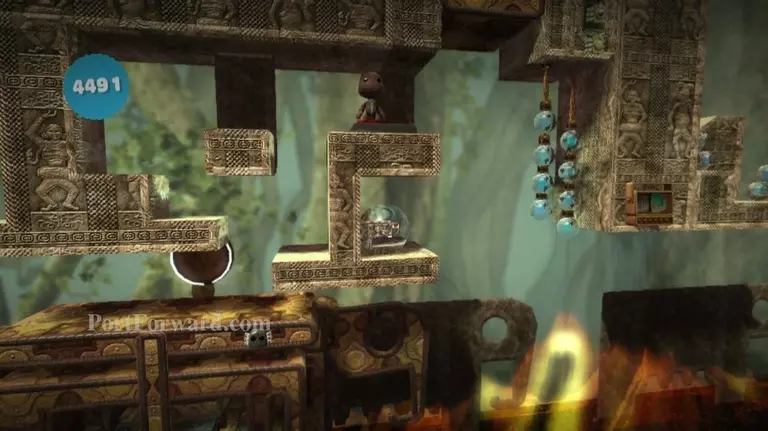
Rightward, you'll find more rising blocks. Jump over the fiery one.
Jump to the green platform.
Then jump over toward the lever on the right.

When the block comes down, jump in to get the GOLD METAL.
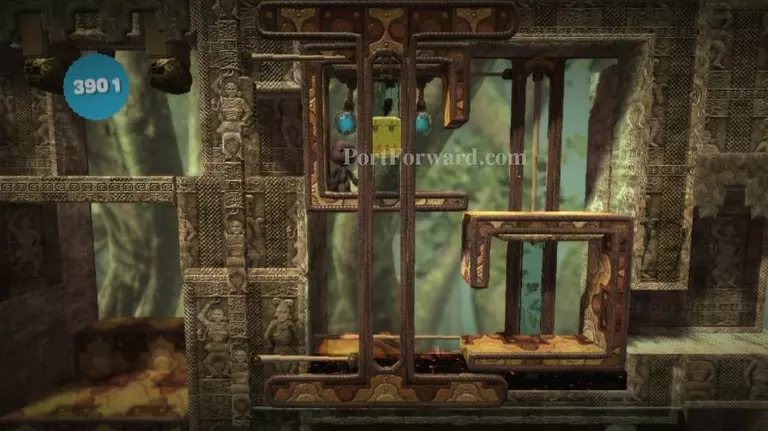
Pull the lever right. It'll make the green platform flatten.
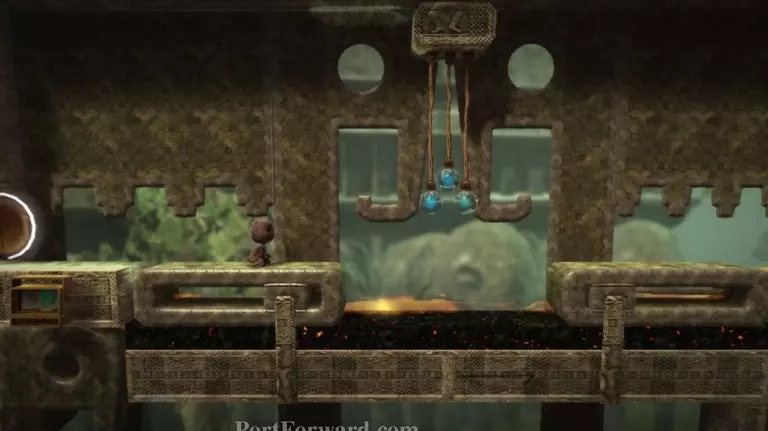
Jump back onto the green platform and press the red button to make it go upwards. At the top, grab onto the hanging ball.
Swing to the left to get the ELEPHANT HEAD STATUE.
Swing over to the right and continue past the next gong.
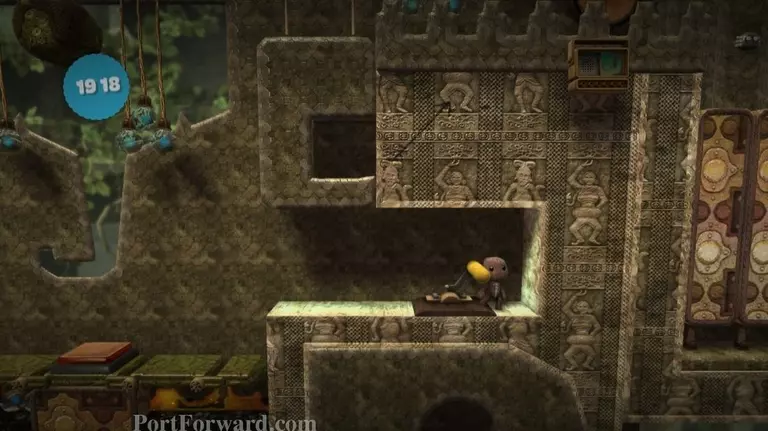
You'll come to some more rising blocks. Be careful of the third fiery one, it'll go higher than most of the other blocks.

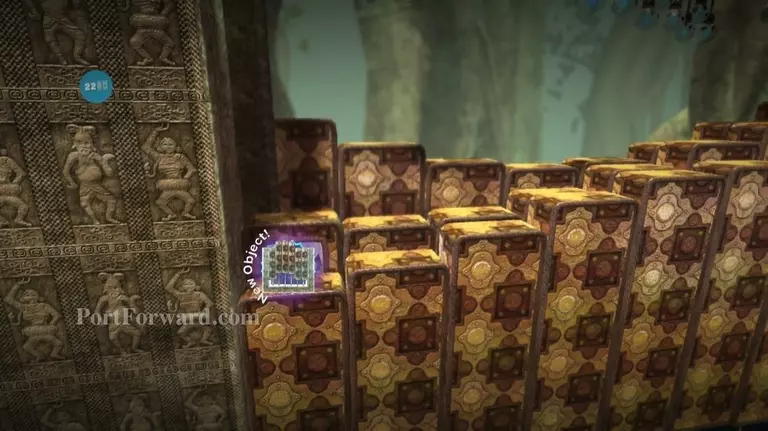
Next you'll come to some blocks that move around clockwise. Move onto one and use it to jump up and get the PUZZLE PLATFORM and TEMPLE STONE.
Now work your way rightward along the rotating cubes.
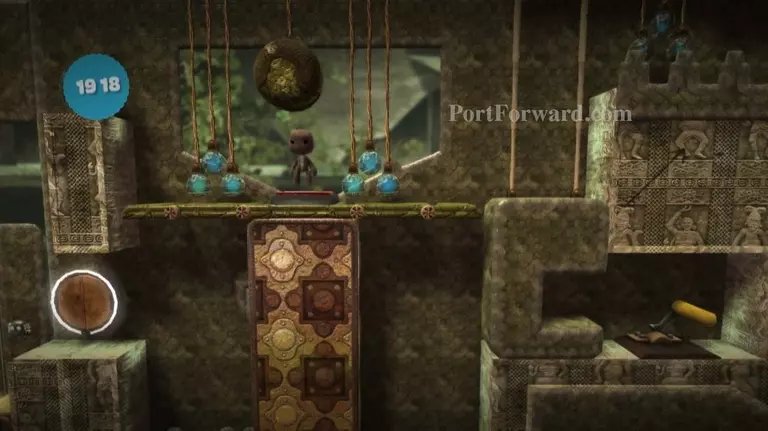
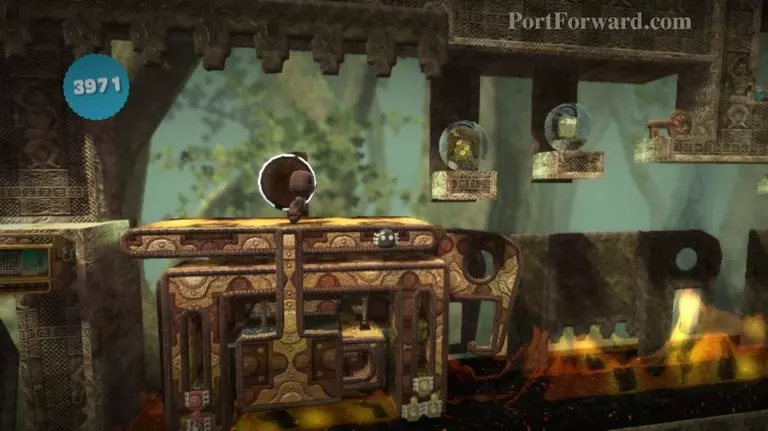
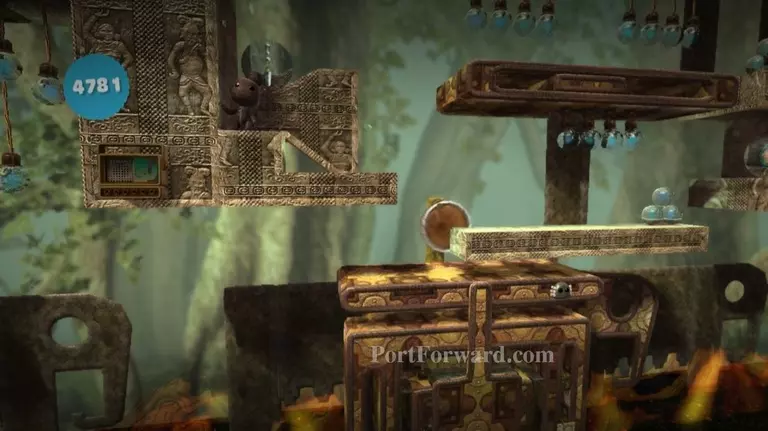
Soon you'll come to some sliding platforms. Jump rightward across them.

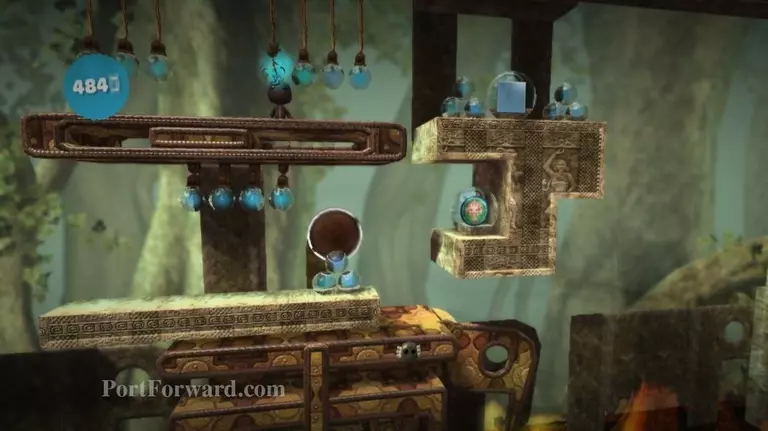
Get on the block moving up and down.
Use it to jump high enough to reach the DOUBLE OSCILLATING PLATFORM prize bubble.
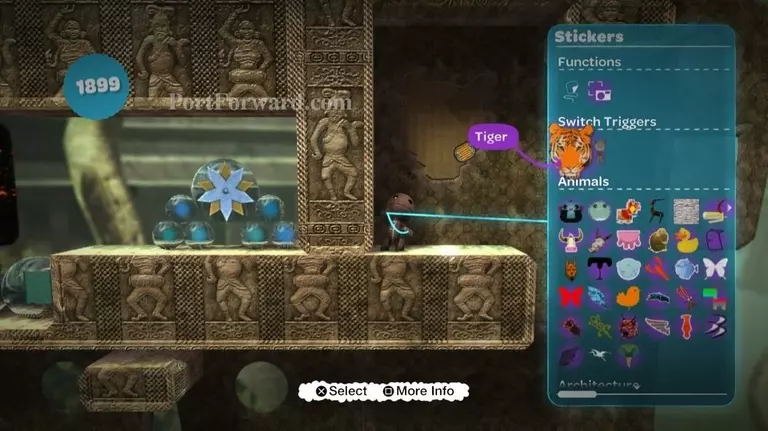
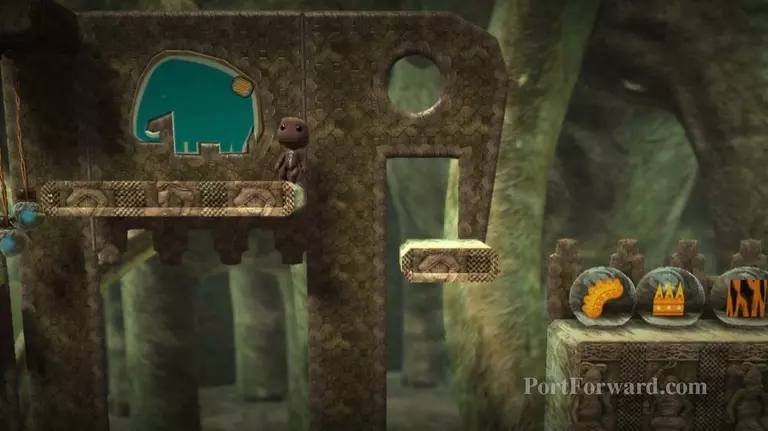
Also jump to the platform on your upper-left. You'll find a sticker board here. Select the Tiger from your sticker menu.
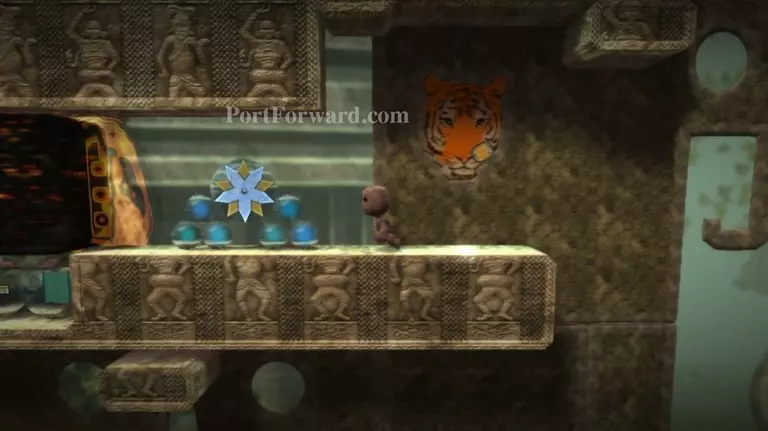
Place the Tiger on the board and it will open the wall to your left. Take the GREEN STAR.

When the fiery block moves, fall down into the hole to collect the OSCILLATING PLATFORM and STRAIGHT COBRA BODY.
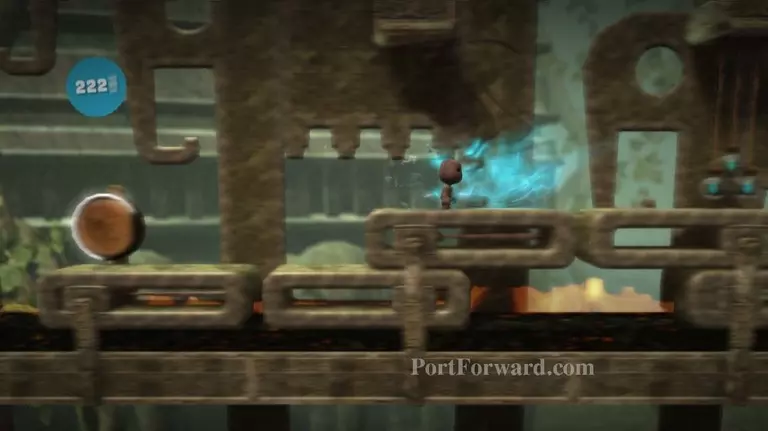
Continue rightward, along some sliding platforms.
Get on the platform with a wall down on it. The wall will move upward when this platform slides right.

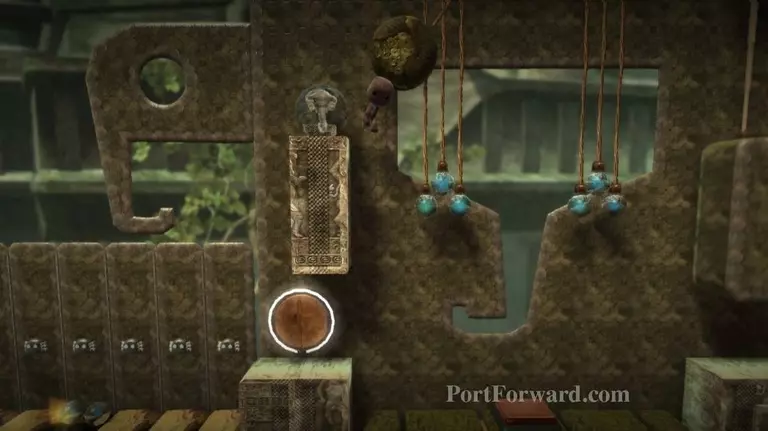
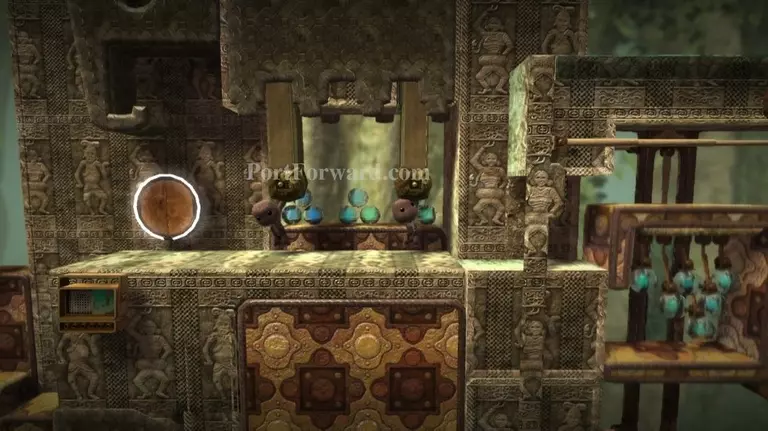
Jump across the room you come to, toward a lever.

Pull the lever to the right to transform the room. Now you can jump to the platforms, making your way to another lever in the upper-left corner.
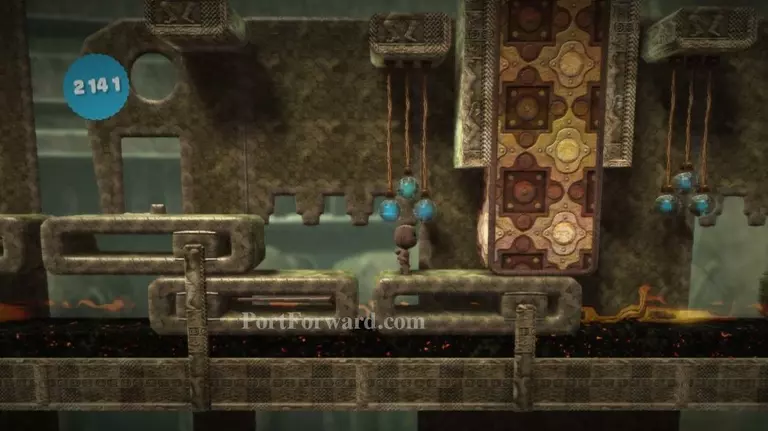
Pull the next lever rightward. This will raise up one of the blocks.
Now jump over the platforms, toward the gong on the right.

Walk rightward along the rotating cubes to reach the STONE material.
Run leftward, past the rotating cubes.
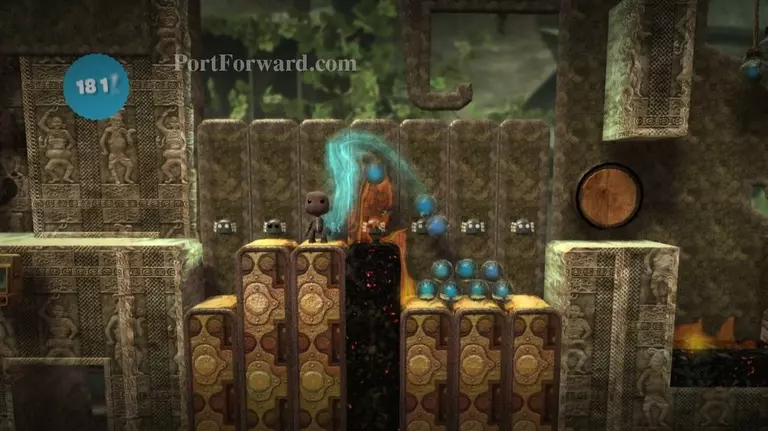
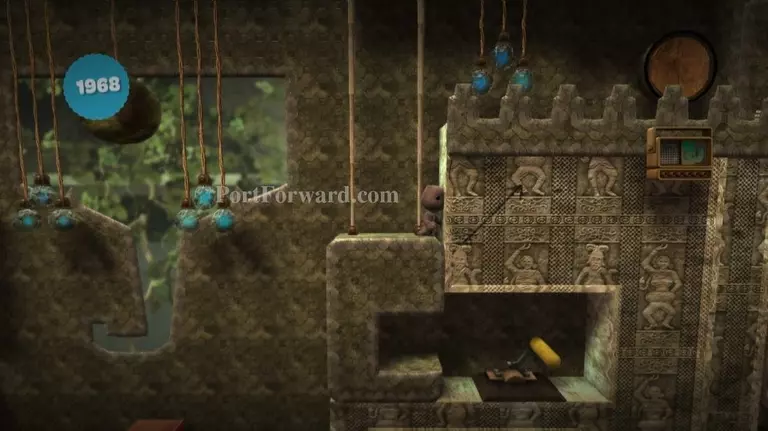
Drop down and you'll find a bunch of blocks raising up and down. Get on the front, far-left block to collect SIX SECTION WAVE PLATFORM.

Run rightward, avoiding fiery blocks. Then run under some that come downward as well. Try not to get squished by them.
After the blocks that come down from above, you'll find a FIVE SECTION PLATFORM object as well.
Continue rightward, jumping past any fiery blocks.
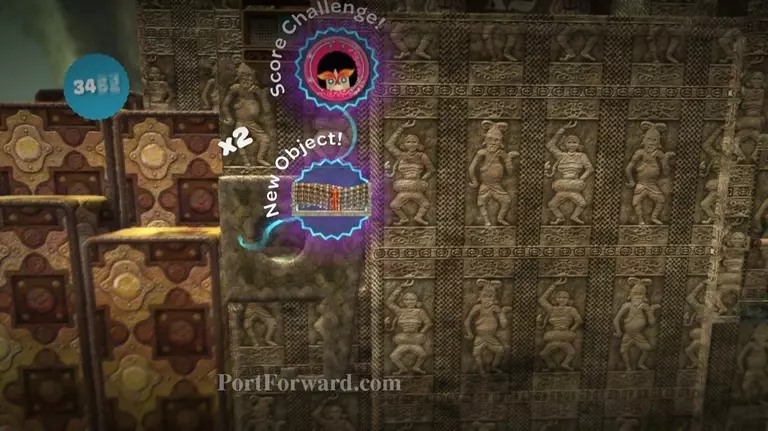
Get to the front, far-right block and run rightward, into a hidden passage. It contains a LARGE WAVE PLATFORM and a Score Challenge Key.
Now jump up to the gong. Have two players hang from the material here to get to a Co-Op area. Jump to the platform in the background.
It'll take you down to the Co-Op room.
Have one player get on the back wall. At the end of the wall, you'll find SHORT SLEEVED SHIRT and GREEN FABRIC STAR.
Have the lower player jump on the first platform.
The upper player should now pull the lever rightward. The lower player's block will start lowering and one in front of them will start raising up. Quickly jump to the raising block.
Now the upper player should pull the lever leftward. This will allow the lower player to continue forward onto another raising block. Now you can jump over to the prize bubbles, containing EMERALD JEWEL, RUBY JEWEL, and MINI SACKBOY.
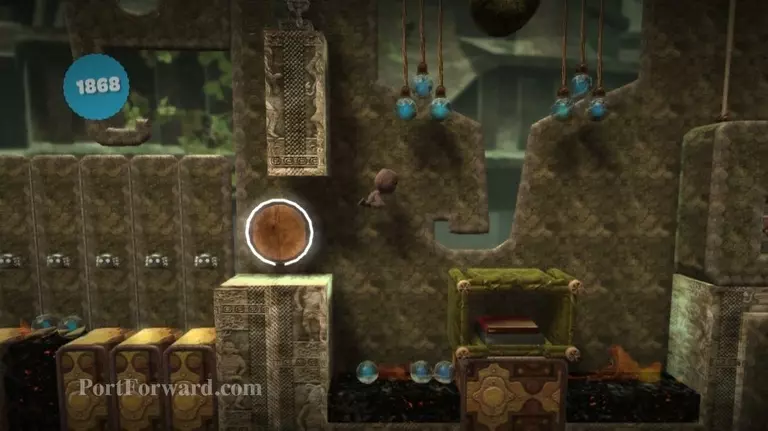
Go back out of the Co-Op area, then head rightward. You'll come to some more rotating cubes, but this time you'll get into them.
When the two cubes pass each other, run into the left one and collect the GREEN FABRIC material.

Once the cube gets near the right exit, continue on.
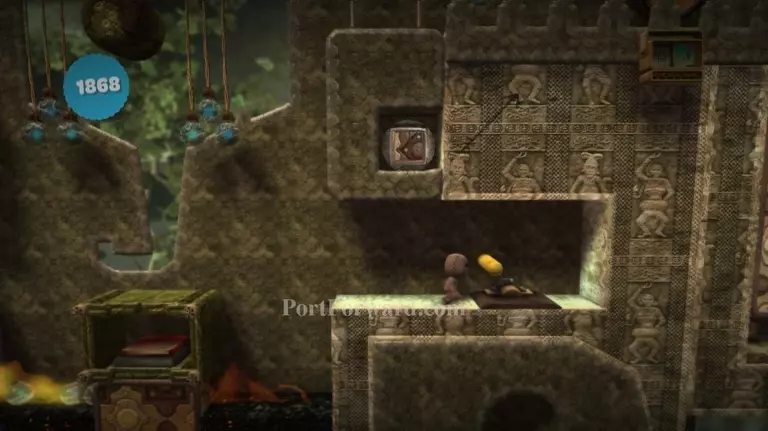
Get on the elephant's back. When you pass the gong, he'll start moving. Jump to the platforms on the right to get GOLD SEQUIN FABRIC, SILK PATTERN, and a Challenge Key.
The elephant will stop at a wall. Jump up and collect the LATTICED STONE.
Push the button and the wall will be removed from the elephant's path, letting him move forward again.

Drop down and get the MECHANICAL STONE ELEPHANT, then get back on the elephant's back.
Jump onto the platforms you come to. On the left side you'll find a CRYSTAL EARRING.
Go over to the right to find BLUE WOOD and ELEPHANT MOSAIC. Get on the elephant and let him walk you toward the end of the level.
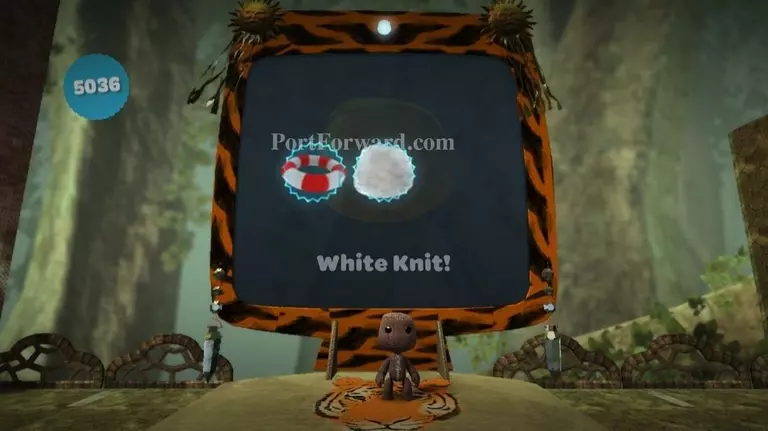
For completing the level, you'll receive LIFE RING and WHITE KNIT.
For acing the level, you'll get a CHICKEN TAIL.
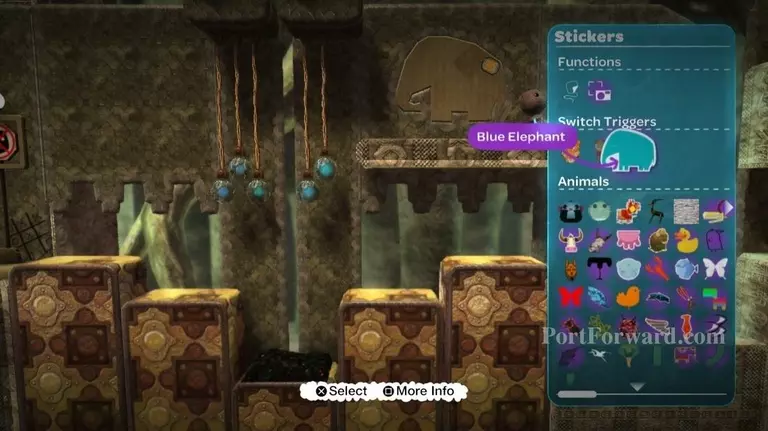
After completing the Great Magician's Palace, you can come back and place the Blue Elephant sticker on the sticker board.
This will lower the platform with some prize bubbles on it. You'll get JEWEL CROWN MOTIF, CROWN, and TIGER PATTERNS.
For 100% completion, you'll get COSTUMES CONCEPT WITH FRAME and COPYRIGHT COSTUMES CONCEPT.
More Little Big Planet Walkthroughs
This Little Big Planet walkthrough is divided into 26 total pages.