
This MegaMan 10 walkthrough is divided into 14 total pages.
You can jump to nearby pages of the game using the links above.
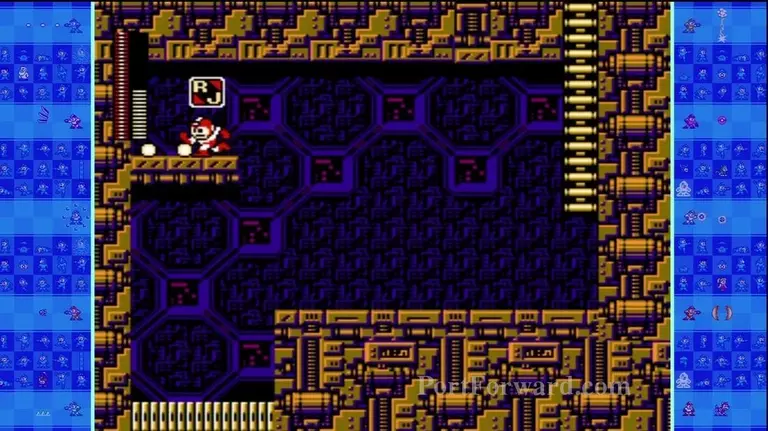
Wily Stage 2
If you want those weapon-ups get them but don't kill yourself.
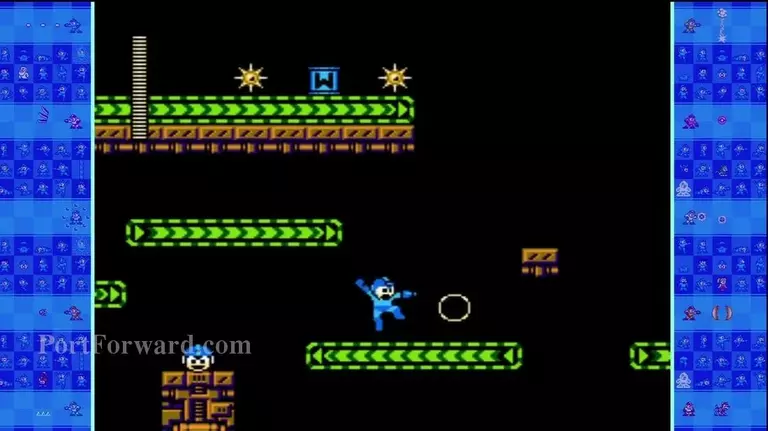
Take out the Garinkou as you move against the treadmill.
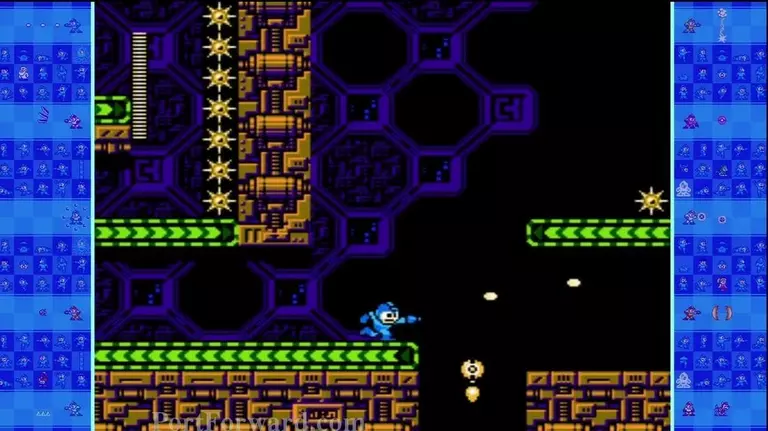
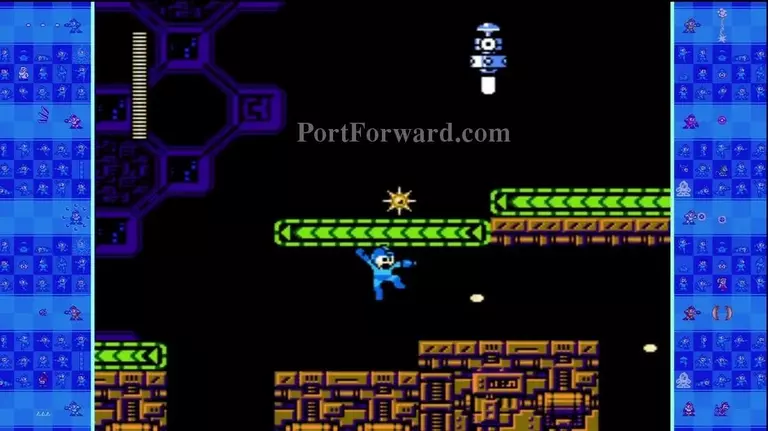
Furaibons can be a pain. For these ones you can wait for them to come out and then jump across since they are low enough.
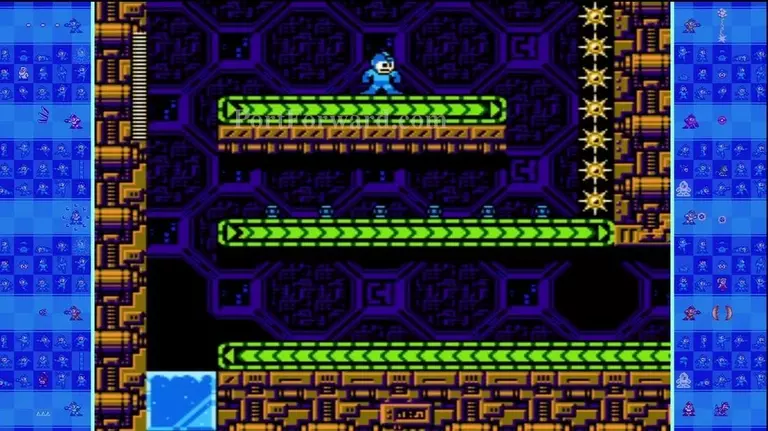
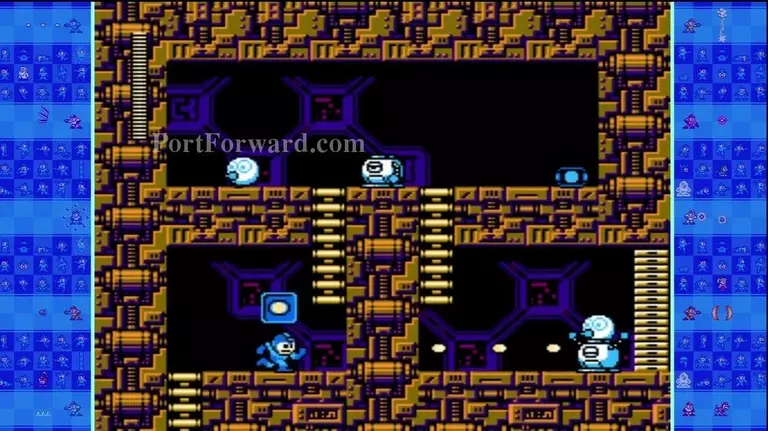
The Searchy will change the direction of the conveyor belts when they see you.
It can be helpful in some spot to get tricky items.
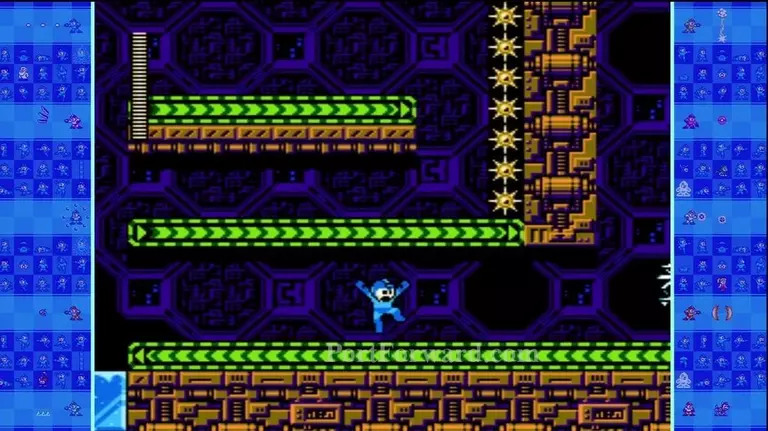
Stay on the top level here.

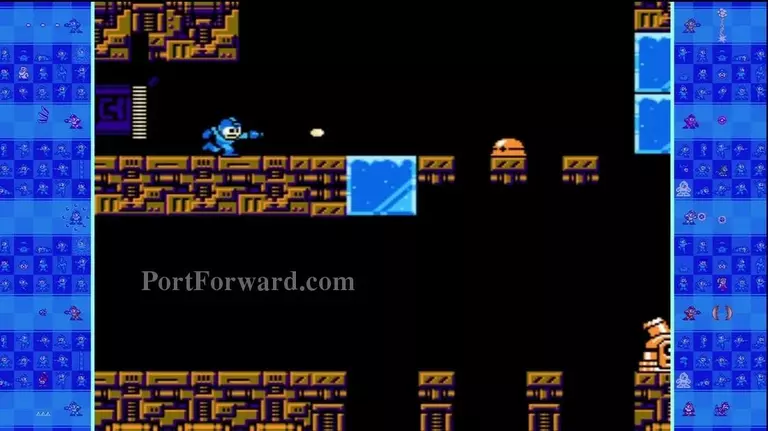
Get rid of this guy first.
Use the Commando Bomb to get the E-Tank.
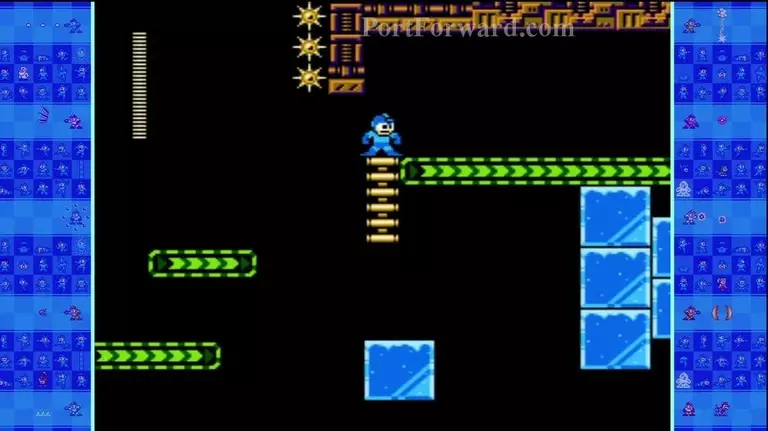
You can use the Wheel Cutter to scale up the wall and reach this ladder.
Same for this room.
Shoot these guys through the wall to make things easier.
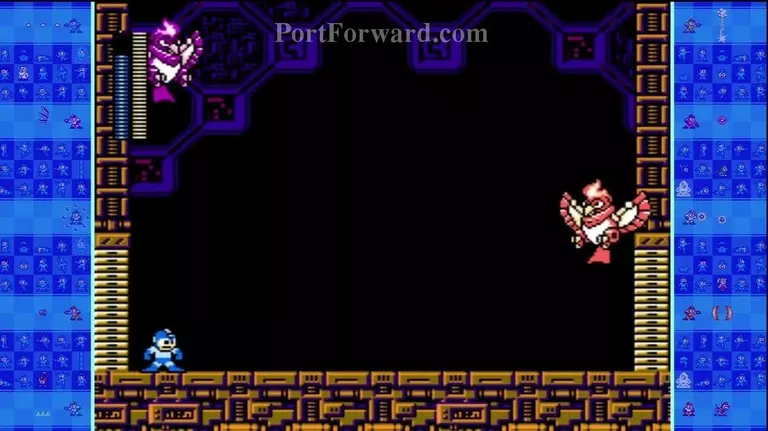
Suzaku and Fenix we meet again. Deal with them as you did before.
The presses will kill you instantly if they squash you flat.
Get these small life ups.

We meet again too, Octobulb. You know what to do.
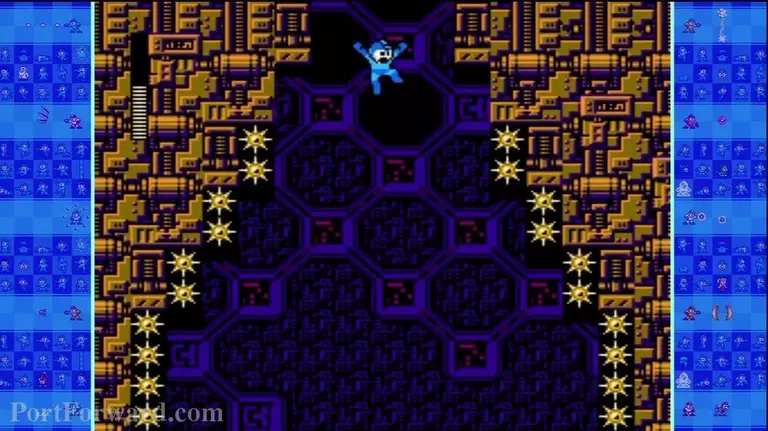
Guide yourself to the left as you fall.
You will avoid landing on those spikes in the process.
Carefully fall down to get in this pocket. As you noticed, the left side is too risky.
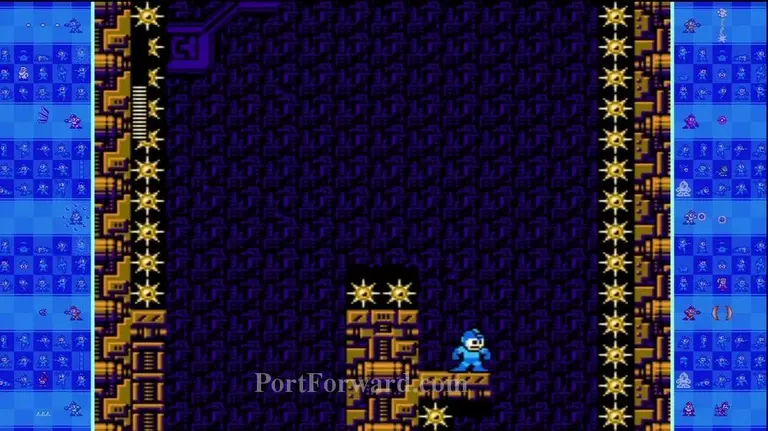
Stay on the top level.
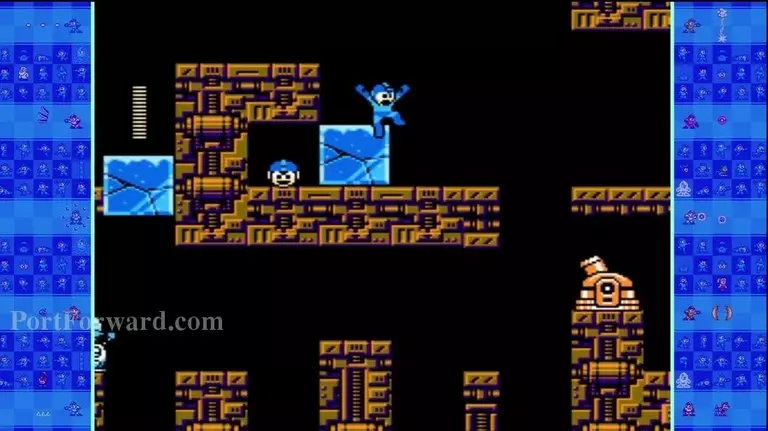
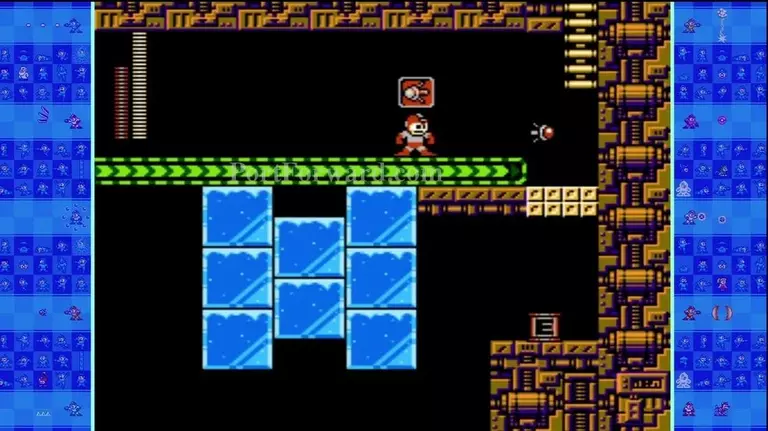
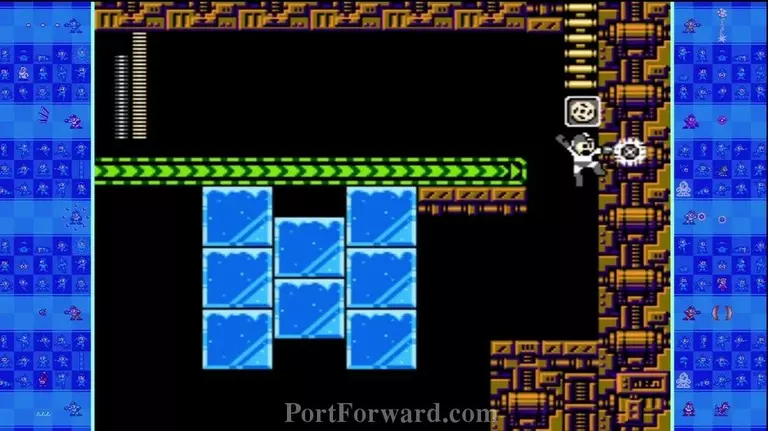
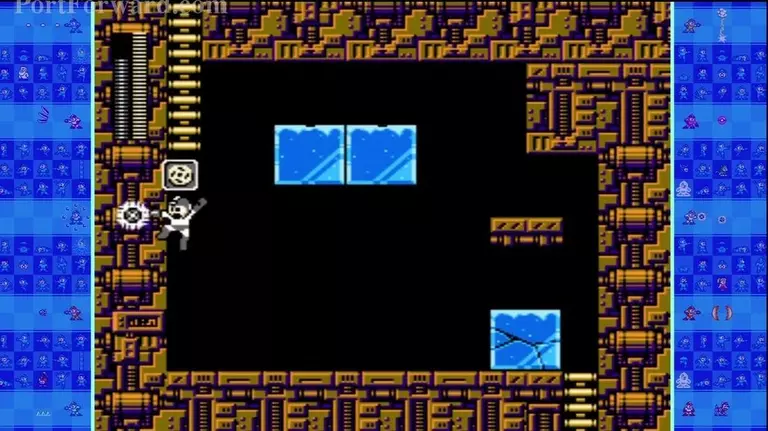
Get rid of the ice block to get the 1-up.
Knock the Piledan down a bit so you can get on it and reach the ladder safely.
This is a good height here.

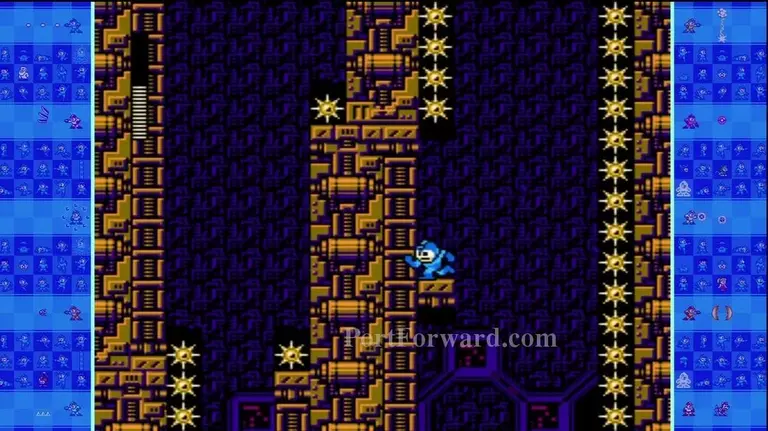
Use Rush Coil to reach this platform then you can jump to the top left to get the ladder.
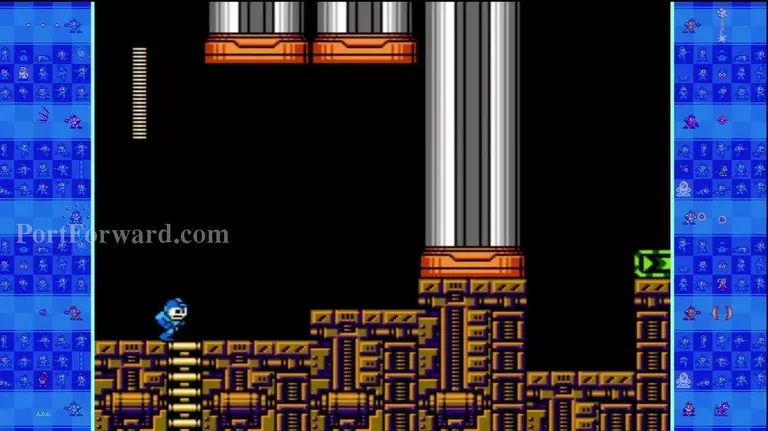
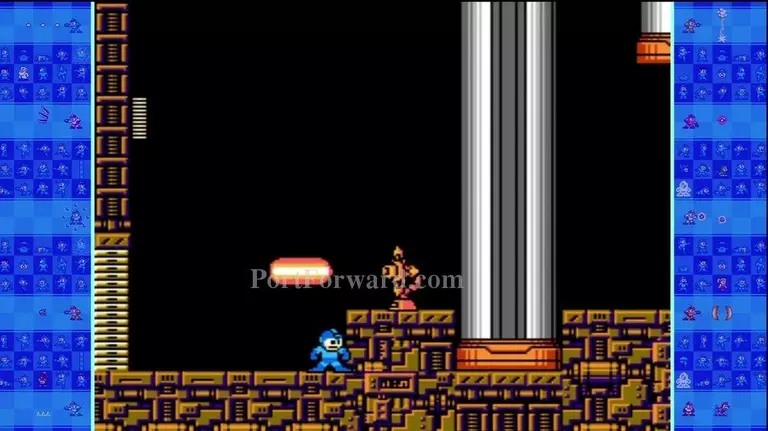
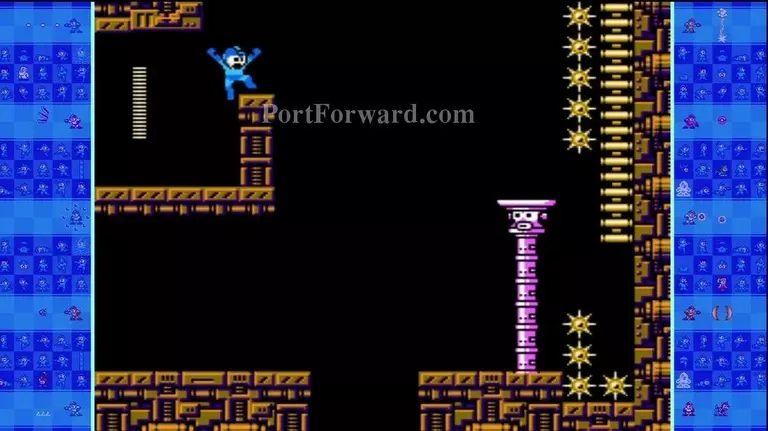
The presses fall down in sequences here. Study them good.
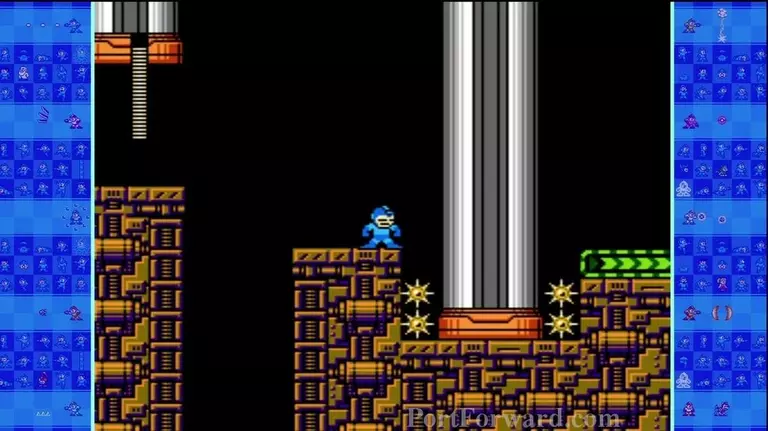
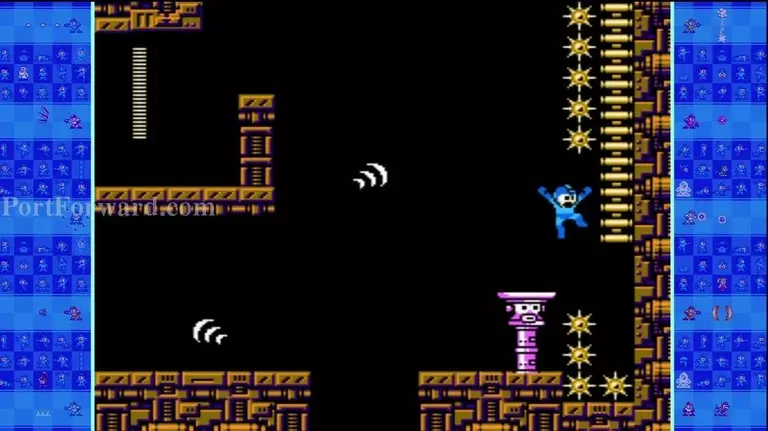
Wait for the press to go up to avoid an accidental spiky death.
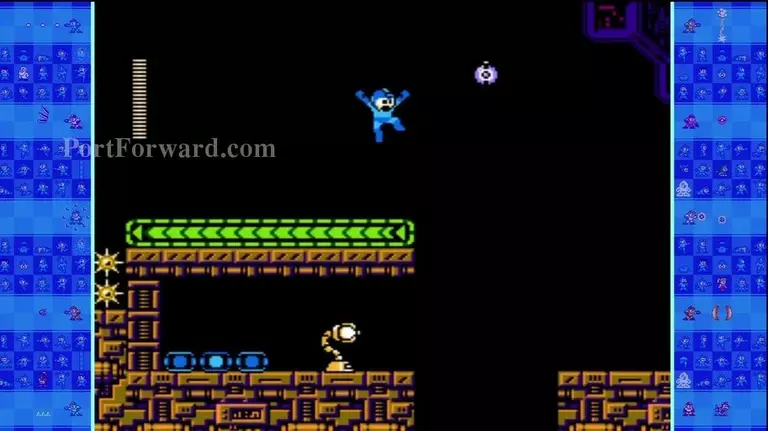
The Furaibons try to catch you off guard. Shoot one as it goes up then jump across.
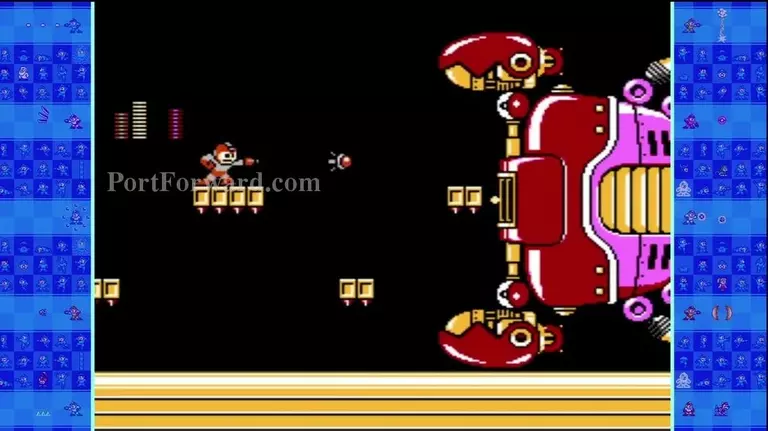
Have your Commando Bombs ready.
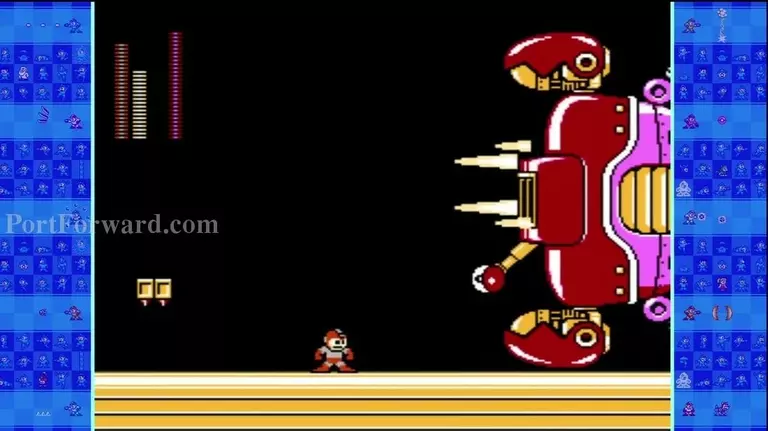
The boss is Crab Puncher. You want to aim them at the center between the eyes so that the splash hits both eyes simultaneously.
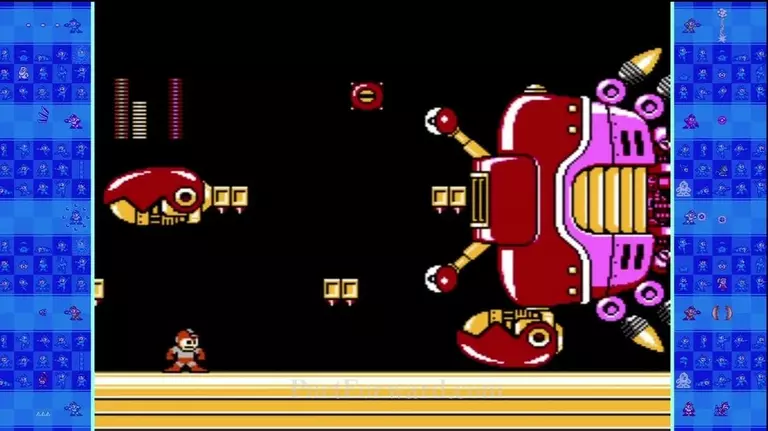
Watch out for the punches that Crab Puncher launches at you and get on the platform that it spawns for better shots.
Crab Puncher draws back its eyes to protect them.
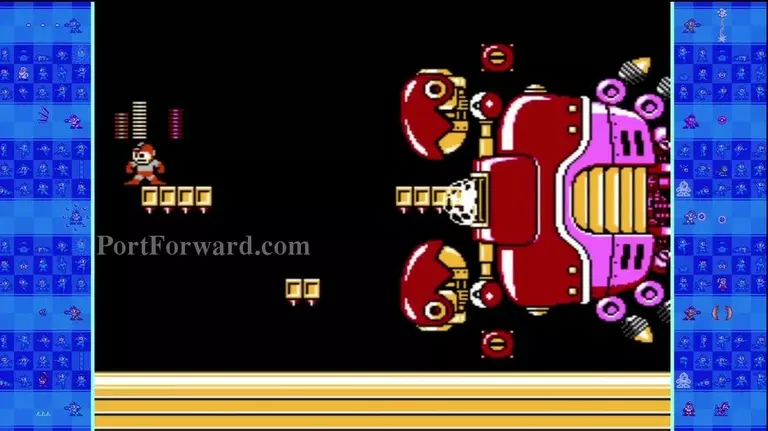
It then fires random bubbles.

Some contain health you can collect.
More MegaMan 10 Walkthroughs
This MegaMan 10 walkthrough is divided into 14 total pages.


