
This Metal Gear Rising: Blade Wolf DLC walkthrough is divided into 7 total pages.
You can jump to nearby pages of the game using the links above.
Abkhazia - Streets
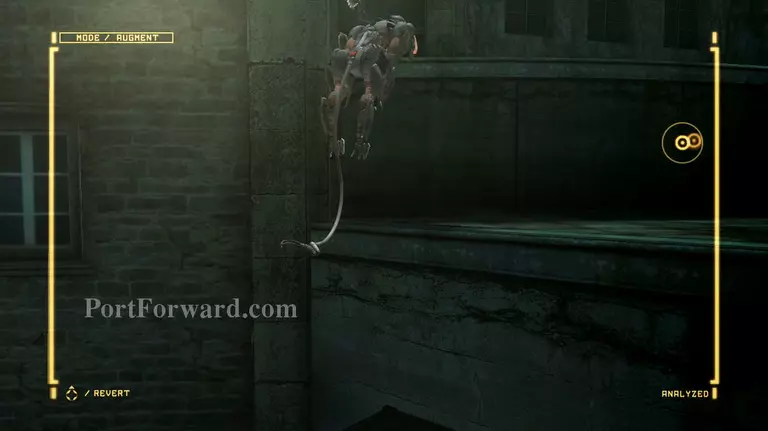
Mistral will contact you again. After the call, head to the left side and jump up the box and use it as a platform to get to the highest level.
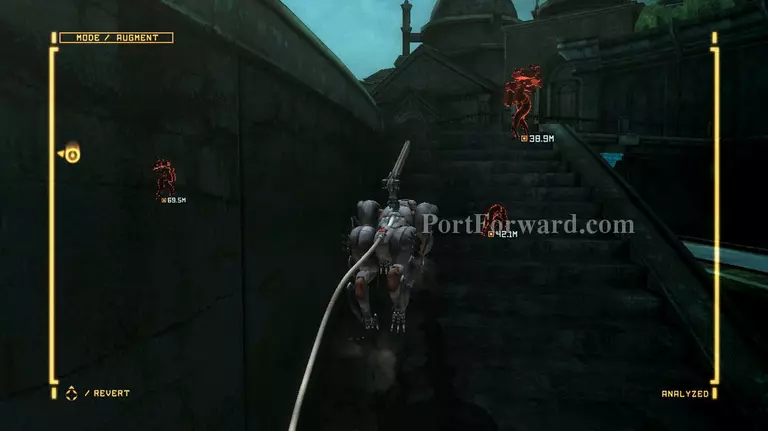
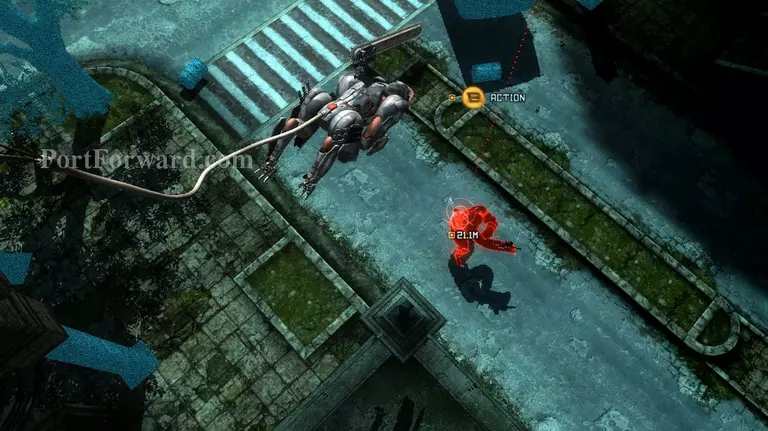
Activate your AR and climb up the stairs, follow the Gekko to the bridge and assassinate it.
Lock onto the Mastiff that's right under the bridge and either wait for it to approach the bridge and drop assassinate it or get behind the bus and take it out from there.
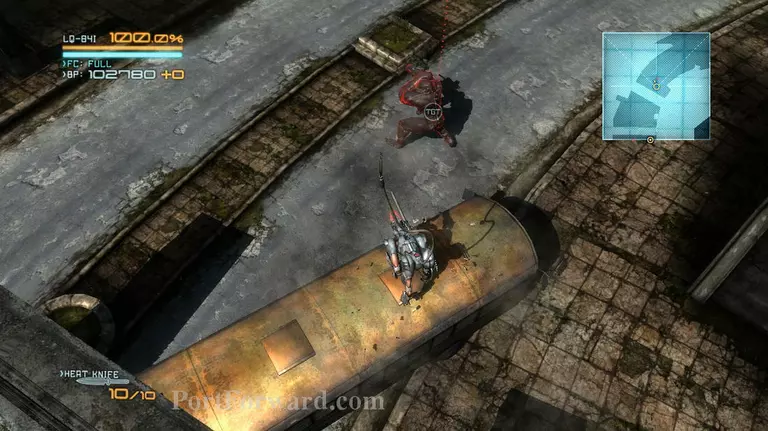
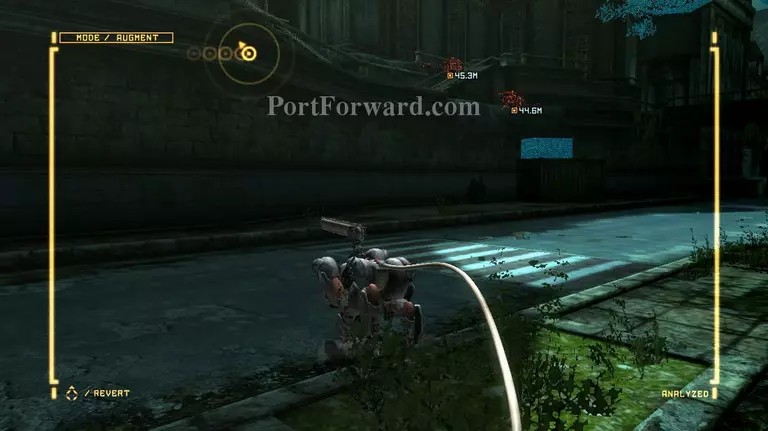
Activate your AR again and look for the last Gekko that's roaming the area. Get behind it and take it out but avoid going near the middle of the road cause a Mastiff is on the look out at the top of the bridge.

Turn your AR on again and you'll see the Mastiff guarding the entrance to the next area. Hug the wall on the left side and climb up the crates, then take the Mastiff out from there.
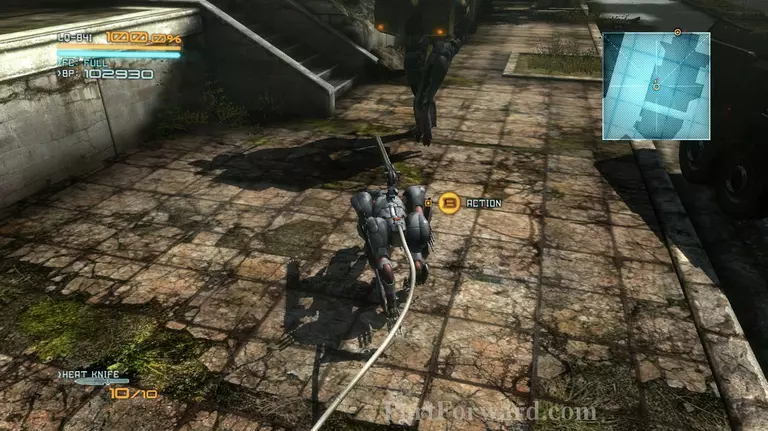
Now climb down the lower balcony and wait for the Mastiff to pass by, then drop assassinate it when it comes within your range.
Head for the stairs, and wait for the blade wolves to pass each other. Climb up the boxes as soon as the first wolf passes the stairs, then assassinate it. Then quickly follow the second one and assassinate it too.
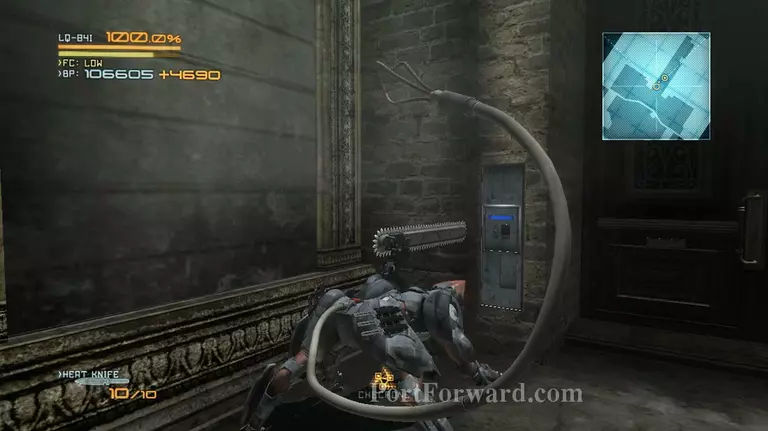
Activate the panel near the door to open it and proceed to the next area.
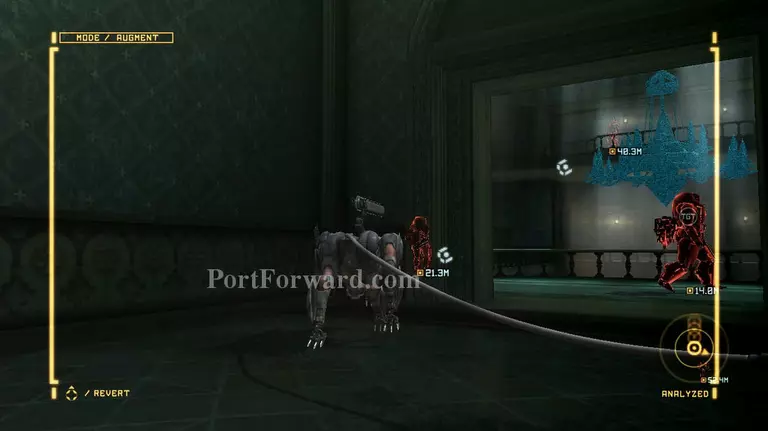
Inside the building, activate your AR and head for the end of the corridor. Wait for the large operatives to switch places, then take out the one that's moving towards the right.
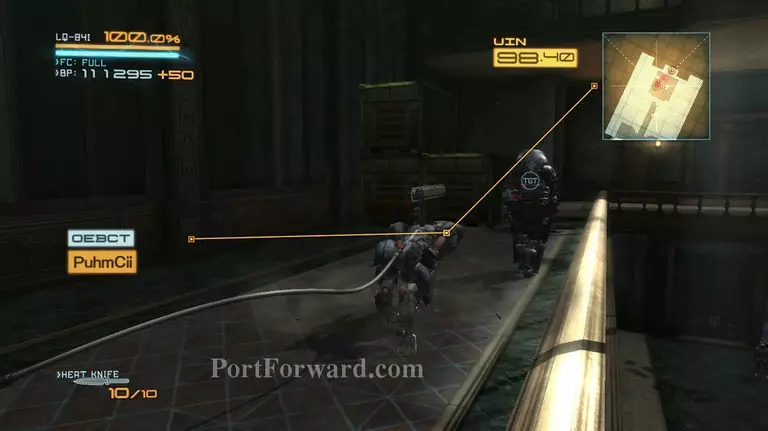
Follow the second one and take him out. Unfortunately that guy on the next floor might see you and go into caution mode. Hide under the floor when he does.
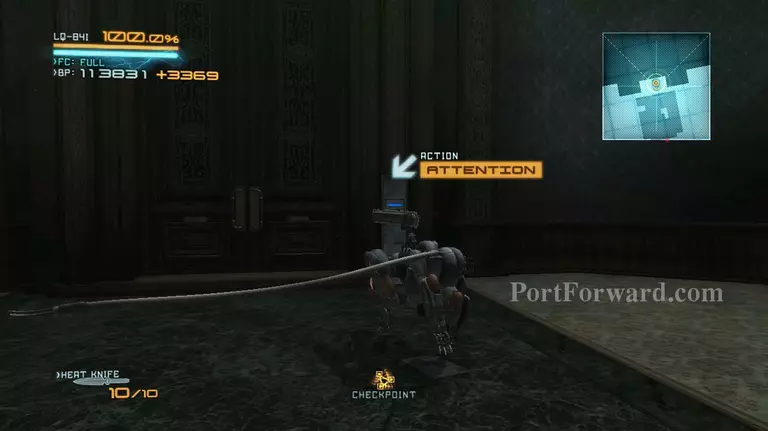
You'll then find the door right underneath where the guard who spotted you was. Killing that guard is optional, you can just head through the door as soon as you get to it.
More Metal Gear Rising: Blade Wolf DLC Walkthroughs
This Metal Gear Rising: Blade Wolf DLC walkthrough is divided into 7 total pages.


