
This Metal Gear Solid: Rising Revengeance walkthrough is divided into 20 total pages.
You can jump to nearby pages of the game using the links above.
R-00: Guard Duty
Metal Gear: Rising has a tutorial level prior to the first mission. Please do the tutorial before proceeding with this guide so that you'll understand the basics of the game.
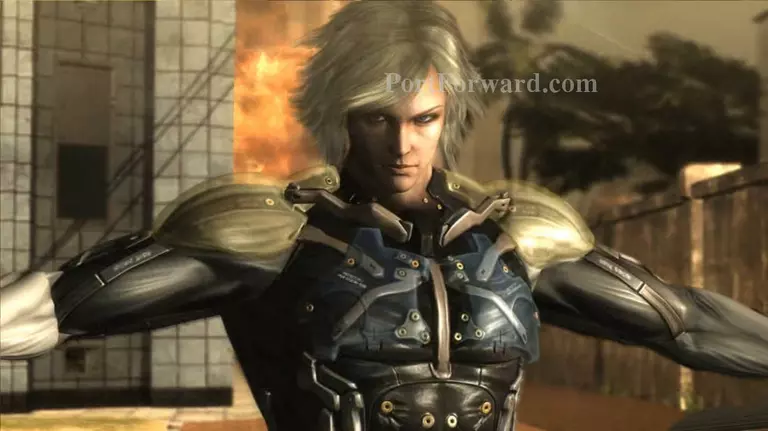
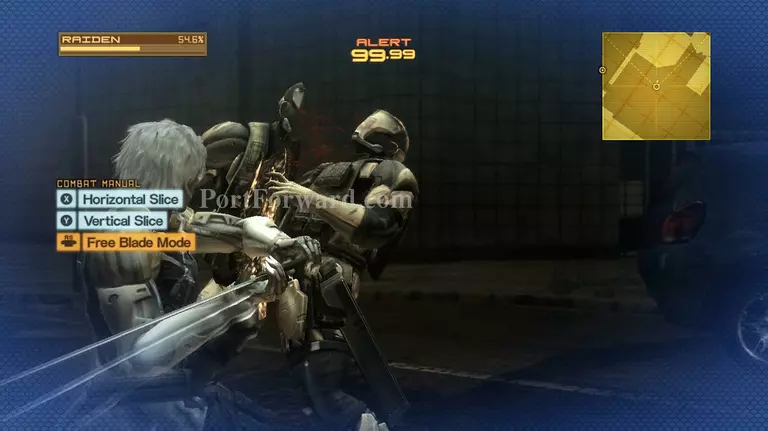
Your first mission will be to guide the prime minister. After getting off of the limo, Raiden will have to take on three soldiers.
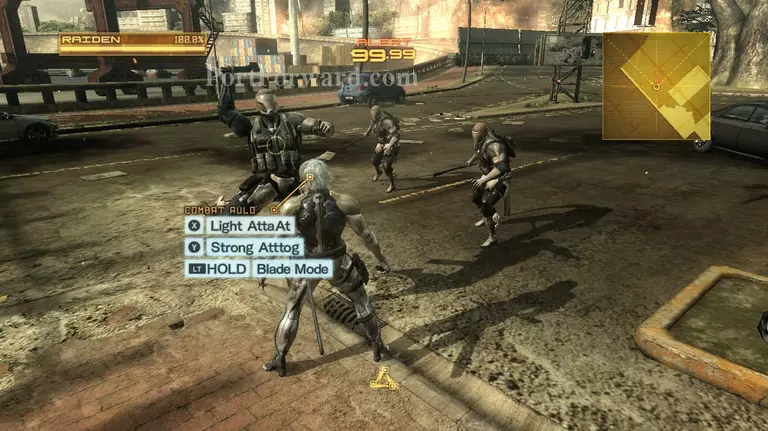
Watch for the red marker that appears on their heads, then move the analog stick and press X to parry the attack. Be sure to practice parrying, cause this guide will deal with a lot of them. Well the game itself will force you to use them a lot.
After eliminating the first three soldiers, head to the right and go around the corner. Here you'll find more enemies waiting to ambush you.

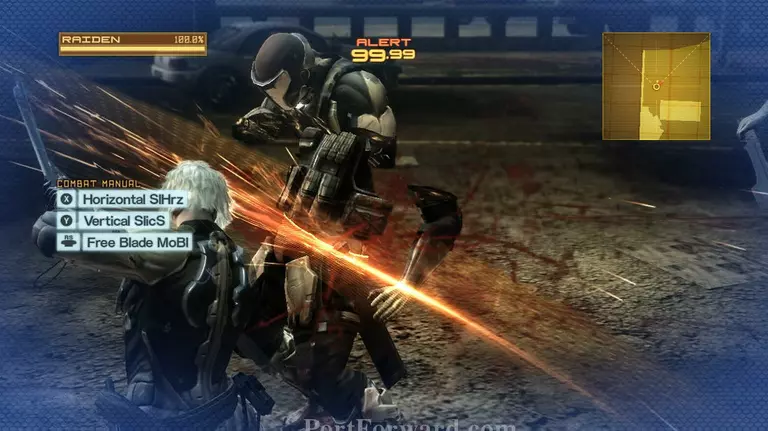
While you can easily block a bladed soldier's attack, gunmen are a different story. You can deflect incoming bullets of all sizes (not including missiles and bombs) by doing the ninja run (Left analog + RT), slash the gunmen about 2-3 times, then go into blade mode and chop them up.
"Make sure to practice both Blade mode and parrying, you're gonna need it on each and every boss battle in this game. If you can't learn to parry or blade mode, this game is just gonna be awful to you.
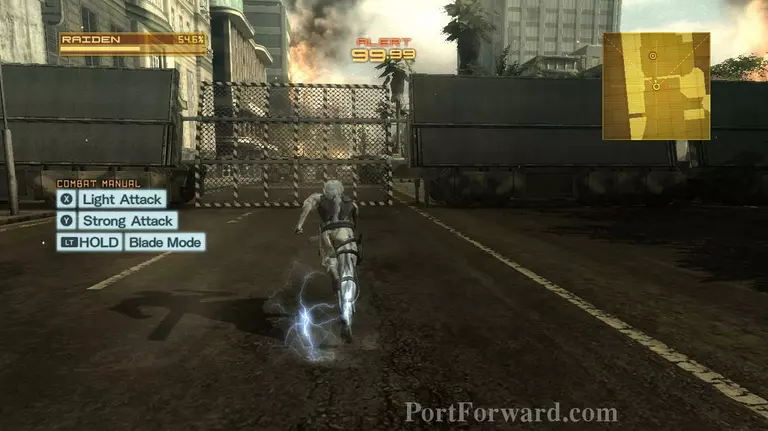
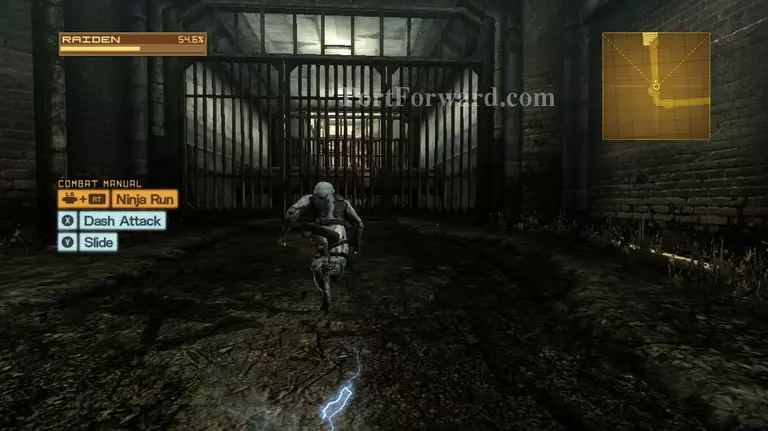
Once you've taken care of the soldiers on this side, head for the left side of the barricade, there you'll find a mesh wall. Use your HF blade to destroy it. Light attacks work well, you don't need to be too fancy with breaking it.
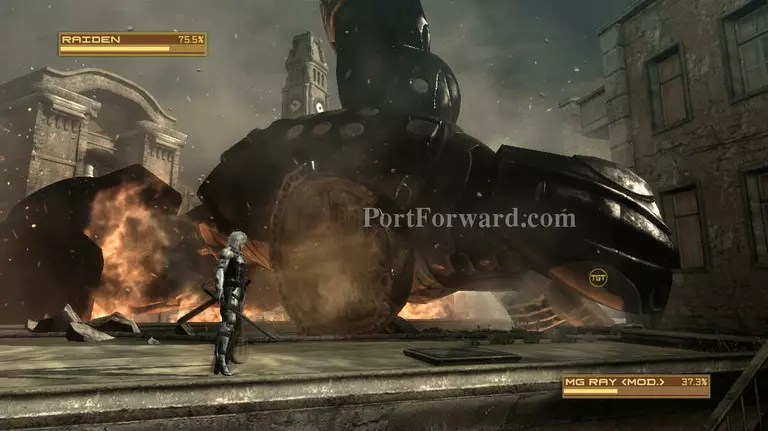
In the next area you'll be put up against a Metal Gear. As soon as the battle starts, head for its legs. It doesn't matter which one, just attack as soon as you're close enough.
The Metal Gear will lift the leg that you're attacking and attempt to crush you with it. Wait for it to start coming down, then parry it.
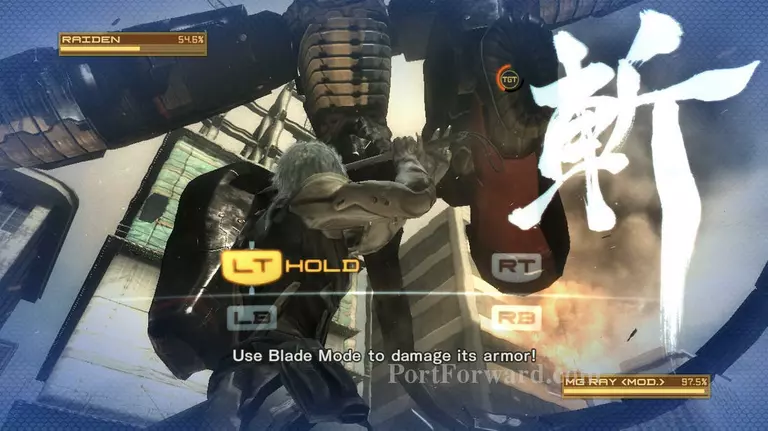
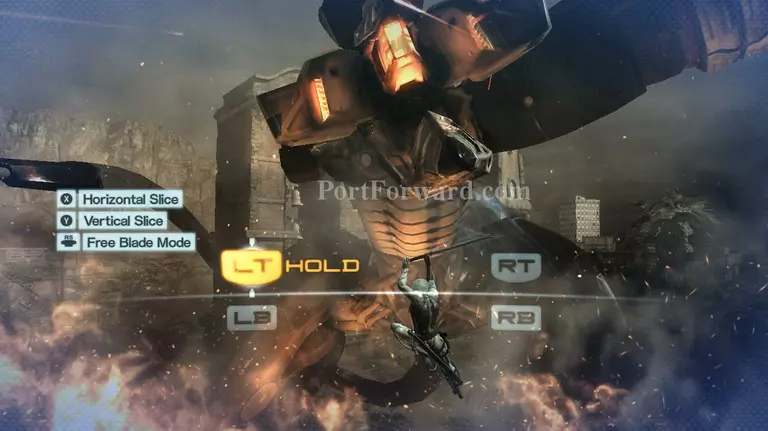
After successfully parrying the stomp, blade mode will be available for use. Just press LT and Raiden will automatically go to where he needs to be and you can just start hacking away at the MG's armor.

When it jumps back after you've destroyed its leg armor, run after it and slash the same leg that you were attacking. 2 slashes should be enough to send it back to blade mode, then activate blade mode and destroy the turrent above the leg.
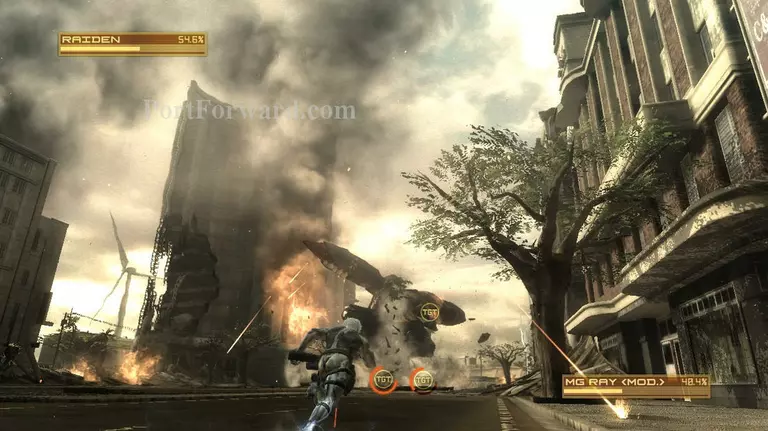
The MG will fly away from you, don't stop just keep running after it, but don't stay in a single line when its mouth starts glowing.
It may also attempt to charge at you, all the more reason why you should run in a diagonal line instead of a straight one. Dodge its attack by running with ninja run and go after the other leg.
Once you've caught up to it., start attacking the other leg and keep attacking it until you've destroyed the turrent on this side.
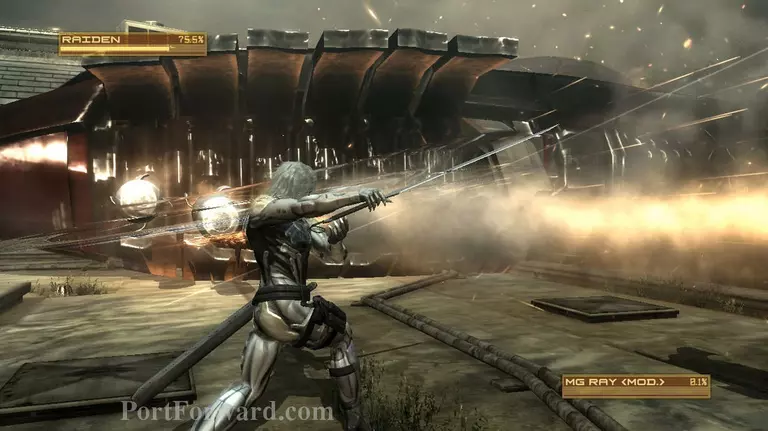
After destroying both of its turrent and leg guard, the MG will attempt to cut you down with a giant blade. A prompt will appear on screen, press it to block the blade, then continue pressing the quick time events(QTE) until Raiden destroys the MG.
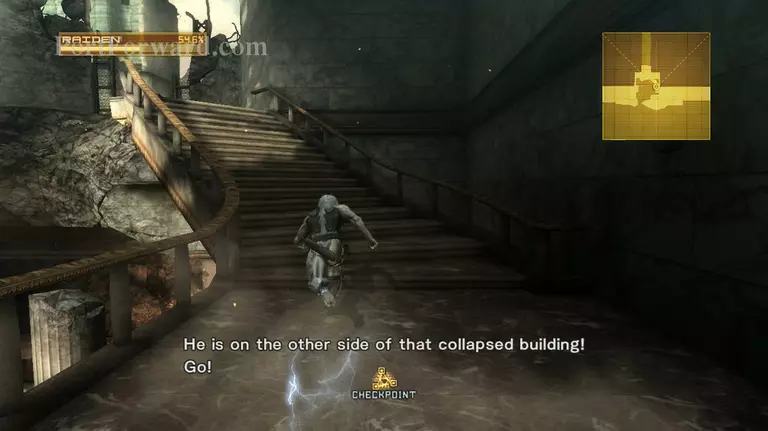
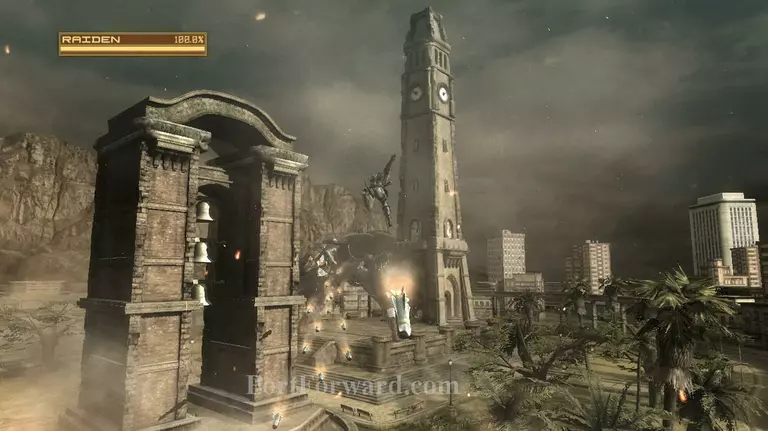
After destroying the MG head inside the building that you will be automatically placed in front of and climb the stairs on the right side. Head out the hole in the wall to find the prime minister's kidnapper.
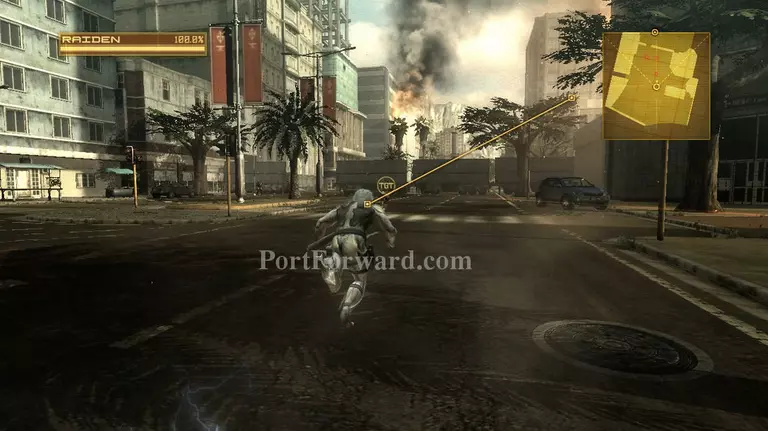
Run after him by simply tilting the analog stick forward and pressing the RT button. Raiden will automatically navigate through the debris.
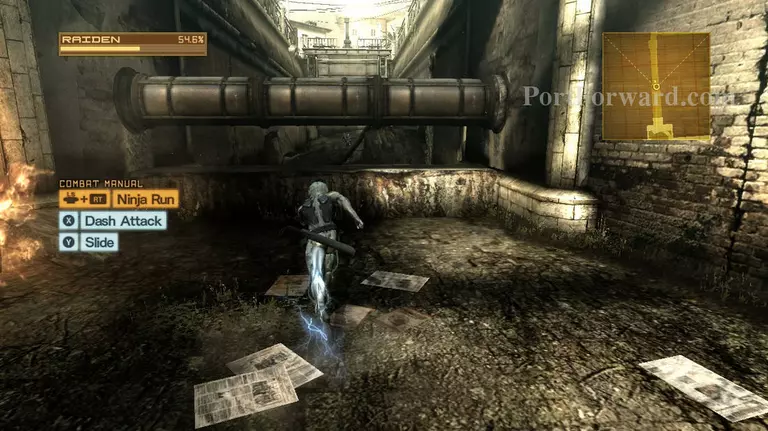
I don't know if it was because of the capture software, but the large guy kept on getting stuck on the floor just before the flood gate. If he gets stuck, don't worry about it and just keep running. The game automatically plays along once you reach the end point anyways.
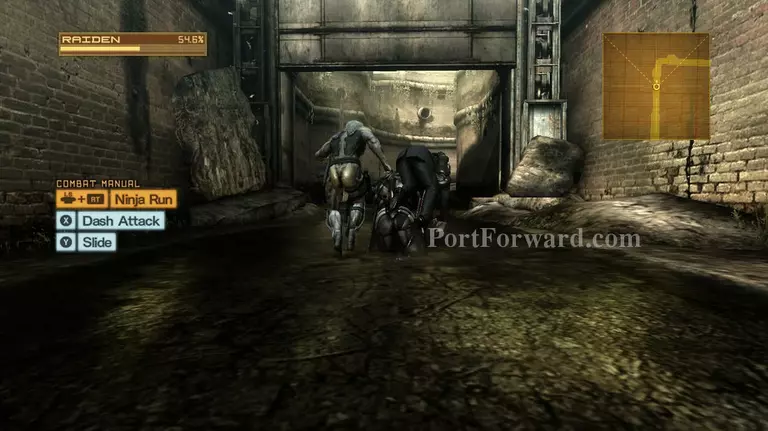
When you get to the iron gates, you'll need to slash them open since ninja run doesn't do this automatically for you.
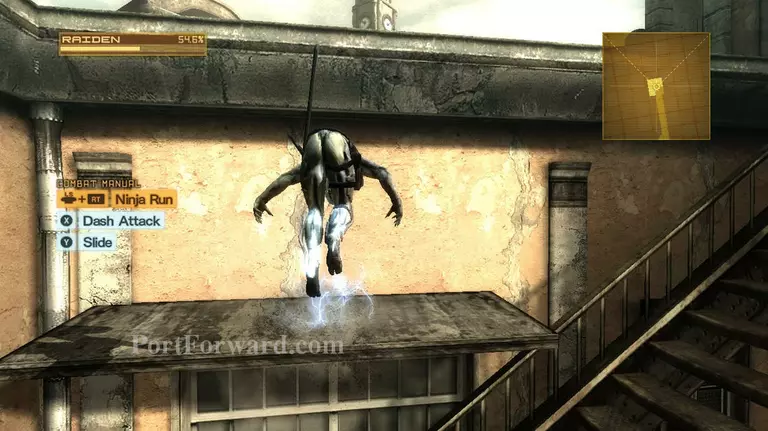
Use ninja run on the building to quickly climb up to the top, a cutscene will start once you get there, regardless of wether the kidnapper got stuck or not.
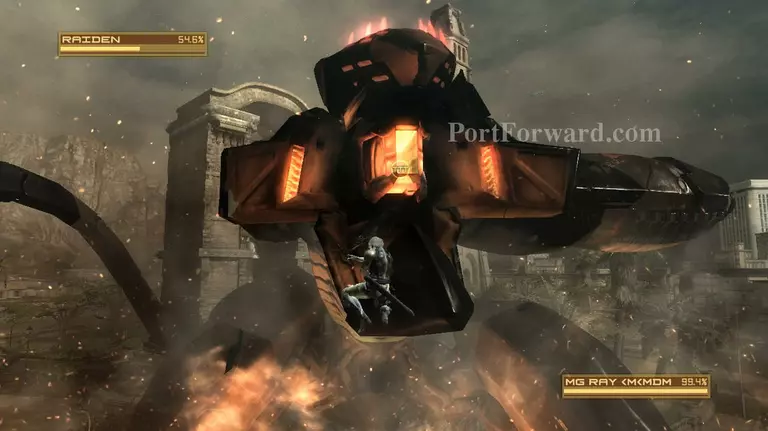
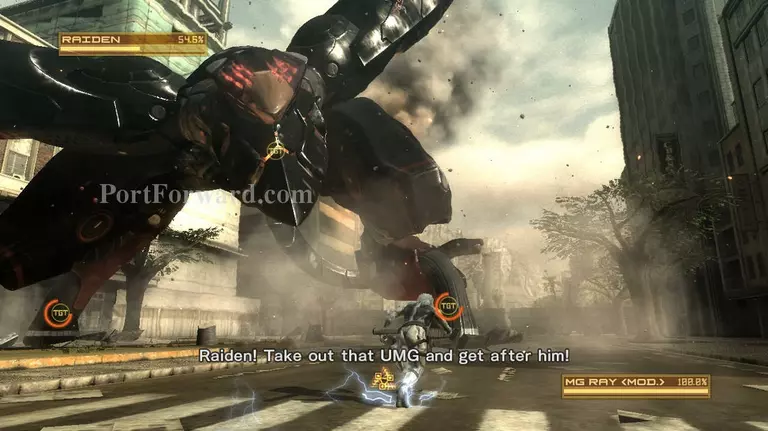
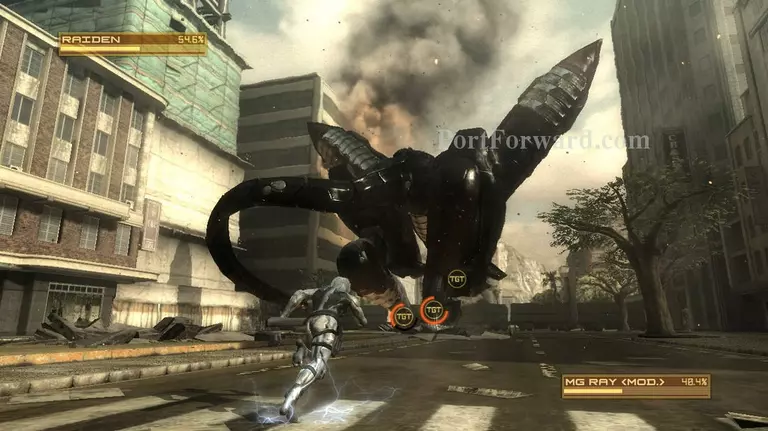
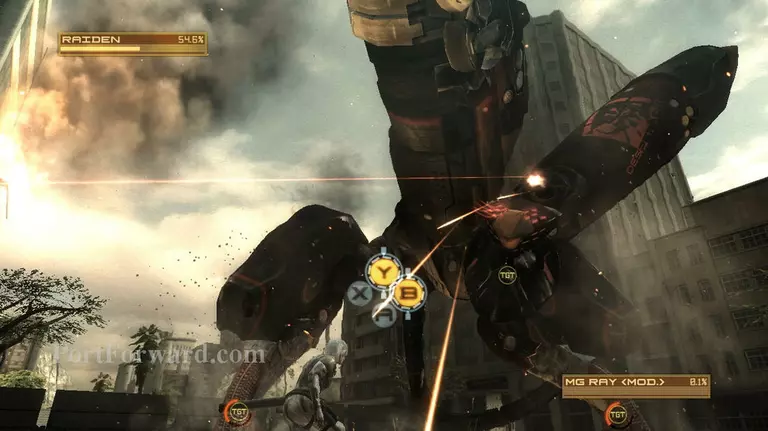
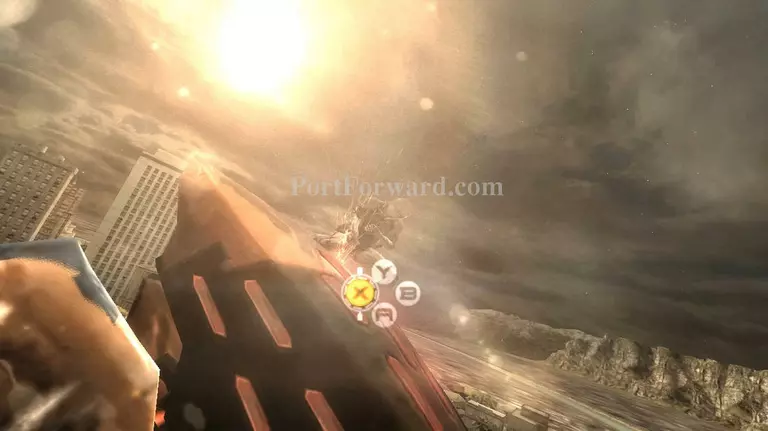
Raiden had failed to destroy the MG and it will attack you in an attempt to stop you from stopping the kidnapper. When the battle starts, jump up to its mouth and start attacking it.
Be mindful of when the Mg's mouth starts to glow and keep away from it. Make sure to go to the lower end of the platform, near the camera.
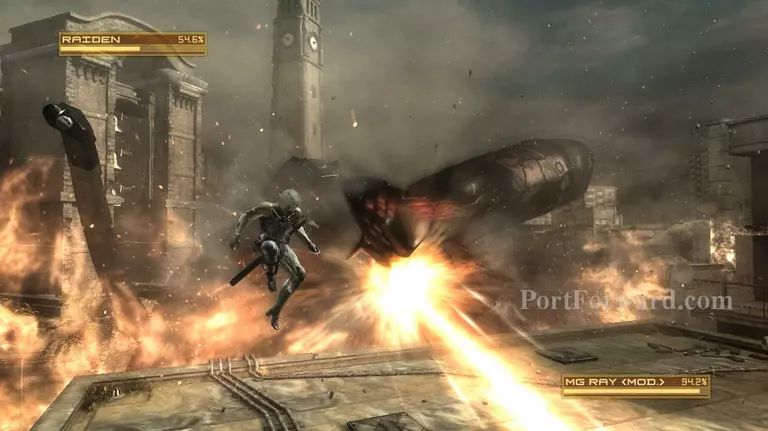
When the beam starts coming, jump across it. It will swipe back so you'll need to jump above it twice. Also note that the reason why you should be at the back is because the beam is tilted and you'll be unable to jump over it if it's too high.
In general just get away from the MG whenever it opens its mouth. This will give you more time to dodge, you can always attack later after all.
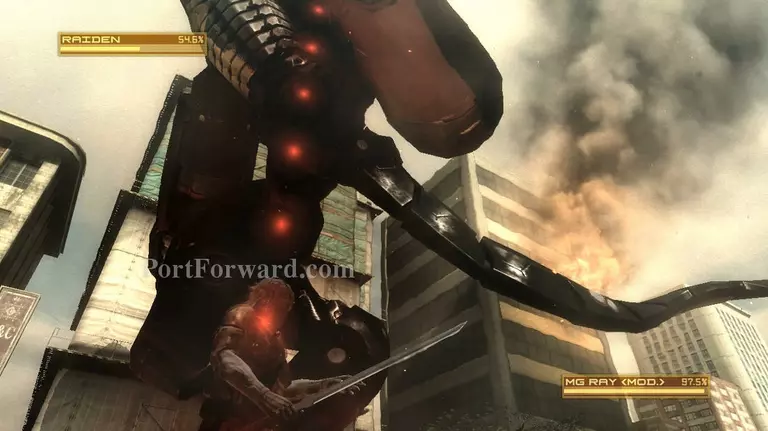
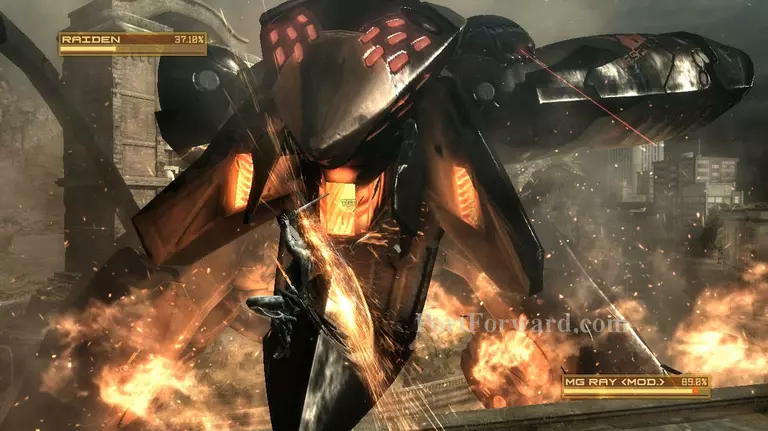
Keep attacking it and it will eventually allow you to use blade mode. Activate blade mode when it does and start chopping its face armor off.
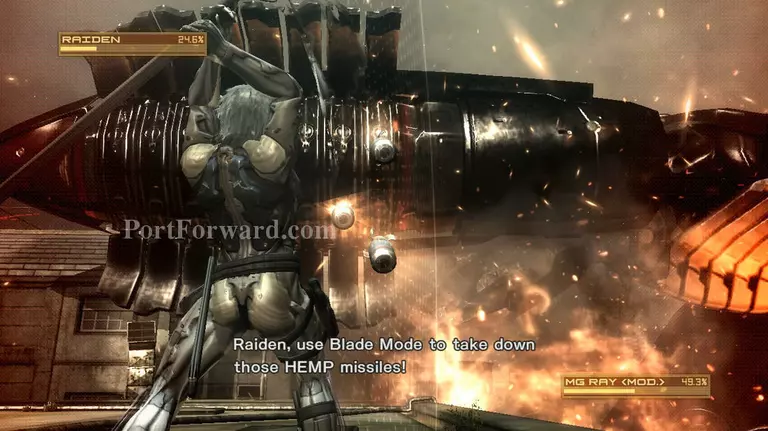
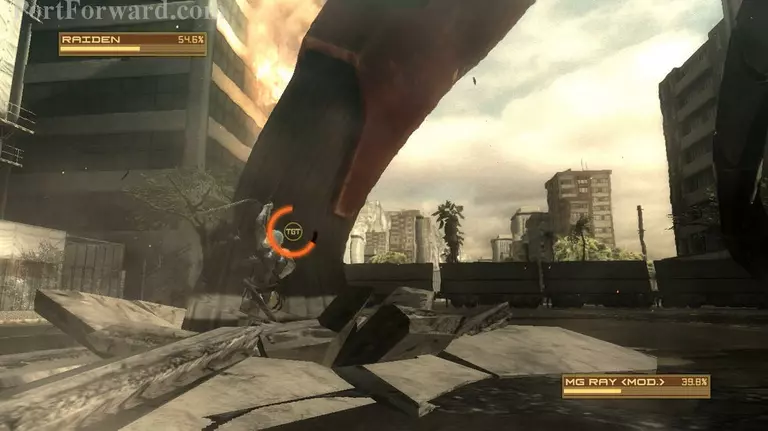
After destroying its face armor, it will lift up its arm and missiles will start shooting at you from the arm. Activate blade mode and just keep slicing away even if you're not hitting anything.
Return to attacking its face once it retracts its arm. With enough damage it will attempt to slam you to the side, dodge it and the MG will end up getting stuck, which means more chance to deal some damage.
Just keep on attacking its face even when it recovers and it will go back to blade mode shortly. Raiden will destroy the turrent on its arm and the MG will attempt to blow you up with missiles again.
Activate blade mode and keep slashing at the missiles to avoid getting damaged, then attack the MG's face one more time to start the QTE.
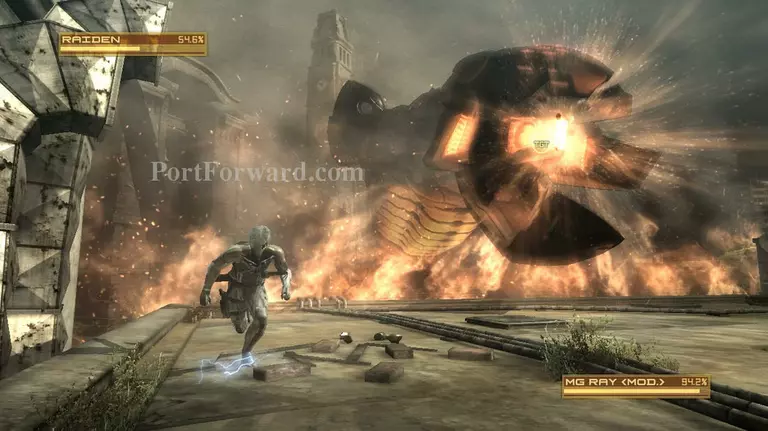
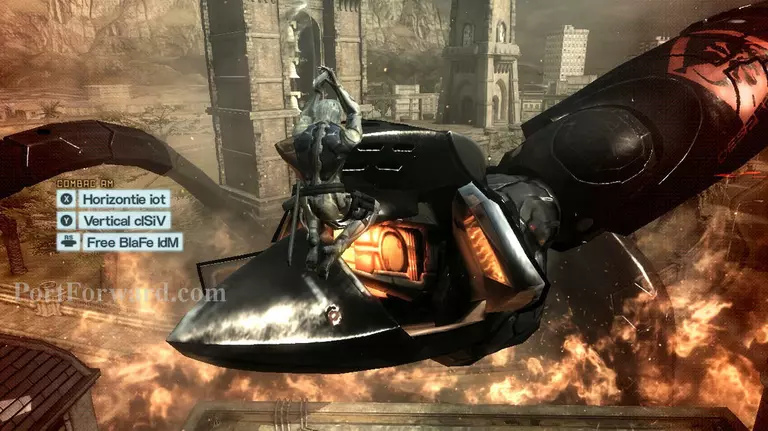
The MG will retreat and bombard you with missiles. Activate ninja run and run towards the missiles, Raiden will use them as platforms to get to the MG. Once there, press the QTE to bring it down.

Raiden will fail once again. Run down the side of the tower while ninja run is activated. Keep yourself at the right side to avoid getting hit by the laser.

You need to be quick enough to reach the MG before it fires off its third beam, or at least quick enough to get through the beam once its fired. The beam can kill you in one hit.
Once you've made it to the MG's head, just press the QTE to finally destroy it. A cutscene will follow afterwards.
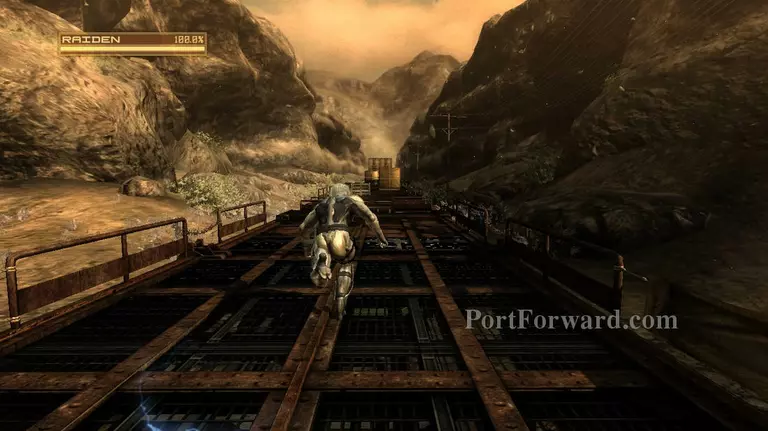
After the cutscene you'll be placed on a train. Use ninja run and make your way to the front of the train and another cutscene will start.
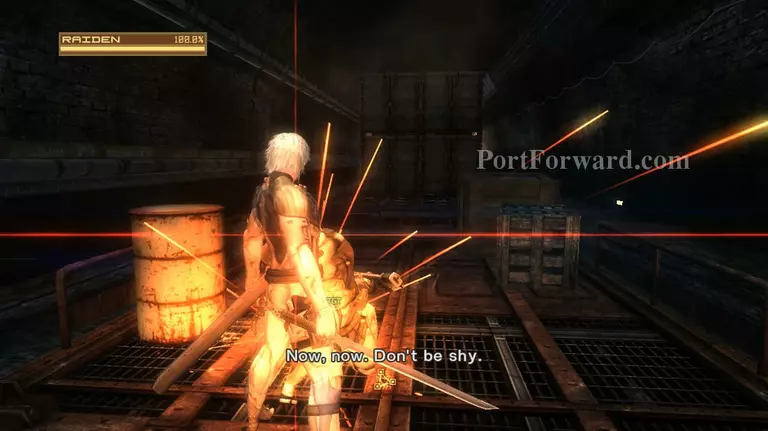
You'll have to fight Sam after the cutscene, and I'm sorry about this but Sam is not beatable. You can't win against him at this stage. Just let him beat you up until the final cutscene starts and the mission ends.
More Metal Gear Solid: Rising Revengeance Walkthroughs
This Metal Gear Solid: Rising Revengeance walkthrough is divided into 20 total pages.


