This Resistance 2 walkthrough is divided into 11 total pages.
You can jump to nearby pages of the game using the links above.
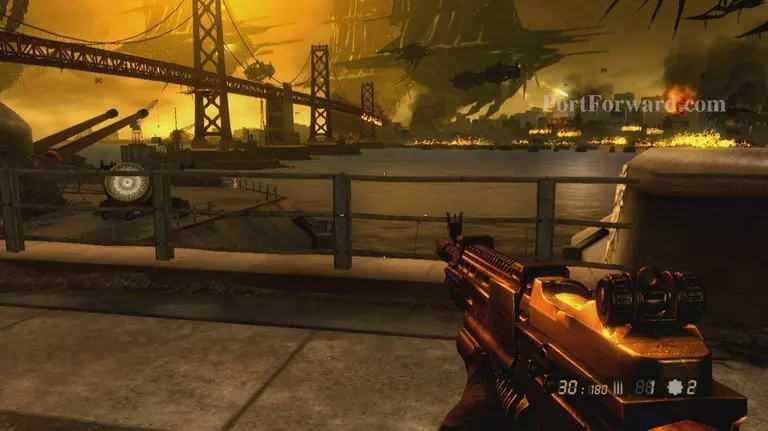
SRPA.III San Francisco CA
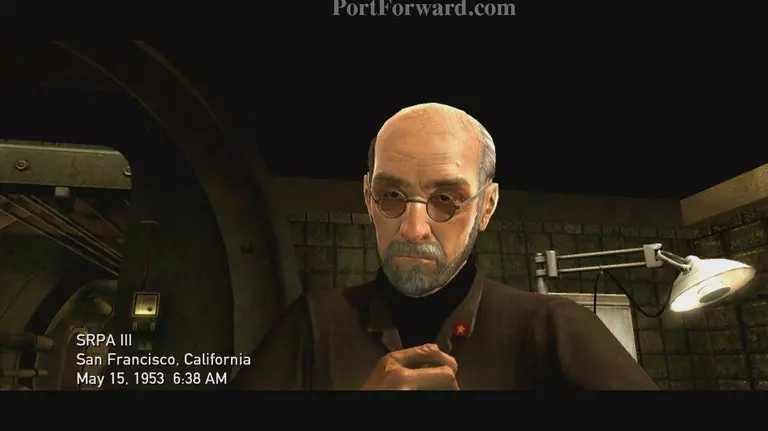
Follow the man as directed
Soon a scene will kick off and then a checkpoint
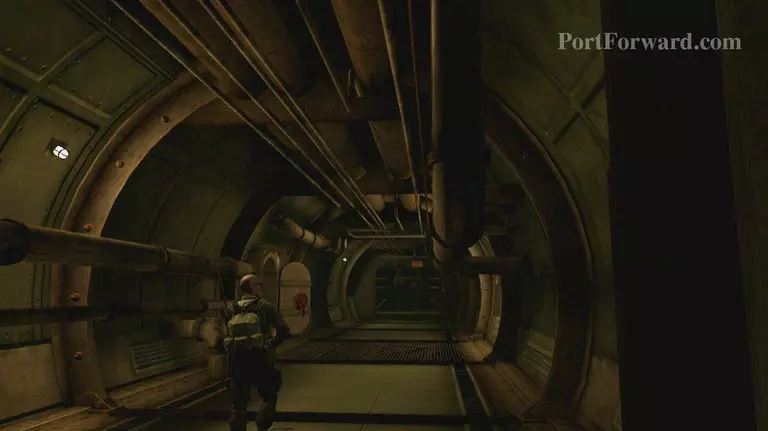
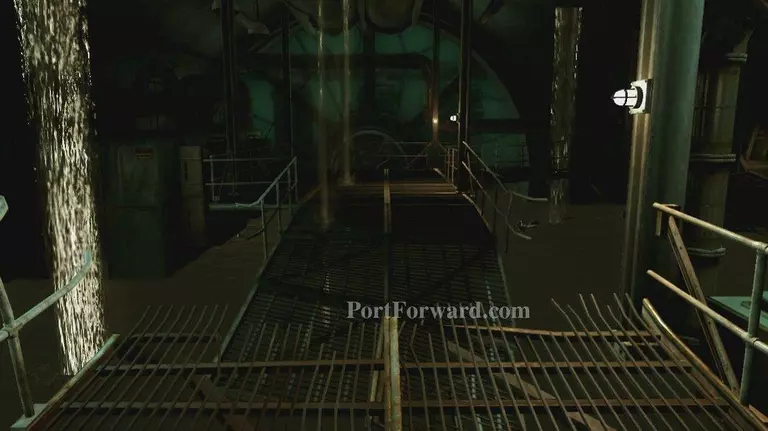
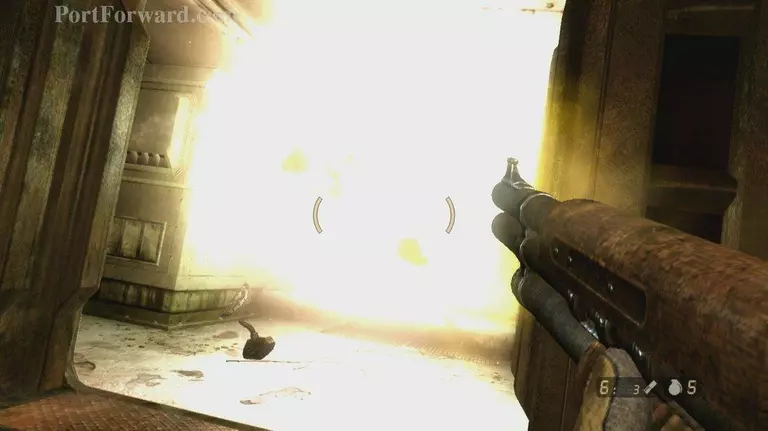
Follow the path you'll get a checkpoint and see a Fury eat some guy
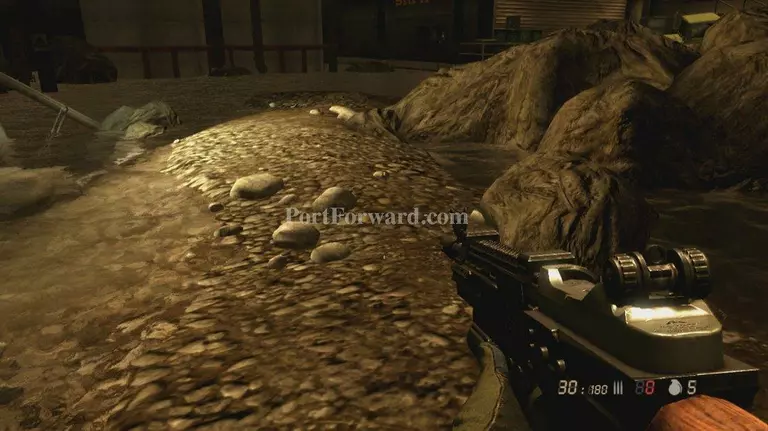
Move along the catwalk until you reach the other side try and avoid the water its instant death
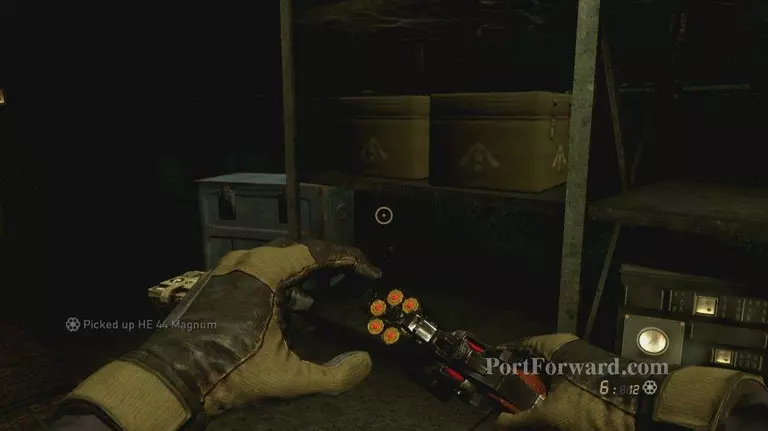
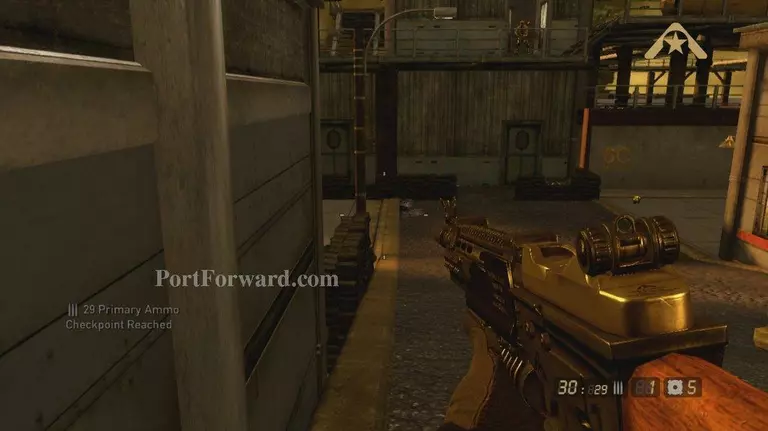
Head inside and grab the Magnum
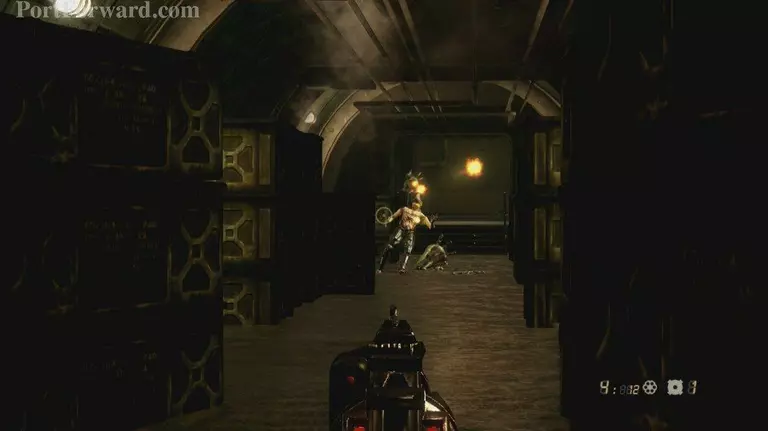
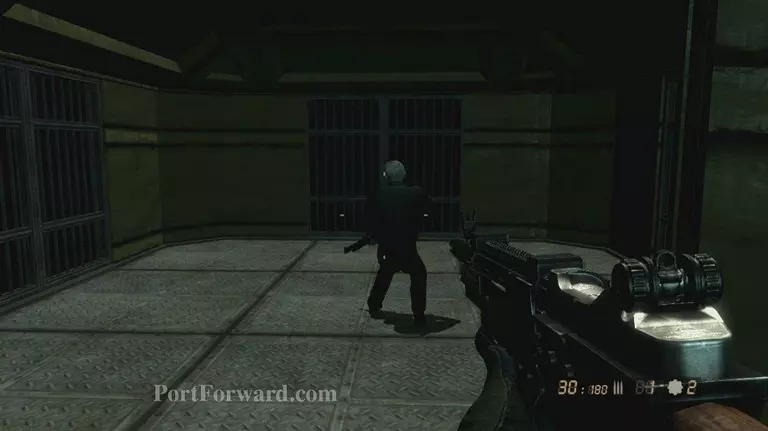
Head down the hall and kill the 3 guys in the way
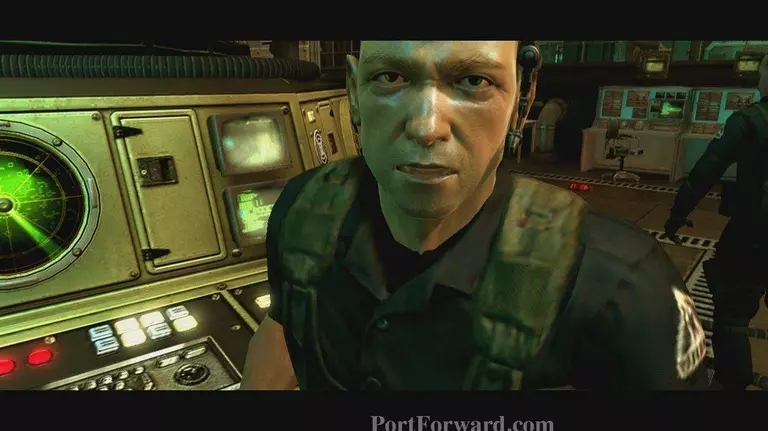
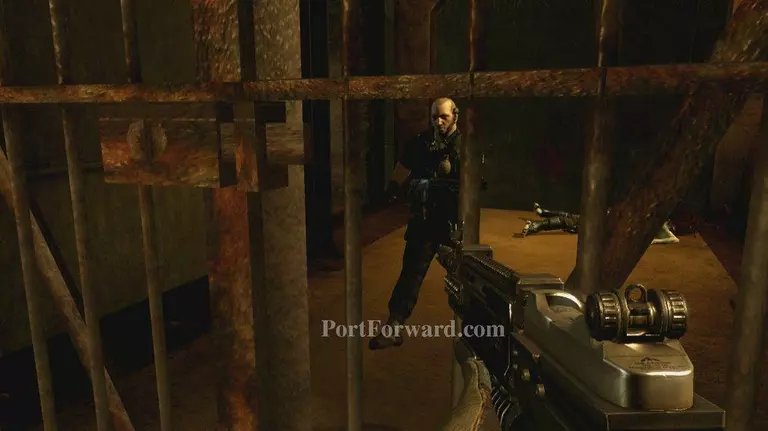
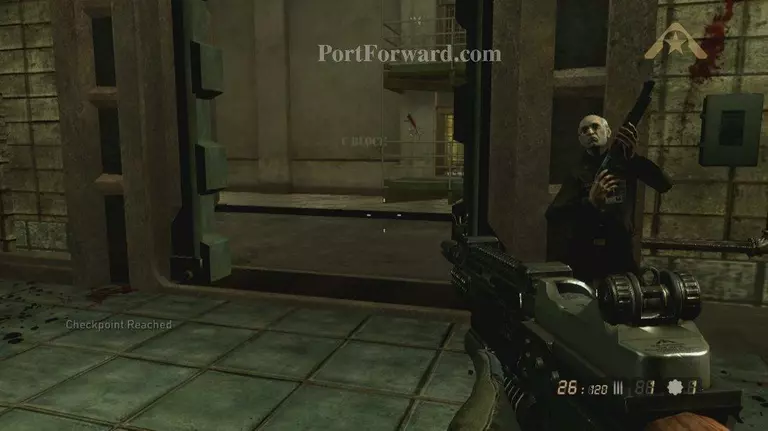
At the end you'll see a friendly he'll open a door for you
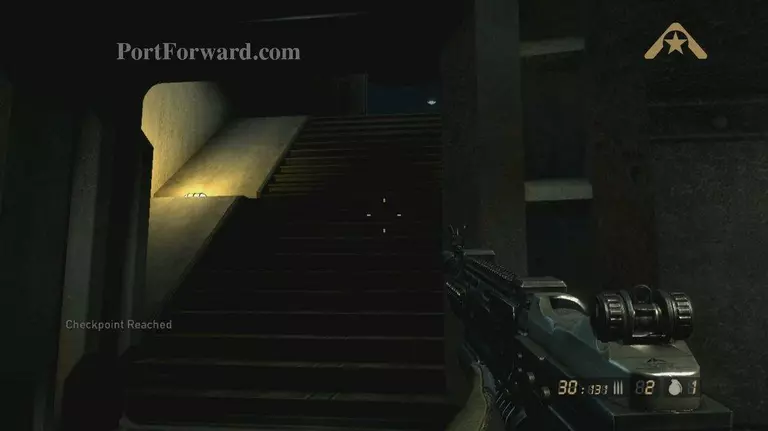
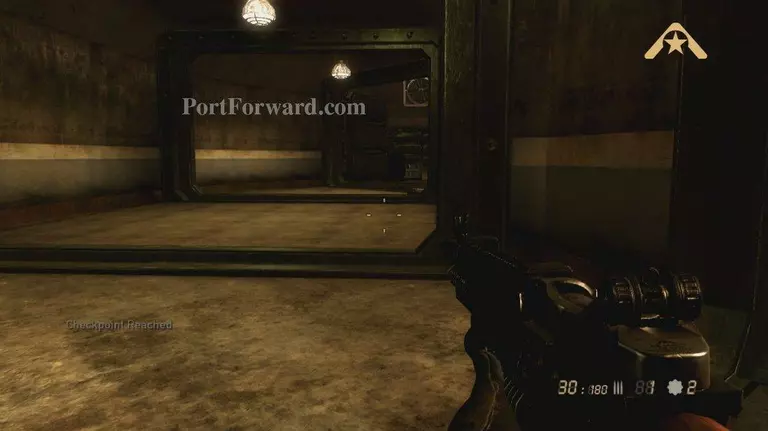
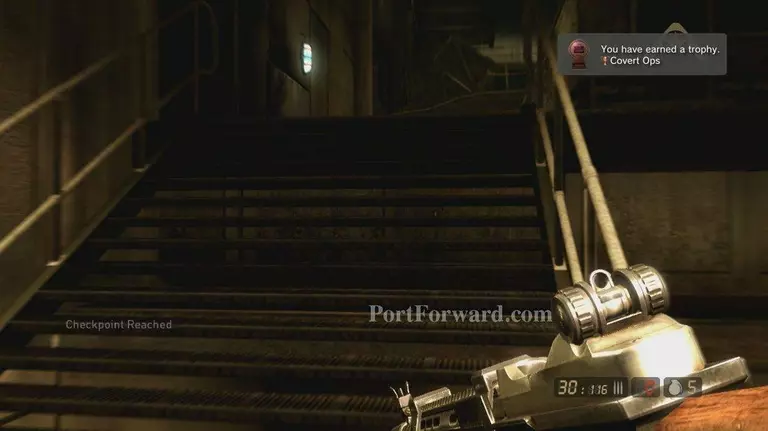
Head through this room and down the stairs to the door for a checkpoint
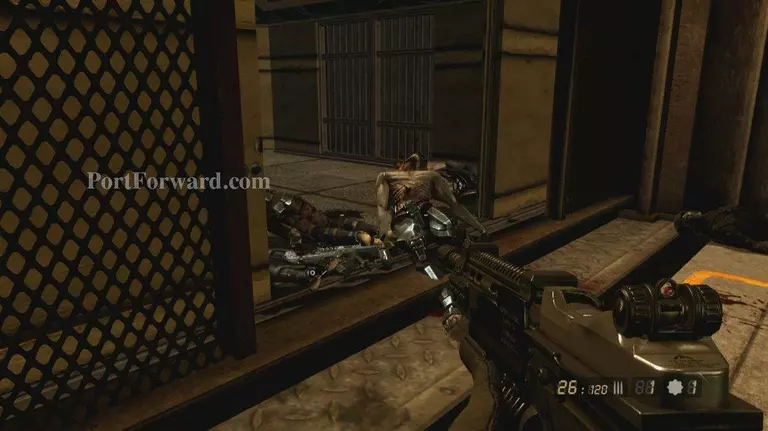
Inside a wave of drones will rush in
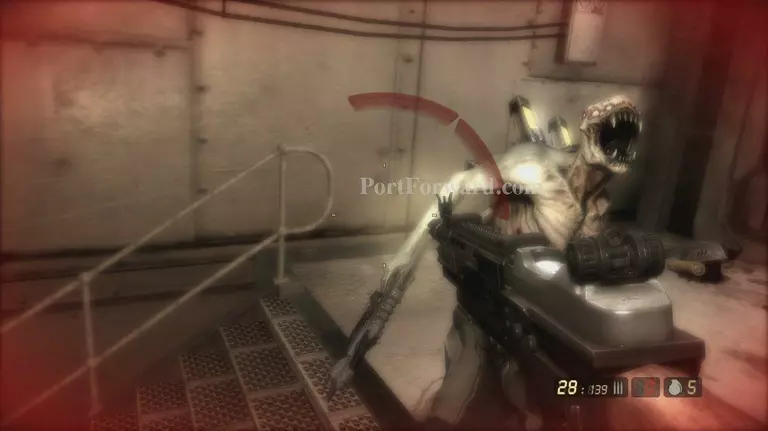
Up the stairs you'll see your buddy getting attacked help him out
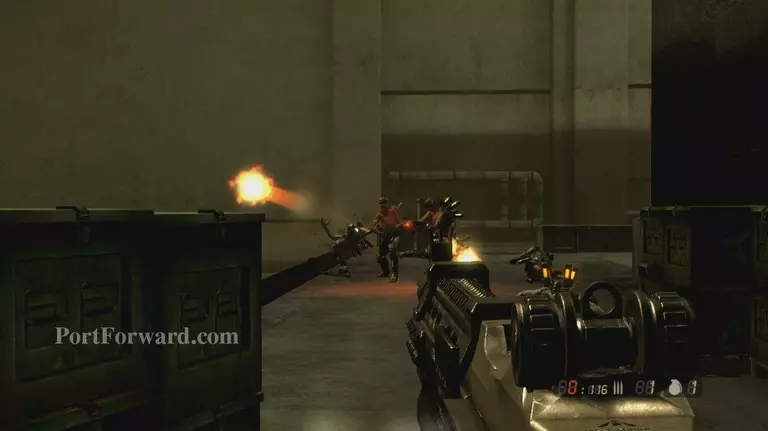
Continue along the path you'll come to a room full of Chimera toss a grenade inside and kill them off
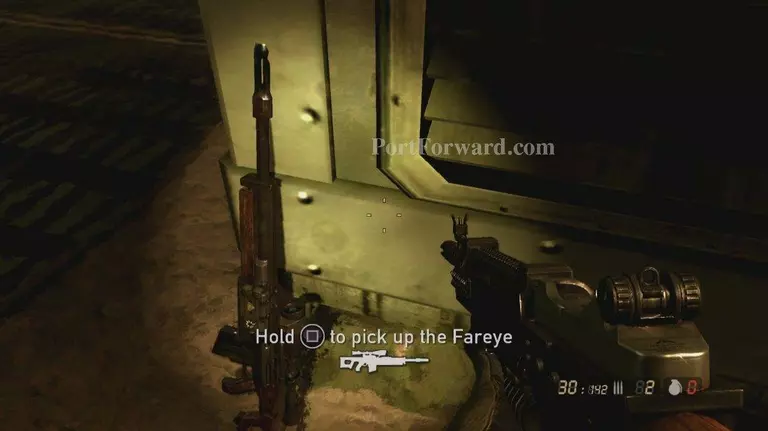
Head down inside and grab the FarEye rifle
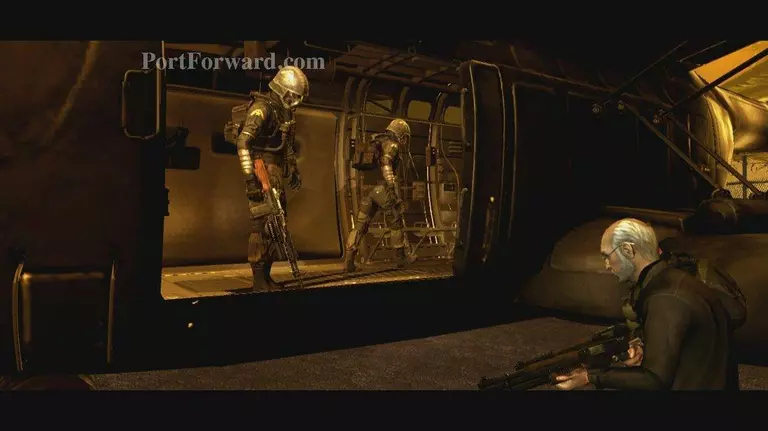
Follow the 2 SRPA members you'll come to a door and a checkpoint
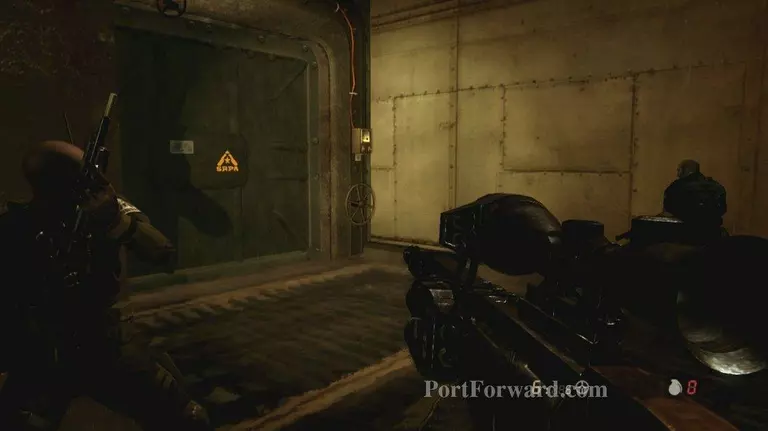
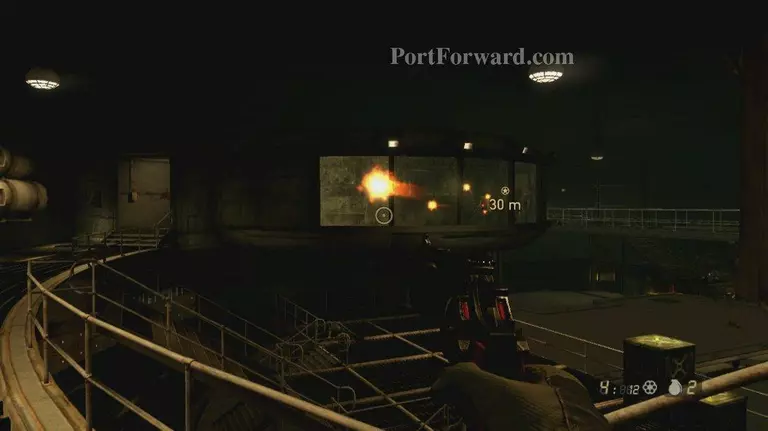
Time to start sniping, snipe as many as you can
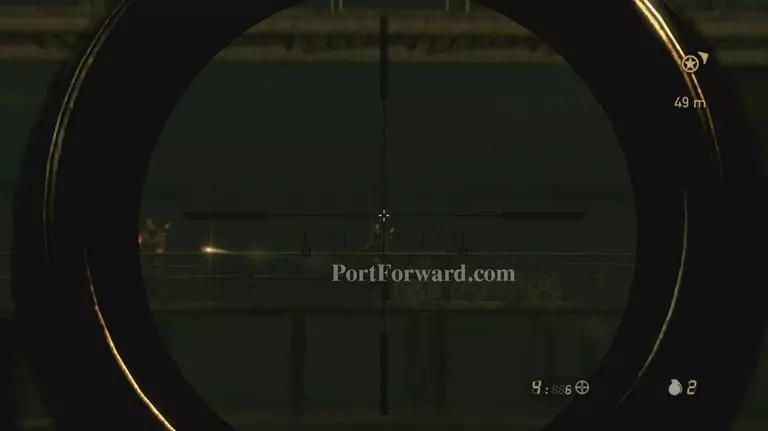
Once you run low on ammo head up the stairs and into the first room

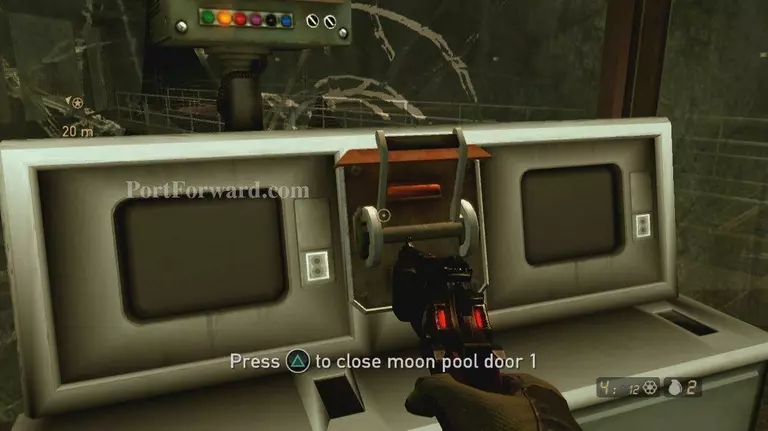
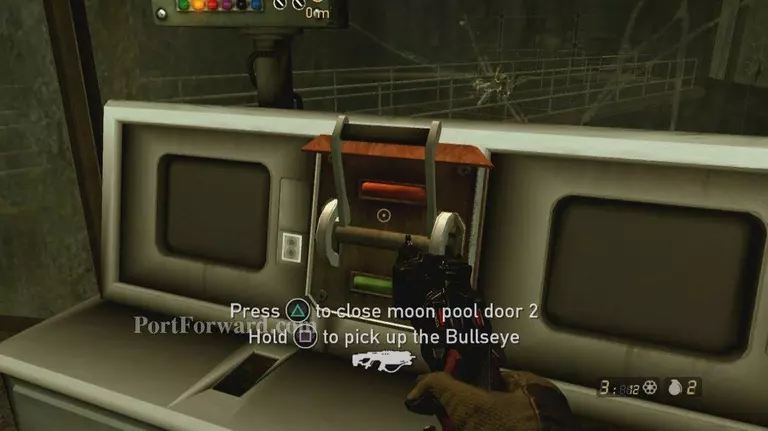
There will be a switch to hit here do so
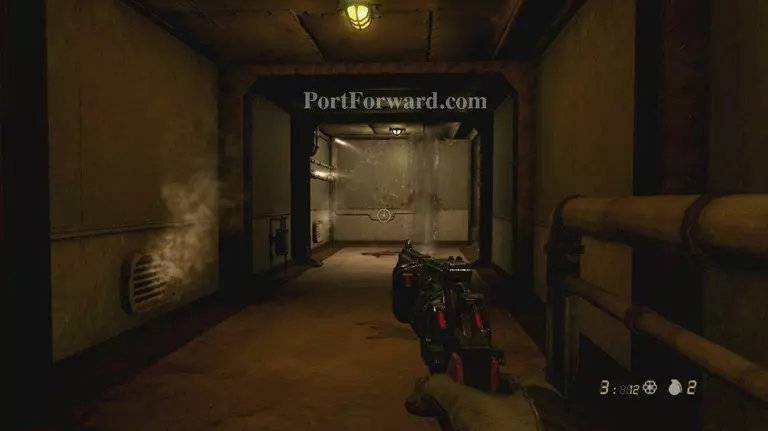
Head down the hall and into the next room clearing the path as you go
Hit the switch in here as well to kick a scene off
After you have control again turn around and head down the hall
At the end a checkpoint and a gun grab it if you need it
Head down the stairs and into the elevator
At the bottom follow the path it is linear you'll get some ammo
Soon another checkpoint head inside the tunnel in this room
Near the end you'll trigger a wave of drones
After they are down jump down out of the tunnel
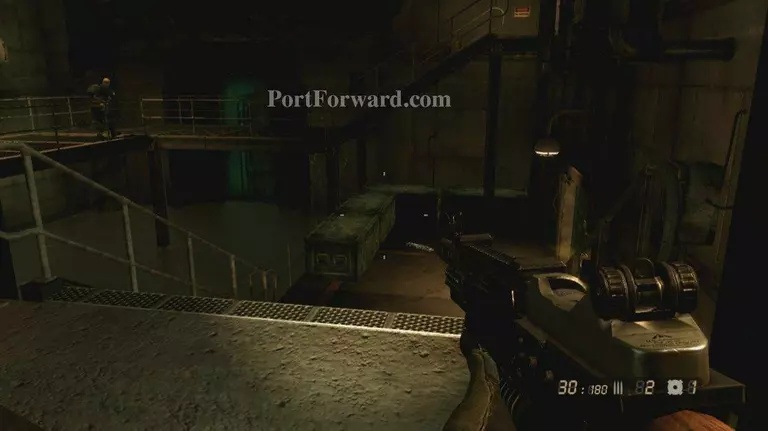
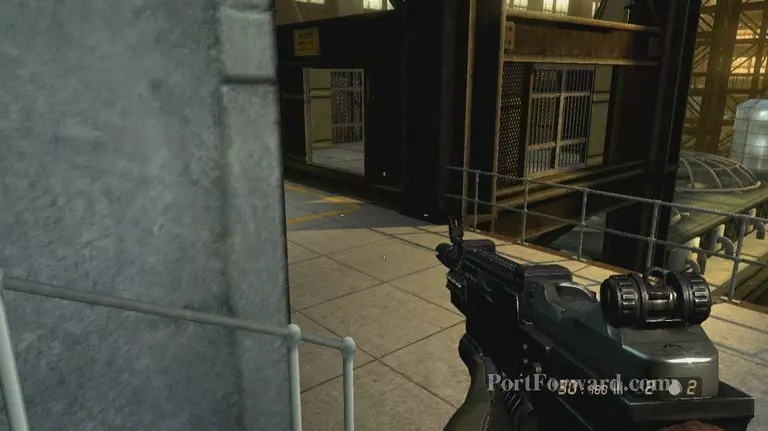
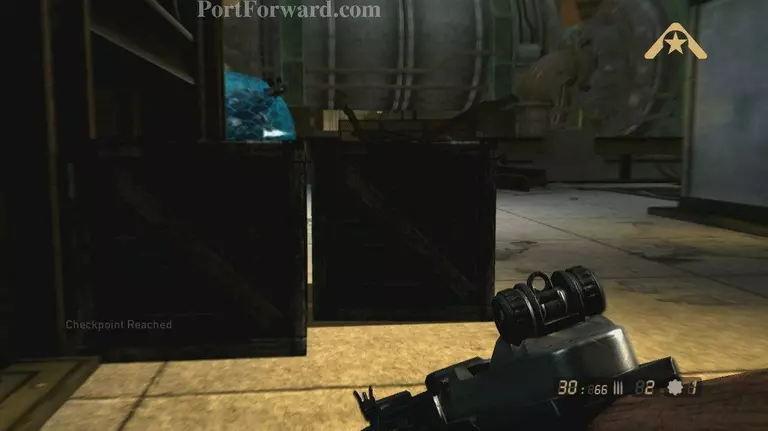
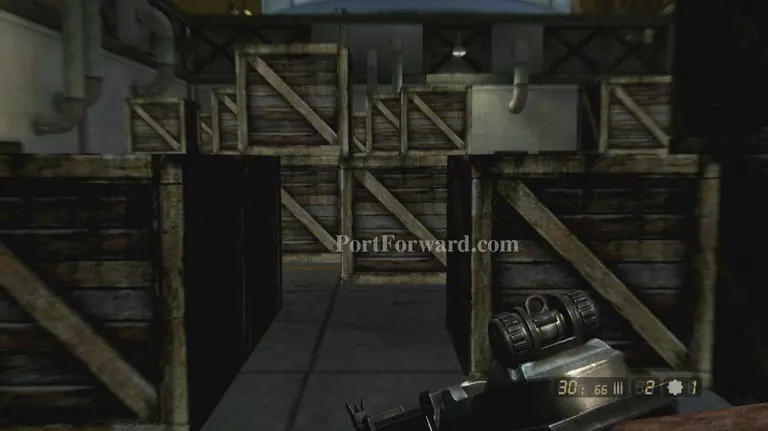
Soon a checkpoint and Blake will tell you to get to cover take cover on these boxes
Heâll then direct you to move at the times when the drone isn't watching follow his directions
Heâll first direct you to run left around the corner to this box and take cover
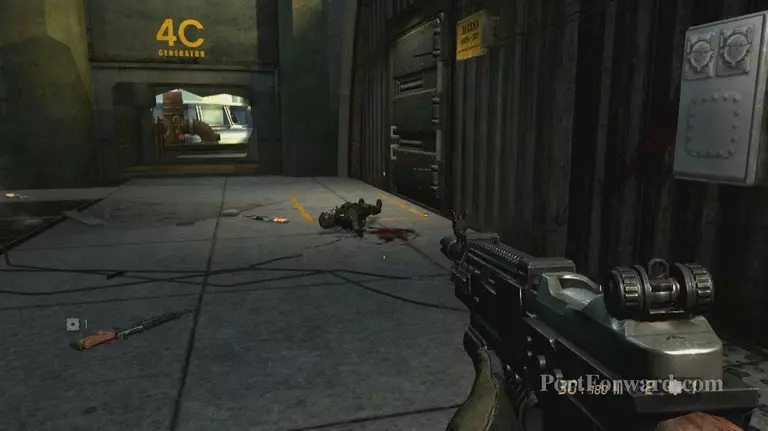
Then run to the left again but this time keep running through the box maze
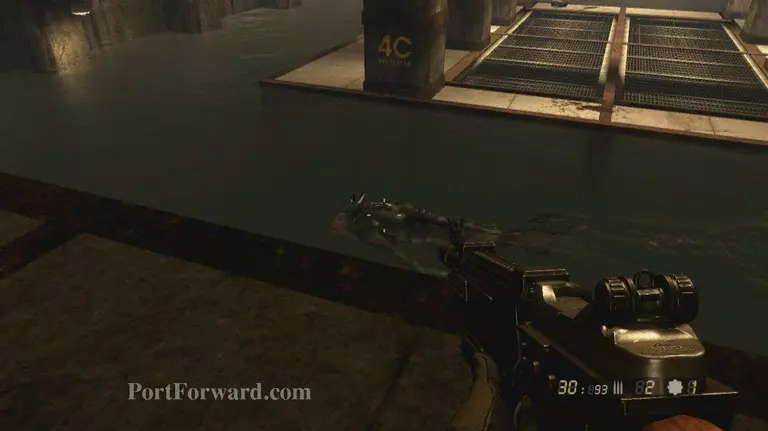
On the other side you'll need to jump down into the water and head to the open grate
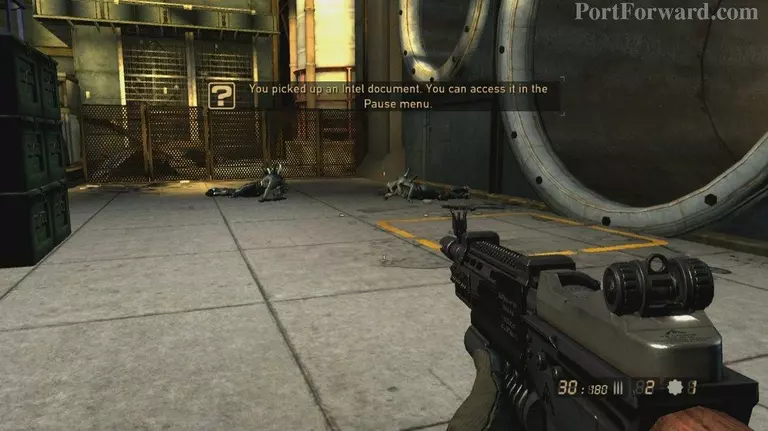
Soon he'll tell you to move to the left again and into the door

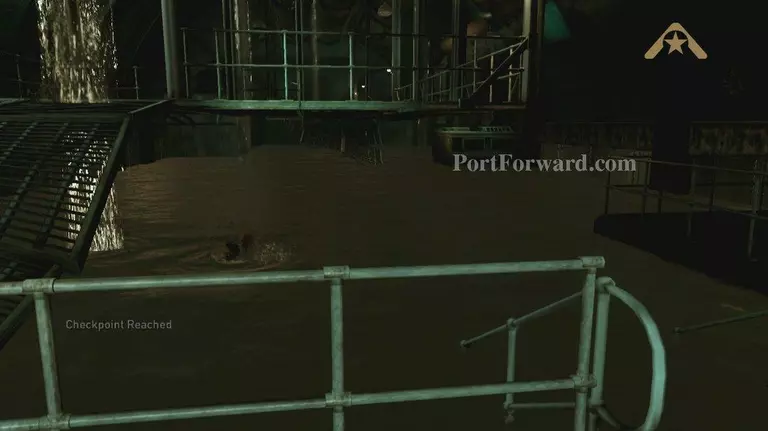
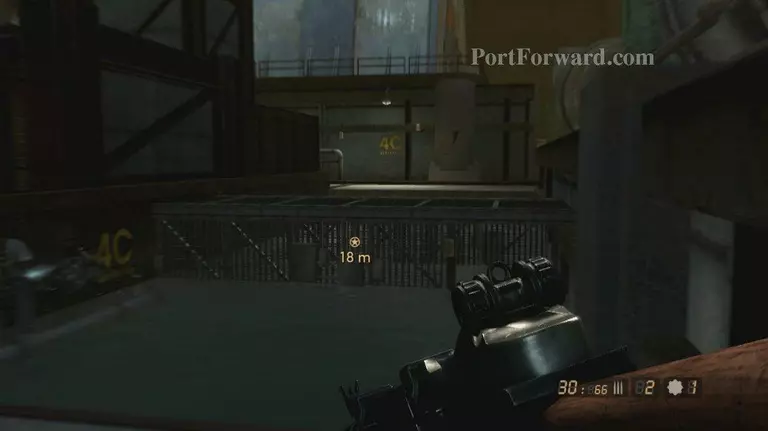
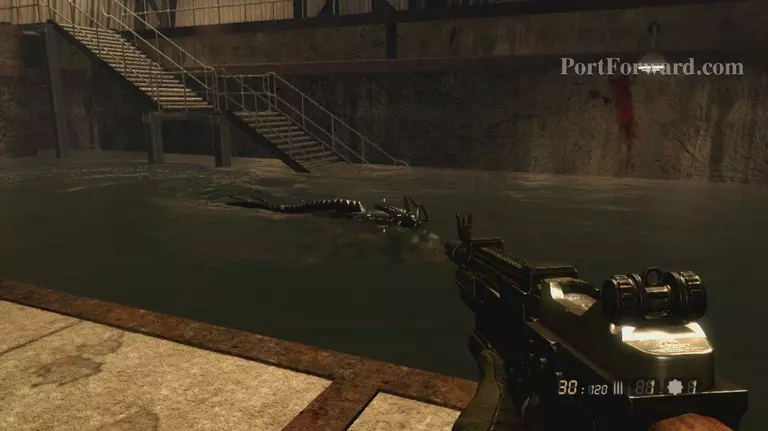
Inside will be a checkpoint, and a Fury in the water
Wait until it is on the opposing side and run and jump towards the island in the middle
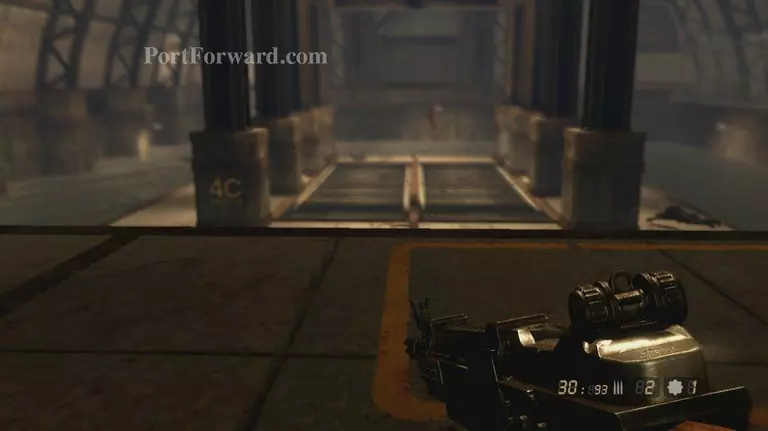
When you reach it the elevator will come down with some guys in it kill them off
Again wait for the Fury to be on the other side and make a run for the stairs
Then head inside the elevator
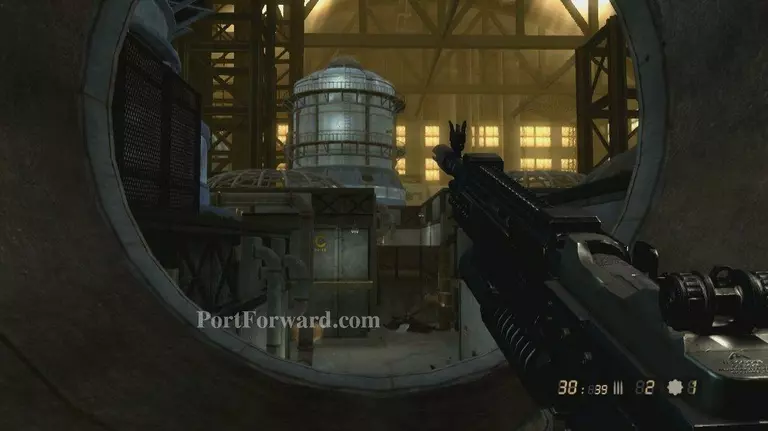
At the top you reach Dr.Malikov and need to escort him to the surface
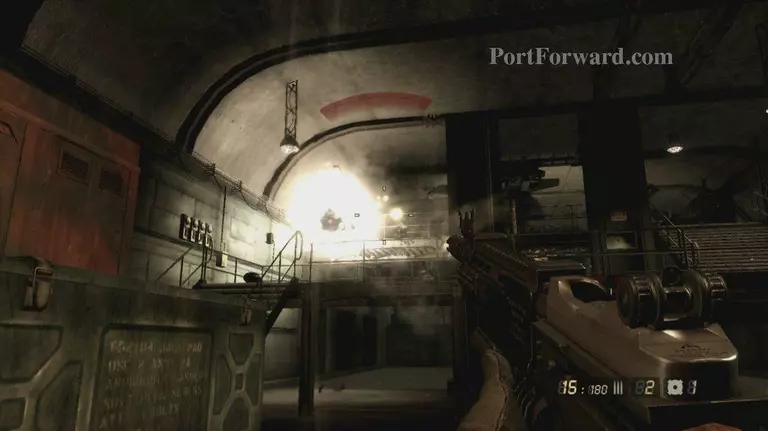
When you exit the room a wave will appear kill them off and push forward
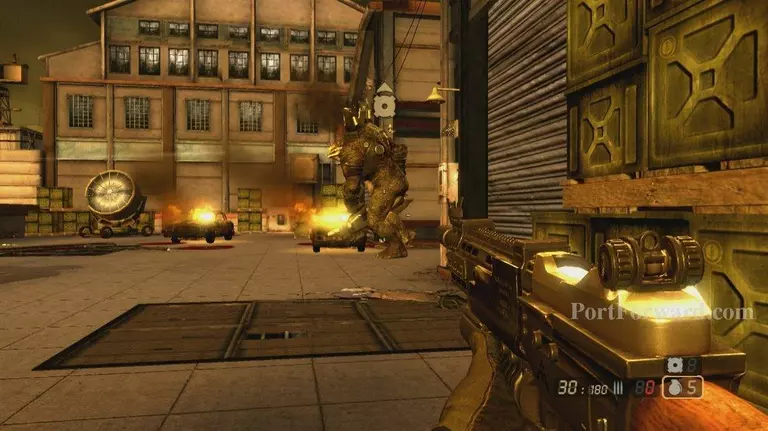
You will come to a tunnel with a few SRPA guys and a huge chimera, kill it
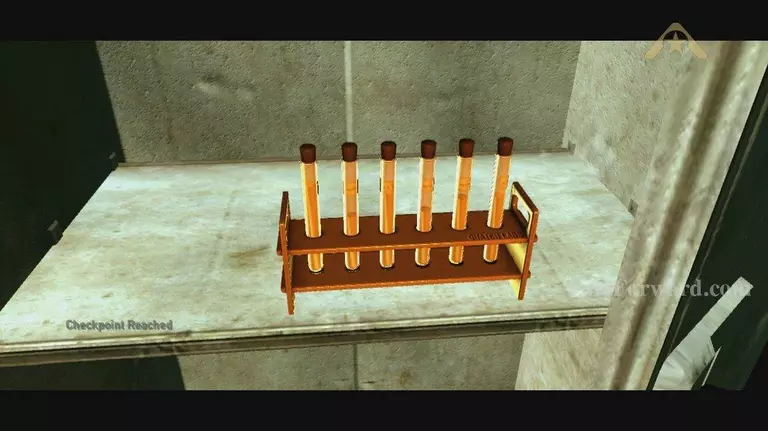
Once it's down head into the door on the right for a checkpoint
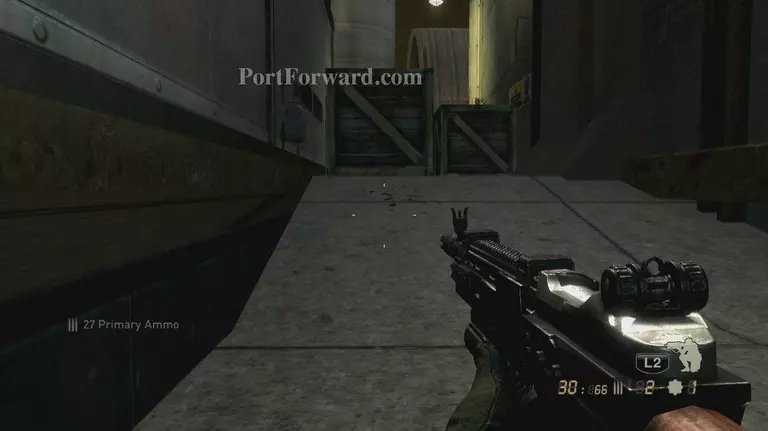
head up the stairs and into the room at the top it is full for baddy's dispose of them and keep follow Malikov

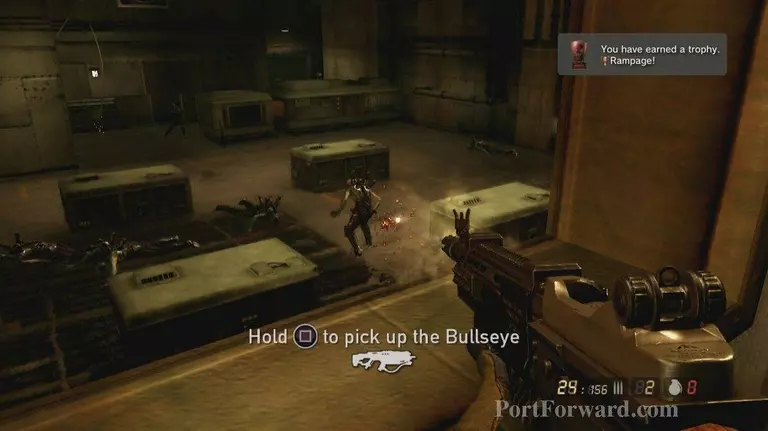
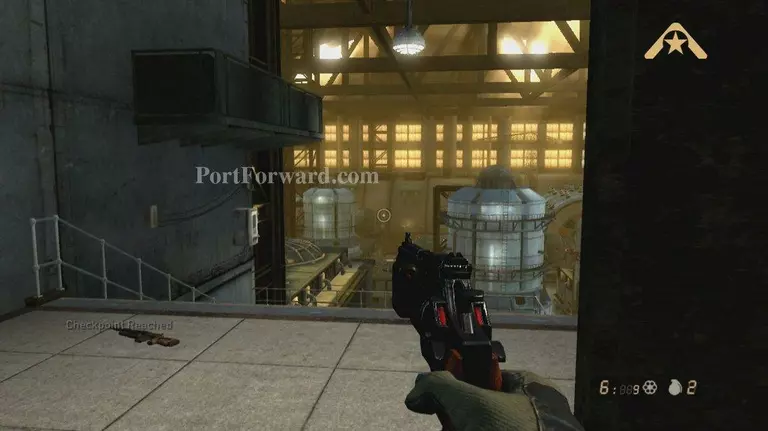
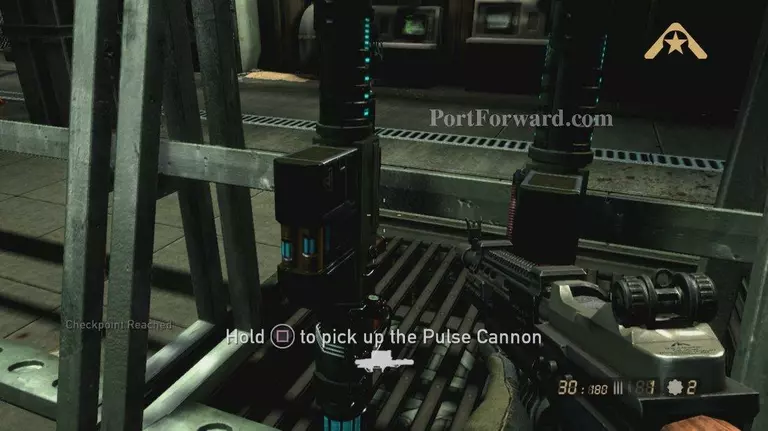
Heâll lead you into the Research area and point out a weapon down below
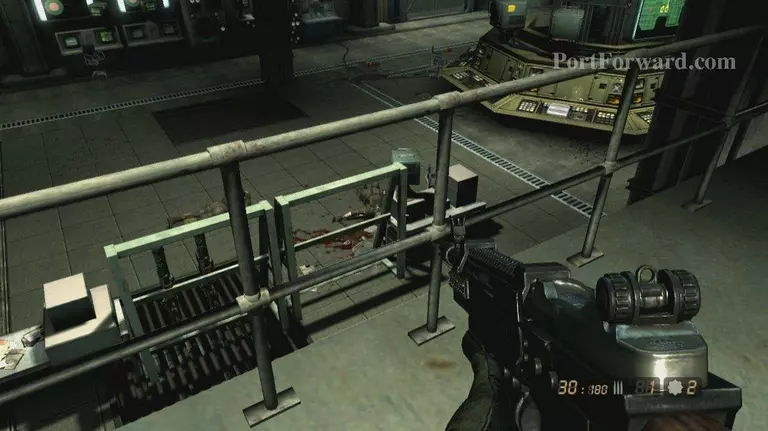
Jump down and grab it and head to the door as directed
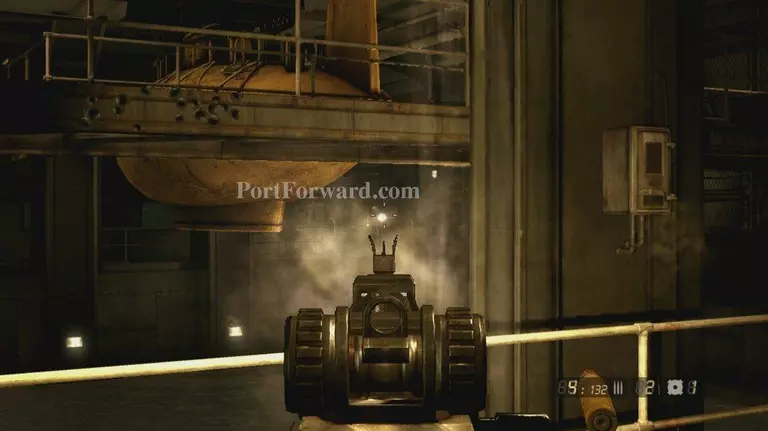
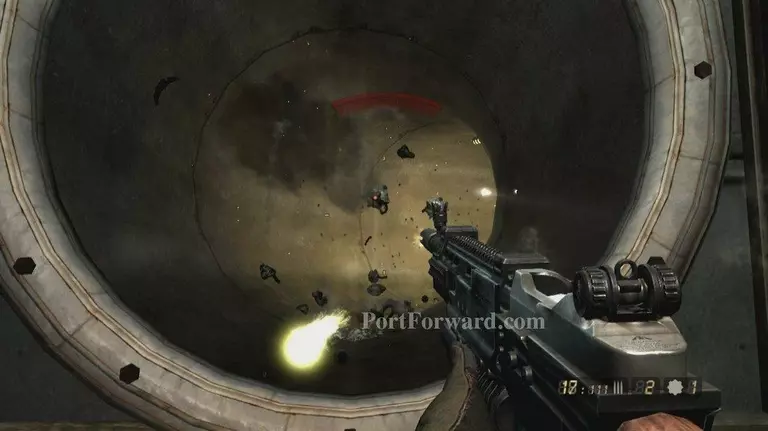
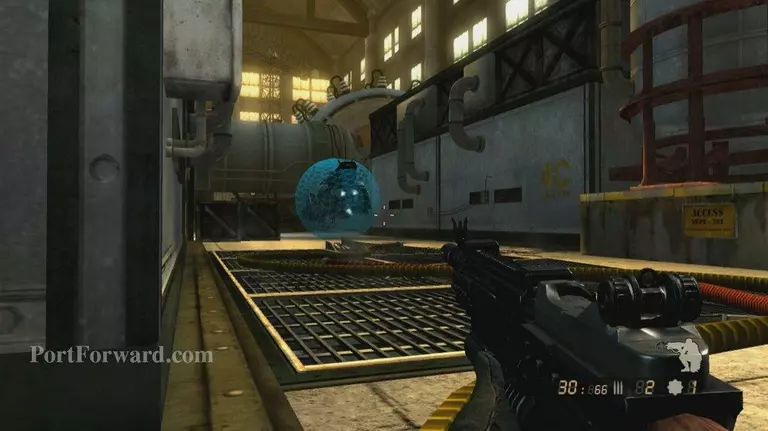
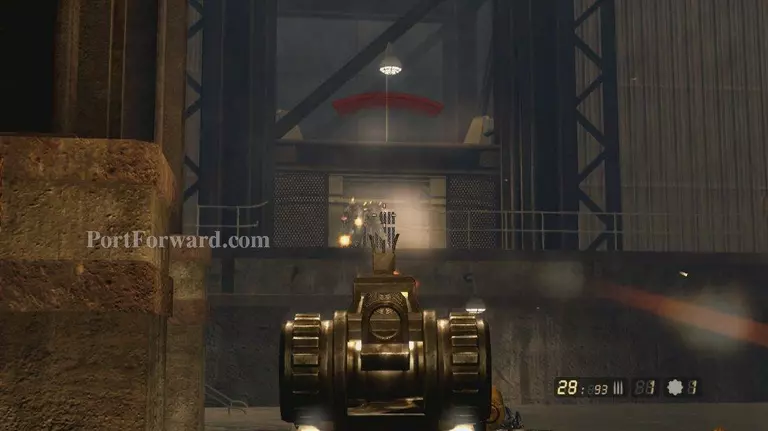
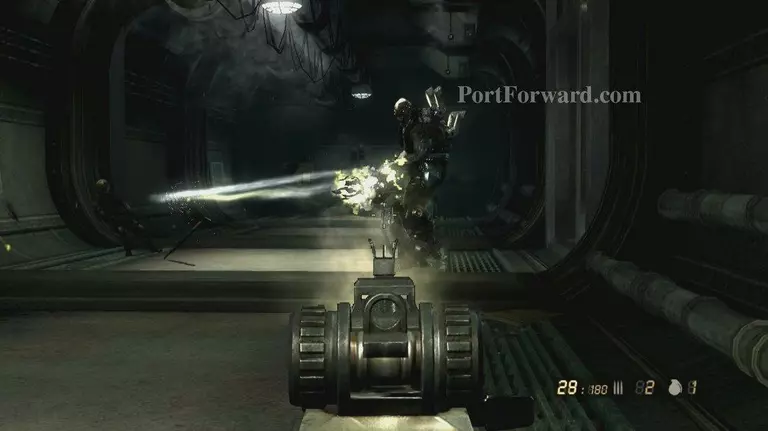
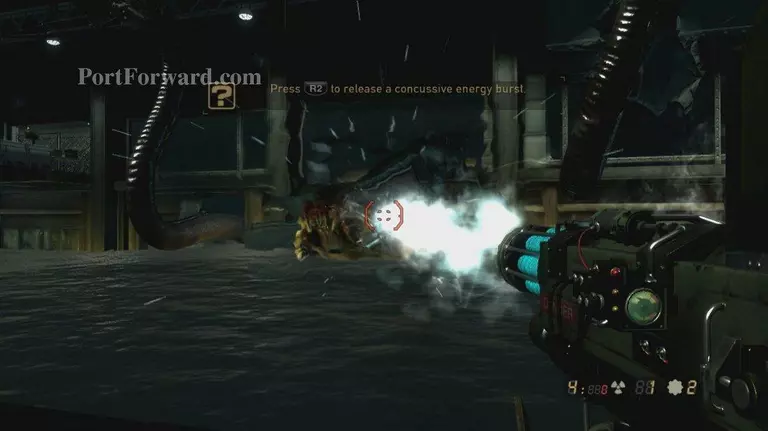
When the door opens head inside and wait for the kraken to show up
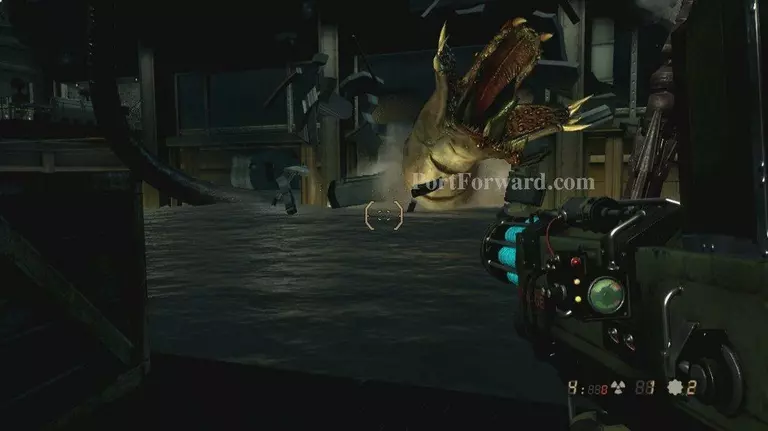
Fire a few rounds at him and then after he leaves head to Malikov
Keep following him until you reach an elevator
At the top a checkpoint and a nice view
Then follow the path it's linear you canât get lost, you'll come to a checkpoint here
Then a room full of SRPA's pinned down help them out
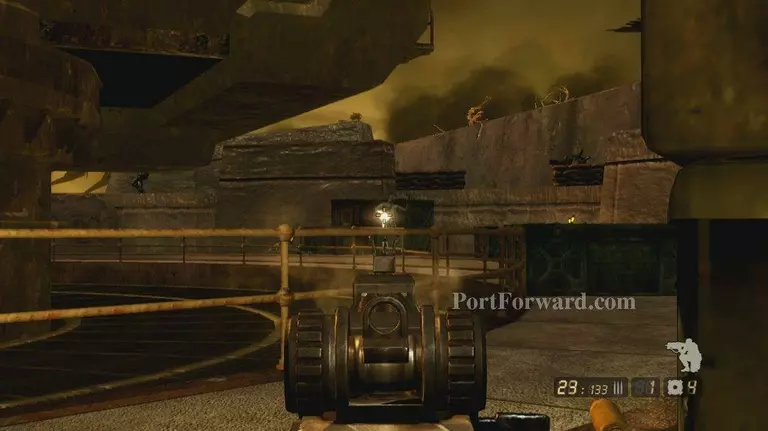
Afterwards a checkpoint, you'll need to clear and evacuation point
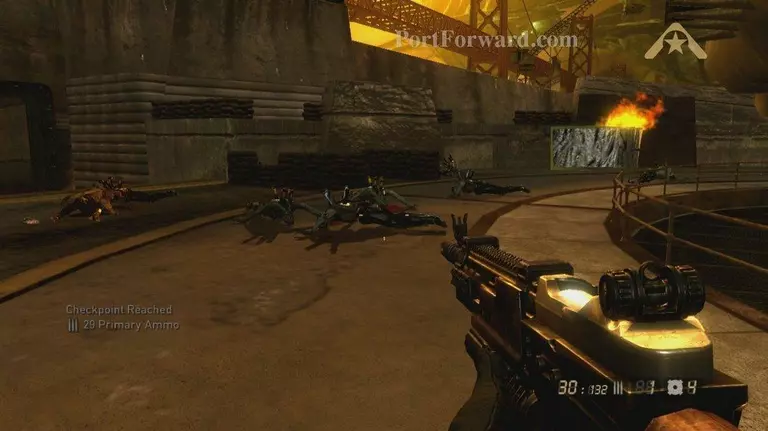
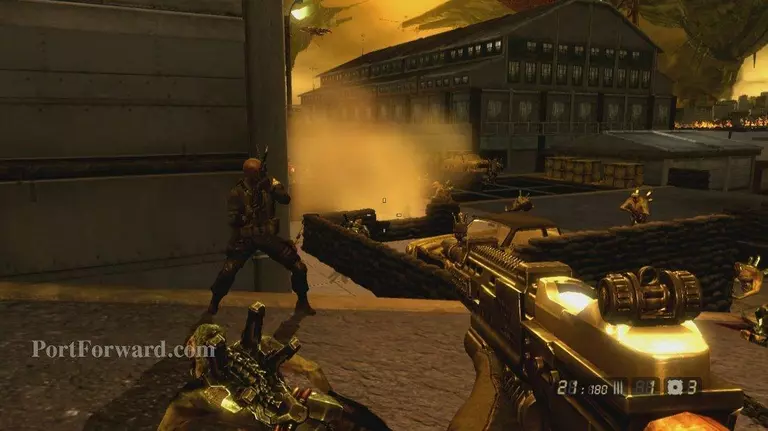
This area will be full of chimera wave after wave will come
Once they are down head down the dock to a checkpoint
After a short walk you'll come to an Evacuation point, Malikov will stay here
Now after the scene jump down and prepare to battle some big chimera

After the first one goes down a checkpoint that releases 1 more
After both are dead pick up some ammo and head into the garage inside is an elevator
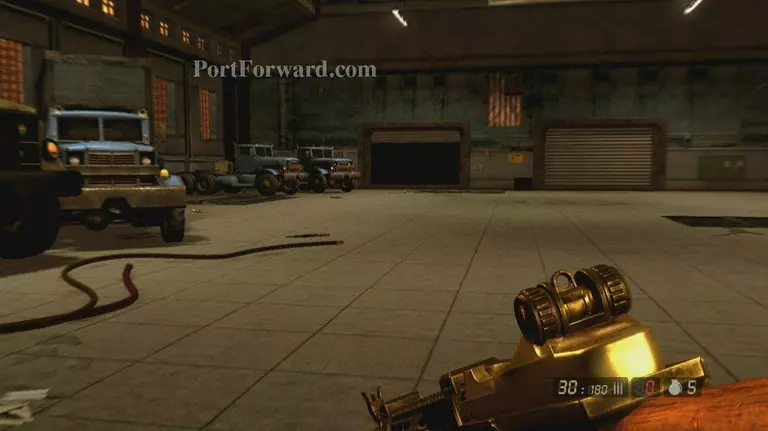
At the bottom a checkpoint and an obstacle course, avoid the water you die
Once across a chimera will spawn kill him for a checkpoint, then jump across to where he was
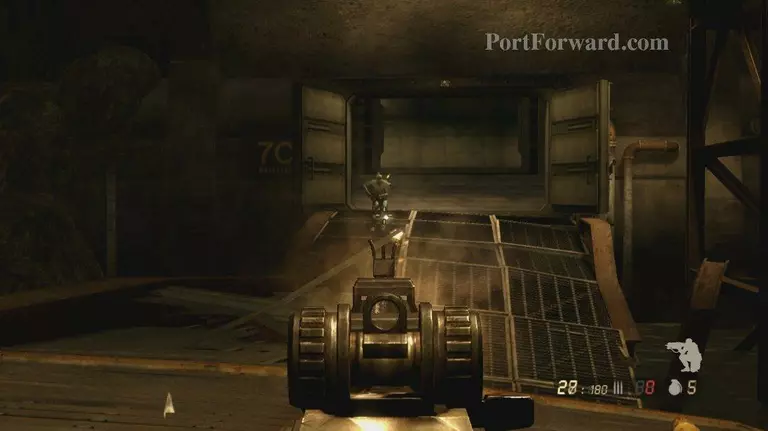
Head down the hall and into the room on the right for a scene
After it is over it'll be time to book it out of here, again this is a linear path so you can't get lost
A few enemies will spawn on your trip out of the sinking building deal with them
Soon a checkpoint and room with a few chimera some rather large
When they fall head to this small platform it will take you to the surface

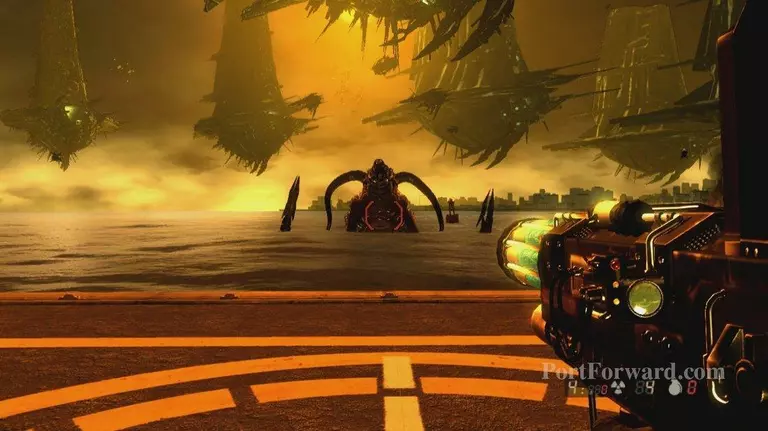
Now it is Boss Fight Time Kraken!
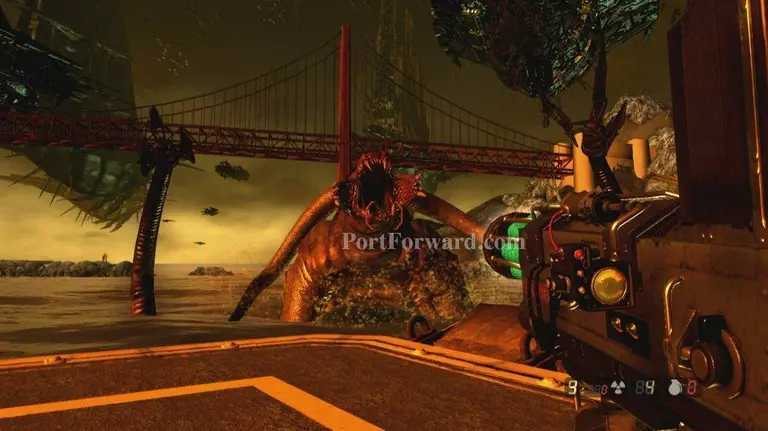
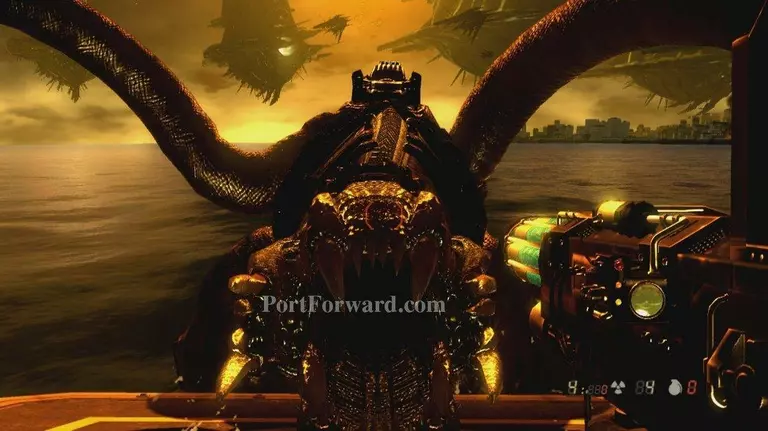
Shoot it a few times, after it makes a run for it wait until it pops back up, it will then rush in and try and bite the platform
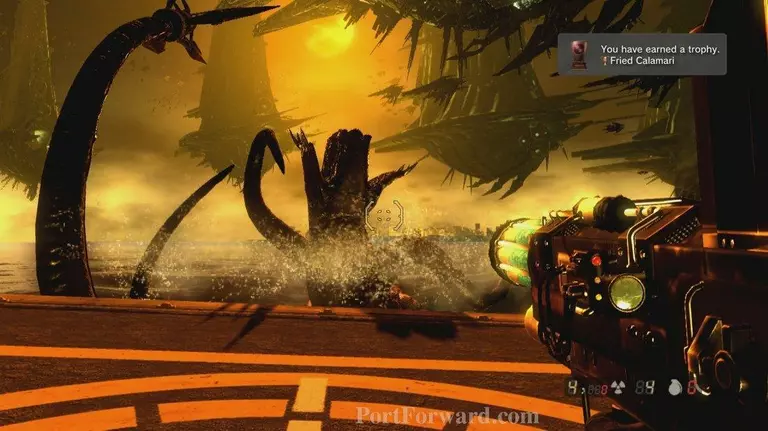
When it does this shoot it directly in the mouth
After a few time of doing this it will fall this will also end this Mission
More Resistance 2 Walkthroughs
This Resistance 2 walkthrough is divided into 11 total pages.