
This Shank walkthrough is divided into 8 total pages.
You can jump to nearby pages of the game using the links above.
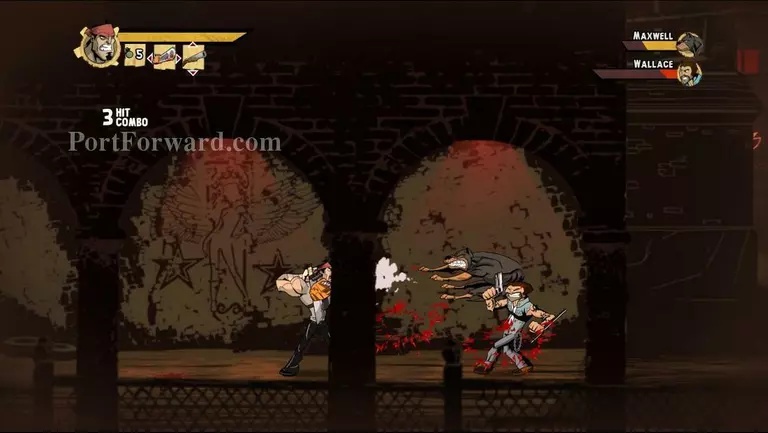
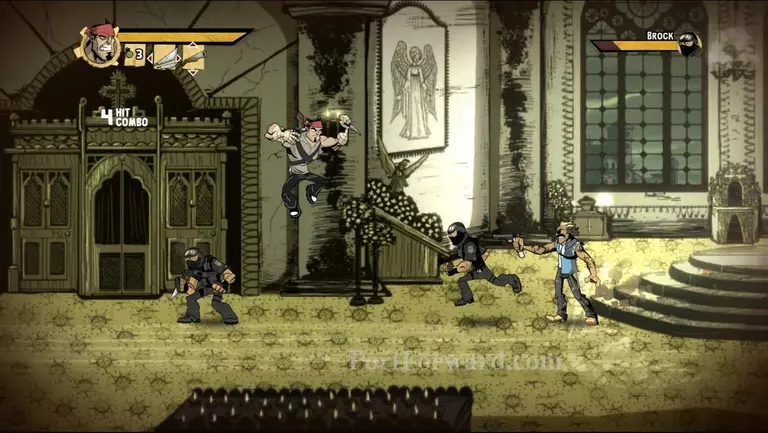
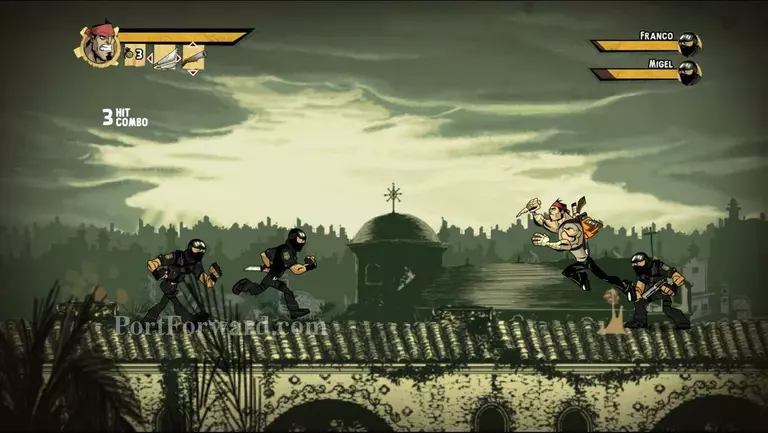
Boss 6!
Once you reach the guy that led you to the previous boss there will be a couple of big fight but somewhere in the middle of the level a guy will try to shoot grenades at you. I suggest you don't kill anyone at that point and just run
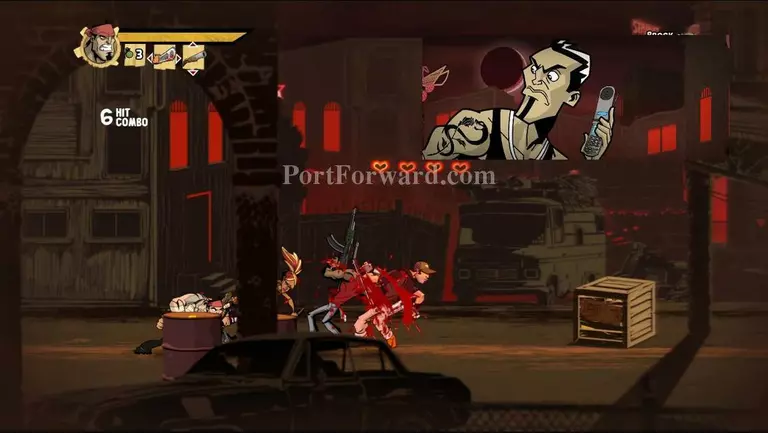
Kill off the first couple of guys and continue on
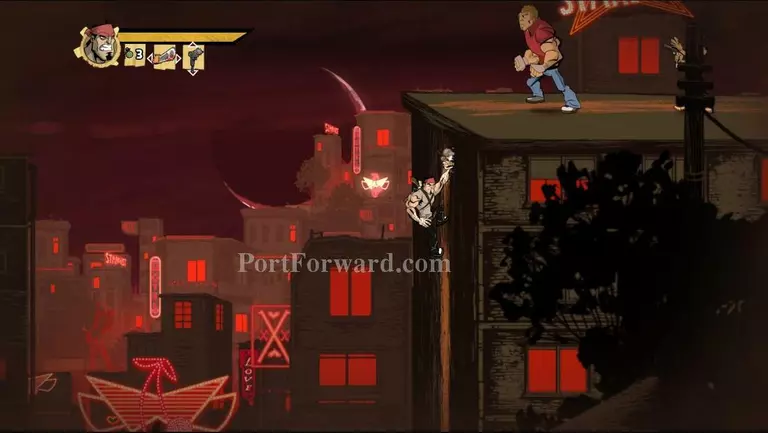
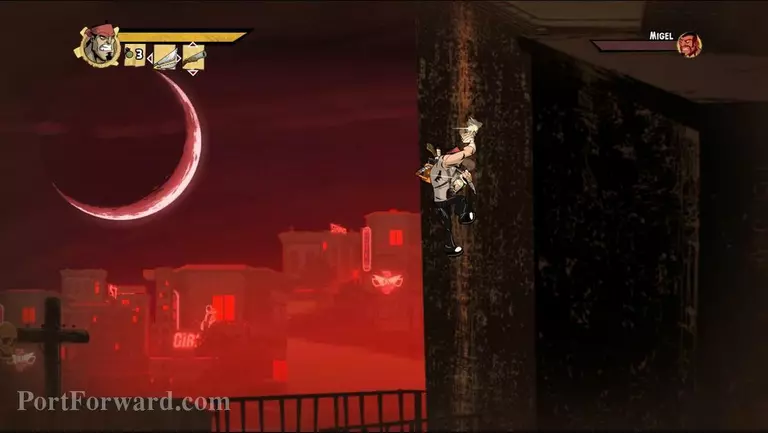
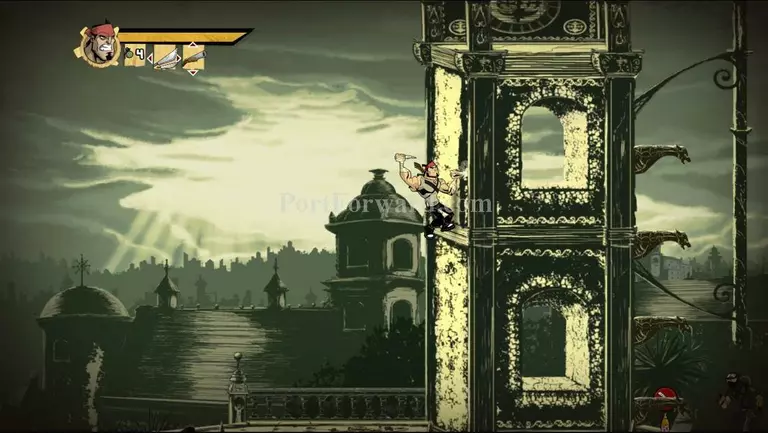
Continue up the building. You'll either have to bait him to jump or dodge of attacks and depth of the events that. Don't wait too long because the other guy will shoot you down
I chose to bait him down. You can do it either way
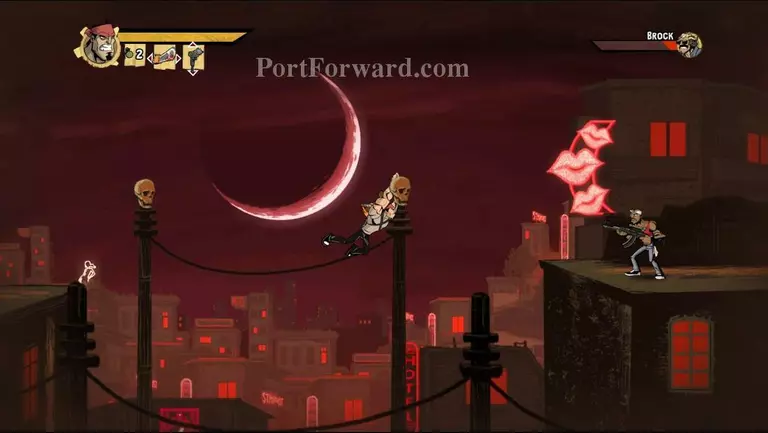
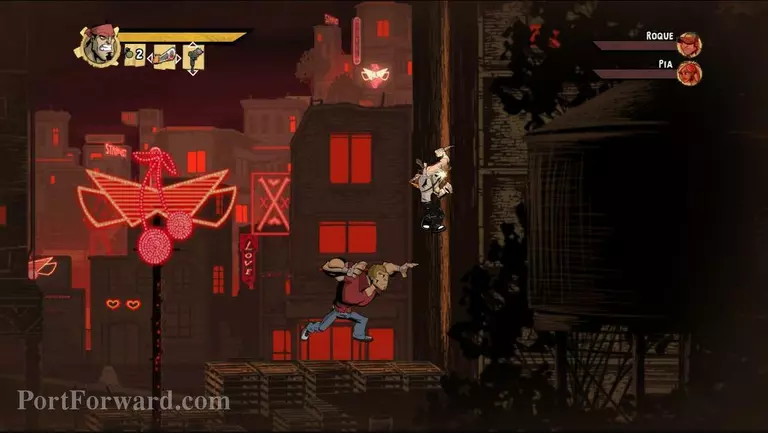
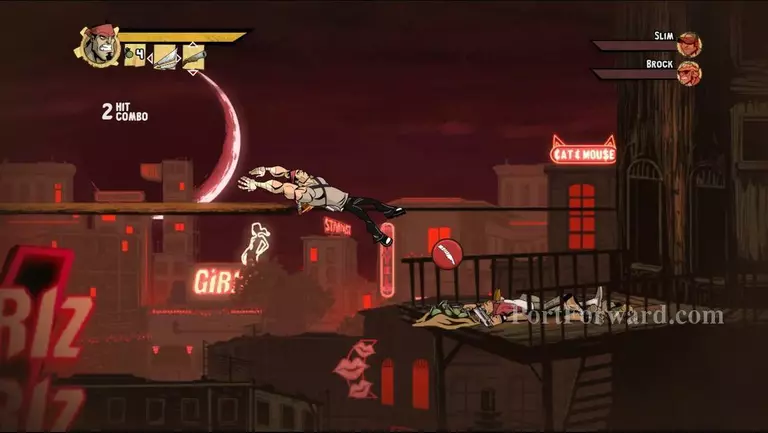
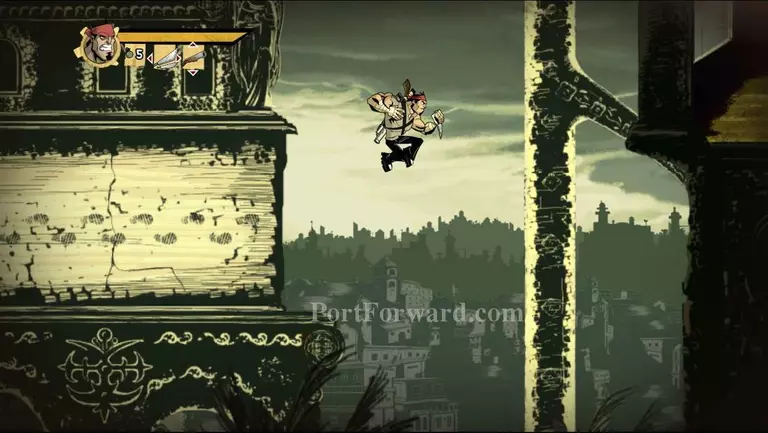
When you continue on you'll have to jump from building to building. But be very careful some of your enemies will try and shoot you down thus killing you can
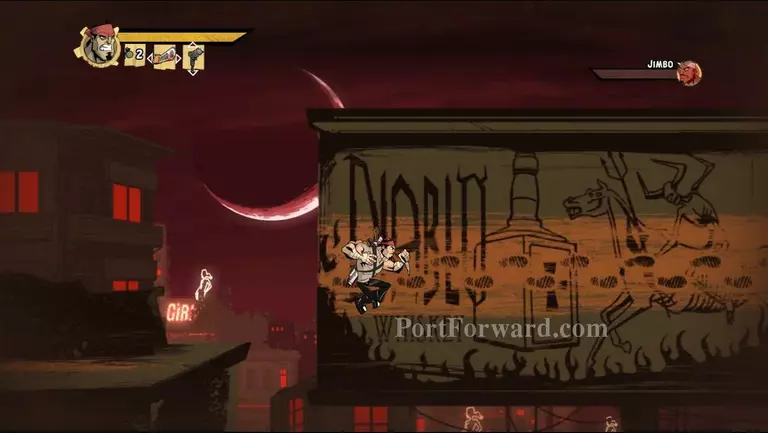
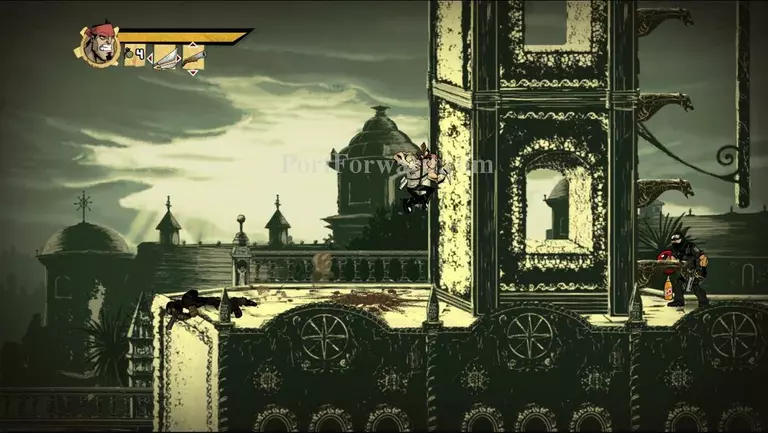
Continue on by doing a few jumps and wallruns
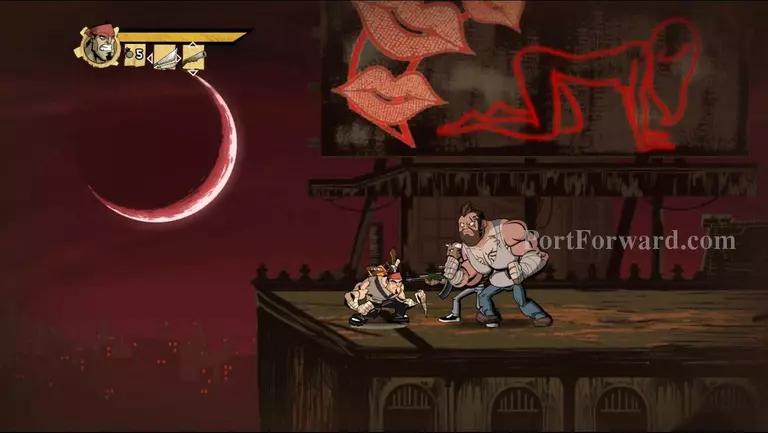
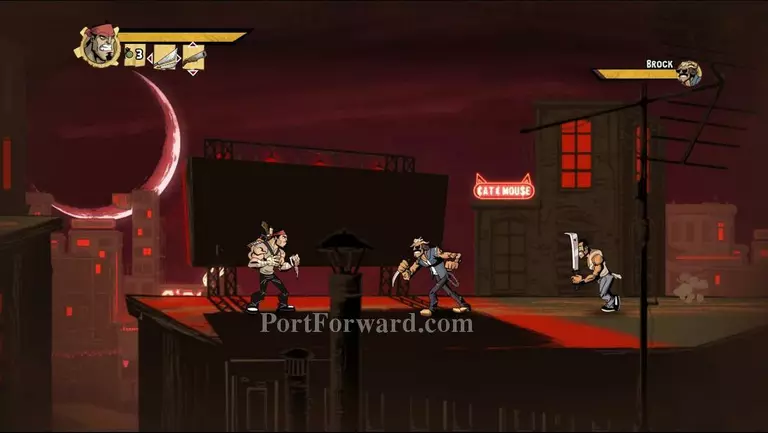
When you reach the next building make sure you engage your enemies carefully
When you kill them you'll need to get down in from of building
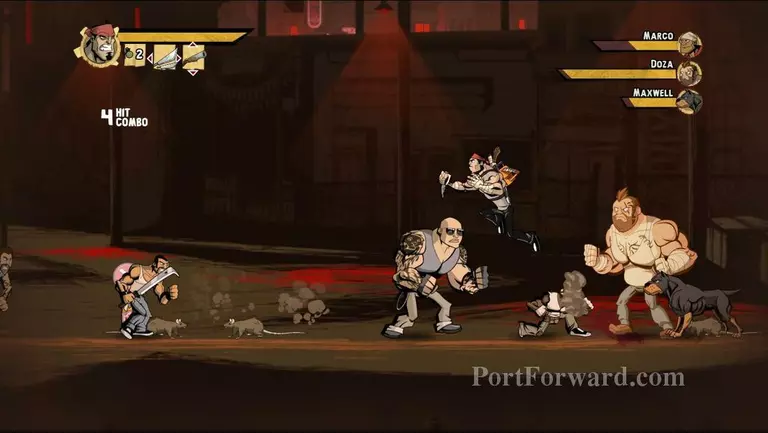
There will be alot of enemies to firght here
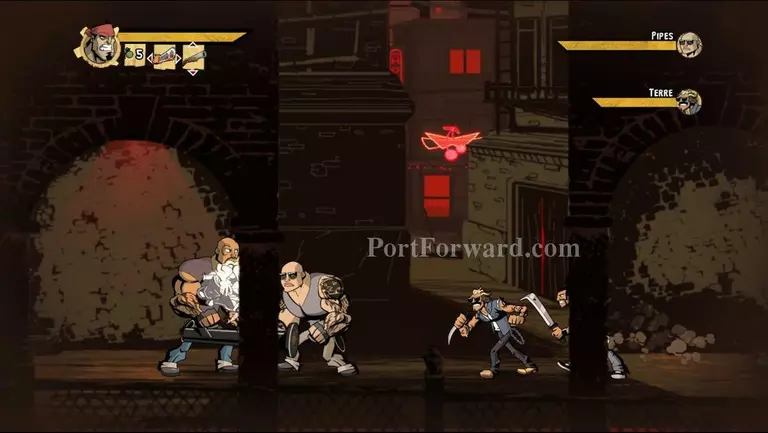
Make sure you kill the big guys and the dogs first. Use grenades if needed

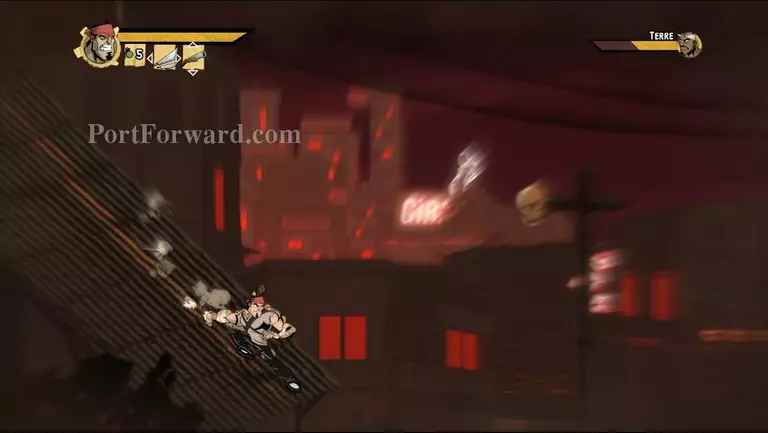
When you kill them all continue along the road
Engage and kill all enemies you meet
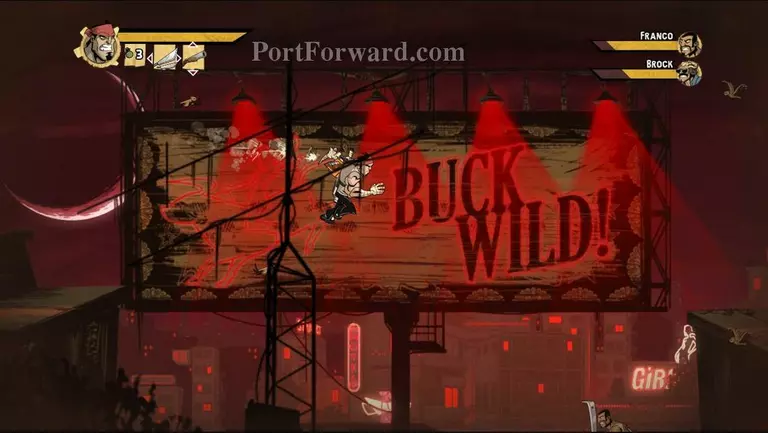
Continue by jumping from building to building
When you get to this part you will need two killed and two to enemies underground quietly
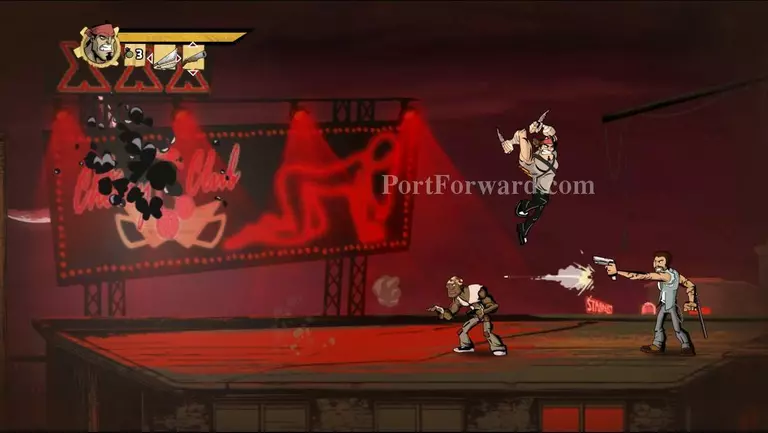
When you reach the top of the building you will have to do the same thing as before. Either bait him to jump after you or dodge when you get up there
After you kill them slide on down
This is about halfway though the level
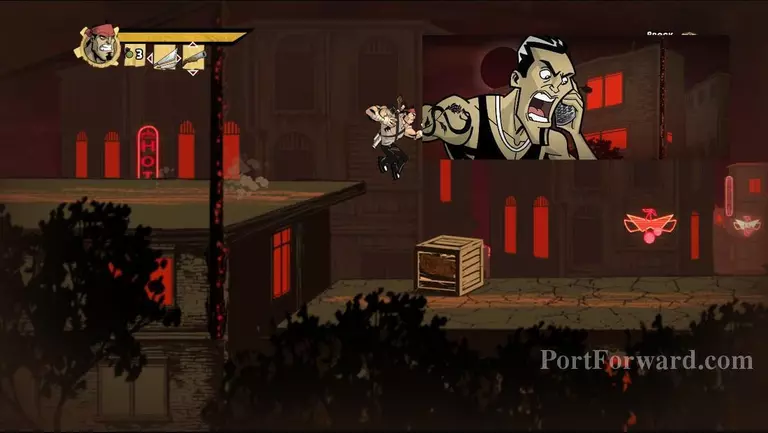
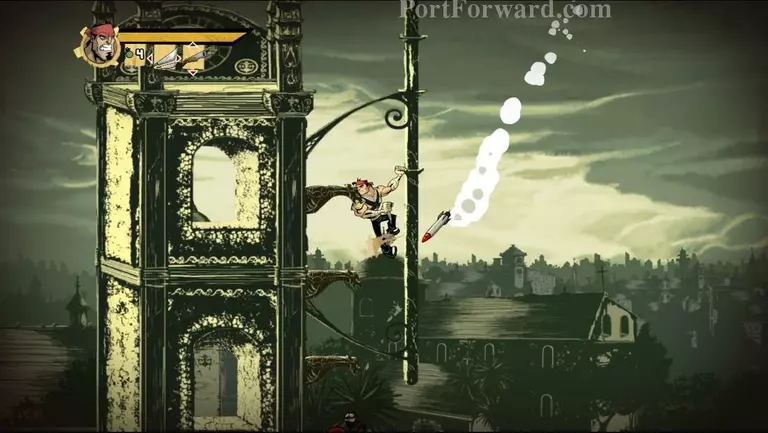
By this point I suggest you start running because the grenades that are launched at you do alot of damage
You actually don't need to kill anyone here except when you can't move on until you kill the enemies on the screen
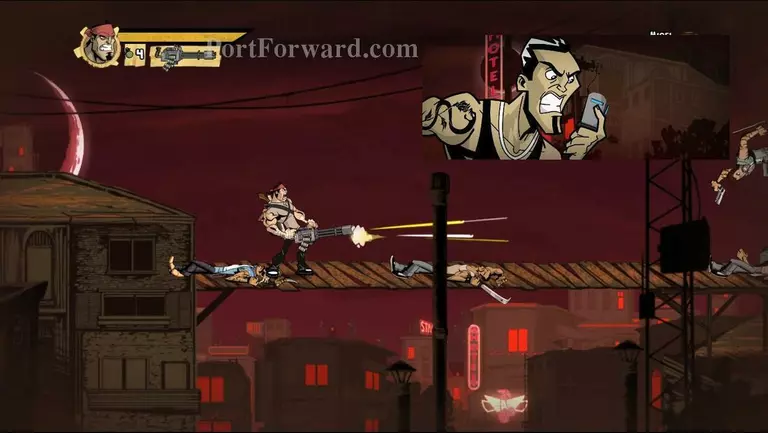
Just run and jump until you reach the guy with the grenade launcher
In this area you will actually need to kill these guys in order to continue
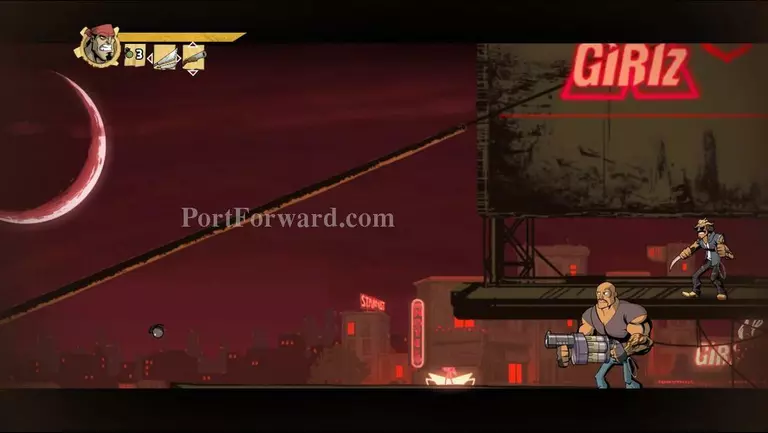
After that you will need to hurry along and get to the guy with the grenade launcher
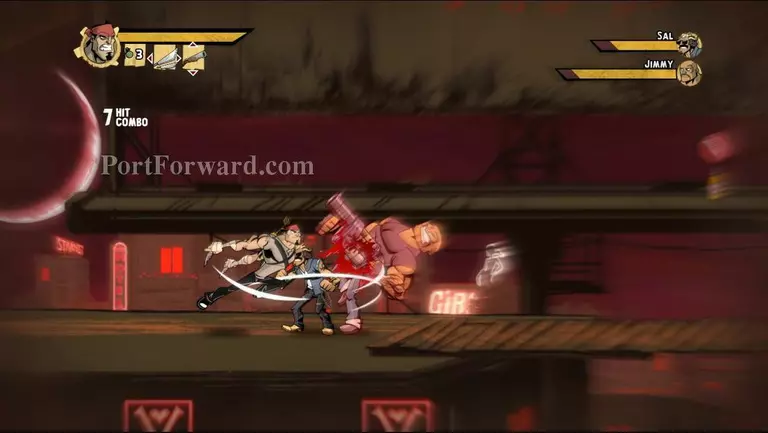
When you kill him he will drop a pack of grenades
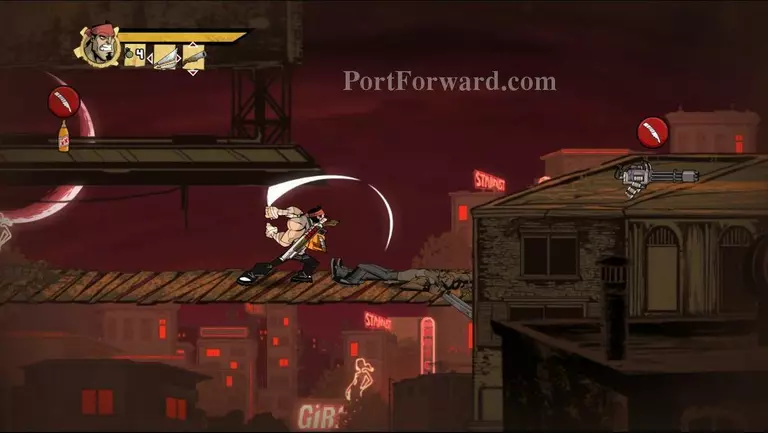
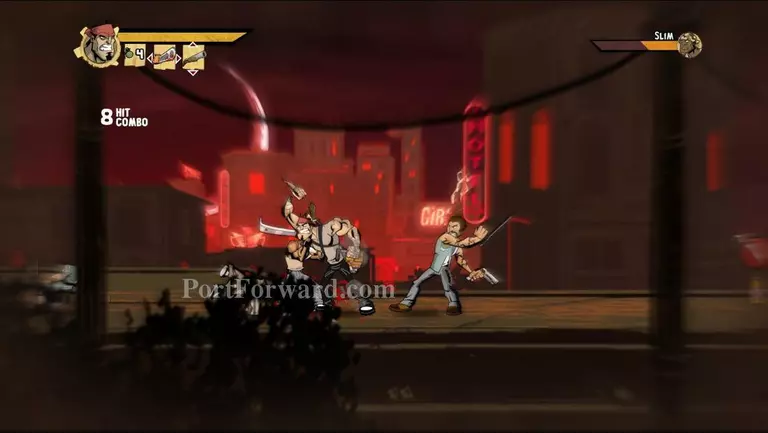
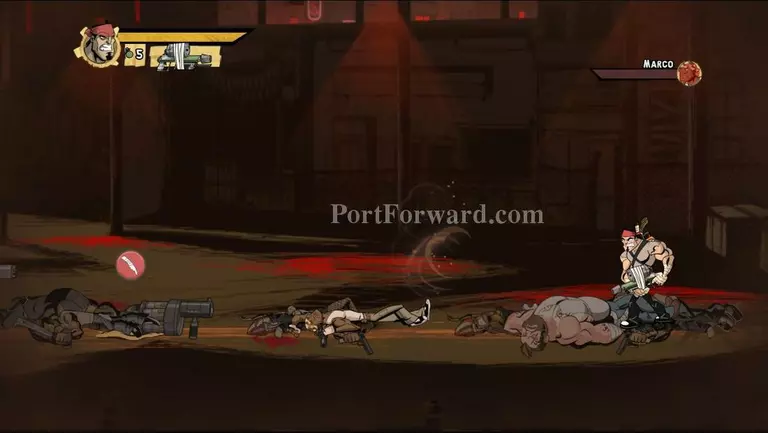
Continue along and get to the minigun
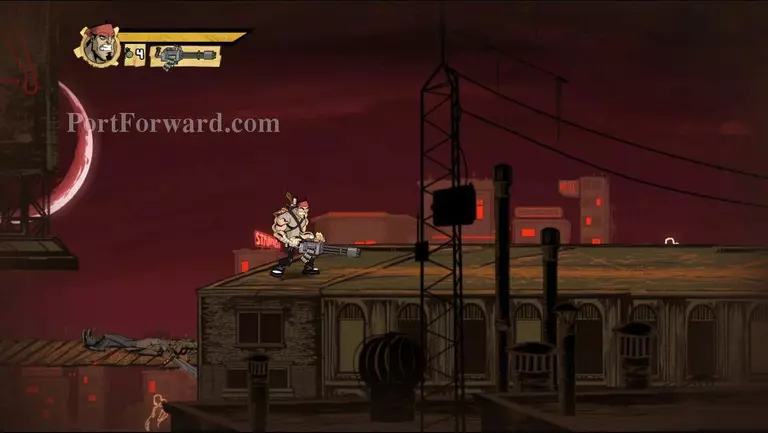
This is where you get to have some fun
Mow down all the guys you see coming with it
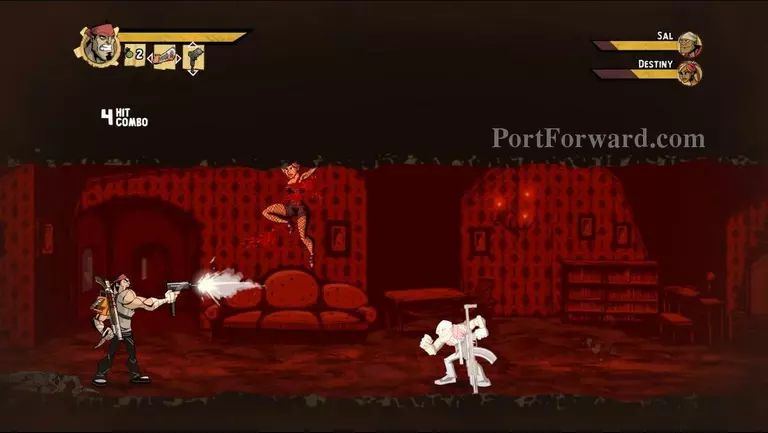
After that continue and get in one of the buildings. There will be the same combo of enemies as in the levels before
When your finished get out and start going down
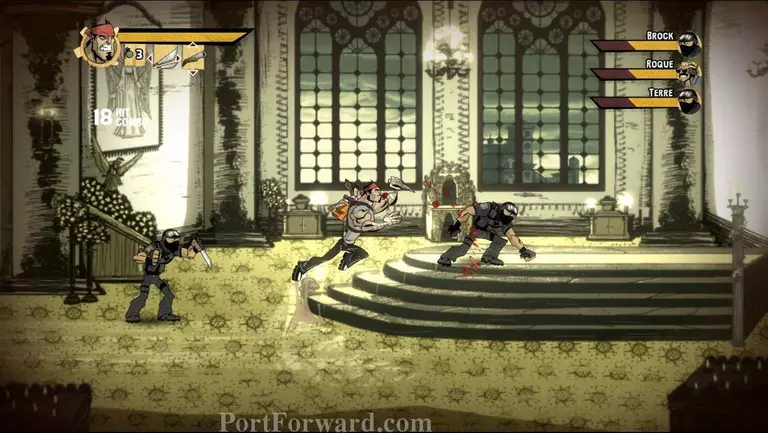
Be prepared, there will be a huge fight
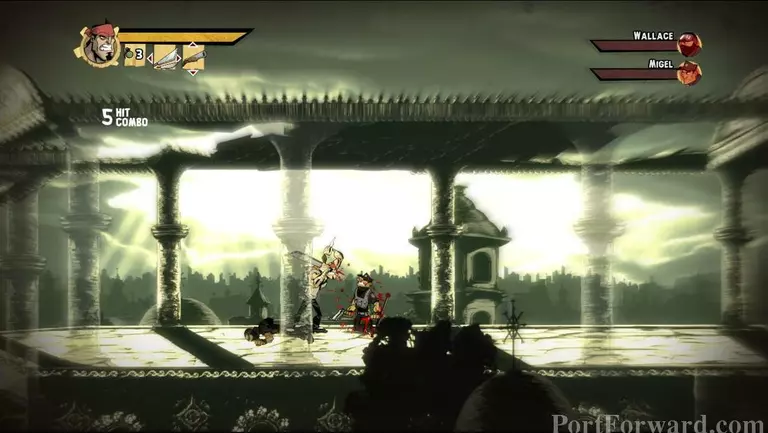
This next part is kind of a fighting arena.
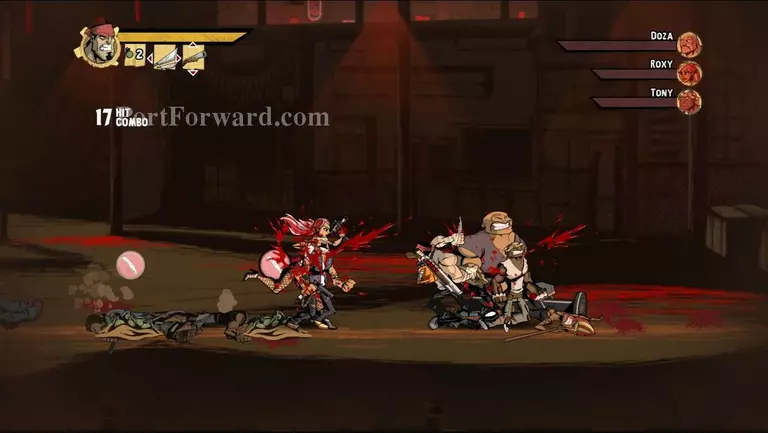
There will be a few waves of enemies so save your grenades
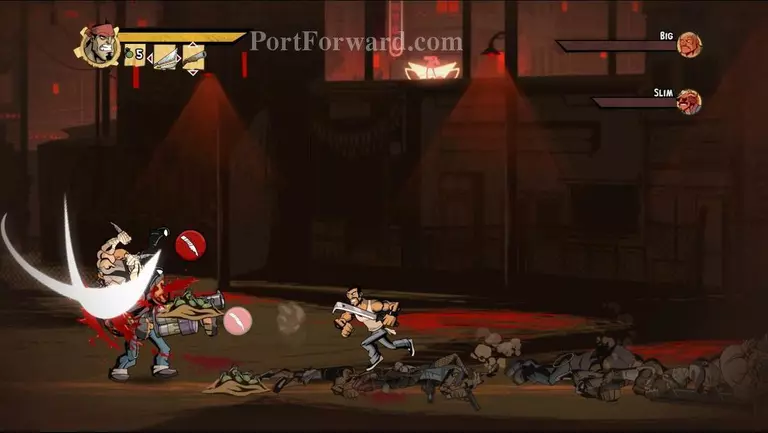
I don't suggest relying on the minigun and the flamethrower in this one because enemies will be coming at you from both sides
You can use the flamethrower or the minigun for the last few enemies

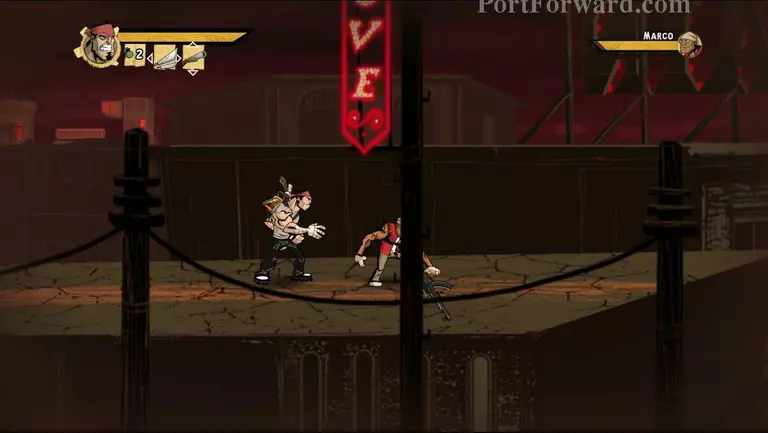
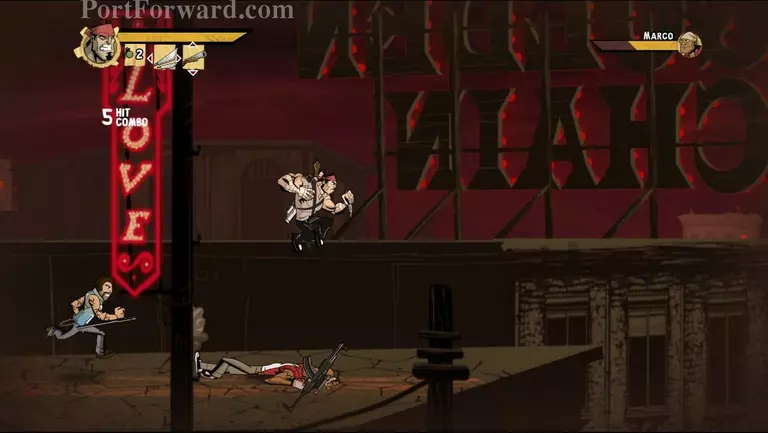
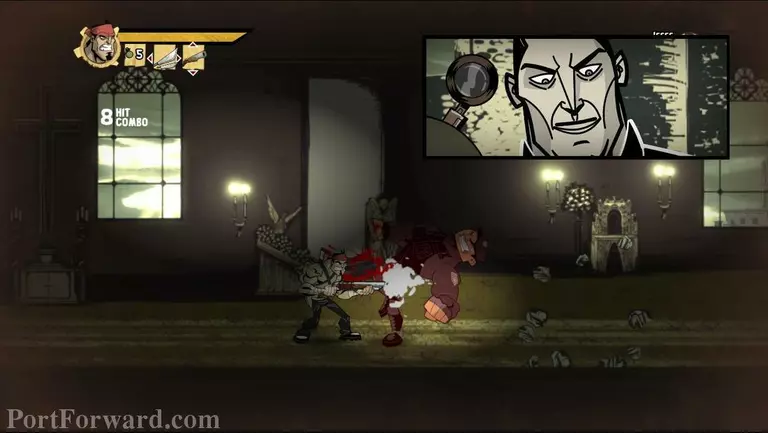
After you're done with the arena you will have a chance for revange. He will also lead you to the last boss
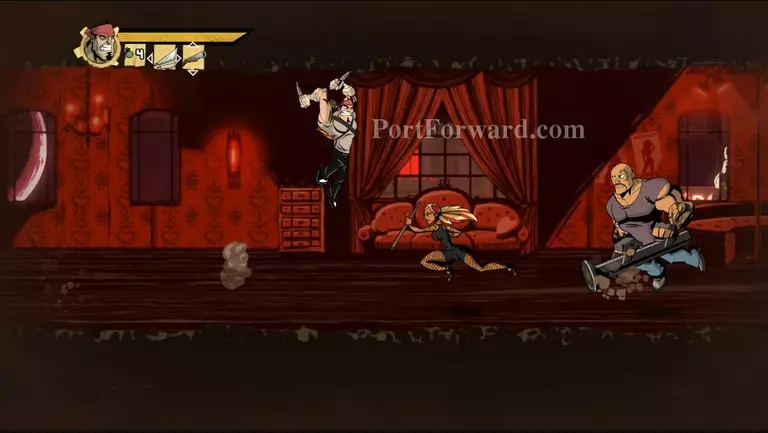
The hacienda has enemies that are tougher than before
They do a bit more damage and have a bit more health
Watch out for the dogs and the enemies with guns when you get outside
This level has alot of dangerous jumps ahead
Be careful not to fall down while fighting
You will need to be quick with your jumps but also think a bit outside the box
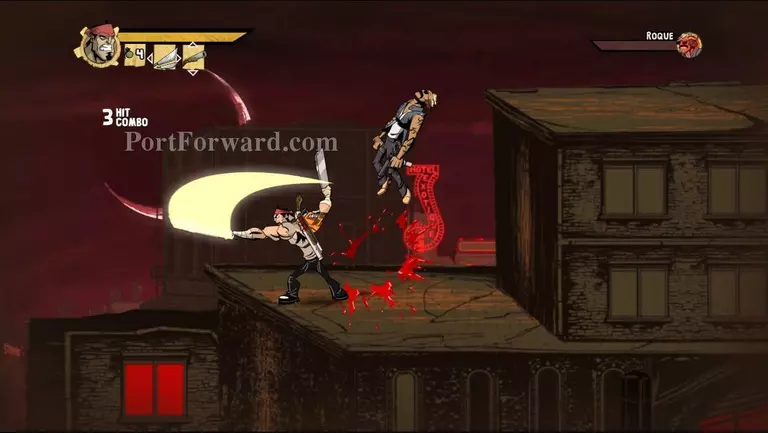
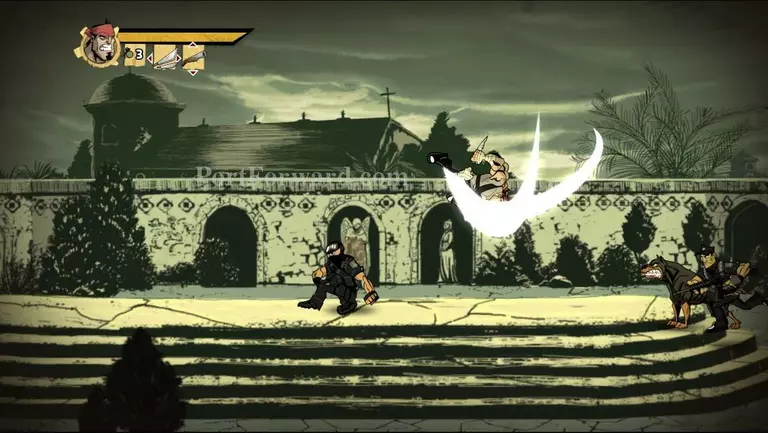
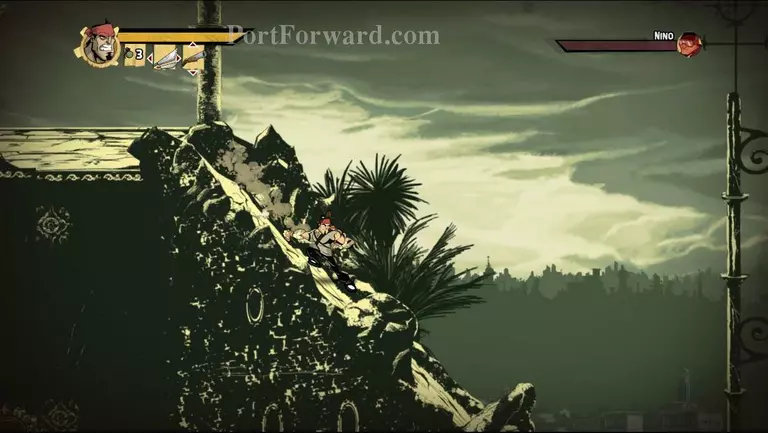
Kill the the big guy and after the the boss will knock the roof down with his rocket launcher
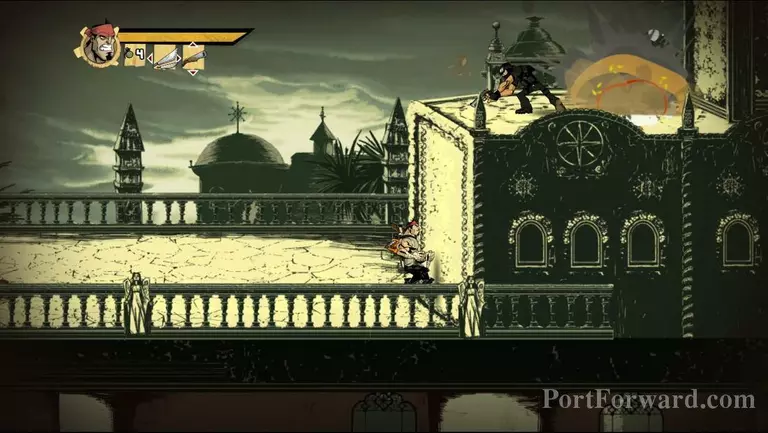
Go up it and start running
The rockets he shoot at you do alot of damage so be prepared to dodge
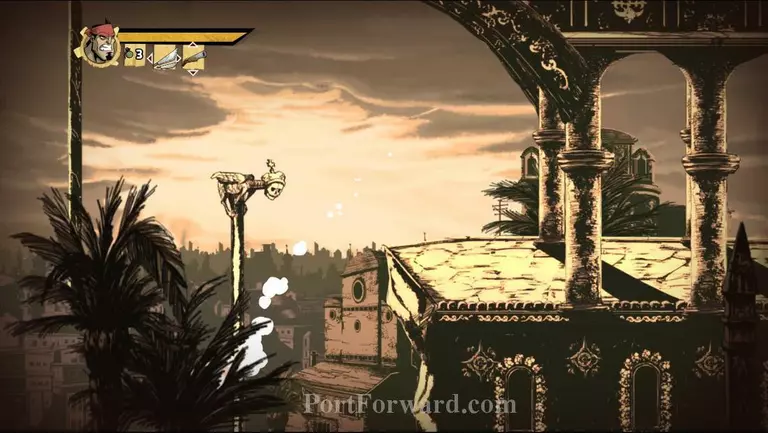
Be careful not to fall down
Don't rush it too much. Sometimes slowing down can be a goot thing
Rockets will knock the roof down here as well. The fooling roof parts can kill enemies but they can also hurt you
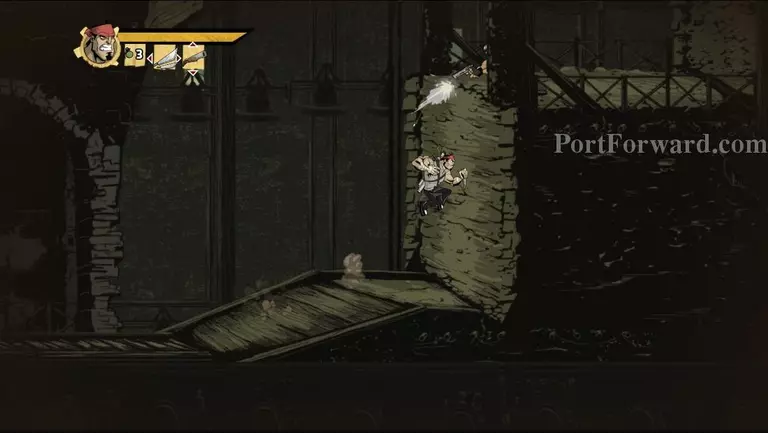
Slide on down and be prepared for a bit more complicated jump
Be careful with the jumping but also don't worry too much. There are quite a few checkpoints around
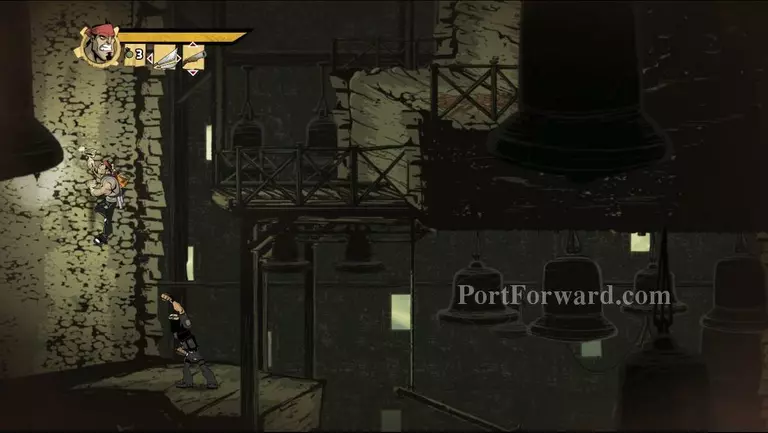
Once you get inside you will be safe from the rockets but watch out for the guys with guns
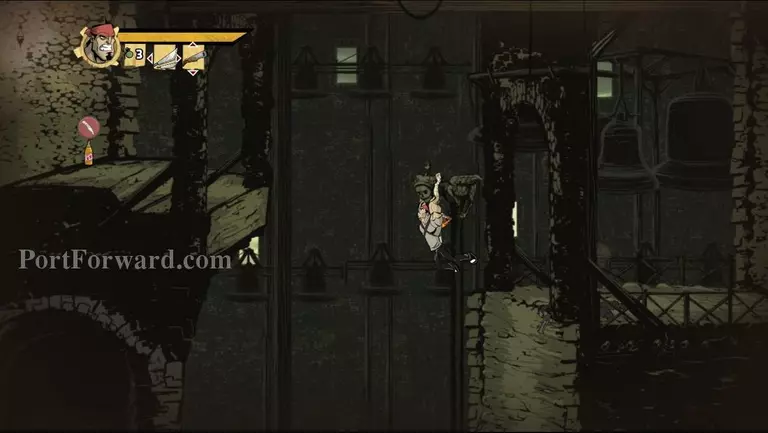
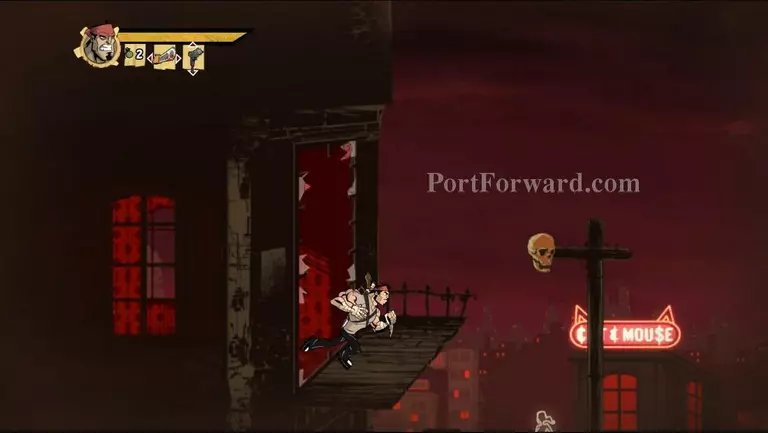
Continue on jumping towards the top
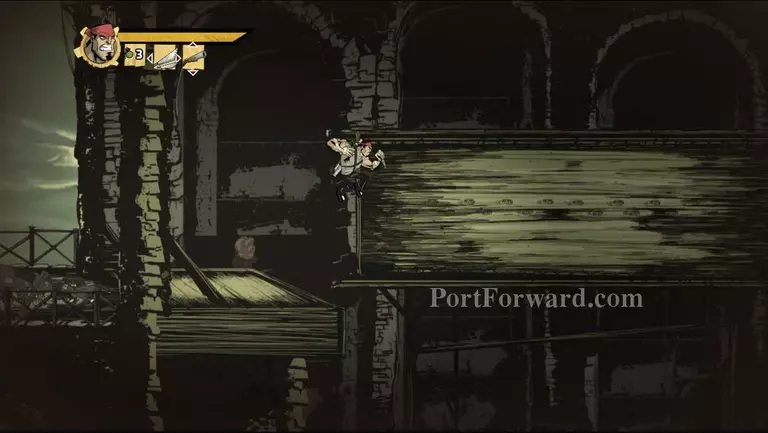
Make sure you get the wallruns and jumps right because you will fall down to the bottom if you don't
Pick up any grenades along the way
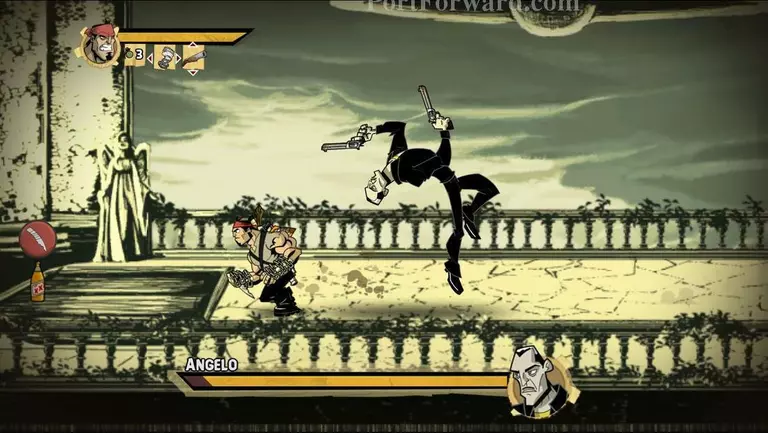
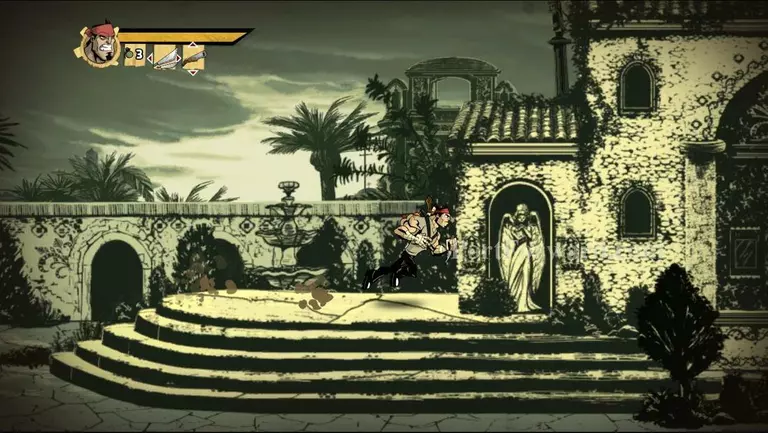
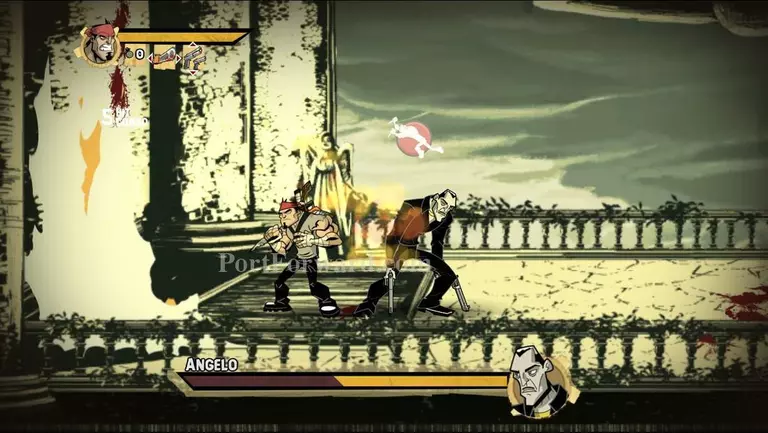
Angelo (the boss) doesn't really have much weaknesses
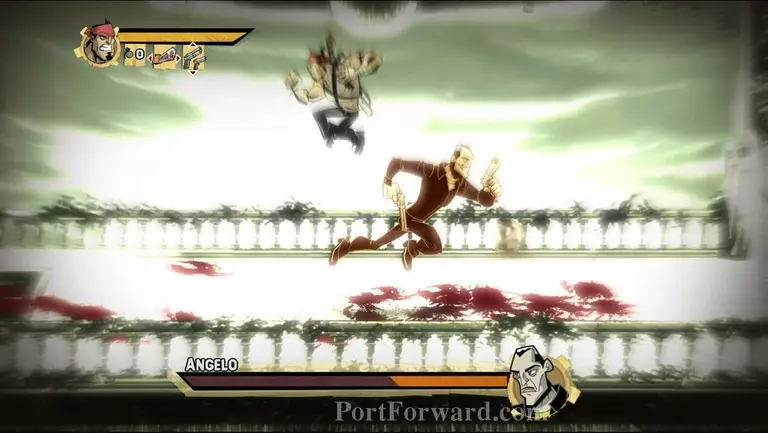
You will need to dodge his attacks by dashing or jumping. I prefer dashing because it is safe
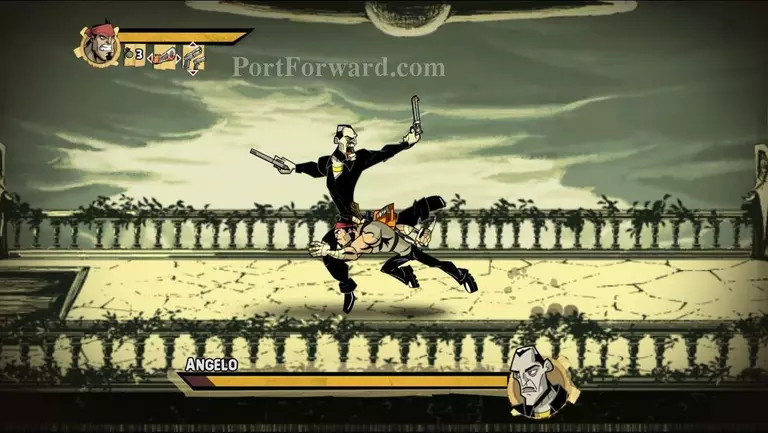
Dash and jump around him
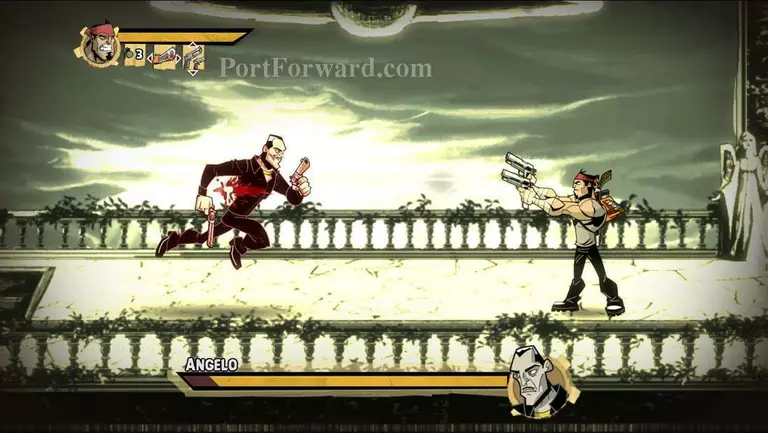
You can also damage him with your guns a bit when he is running towards you but don't do it too much and make sure you have time to dodge
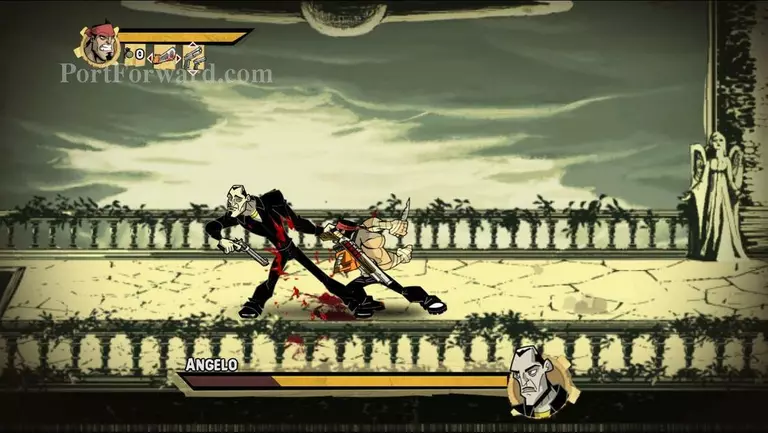
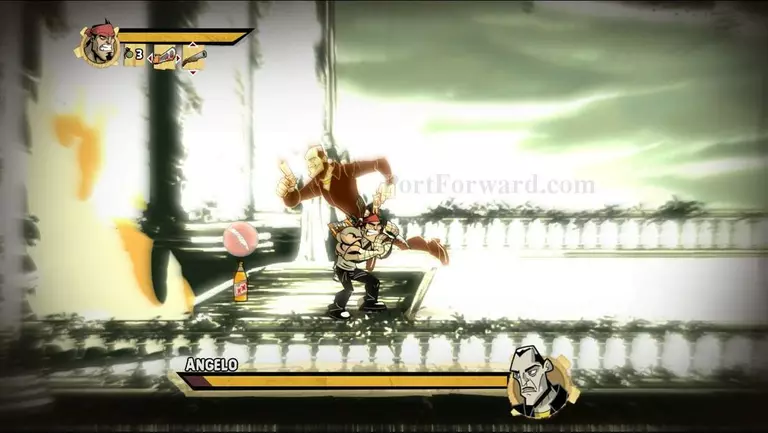
When he has his back toward you, you need to strike him a few times and dash away immediately after that because he has a tendancy to strike right after
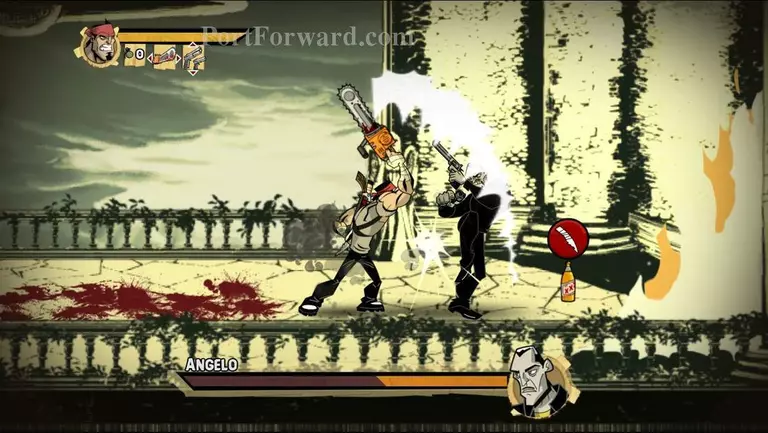
Make sure you lead his attacks toward the fire and than push him in with your strikes. This will stun him thus giving you the chance to do a bit more serious damage
DO NOT pounce on him though becuse he will just knock you away
Do this until his health is out
More Shank Walkthroughs
This Shank walkthrough is divided into 8 total pages.


