This Silent Hill 2 walkthrough is divided into 29 total pages.
You can jump to nearby pages of the game using the links above.
Lakeview Hotel
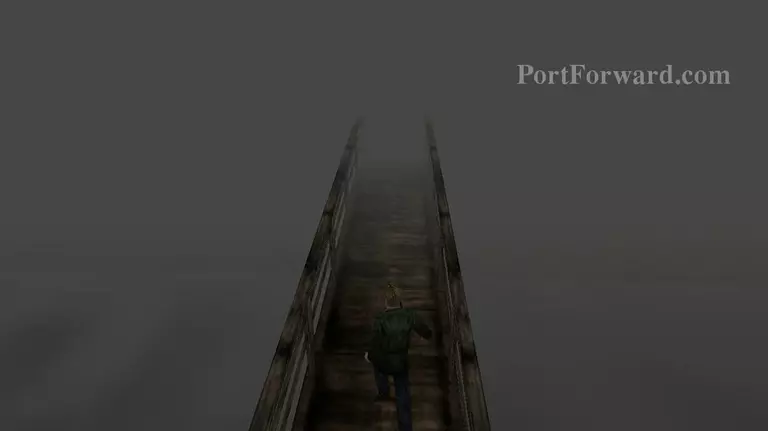
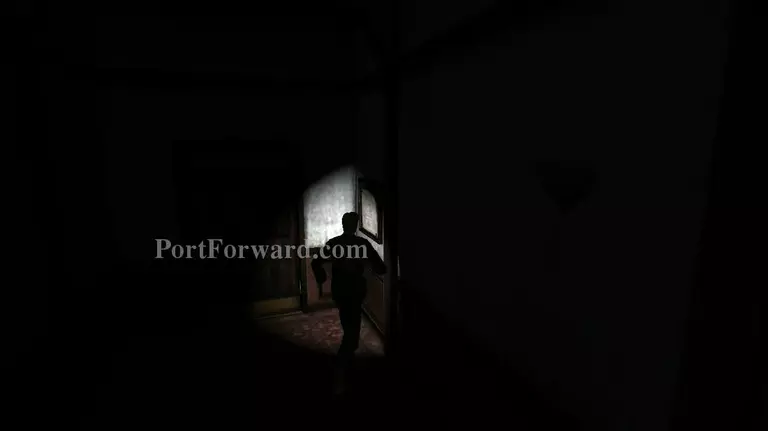
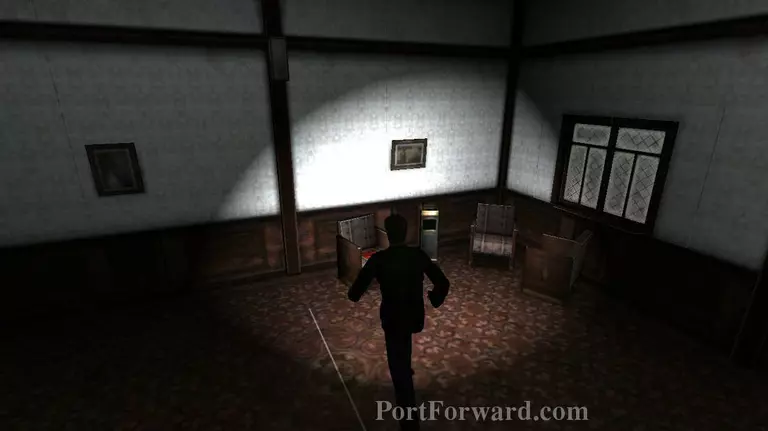
When you regain control of James, head up the wooden walkway. Run past the stairs and into the main courtyard of the Lakeview Hotel.
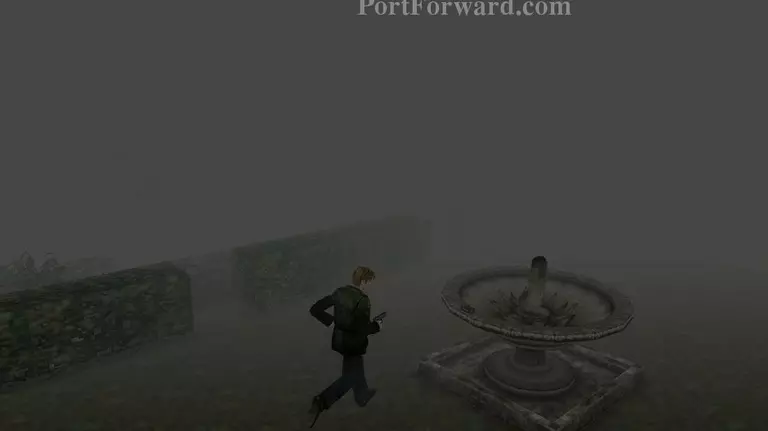
Turn left as you climb up the stairs and head for the fountain on that side.
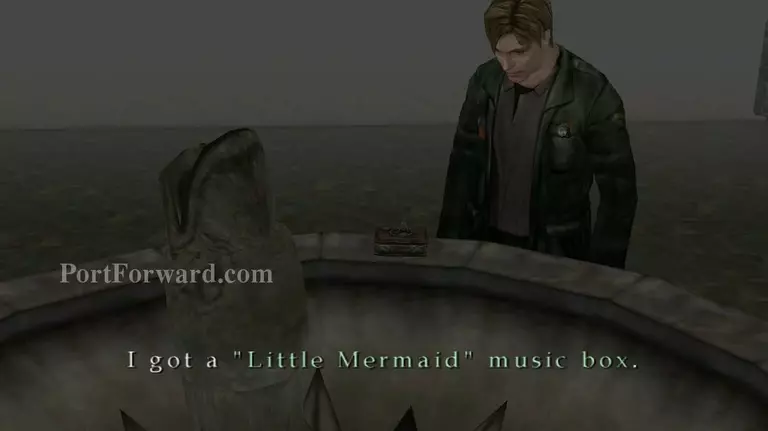
Grab the little mermaid music box from the top of the fountain.
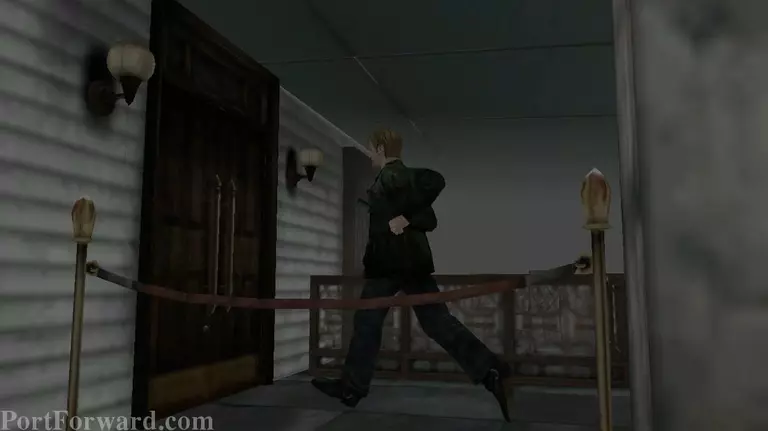
Then proceed towards the main entrance of the Lakeview Hotel.
Inside the hotel lobby you'll find a bulletin board to the left hand side of the hallway. Grab the hotel map that's posted on it and James will make a remark about room 312.
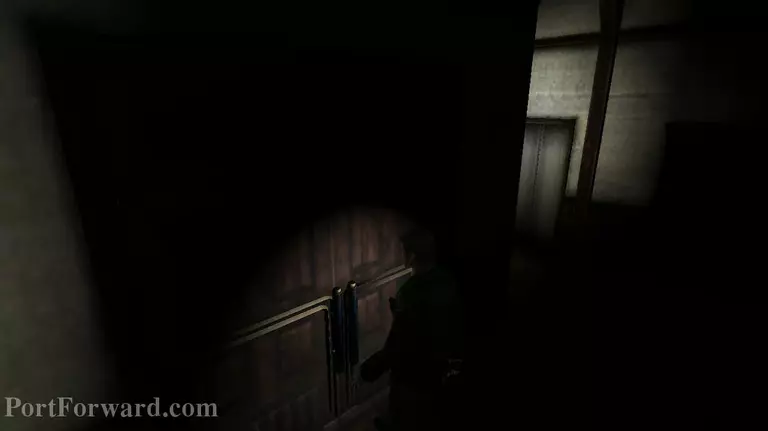
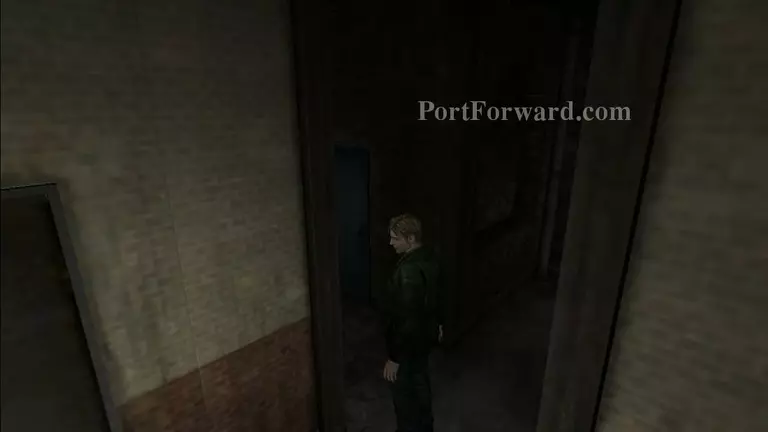
Head further down the hall and enter through the large double doors that's almost directly in front of the hallway you walked in from.
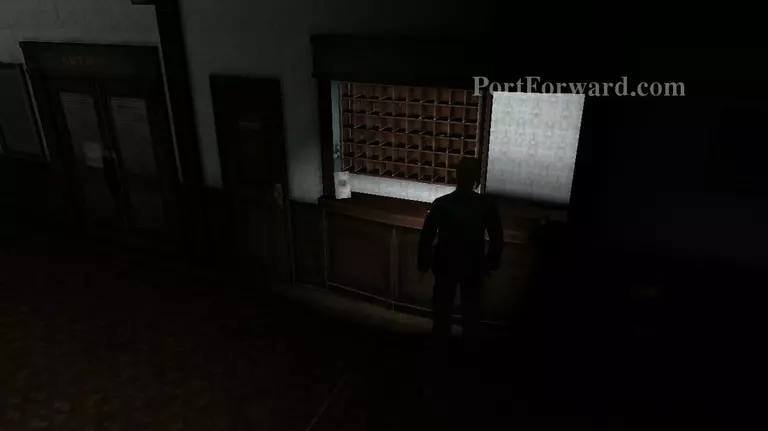
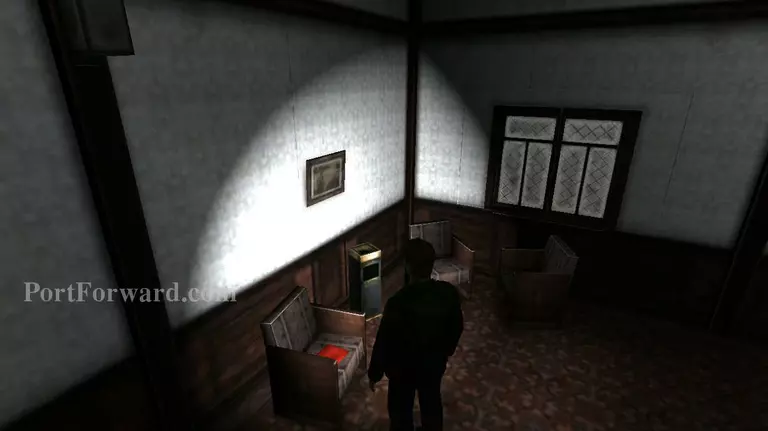
Inside the lobby you'll see the reception area . It will stand out since James will constantly glance over the counter. Inspect the counter and James will read a note about a videotape he left being kept at the 1st floor office. After reading the memo use the door on the left side to enter the reception room.
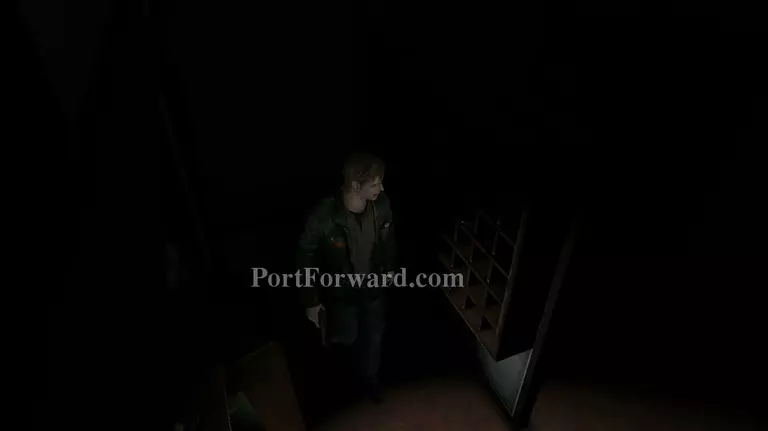
Inside the reception room you'll find the key to room 312. Go back to the lobby after taking the key.
Head towards the stairs and you'll see a large clock like contraption sticking out on the middle part of the lobby. Ignore it for now and save your game on the save point.

Leave the lobby through the double doors on the right side of the stairs or to the left of the save point.
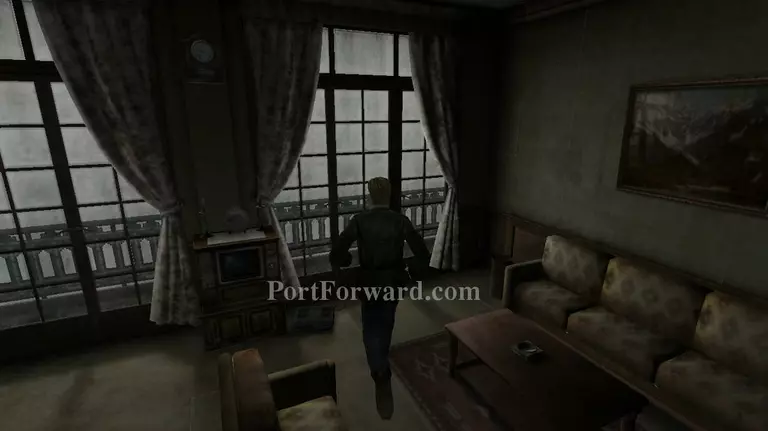
Open your map and check for the location of Restaurant Lake shore. It's on the far right hand of the map. It should be open and you can enter through the door.
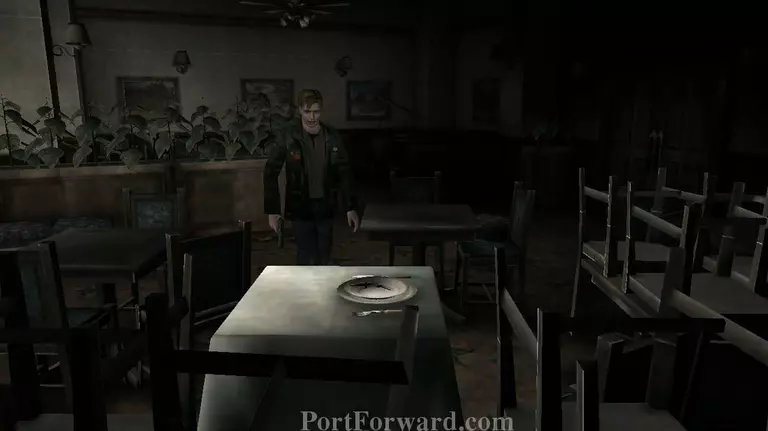
Inside restaurant Lake shore, James will automatically glance towards a single table with a plate on top of it. Grab the Fish key that's on the plate.
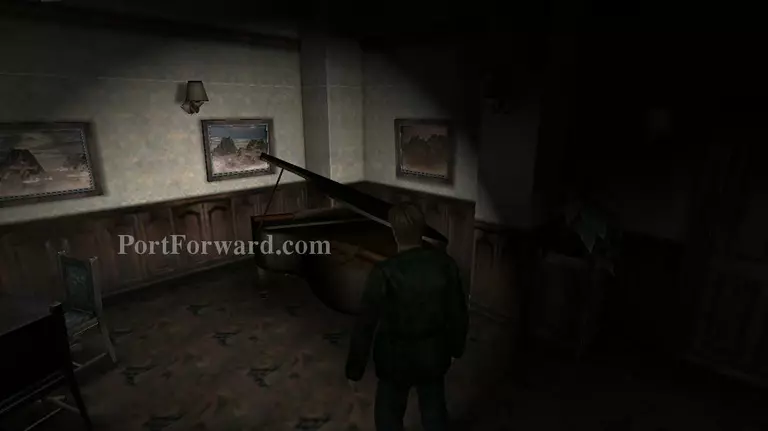
Once you have the key turn around and go near the piano to activate a cutscene. Leave the Lake shore restaurant after the cutscene, there's nothing more to do here.
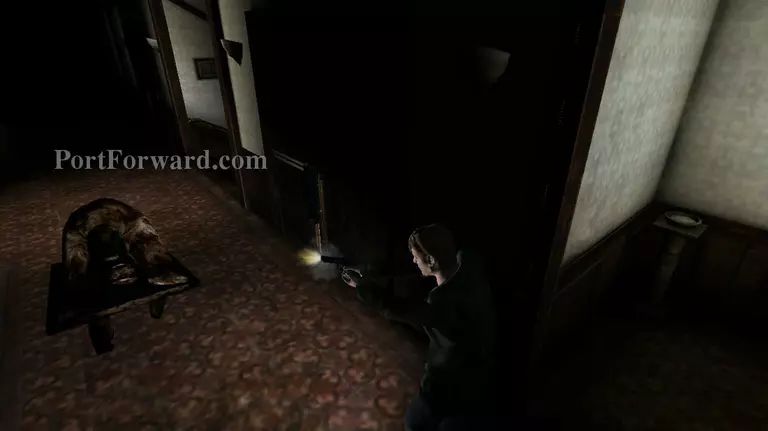
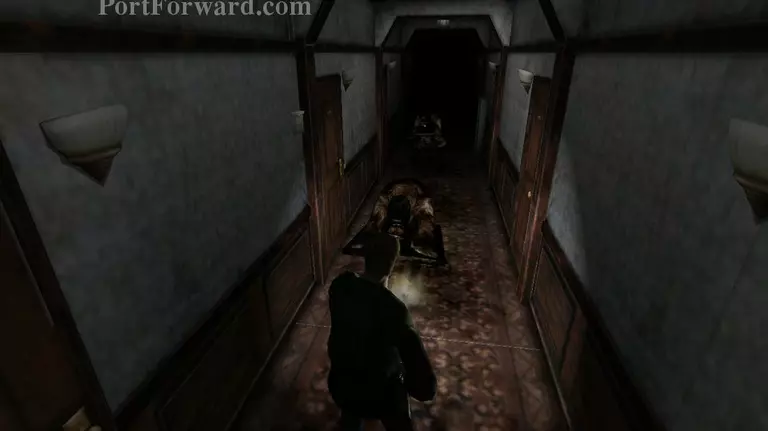
Outside you'll encounter an Abstract Daddy. It's a less powerful version of the boss and it's also easier to kill. Abstract Daddies will be a common enemy in the Lakeview Hotel so make sure to keep your shotgun equipped.
Like the boss Abstract Daddy melee weapons are useless against them so don't worry about wasting your shotgun shells on these guys. You won't be needing the shotgun for bosses anymore at this point.
Head downstairs once you kill the Abstract Daddies.
There are 2 Mannequins in the area. I suggest that you kill them now to prevent further complications in the future.
After you kill the Mannequins take the right corner and keep following that path until you see the open elevator. Take the paint thinner that's inside it and head back upstairs.
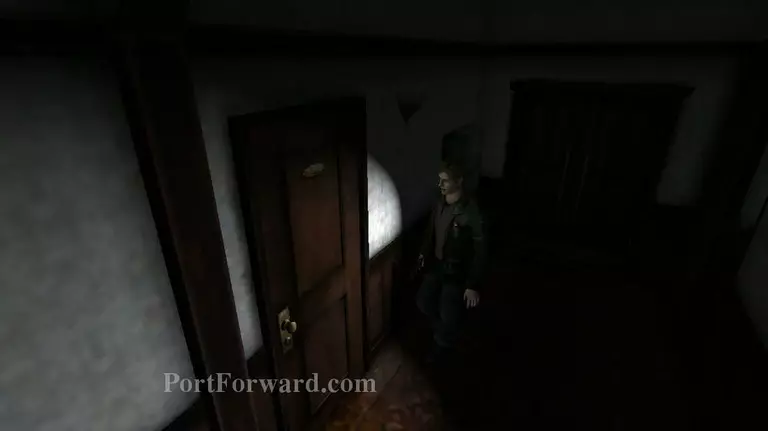
Once you have the paint thinner, head for the left side of the 1st floor hall and enter the last door on the left.
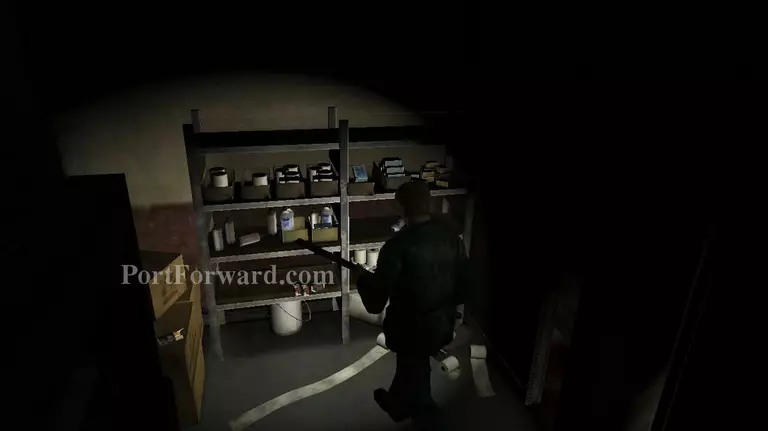
There are 2 mannequins inside. Kill them and enter the open door on the left side. Grab the handgun bullets from the shelves and a box of rifle shells on top of the box.
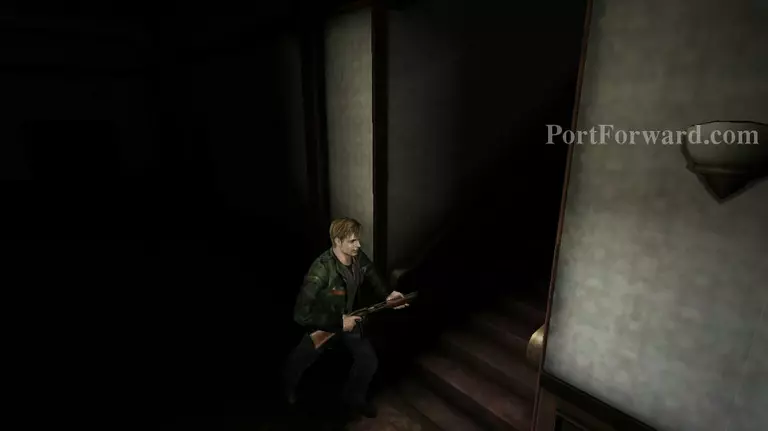
Leave the room via the door you entered from and proceed upstairs. The stairs are on the same side as the toilets and should be easy to find.
Take a left turn towards the inner corridor on the 2nd floor landing. Enter the into the 2nd floor reception room.

Grab the first-aid kit on top of the table and proceed to the other side of it. Grab all of the bullets from the shelves and use the fish key that you got from the restaurant to open the briefcase on top of the shelf.
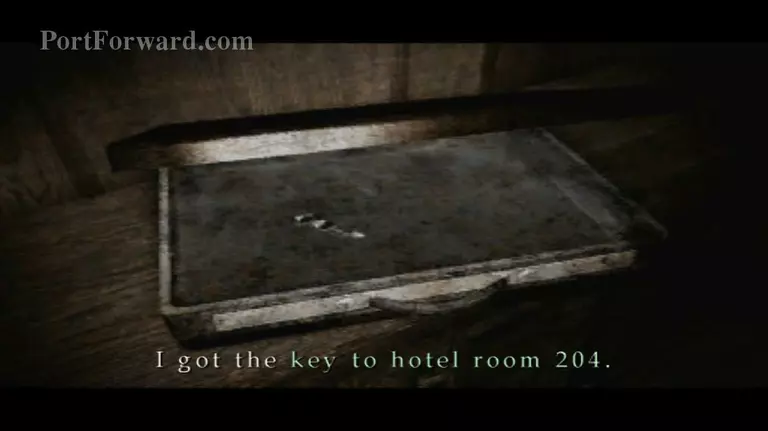
You'll find the key to room 204 once you open it. Take the key and leave the room.
Head further into the corridor, take the bullets on top of the side table and enter the last door on the right.
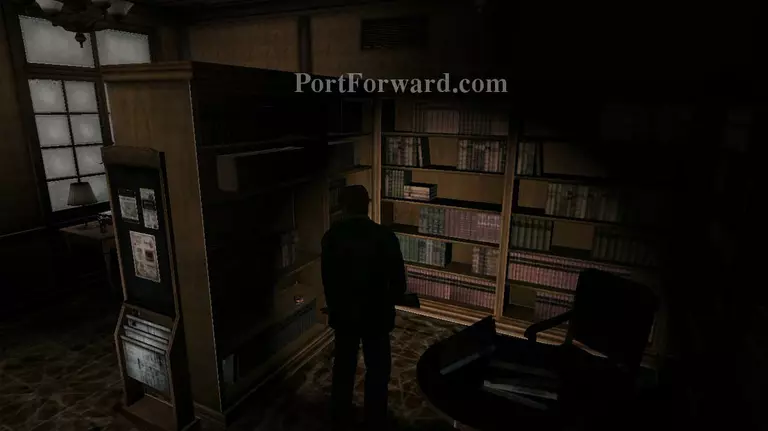
You'll find some bullets on one of the shelves in the mini library. There's another box of bullets near the small night stand on the lower left corner of the room and a health drink on top of the desk near the window. If you examine the book on top of the desk, James will make a comment about how many books he's read. Once you're done leave the room.

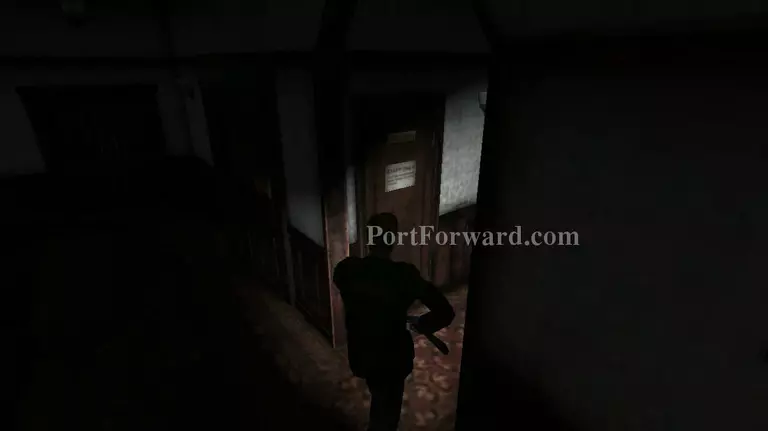
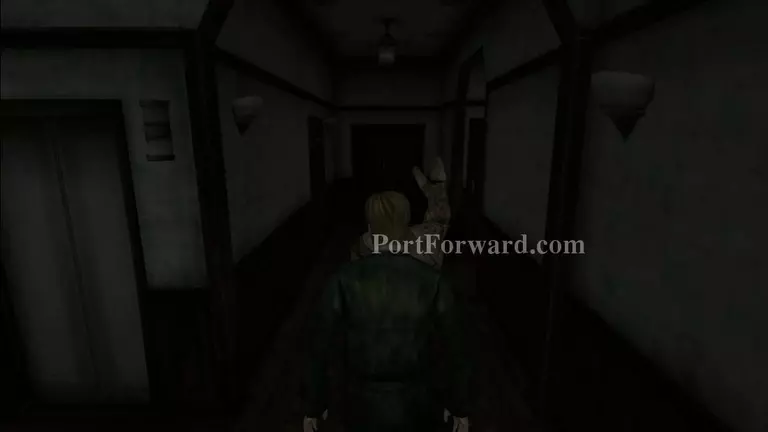
Head towards the double doors at the end of the hallway on the right wing.
You'll find 2 Abstract Daddies lurking in the corridor. Kill both of them before proceeding further.
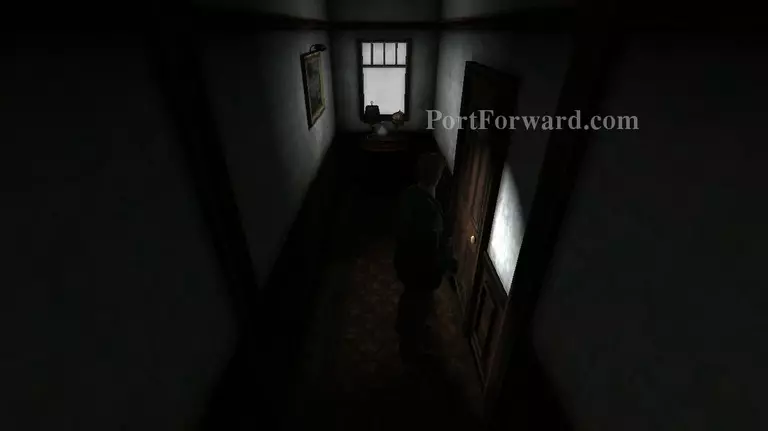
Keep walking down the hallway until your camera shifts. When it does, examine the door on the right side of the hallway. James will use the key to room 204 and open the door.
Inside room 204 you'll find the employee elevator key sitting on top of the desk. Turn left from here and you'll find that the wall has been broken and you can enter the next room from the hole.
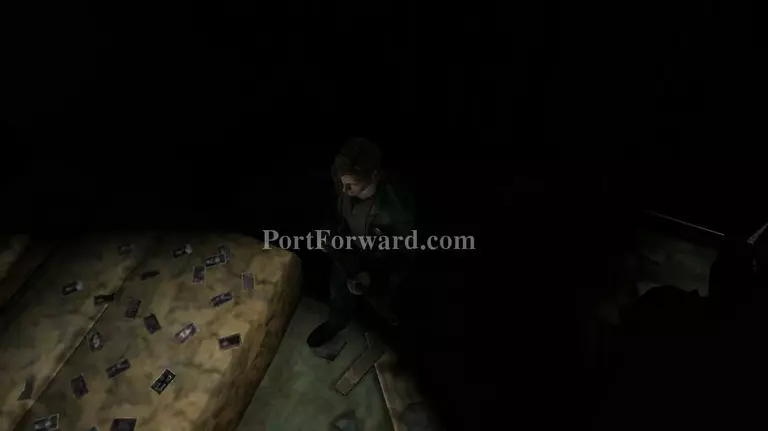
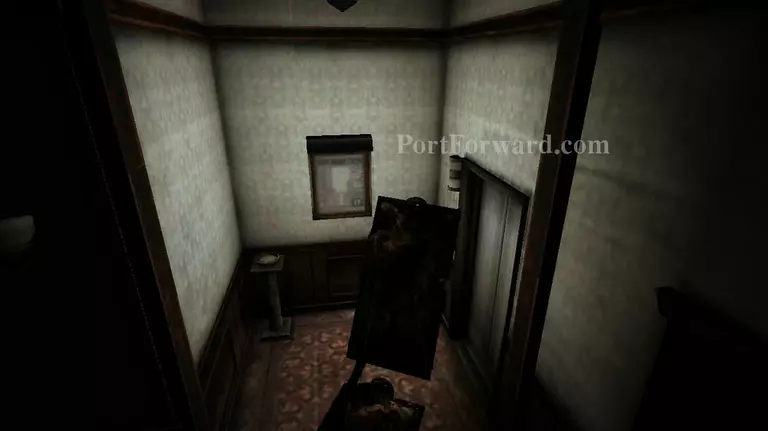
In the next room you'll find a suitcase that needs a 4 code password to unlock it and a bunch of photos on top of the bed. One in particular has a huge cross written over it.
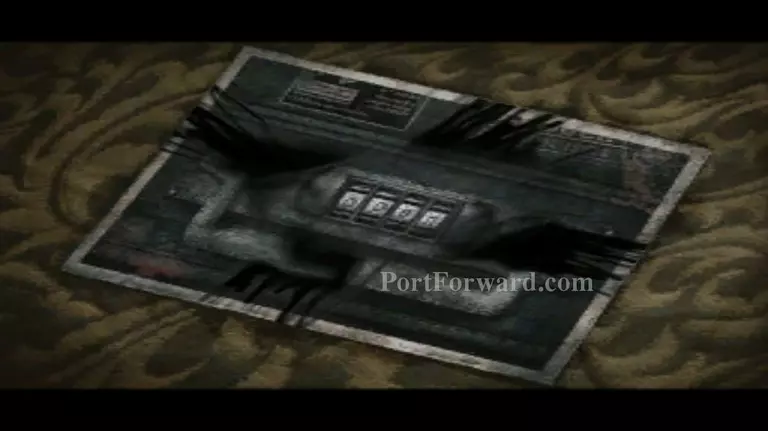
Open your inventory and use the paint thinner on the photo to remove the black marker that's covering the photo. The code for the suitcase should reveal itself. I believe that the code is also random for this puzzle.

Once you enter the code on the suitcase it will open and you'll receive your second music box. If you're having a hard time reading the code. Try taking a screenshot of it and minimizing the size.
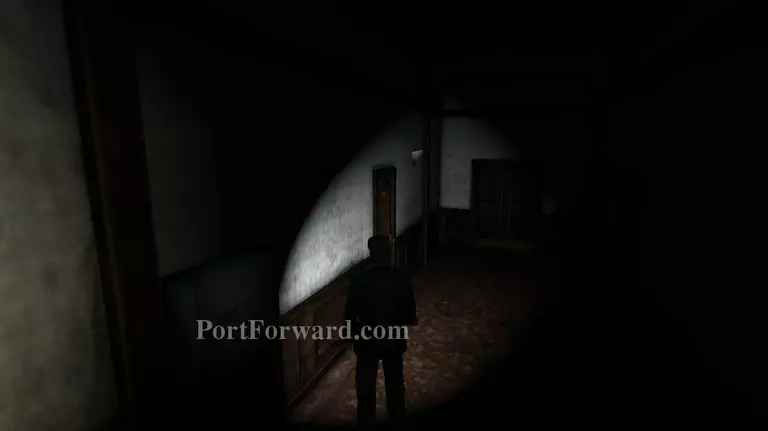
Head out through the door on the left to exit back into the hallway. Head all the way to the 2nd floor landing.
Head out the double doors that lead to the lobby. Walk towards the opposite end of the corridor and enter the left wing.
Grab the bullets on top of the table and near the elevator then head for the foor on the left side. James will use the employee elevator key.
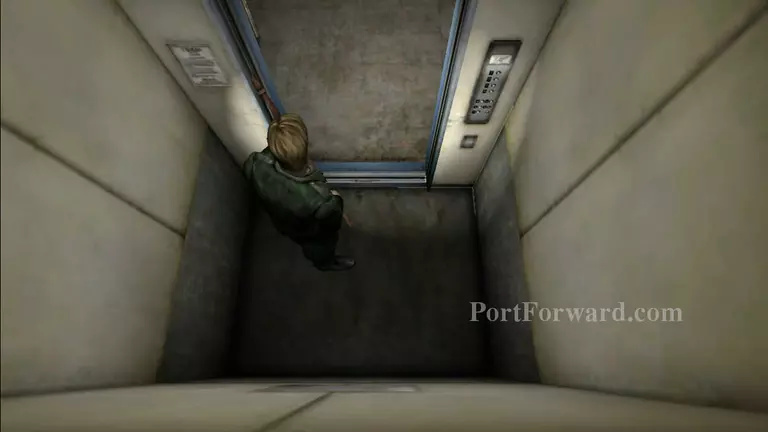
The elevator will start buzzing as soon as you get in. Examine the buttons on the right side and click on the paper above the buttons. James will read that the maximum weight allowance is for 1 person.
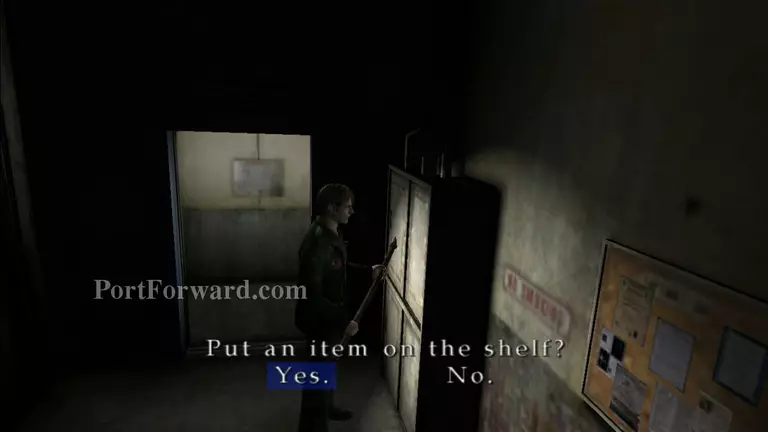
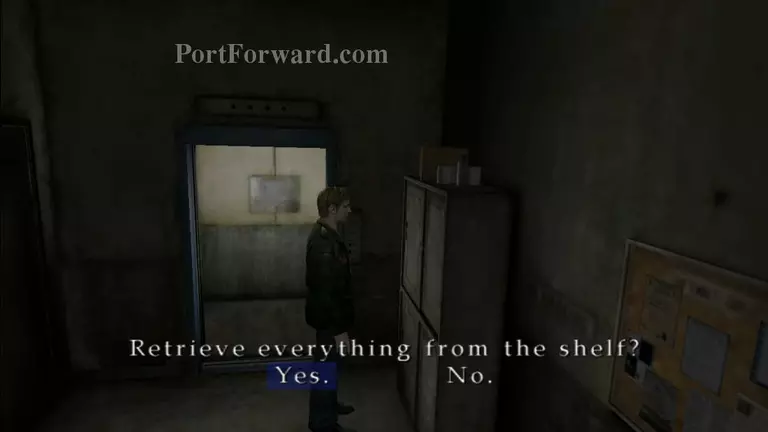
Examine the cabinet on the right side of the elevator and you'll be able to put your stuff in. Everything has to go. You can't keep anything with you or you won't be able to go down.
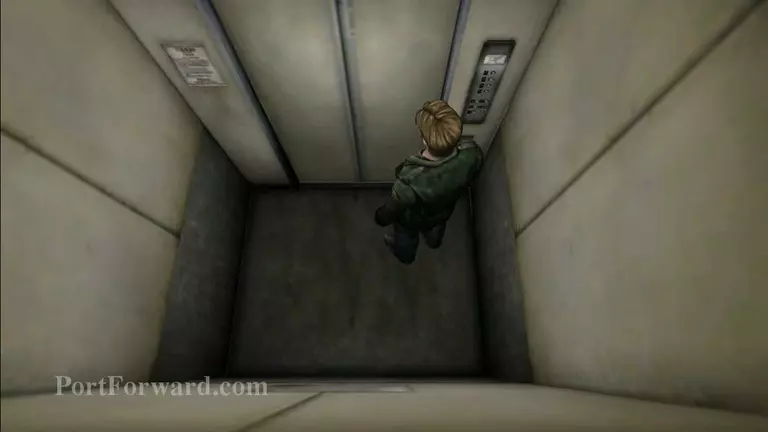
You should be able to operate the elevator now without setting off the weight limit. Examine the buttons again and press the 1st floor. The elevator will go down and you'll have access to the previously locked 1st floor wing.
As soon as you exit the elevator you'll see a map on James's left side. Grab that and head down the branching corridors. Take the one on the left.
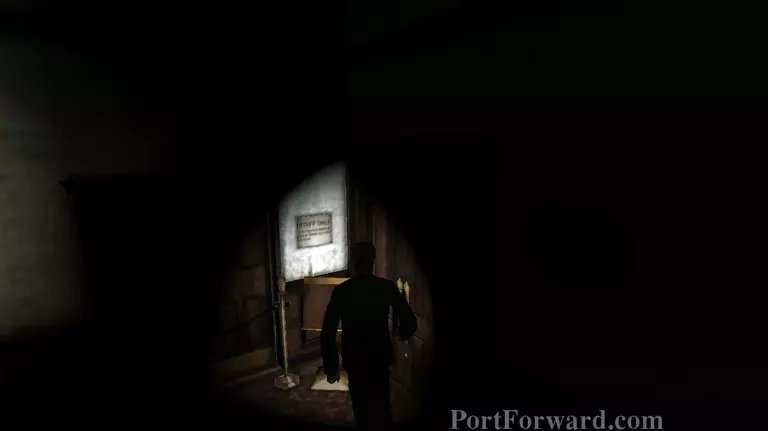
You'll see a faintly glowing red light at the end of the hallway. Head for that door and enter it.
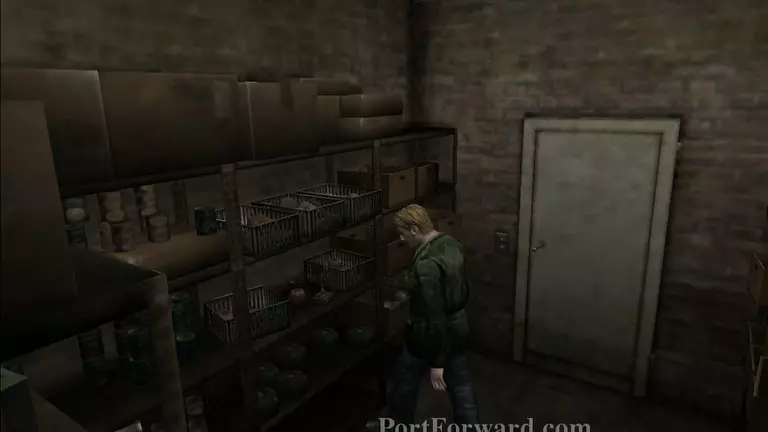
Inside the pantry you'll see the last music box that you need. Grab the music box and back to the elevator but don't enter it. Instead go to the left side corridor which you didn't take earlier.

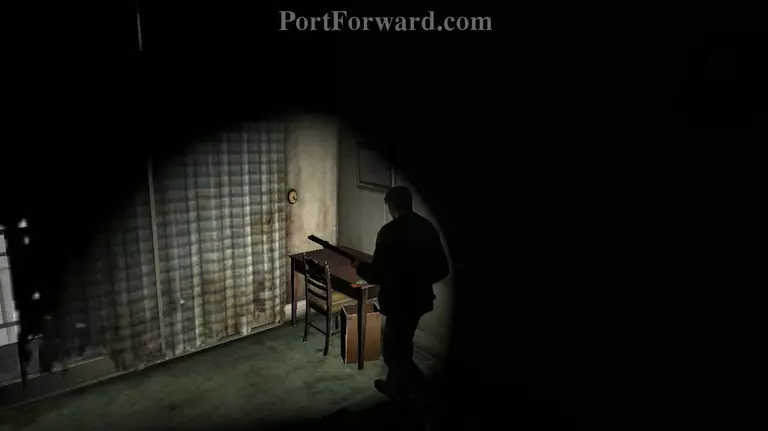
Ignore the corner and enter through the white door with a window covered by blinds.
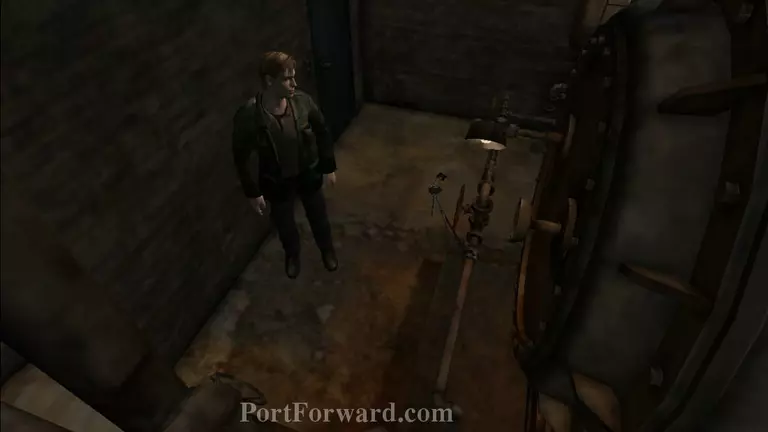
Examine the safe and you'll get the videotape that James left in the hotel years ago as well as a can opener.
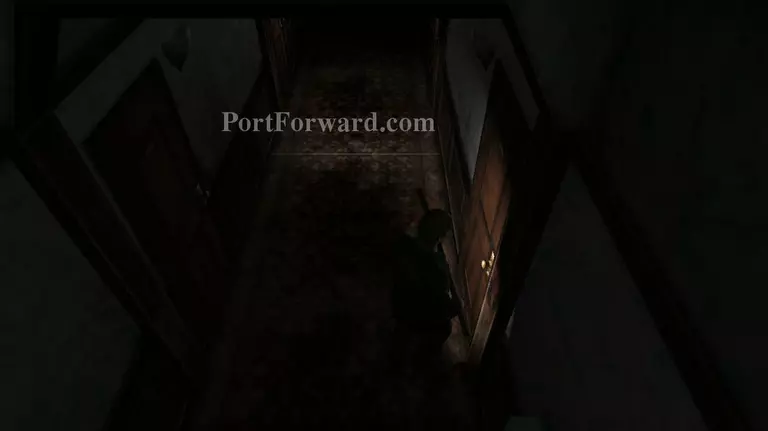
Leave the office and enter through the last door on the left. Grab the bullets on top of the refrigerator. Exit the room and enter through the blue door that's in front of the office door. Climb down the stairs and into the basement floor.
In the basement there are mannequins lurking around. Luckily they're easy to avoid. So run down the hallway and ignore the first path to the right. Instead take the second corner that leads to the left. Enter the last door on this path.
Inside the boiler room you'll find a first-aid kit and the bar key. Head back outside.

Walk back near the mannequin and move further down the hallway. There's going to be another mannequin. Avoid it and enter the last door on the hallway to enter the bar kitchen.
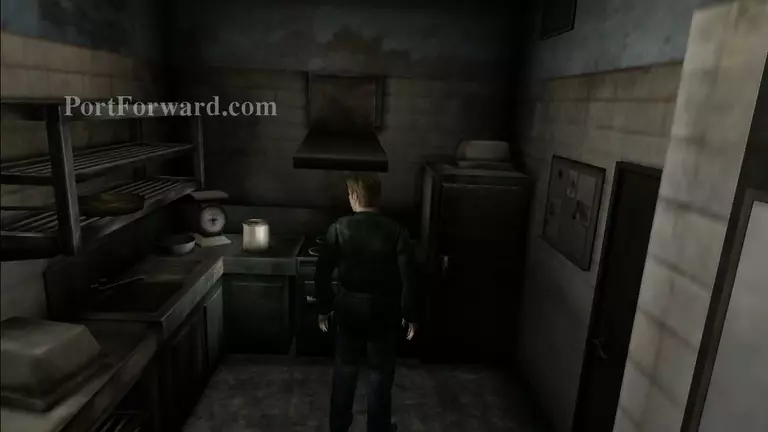
Grab all the health drinks inside the bar kitchen and use the can opener to open the large can sitting on top of the counter to the right. You'll receive a light bulb.
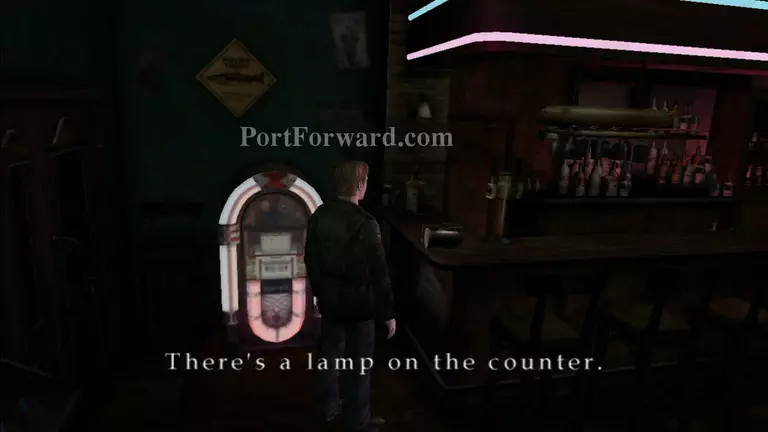
Exit through the door opposite the one you used to enter and you'll arrive at the bar. There's a lamp near the jukebox that doesn't have a bulb. Open your inventory and use the bulb on it.
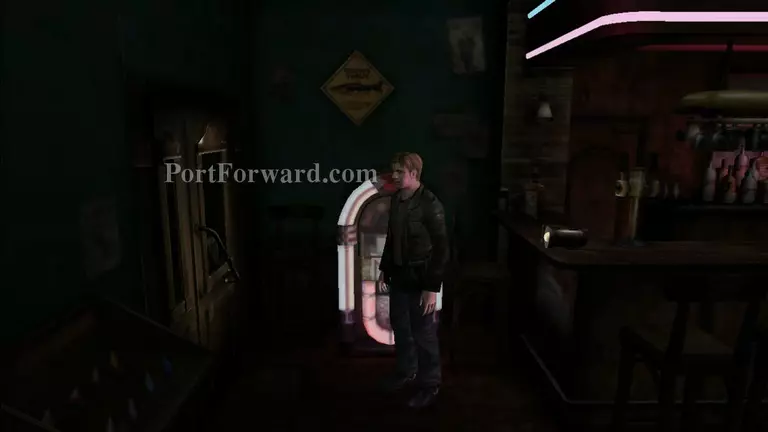
Then examine the door that the lamp is shinning on. James will use the bar key and you'll be back to the elevator area where you got the thinner. Don't worry about any enemies. You've probably killed them all at this point.
Go back upstairs to the second floor left wing. There's going to be 2 more mannequins guarding the hallway. Slip past them and enter the employee elevator room again.
Take all of your items from the cabinet. We now have all 3 music boxes. Leave the room and the mannequins will be gone.

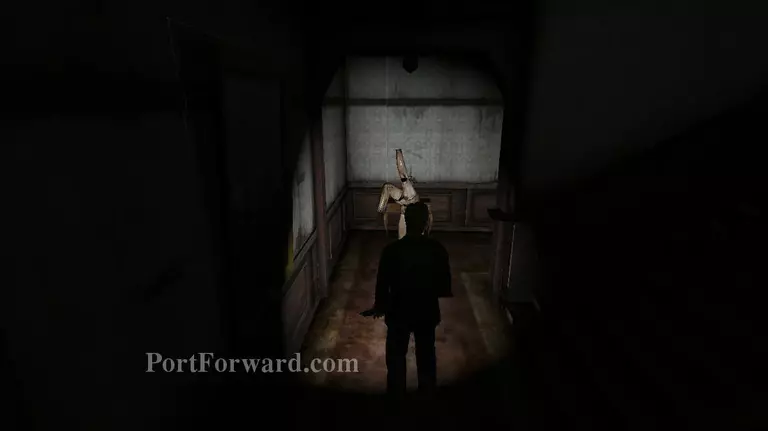
Head back down the main lobby and examine the large clock like object in the middle of the room.
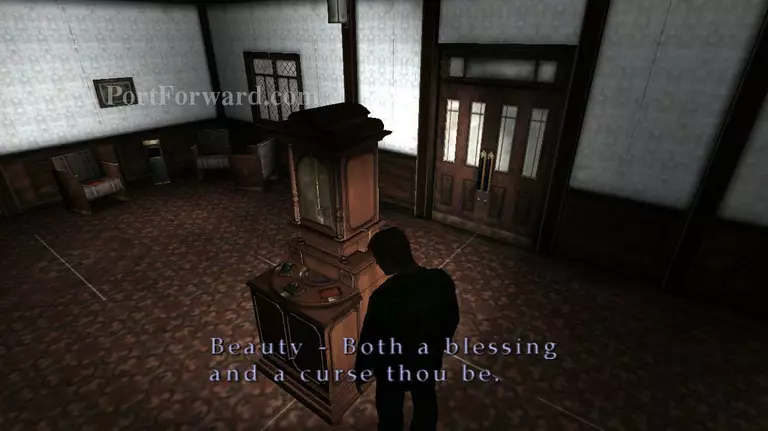
Anyone who knows the story of each of these princesses would be able to solve this puzzle. For those who are having a hard time. From the right:
Beauty - both a blessing and a curse thou be refers to Snow White's music box.
Twas shameful greed did stain her shoe with blood refers to how Cinderellas step sisters cut off parts of their foot to fit her shoe.
Even so, I still want to believe that she was happy refers to the little mermaid who died without having her wish fulfilled.
so from the right:
[Cinderella] [Little Mermaid] [Snow White]
is the arrangement.
play the music box and you'll get another key.
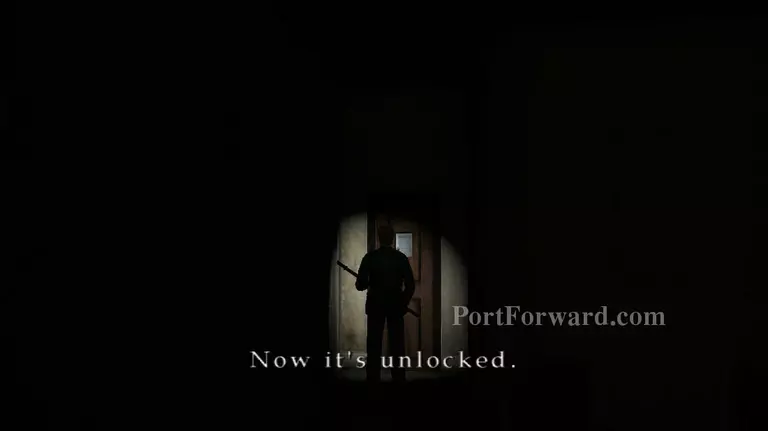
Save your game and head up the third floor via the right wing staircase. There's a metal gate blocking James's way. Examine it and James will use the stairway key that you got from the music boxes.
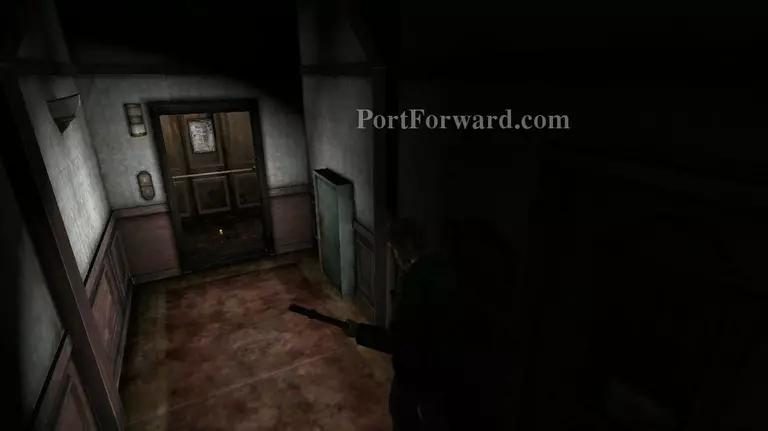
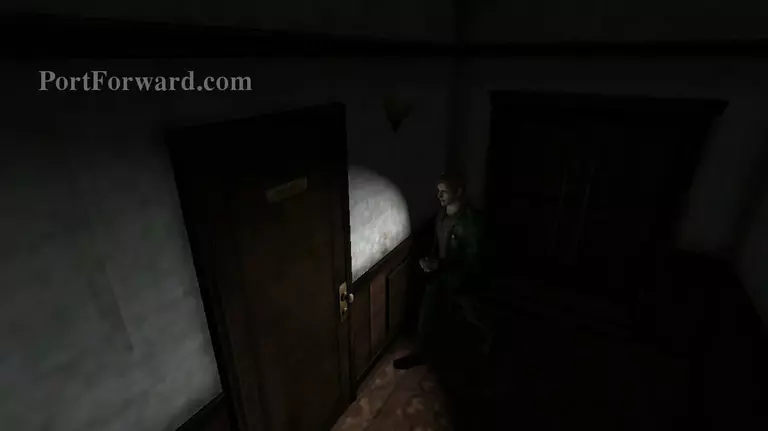
On the third floor only one door can be opened. Room 312. Open it then enter.
Stand near the VCR and use the videotape that you found on the 1st floor office. There's going to be a short cutscene. Make sure that you use it on the VCR instead of the TV.
More Silent Hill 2 Walkthroughs
This Silent Hill 2 walkthrough is divided into 29 total pages.