Splinter Cell: Conviction Walkthrough Chapter 5: Washington Monument

September 12, 2016 (Last Updated: ) | Reading Time: 2 minutes

This Splinter Cell: Conviction walkthrough is divided into 11 total pages.

You can jump to nearby pages of the game using the links above.

Chapter 5: Washington Monument

Splinter Cell: Conviction Walkthrough - Splinter Cell-Conviction 93

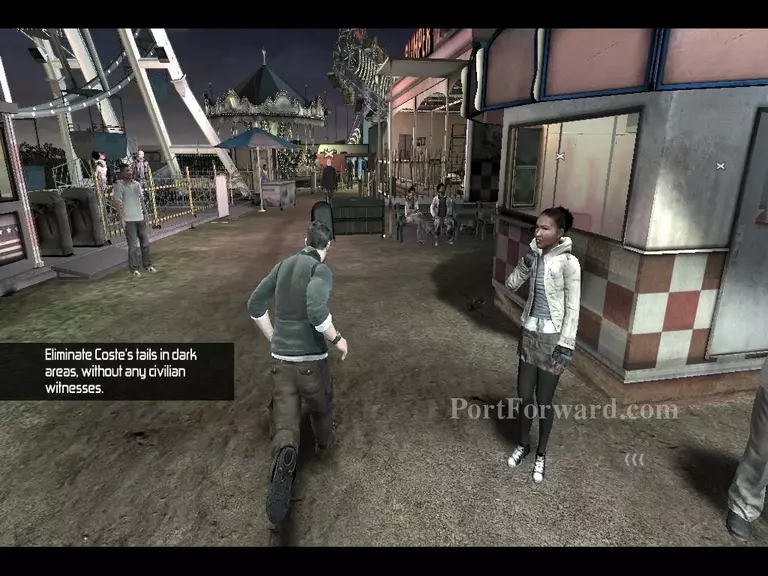
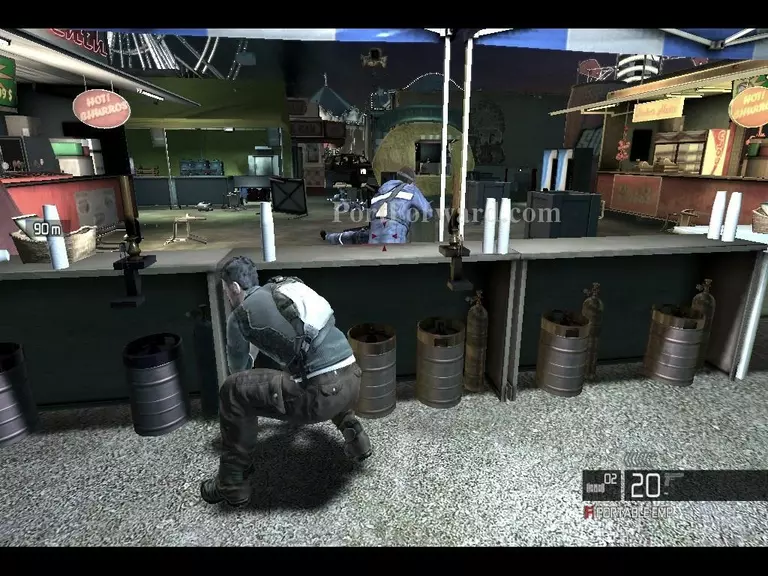
Approach the tailers from a far distance and make sure you are strafing from barrier to barrier. This is so when they turn around they won't see you.

Splinter Cell: Conviction Walkthrough - Splinter Cell-Conviction 94

When the tailers are in a dark area, away from citizens, Grab them and interrogate them.

Splinter Cell: Conviction Walkthrough - Splinter Cell-Conviction 95

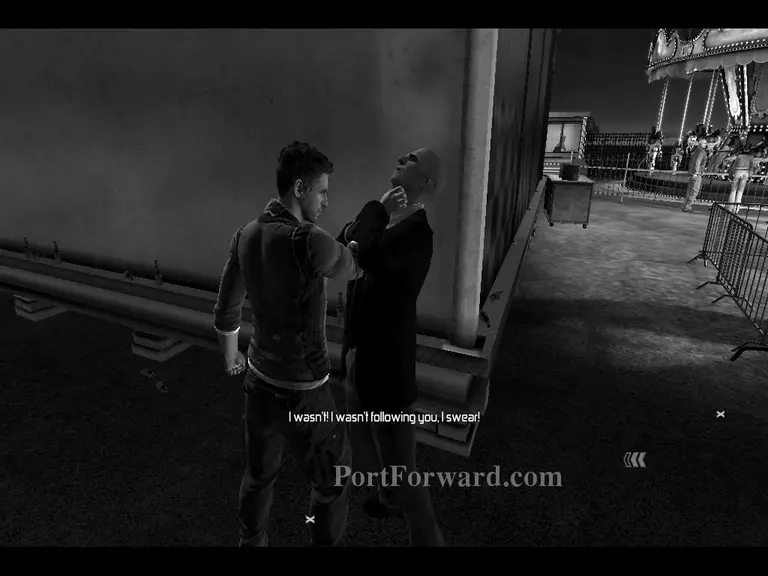
Do this to all the tailers to move to the next objective.

Splinter Cell: Conviction Walkthrough - Splinter Cell-Conviction 96

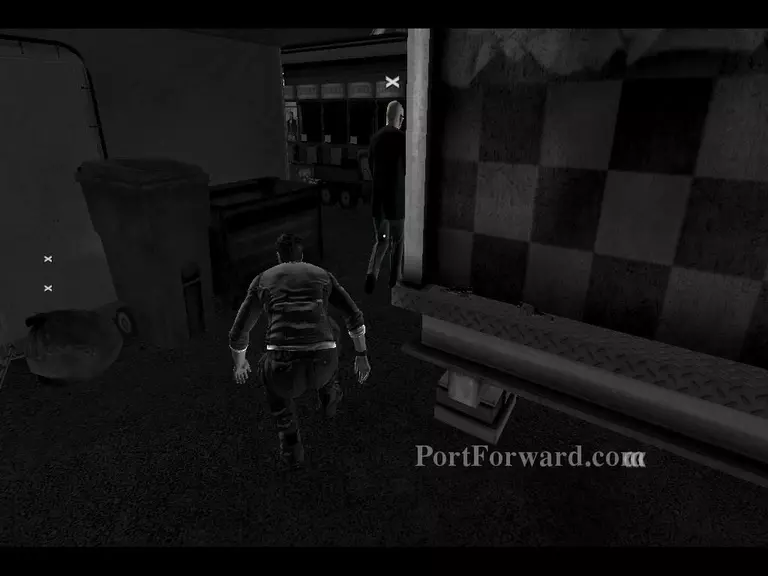
If you have grabbed a tailer and citizens are nearby, bring him into the shadows while you choke hold him to stop you from getting caught.

Splinter Cell: Conviction Walkthrough - Splinter Cell-Conviction 97

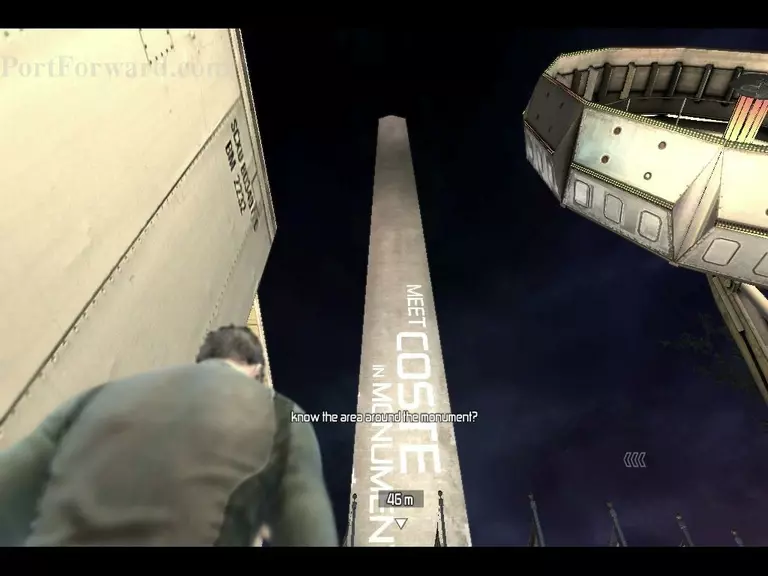
Once you have eliminated all the tailers, Meet Vic at the objective marker.

Splinter Cell: Conviction Walkthrough - Splinter Cell-Conviction 98

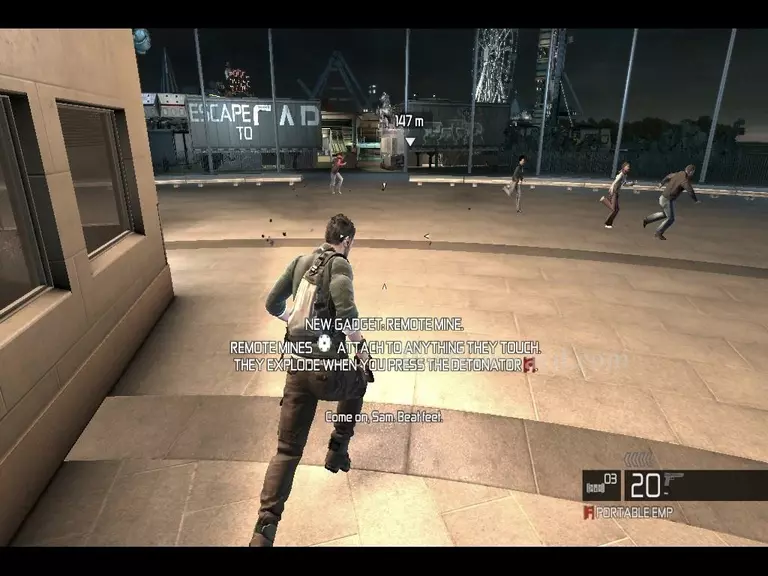
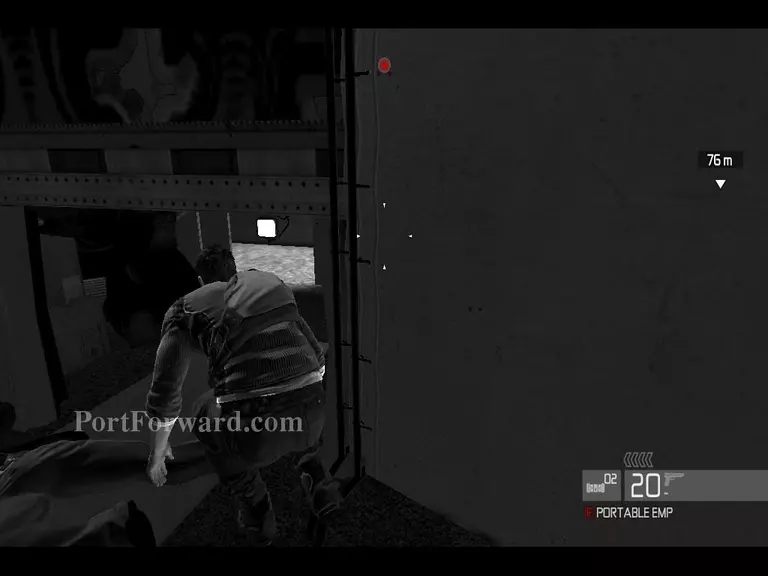
You now have two new gadgets, a roller mine and a portable EMP. Use this to aid you in tricky situations.

Splinter Cell: Conviction Walkthrough - Splinter Cell-Conviction 99

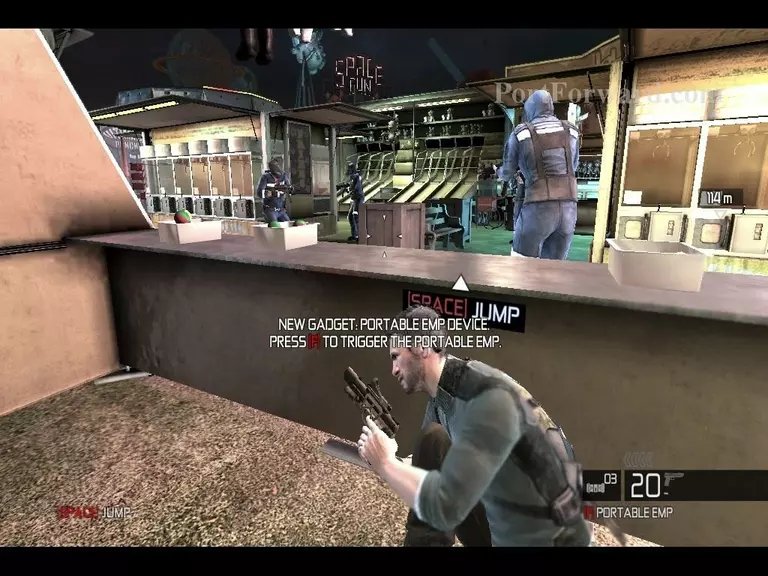
In moments like this it's best to use your portable EMP to get out of the area and neutralise the enemies. The portable EMP stuns enemies in its range and can be used to make a quick escape.

Splinter Cell: Conviction Walkthrough - Splinter Cell-Conviction 100

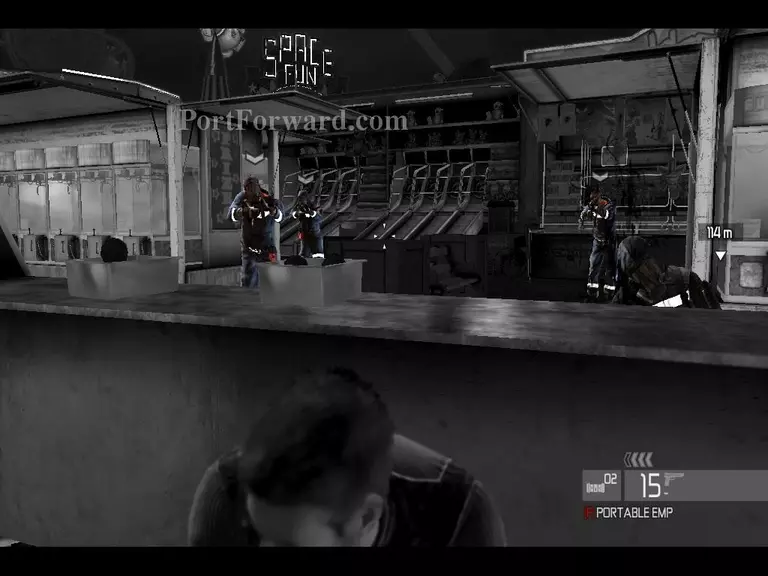
Tag patrolling enemies to keep track of their movement. This reduces the risk of you unexpectedly running into them again.

Splinter Cell: Conviction Walkthrough - Splinter Cell-Conviction 101

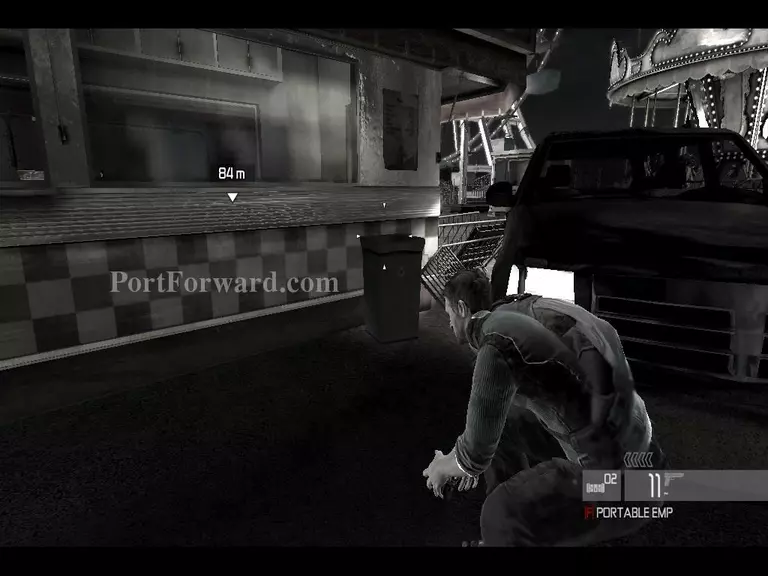
Use car alarms to create a distraction and move enemies that are guarding your path.

Splinter Cell: Conviction Walkthrough - Splinter Cell-Conviction 102

You don't have to kill anyone, your objective is to get to your car. Don't risk your life to kill someone only when eliminate targets when necessary.

Splinter Cell: Conviction Walkthrough - Splinter Cell-Conviction 103

Stay in the shadows and never stay in the open.

Splinter Cell: Conviction Walkthrough - Splinter Cell-Conviction 104

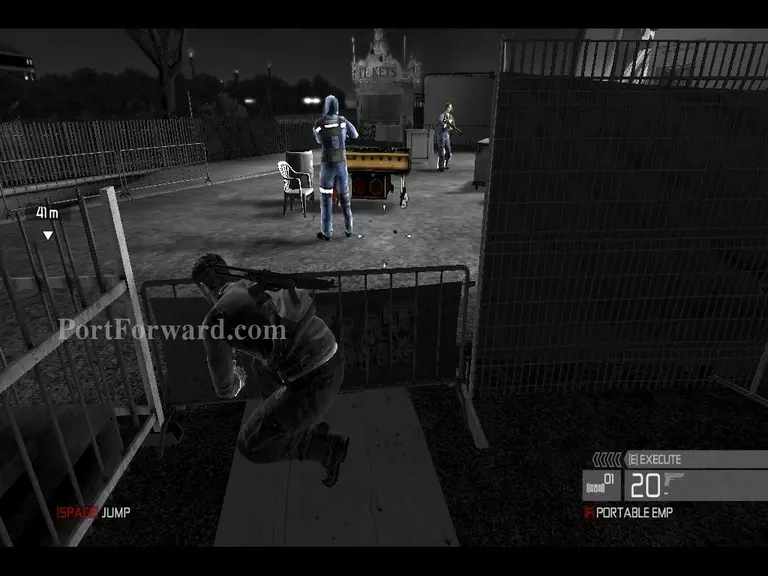
You can use the execution ability to aid you pass guards.

Splinter Cell: Conviction Walkthrough - Splinter Cell-Conviction 105

You can detonate roller mines to create distractions.

Splinter Cell: Conviction Walkthrough - Splinter Cell-Conviction 106

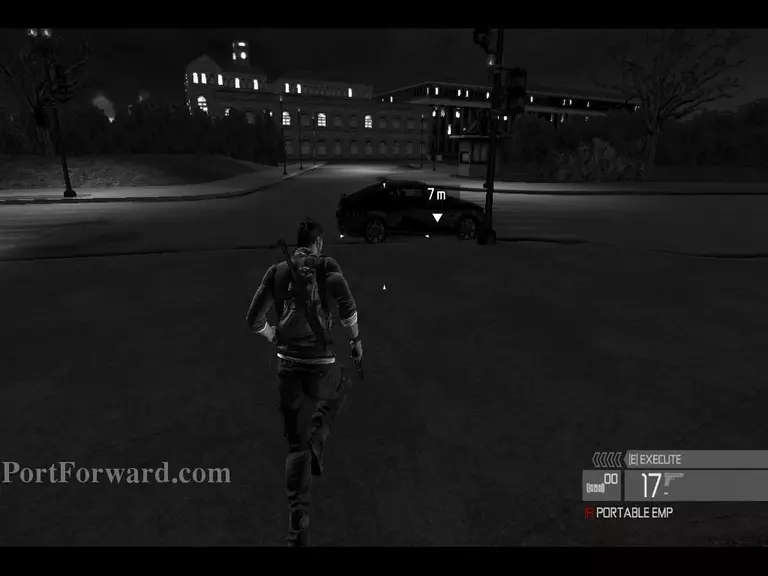
Make your way to your vehicle.

More Splinter Cell: Conviction Walkthroughs

This Splinter Cell: Conviction walkthrough is divided into 11 total pages.

More From Portforward