This Splinter Cell: Conviction walkthrough is divided into 11 total pages.
You can jump to nearby pages of the game using the links above.
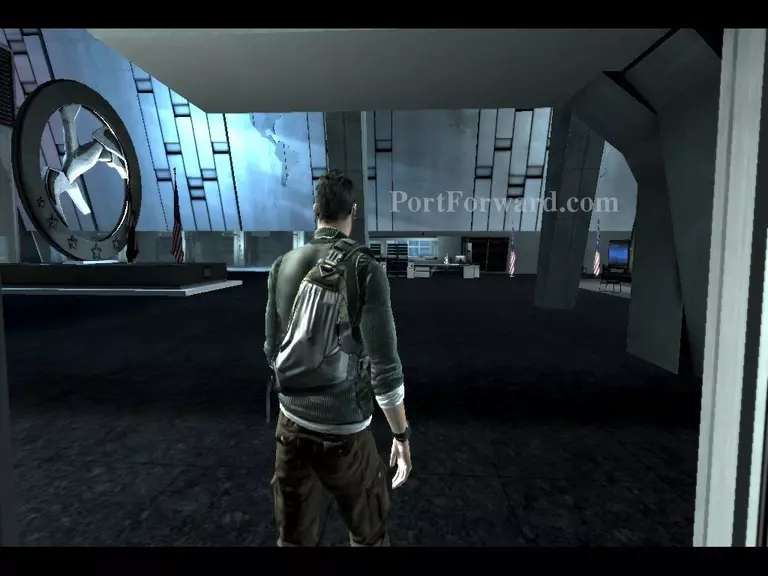
Chapter 8: Third Echelon HQ
![Splinter Cell: Conviction Walkthrough - Splinter Cell-Conviction 183](splinter-cell-conviction-183-small.webp)
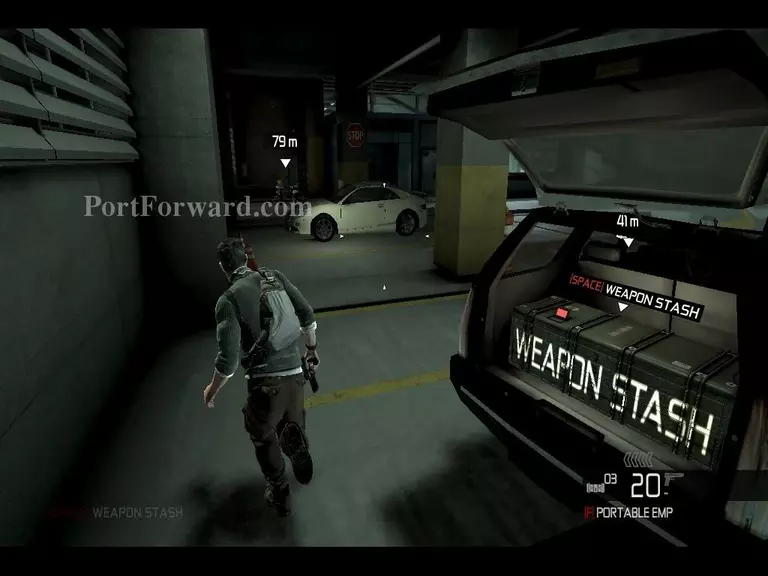
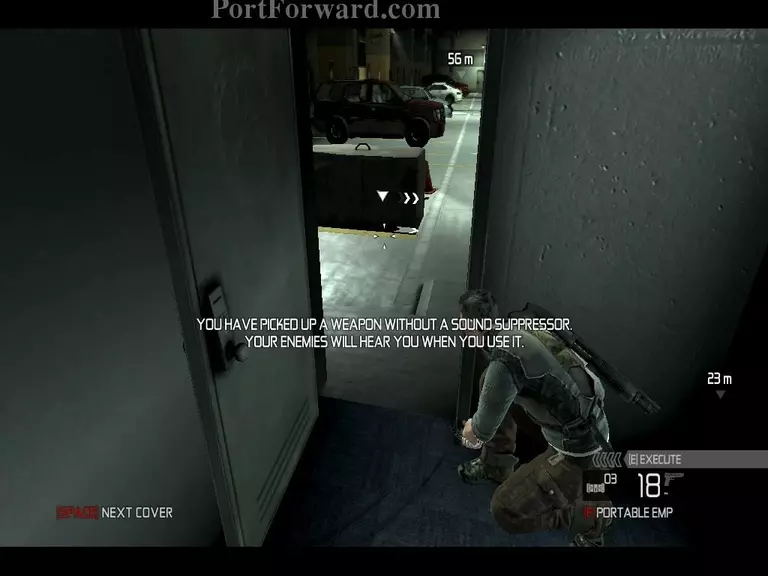
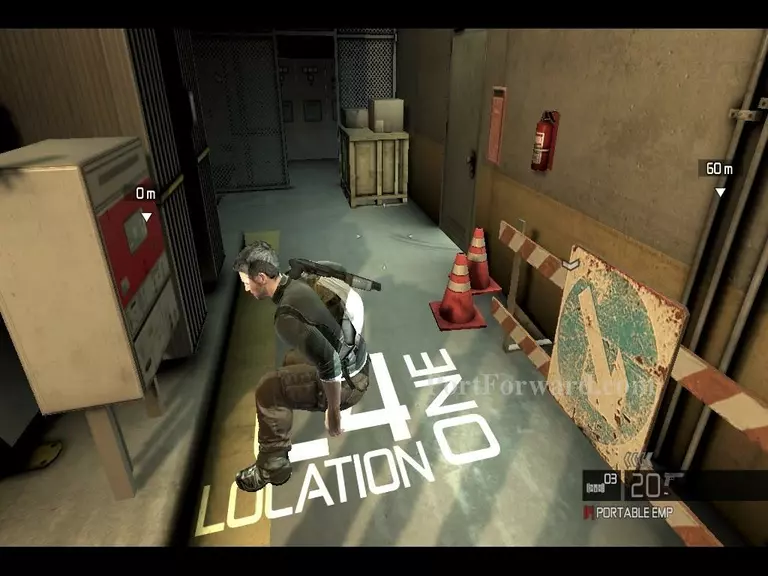
Use the weapons stash to collect suppressed weapons. If you get caught the mission will instantly fail.
![Splinter Cell: Conviction Walkthrough - Splinter Cell-Conviction 184](splinter-cell-conviction-184-small.webp)
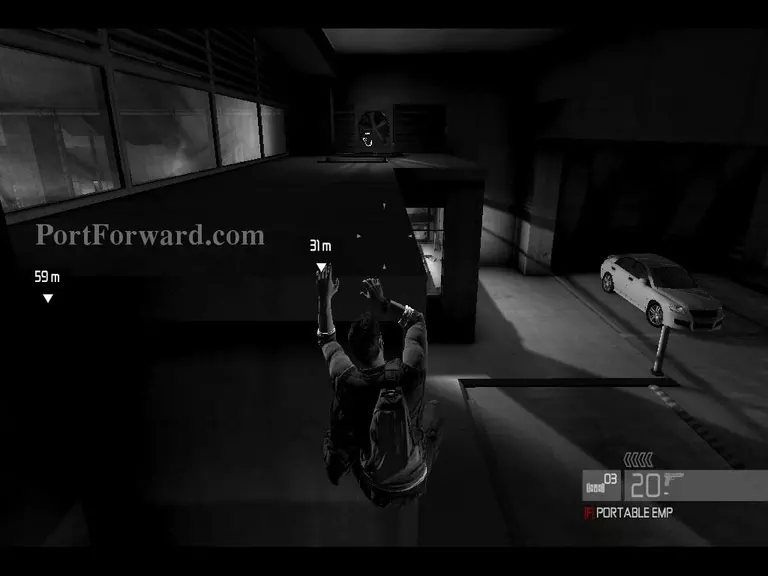
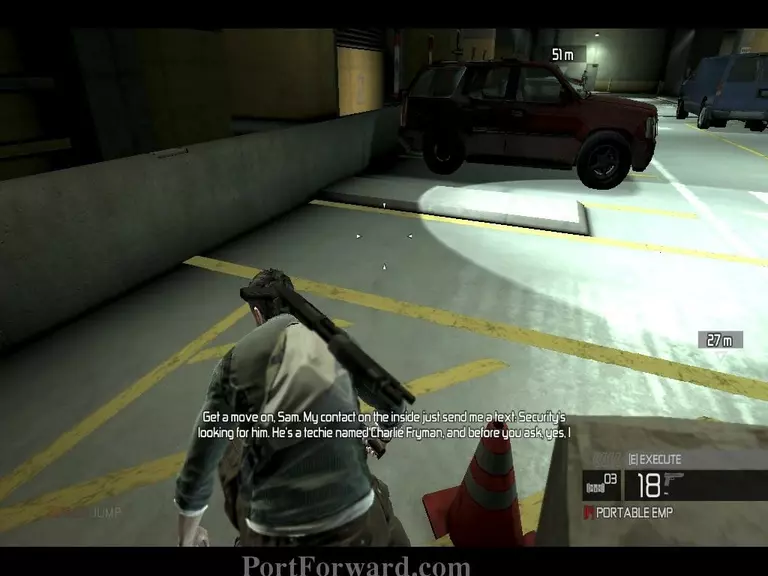
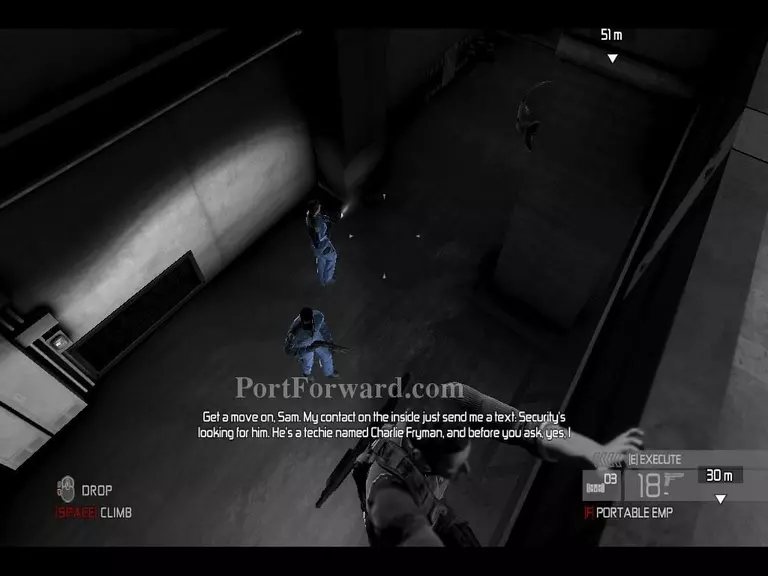
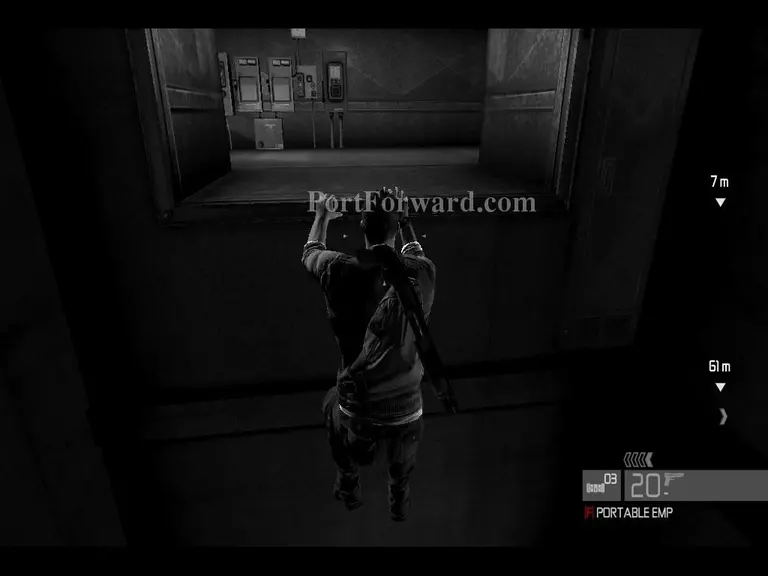
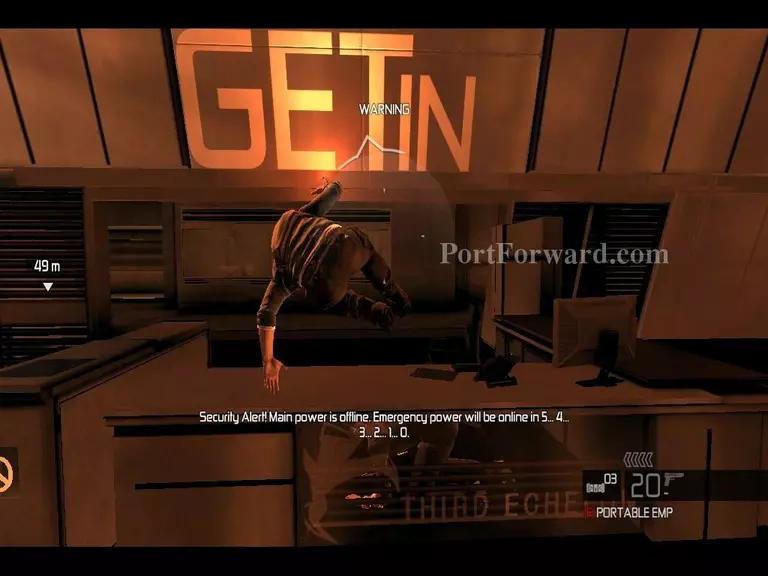
Start a car alarm and climb onto this ledge, a guard will come out then take him out.
![Splinter Cell: Conviction Walkthrough - Splinter Cell-Conviction 185](splinter-cell-conviction-185-small.webp)
Try aim for the head.
![Splinter Cell: Conviction Walkthrough - Splinter Cell-Conviction 186](splinter-cell-conviction-186-small.webp)
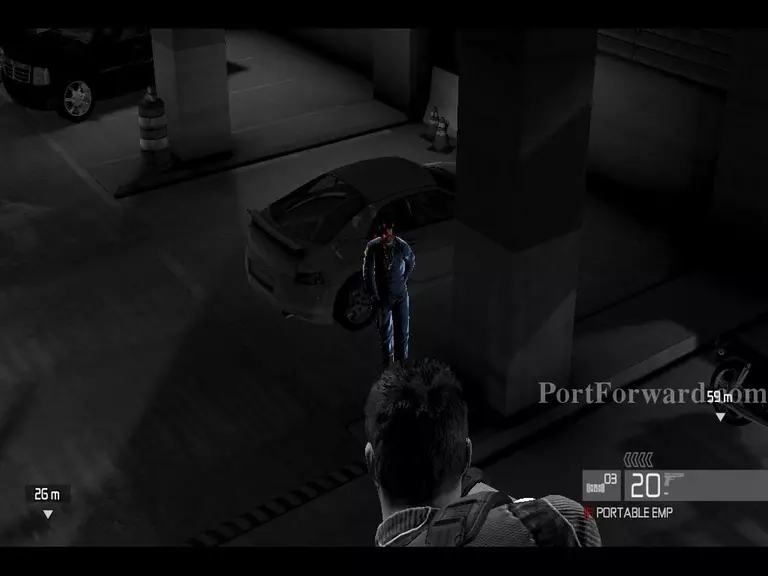
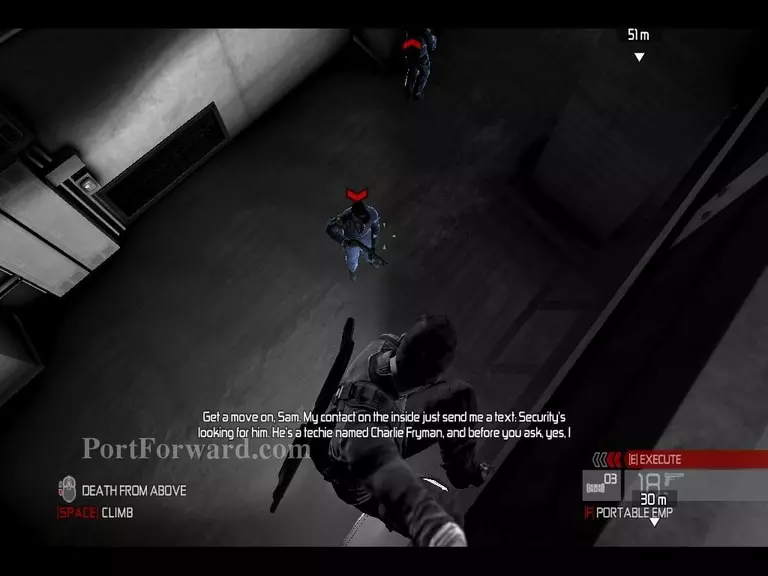
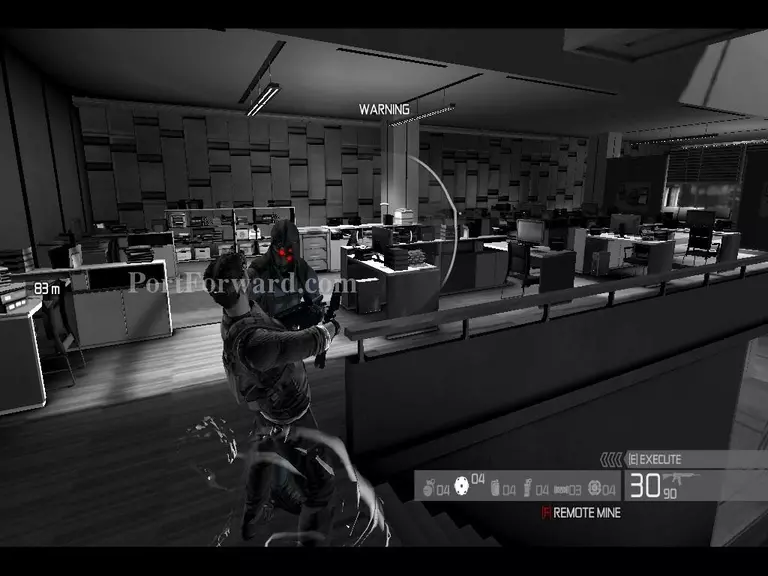
Do a death from above to kill this enemy so you don't create to much attention.
![Splinter Cell: Conviction Walkthrough - Splinter Cell-Conviction 187](splinter-cell-conviction-187-small.webp)
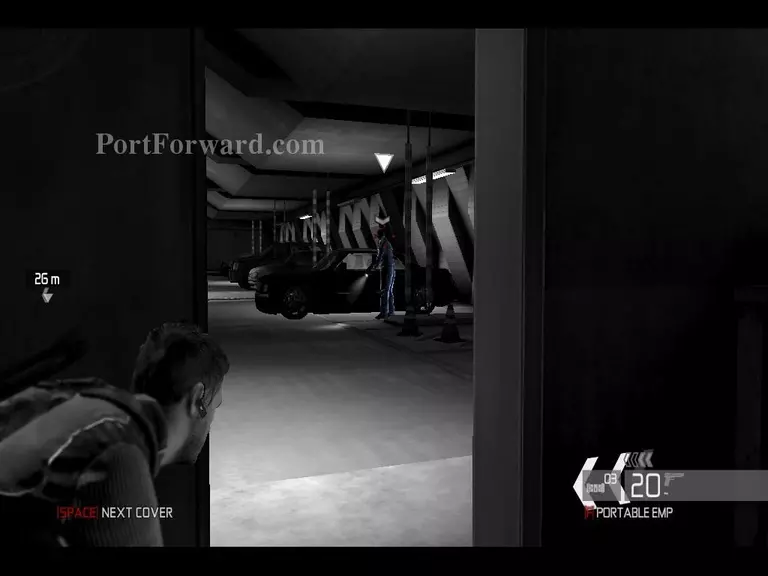
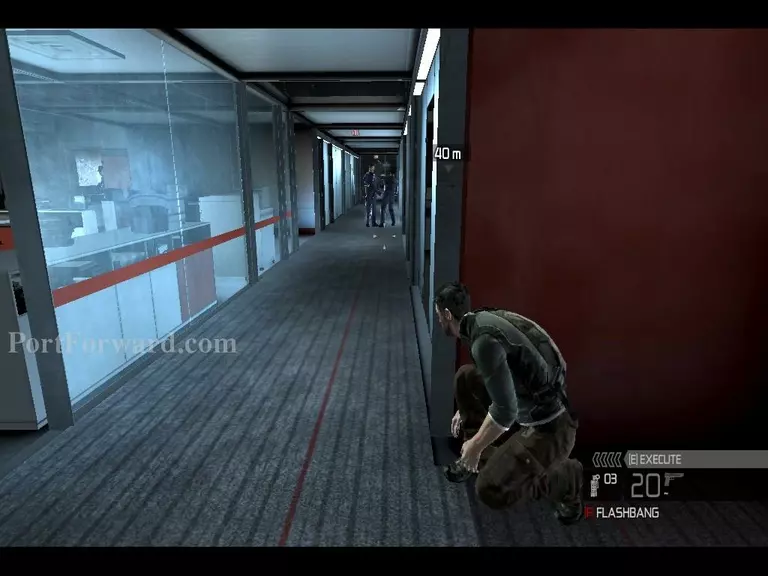
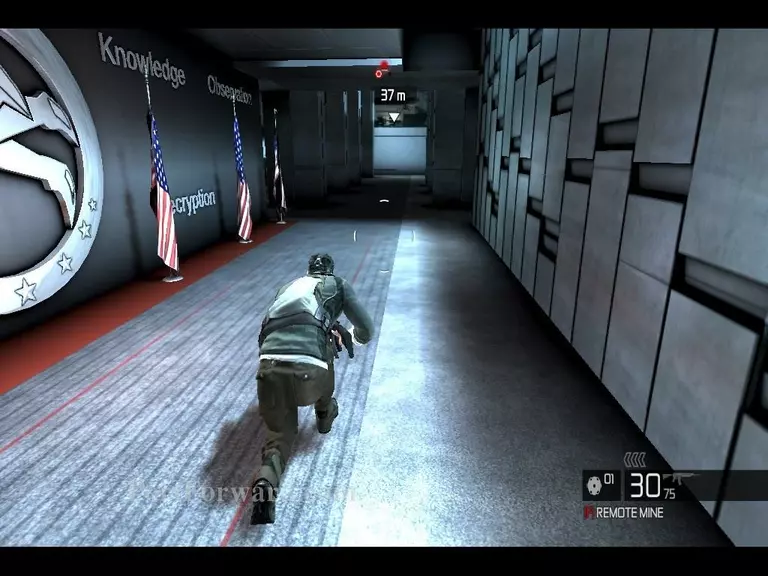
Move in the shadows from barrier to barrier to reduce the risk of getting caught.
![Splinter Cell: Conviction Walkthrough - Splinter Cell-Conviction 188](splinter-cell-conviction-188-small.webp)
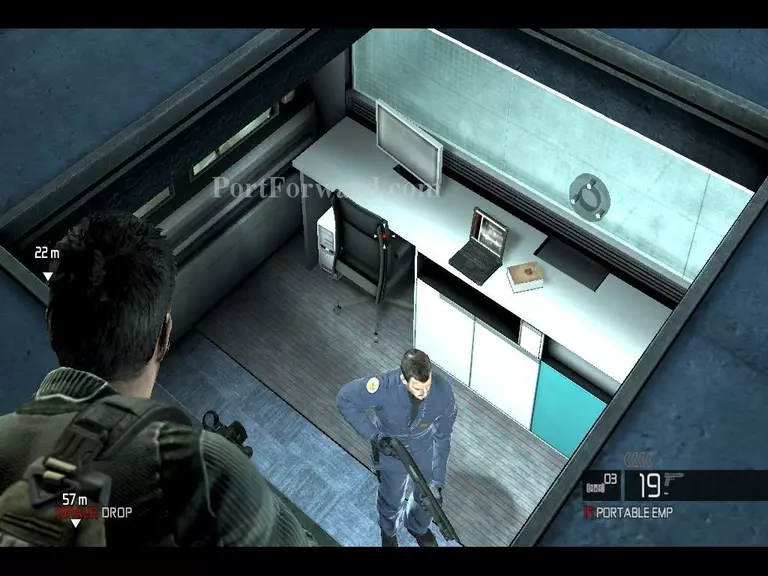
Watch out for cameras, if they spot you or a dead enemy you will fail the mission.
![Splinter Cell: Conviction Walkthrough - Splinter Cell-Conviction 189](splinter-cell-conviction-189-small.webp)
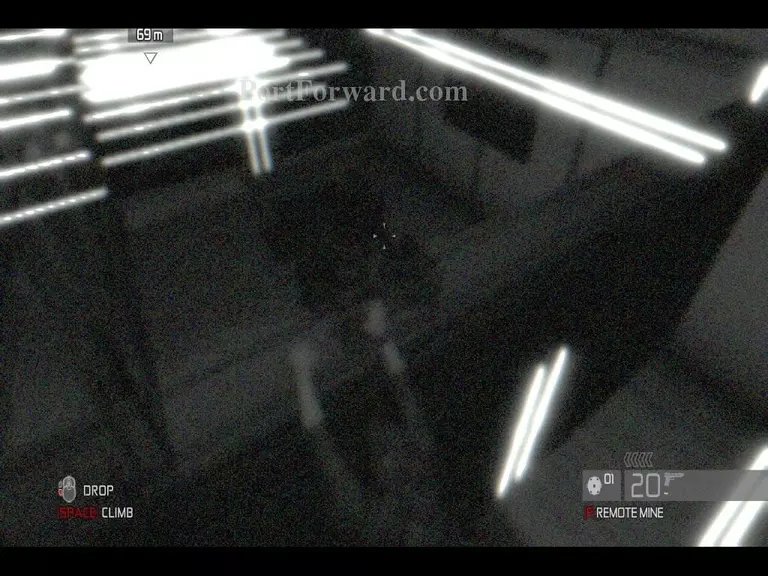
Use ledges to navigate yourself across the map without getting caught.
![Splinter Cell: Conviction Walkthrough - Splinter Cell-Conviction 190](splinter-cell-conviction-190-small.webp)
The execution ability is best to take out multiple hostiles, keep that in mind.
![Splinter Cell: Conviction Walkthrough - Splinter Cell-Conviction 191](splinter-cell-conviction-191-small.webp)
There are also air vents located around the map. Use them to move around the map quietly.
![Splinter Cell: Conviction Walkthrough - Splinter Cell-Conviction 192](splinter-cell-conviction-192-small.webp)
Plant the C4 at the target.
![Splinter Cell: Conviction Walkthrough - Splinter Cell-Conviction 193](splinter-cell-conviction-193-small.webp)
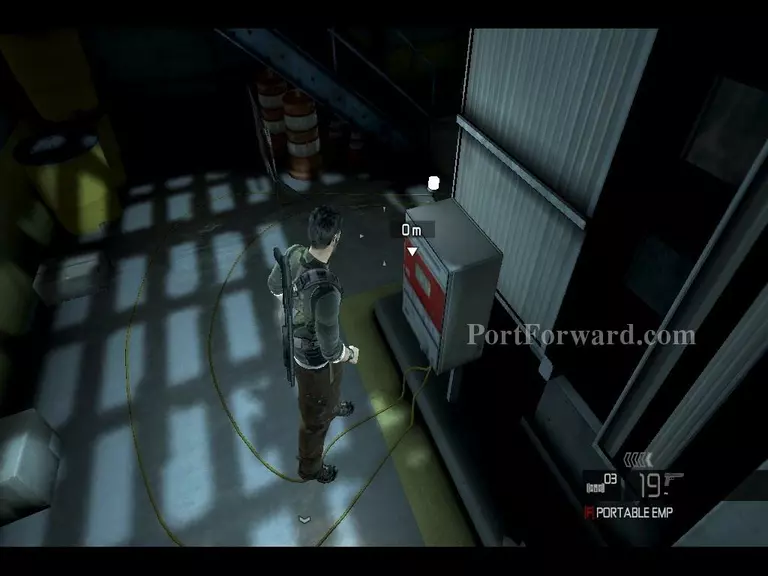
There are two locations where you plant C4. You will have to plant them to proceed to the next part of the mission.
![Splinter Cell: Conviction Walkthrough - Splinter Cell-Conviction 194](splinter-cell-conviction-194-small.webp)
Once you have rigged the two targets with C4, make your way to the elevator located at the target marker.
![Splinter Cell: Conviction Walkthrough - Splinter Cell-Conviction 195](splinter-cell-conviction-195-small.webp)
You don't have to kill all the enemies, if it's too risky then just avoid killing them.
![Splinter Cell: Conviction Walkthrough - Splinter Cell-Conviction 196](splinter-cell-conviction-196-small.webp)
Use the elevator to proceed.
![Splinter Cell: Conviction Walkthrough - Splinter Cell-Conviction 197](splinter-cell-conviction-197-small.webp)
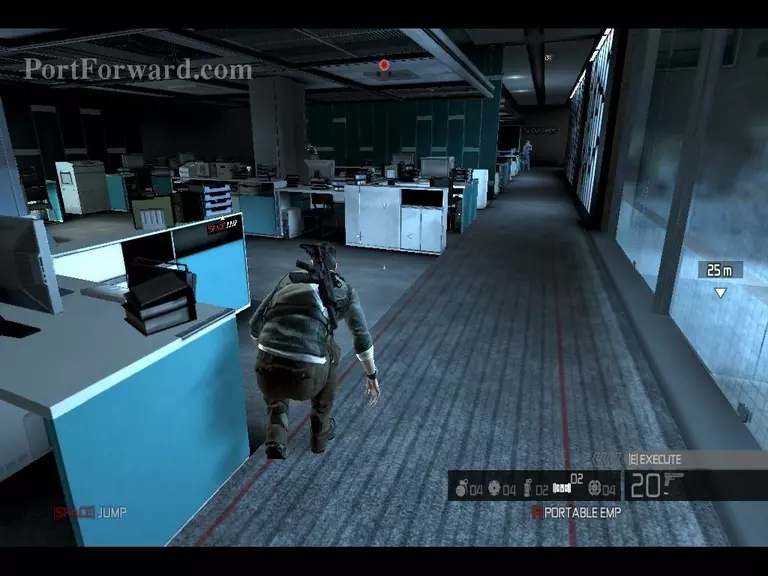
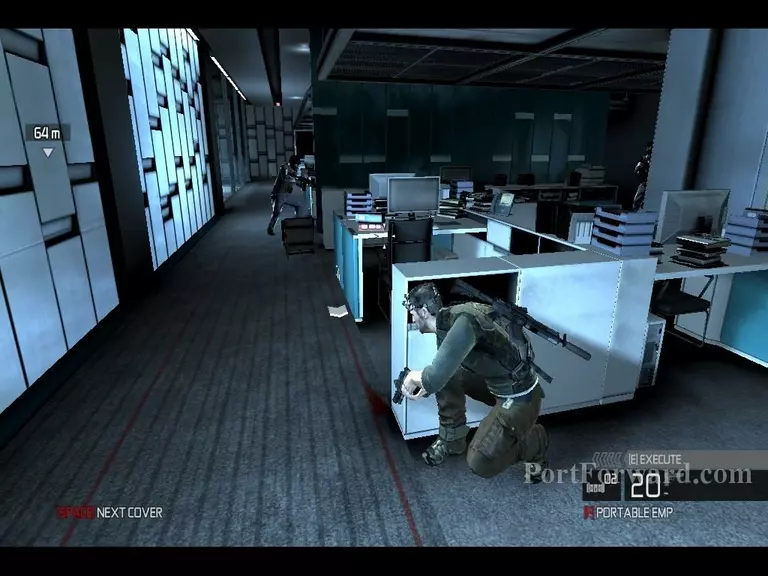
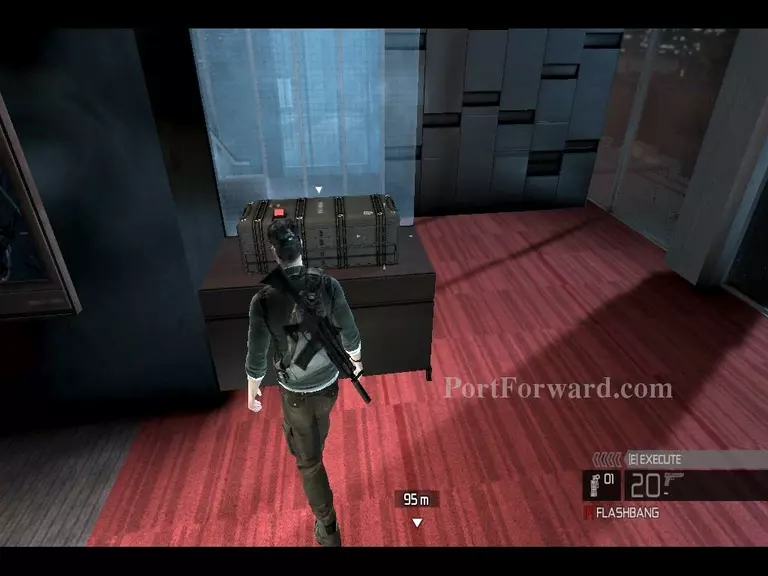
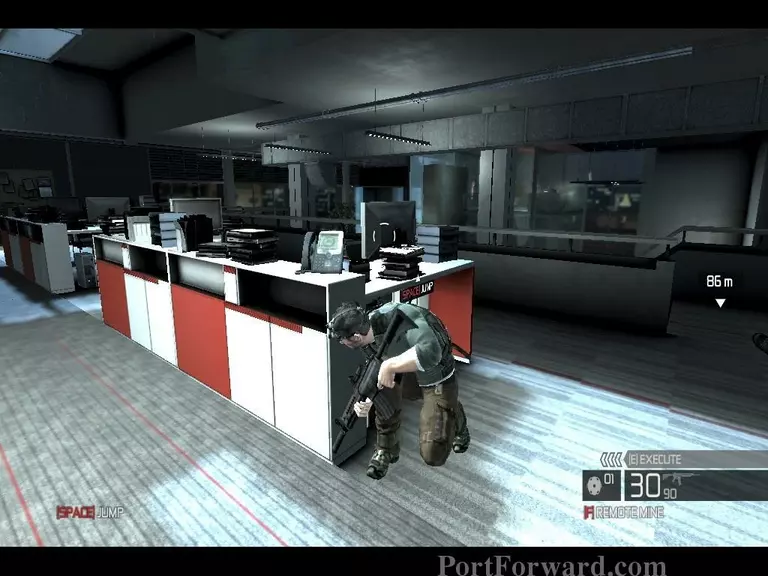
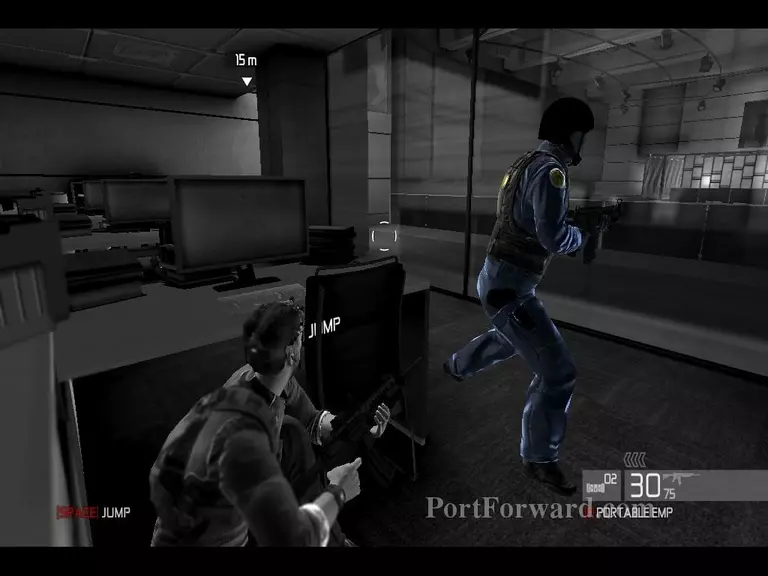
As you exit the elevator, make your way to the desk.
![Splinter Cell: Conviction Walkthrough - Splinter Cell-Conviction 198](splinter-cell-conviction-198-small.webp)
Quickly jump over the desk and find cover. Enemies will come for you.
![Splinter Cell: Conviction Walkthrough - Splinter Cell-Conviction 199](splinter-cell-conviction-199-small.webp)
Take out the enemies.
![Splinter Cell: Conviction Walkthrough - Splinter Cell-Conviction 200](splinter-cell-conviction-200-small.webp)
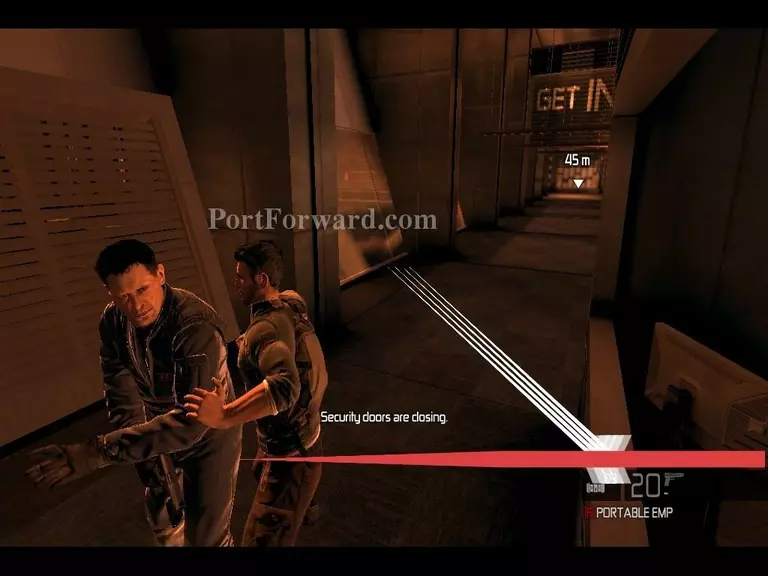
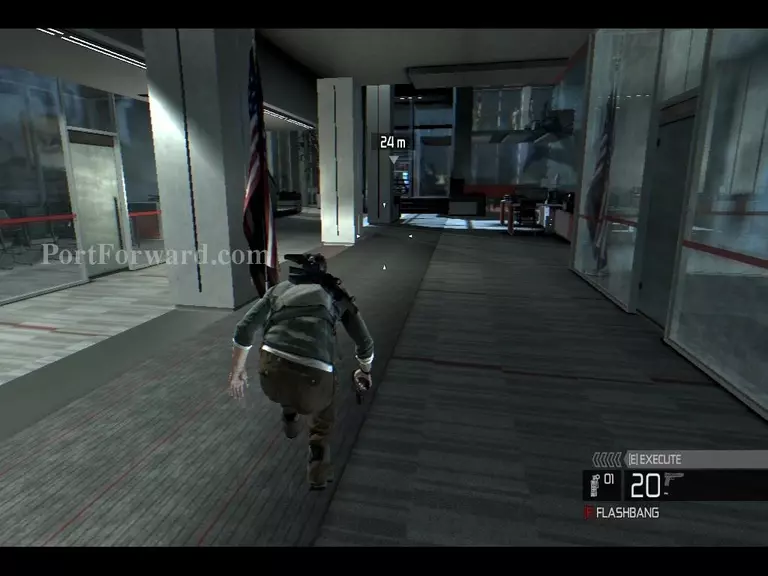
Kill the enemies and make it through the hallway before the gate closes.
![Splinter Cell: Conviction Walkthrough - Splinter Cell-Conviction 201](splinter-cell-conviction-201-small.webp)
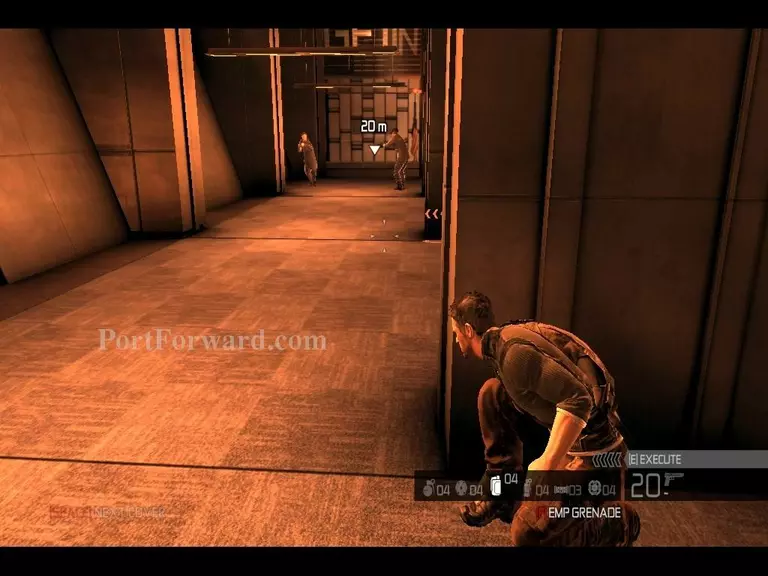
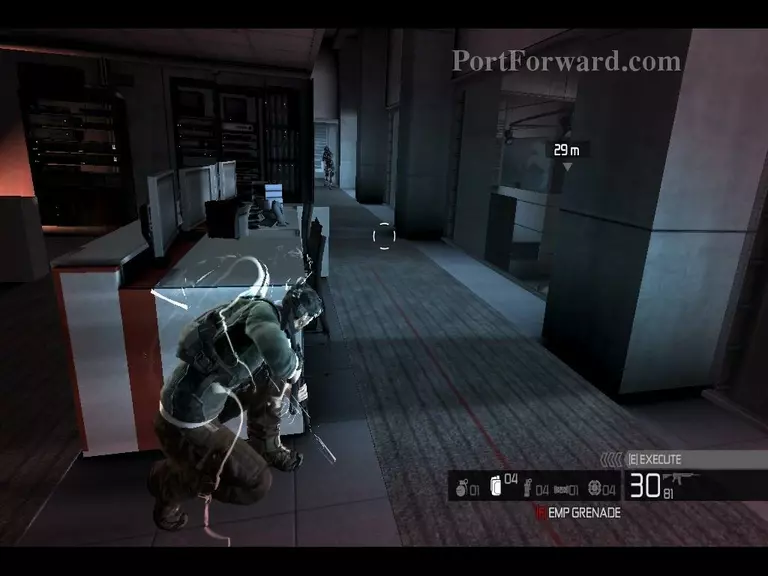
Use stun grenades or EMPs to stun the enemies. You could tag the two guards and execute them and remain hidden.
![Splinter Cell: Conviction Walkthrough - Splinter Cell-Conviction 202](splinter-cell-conviction-202-small.webp)
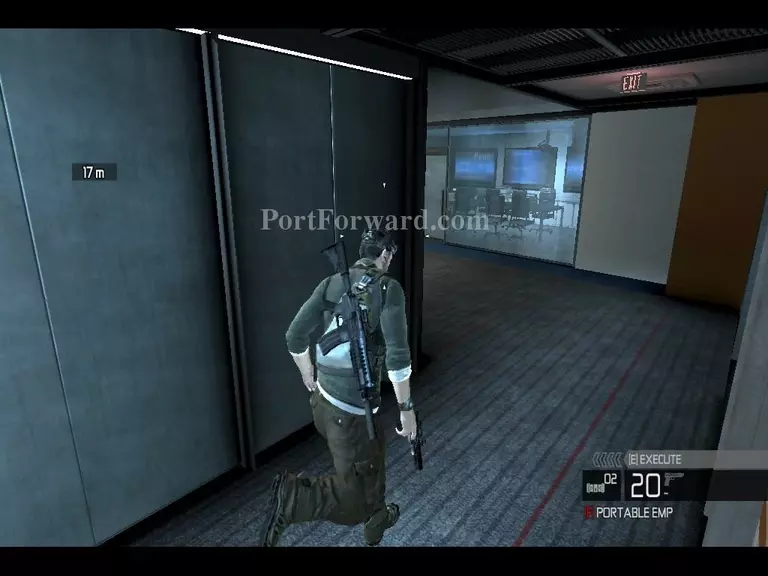
Proceed through the corridors. Avoid getting caught as this will just make it more difficult.
![Splinter Cell: Conviction Walkthrough - Splinter Cell-Conviction 203](splinter-cell-conviction-203-small.webp)
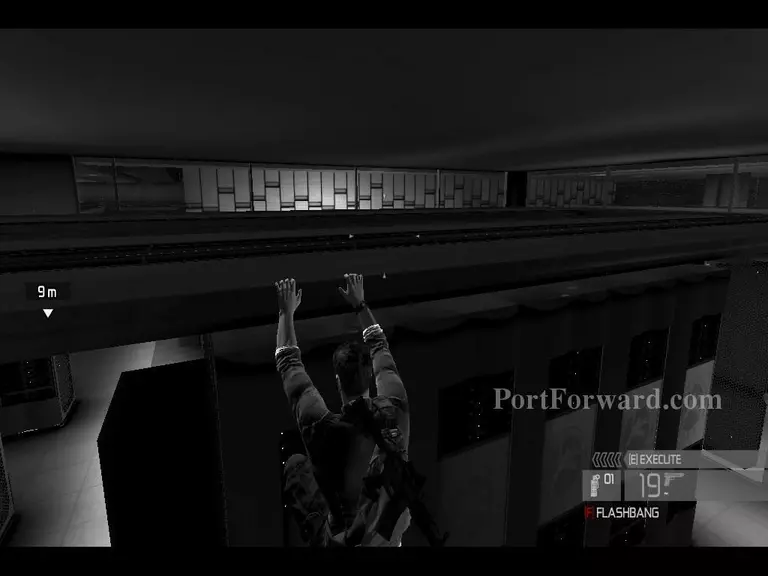
When in the server room you can climb onto the ledges above the machines. This will help you to take out enemies without getting caught.
![Splinter Cell: Conviction Walkthrough - Splinter Cell-Conviction 204](splinter-cell-conviction-204-small.webp)
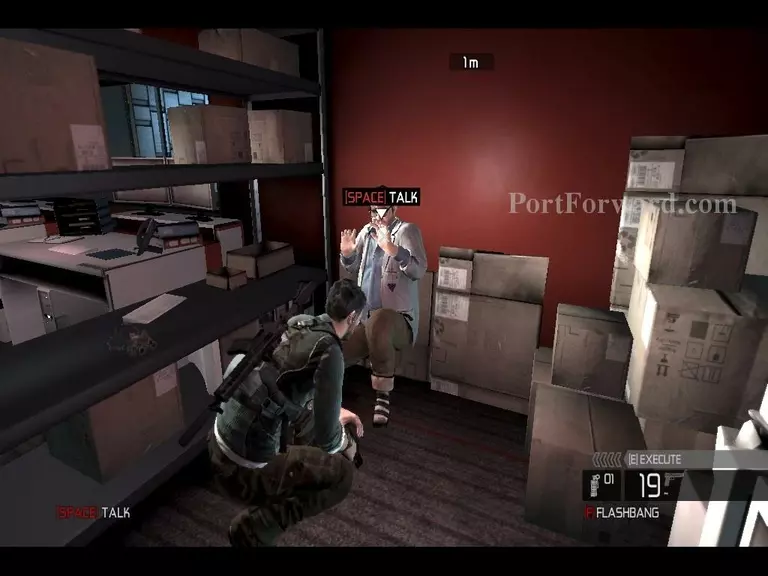
Meet up with Grim's inside man, he will supply you with Sonar goggles.
![Splinter Cell: Conviction Walkthrough - Splinter Cell-Conviction 205](splinter-cell-conviction-205-small.webp)
You can use these to see trip wires and enemies behind walls. This will only work within a short range so do not rely on it so much.
![Splinter Cell: Conviction Walkthrough - Splinter Cell-Conviction 206](splinter-cell-conviction-206-small.webp)
Follow the target marker to your next objective.
![Splinter Cell: Conviction Walkthrough - Splinter Cell-Conviction 207](splinter-cell-conviction-207-small.webp)
Be aware of enemies as they are still searching for you.
![Splinter Cell: Conviction Walkthrough - Splinter Cell-Conviction 208](splinter-cell-conviction-208-small.webp)
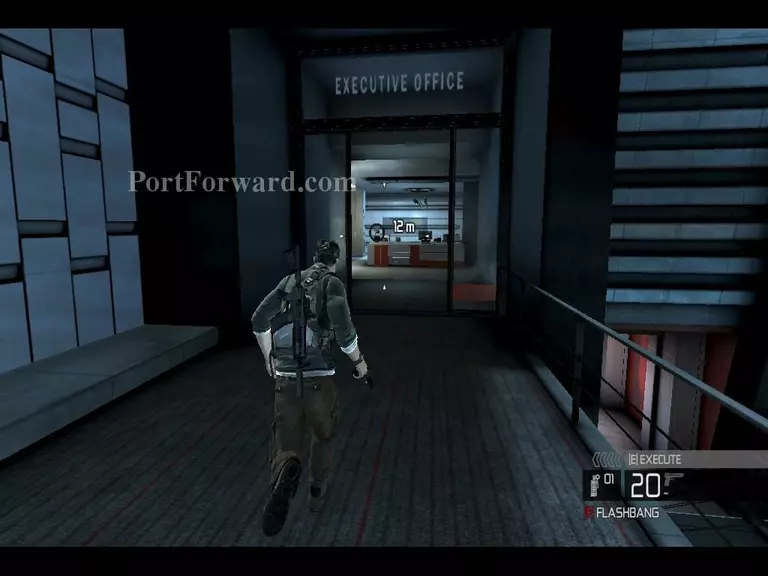
When you get to the executive office you will need to use the goggles. This is because there are lasers in the room that when hit will trigger the alarm.
![Splinter Cell: Conviction Walkthrough - Splinter Cell-Conviction 209](splinter-cell-conviction-209-small.webp)
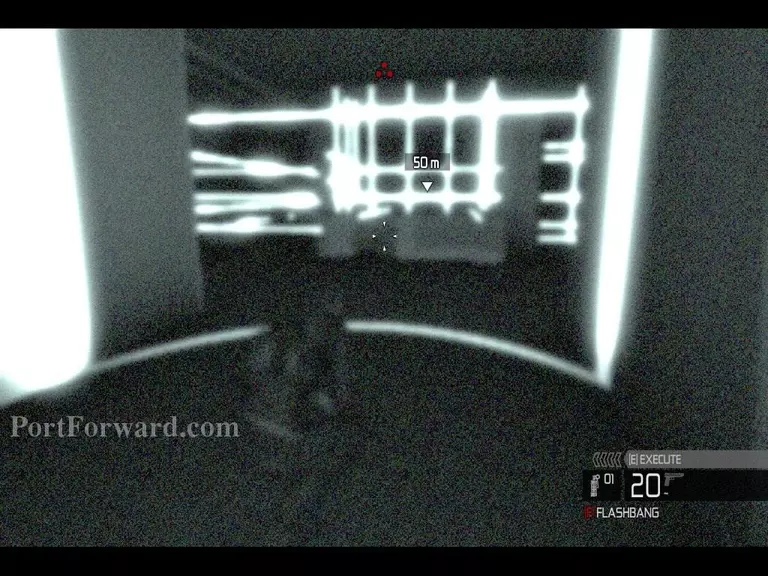
When moving fast while the goggles are on your vision is blurry, so move slowly to reduce the risk of hitting the alarms.
![Splinter Cell: Conviction Walkthrough - Splinter Cell-Conviction 210](splinter-cell-conviction-210-small.webp)
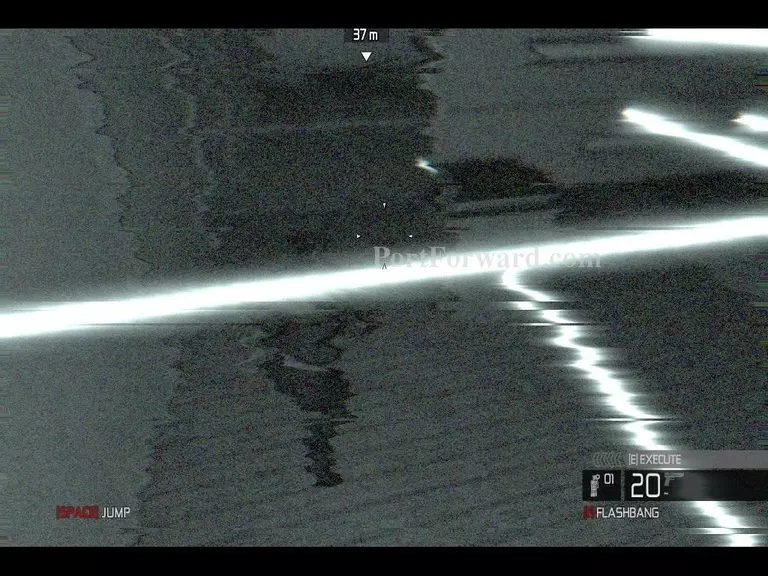
Always remained crouched so you can go under lasers.
![Splinter Cell: Conviction Walkthrough - Splinter Cell-Conviction 211](splinter-cell-conviction-211-small.webp)
Once you have passed the lasers go towards Kobin and interrogate him.
![Splinter Cell: Conviction Walkthrough - Splinter Cell-Conviction 212](splinter-cell-conviction-212-small.webp)
You can use the enviroment around you to aid you in your interrogation.
![Splinter Cell: Conviction Walkthrough - Splinter Cell-Conviction 213](splinter-cell-conviction-213-small.webp)
Refill your ammo and make any necassary upgrades if you wish.
![Splinter Cell: Conviction Walkthrough - Splinter Cell-Conviction 214](splinter-cell-conviction-214-small.webp)
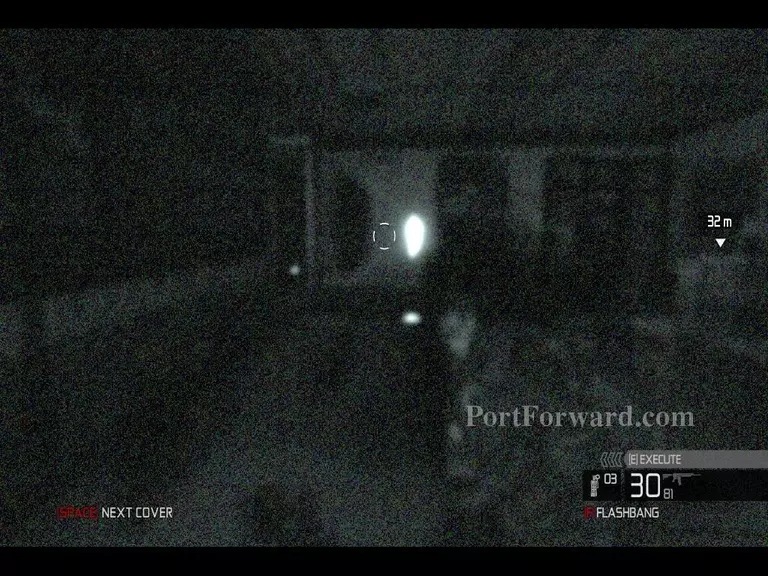
The enemies will have similar goggles to you. This means that can see you even if your're hidden. This can be recognised by the sound the make.
![Splinter Cell: Conviction Walkthrough - Splinter Cell-Conviction 215](splinter-cell-conviction-215-small.webp)
You should constanly change positions as they can see you using their goggles. Kill all of them to proceed.
![Splinter Cell: Conviction Walkthrough - Splinter Cell-Conviction 216](splinter-cell-conviction-216-small.webp)
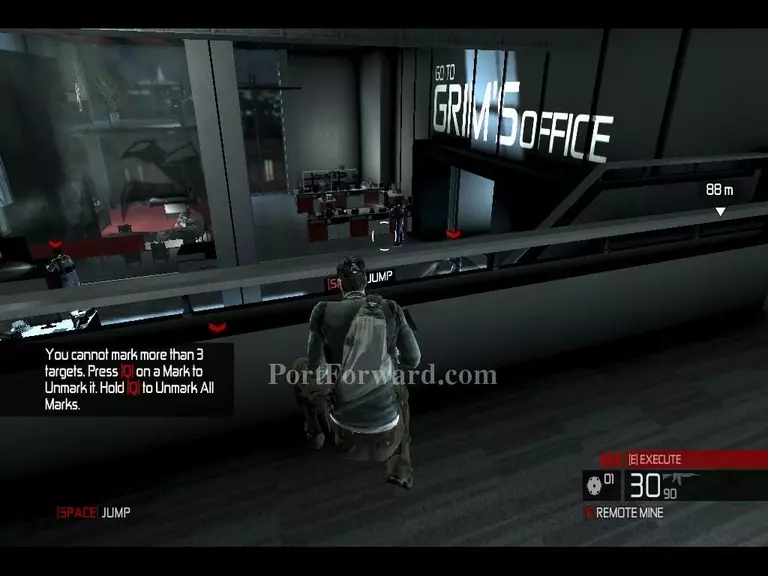
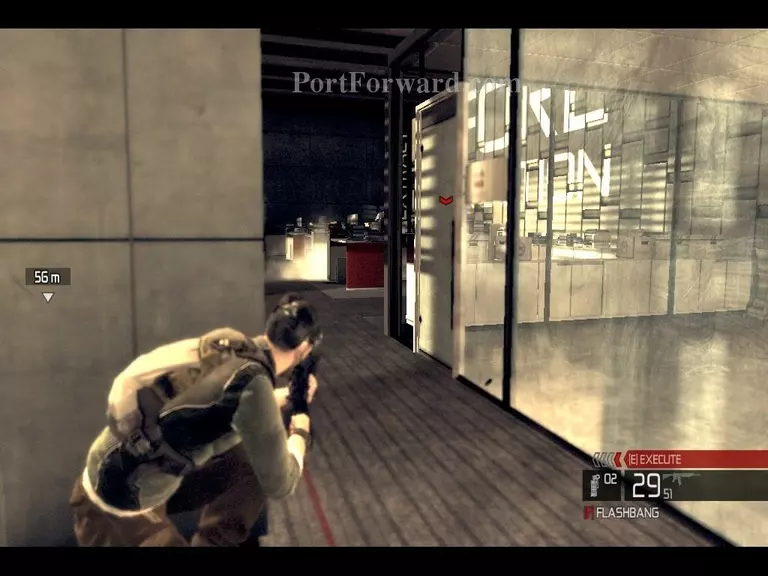
Enemies will be blocking your path towards Grim's office. You can kill them or sneak past them.
![Splinter Cell: Conviction Walkthrough - Splinter Cell-Conviction 217](splinter-cell-conviction-217-small.webp)
Turn on your goggles as there will be more lasers.
![Splinter Cell: Conviction Walkthrough - Splinter Cell-Conviction 218](splinter-cell-conviction-218-small.webp)
Use ledges and pipes to avoid the lasers.
![Splinter Cell: Conviction Walkthrough - Splinter Cell-Conviction 219](splinter-cell-conviction-219-small.webp)
As you pass the laser room you should proceed to follow the target marker, leading towards Grim's office.
![Splinter Cell: Conviction Walkthrough - Splinter Cell-Conviction 220](splinter-cell-conviction-220-small.webp)
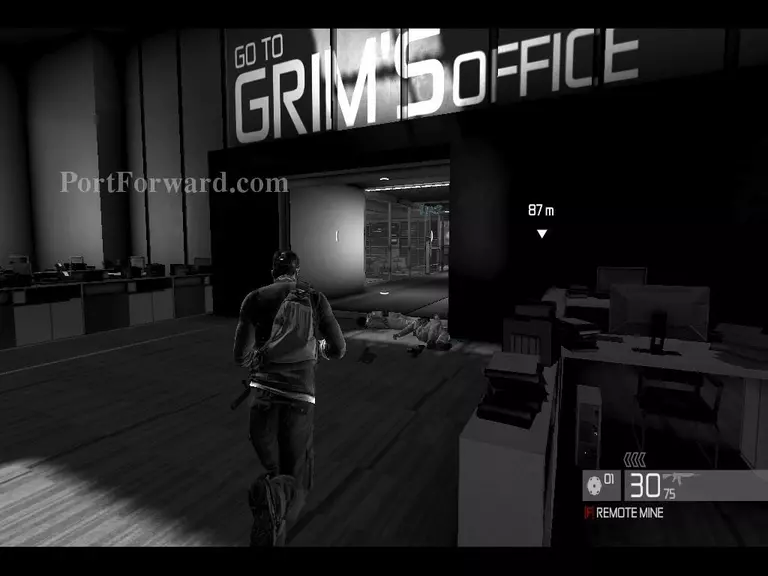
You will encounter enemies on the way, take them out or leave them. I would be better if you take them out first to avoid them coming back and killing you from behind.
![Splinter Cell: Conviction Walkthrough - Splinter Cell-Conviction 221](splinter-cell-conviction-221-small.webp)
You will also encounter more enemies equipped with goggles so be ready.
![Splinter Cell: Conviction Walkthrough - Splinter Cell-Conviction 222](splinter-cell-conviction-222-small.webp)
Use your goggles to find them too.
![Splinter Cell: Conviction Walkthrough - Splinter Cell-Conviction 223](splinter-cell-conviction-223-small.webp)
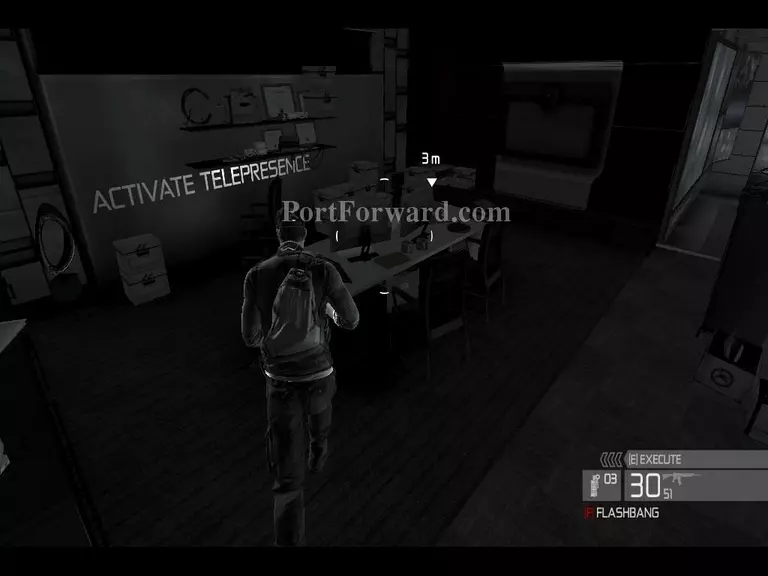
Activate the telepresence to talk to Grim.
![Splinter Cell: Conviction Walkthrough - Splinter Cell-Conviction 224](splinter-cell-conviction-224-small.webp)
Make your way to the objective. Enemies will be nearby so be careful. You can use your gadgets to help evade them.
![Splinter Cell: Conviction Walkthrough - Splinter Cell-Conviction 225](splinter-cell-conviction-225-small.webp)
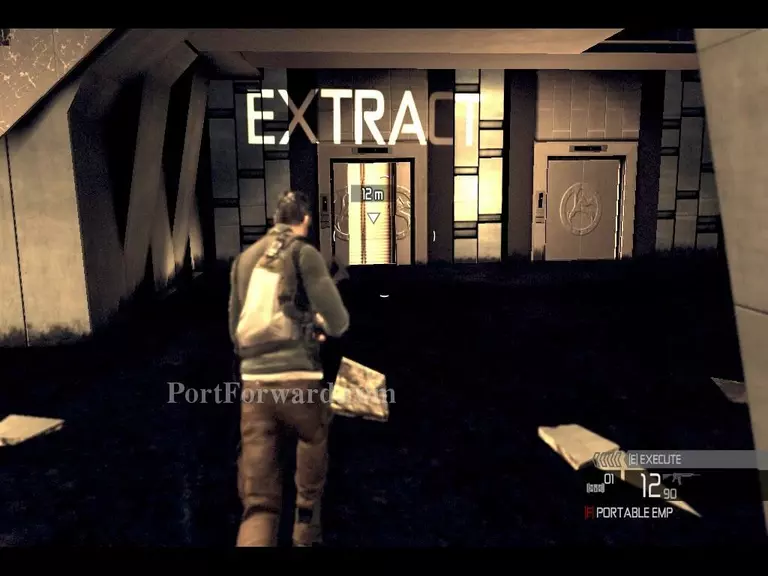
Complete the chapter by going down the open elevator.
More Splinter Cell: Conviction Walkthroughs
This Splinter Cell: Conviction walkthrough is divided into 11 total pages.