This Splinter Cell: Conviction walkthrough is divided into 11 total pages.
You can jump to nearby pages of the game using the links above.
Chapter 6: White Box Laboratories

Use the weapon stash in the car to gear up and upgrade your equipment. Use Silent weapons to complete the level more quickly and effiecently.
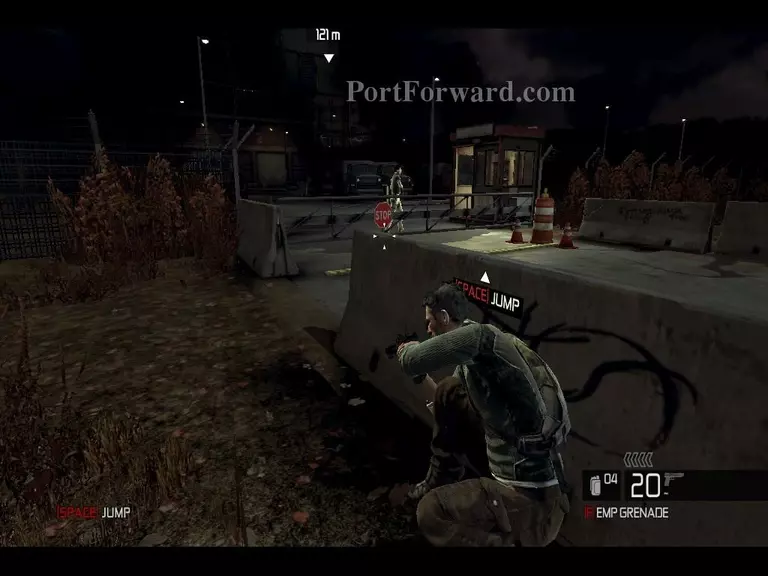
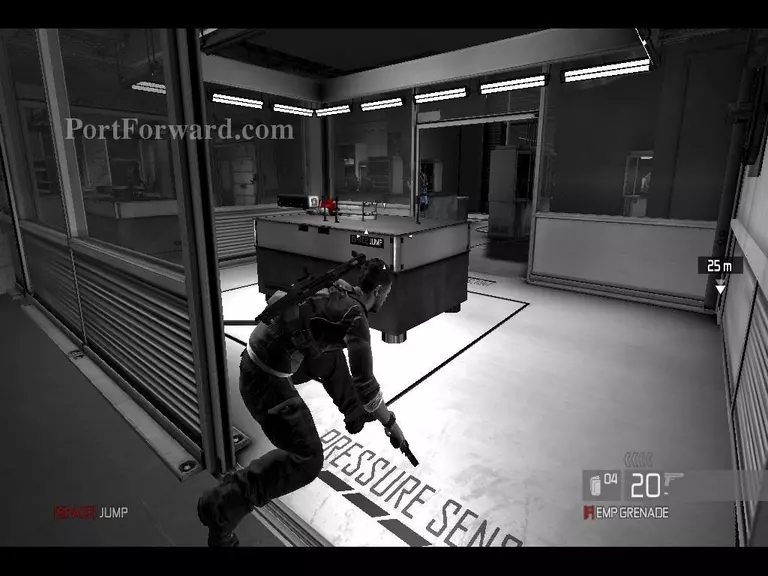
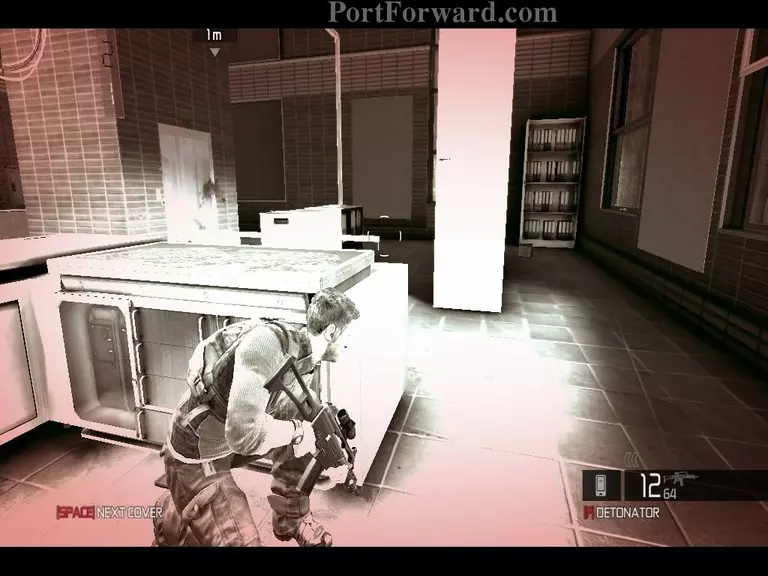
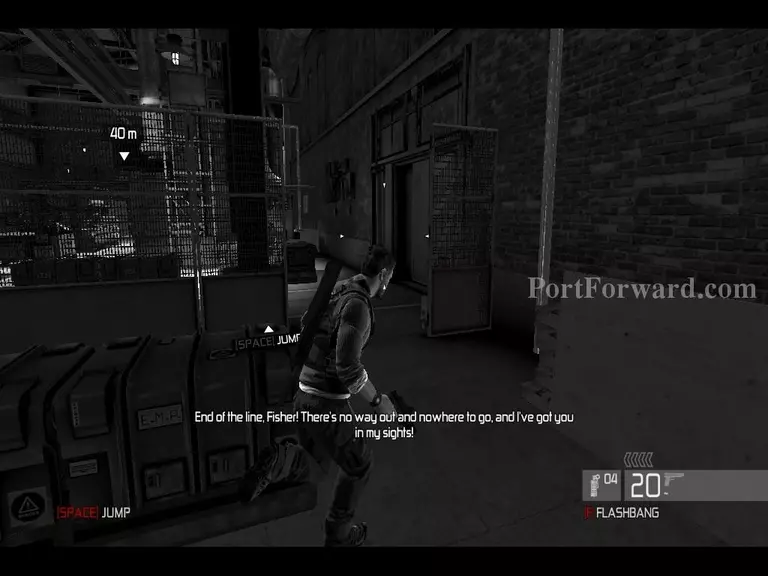
Go from cover to cover and remain hidden. Wait for the first guard to walk into the booth and take him out using hand to hand combat. This is so you gain the execution ability and it will help you further on the level.
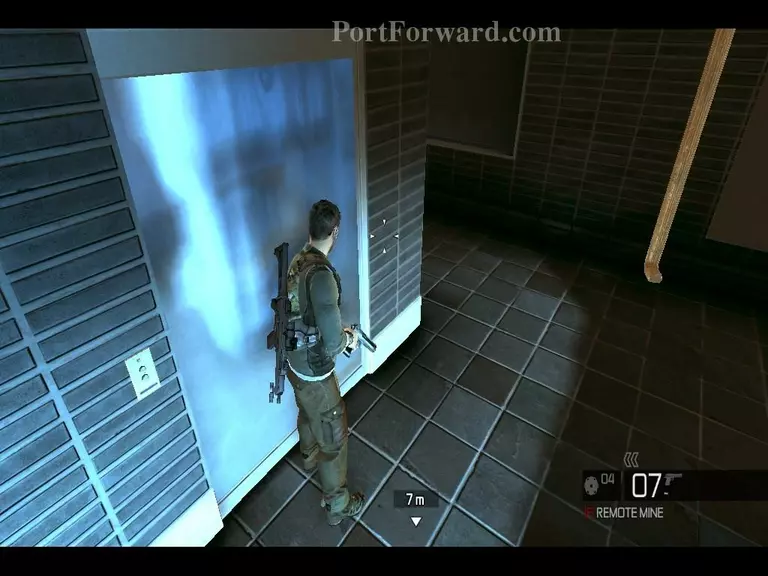
Go to the right side of the building to climb up.

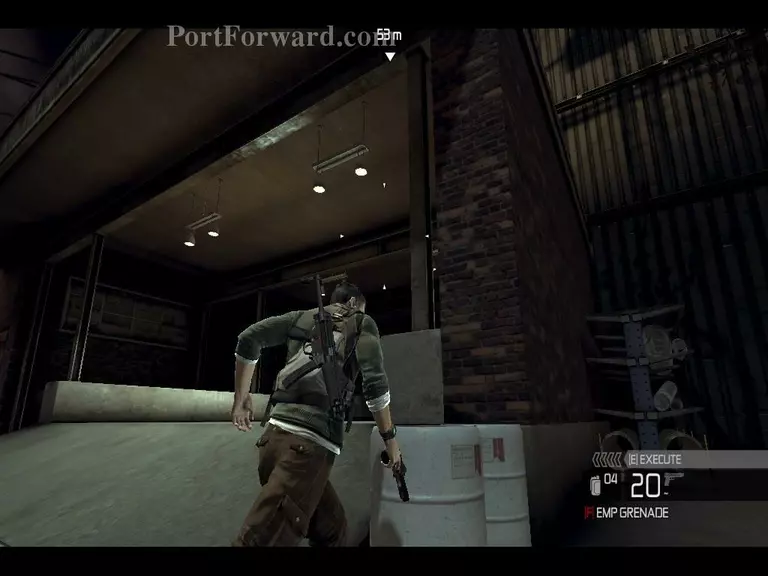
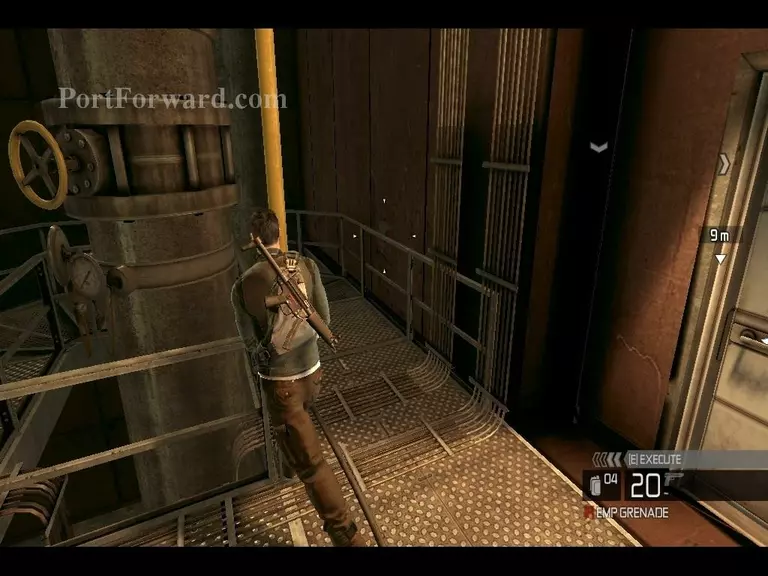
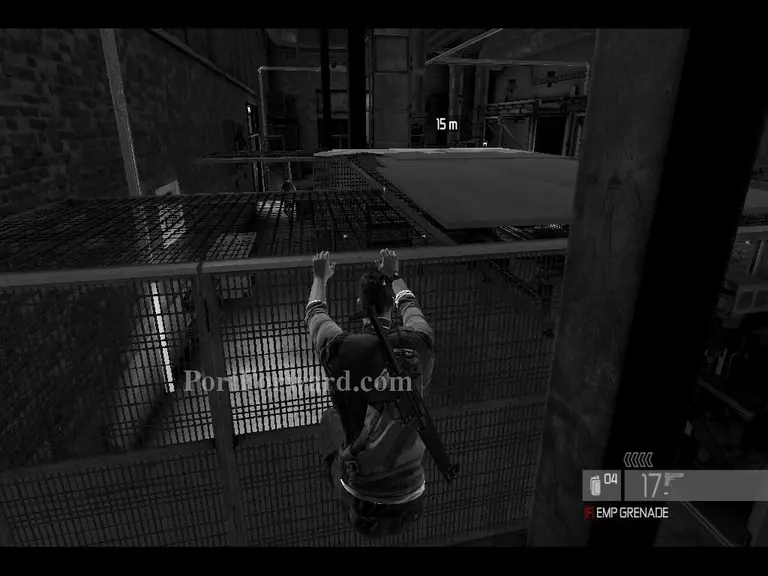
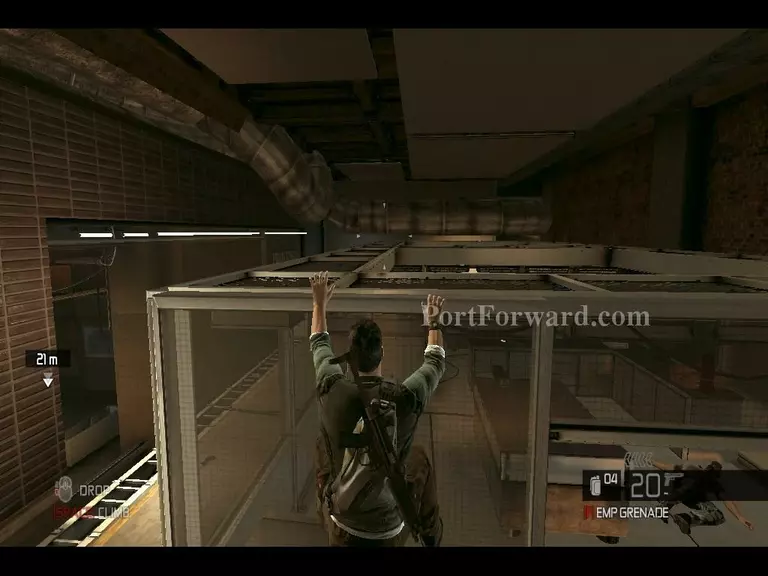
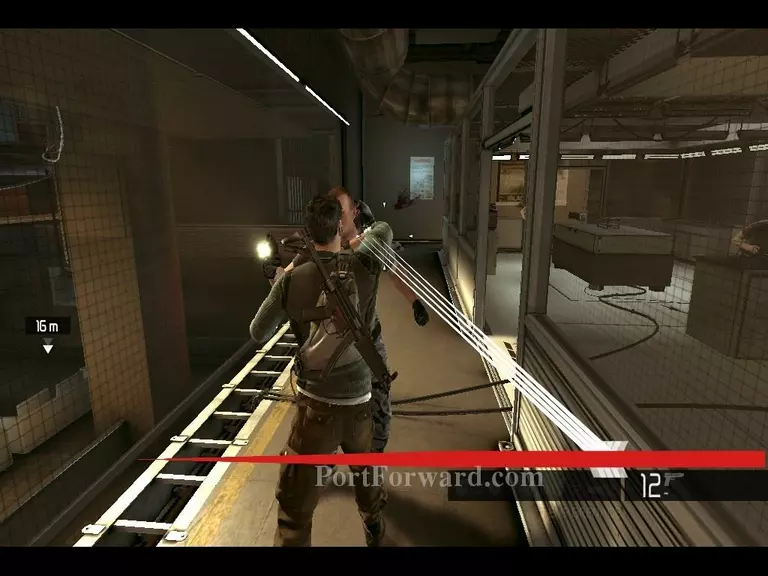
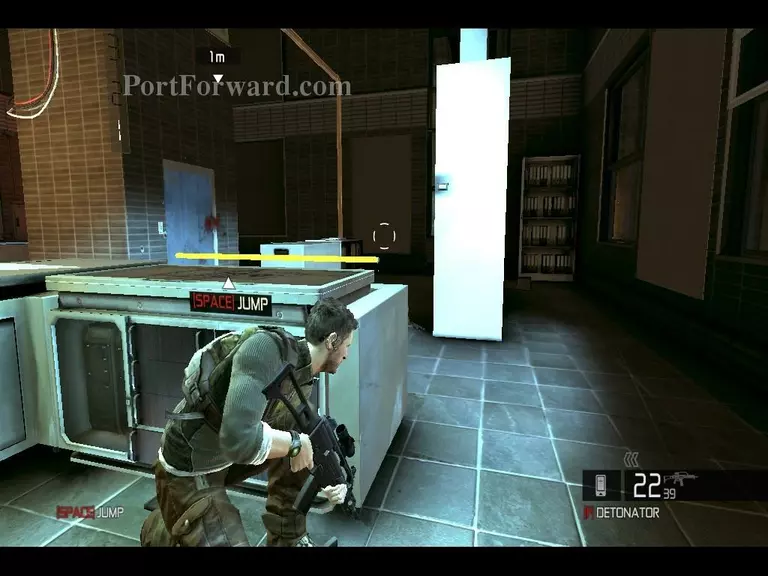
Use poles and ledges to climb up the walls so you can reach your objective.
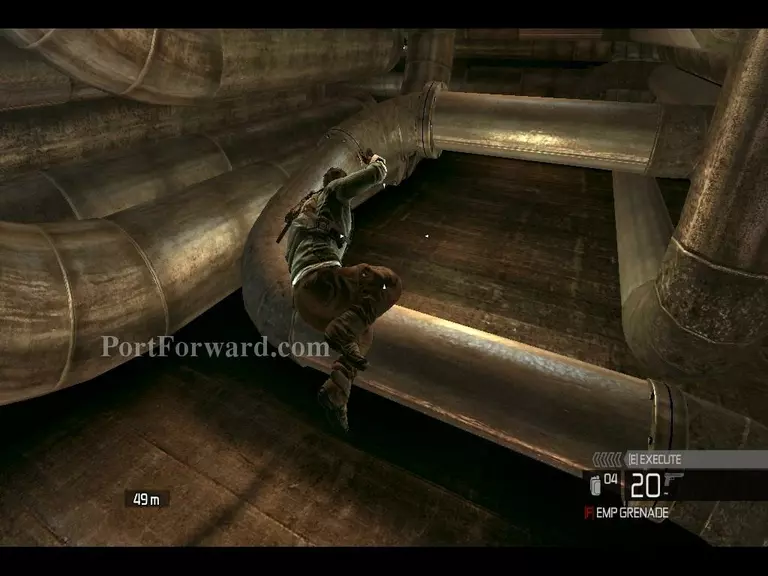
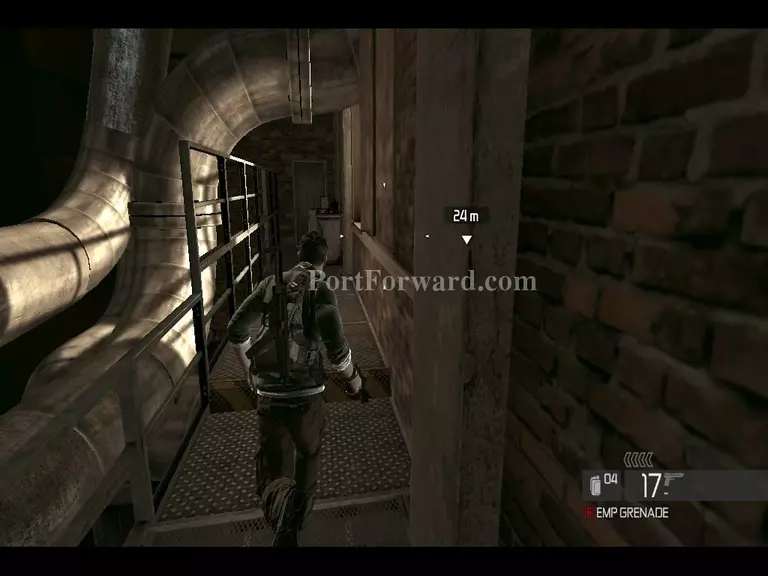
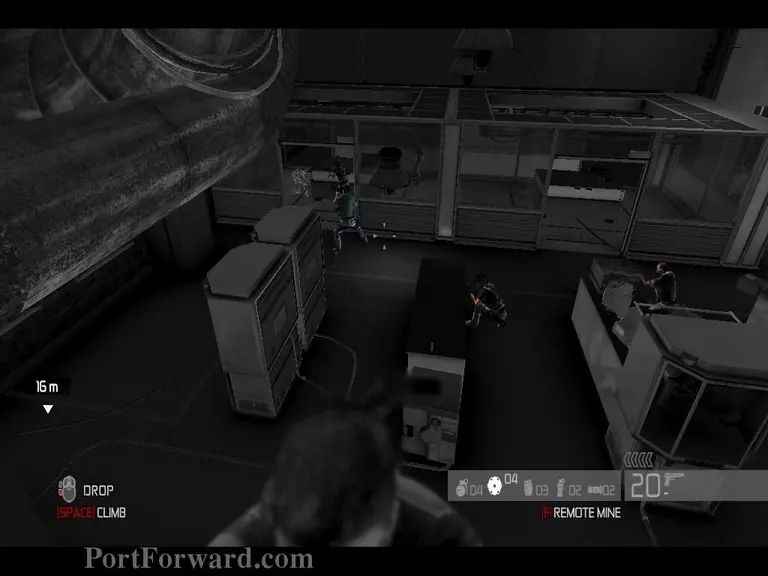
Make your way through the pipes towards the objective marker.
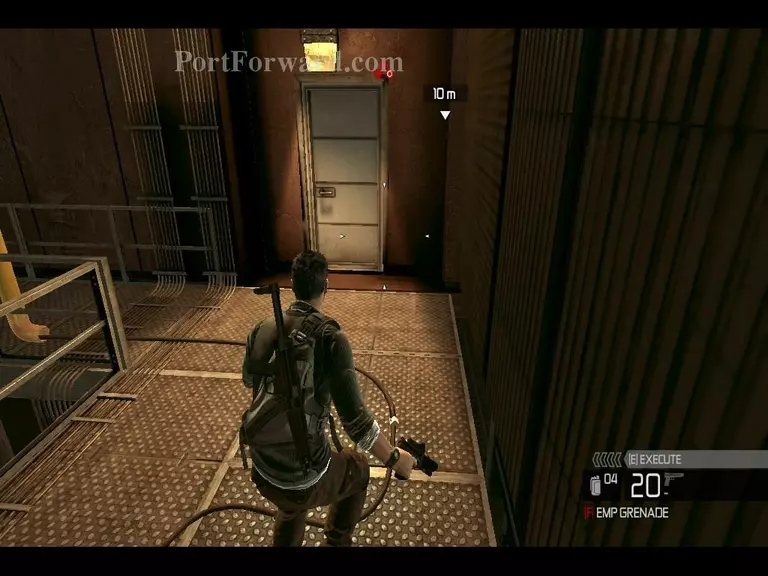
Look under the first door you approach and tag as much enemies as you can see.
Climb on top of the room using the poles and tag the rest of the enemies as its likely you won't be able to see them all from under the door.
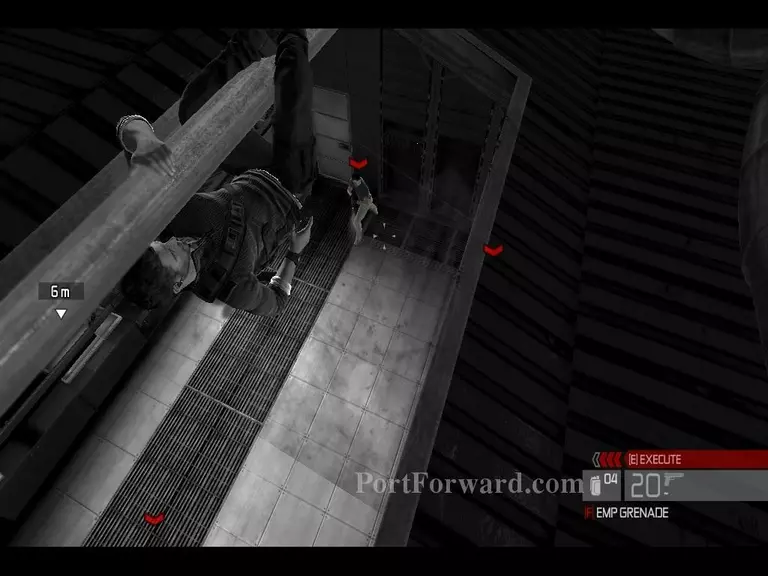
Execute the enemies and drop into the room.

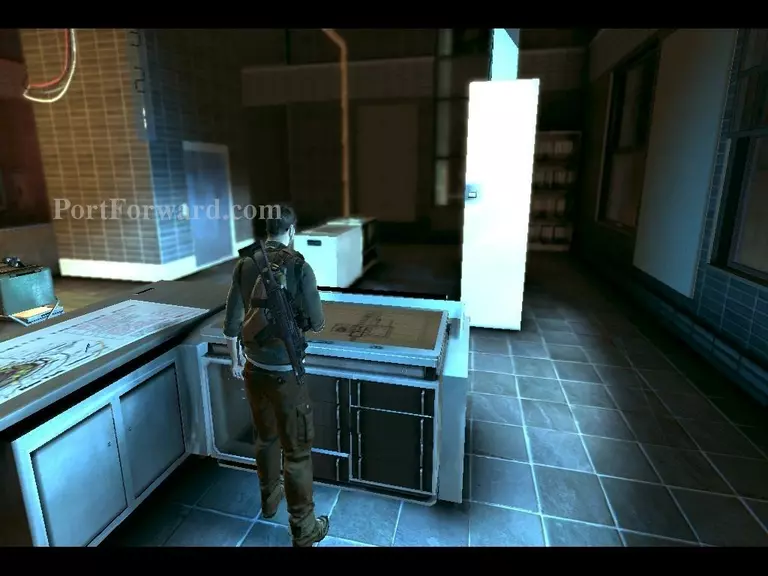
In the room you should find the monitoring system, access it using the action button.
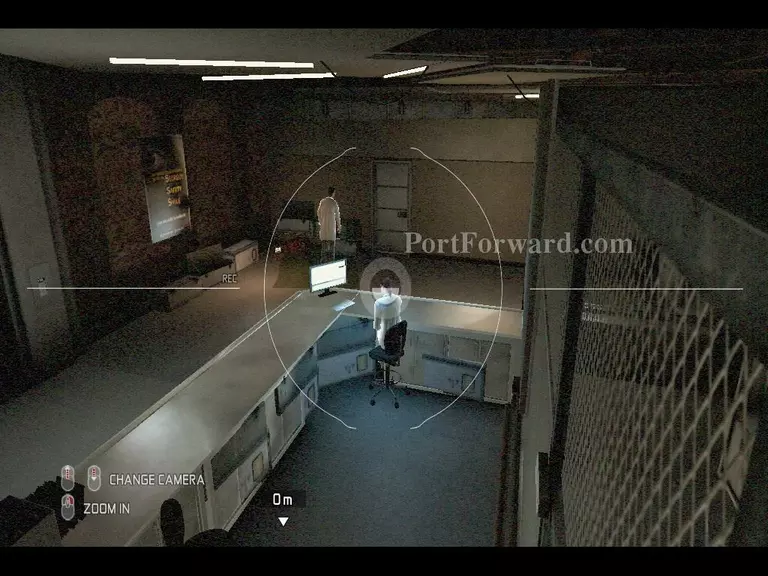
Switch through the different cameras and aim them at people so you can hear their conversations.
Once you get to this camera, stop switching and listen to what is going on.
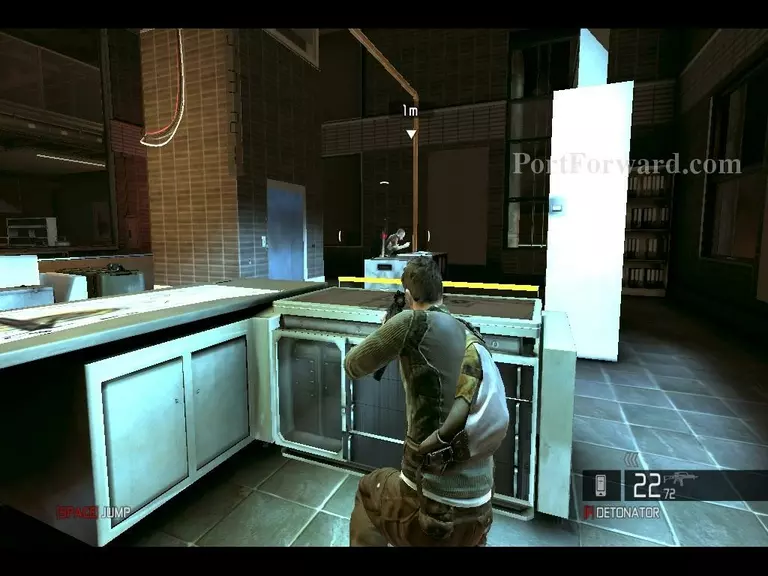
Mkae your way to the scientist, remember to check your corners as enemies could be patrolling.
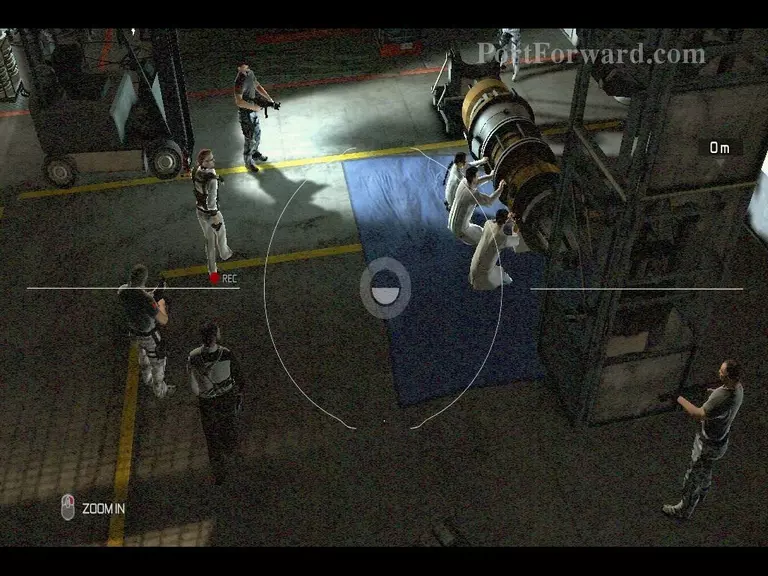
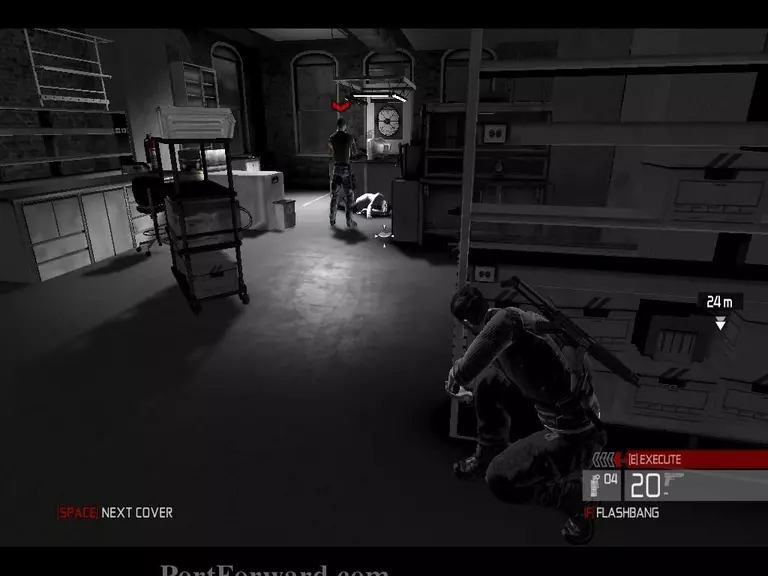
Climb onto ledges and poles to navigate yourself around the room to silently take out the enemies. Doing this silently would be better than loudly as enemies can call for backup.
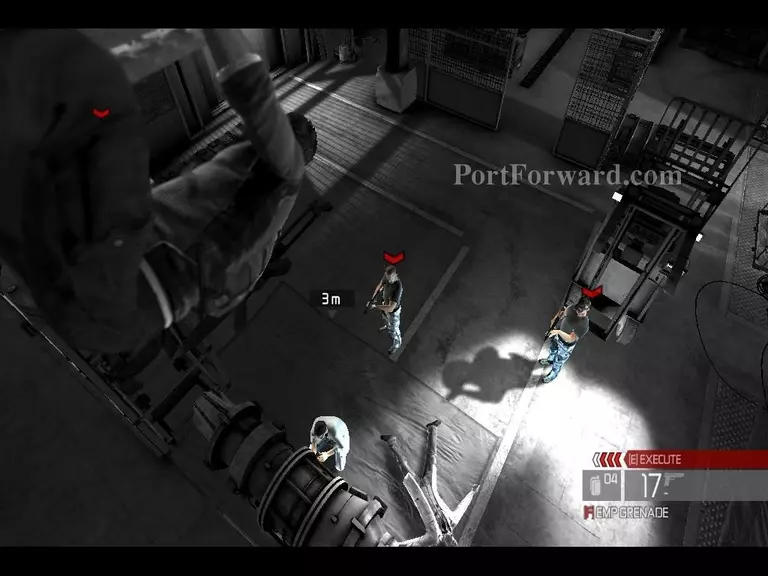
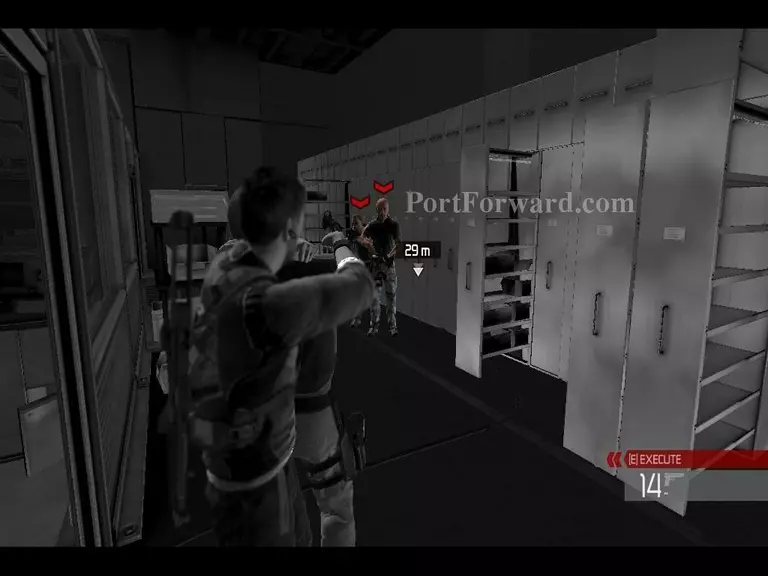
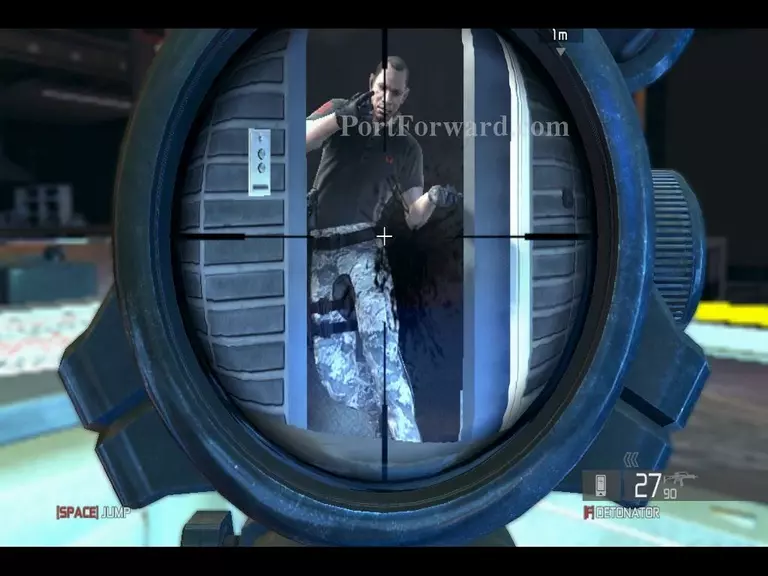
Kill all the enemies in the room. The execution ability is useful to take out a group of enemies quickly, and silently.
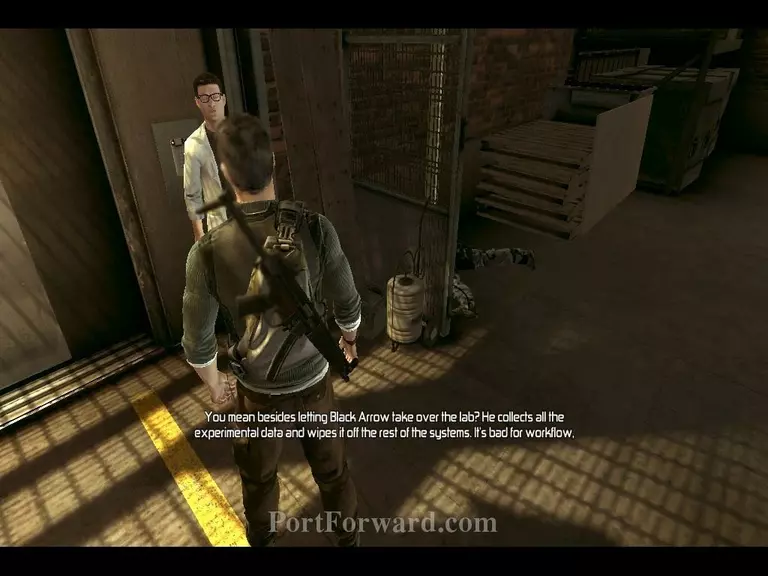
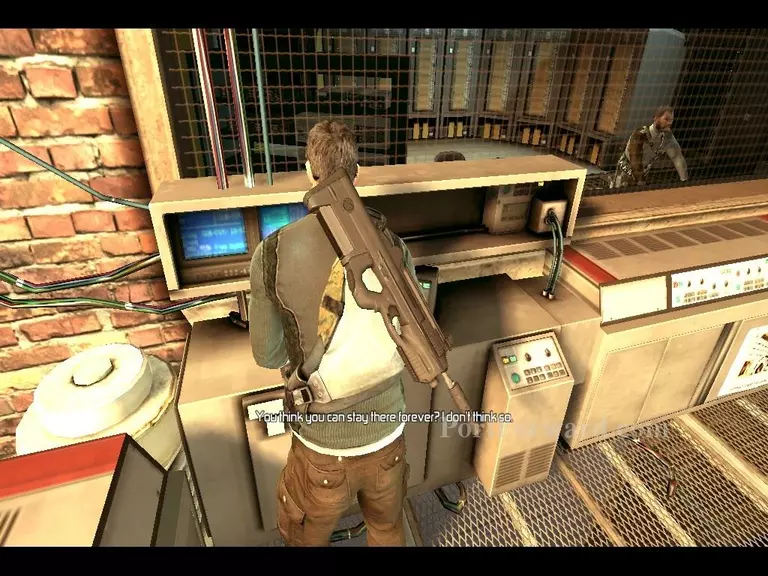
Talk to the scientist to gain access to the elevator.
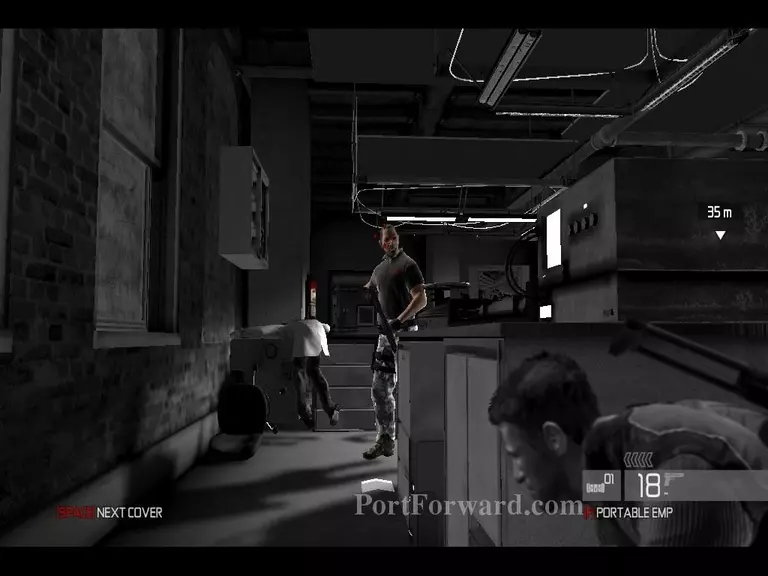
As you exit the elevator and turn left you should see two different doors. The one to the right is where all the enemies are and the one to the left is a more stealthy approach to it.
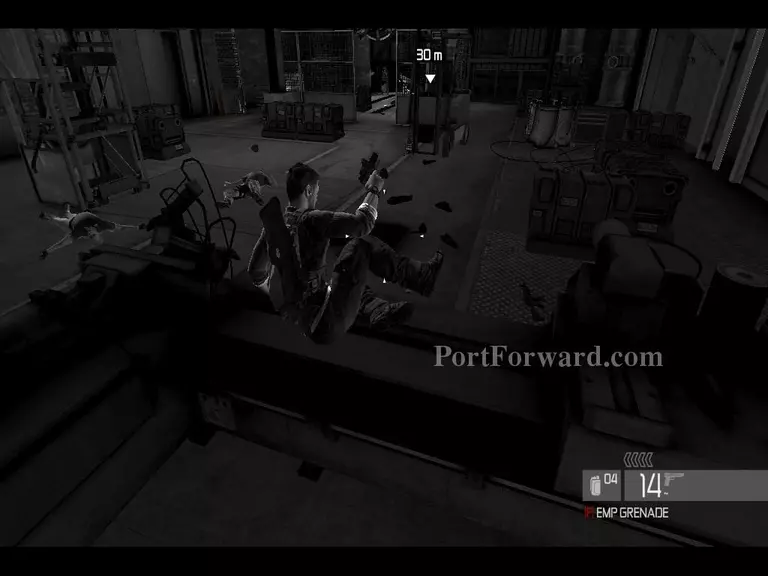
Take out the enemies in the area, a grenade should to the trick as they are all grouped together.
When doing the more stealthy approach use a portable EMP as they are most likely to see you. This creates darkness and stuns your enemies, making them easier to take out.
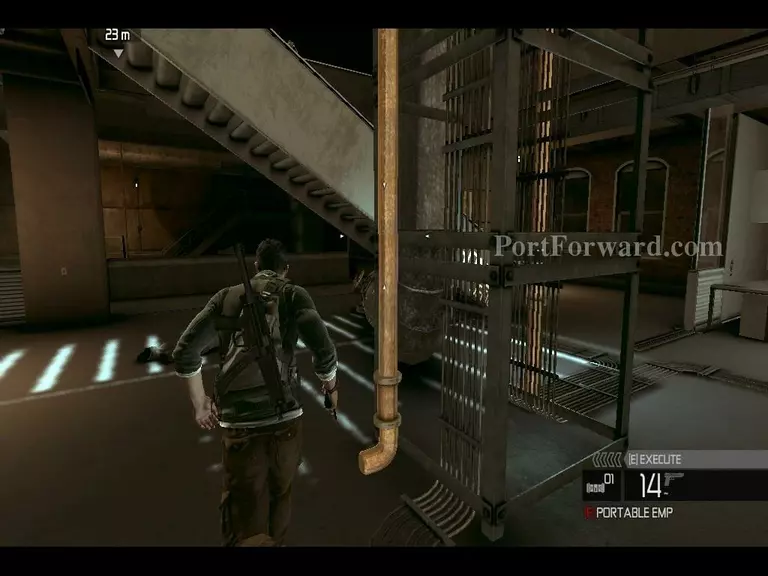
Use poles to climb up higher floors. There is multiple enemies partolling, be careful.
Take out all the enemies in the area.
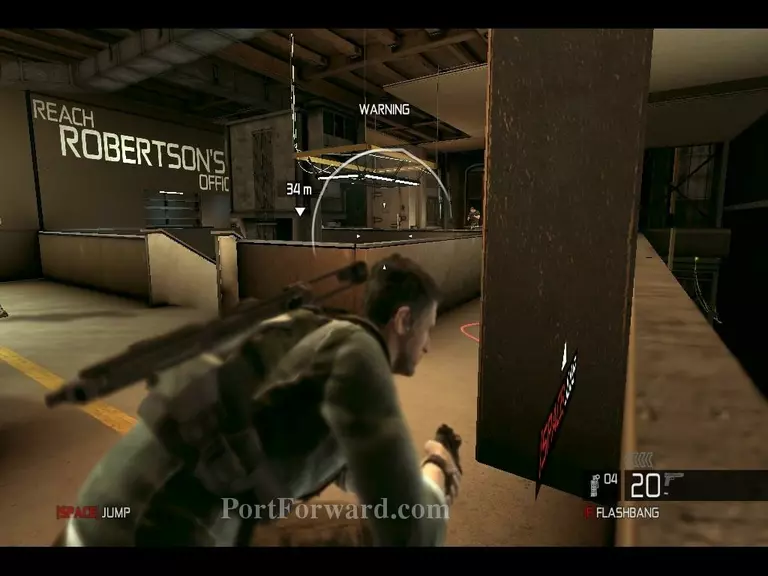
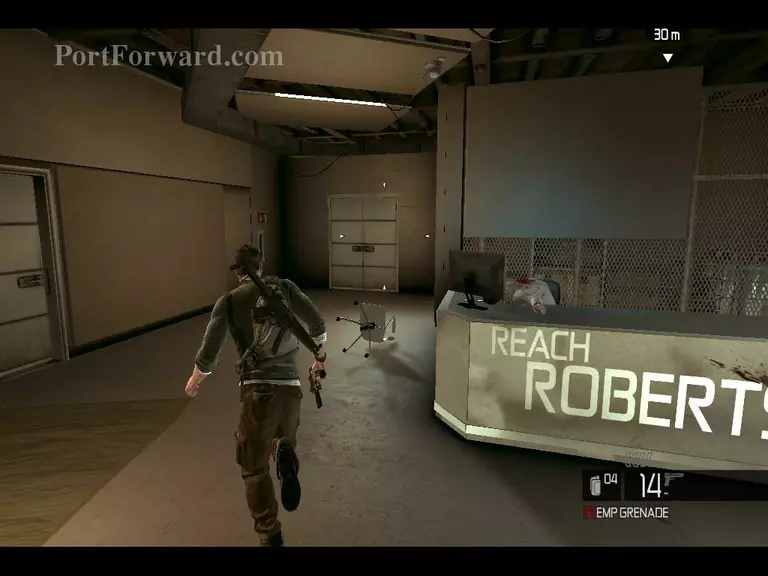
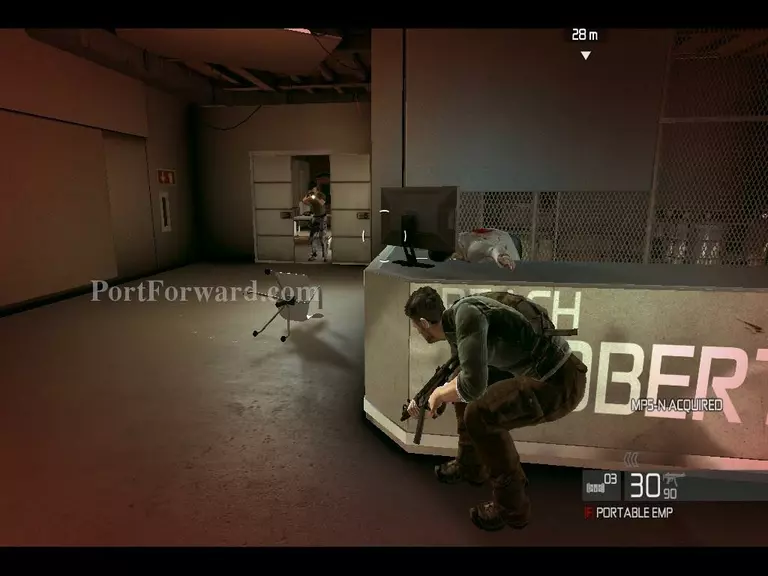
Go upstairs towards Robertson's office.
Use the red propane tanks as traps. When you shoot them they explode, killing nearby enemies.
Using the a human shield reduces the damage done by bullets but be quick it does not last very long.
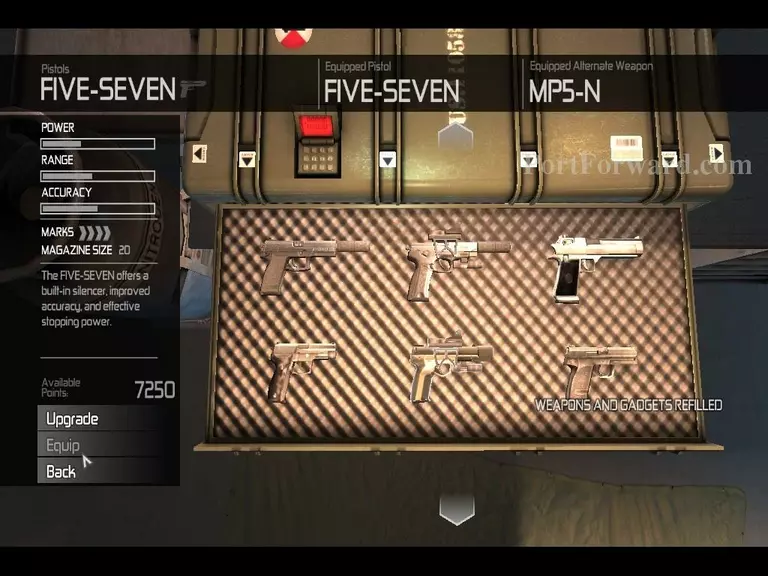
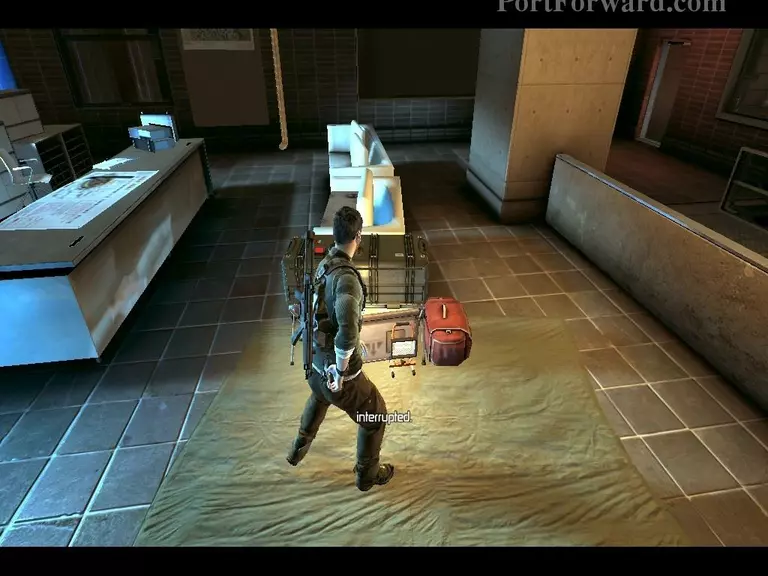
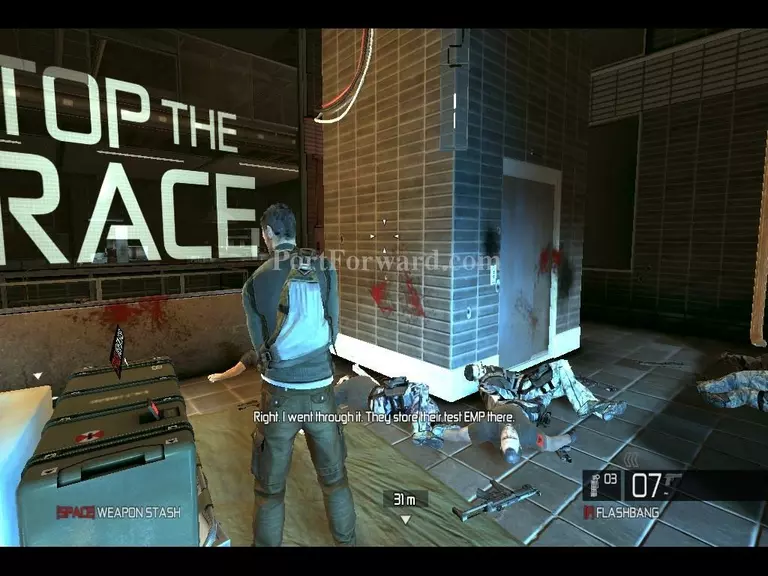
Stop at the weapons stash to refill your ammo and upgrade your weapons.
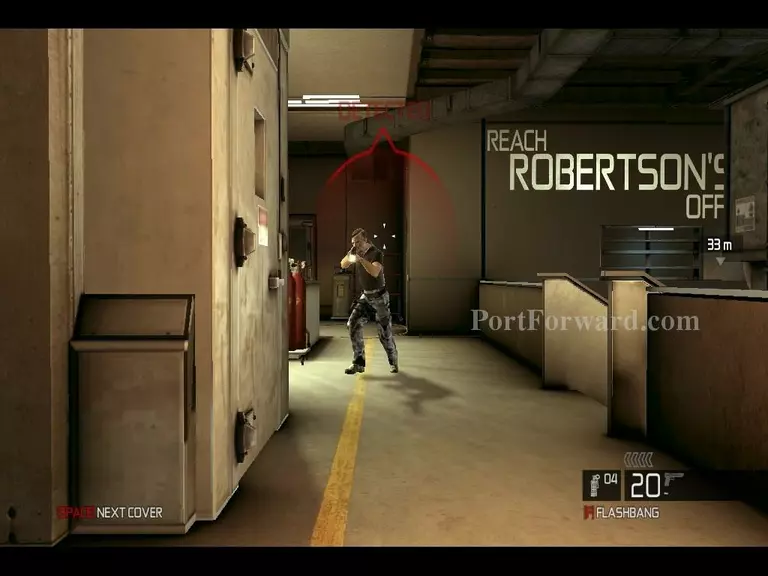
When approaching the guard on his own be careful there are multiple hostiles in the area and they will hear you if you are not silent.

If you are detected use EMPs and Flashbangs to stun the enemies and make a quick escape.

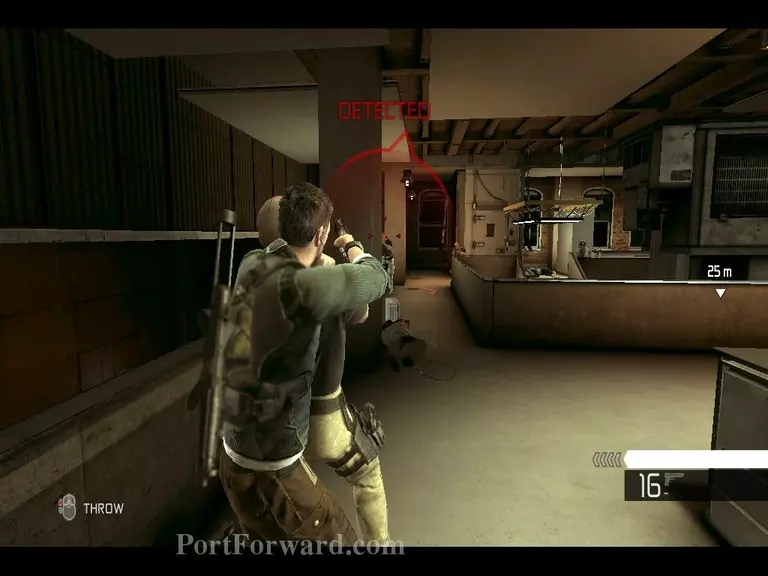
The execution ability is the most successful way of taking out all the enemies in the area without creating too much attention.
Tag as much enemies as you can so you can stalk them and track them, making you always one step ahead.
Wait for a guard to start patrolling on his own then take him out using hand to hand combat. This will grant you access to the execution ability which you should use to take out the other two enemies.
You can use EMPs and flashbangs to make this quick and easy for you.
Climb ontop of ledges to navigate through the area and quietly take out the enemies.
Kill all enemies in the area.
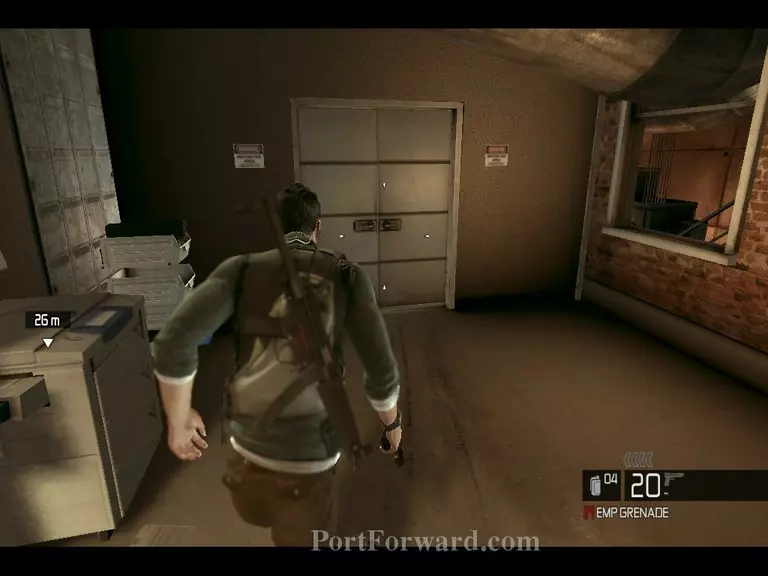
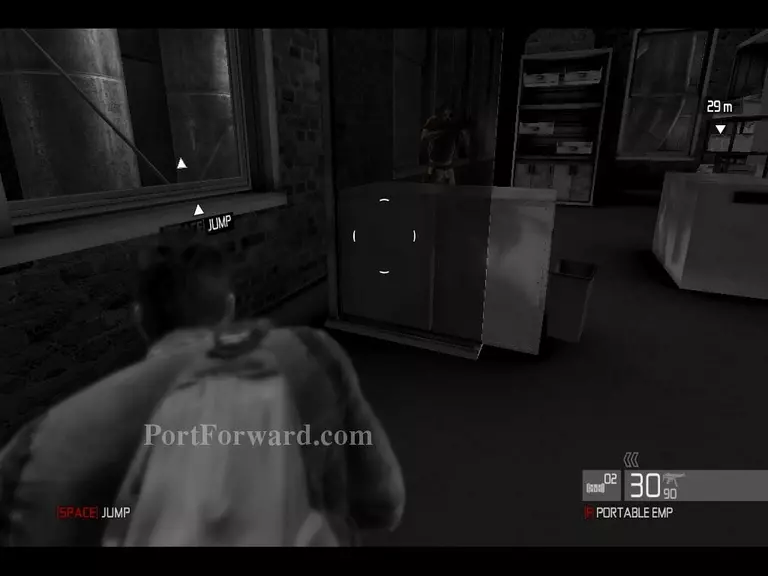
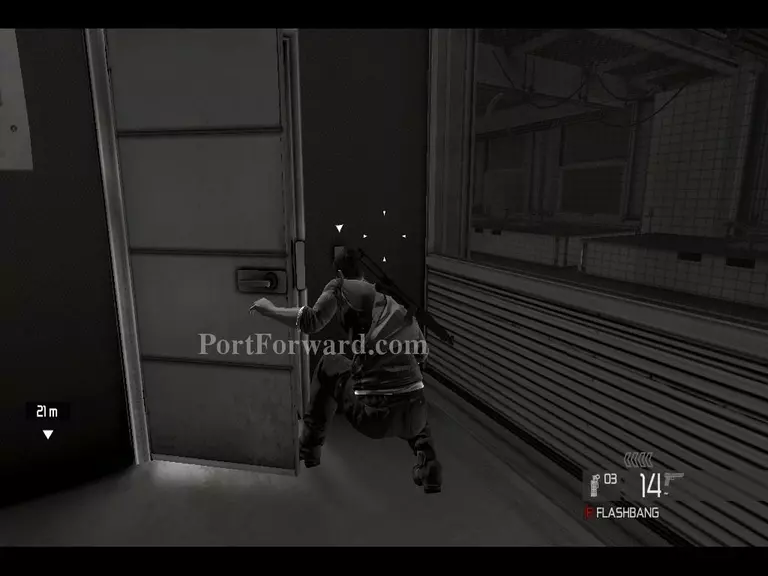
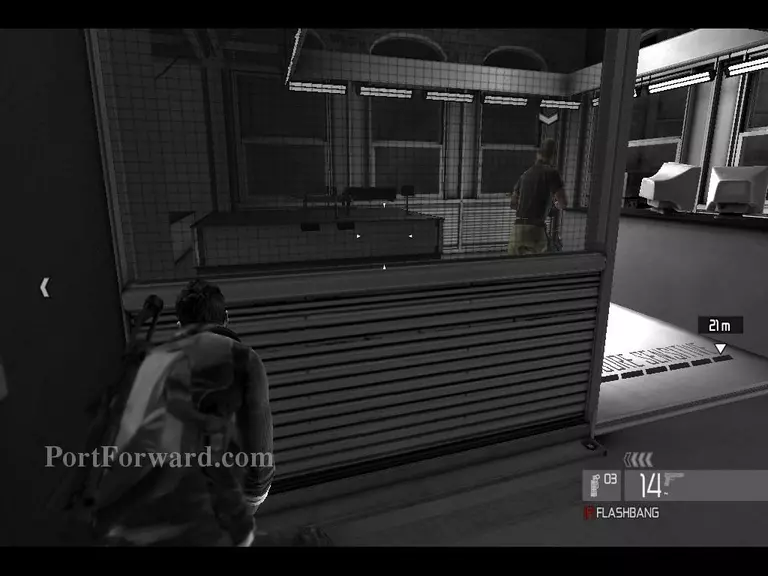
Entering this door will be risky and enemies are most likely to spot you, instead exit through the windows on the right.

Make your way to the back of the room and climb over.
Use the darkness to kill stay hidden and kill the guards in the room.
Use poles to stay hidden and navigate through the map. It also provides you the oppertunity to tag enemies and track their movements.

Kill all of the guards in the area before moving on.
At this part you're required to protect the computer from waves of hostiles.

Use the weapon stash to aquire good weapons, they do not need to be silent. You are fending off enemies both your sidearm and primary should be effective taking them out.
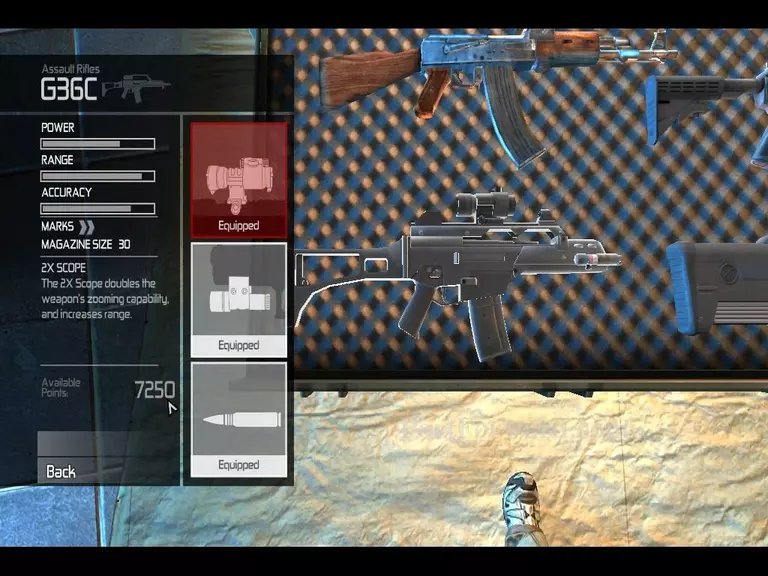
Upgrade your weapons.
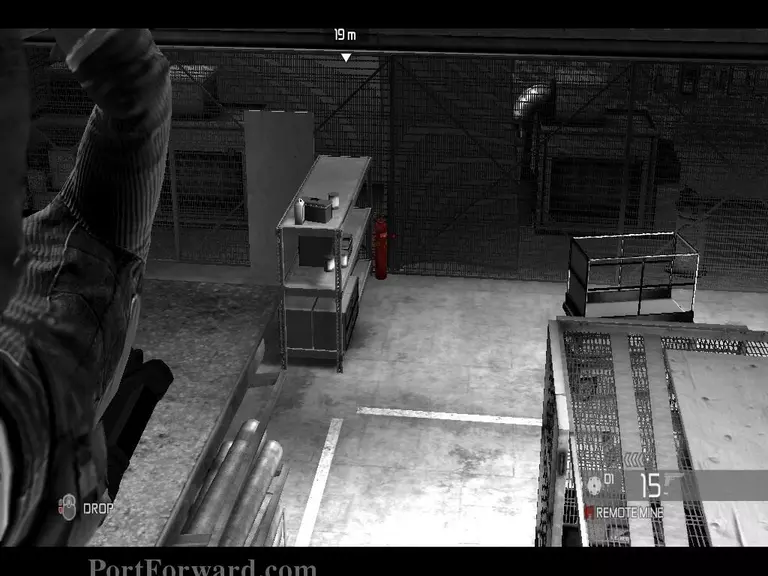
It's a good idea to place a remote mine near the elevator to aid you.
When you are ready, connect into the computer.
Take out the incoming enemies on your left and right. Use the remote mine when necassary.
Keep track of enemies. Do not let them flank your position.
When an enemy throws a flashbang, look away to avoid being stunned.
Always remain in cover.

If you run out of ammo change to your secondary or pick up a weapon that an enemy has dropped. To reduce the risk of running out of ammo, aim for the upper body as it takes less bullets to kill them.
Once all the enemies have been eliminated, refill your ammo and switch back to suppressed weapons.
Exit the area.
Use poles to effectively take out enemies. You must clear the area to set of the EMP.
Look out for traps, they are useful and are normally red.
Set off the EMP using the computer.
Quickly go to the right side and stay hidden. You can pass this part without killing anyone you just have to be quick.
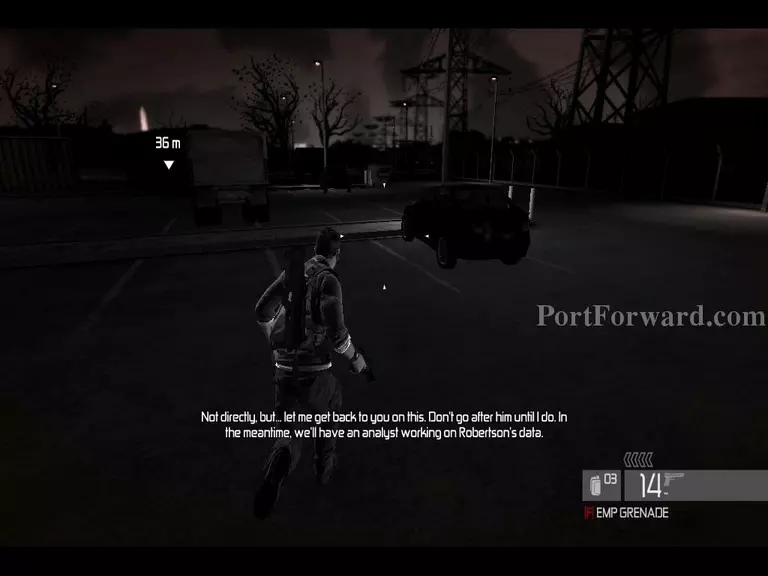
Make your way to the objective marker to complete the chapter.
More Splinter Cell: Conviction Walkthroughs
This Splinter Cell: Conviction walkthrough is divided into 11 total pages.